The Secret is Simple
Finding ease in arm balances can seem like a mystery and it can be frustrating to figure them out while struggling to breathe in positions that feel constricting. The secret to arm balances is simple, but it is not always easy to put into action. Picture a balance scale, the old-fashioned kind. When both sides are even, the scale is “balanced.” There is no difference between a balance scale and your body, but it’s visually harder to understand. The center of the scale is where your hand meets your wrists.
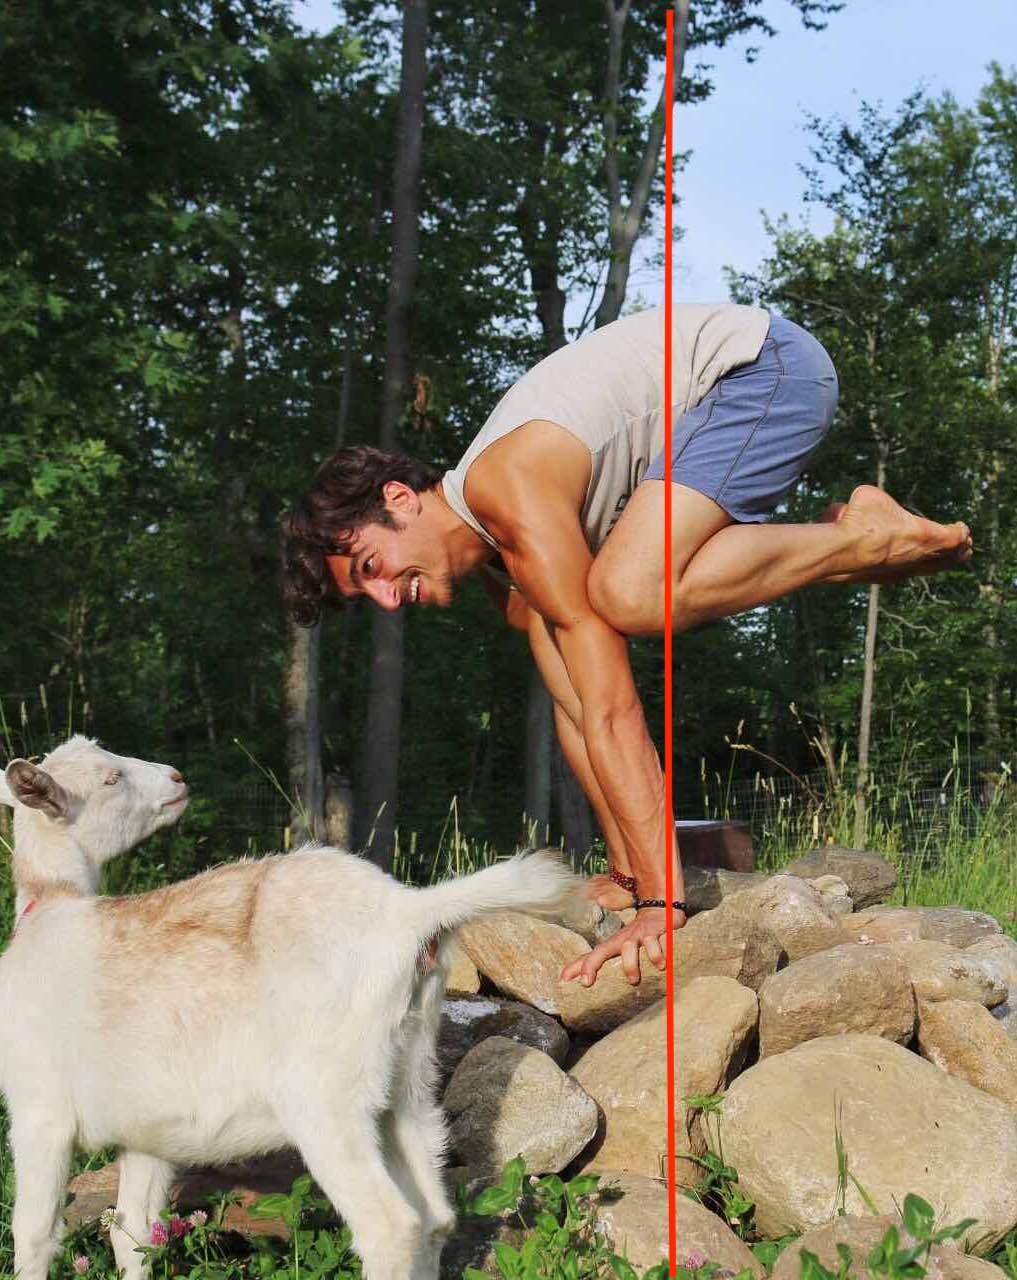
Let’s think about crow pose for a moment. You will see in the picture to the right (or below if you’re on mobile or a tablet) a red line to show you where the shaft of a balance scale would be. I call the hips and legs the “back side” of the pose, and the heart and head the “front side.” In order for the back and front side to be equal we must lean forward quite a bit. This presents a bit of fear for many yogis, and for a good reason! You could easily lean too far, too fast. This is why it’s important to build strength in your fingers and wrists. The primary muscles that stop the body from leaning too far are the flexors of the wrists and fingers. I call these muscles “The Breaks,” and much like driving any vehicle, you will not feel safe without them! For this reason alone it’s super important to strengthen the breaks so that you build trust in yourself. As your trust builds, you will be willing to lean forward more and more into the strength of your wrists. In my Handstand Training video, I provide some of my top exercises for “the breaks.”
When most people first try to lean forward they actually tend to sink, softening the elbow joints and melting the shoulder blades toward each other. This will make the posture heavy and will actually make it harder to balance. To be sure you aren’t doing this, film yourself or better yet find a teacher or friend to support you with visual coaching.

200 HOUR ONLINE TEACHER TRAINING
GET CERTIFIED & DEEPEN YOUR YOGA PRACTICE
- Deepen your yoga practice
- Build confidence speaking in front of groups in person and online
- Learn foundational class structures and templates
- Learn techniques for a wide range of yoga postures
- Get certified and highly qualified to teach yoga
- Yoga Alliance Globally Recognized Certification Program
- SPRING ENROLLMENT OPEN! Training begins June 1

ANATOMY OF ARM BALANCES
MAY 2022 Immersion
- Anatomy of 12+ arm balances
- Foundational and advanced arm balance techniques
- Visualize your movements internally
- Improve balance and proprioception
- Sensation-based practices
- Learn empowering modifications
- Access appropriate variations for your level of practice
- Active, passive, and isomentric Stretching
- Improve wrist, core, and shoulder strength
- ALL LEVELS APPROPRIATE
$168.00
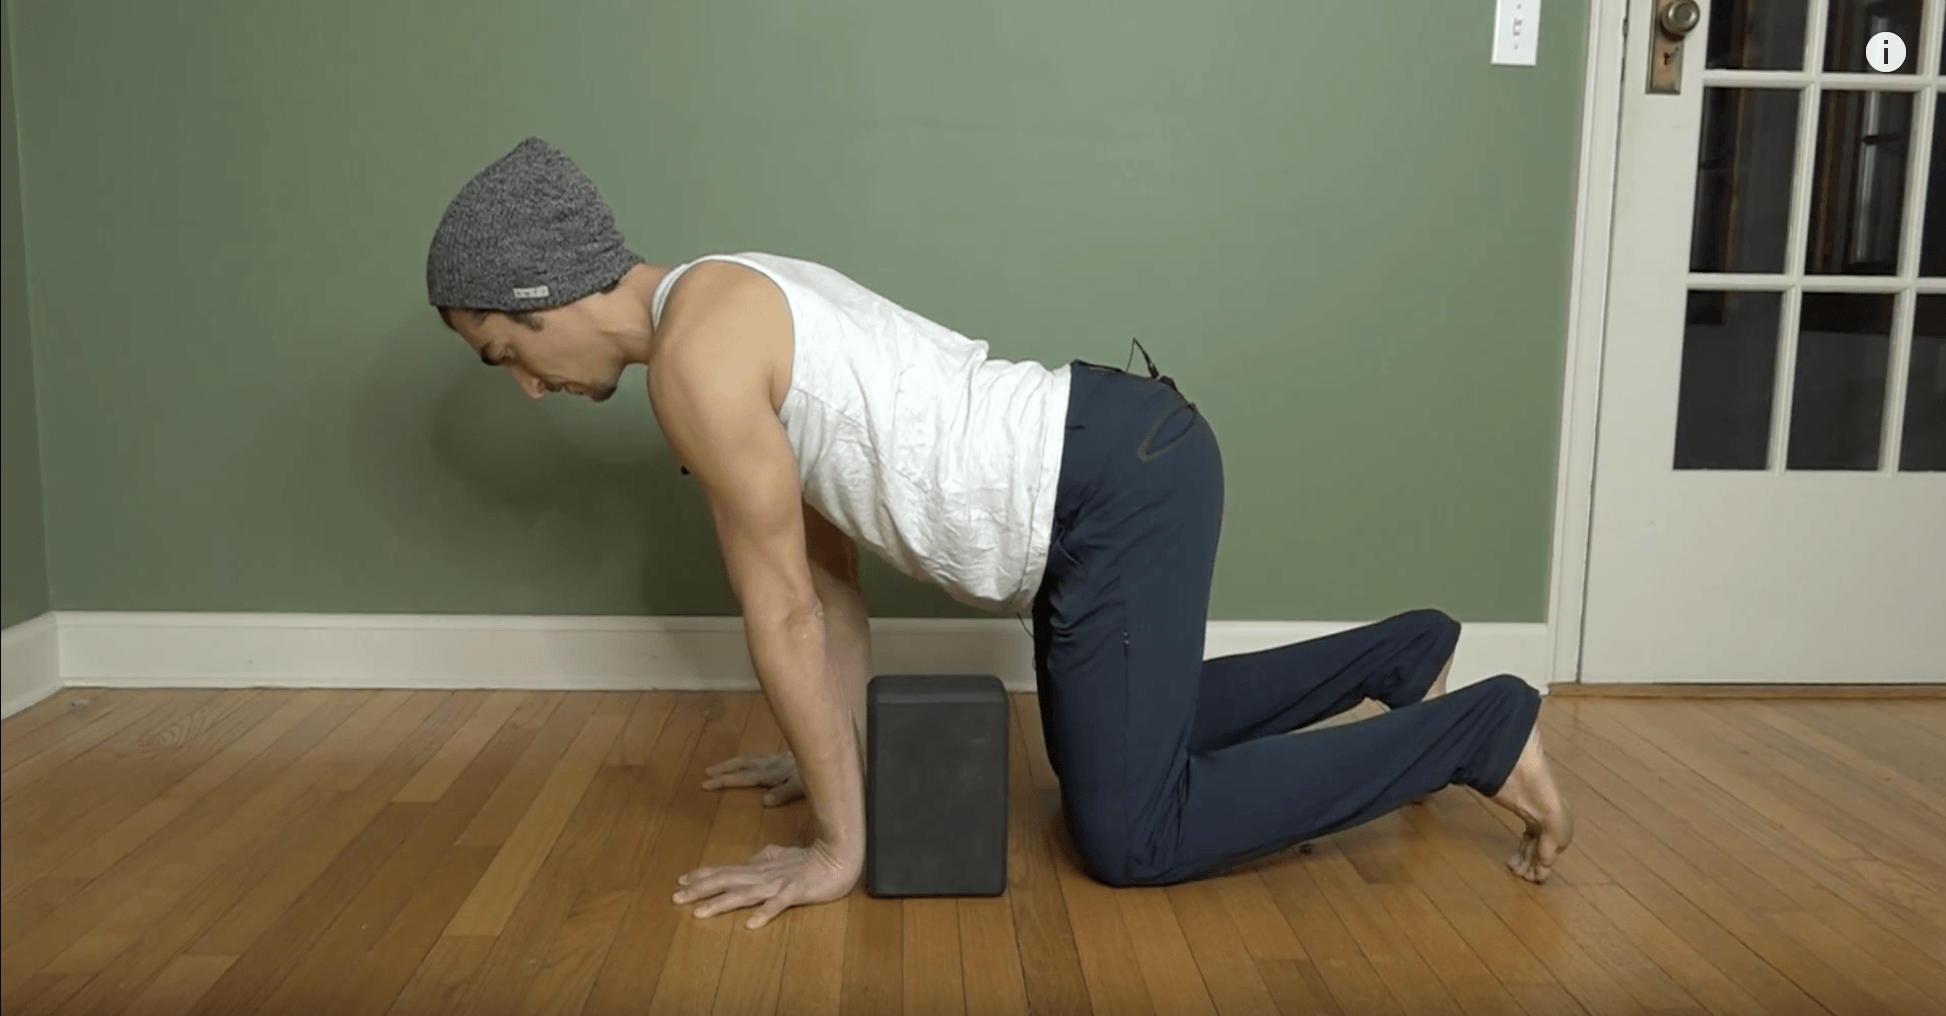
Step 1 - All Fours with a Block
First work with a block behind the forearms on all fours. To be clear this is a deep extension of the wrist, so be mindful. If you feel that your muscles are straining, back the block up an inch. The idea here is to grip the ground with your fingers which will activate the flexor muscles. Because the hand is in extension, the flexor muscles are elongated significantly, so gripping the ground could prove to be challenging.
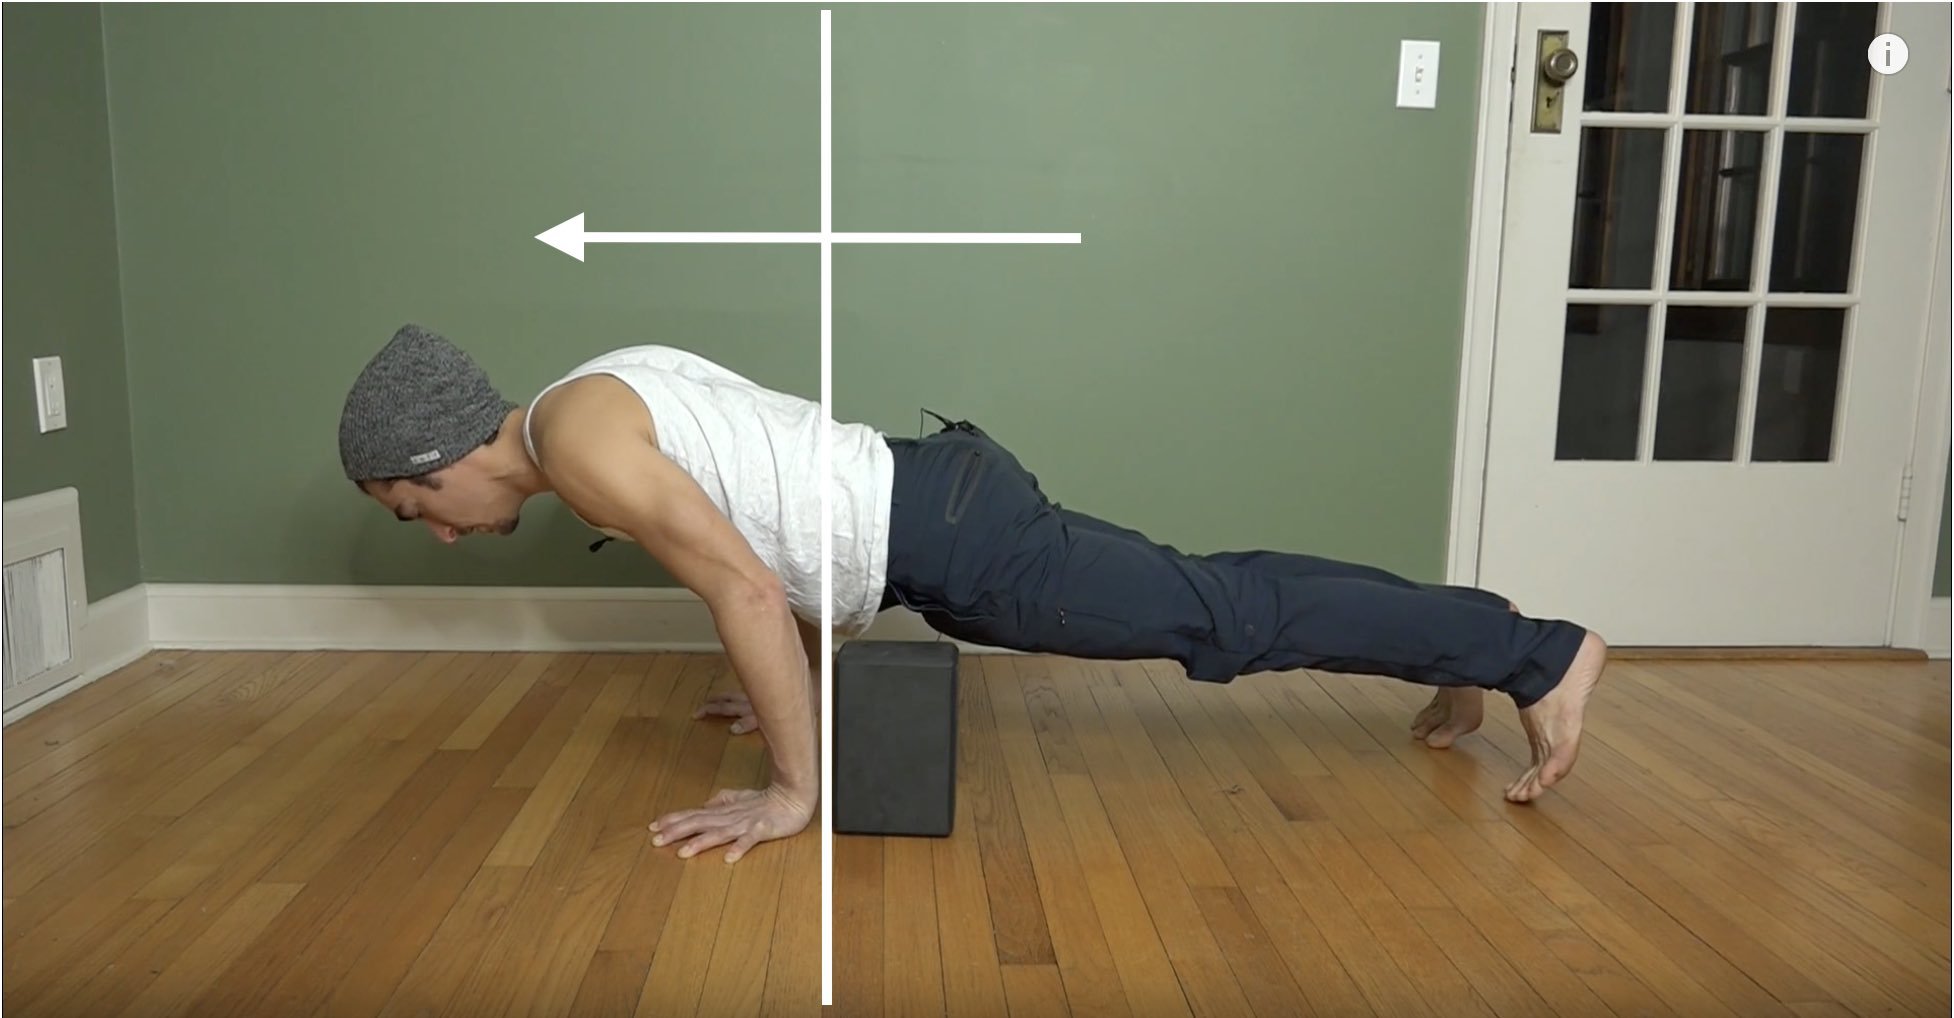
Step 2: Chaturanga with a block
The next step is to work on lowering from plank to chaturanga with the block directly behind the forearm. I recommend only going down a few inches and trying to hold. You will notice that in my chaturanga and crow pose my elbows are only slightly bent. This will make it easier to stay lifted and light. The same is true for the fingers; keep gripping the ground! To Strengthen your wrist, I highly recommend Handstand Training
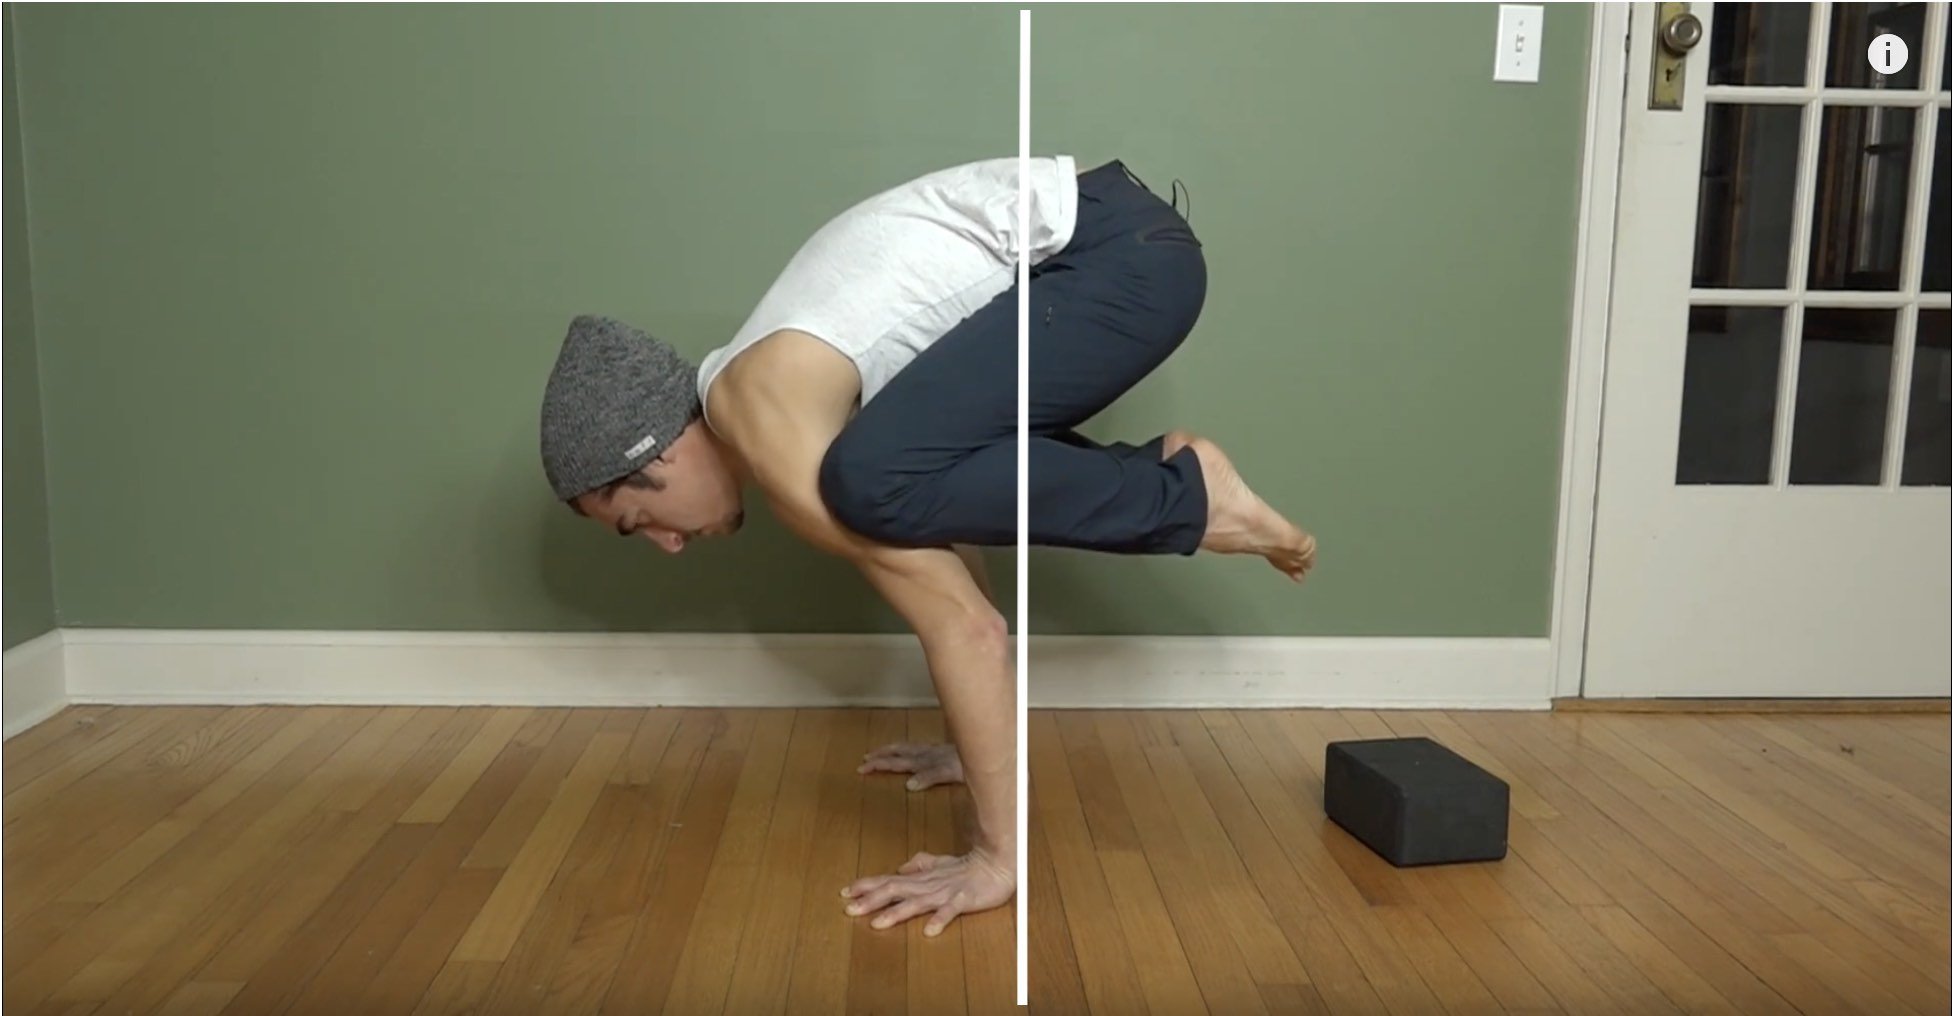
Step 3: Crow Pose
Crow pose is significantly more challenging, so if this is new for you be sure to work with a teacher first (and a landing cushion would be an intelligent choice if you ask me). Apply the same action but go slower. Grip the ground and apply the breaks, then lean into that resistance. If you are more proficient in arm balances, you can try this in a posture like Ekapada Koundenyasana 2 or flying pigeon.

300 HOUR ONLINE TEACHER TRAINING
GET 500 HOUR CERTIFIED & ADVANCE YOUR TEACHING SKILLSETS
- Learn Anatomy, Bio-Mechanics, and Masterful Postural Techniques
- Advance Your Teaching Skillsets: Sequencing, Verbal Cuing, Theming
- Deliver Heart Felt Practices with Philosophy, Meditation, & Pranayama
- Apply Business Structure's, Marketing, Branding, Social Media
- Build Confidence Working with Injuries, and More!
Avoiding Wrist Pain
Wrist pain is common when people first start their yoga practice or arm balance practice. That doesn’t mean it’s a good thing, but it probably means the muscles that surround the joint are not strong and probably not balanced. The wrists are not a muscle you can simply work really hard a few times and see positive results. More likely you will strain the muscles if you go that route. Instead spend small amounts of time practicing these exercises but do them often. This is how I train my own wrists and I have had much success with feeling good over the course of 12 plus years of practicing handstands and arm balances.
Thank you for reading and watching! if you have questions, comments or requests please share them here!
-Matt
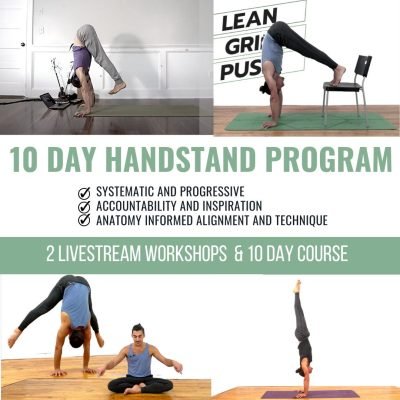
Handstand Strength Training
Learn the techniques that make Handstand fun, easy, and accessible! This collection of the top 12 most effective exercises will make you rethink how you approach handstand and what is possible so you can finally build the proper strength and awareness it takes to hold a handstand.
Continue Learning
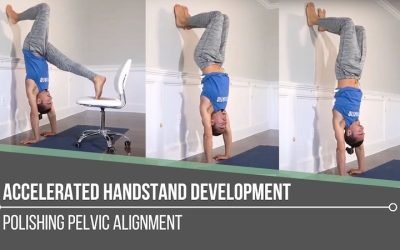
Accelerated Handstand Development
Accelerated Handstand DevelopmentinversionACCELERATED HANDSTAND DEVELOPMENT Accelerating the process of achieving a goal comes from consistent practice, but it also depends heavily on the information and knowledge we’ve acquired. Whether a handstand is part of our...
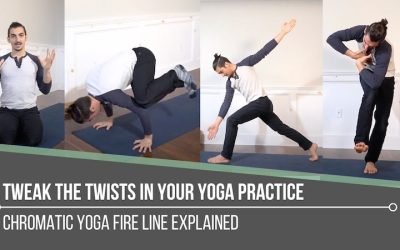
Tweak The Twists In Your Yoga Practice
Tweak the Twists in Your Yoga PracticepadmasanaTWEAK THE TWISTS IN YOUR YOGA PRACTICE The definition of "tweak" here is the following: to improve (a mechanism or system) by making fine adjustments to it. This perfectly describes a major part of what’s involved in the...
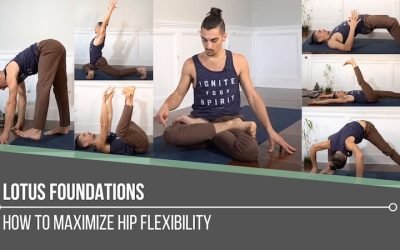
Lotus Foundations
Lotus FoundationspadmasanaLOTUS FOUNDATIONS Lotus Pose requires a healthy amount of hip flexibility. For some, it comes easy. Reasons for this might be that the person is hypermobile in the hips, knees, and ankles and/or that many months or years of effort have been...
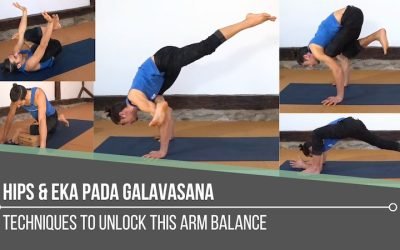
Hips and Eka Pada Galavasana
Hips and Eka Pada Galavasanaflying pigeonHIPS AND EKA PADA GALAVASANA Depending on where we are in our asana practice journey, arm balances may feel a little overwhelming. It can be difficult to know where to start. Instead of thinking about the final destination, we...
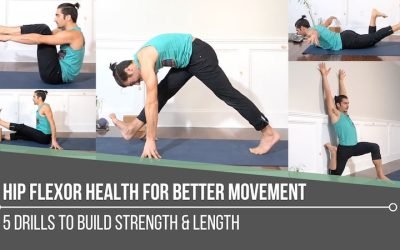
Hip Flexor Health For Better Movement
Hip Flexor Health for Better MovementstretchHIP FLEXOR HEALTH FOR BETTER MOVEMENT Healthy hip flexor muscles are associated with both stretch and strength. Although we’re going to focus more heavily on strength in this article, always note that both strength and...
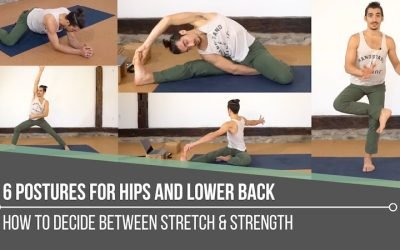
6 Postures For Hips and Lower Back
6 Postures for Hips and Lower Backstretch6 POSTURES FOR HIPS AND LOWER BACK When we're interested in learning about postures that help us with our hips and lower back, it’s simply not good enough to find a video or practice that says that certain poses will help with...
? NEW RELEASES ?
-
Sale!

10 Day Handstand
$297.00 Add to cart -
Sale!
Elements of Mastery 30 Hour Hybrid 2024
From: $100.00 / month for 9 months Select options -
Sale!
hamburg bundle
$482.40 Add to cart -
Sale!
VIENNA BUNDLE
$482.40 Add to cart -
Sale!
Berlin Bundle
$482.40 Add to cart -
Sale!
HIP RELEASE WORKSHOP
$34.00 Add to cart -
Sale!
THE SHOULDER RESET ONLINE YOGA WORKSHOP
$28.00 Add to cart -
Sale!
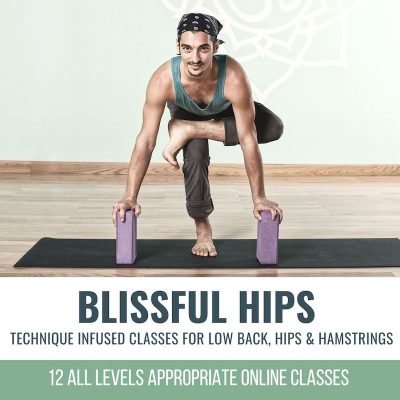
Blissful Hips
$98.00 Add to cart

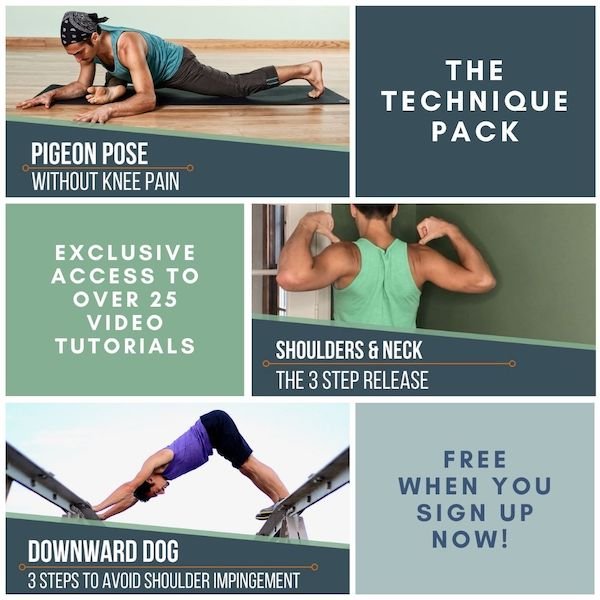
THE FREE TECHNIQUE PACK
When You Subscribe, You Will Get Instant Access to
- the Technique Pack: 15 yoga pose breakdowns
- exclusive online course discounts
- exclusive blogs and videos
0 Comments