Handstand ActionsLEAN, GRIP, PUSHHANDSTAND ACTIONS Handstand isn’t something we conquer in a single class, it’s a layered process that demands repetition and refinement. There are certain key handstand actions that are non-negotiable: lifting the shoulders up to the...
Chaturanga Alignment Part 1
CHATURANGA ALIGNMENT FOR STRENGTH
Chaturanga is one of the most repeated poses in the modern yoga practice, and it happens to be one of the most challenging on the shoulders. It is highly beneficial to take a look at the mechanics of the posture. I have been studying this posture for over a decade and I have to say chaturanga seems to be one of the most mysterious postures out there. So many teachers are offering “correct alignment” and throwing around “shoulds” and “shouldn’ts” without taking a deep look at what is really happening. Part of why there are so many contrasting opinions is the simple misunderstanding that bones and muscles are not the same – or better put, alignment and muscle engagement don’t necessarily go hand in hand. When we say that the elbows are bent in chaturanga we are referring specifically to the structure or alignment of the pose, NOT the action of the muscles. If we are to pause in chaturanga and hold it as a posture, what are the muscles that stop the elbows from bending? You may have figured it out – the triceps. What do the triceps do? They straighten the elbows. So we can say pretty confidently that in chaturanga the elbows are bent, but we are trying to straighten them in order to stop or slow down movement. The same is true in the shoulder blades, but because the shoulder blades aren’t as straight forward as bend and straighten, most people have a cloudy understanding of what is happening there.
THE SHOULDER BLADES
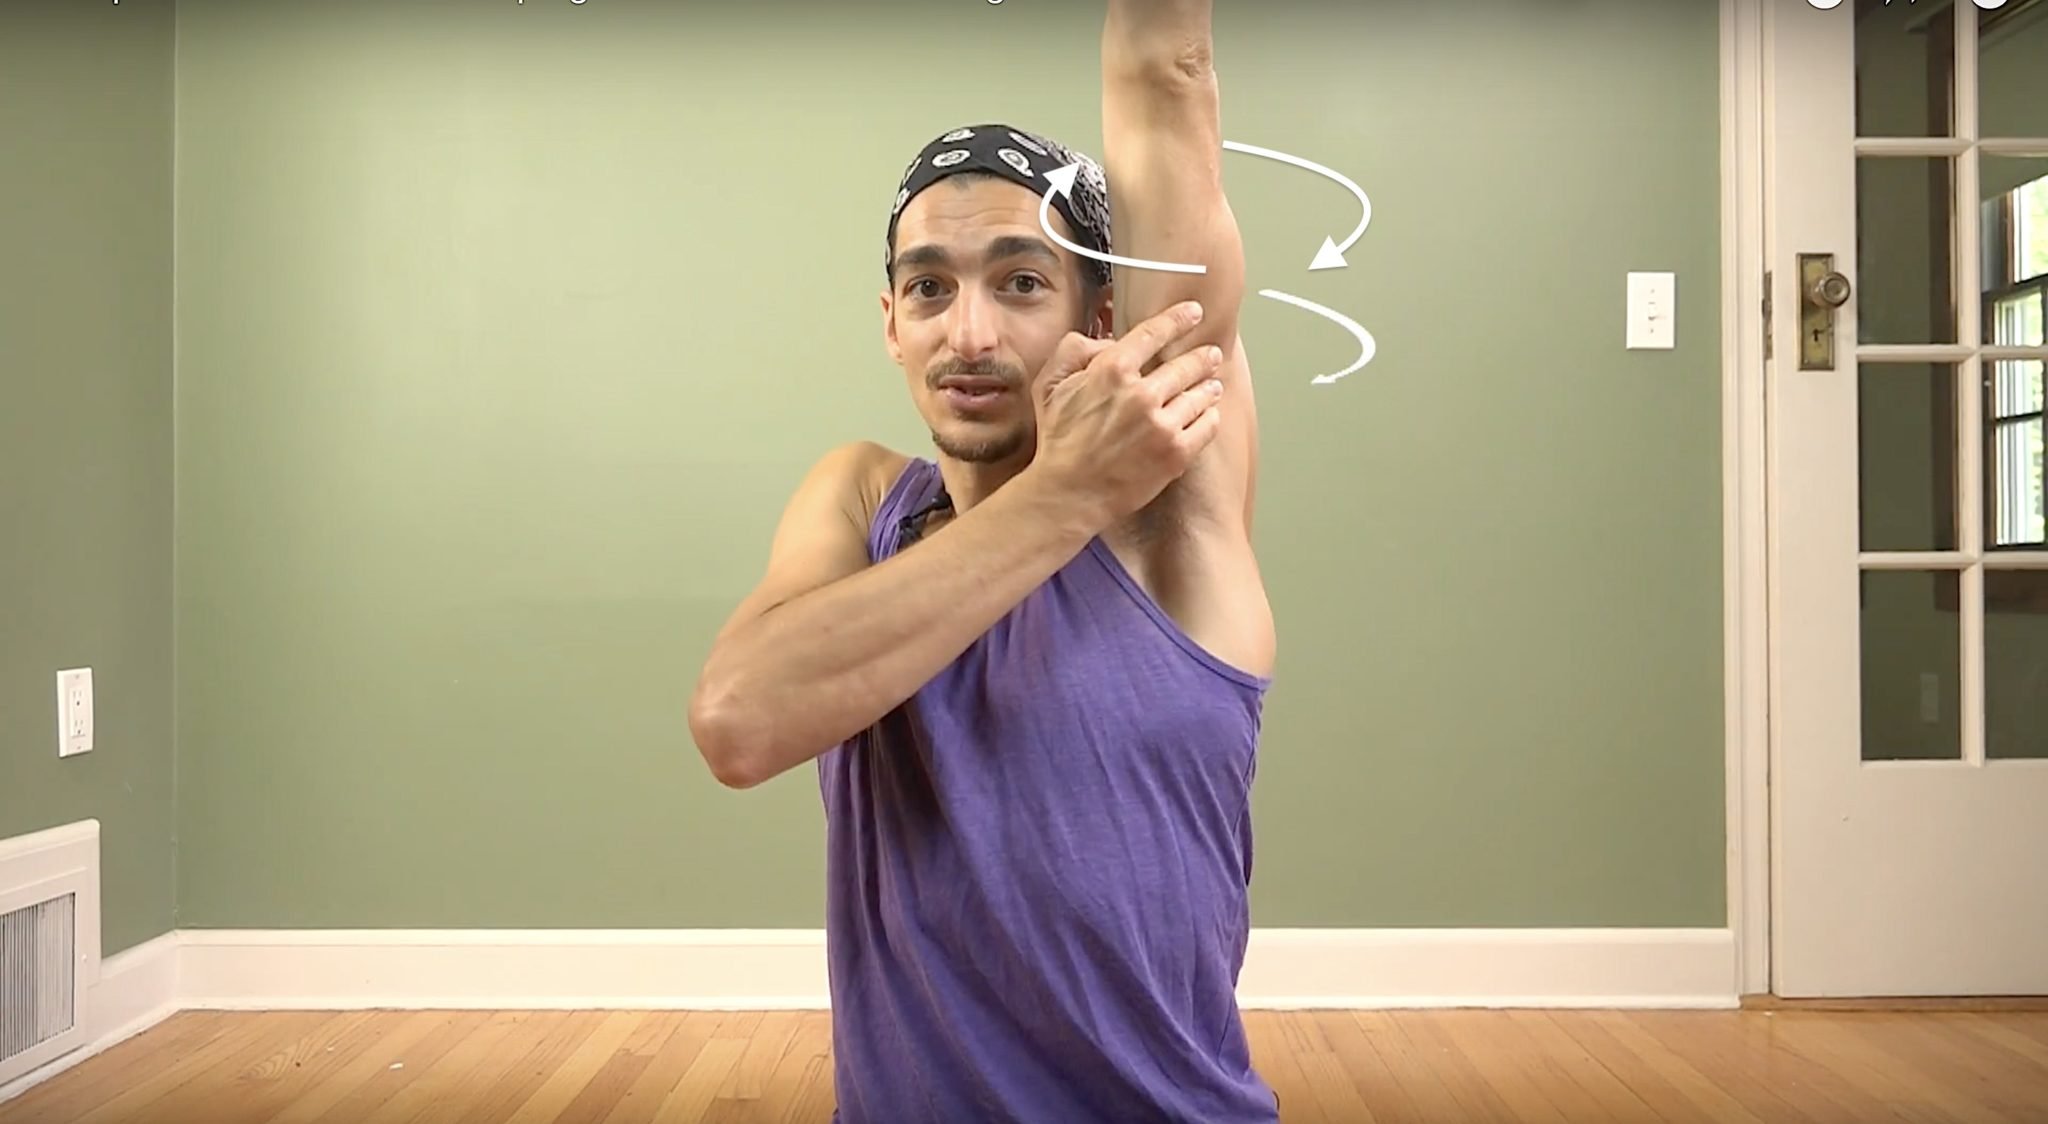
What is happening at the shoulder blades in chaturanga? As for the structure, I would argue that they are retracted (closer together) and most likely in what is called upward tilt (Video Time Mark – 3:30) – shoulder blades climb up and over the top of the rib cage. These joint relationships are quite normal when you do a “seated row” with your elbows close in. If the hands are wider in chaturanga the shoulder blades are less likely to be in upward tilt and more likely to just be retracted. If you don’t follow this, don’t worry. Just know that the shoulder blades tend to move in specific ways when the arms move, and the video above will give you the visual of these actions. Let’s keep it simple – the shoulder blades are retracted when in the bent elbow position. In order to slow down the movement, you would have to try to protract your shoulder blades – move them apart – as if you were trying to push back up to plank pose. In the video above there is a great visual of my shoulder blades moving from retraction to protraction at the 4 minute mark. Just like the elbow joint, we can look at the shoulder blades and say the structural alignment is retraction, but the muscle action is the opposite – we are trying to protract the shoulder blades – this is what slows down or stops the movement at the scapula. In the video I use a term that I created for my Mentorship Mastery students, and have now integrated into my new yoga system called Chromatic Yoga. This term is called a Balancing Action – an engagement of the muscular system that opposes the structural alignment. When we engage the triceps while the elbow is bent, this is a “Balancing Action.” The primary muscles that create protraction are the Seratus Anterior. If the shoulder blades are retracted and we activate these muscles, then again this would be called a Balancing Action.

ARM BALANCES
Learn 12+ arm balances while expanding your knowledge of the body and increasing your body awareness. All classes are 75 minutes and ALL-levels appropriate
- Crow Pose, Side Crow, and variations
- Flying Pigeon, Koundinyasana 1 & 2
- Titibhasana, Bhujapidasana
- Handstand, Forearm Stand, and many more!
SALE PRICE: $198.00 $128.00
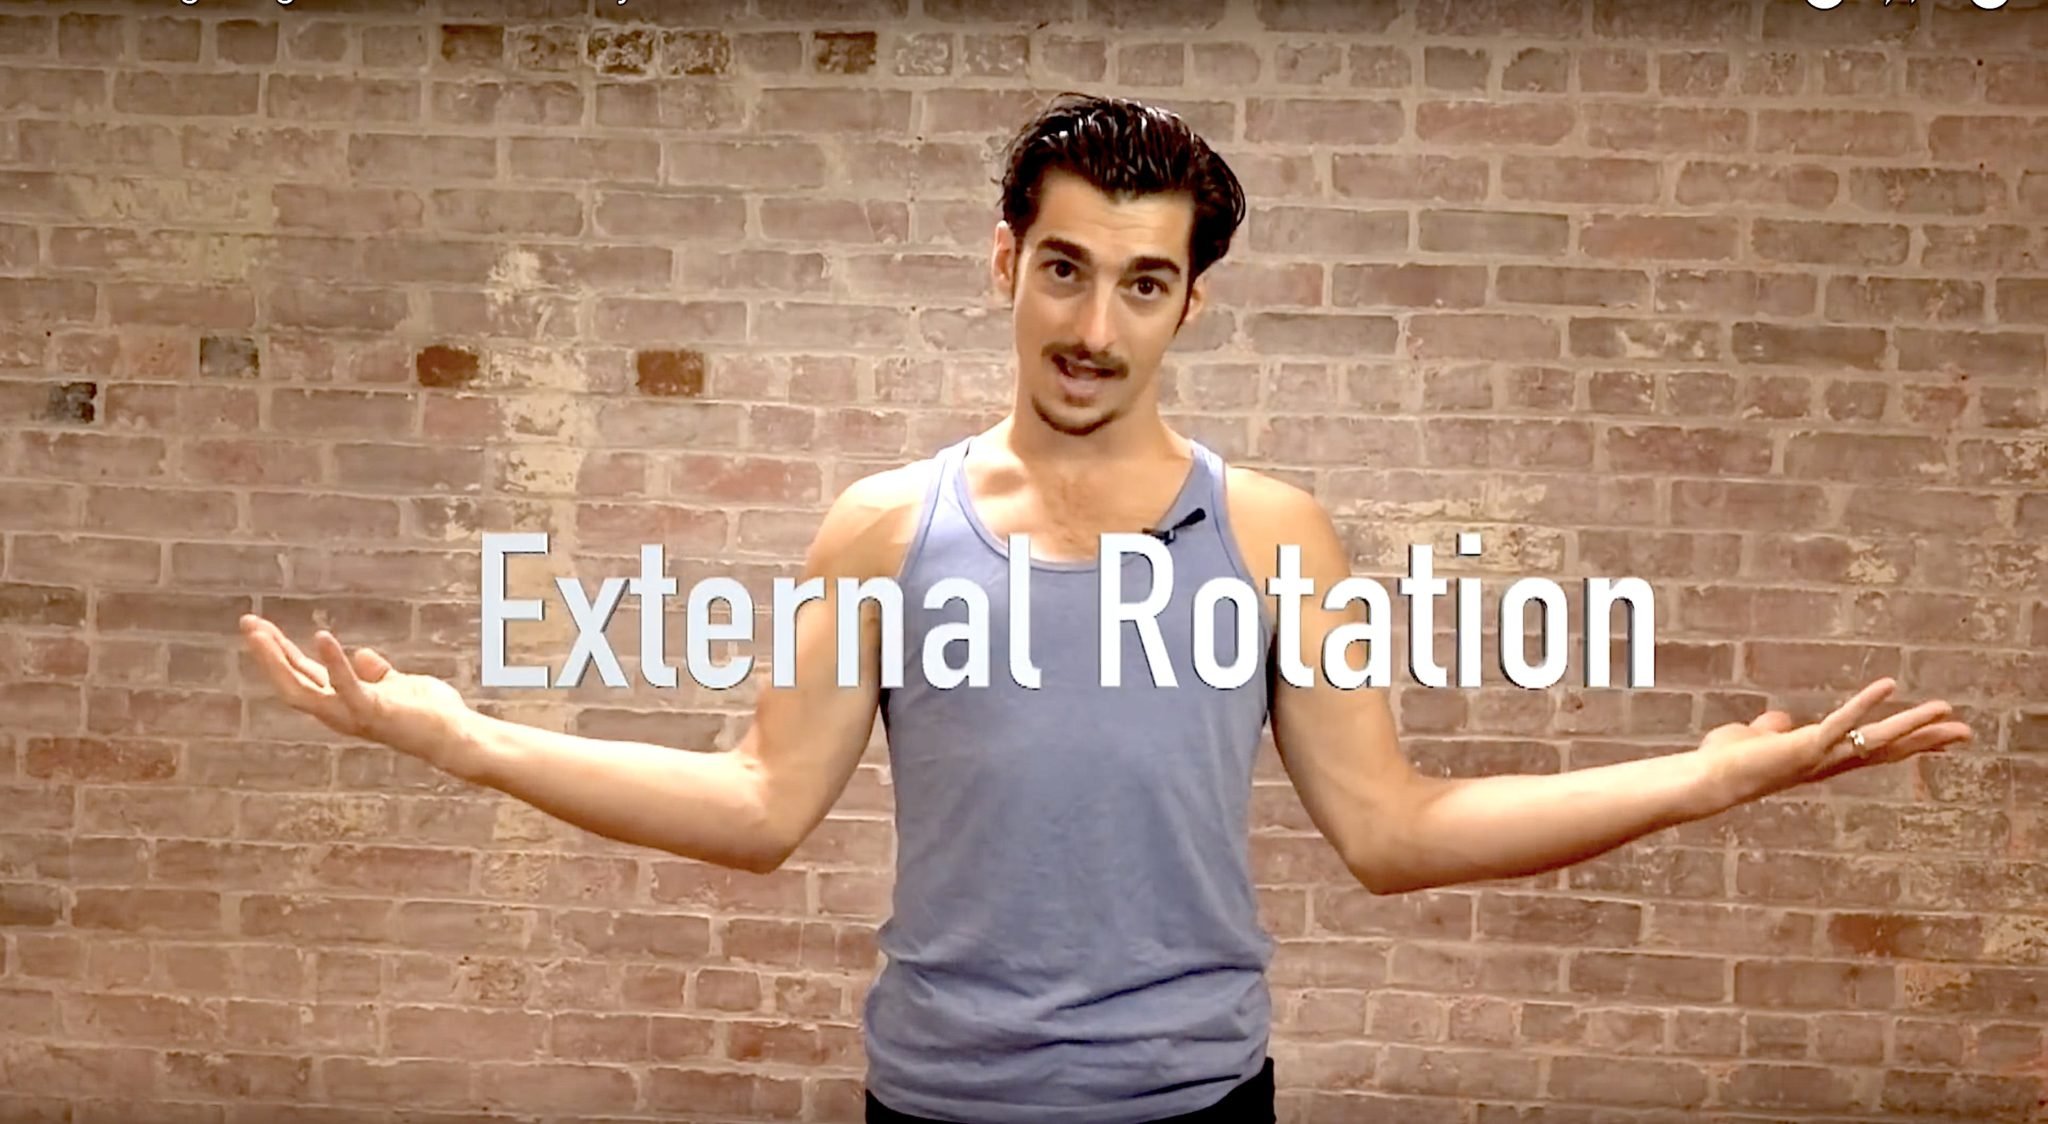
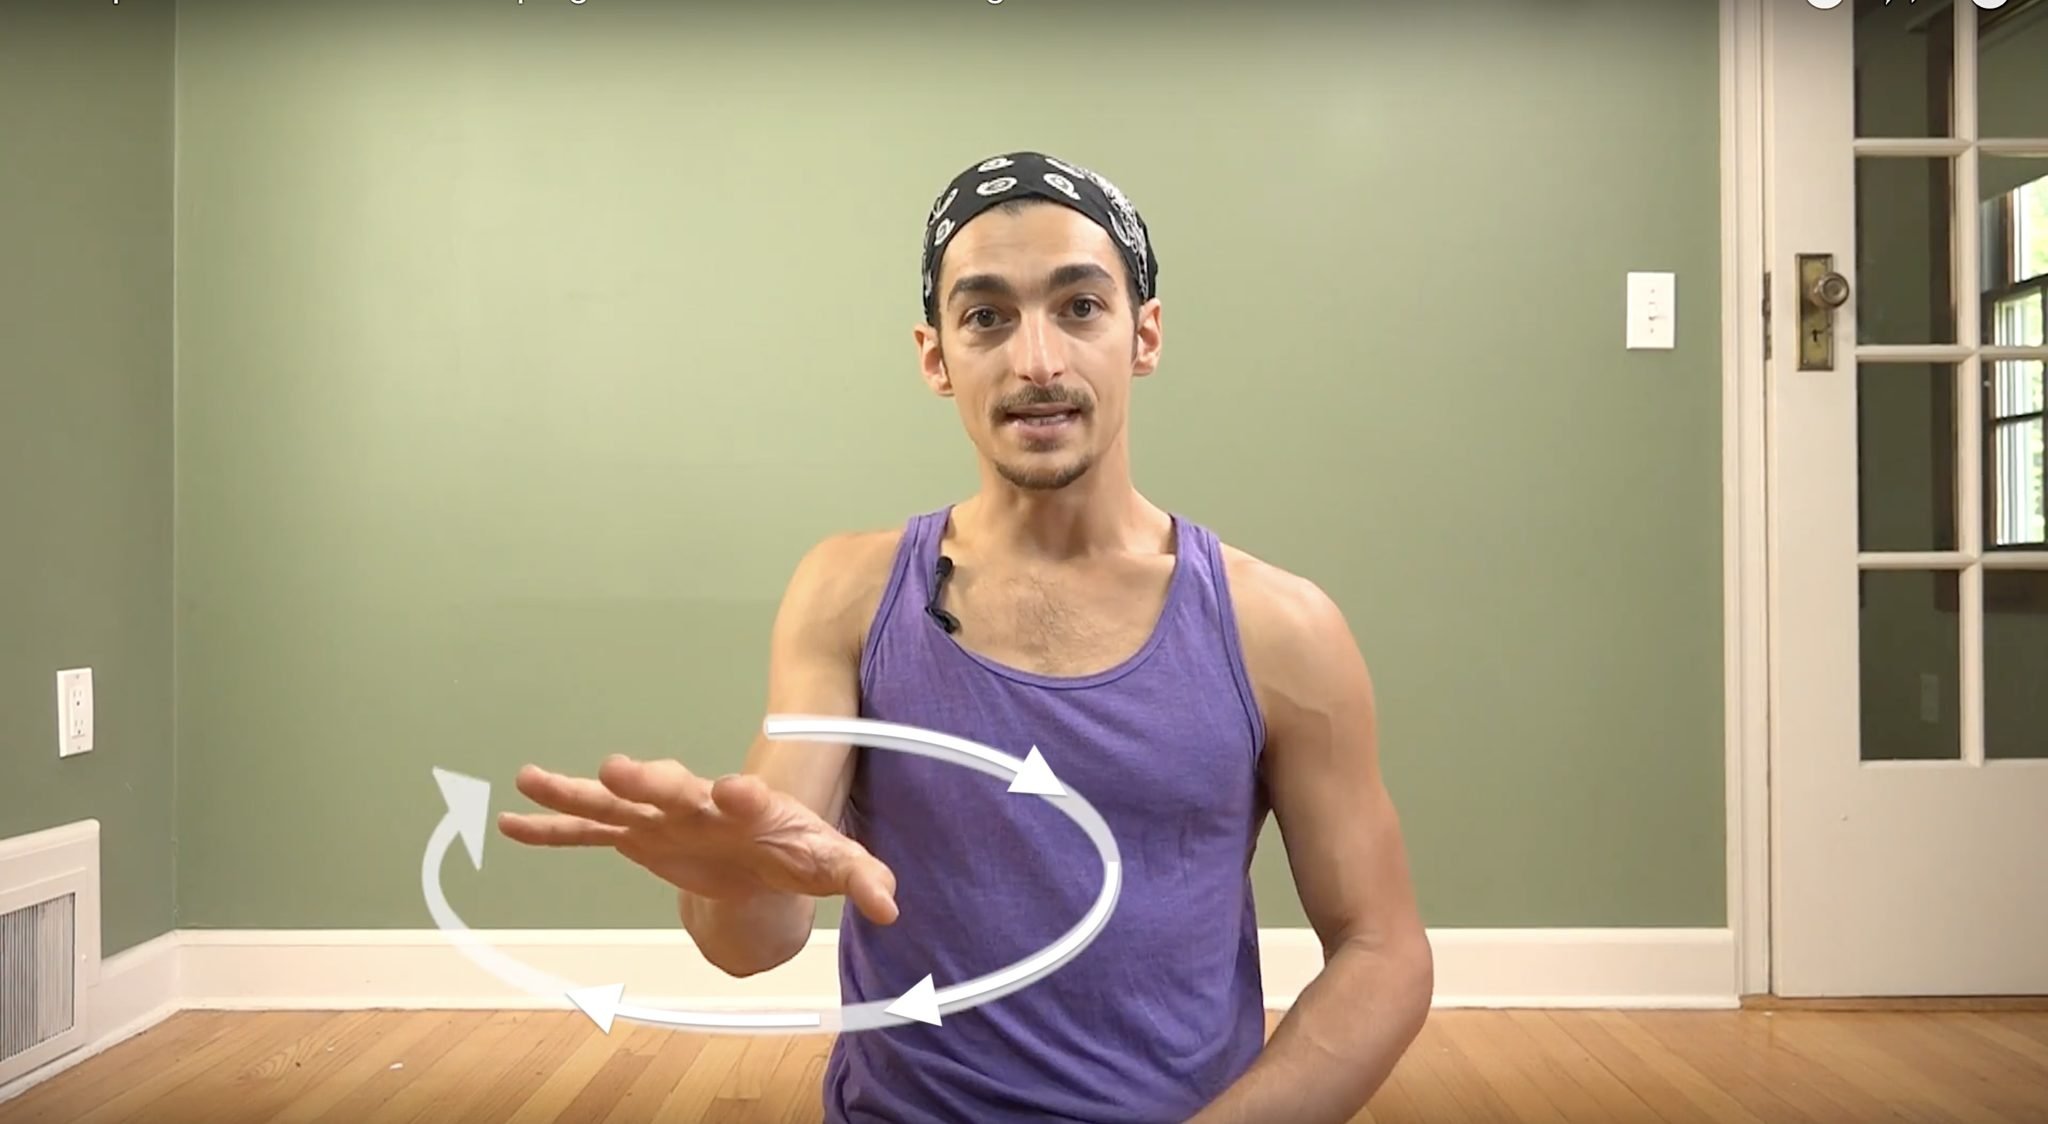
Step 1 - External Rotation of Arms
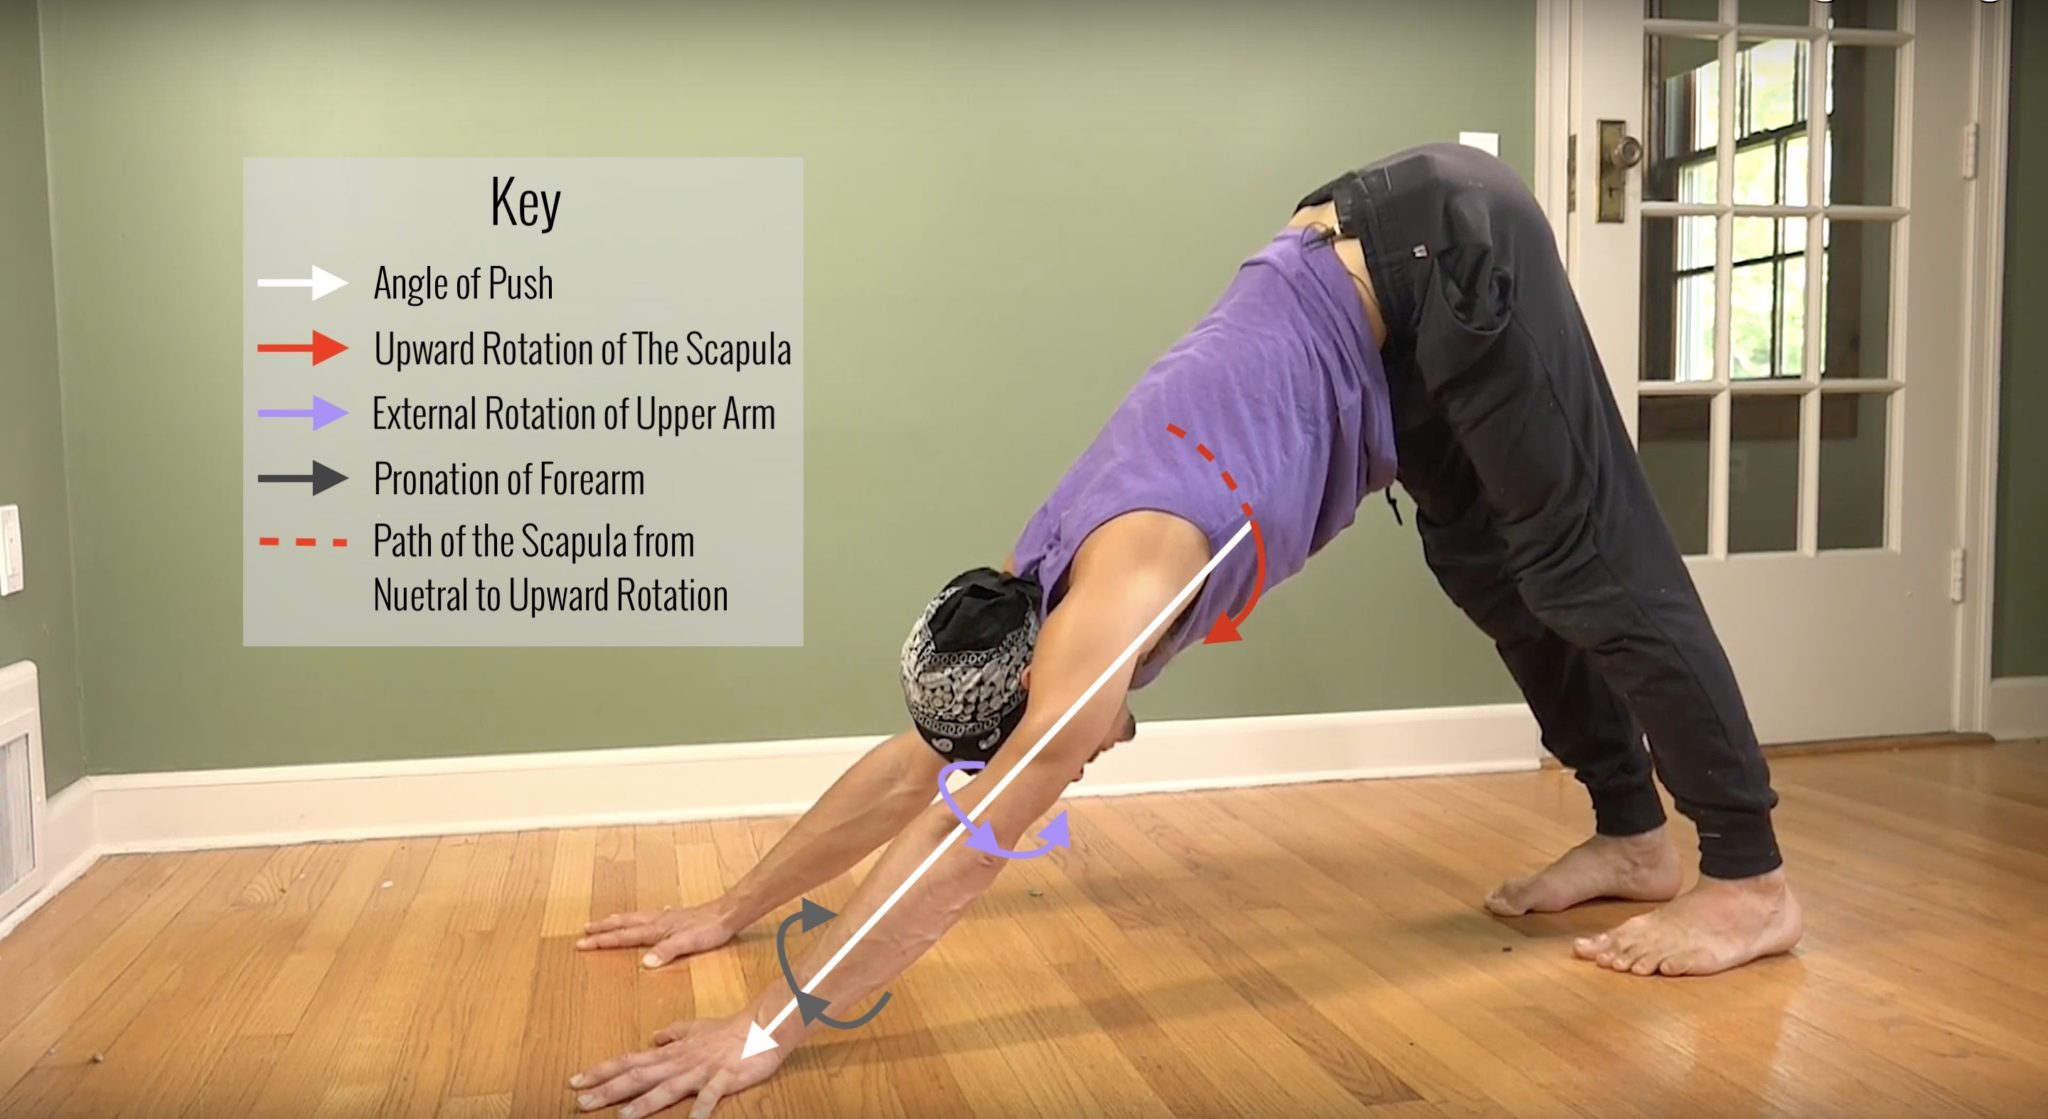
To stabilize the arms in chaturanga, external rotation is highly effective. The arms will tend to internally rotate due to the activation of the pectoral major muscles. If we keep the pectoral major activated and oppose it with the external rotators of our rotator cuff group, then we create oppositional stability. Engaging two opposing muscle groups at the same time is not easy. It takes effort and coordination, however it is absolutely possible. In the above picture you see my biceps are facing out and hands are out as a result of that rotation. When the hands are on the ground they can’t move, so when you externally rotate, the elbows will come inward. My suggestion is elbows vertical over the wrists, not touching your rib cage. Bonus- this often takes pressure off of the outer wrist
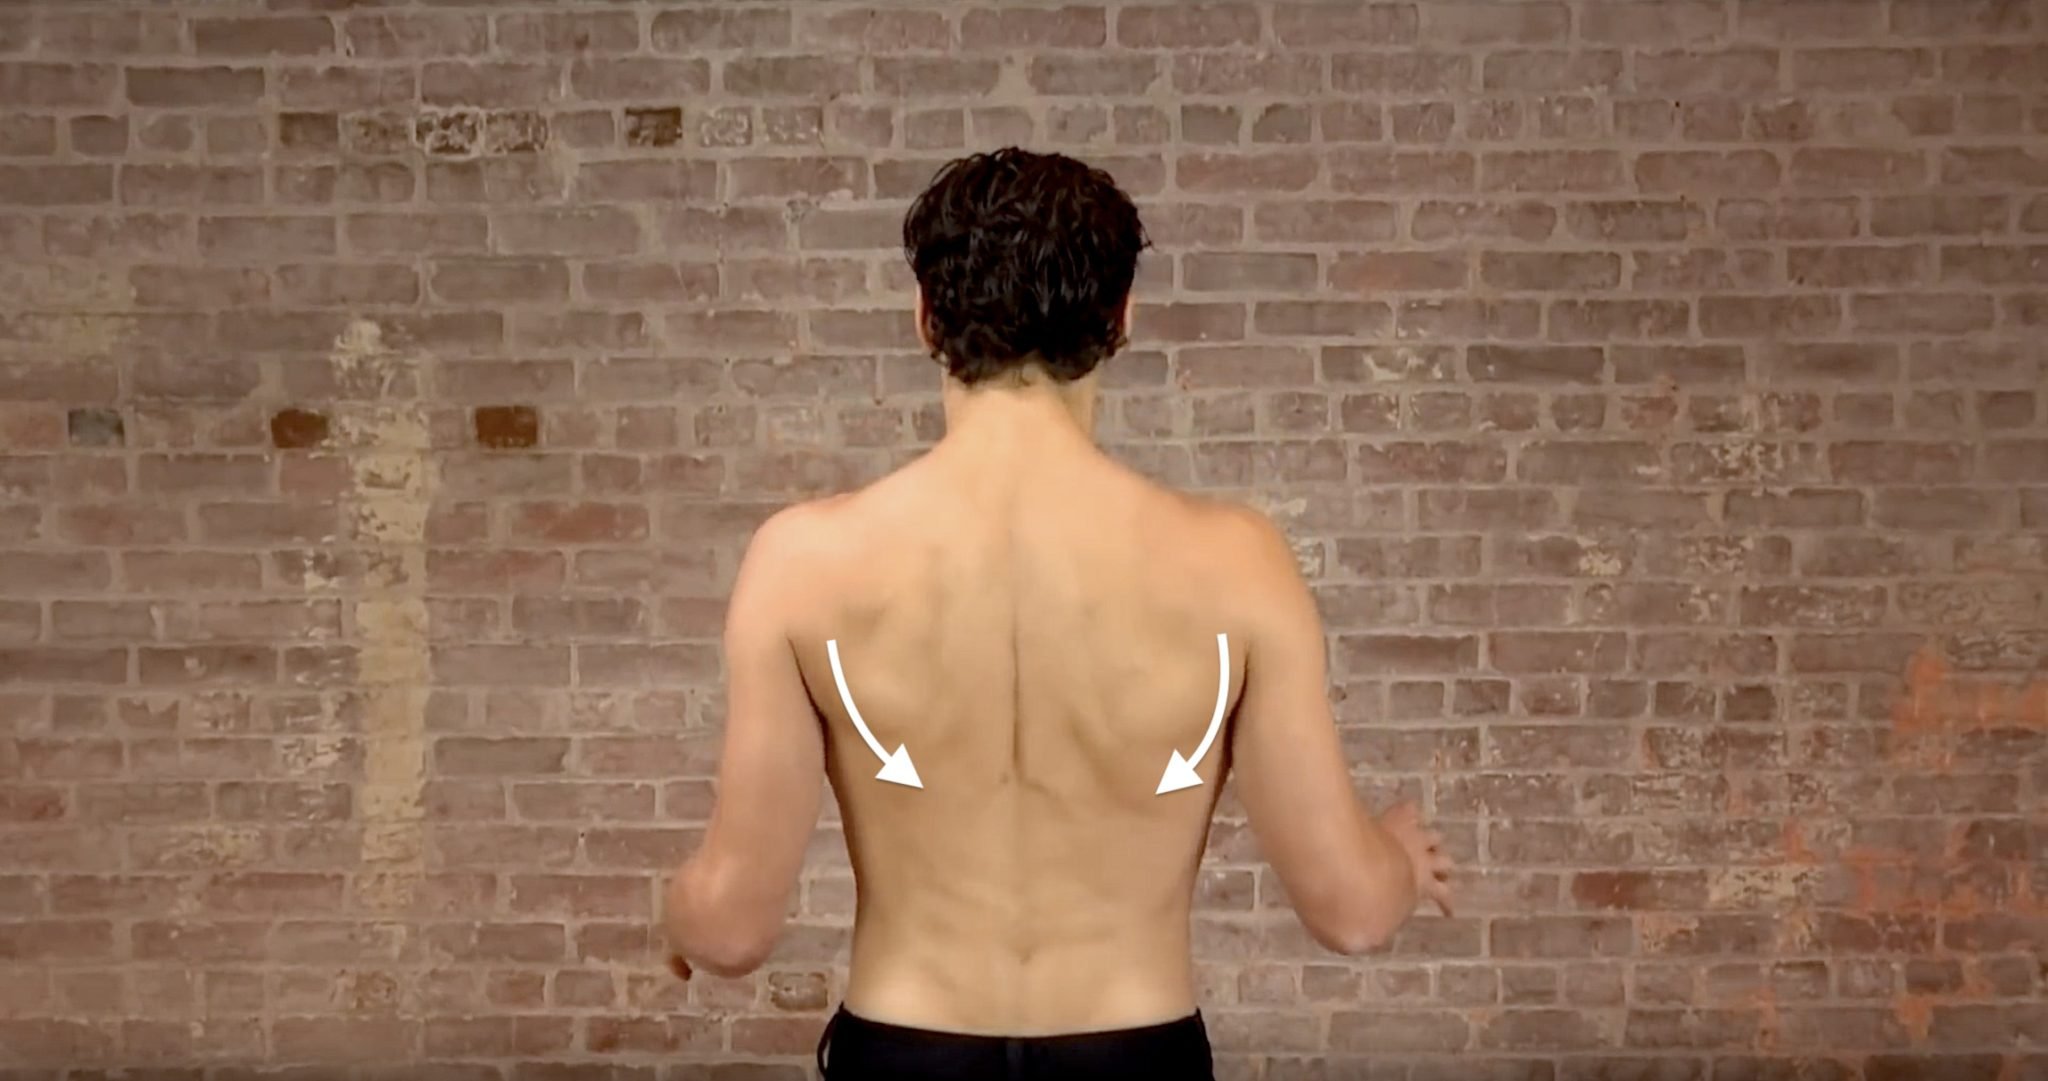
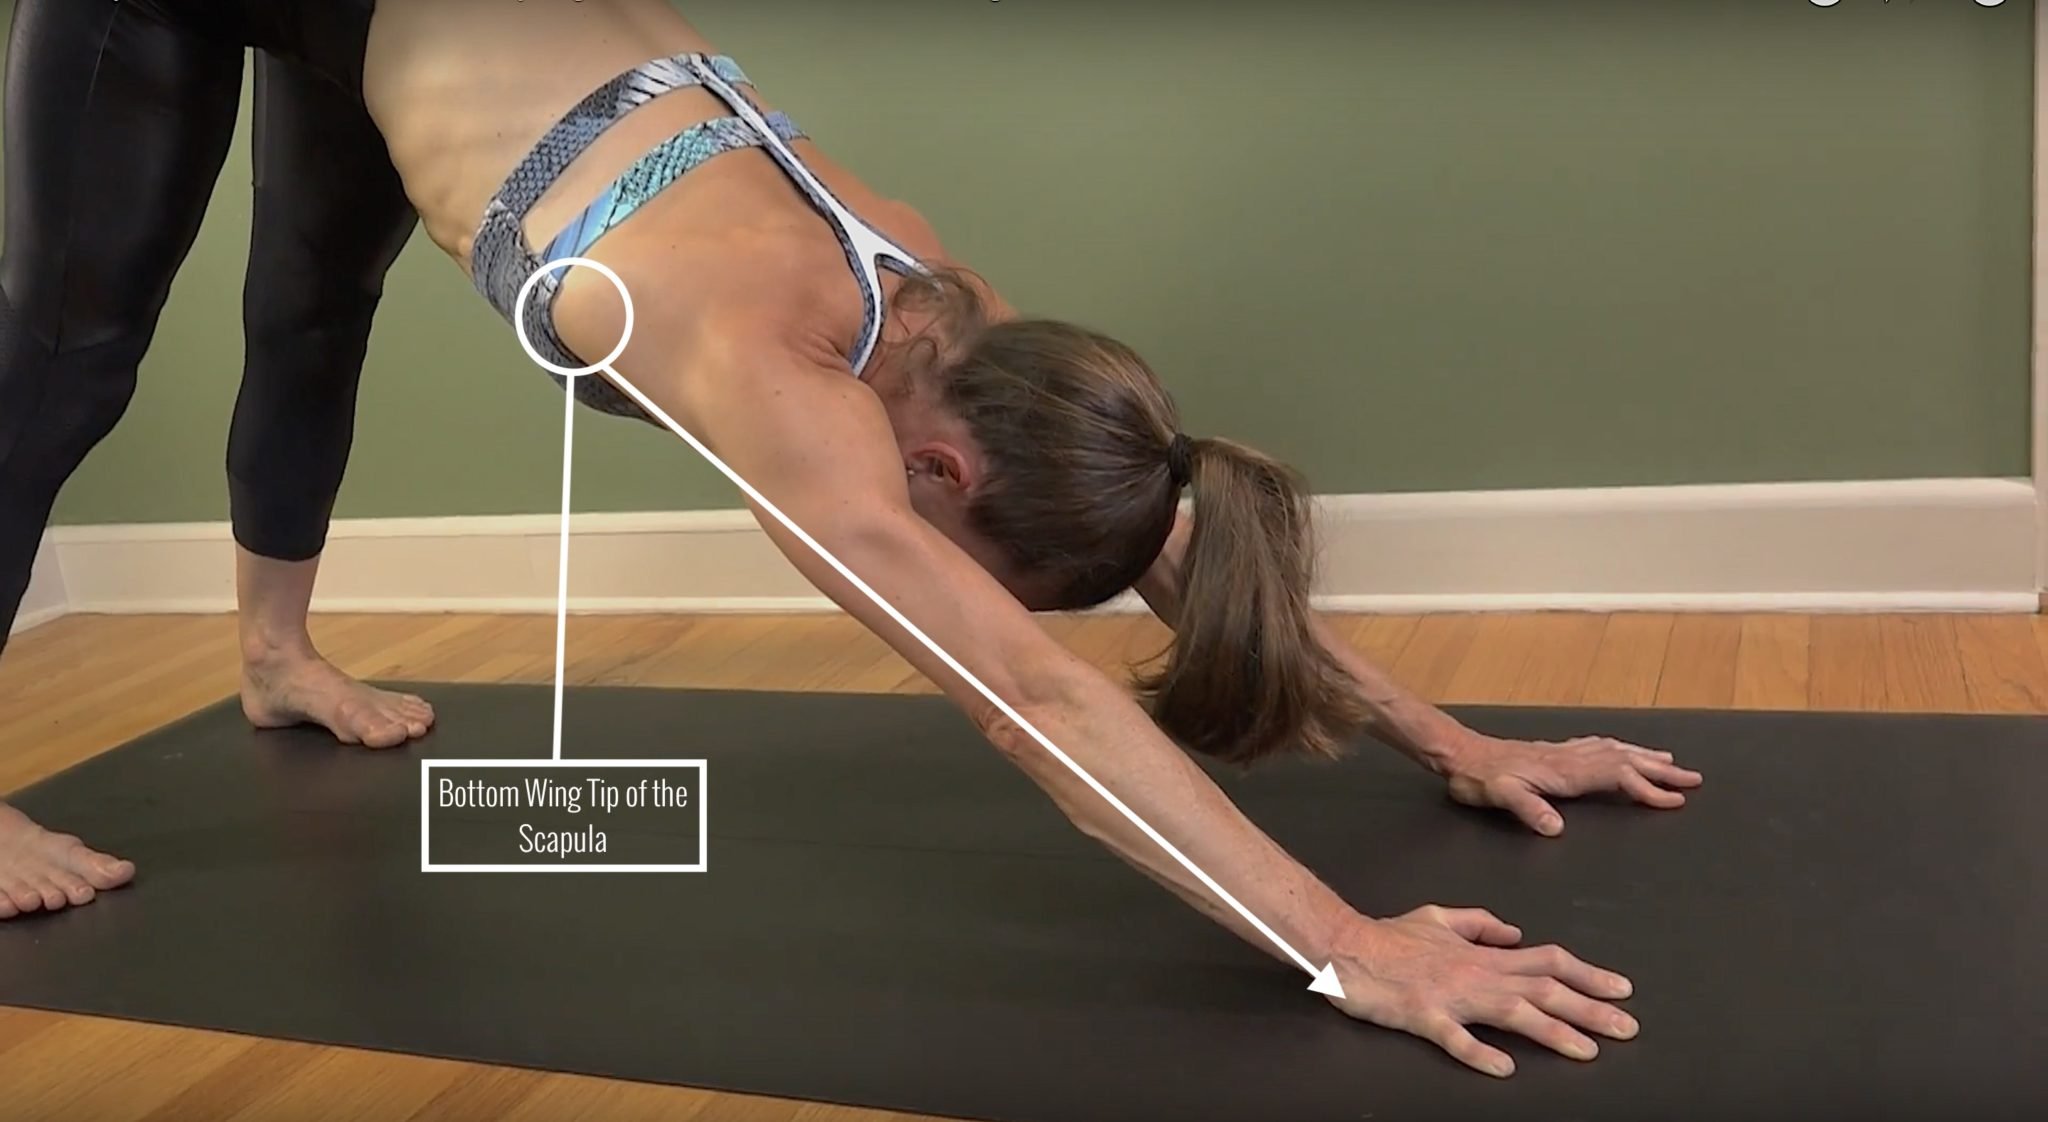
Step 2: Depression of the Scapula
One way to stabilize the shoulder blades is to depress them down the back. In addition to stability, this provides the added benefit of potentially relaxing the pectoral minor muscle which tends to get over used and abused from repetitive chaturangas. Depression of the scapula can be quite challenging if you are not a climber or actively work your lower trapezius and latissimus muscles. Our shoulder blades are often resting downward, but that is due to gravity, not strength. When depressing the shoulder blades be sure to think from the back muscles, because it is easy to press the front of your shoulder down the front of your chest resulting in upward tilt of the scapula as mentioned in the above video. Depression of the scapula can prevent upward tilt if done properly.
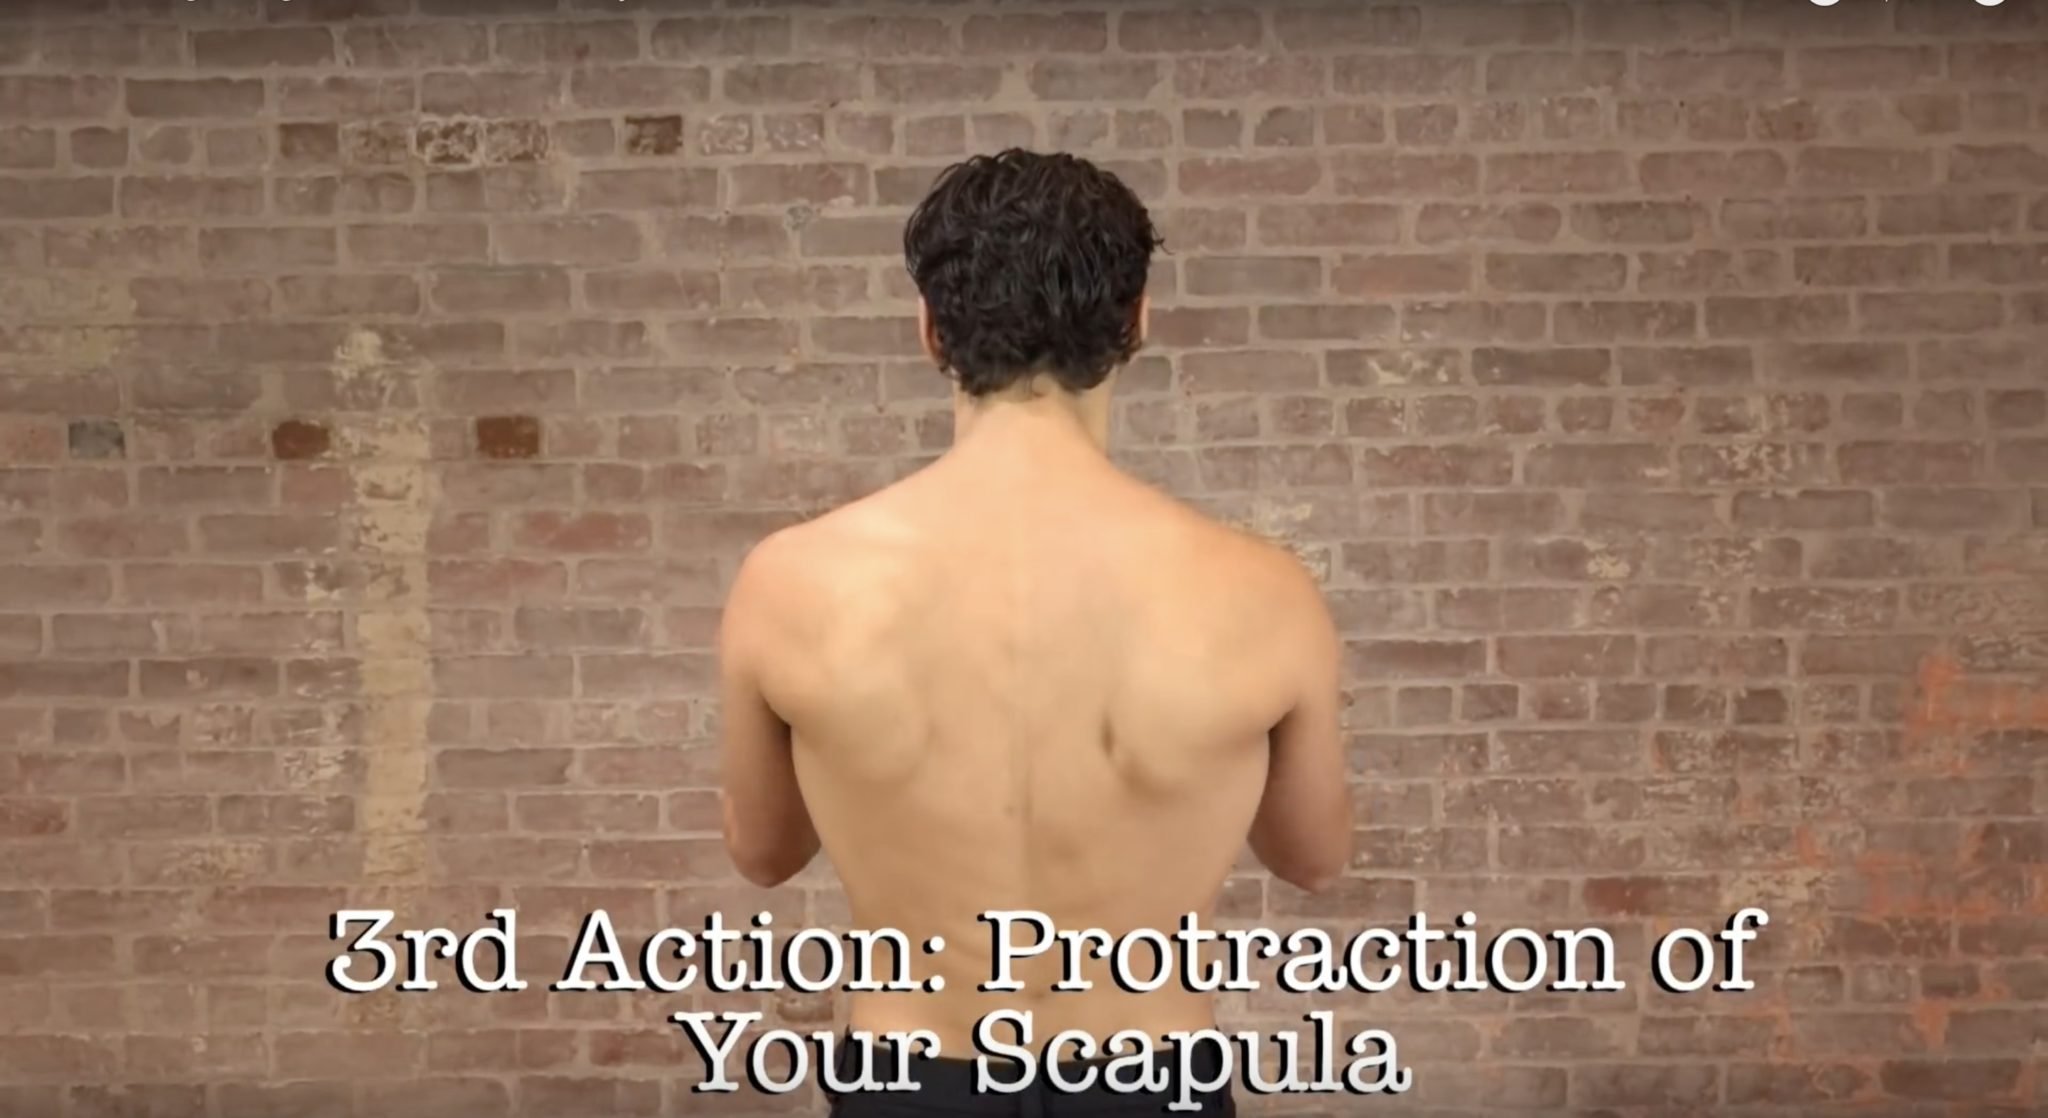
Step 3: Protraction
Separating the shoulder blades away from one another and around the rib cage creates stability and resistance against gravity. While you will likely still be in retraction of your scapula in chaturanga, I am suggesting to actively resist in order to hold the posture or slow down the descent. This takes a tremendous amount of body awareness, so it is highly beneficial to practice this in postures like plank and forearm plank. These two postures have a fixed elbow joint making it easier to feel just the action of protraction. Also see Chaturanga Part 2 in order to learn how develop the body awareness necessary for this action. One tip I will offer is that it helps to think of puffing up the upper back. You may wind up activating the abdominals which can inadvertently support protraction.

ONLINE TEACHER TRAININGS
GET CERTIFIED AT THE 200 OR 500 HOUR LEVELS
- 200 Hour Training: Get certified to teach yoga
- 300 Hour Training: Take your certification to the 500 hour level
- Recognized globally by Yoga Alliance
- Take your practice to the next level
- All levels, ages, and experience welcomed
What is Next?
The best thing you can do for yourself when attaining new knowledge is to find ways to integrate it. Through the integration process you can develop proficiency of the techniques which allows you to access them on demand and in more postures. How do you integrate them? This was a common question that came up after this video was released. I created a free follow up blog to support you in this adventure! Part 2 of this blog gives you 3 exercises to practice in order to become familiar with the actions so you can apply them to your practice of chaturanga. Thanks for stopping by, and please share this blog with others who you feel would benefit!
COMMENTS:
ARM BALANCES
Learn 12+ arm balances while expanding your knowledge of the body and increasing your body awareness. All classes are 75 minutes and ALL-levels appropriate
- Crow Pose, Side Crow, and variations
- Flying Pigeon, Koundinyasana 1 & 2
- Titibhasana, Bhujapidasana
- Handstand, Forearm Stand, and many more!
SALE PRICE: $198.00 $128.00
Continue Learning
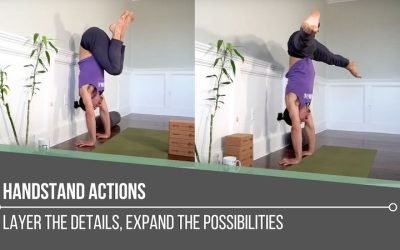
Handstand Actions
read more
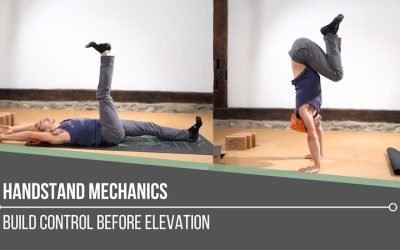
Handstand Mechanics
Handstand MechanicsINVERSIONHANDSTAND MECHANICS Stability, strength, and coordination come together in the pursuit of mastering handstand mechanics. One of the most critical foundations is internal rotation at the hip joints, which can aid with certain entries and...
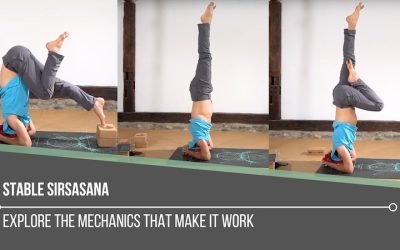
Stable Sirsasana
Stable SirsasanaHEADSTANDSTABLE SIRSASANA Creating a stable Sirsasana is less about the final pose and more about the mechanics that lead us there. From weight transfer and spinal alignment to hamstring flexibility and shoulder engagement, each layer matters. Unlike...
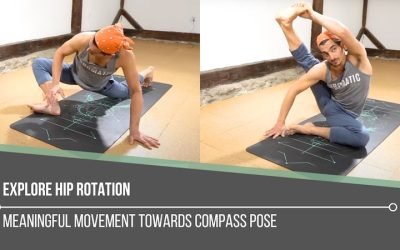
Explore Hip Rotation
Explore Hip RotationSURYA YANTRASANAEXPLORE HIP ROTATION Hip rotation isn’t just an anatomical concept—it’s an open invitation to become more intimate with our body’s story. In yoga, we often live in lateral (external) rotation, especially in hip-opening postures....
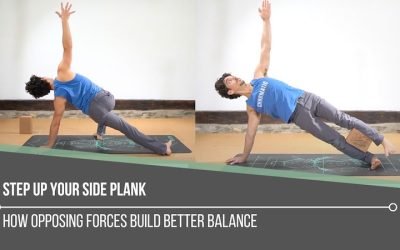
Step Up Your Side Plank
Step Up Your Side PlankVASISTHASANASTEP UP YOUR SIDE PLANK Side Plank might look simple, but true proficiency starts in the details. One of the keys to refining the posture is learning how opposing muscle groups create an isometric contraction—a subtle engagement that...
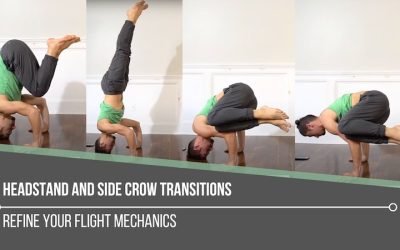
Headstand and Side Crow Transitions
Headstand and Side Crow TransitionsPARSVA BAKASANAHEADSTAND AND SIDE CROW TRANSITIONS Mastery begins with mechanics, especially when it comes to headstand and side crow transitions. Each posture on its own demands control, coordination, and a deep understanding of...
NEW RELEASES
-
Sale!
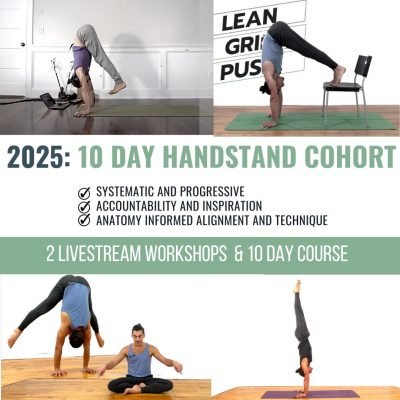
10 Day Handstand 2025 Cohort
Original price was: $498.00.$297.00Current price is: $297.00. Add to cart -
Sale!

Handstand 3 Day Training Payment Plan
Original price was: $232.00.$165.00Current price is: $165.00. / month for 3 months Sign Up Now -
Sale!
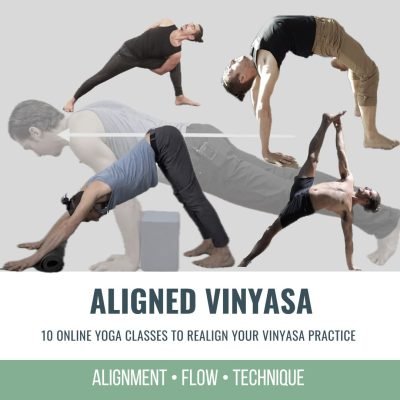
aligned vinyasa
Original price was: $168.00.$98.00Current price is: $98.00. Add to cart -
Sale!
Handstand 3 Day Training
Original price was: $995.00.$695.00Current price is: $695.00. Add to cart -
Sale!
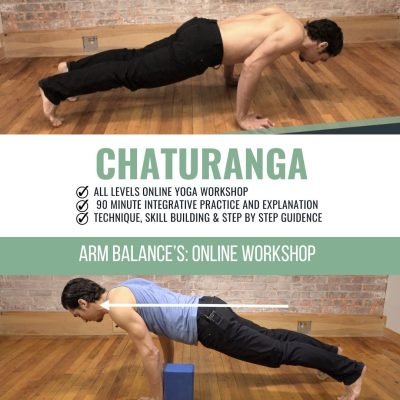
Free Chaturanga Workshop
$0.00 – $5.00 Select options This product has multiple variants. The options may be chosen on the product page -
Sale!
SPANDA
Original price was: $168.00.$98.00Current price is: $98.00. Add to cart -
Sale!
Therapeutics
Original price was: $198.00.$98.00Current price is: $98.00. Add to cart -
Sale!
Handstand and Arm Balances
Original price was: $168.00.$98.00Current price is: $98.00. Add to cart
THE FREE TECHNIQUE PACK
When You Subscribe, You Will Get Instant Access to
- the Technique Pack: 15 yoga pose breakdowns
- exclusive online course discounts
- exclusive blogs and videos