Reduce Hip InjuriesmobilityREDUCE HIP INJURIES The hip joint carries a great deal of responsibility. It supports many of our key movements in our daily lives. With all of its responsibility and involvement with how we move, it can act as a protector, while still...
Nurture The Neck
Nurture The Neck
alignment
NURTURE THE NECK
The neck is not often the shining star of our yoga practice, yet it is an integral part. Too often, we may only offer more attention if we’re feeling pain in a particular posture. It’s important however, for us to be proactive in how we work with the neck (cervical spine) in our yoga practice, both for our healing and prevention of any possible pain and/or limitation with rotation or overall mobility.
Throughout each day, a great number of us find ourselves in a postural position that’s not quite favourable to encourage the maintenance of healthy alignment, movement, and rotation in the neck.
Matt offers a pathway of understanding first through anatomy, and then how we can best apply specific techniques and actions that will strengthen, minimize injury or pain and encourage mobility.

THERAPEUTIC'S
REGISTRATION NOW OPEN
- 10 Chromatic Yoga practices with founder Matt Giordano
- Full length 75 minute classes
- Each Yoga class explore’s how to maintain optimal health in areas of the body that are prone to injury and chronic pain.
- Highly informative and educational classes for both practitioners and teachers.
- Each class includes warm ups, sun salutations, standing postures and cool down
- How to use props to modify or enhance benefits of each asana.
- Technique, biomechanics, and alignment at the forefront
- 12 Continuing Education hours with Yoga Alliance
- 12 Accredited Hours with the Chromatic School of Yoga
- Step-by-Step instruction for increased accessibility
- Improve strength, balance, flexibility, and proprioception
- Disclaimer #1: This is not designed as “Yoga Therapy” and will not diagnose or treat any specific ailments or injuries.
- Disclaimer #2: The purpose of this immersion is for education, exploration and understanding your options: there are no hard and fast solutions to injury’s that can be solved solely by practicing yoga
- Disclaimer #3: If you have an acute injury, be sure you have a doctors approval prior to practicing this immersion
ANATOMY
In order to offset the frontal position we often find ourselves in from daily habits, Matt stresses that we must attend to the back neck muscles. The Splenius Capitis muscles are diagonally oriented from the middle of the back, up to the neck. They create lateral flexion, spinal extension, and for rotation. The Sternocleidomastoid (SCM) muscles work in conjunction with the Splenius Capitis muscles. The SCM is situated in the front of the neck that attaches to the collarbone. It also connects at the sternum in the front and the mastoid process (at the back side of the skull). In rotation, the right SCM will shorten and turn our head to the left and the left Splenius Capitis participates by also turning our head to the left. Understanding this means that we must be intentional about our positioning, alignment, and actions within that alignment. There are other muscles that participate, however being able to palpate these larger tissues is helpful in being closer to knowing if we feel a change in sensation within the area of the neck.
WATCH THE VIDEO
NURTURE THE NECK: TECHNIQUES TO ACTIVATE & ROTATE
ALIGNMENT CHECK
Just because we may have more “optimal positions” for the neck, it doesn’t mean that we should or will be in those positions all of the time. This is why we must be intentional. We should be consistently mindful to nurture the neck by exploring a position where the skull sits more “on top” of the spine more often in daily lives and on the yoga mat. Implementing this habit along with techniques will remind us to be in these more “optimal positions” more often. By just pulling the head back alone, it will take some of the stress off of the SCM and start to wake up the Splenius Capitis muscles in the back of the neck.

200 HOUR ONLINE TEACHER TRAINING
GET CERTIFIED & DEEPEN YOUR YOGA PRACTICE
- Deepen your yoga practice
- Build confidence speaking in front of groups in person and online
- Learn foundational class structures and templates
- Learn techniques for a wide range of yoga postures
- Get certified and highly qualified to teach yoga
- Yoga Alliance Globally Recognized Certification Program
TAKE THESE ACTIONS
Now, there’s more than just pulling the head back alone. That’s just one of the 2 key actions. For rotation of course, we are turning our heads. Knowing the anatomy will of course help us to know if we are “doing it properly”, which means when in this position, it feels strong and supportive. The muscles will be activated, therefore working to strengthen. Keep in mind, the SCM may always feel as though it is working, but just because it feels taut, doesn’t mean that it is strong. The SCM may be activated, but taking the actions to create a more equilateral distribution of work and activation will support our quest to actually strengthen the neck to reduce the chances of pain or injury.

300 HOUR ONLINE TEACHER TRAINING
GET 500 HOUR CERTIFIED AS A MASTER TEACHER
Master your skill set as a teacher through refined techniques, anatomy, biomechanics, sequencing, philosophy, meditation techniques, theming, yoga business, and much more!
- Get 500 hour certified
- Learn anatomy, biomechanics, asana techniques
- Expand your teaching skills
- Masterful sequencing and verbal delivery
- Learn meditation and breathwork techniques
- Transformative tools: theming, dharma talks, satsang
POSTURE OPPORTUNITIES
Warrior II
Warrior II is a great place to start. He demonstrates how to use a supportive hand behind the skull like a “self adjustment” in order to get automatic feedback about how we are aligning. We learn to consistently lift and lengthen through the back of the neck.
Against The Wall
This drill takes those 2 actions (lift and lengthen) to the wall. This time, our whole back body is pressed against the wall, providing even more feedback and information about where we are in space when we come away from this support.
Half Moon
There’s more at stake in Half Moon pose, because we are now adding the element of balance. It tests our ability to maintain the alignment and actions in a new plane
Incorporating techniques like this will undoubtedly over time, work to adjust our daily habits. This can ultimately help to mitigate pain and hopefully keep more serious injury at bay.
Matt’s upcoming 10 class online immersion Therapeutics will do a deeper dive into techniques that will enhance our ability to move with more ease.
The 200 Hr. Teacher Training: Click Here to See the Next Start Date
The 300 Hr. Advanced Teacher Training: Click Here to See the Next Start Date
Article by Trish Curling
Video Extracted From: Twists & Folds Immersion

ONLINE ANATOMY COURSE
- Accessible, exciting, and easy to learn
- Anatomy and biomechanics for yoga
- Appropriate for both teachers and students
- Learn joint alignment vs pose alignment
- Demystify yoga poses and transitions
- Release aches and pains
- Learn how to avoid common injuries
- Caters to all levels with modifications and props
- 20 hours Continued Education Credits with Yoga Alliance
- 20 hours toward Chromatic Yoga Certification and 300 Hour
- Lifetime access
Continue Learning
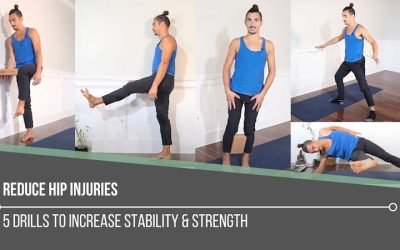
Reduce Hip Injuries
read more
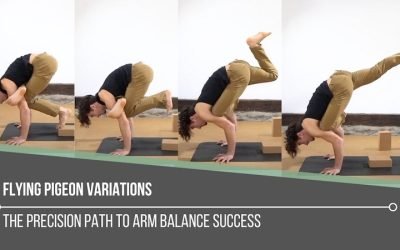
Flying Pigeon Variations
Flying Pigeon Variationseka pada galavasanaFLYING PIGEON VARIATIONS When we think of different variations of postures, it’s easy to think that we should practice either “this on, or that one”. What we may not entertain is the magnitude of focus we must place on the...
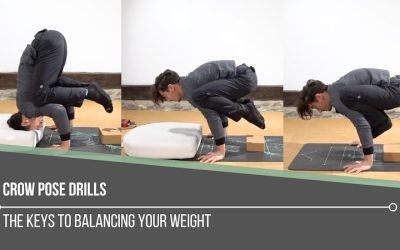
Crow Pose Drills
Crow Pose DrillsbakasanaCROW POSE DRILLS If we’re attempting to balance in a posture like Crow pose, then the understanding of the way in which we balance our weight is crucial. When we achieve this, not only will we find more confidence and comfort in executing the...
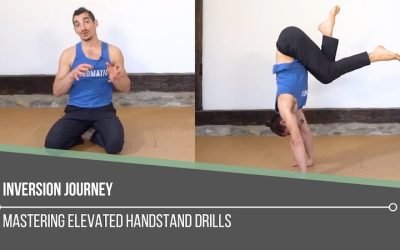
Inversion Journey
Inversion Journeyadho mukha vrksasanaINVERSION JOURNEY In the previous blog, Inversion Success: Alignment, Drills & Preparation, I talked about how Matt provides the education and keys to building a solid foundation to execute handstands. What we must understand...
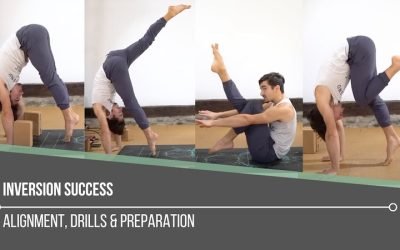
Inversion Success
Inversion SuccesshandstandINVERSION SUCCESS We all have different definitions of success. Success in our yoga practice could look anything like effortlessly engaging in inversions, being able to participate in breathwork techniques, and/or simply showing up for a...
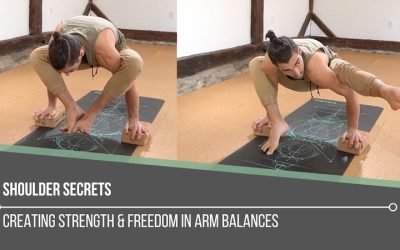
Shoulder Secrets
Shoulder SecretsbhujapidasanaSHOULDER SECRETS When approaching arm balances, it’s not unusual to go straight to a focus on the wrists. Having to bear our weight into the wrists while balancing our body weight can be an intimidating thought (especially if we don’t...
THE FREE TECHNIQUE PACK
When You Subscribe, You Will Get Instant Access to
- the Technique Pack: 15 yoga pose breakdowns
- exclusive online course discounts
- exclusive blogs and videos
