KICK UP INTO
HANDSTAND
Master 3 Key Actions
alignment
HANDSTAND—3 KEY ACTIONS
“Squeeze in, turn in, tuck the tail.” These are the 3 key actions for handstands that Matt explains are a must. These may sound like simple cues, and they may even be easy to execute if you’ve already mastered kicking up into a handstand; however, if the pose is brand new and/or you’ve been working at it but still can’t “crack the code,” doing these 3 key actions in addition to all the other steps to prepare yourself may be what you’re missing. Layering on the specific techniques and muscle activations that Matt lays out for you is an essential part of your journey to kicking up into Handstand.
It’s impossible to skip the steps required when the intent is to kick up into a handstand position. This actually pertains to any posture, but if you’ve practiced with Matt before, you’ll know how much he stresses that it’s the foundations and the repetition of those foundations that really prepare the body for the desired outcomes. When you repeat these actions over and over again, you build the patterns into your body so that when it comes time for more robust movements and shapes, your body will respond.

HANDSTAND & MEDITATION
ONLINE YOGA IMMERSION
BREAK THROUGH MENTAL & PHYSICAL BLOCKS
- Learn the most effective drills to safely build your Handstand
- Practice essential meditation techniques to break through mental barriers and build confidence
- Improve focus and breath support right side up and upside down
- Build strength and the necessary skills for balancing Handstand
- 12 classes: All levels appropriate
- Lifetime unlimited access to all
- Attend livestream OR practice the replays any time that’s convenient for you
SALE PRICE: $168.00
HANDSTAND PREPARATION 1 & 2
Here are the steps for Handstand Preparation 1:
- Place your hands on the ground
- Set up your blocks behind your forearms
- Straighten your elbows
- Elevate the scapulae (push the floor away and bring your shoulders up to your ears)
- Lift your heels as high as you can
Handstand Preparation 2 is a continuation of the process and includes lifting one leg up.
Here are the steps:
- Inner leg lifts up to the sky as high as you can
- Look up to the lifted leg; when you do this, it’s common for your weight to shift back. Your weight needs to go forward
- Lean forward into your fingers (or more specifically, into the metacarpals)
- Lift the bottom heel as high as you can
- Push through the arms (lifting the shoulders up)
What muscle engagements are happening? The gripping of the ground leads to activations in the muscles in the forearms. The elevation of the scapulae leads not only to the activation of the muscles of the shoulders (deltoids) but also to the contraction and use of the trapezius muscles.
This action of elevating the scapulae also helps you avoid shoulder impingement.
As you lift the shoulders up, you are getting longer through the sides of your body, which creates length and stretch through the latissimus dorsi; however, it’s the upper fibers of the trapezius that you want to strengthen in order for you to rely on the strength there rather than on the stretch in the latissimus dorsi. Additionally, contracting the abdominals will assist in bringing the ribcage back and into better alignment, reducing excessive spinal extension. The action here is to contract the abdominals while expanding. You can do this by pulling your front ribs down as you continue to push strongly through your hands.
WATCH THE VIDEO: KICK UP INTO HANDSTAND

NEXT TRAINING BEGINS FEBRUARY 2024 ENROLLMENT NOW OPEN!

NEXT TRAINING BEGINS FEBRUARY 2024 ENROLLMENT NOW OPEN!
HANDSTAND PREPARATION 2 WITH A CHAIR
Before we dive in, be sure to use a chair that is stable and steady on the ground. Matt can use a rolling chair due to his many years of experience in the posture. This is important, because once you set your hands on the ground, you place 1 foot on the chair prior to the required muscle engagements. The chair should be secure for you.
Once you have 1 leg on the chair, Matt walks you through the same steps as in Handstand Preparation 1 & 2. However, there are some slight differences when you use the chair. Matt cues you to feel as though you are pulling the chair towards you, while the top leg stays away from the wall.

ANATOMY OF ARM BALANCES
MAY 2022 Immersion
- Anatomy of 12+ arm balances
- Foundational and advanced arm balance techniques
- Visualize your movements internally
- Improve balance and proprioception
- Sensation-based practices
- Learn empowering modifications
- Access appropriate variations for your level of practice
- Active, passive, and isomentric Stretching
- Improve wrist, core, and shoulder strength
- ALL LEVELS APPROPRIATE
$168.00
KICKING UP INTO L-POSE HANDSTAND
When your foot returns to the ground, it’s easy to feel very heavy towards your foot, so leaning forward into the hands is imperative.
Now, Matt stresses that the ability to balance in “L-Pose Handstand” is a must. This means keeping 1 leg low. If you can balance there, this can translate into sending both legs up to the sky. Remember those 3 Key Actions for Handstand from the beginning?
- Squeeze in
- Turn in
- Tuck the tail
What do these actions mean, and why are they important?
Once you’re in a handstand position, you have to stop the movement of your hips; otherwise, you will be thrown off balance. In this stage of maintaining your balance, squeeze in means squeezing your legs together (activating the adductor and abductor muscles). Turn in means to internally rotate the thighs (activating TFL, pectineus, and hip flexors). Finally, tuck the tail (posterior tilt of the pelvis) helps to activate the hamstrings, the glute muscles, and hip extensors). Doing all of these things will help to stabilize the legs in Handstand.
With all of this, there is still so much more to this posture. Matt’s next immersion, Handstand and Meditation, begins September 7th. Gain deeper insights into what is required of both mind and body by registering for the immersion.
See you on the mat!
The 200 Hr. Teacher Training: Click Here to See the Next Start Date
The 300 Hr. Advanced Teacher Training: Click Here to See the Next Start Date
Article by Trish Curling
Video Extracted From: Anatomy Of Arm Balances
CHOOSE YOUR PATH
NEXT TRAINING BEGINS FEBRUARY 2024 ENROLLMENT NOW OPEN!
NEXT TRAINING BEGINS FEBRUARY 2024 ENROLLMENT NOW OPEN!
Continue Learning
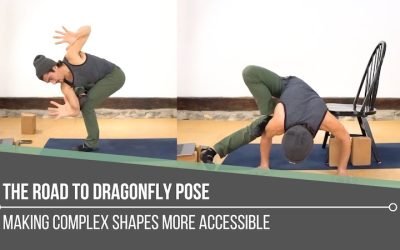
The Road To Dragonfly Pose
The Road To Dragonfly Posearm balanceTHE ROAD TO DRAGONFLY POSE Dragonfly Pose is one of those postures that can seem impossibly complex until we break it into its individual parts. As a revolved arm balance and significant hip opener, it asks for mobility,...
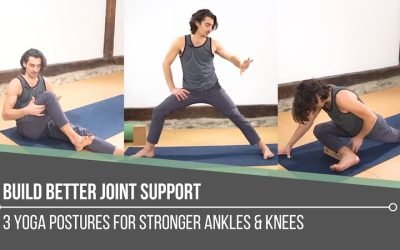
Build Better Joint Support
Build Better Joint Supportankle & kneeBUILD BETTER JOINT SUPPORT Sometimes we focus so heavily on flexibility that we forget our joints also need intelligent strength surrounding them. Matt reminds us that stability is not rigidity. It is the body’s ability to...
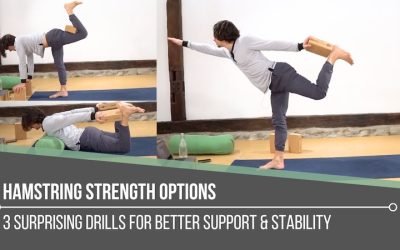
Hamstring Strength Options
Hamstring Strength Optionship extensorsHAMSTRING STRENGTH OPTIONS When we think about hamstrings in yoga, most of us immediately think about stretching. Matt reminds us that this powerful muscle group is rarely celebrated for what it is also designed to do: create...
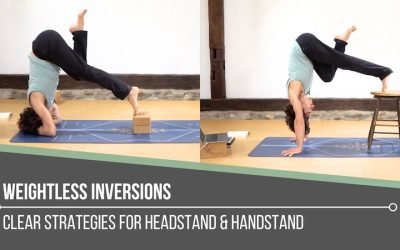
Weightless Inversions
Weightless InversionssirsasanaWEIGHTLESS INVERSIONS Weightless inversions are not about removing effort. They are about redistributing it with awareness. Matt reminds us that when we refine how we place weight through the hands, shoulders, and core, the body begins to...
Opening The Heart Chakra
Opening The Heart ChakrabackbendOPENING THE HEART CHAKRA Opening the heart chakra is not simply about reaching deeper into a backbend. Matt reminds us that this space is rooted in love, balance, and connection, both with ourselves and with others. It reflects how we...
5 Visual Demonstration Techniques for Yoga Teachers
5 Visual Demonstration Techniques for Yoga TeachersYoga TeachersVisual Demonstration This is often confused with “teaching from the mat.” Teaching at the front of the room can be useful at the right time and place, but that is not what we are referring to here. In...
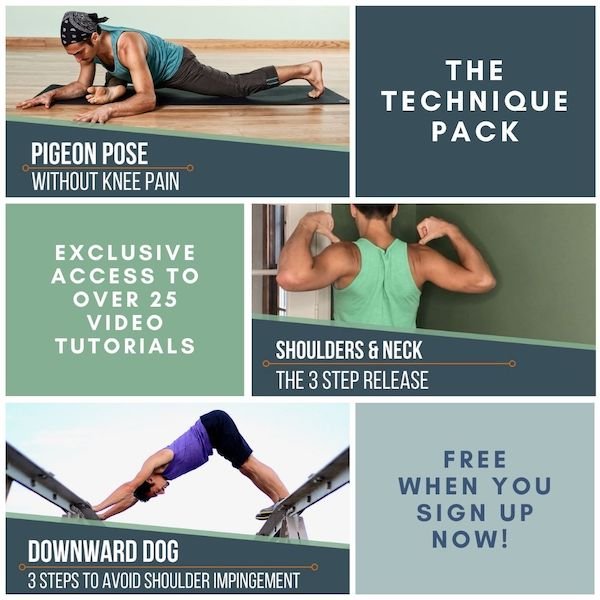
THE FREE TECHNIQUE PACK
When You Subscribe, You Will Get Instant Access to
- the Technique Pack: 15 yoga pose breakdowns
- exclusive online course discounts
- exclusive blogs and videos
0 Comments