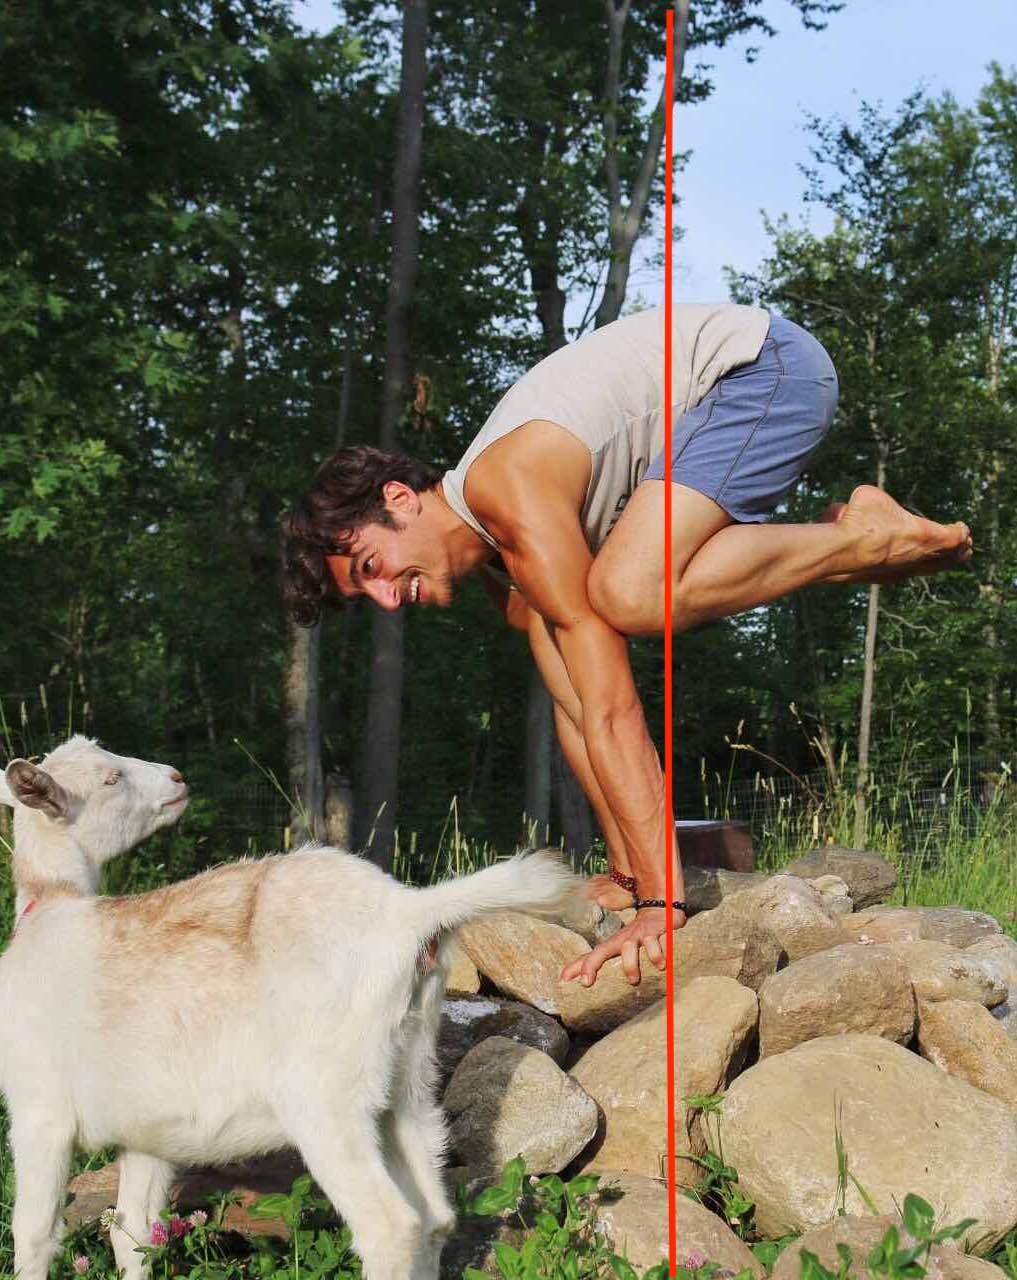
Arm Balance TransitionskakasanaARM BALANCE TRANSITIONS Arm balance postures can be challenging enough without attempting to layer on a smooth transition in and out of them. However, fluid transitions are a natural progression in our yoga practice; they also provide...
Chaturanga Alignment Part 2
Chaturanga Alignment Part 2
3 Steps to Apply Shoulder Actions
CHATURANGA
CHATURANGA: Integrating Shoulder Actions
Integrating the 3 Necessary Shoulder Actions into your practice can be complicated, so to help you I have come up with 3 Steps to Master your Chaturanga. If you haven’t yet watched Chaturanga Alignment: 3 Necessary Shoulder Actions then it is best to start there and come back to this afterwards. The 3 step process will help you develop “Muscle Intelligence” or the awareness of how to create specific actions in your body to find less complicated positions which require less strength and give you the space to explore new sensations. If done consecutively, these steps will build the strength over time that will make chaturanga feel light and free.
Most of us sitting at our computers are not able to get up and start practicing, but if you do have the liberty of doing so, practice along with this video. If not, then simply watch and come back to it at another time so you can practice along. This is meant to help you apply the actions, not just understand them.
Be patient with yourself as you work through each of the exercises – techniques take time to embody.
The Intention
Perhaps the most confusing thing in the yoga community is the myriad of opinions about how to do each pose. Part of the reason for this is the differences each of us have from body type, to personality, to experience. Additionally, however, each of us offering a path has a different intention behind our set of alignment cues or muscle actions. It is for this reason that I want to be clear that this is only one approach, and I am happy to provide for you the benefits and the challenges that come with this way. This approach to Chaturanga comes with the intention to build strength in multiple forearm muscles, the seratus anterior, triceps, external rotators of the the humerus, and the pectorals major. With all of these muscles working together to build strength you will inevitably feel more stable and light in your chaturanga and jump back to chaturanga, and also you will be well prepared for arm balances. If you have no intention of building strength in your upper body or practicing arm balances, there might be better ways of practicing Chaturanga. If you have a movement pattern that does not allow you to do protraction without upward tilt of the scapula then you might be better suited to a softer approach for a while. If you are experiencing chronic strain or compression in your wrist joints you may find leaning back in your chaturanga may be either better or worse for you. I mention this not to deter you from fully understanding and integrating this approach to chaturanga, but to help you to understand that there is never and will never be one correct approach to anything. What is good for you now may not be good for you later, and what was good for you yesterday may not be good for you today. This may be hard to grasp but if you try to keep an open mind and let yourself explore various approaches with the utmost attention to detail, you may find a greater sense of mastery in your body than you could ever find by doing one posture “the right way.” If you are ready to build strength, and/or set your self up for arm balances and jump backs, then let’s get started together!
3 Step Integration
When learning to integrate new muscle engagements or structural alignments into your practice, it is beneficial to simulate the shape with less stress on the muscles and joints. This usually entails changing your relationship to gravity. In the video and in the 3 steps below, I show you how to do this by doing chaturanga at the wall first, and then on your knees before trying the full posture. Doing these steps often provides a greater proficiency than simply trying it all out right away. This is because your body will always fall into its normal patterns when it’s asked to hold all your weight. We have to shake things up a bit to learn something new.
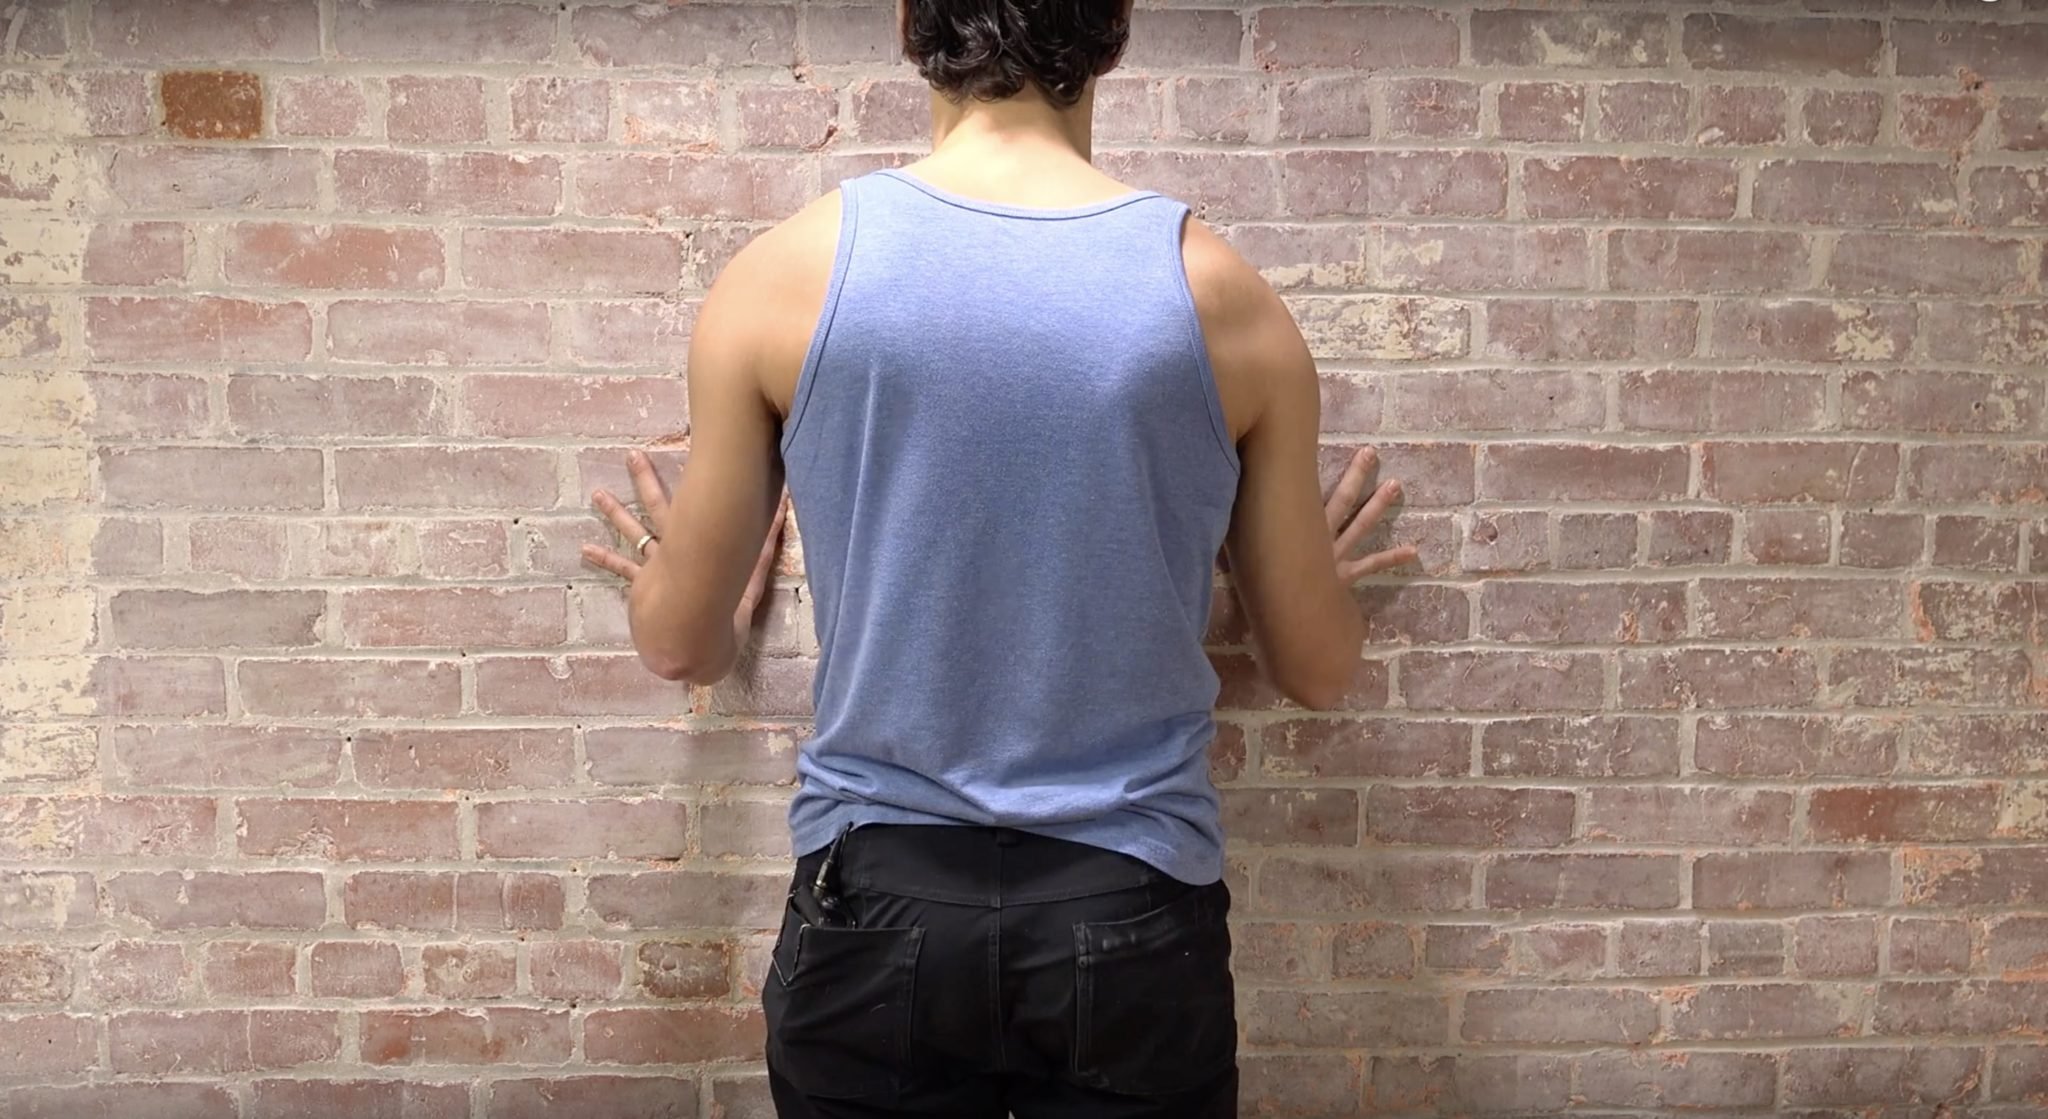
Step 1 - Chaturanga at The Wall
Regardless of your level, doing chaturanga at the wall and applying the three shoulder actions is huge in helping build masterful proprioception. This is the most important step in my eyes, especially since you’ll have plenty of time in class to practice step 2 and 3. Taking all the weight off of your body and just applying the actions until it is fully integrated and completely clear in both mind and body will be the best thing you can do. Mastery is not about halfway getting something, but rather nailing it down so that it will never be forgotten regardless of how long you leave the subject of study. Rock this exercise several times for several days/weeks and you will be well set up for building strength rapidly. Strength builds rapidly when our actions are precise in our body.
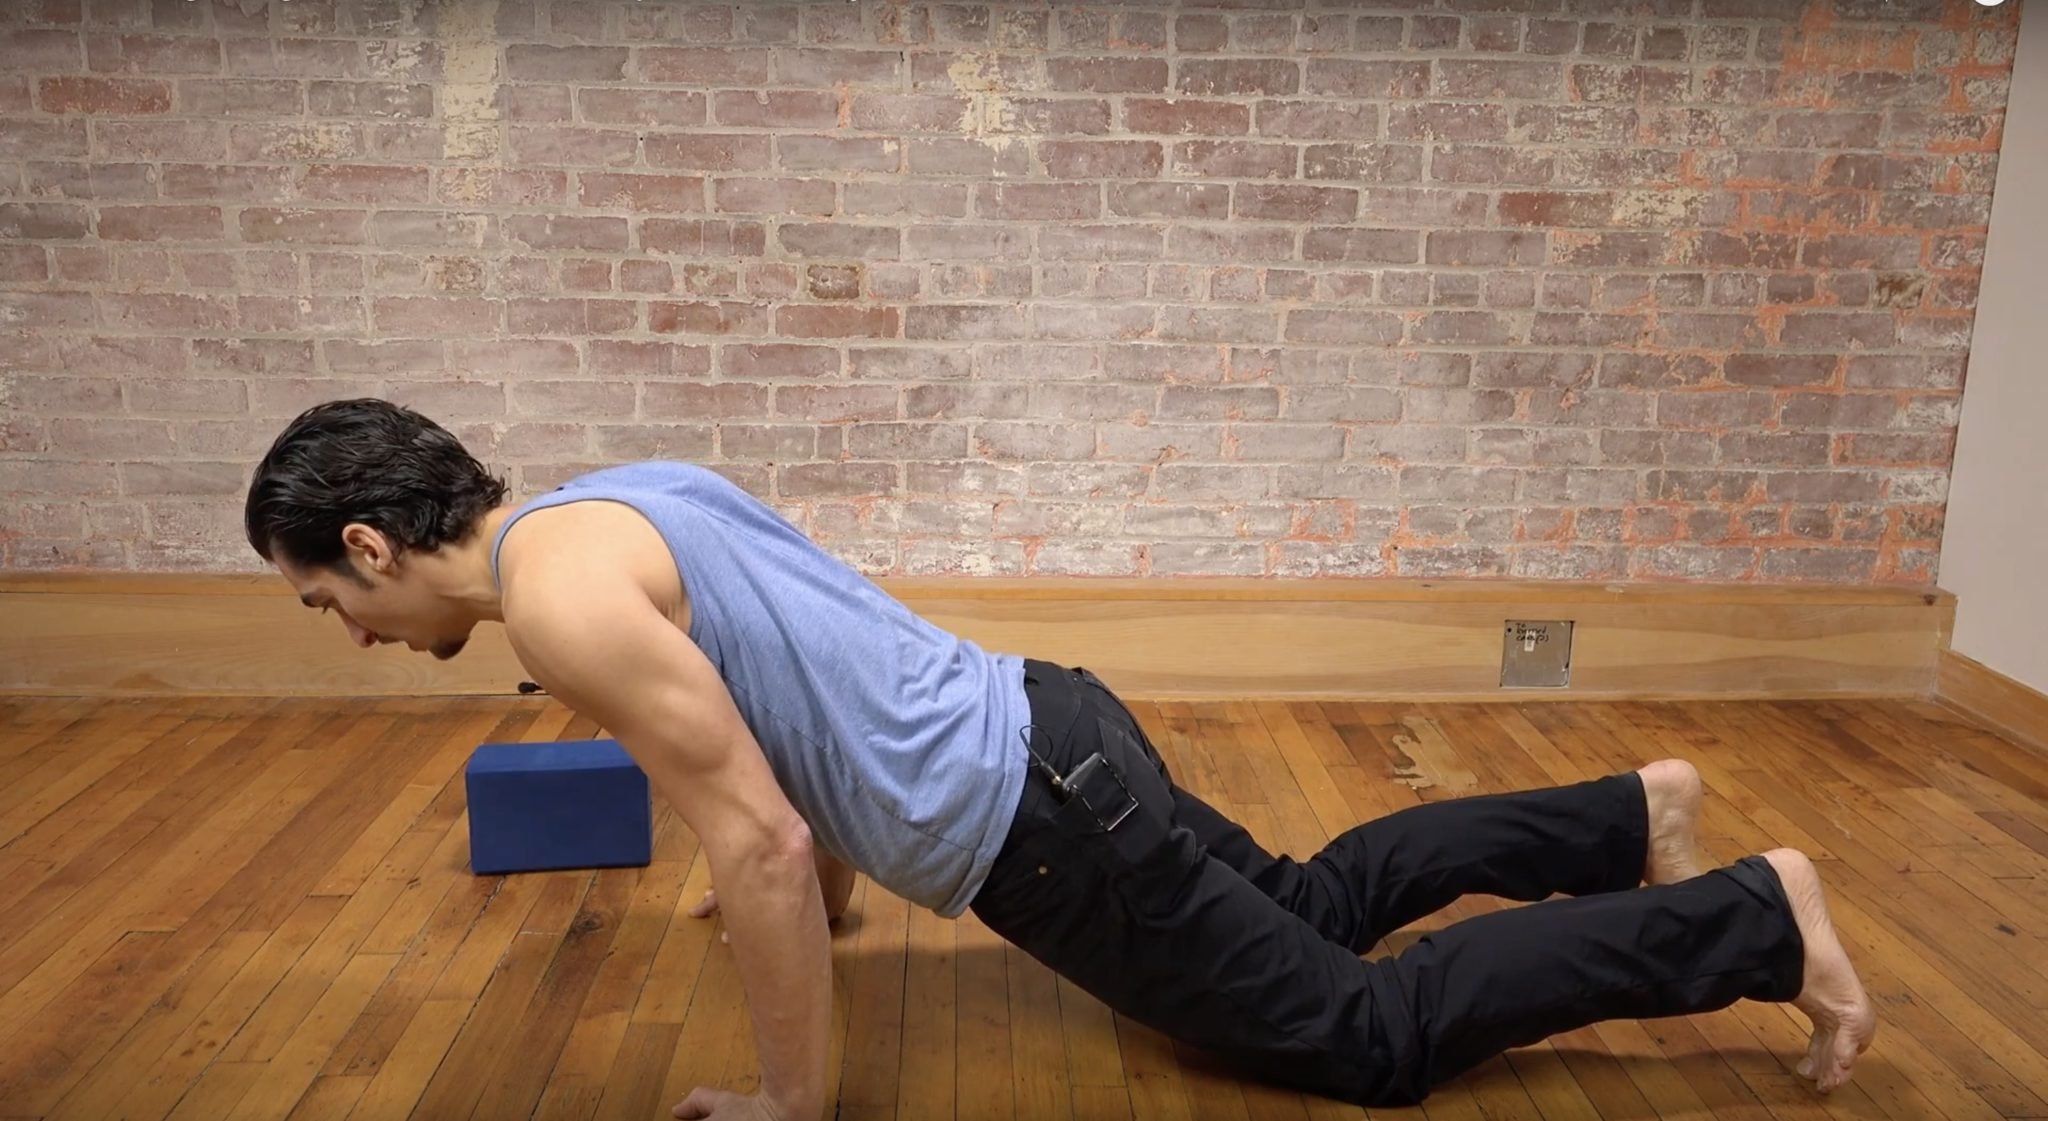
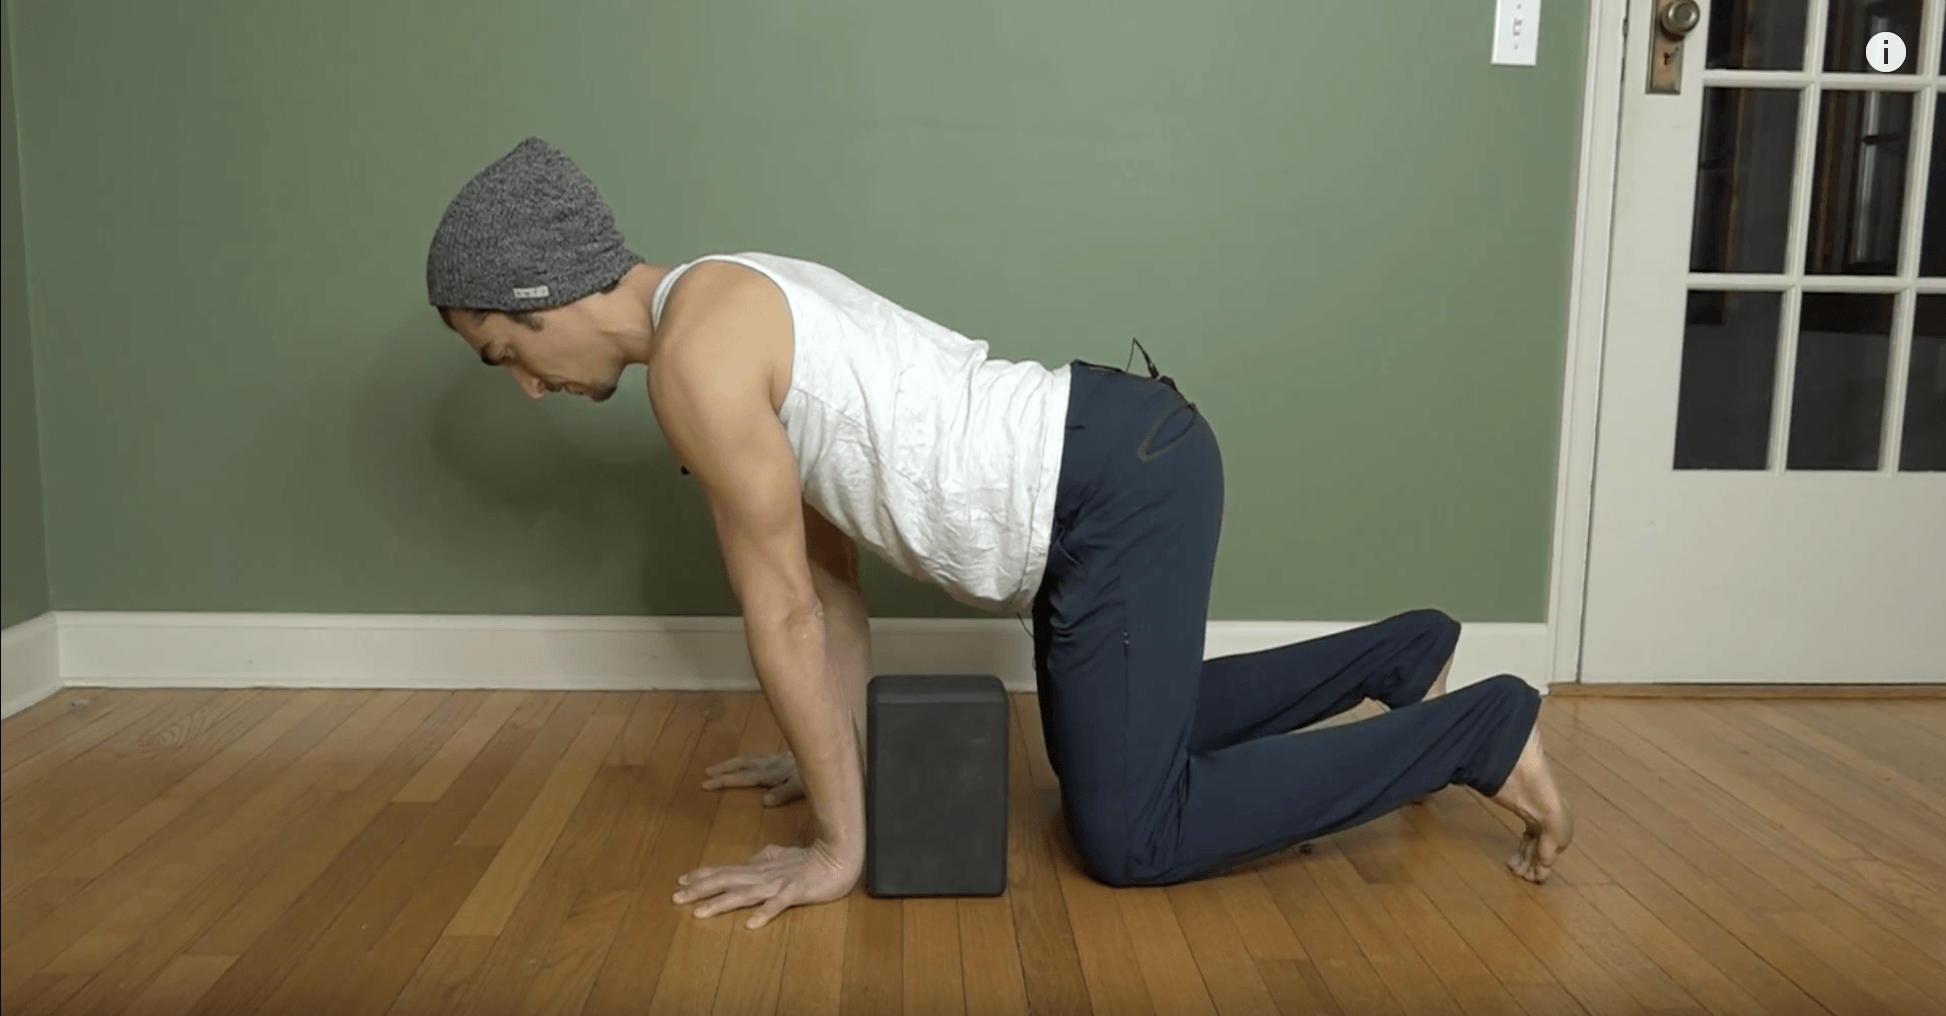
Step 2: Chaturanga on Knees
To be honest, when I take a vinyasa class, I do the first 5-10 chaturangas on my knees to get my body and mind linked together prior to floating back. Chaturanga on the knees is a great way to practice the actions with slightly less body weight. This is where you will begin building muscles appropriately, so be as precise and mindful as possible so you are strengthening the muscles required for the 3 shoulder actions. My best advice is start with your shoulders a little bit past the wrists to simulate the leaning forward when coming from plank. With your knees on the ground you can’t actually shift forward so you’ll have to begin by placing your knees closer to your wrists than you normally would. Second, make sure you create one long line from shoulders to knees, without breaking at the hips.
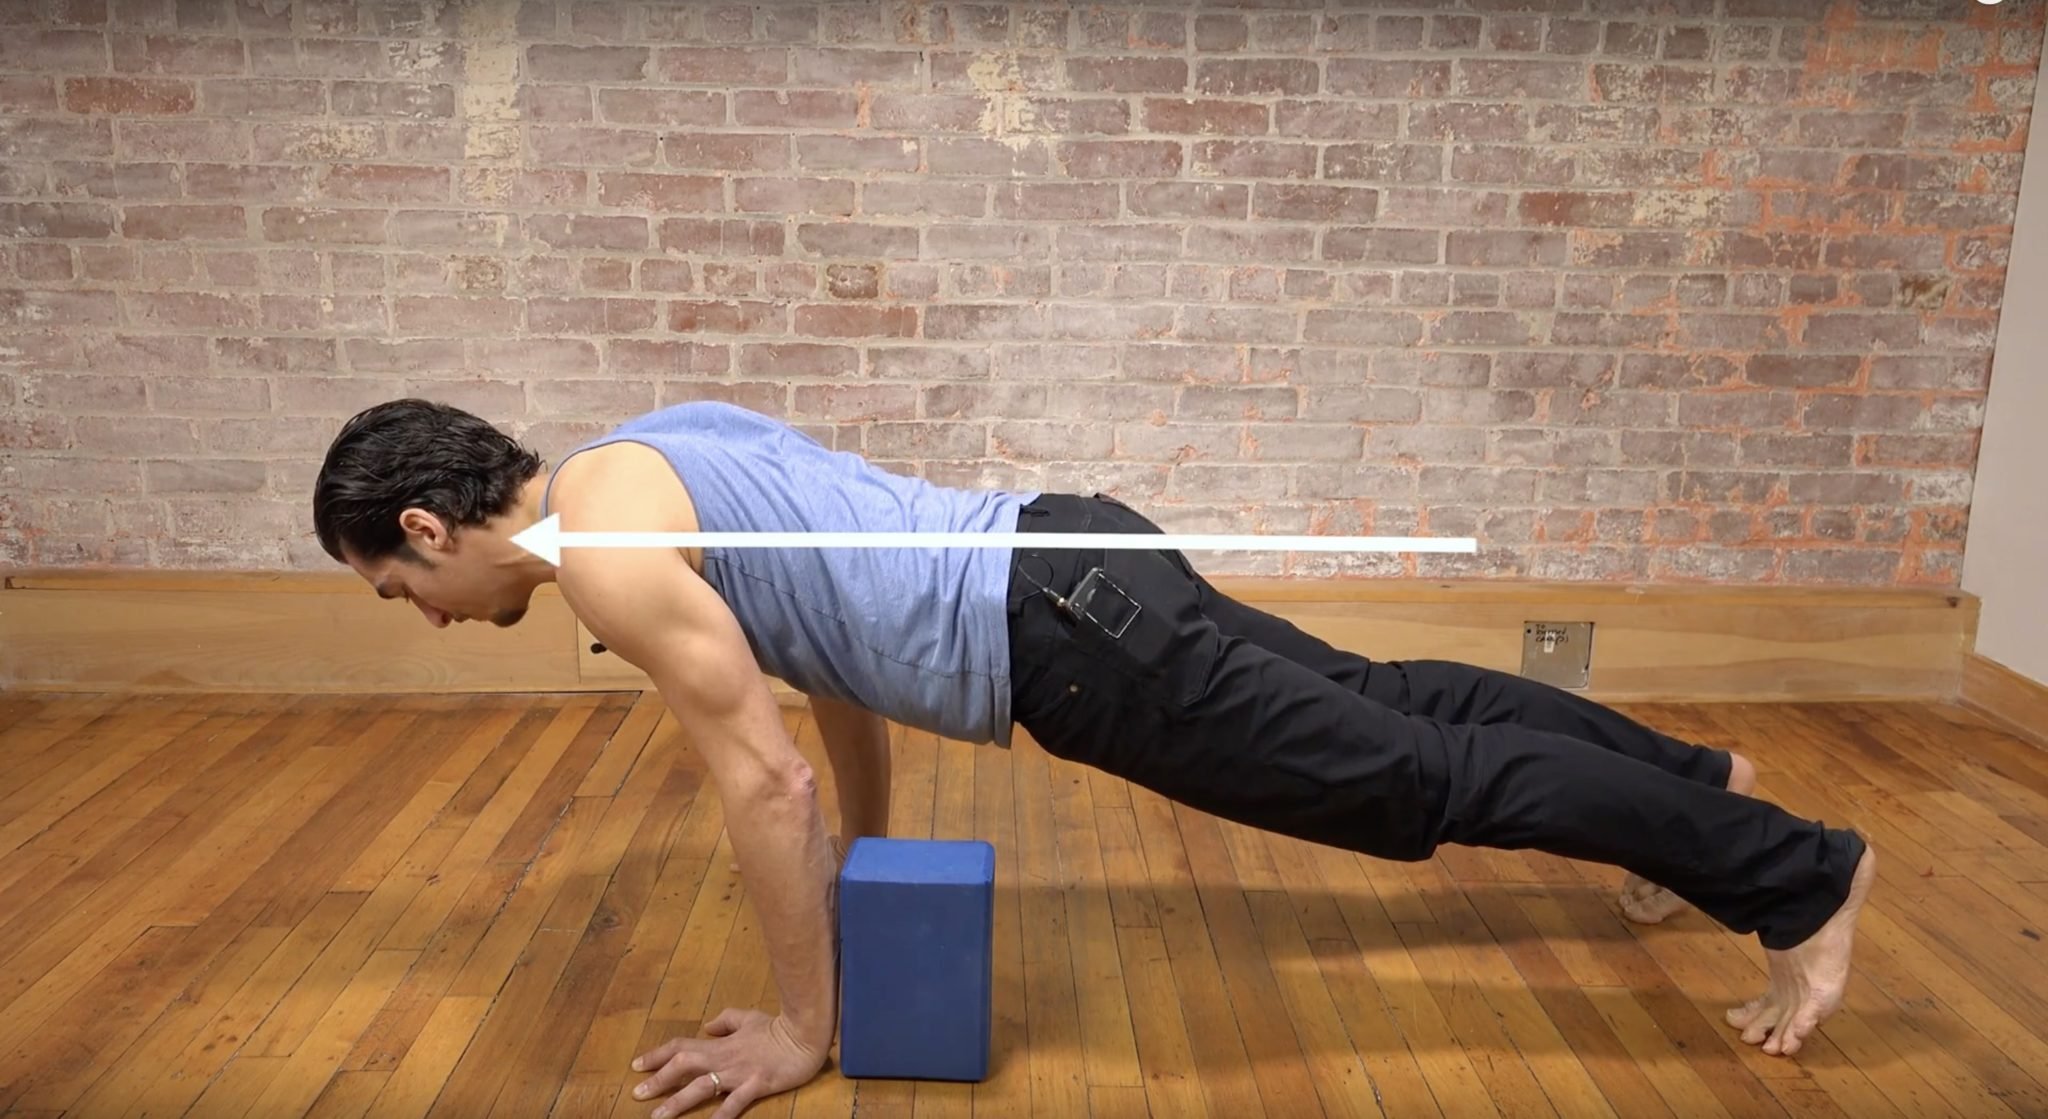
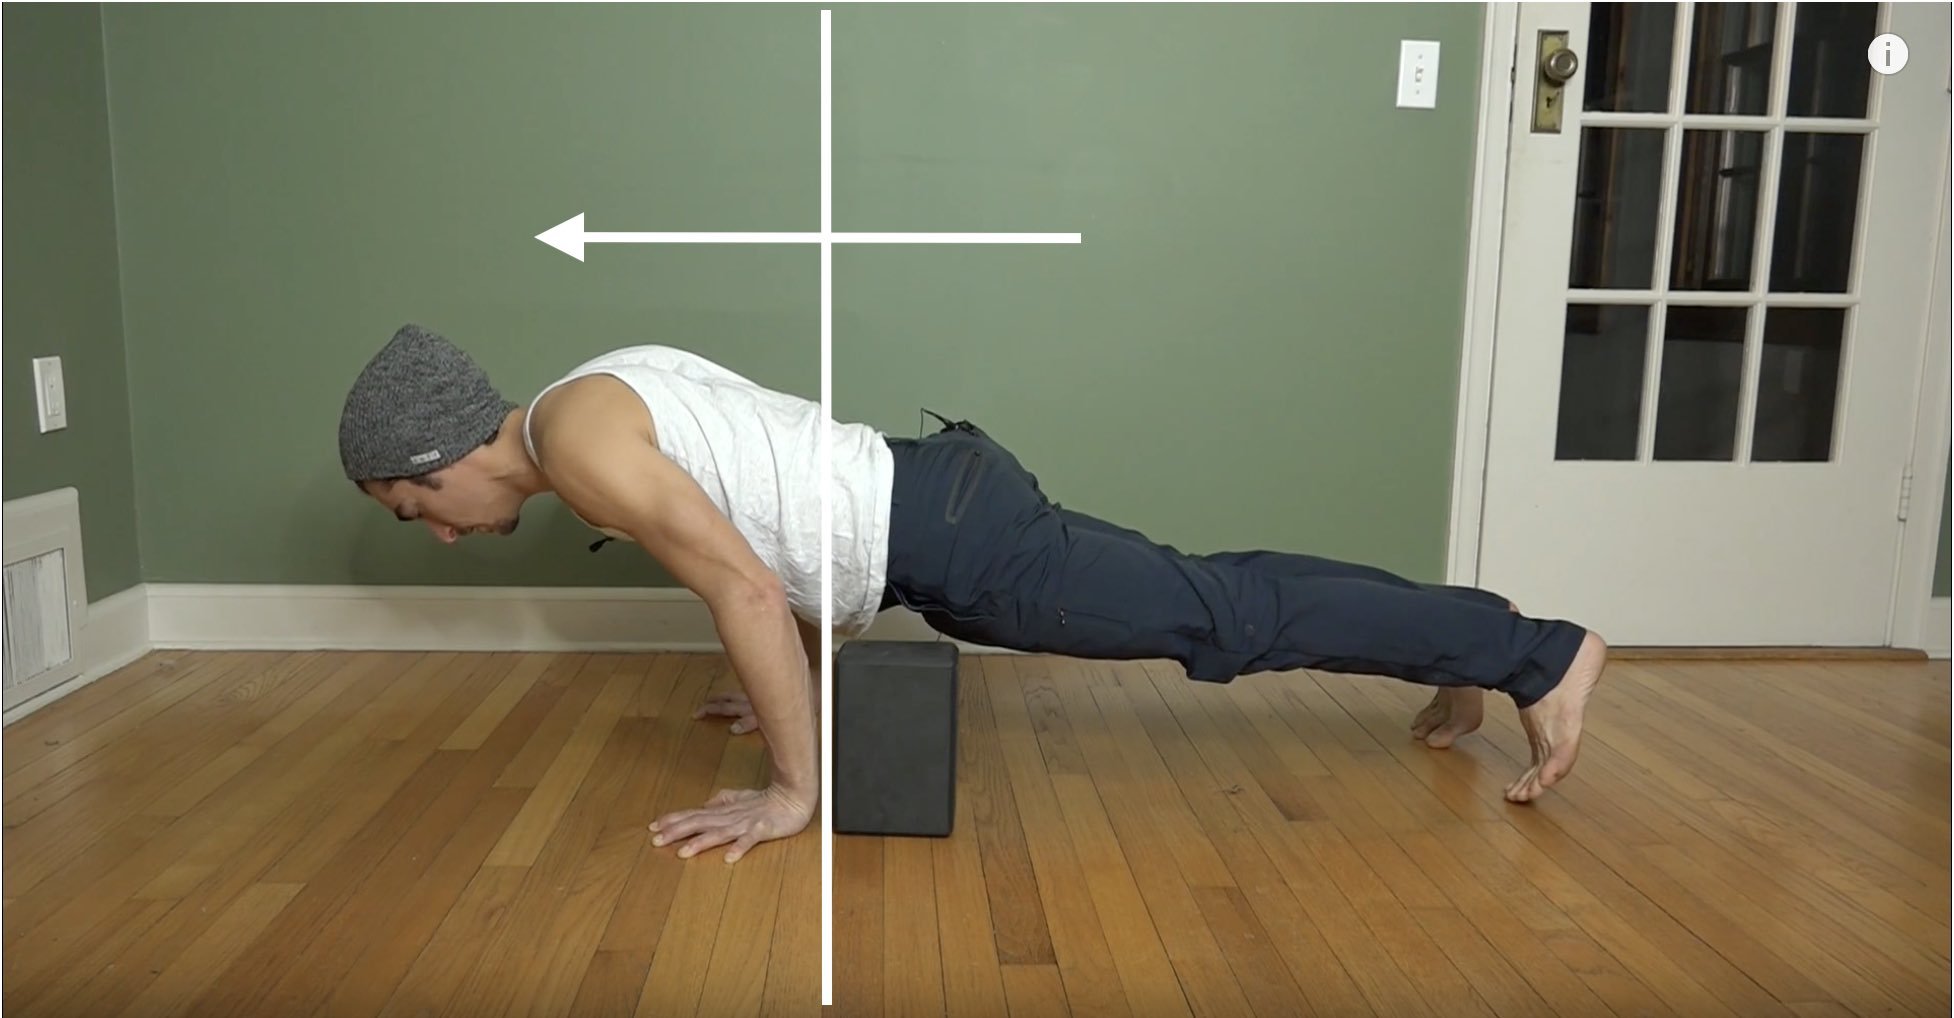
Step 3: Plank To Chaturanga
When attempting full chaturanga with a block, it becomes easier to compensate and “fake it” and either over engage in muscles that are not efficient for the actions, or simply getting caught up in compression – placing your bones in the way of the movement in order to slow the movement down – SEE FIRST VIDEO when I talk about “Upward Tilt” of the scapula.
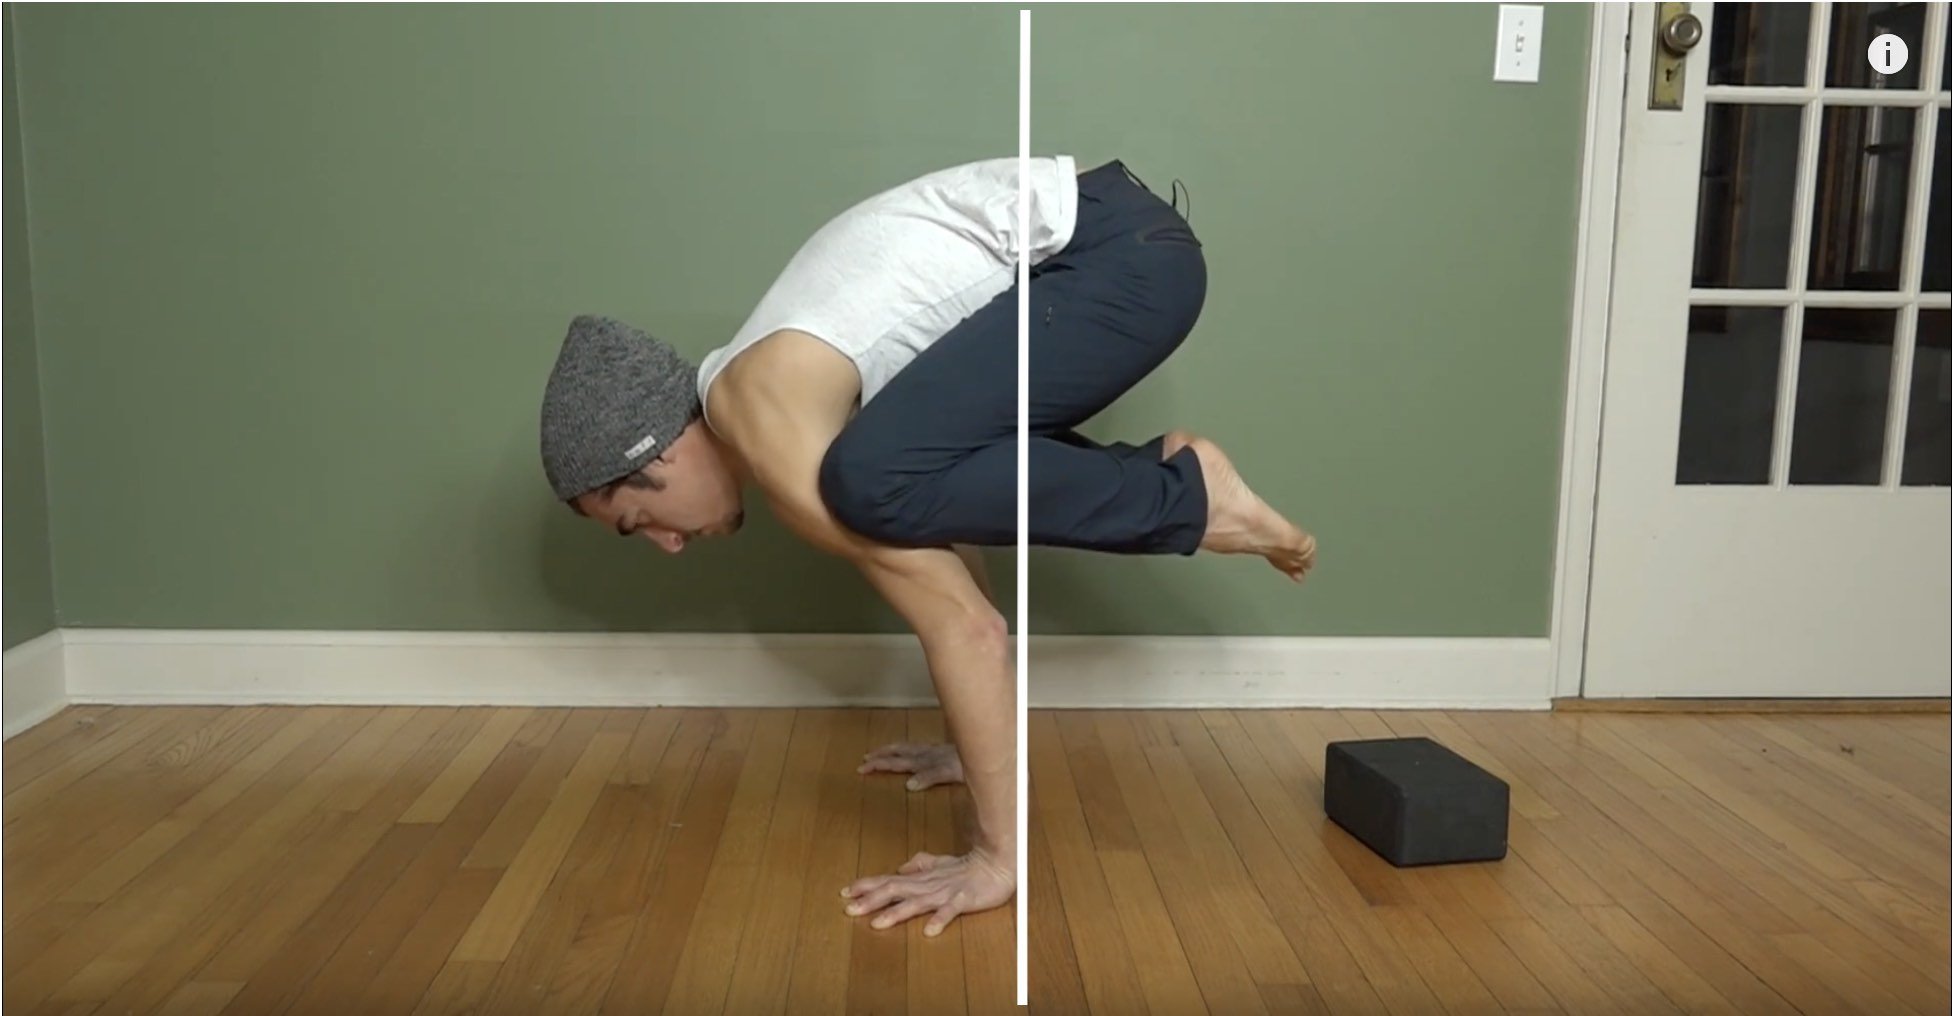
Mastering these shoulder actions will not only make your practice of chaturanga easier and more enjoyable, but will open up a whole new world of power and strength in your arm balances.
If you find yourself struggling to integrate the actions in this version, I highly recommend focusing on the first two options for about 3-5 months and then coming back to this.
Complexity
The shoulders are incredibly complex and as a result, it takes quite a lot of self-practice and study to gain any sort of mastery. I break things down into small steps so that you are able to integrate the actions in your body more easily, however these steps are just the beginning. Let these actions settle into your body over time; rather than forcing them into every chaturanga, pick one action to focus on in your classes and first observe what you are doing before you make changes. Little by little, try to apply the action and notice what it feels like each time. This is a highly effective approach that builds patterns in the body and awareness in the mind. If you are interested in more shoulder strengtheners and stretches check out the Handstand Training. It comes with several videos that directly target the shoulders. Thank you for stopping by. Please share your comments, questions, or requests for other blog topics!
Hips: Rock & Unlock 'Em
Get 2 full hours with Matt Giordano focusing on the techniques that increase the range of motion in your hips and provide long lasting freedom. You will have immediate, unlimited access, and can enjoy the benefits today!
Continue Learning

Arm Balance Transitions
read more
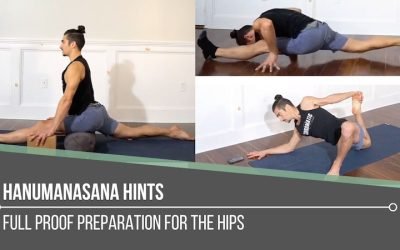
Hanumanasana Hints
Hanumanasana HintssplitsHANUMANASANA HINTS Applying intelligent techniques to a posture like Hanumanasana is crucial—simply hoping for the best is definitely not the way to go! That mindset leaves us vulnerable to injury. Hanumanasana is also the type of pose that can...
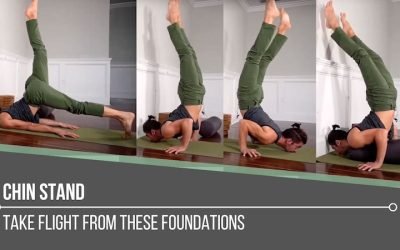
Chin Stand
Chin Standganda bherundasanaCHIN STAND Without a doubt, Chin Stand requires preparation. This posture must be approached with the utmost humility, essential in order to respect the potential risk. If this pose is not explored regularly in our physical practice, it may...
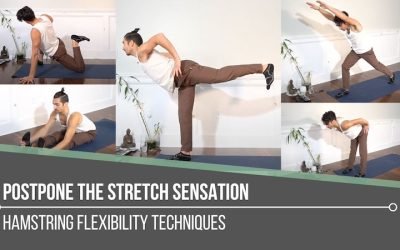
Postpone The Stretch Sensation
Postpone the Stretch SensationflexibilityPOSTPONE THE STRETCH SENSATION If one of the goals of our physical yoga practice is to increase flexibility, we may automatically believe that we just need to stretch more. It’s critical that we understand that increasing...
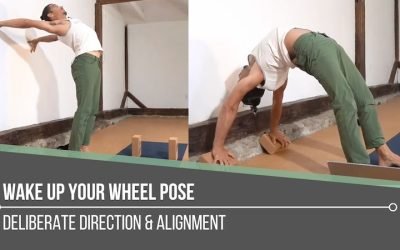
Wake Up Your Wheel Pose
Wake Up Your Wheel Poseheart openerWAKE UP YOUR WHEEL POSE We don’t have to question it—we know whether or not we’re feeling open, free, and strong in Wheel Pose. There’s a lightness and expansiveness that takes over when everything falls into place: From the initial...
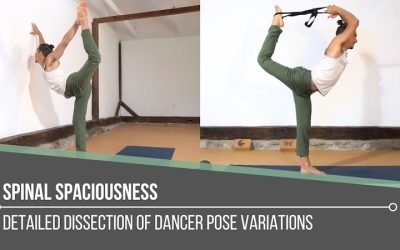
Spinal Spaciousness
Spinal Spaciousnessdancer poseSPINAL SPACIOUSNESS Some key indicators of spinal health include strong bones, durable yet flexible ligaments, supple discs, and strong supportive muscles. Aside from nutrition, it’s not enough to say that movement in general is enough to...
TOP RECOMMENDATIONS

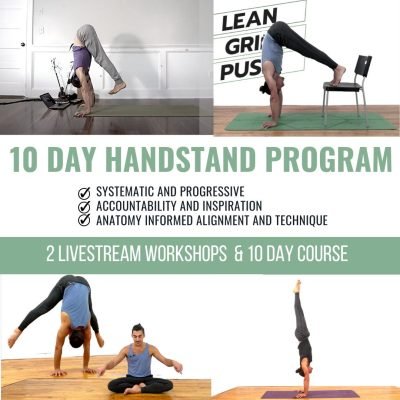
Handstand Training
Learn the techniques that make Handstand fun, easy and accessible! This 2 part course consists of the top most effective exercises will increase your strength and technique so you can easefully balance a handstand.

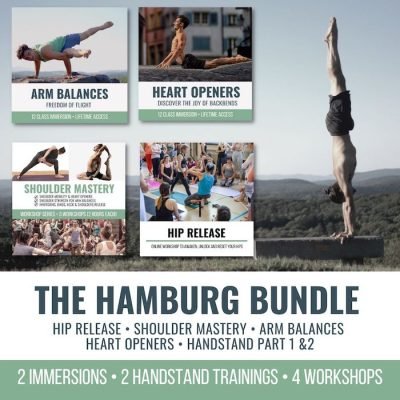
SHOULDER REVELATION
In this 12 class immersion you will practice specific techniques to strengthen and unlock your shoulders. Each class focuses on a specific joint articulation and muscle group so you gain mastery in the shoulders.

HEART OPENERS
Finally, a 12 class immersion designed specifically to help you discover the freedom of heart openers. Learn how to avoid uncomfortable compression, and awaken your true range of motion in a step by step manner.
THE FREE TECHNIQUE PACK
When You Subscribe, You Will Get Instant Access to
- the Technique Pack: 15 yoga pose breakdowns
- exclusive online course discounts
- exclusive blogs and videos