Opening The Heart ChakrabackbendOPENING THE HEART CHAKRA Opening the heart chakra is not simply about reaching deeper into a backbend. Matt reminds us that this space is rooted in love, balance, and connection, both with ourselves and with others. It reflects how we...
Double Stag Handstand
Double Stag Handstand
balance
DOUBLE STAG HANDSTAND
Cultivating confidence is a non-negotiable when it comes to implementing a handstand practice. If handstands seem insurmountable even to consider, don’t fret; there might be an easier option. Easier? Really? Yes!
Ok, from appearances alone, this option may still appear inconceivable, but the “easier option” of Double Stag Handstand may be that variation of an inversion that offers us the fortitude to continue on the journey towards Straight-Back Handstand.
Of course, we are all individuals, so the opposite may be true for any one of us. If we’re in a position where neither Double Stag Handstand nor Straight-Back are a part of our practice, today’s video will outline some reasons why exploring this option first may be our ticket to success in ultimately conquering both variations over time.
In addition, understanding that Double Stag Handstand incorporates more of a backbend position than Straight-Back will keep us on the right track.

10-DAY HANDSTAND PROGRAM
REGISTRATION NOW OPEN
- Safe, systematic, and effective
- 10-day training plan with guided daily tutorials
- 2 livestream workshops: Replays are automatically included if you cannot attend live
- Learn the most anatomically aligned and efficient handstand
- Acrobatic training skills made easy and accessible for regular people
- All levels appropriate
- Build YOUR handstand, honoring your body and its unique strengths and challenges
- No experience required
- Variations for all levels, from 0 experience to professional hand balancers
- BONUS: Zoom meeting (available to waitlist members only for the first 24 hours of registration opening): On Day 3, we will meet on Zoom for group coaching and personalized feedback!
- SPACE IS LIMITED FOR THIS TRAINING TO PROVIDE THE BEST SUPPORT POSSIBLE
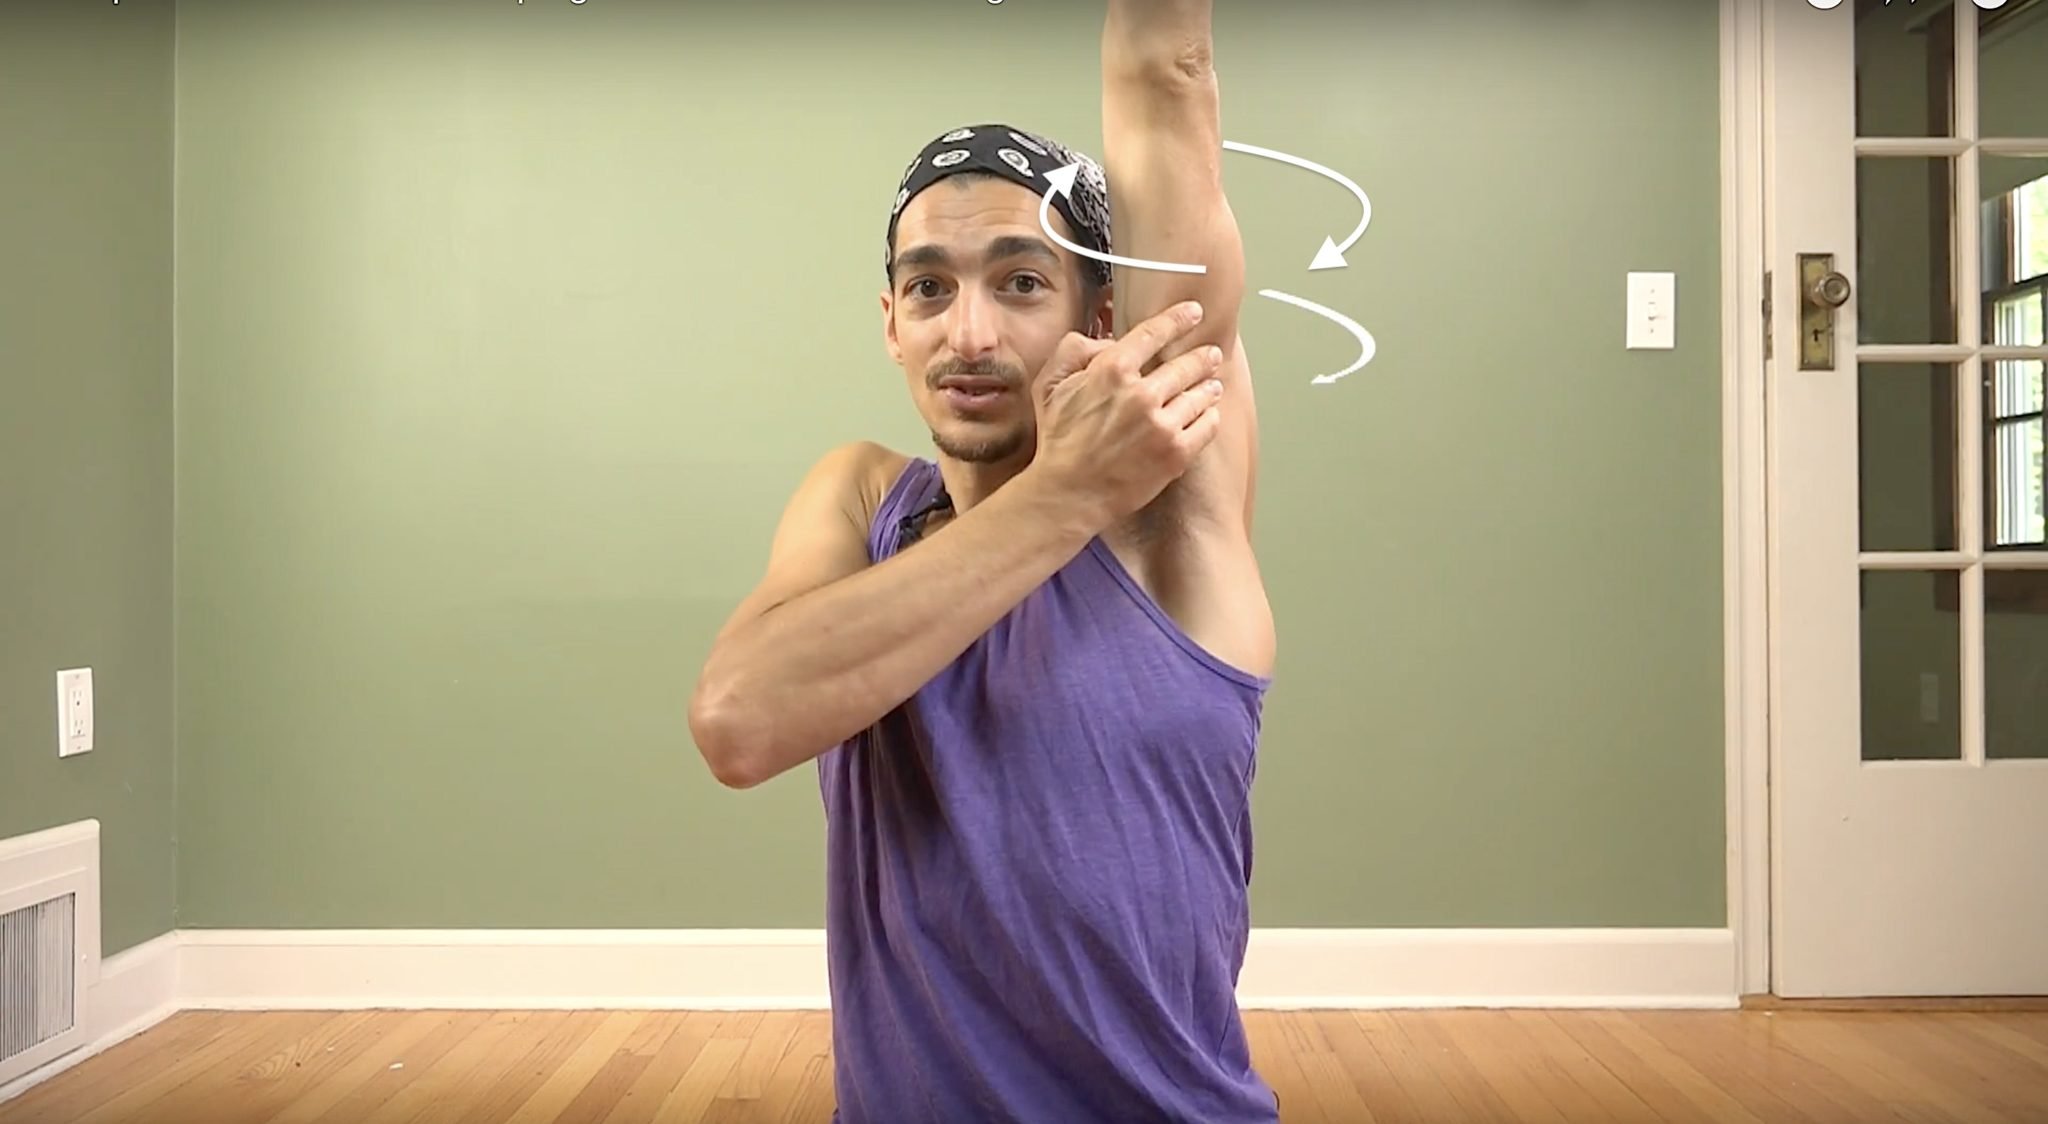
SHOULDER PREPARATION
One of the most valuable lessons we learn along the track of preparing for an ambitious posture like Double Stag Handstand is how to dial back and prepare appropriately.
Here are 2 ways to prepare the shoulders:
Child’s Pose
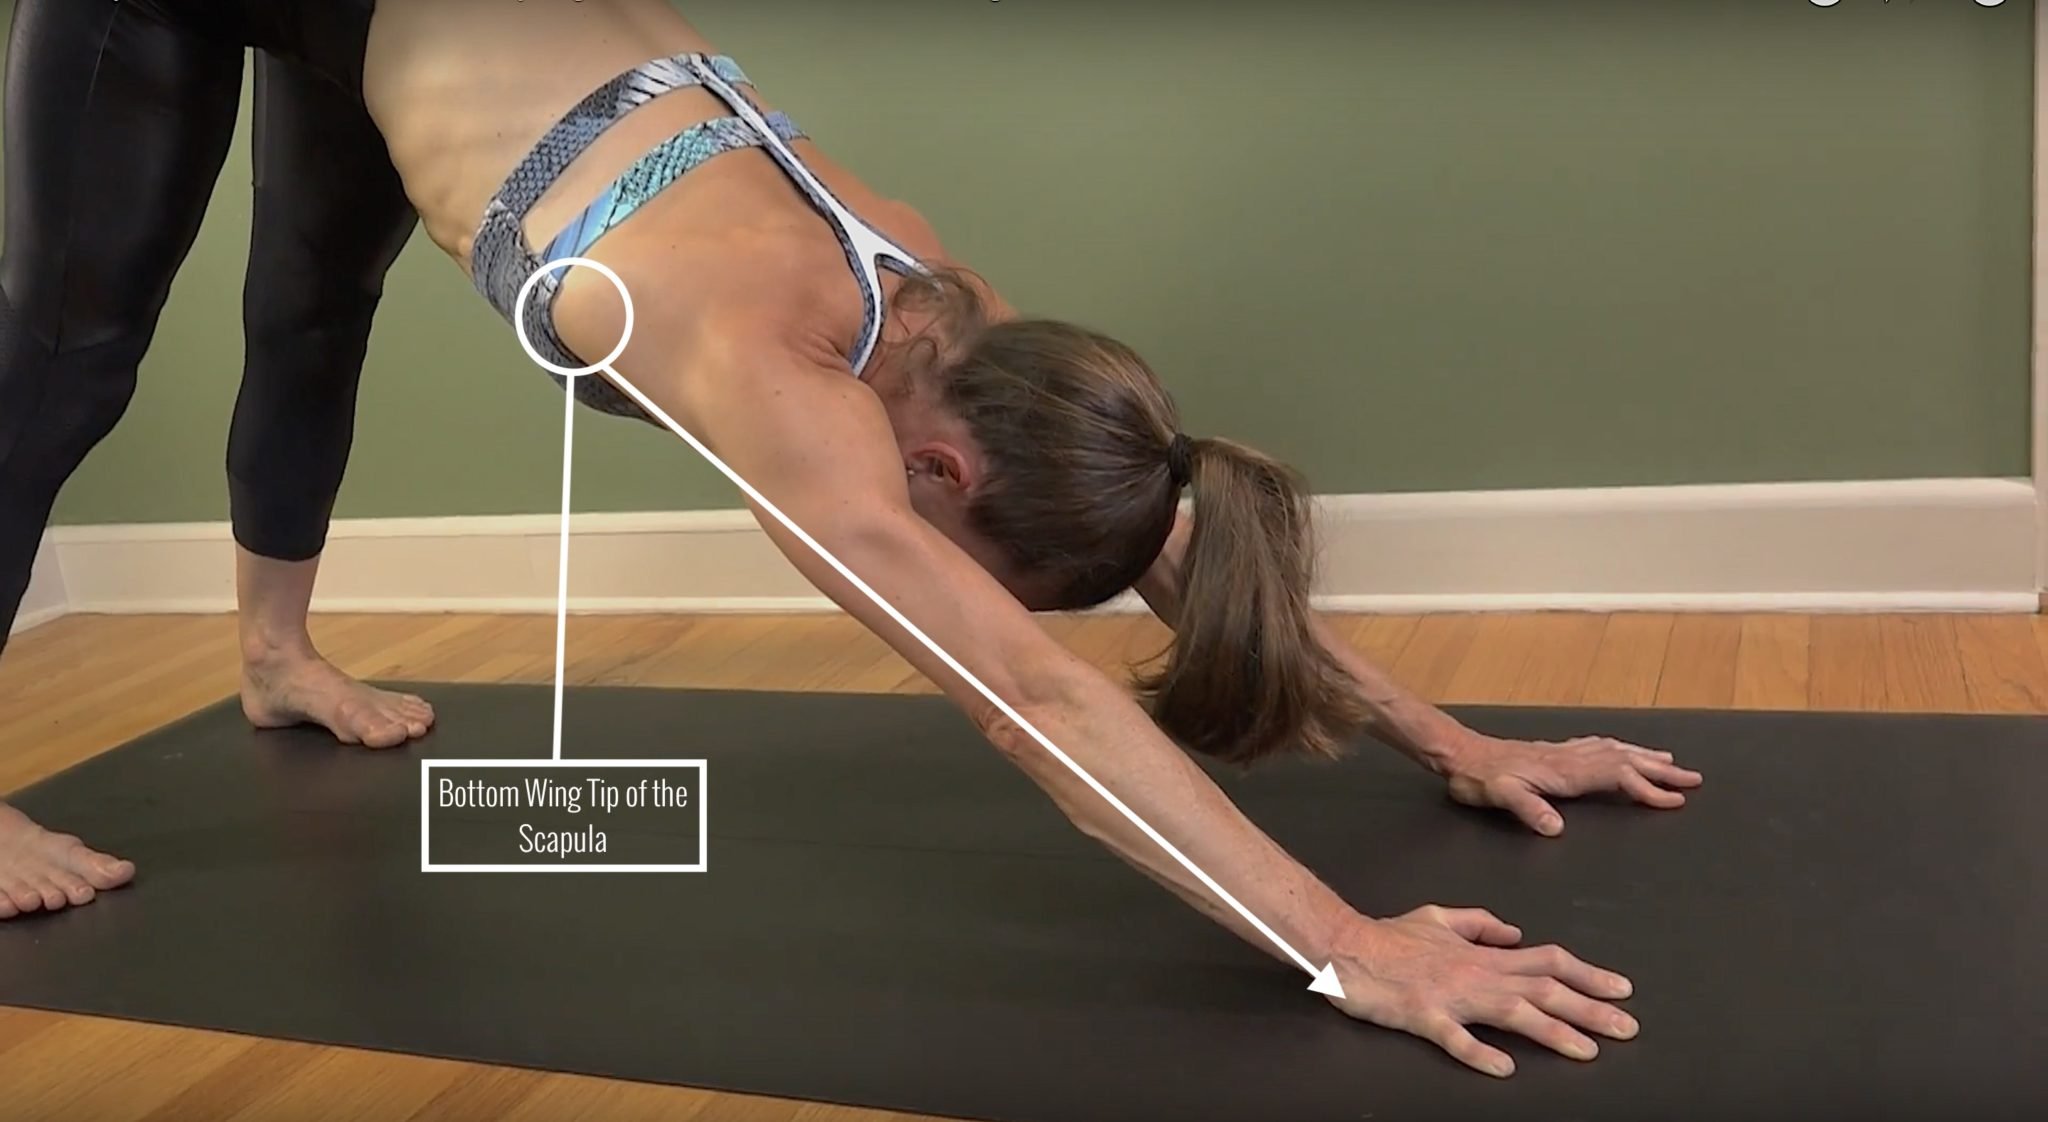
Matt’s demonstration in the video outlines the importance of lifting the armpits up to make sure that the head of the humerus isn’t pinching into the acromion process, a bony projection on the shoulder blade. This will help to reduce the possibility of shoulder impingement.
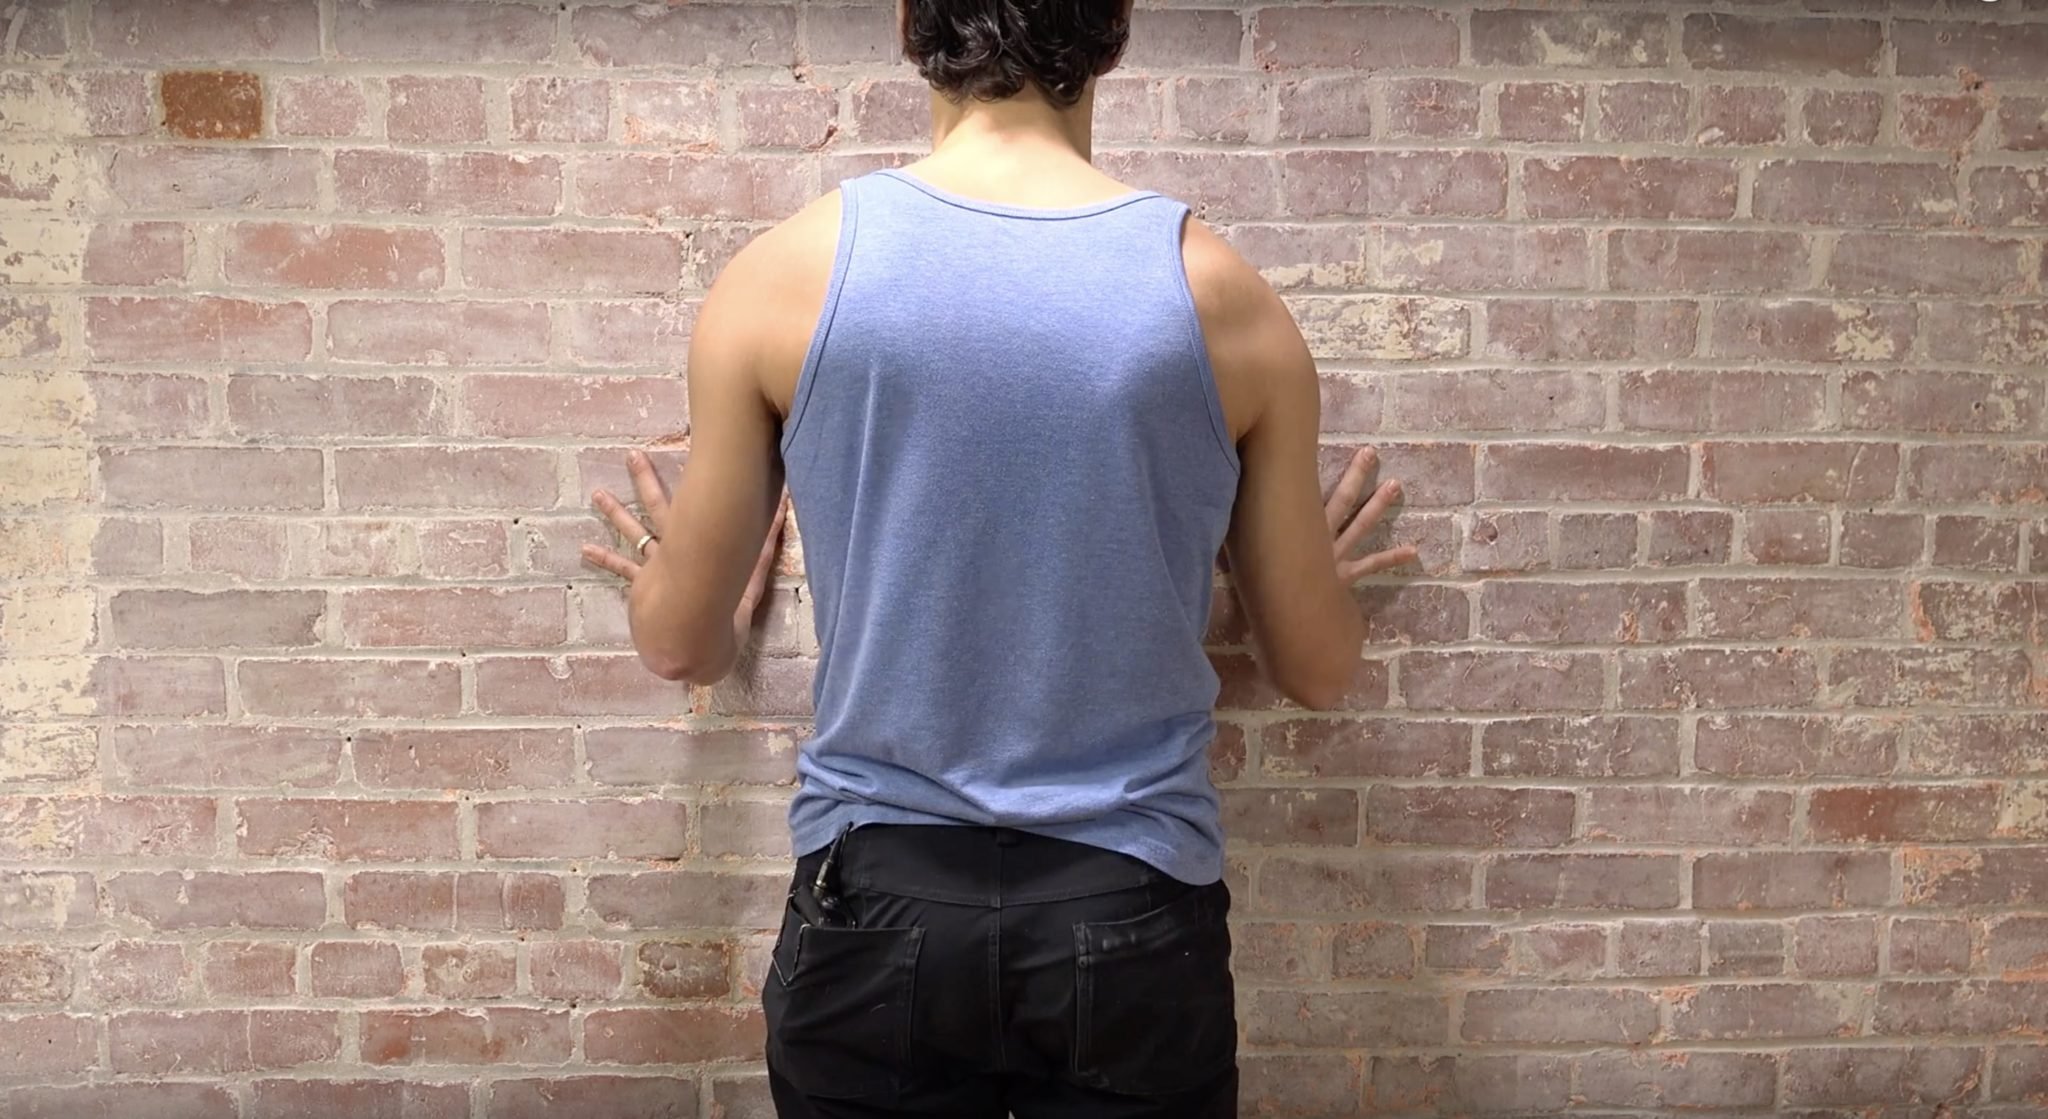
Anahatasana Against a Wall
We can progress this patterning in our bodies by practicing the lift of the armpits at a wall in Anahatasana. In both Child’s Pose and Anahatasana, it can be common to drop into the posture by allowing the chest to fall through without lifting the armpits and activating the muscles of the shoulders, but it’s imperative that we strengthen the shoulder muscles before attempting to go upside down.
WATCH THE VIDEO
DOUBLE STAG HANDSTAND: IS IT EASIER THAN A STRAIGHT-BACK HANDSTAND?
GROUNDWORK FOR THE LEGS AND SPINE
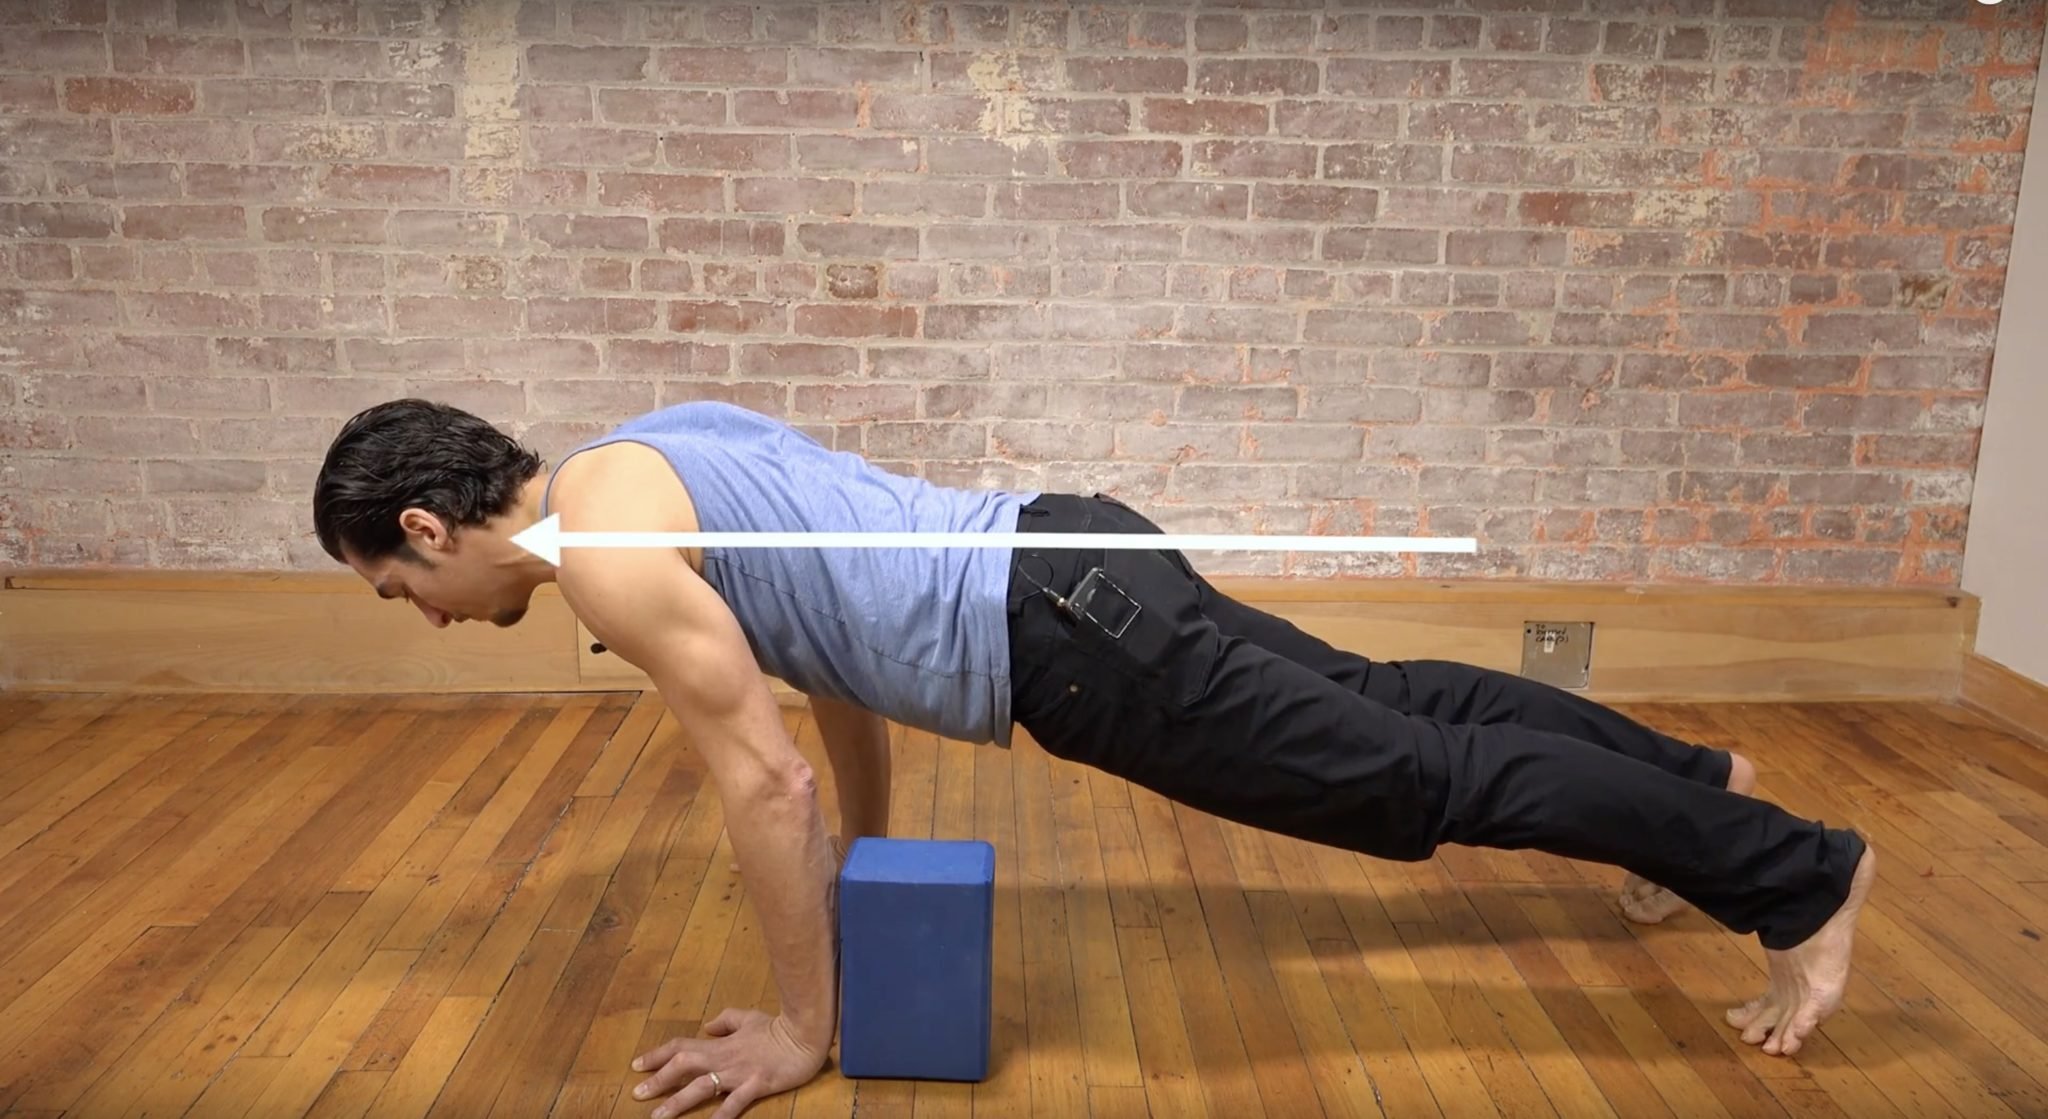
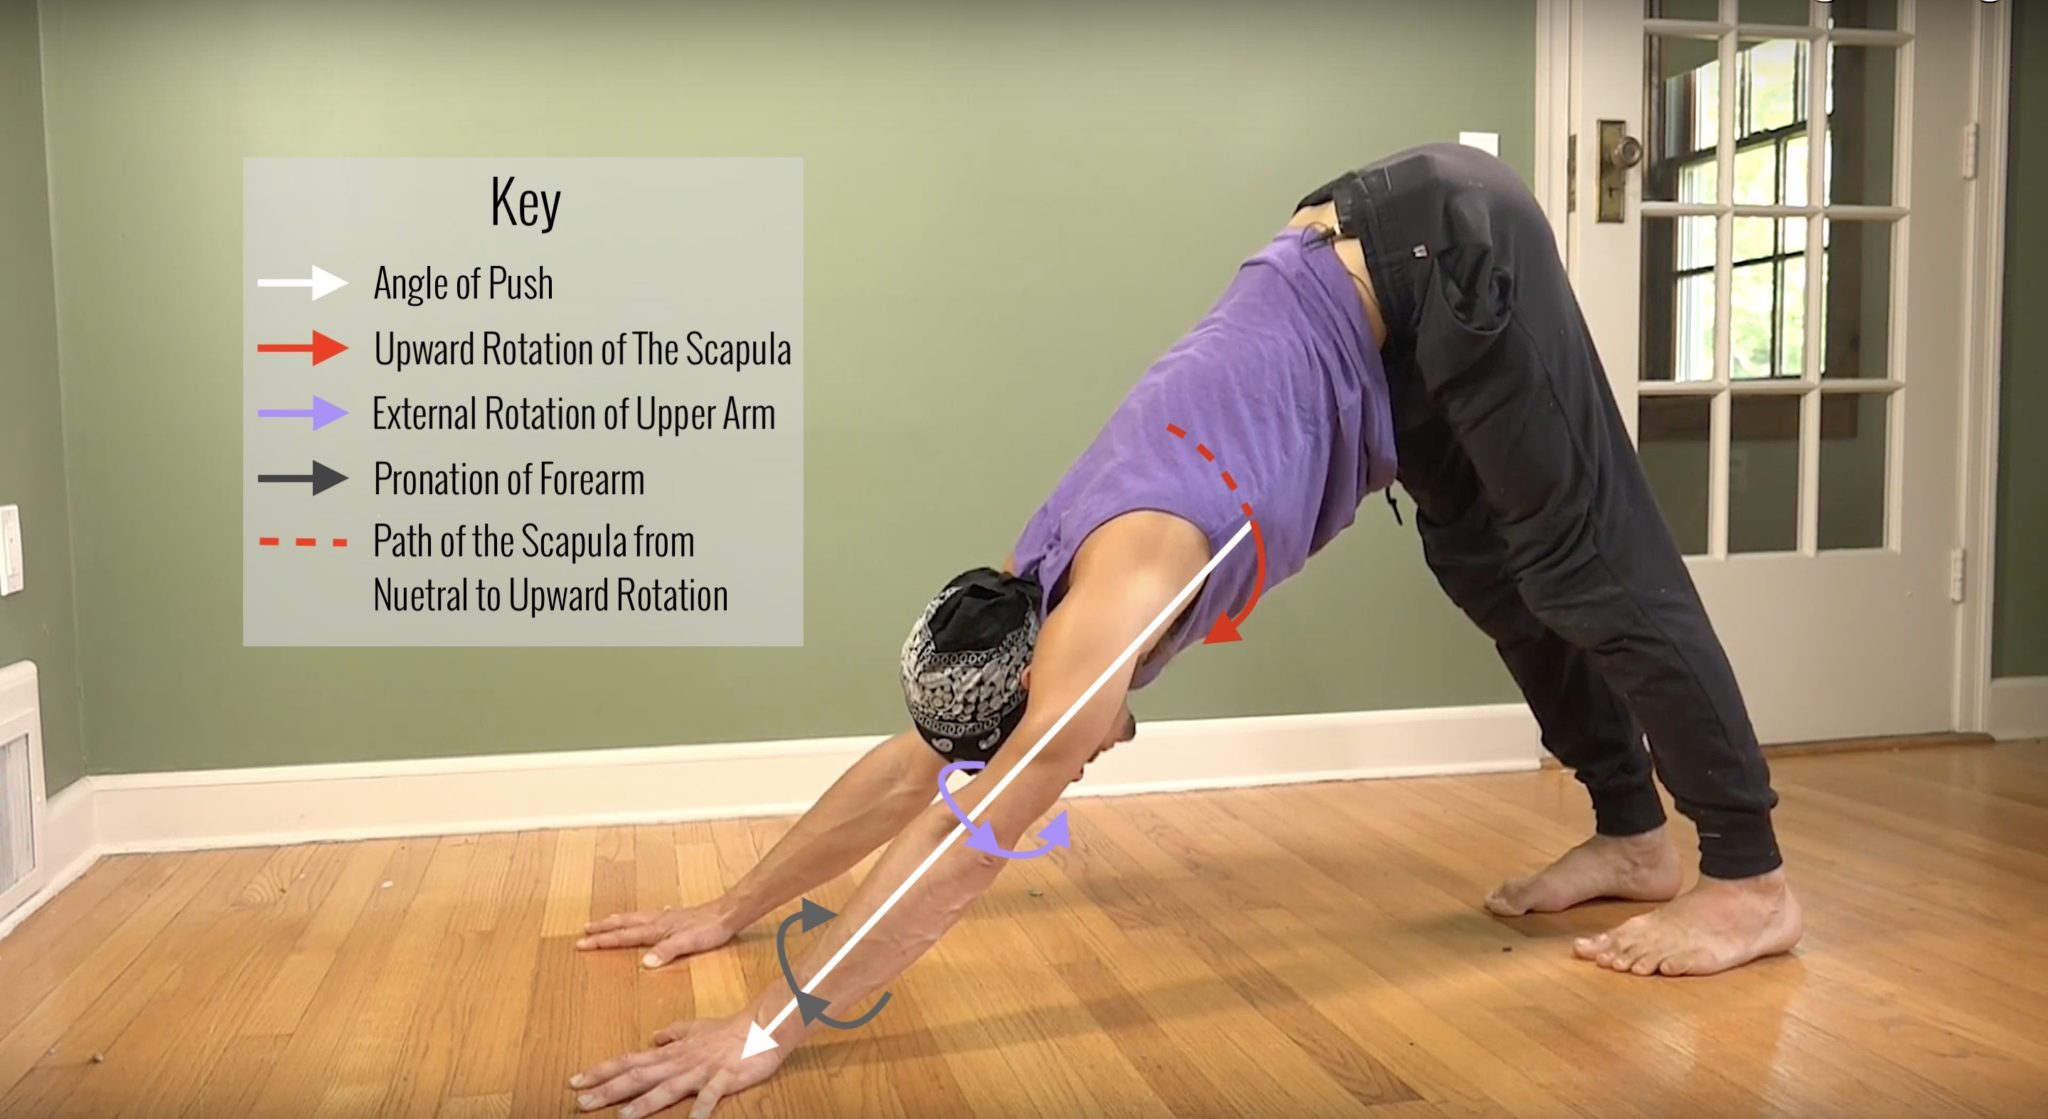
The chest moving ahead of the arms is important for the backbend quality Double Stag Handstand requires, but we also need to create the increased flexibility for deeper extension in the hips and spine.
Here are 2 variations of Low Lunge:
Low Lunge With a Side Bend
When practicing with Matt, we become very familiar with drawing the feet towards one another in postures like Low Lunge. This action creates a facilitated stretch. The strengthening aspect of this technique results in increased flexibility. The additional side bend and backbend encourage the lengthening required for the spine, even though the amount of backbend in Double Stag Handstand is not as extensive as in some other heart openers.
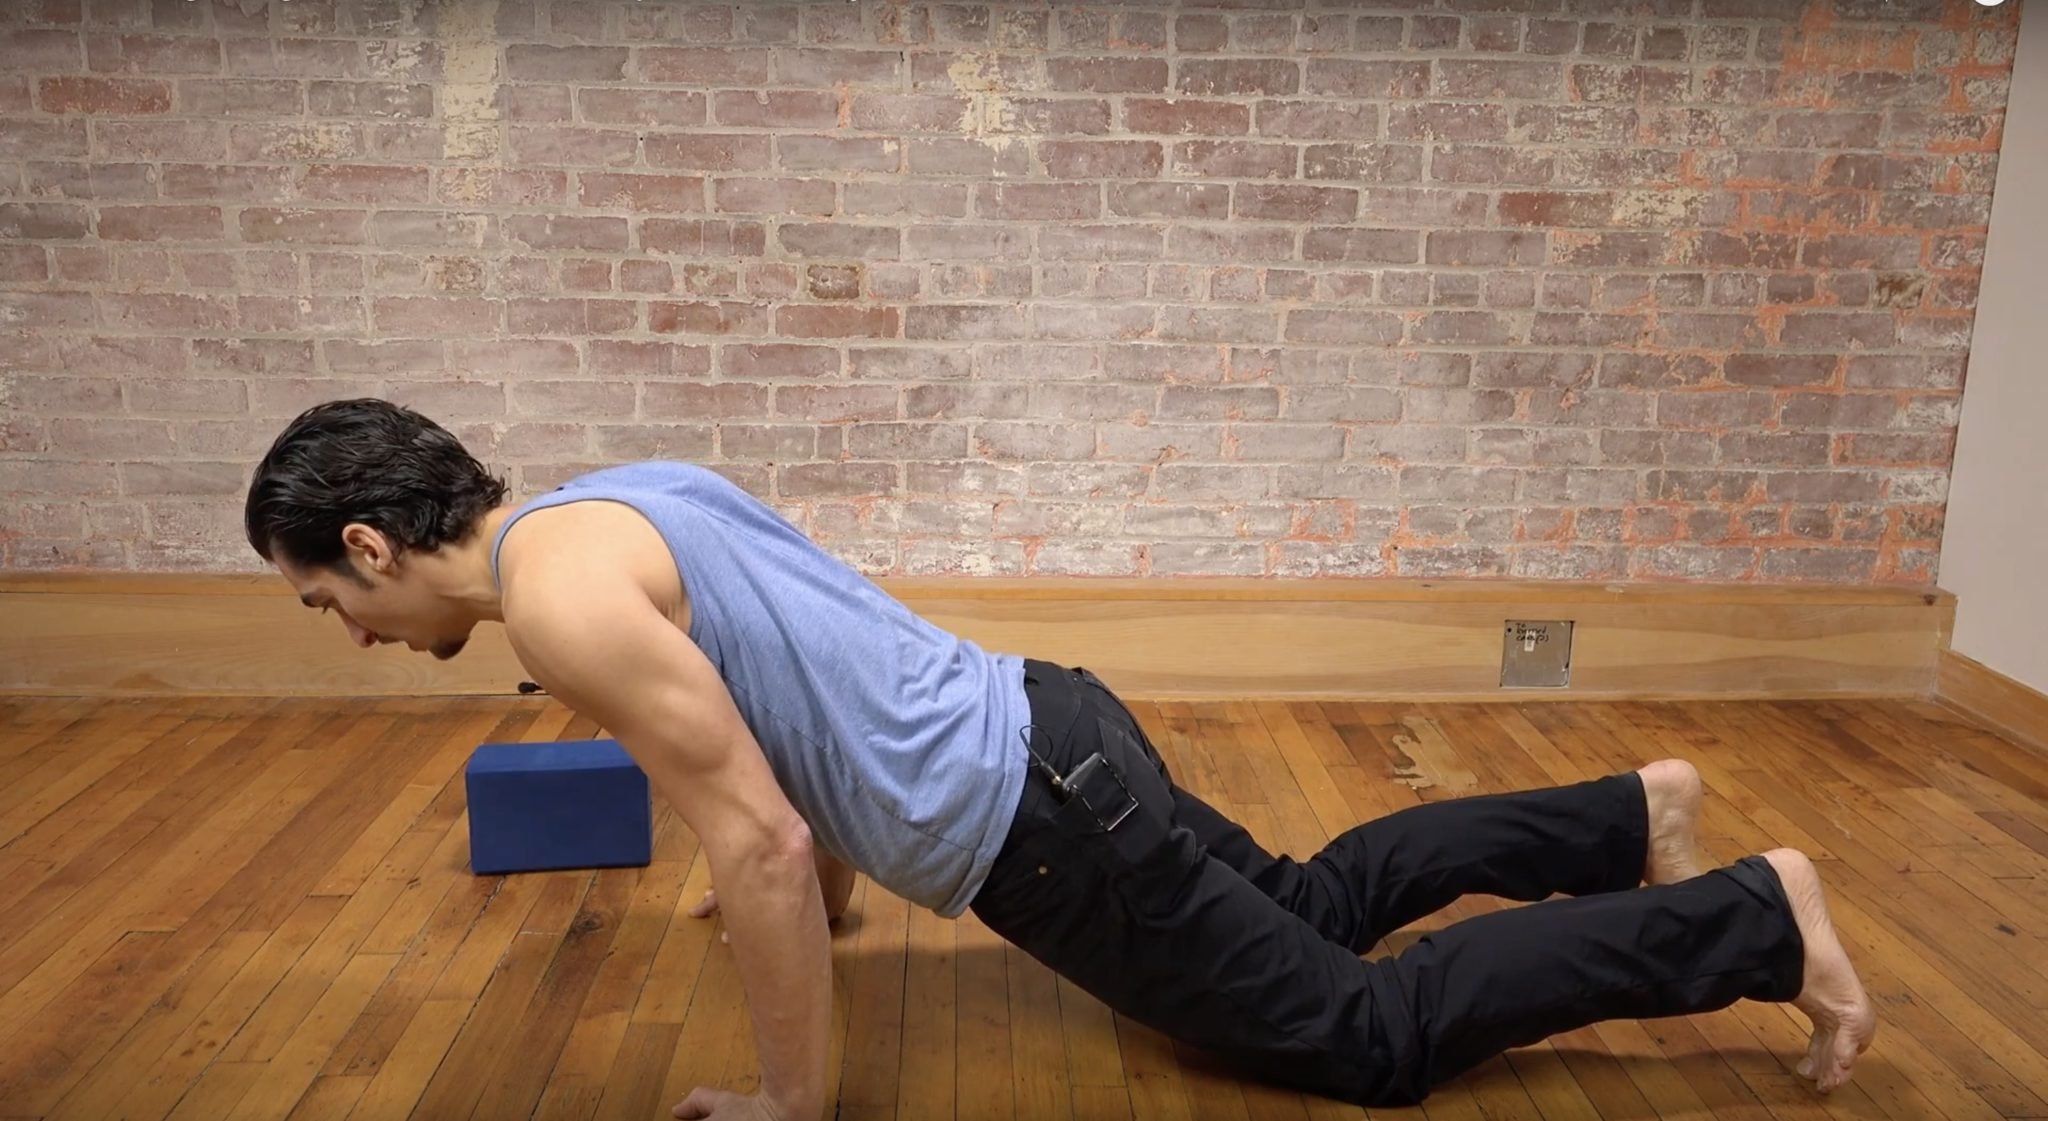
Anjaneyasana Preparation With Cactus Arms
Here, we develop the use of the transversus abdominis while training the backbend. In the video, you’ll see how Matt teaches us how to avoid compression in the spine.

200 HOUR ONLINE TEACHER TRAINING
GET CERTIFIED & DEEPEN YOUR YOGA PRACTICE
- Deepen your yoga practice
- Build confidence speaking in front of groups in person and online
- Learn foundational class structures and templates
- Learn techniques for a wide range of yoga postures
- Get certified and highly qualified to teach yoga
- Yoga Alliance Globally Recognized Certification Program
3 POSTURES TO FURTHER THE FOUNDATION
Double Stag Legs in Shoulderstand
This is a nice way to practice the positioning of the legs for the counterbalance in Double Stag Handstand. This counterbalance is arguably why it may be easier to access the ability to balance in a handstand.
Double Stag Headstand
Here’s where we start to put a few of the foundations to the test. In the video, Matt emphasizes that keeping the leg that is on the same side as the front body a little lower will help to maintain a more optimal pelvic position. The strengthening of hip flexion and extension is valuable in this negotiation of balance.
Double Stag Forearm Stand
There’s a short demonstration in the video of this variation. This option is potentially more challenging due to the “tightness” required in the shoulders and the increased requirement of activation in the body for balance.

300 HOUR ONLINE TEACHER TRAINING
GET 500 HOUR CERTIFIED AS A MASTER TEACHER
Master your skill set as a teacher through refined techniques, anatomy, biomechanics, sequencing, philosophy, meditation techniques, theming, yoga business, and much more!
- Get 500 hour certified
- Learn anatomy, biomechanics, asana techniques
- Expand your teaching skills
- Masterful sequencing and verbal delivery
- Learn meditation and breathwork techniques
- Transformative tools: theming, dharma talks, satsang
STRAIGHT-BACK VERSUS STAG HANDSTAND
Last week’s blog delves into the position of the pelvis for Straight-Back Handstand (posterior tilt). Due to the backbend quality of Double Stag Handstand, the opposite is true (anterior tilt of the pelvis). The positioning of the legs in Double Stag offers a broader body shape for counter balance and therefore more room for play and negotiation. Attempting to stay completely vertical in Straight-Back leaves us more vulnerable to favouring a lean to one side and potentially losing balance more easily. No matter what, it still comes down to our own individual experience.
Preparation for Double Stag may not be glamorous, but that’s not what it’s about. What’s truly glamorous are the benefits of a deeper understanding of our bodies and the strength and longevity we foster.
You can still register to embark on a journey of a deeper understanding of your body and its potential in Matt’s 10-Day Handstand Program.
The 200 Hr. Teacher Training: Click Here to See the Next Start Date
The 300 Hr. Advanced Teacher Training: Click Here to See the Next Start Date
Article by Trish Curling
Videos Extracted From: Inversion Immersion

ONLINE ANATOMY COURSE
- Accessible, exciting, and easy to learn
- Anatomy and biomechanics for yoga
- Appropriate for both teachers and students
- Learn joint alignment vs pose alignment
- Demystify yoga poses and transitions
- Release aches and pains
- Learn how to avoid common injuries
- Caters to all levels with modifications and props
- 20 hours Continued Education Credits with Yoga Alliance
- 20 hours toward Chromatic Yoga Certification and 300 Hour
- Lifetime access
Continue Learning
Opening The Heart Chakra
read more
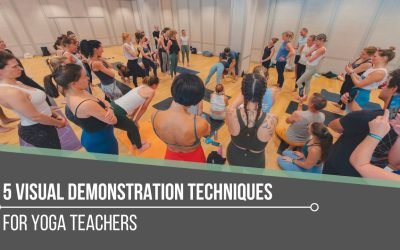
5 Visual Demonstration Techniques for Yoga Teachers
5 Visual Demonstration Techniques for Yoga TeachersYoga TeachersVisual Demonstration This is often confused with “teaching from the mat.” Teaching at the front of the room can be useful at the right time and place, but that is not what we are referring to here. In...
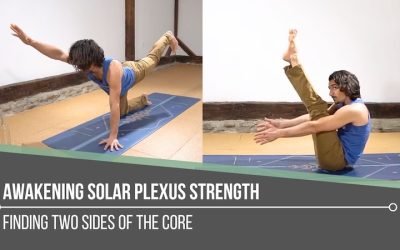
Awakening Solar Plexus Strength
Awakening Solar Plexus Strengththird chakraAWAKENING SOLAR PLEXUS STRENGTH Awakening solar plexus strength invites us into the centre of transformation. Matt reminds us that this third chakra, Manipura, is our fire, our willpower, and our ability to take action. It...
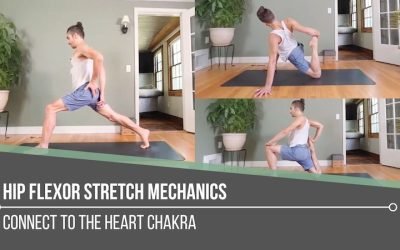
Hip Flexor Stretch Mechanics
Hip Flexor Stretch MechanicsALIGNMENTHIP FLEXOR STRETCH MECHANICS Hip flexor stretch mechanics begins with understanding that stability and length often come from opposing actions. In the first demonstration, Matt cues the back inner thigh to lift upward, which tips...
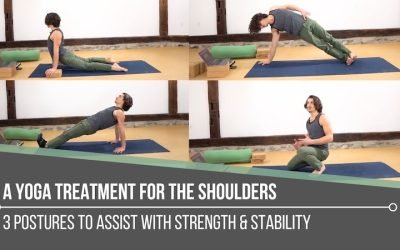
A Yoga Treatment For The Shoulders
A Yoga Treatment For The ShouldersSTABILITYA YOGA TREATMENT FOR THE SHOULDERS Shoulders tend to speak up when stability is missing. Matt reminds us that building strength isn’t about aesthetics, it’s about support, resilience, and keeping the body working as one...
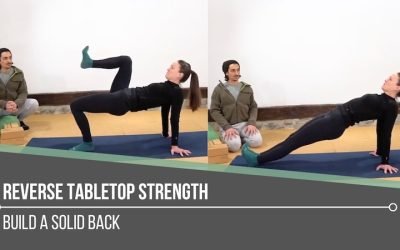
Reverse Tabletop Strength
Reverse Tabletop StrengthMECHANICSREVERSE TABLETOP STRENGTH “Solid” implies strength, yet in yoga, we can easily lose sight of how intentionally building the back body supports everything we do. Reverse Tabletop may look simple, but it asks a lot from the posterior...
THE FREE TECHNIQUE PACK
When You Subscribe, You Will Get Instant Access to
- the Technique Pack: 15 yoga pose breakdowns
- exclusive online course discounts
- exclusive blogs and videos