WILD THING SHOULDER ALIGNMENT
ANATOMY • BIOMECHANICS • TECHNIQUE
Shoulder Alignment
WILD THING SHOULDER ALIGNMENT
What is the correct shoulder alignment for the pose we call Wild Thing? To answer this, we would first have to define the guidelines for “right” and “wrong.” The fact is there are many ways you can align the shoulder, and you will be able to find at least one yoga teacher who would validate each alignment as “correct.” We need context and agreed objectives.
For this discussion, the objective is to access greater mobility by utilizing the strength of the rhomboids. Our context for what is correct is based on two questions:
- What will provide us with the greatest access to the pose we call Wild Thing?
- How can we minimize the risk of injury in our pursuits of the posture?
ANATOMY IN MOTION
APRIL 2022 Immersion
- Embody anatomy
- Learn key muscles, bones, and joints
- Visualize your movements internally
- Improve proprioception
- Sensation-based practices
- Unlock and strengthen major muscle groups
- Active, passive, and isometric stretching
- Improve mobility and stability
- Get VERY geeky
$168.00
THE BIOMECHANICS
In the video below, you will notice two key points. First is the rotation of the arm bone (external), which pairs with retraction of the shoulder blade. Second, you will see that in Wild Thing, my shoulder is NOT stacked directly above the wrist.
There are two reasons we focus on external rotation. First, it helps stabilize the arm bone in the shoulder socket (glenohumeral joint), which tends to be challenging for most people — it’s safe to say that most humans are chronically internally rotated at the shoulder. The second reason is that external rotation in this position helps to retract and depress the shoulder blade. As a result of these actions, you will feel your spine move into a backbend so long as you don’t do anything to counteract the movement.
Wild Thing shoulder alignment is not just about the shoulder; it also helps to prepare your spine for the deep backbend that Wild Thing requires.
The Risk: If you skip these steps, you will likely wind up with pressure, strain, or pain at the front of the shoulder joint. Additionally, your posture will feel more like a 3-Legged Tabletop than an expansive heart opener.
THE 3 ACTIONS TO ACHIEVE THIS “WILD THING SHOULDER ALIGNMENT”
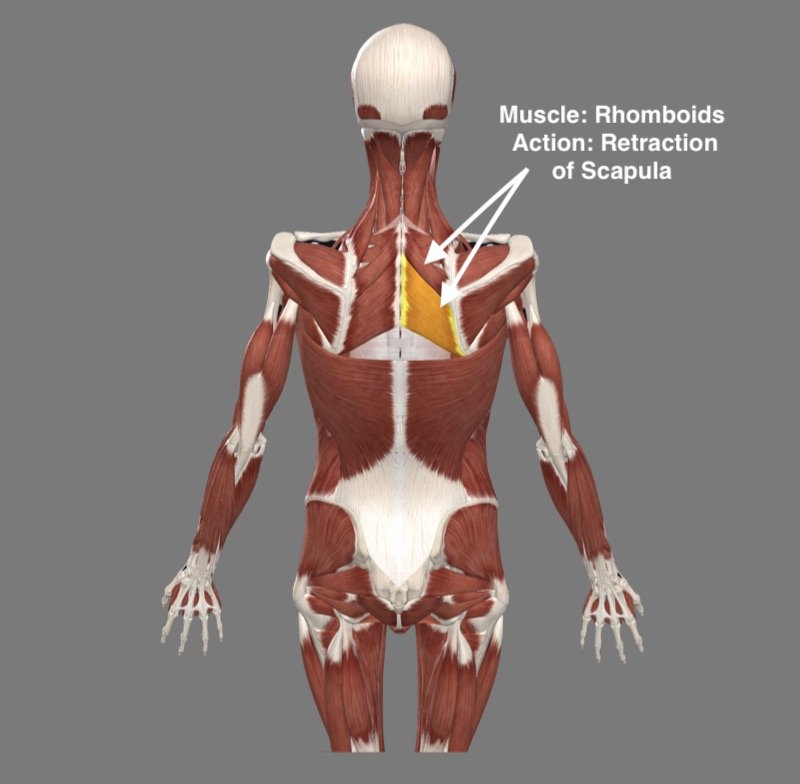
Essentially, the objective is to get the shoulder back behind you. The primary muscles that will do that are called the rhomboids. The muscles that restrict this movement are called the pectorals. Action 1 helps to unlock the pectorals. The following 3 actions should be done PRIOR to rising up, not after. Additionally, do not stack your shoulder over the wrist.
THE ACTIONS
Action 1: Shoulder elevation
Relax and allow the shoulder to rise up toward your ear. This will turn off your pectoralis major and minor, which will provide greater mobility when you attempt to do Actions 2 and 3.
Action 2: Retract your shoulder blade
With the shoulder up toward the ear, pull your shoulder blade toward your spine, this will move the head of the arm bone back, lengthening your chest muscles.
Action 3: Rotate the arm externally
Rotate the arm bone outward until you feel your rib cage press forward and your spine move into a back bend. This step will also bring the shoulder blade back down your back (away from the ears).
MOBILITY
ONLINE YOGA IMMERSION
- Key techniques to increase flexibility
- Strength development for mobility and range of motion
- Learn postures: Hanumanasana (Splits), Extended Side Plank
- Active and passive mobility for shoulders, hips, and spine
- Improve spinal twists, heart openers, shoulder openers, and hip openers
- Find greater ease in seated postures
- Improve mobility and posture off the mat
- When and how to do active, passive, and isometric stretching
$148.00
TRANSITIONING FROM THE GROUND TO WILD THING
As you rise up from the ground, you will notice that you will be tempted to undo the shoulder alignment. I suggest filming yourself so you can observe with your eyes, as it can be easy to feel like you are doing one thing while the body is doing another. Rewatch the above video and you will see that as I rise up I am deliberately rotating the arm bone outward and the moving the shoulder blade backward.
KEY POINT: THE SHOULDER IS NOT STACKED OVER THE WRIST
Notice that as I rise up, I keep moving my weight into my legs and using the strength of my legs, buttocks, and back to press my body to the sky. This is to take the stress off of the shoulder and minimize the risk of shoulder injury. Using your legs and back muscles will also help you deepen the posture.
To learn more about the anatomy, biomechanics, and techniques you can apply to advance your asana practice, join the Anatomy in Motion immersion. This immersion is unique in that each class begins with a visual anatomy tutorial, helping you see how your muscles create movements. Following the tutorial, you learn how to incorporate this knowledge into your practice, and most importantly, you learn to FEEL your anatomy.
The 200 Hr. Teacher Training: Click Here to See the Next Start Date
This is for you if you are interested in deepening your yoga practice, building your confidence, learning how to create a class, and sharing this practice with friends, family, or beyond. Yes, it’s for all levels, ages, etc.
The 300 Hr. Advanced Teacher Training: Click Here to See the Next Start Date
This training is definitely for you if you are already certified at the 200 or 500 hour level but want to take your teaching career and practice to the next level. In this training, you will learn Anatomy, Biomechanics, Postural Techniques, Intelligent Sequencing, Breathwork, Meditation, Heart-Centered Philosophy, Theming, Business Structure, Marketing, Social Media, Branding, and how to build a sustainable and successful career!
Article by Matt Giordano
Video Extracted From: Mobility Immersion
ANATOMY IN MOTION
APRIL 2022 Immersion
- Embody anatomy
- Learn key muscles, bones, and joints
- Visualize your movements internally
- Improve proprioception
- Sensation-based practices
- Unlock and strengthen major muscle groups
- Active, passive, and isometric stretching
- Improve mobility and stability
- Get VERY geeky
$168.00
Continue Learning
Handstand Actions
Handstand ActionsLEAN, GRIP, PUSHHANDSTAND ACTIONS Handstand isn’t something we conquer in a single class, it’s a layered process that demands repetition and refinement. There are certain key handstand actions that are non-negotiable: lifting the shoulders up to the...
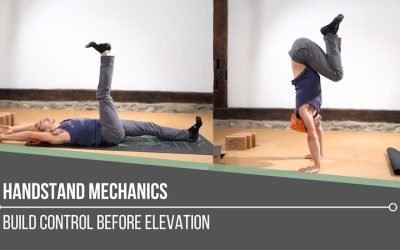
Handstand Mechanics
Handstand MechanicsINVERSIONHANDSTAND MECHANICS Stability, strength, and coordination come together in the pursuit of mastering handstand mechanics. One of the most critical foundations is internal rotation at the hip joints, which can aid with certain entries and...
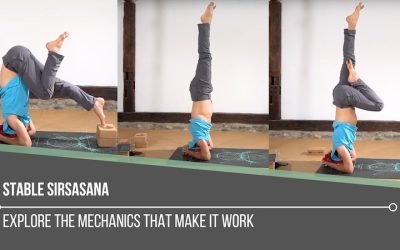
Stable Sirsasana
Stable SirsasanaHEADSTANDSTABLE SIRSASANA Creating a stable Sirsasana is less about the final pose and more about the mechanics that lead us there. From weight transfer and spinal alignment to hamstring flexibility and shoulder engagement, each layer matters. Unlike...
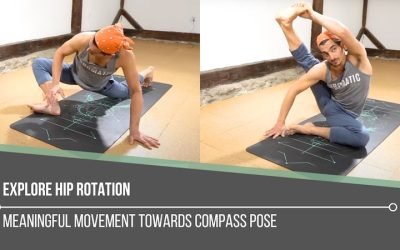
Explore Hip Rotation
Explore Hip RotationSURYA YANTRASANAEXPLORE HIP ROTATION Hip rotation isn’t just an anatomical concept—it’s an open invitation to become more intimate with our body’s story. In yoga, we often live in lateral (external) rotation, especially in hip-opening postures....
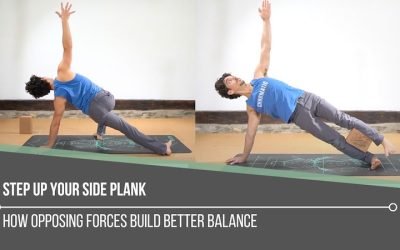
Step Up Your Side Plank
Step Up Your Side PlankVASISTHASANASTEP UP YOUR SIDE PLANK Side Plank might look simple, but true proficiency starts in the details. One of the keys to refining the posture is learning how opposing muscle groups create an isometric contraction—a subtle engagement that...
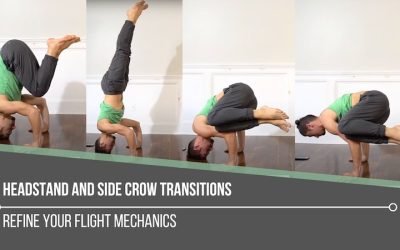
Headstand and Side Crow Transitions
Headstand and Side Crow TransitionsPARSVA BAKASANAHEADSTAND AND SIDE CROW TRANSITIONS Mastery begins with mechanics, especially when it comes to headstand and side crow transitions. Each posture on its own demands control, coordination, and a deep understanding of...
THE FREE TECHNIQUE PACK
When You Subscribe, You Will Get Instant Access to
- the Technique Pack: 15 yoga pose breakdowns
- exclusive online course discounts
- exclusive blogs and videos





0 Comments