Headstand and Side Crow TransitionsPARSVA BAKASANAHEADSTAND AND SIDE CROW TRANSITIONS Mastery begins with mechanics, especially when it comes to headstand and side crow transitions. Each posture on its own demands control, coordination, and a deep understanding of...
Get A Wheel Pose Upgrade
Get a Wheel Pose Upgrade
Prop Options to Refine Your Alignment
urdhva dhanurasana
WHEEL POSE
Okay, buckle up for this one! These drills and variations are about to literally flip you upside down for Wheel Pose. The unique ways in which Matt demonstrates how to use props will help you get a Wheel Pose upgrade. Even if you think you have a grasp on what’s required for the pose, today’s video provides techniques that lead you away from common tendencies and guide you towards improved patterning in this heart opener. Adding to your toolkit as regards the preparation and execution of various asanas is vital in continuing to understand your body. You can only develop this understanding by mastering “micro actions.” It’s these micro actions that set a safe foundation for you to go deeper and explore further. Utilizing the support of yoga props and of the environment around you can dramatically shift your experience. Let’s find out what’s possible in Wheel Pose.

ALIGNMENT
JUNE 2023 Immersion
- 12 Hatha-style practices
- Transformative and informative experience
- Alignment and techniques for the most common asana postures
- Step-by-step, easy-to-follow instruction
- Improve strength, balance, flexibility, and proprioception
- Accessible and empowering modifications
- Appropriate variations a modifications for all levels
$168.00 $138.00
SHOULDER MOBILITY WITH BLOCKS AND A WALL
Paying attention to the finer details makes for a significant shift in your yoga practice. This can be applied in various ways, including when it comes to improving shoulder mobility. The first two preparation drills Matt shares in the video showcase accessible ways to find shoulder mobility for greater range in Wheel Pose. The important detail here is the lifting of your shoulders “up to your ears” and keeping them there once your arms are overhead. Whether you are utilizing the blocks or the wall, Matt emphasizes how important it is to do this action first in order to avoid shoulder impingement.
In any conversation surrounding mobility, strength must be a part of it. In both drills, there is a pressing action that is added to keep your armpits lifted. As a result, you’ll activate the rhomboids and upper trapezius.
WATCH THE VIDEO
GET A WHEEL POSE UPGRADE: PROP OPTIONS TO REFINE YOUR ALIGNMENT
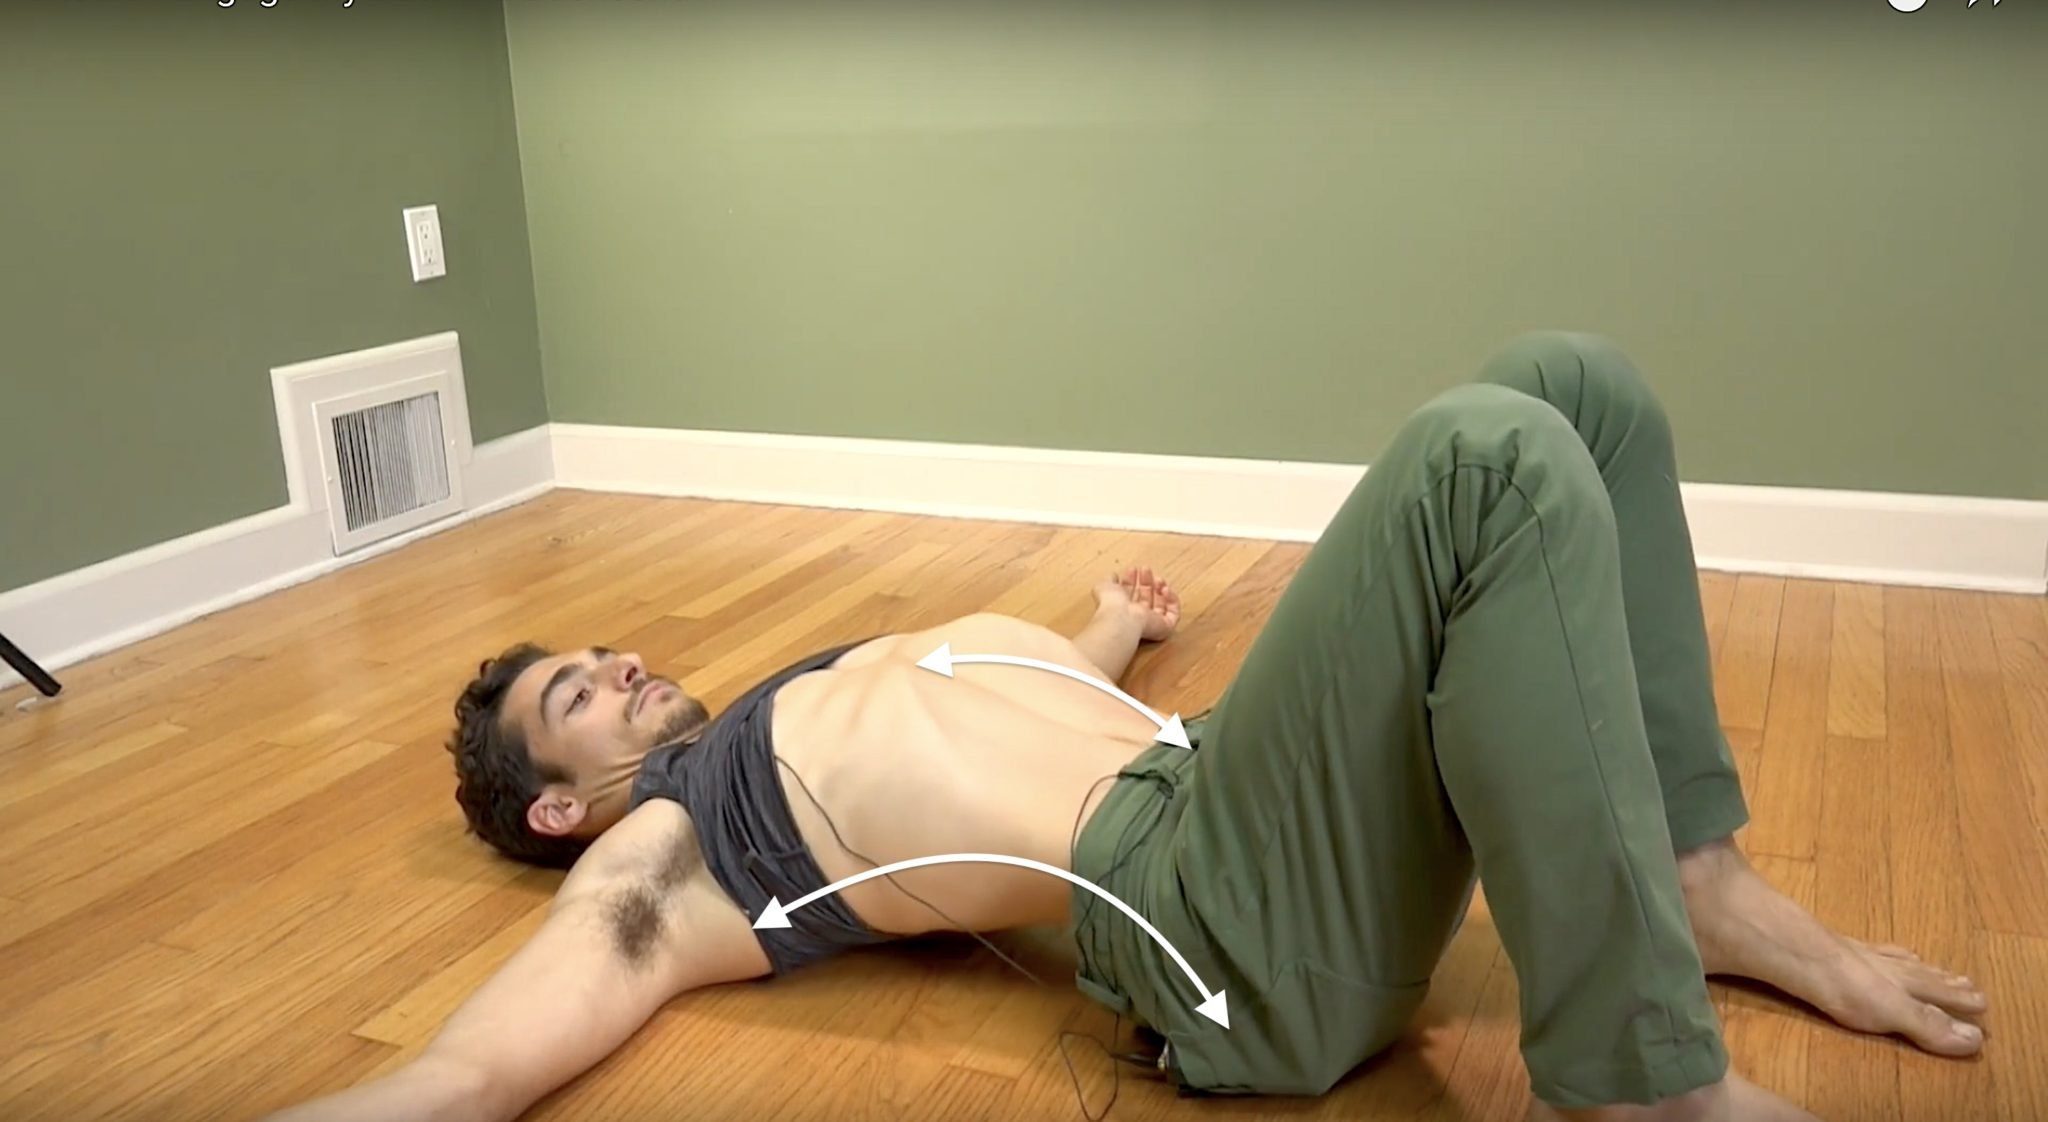
LUNGE-POSITION PREPARATION
The lifting and activation from the first 2 drills nicely translates into the next Wheel Pose preparation. A vital component of the posture is the stretch of the pectoralis muscles, but hip extension is also essential. This lunge-position drill demonstrates how to combine both of these factors. The setup against the wall helps to pattern the activation of your quadriceps and glutes. The next steps involve spinal extension and the use of greater shoulder mobility. Narrowing the space between your shoulder blades (imagine that lift of the armpits) and sending the ribs forward really mimic the alignment of Wheel Pose. This bowing of the spine, as Matt refers to this technique, creates both a deep stretch in the front body and strength in the back body.

200 HOUR ONLINE TEACHER TRAINING
GET CERTIFIED & DEEPEN YOUR YOGA PRACTICE
- Deepen your yoga practice
- Build confidence speaking in front of groups in person and online
- Learn foundational class structures and templates
- Learn techniques for a wide range of yoga postures
- Get certified and highly qualified to teach yoga
- Yoga Alliance Globally Recognized Certification Program
ROLL UP YOUR YOGA MAT AND GRAB YOUR BLOCKS
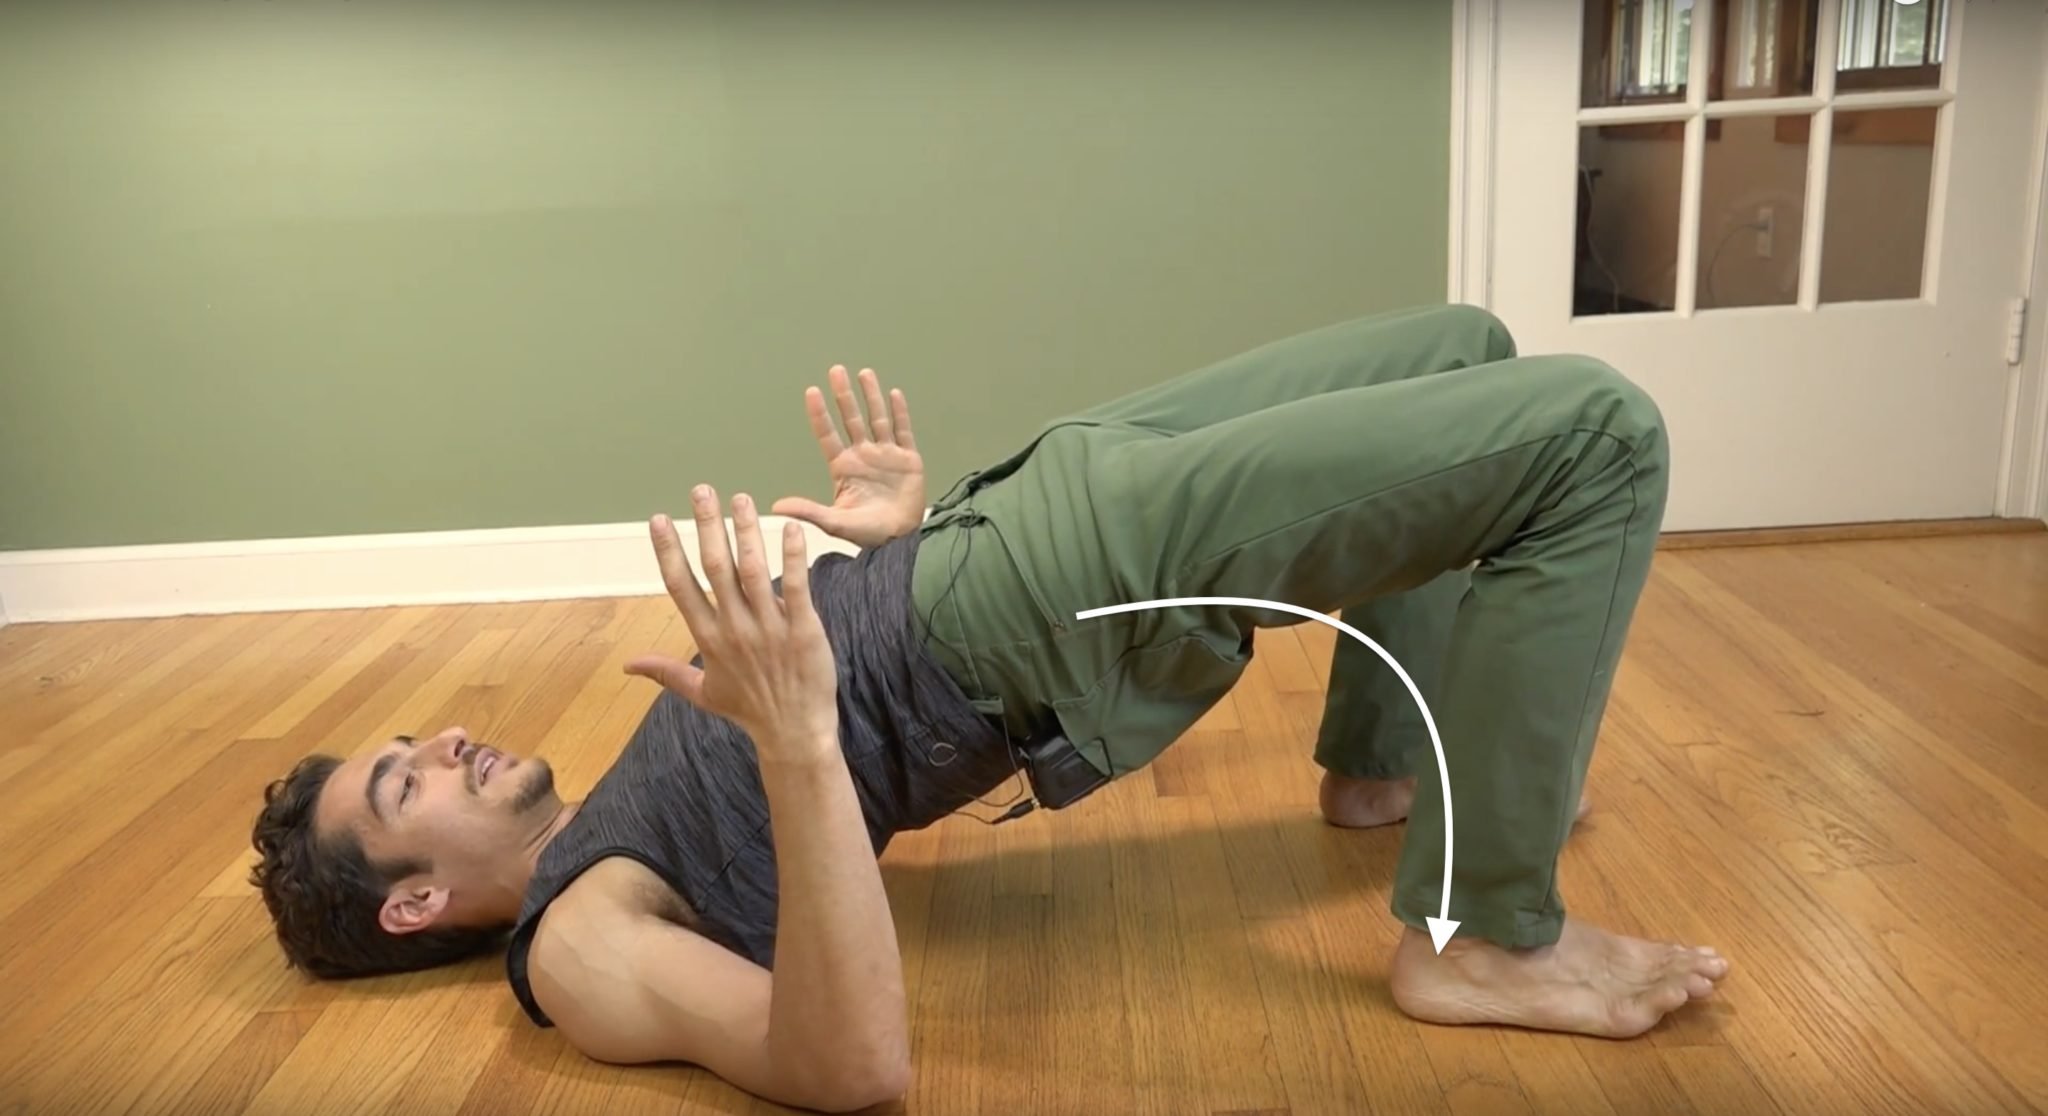
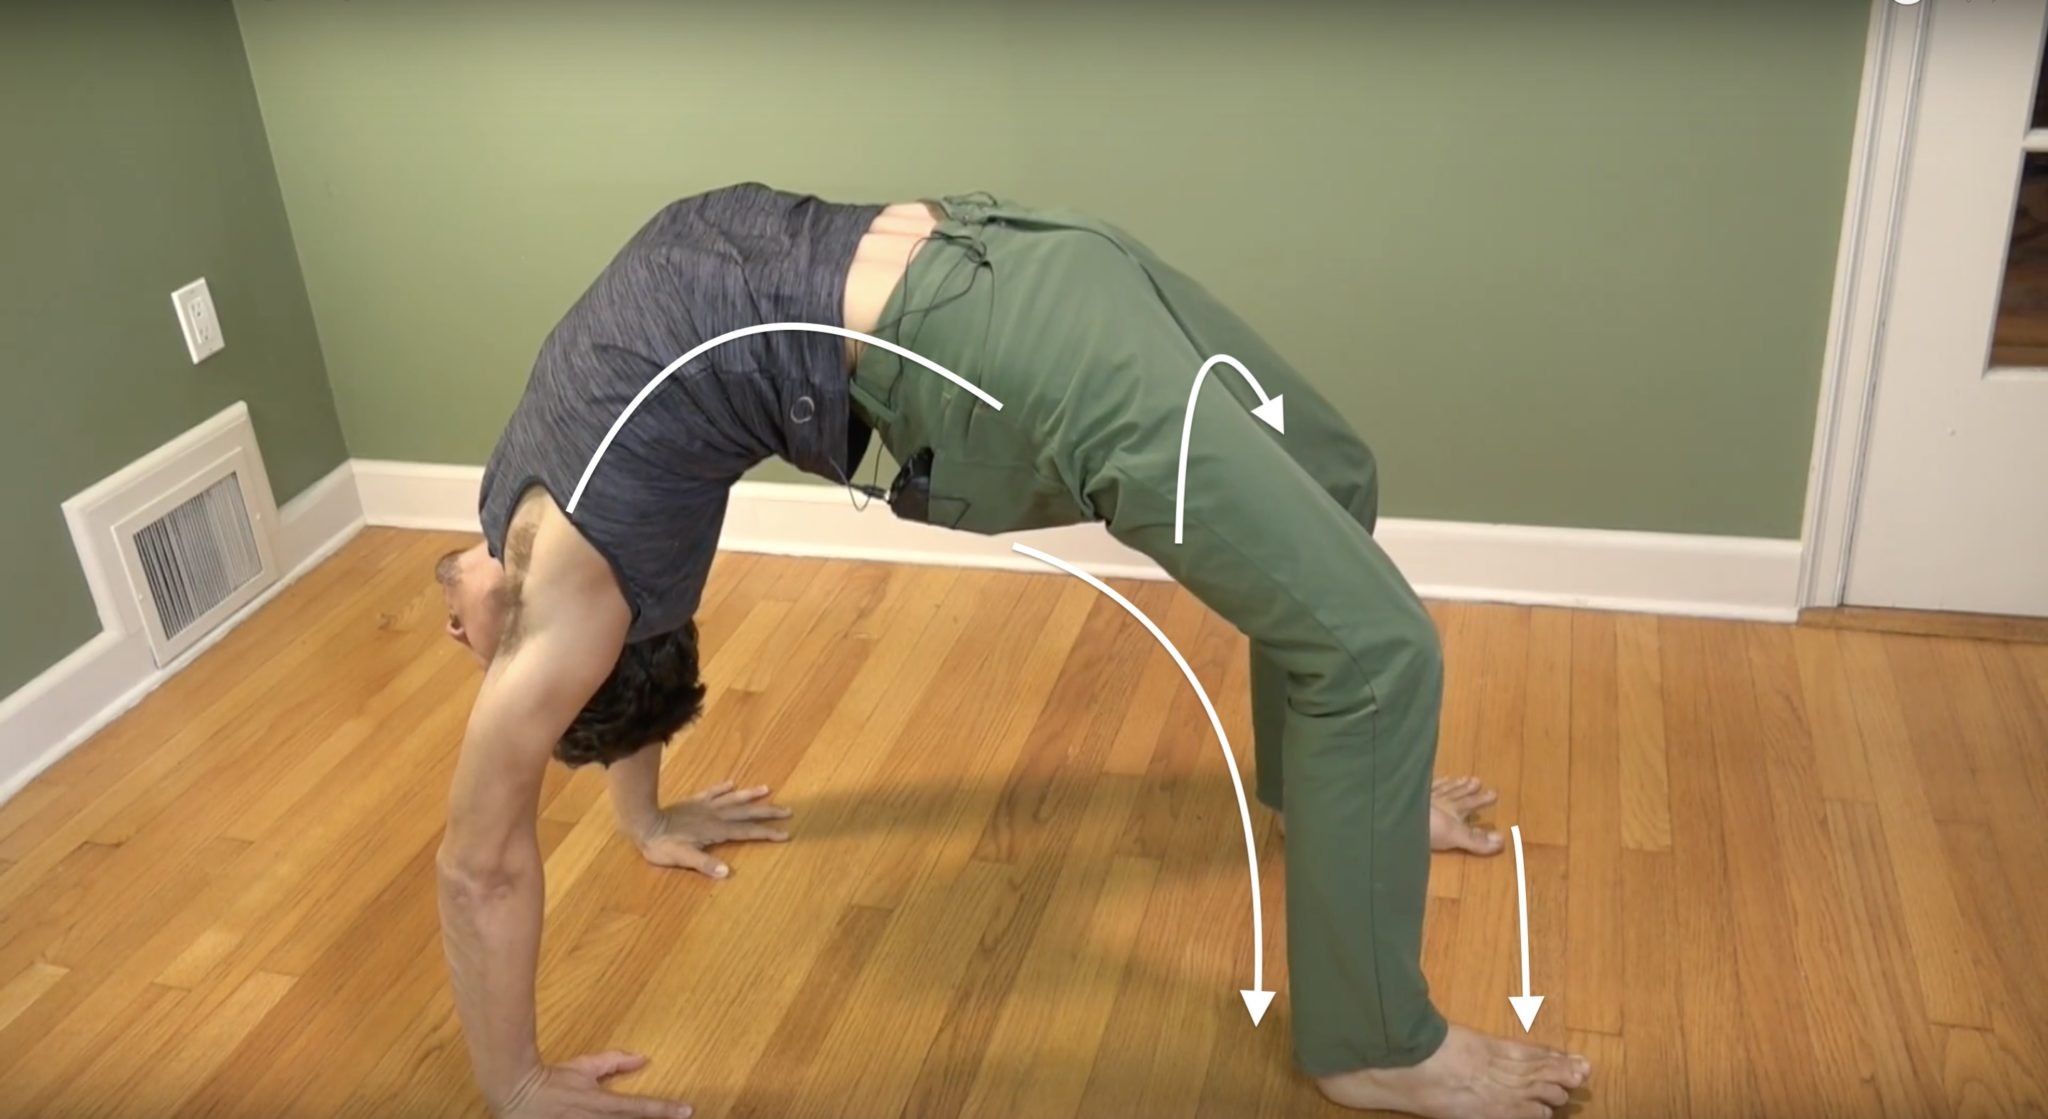
Pressing straight up into Wheel Pose is not the next step; better advised is to break the press down into increments. The next two progressions involve a rolled up yoga mat and a couple of blocks placed diagonally up against a wall. Both of these options provide a great deal of support and less wrist extension, which may feel more comfortable when it is time to lift up into Wheel Pose.
The increments are as follows:
- Lifting up into Bridge Pose
- Coming to the top of the head, with chest towards the wall
- Slowly extending the arms
- Kicking through the heels (like the Lunge preparation)
Other imperative details in both drills include the following:
- Keeping the elbows wide (in a cactus shape)
- Activating the glutes
- Adjusting the feet
- Pushing down through inner heels
Equally important is to also exit the posture in increments. This maximizes safety for the spine.

300 HOUR ONLINE TEACHER TRAINING
GET 500 HOUR CERTIFIED AS A MASTER TEACHER
Master your skill set as a teacher through refined techniques, anatomy, biomechanics, sequencing, philosophy, meditation techniques, theming, yoga business, and much more!
- Get 500 hour certified
- Learn anatomy, biomechanics, asana techniques
- Expand your teaching skills
- Masterful sequencing and verbal delivery
- Learn meditation and breathwork techniques
- Transformative tools: theming, dharma talks, satsang
UPGRADE YOUR TECHNIQUE
Upgrading your technique essentially means that you’re in fact upgrading the alignment of your body. Doing this helps you maximize your potential. The drills from today’s video demonstrate that there’s much more to it than just practicing Wheel Pose over and over again. The mindful and methodical approach Matt offers with the use of props gives you the support and time to understand exactly how your body responds at each step. If you haven’t yet mastered a specific action, you can explore and learn how to execute the action without feeling compromised in a deeper position of the posture. This will allow you to gain as much as possible from your overall yoga practice.
If you’re interested in diving more deeply into how to maximize technique and alignment in common yoga postures, then you’ll want to register for Matt’s next immersion, Alignment.
The 200 Hr. Teacher Training: Click Here to See the Next Start Date
The 300 Hr. Advanced Teacher Training: Click Here to See the Next Start Date
Article by Trish Curling
Video Extracted From: Anatomy Of The Heart

FLOW & FLY
MAY 2023 Immersion
- 12 Vinyasa-style practices
- Increase your cardiovascular activity
- Foundational and advanced arm balance techniques
- Improve balance and proprioception
- Accessible modifications and sequences
- Appropriate variations for your level of practice
- Improve wrist, core, and shoulder strength
- ALL LEVELS APPROPRIATE
$148.00
Continue Learning
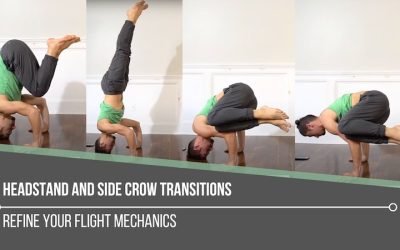
Headstand and Side Crow Transitions
read more
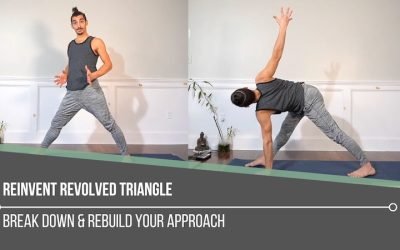
Reinvent Revolved Triangle
Reinvent Revolved TriangleTRIKONASANAREINVENT REVOLVED TRIANGLE “Now twist!” Sounds easy enough—until we realize the complexity hidden within the cue. Revolved Triangle is far more than just a twist. It’s a balance challenge, a hamstring and IT band stretch, a spinal...
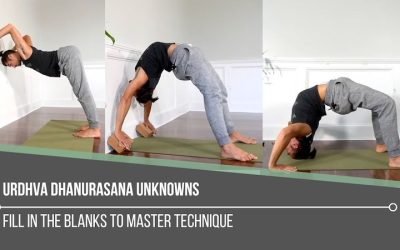
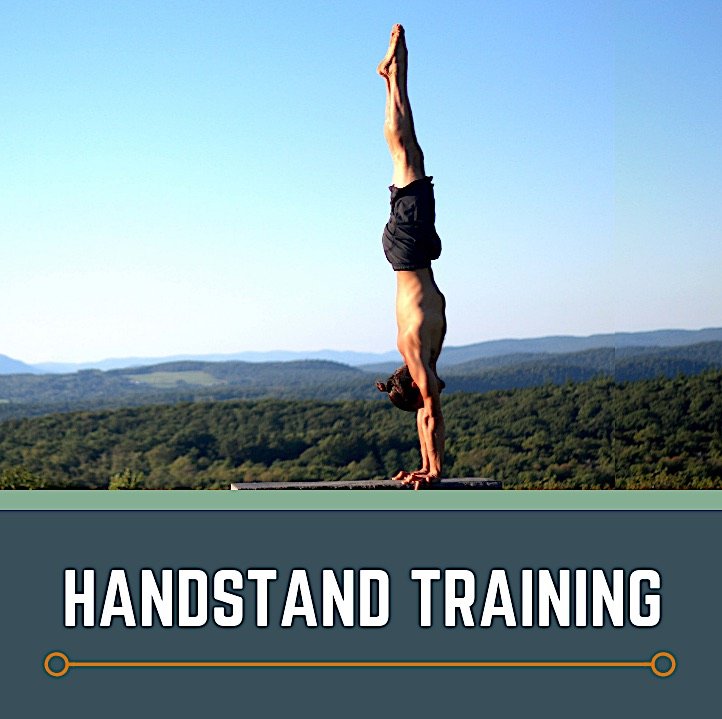
Urdhva Dhanurasana Unknowns
Urdhva Dhanurasana UnknownsALIGNMENTURDHVA DHANURASANA UNKNOWNS Let’s take a pause from what we think we know about Wheel Pose and consider the Urdhva Dhanurasana unknowns. Often, we hear the cue, “Just press up into Wheel,” and we do—without questioning the subtle...
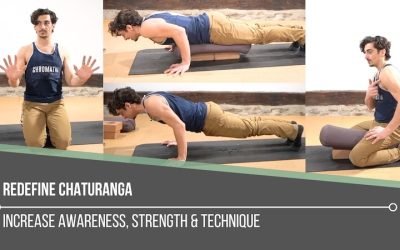
Redefine Chaturanga
Redefine ChaturangaALIGNMENTREDEFINE CHATURANGA To redefine Chaturanga, we first have to be willing to challenge what we think we already know. Many of us were taught a narrow-hand, elbows-tight variation of the pose—elbows hugging the ribs, hands close beneath the...
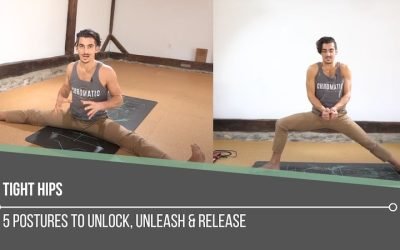
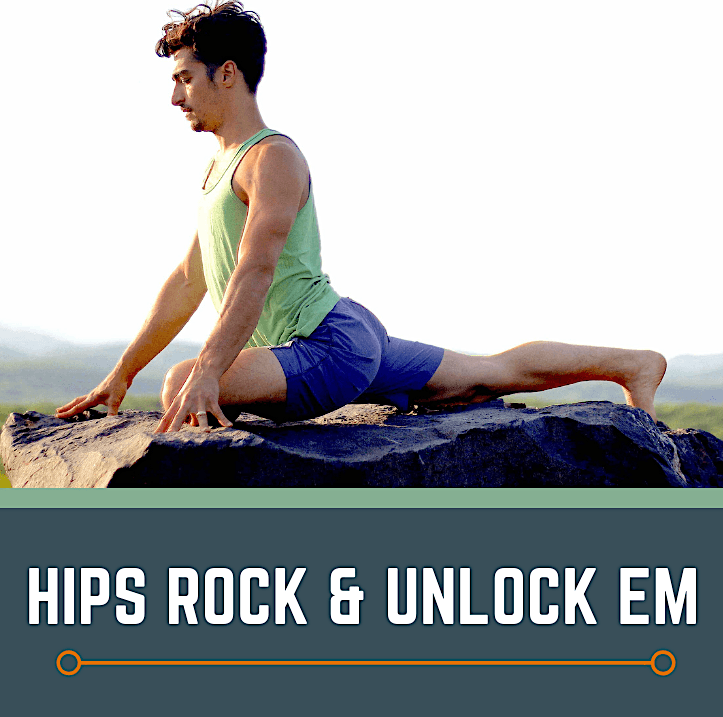
Tight Hips
Tight HipsHIP MOBILITYTIGHT HIPS When working to release tight hips, most people instinctively go straight for deep stretches. But one often overlooked area that holds a surprising amount of tension is the adductorS (the inner thigh muscles) that connect to the...
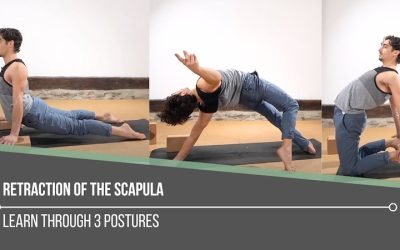
Retraction Of The Scapula
Retraction Of The ScapulaSHOULDER ACTIONSRETRACTION OF THE SCAPULA It may appear that scapular retraction holds less weight in finding deeper backbends, but this action can be quite significant in what we experience when it comes to strength, stability, and...
THE FREE TECHNIQUE PACK
When You Subscribe, You Will Get Instant Access to
- the Technique Pack: 15 yoga pose breakdowns
- exclusive online course discounts
- exclusive blogs and videos