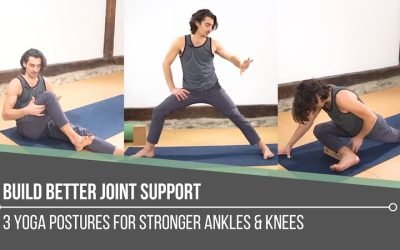
Build Better Joint Supportankle & kneeBUILD BETTER JOINT SUPPORT Sometimes we focus so heavily on flexibility that we forget our joints also need intelligent strength surrounding them. Matt reminds us that stability is not rigidity. It is the body’s ability to...
UNLOCK YOUR HIPS
THE LOW BACK AND S.I. JOINT
Low back pain or S.I. Joint instability are quite common for many people and the cause seems to be a mystery. What most people don’t realize is that pain is usually the result of weak or underdeveloped muscles resulting in the overcompensation by other muscles. In other words, the body develops patterns that are perhaps not the best when it comes to our well-being. Why does it develop patterns? All of nature adapts to the environment. As beings of nature, we do exactly the same thing – the body adapts to what we give it. If we give it a shape and hold that shape for the majority of the day then it will develop patterns of elongated muscles and shortened muscles. Some of the muscles that tend to cause problems for the low back that are often overlooked are the ABDUCTORS of the Hips. 3 of the muscles that make up the abductors are the Gluteus medius, Gluteus Minimus and T.F.L. You can see in the photo to the right (or below if you’re on mobile) that the gluteus medius attaches to each side of the pelvis and to the top of the thigh bone.
LOW BACK PAIN
The two sides of the pelvis are actually independently mobile structures due to the sacrum that lies in the middle which has a joint on either side that is called the S.I. Joint. This joint allows the pelvis on each side to move. This is a blessing but could also be a curse if the abductor muscles are out of balance. If one side is tight and the other flexible this could cause the pelvis to tilt, potentially resulting in low back discomfort or scoliosis. This was the case for me.

Growing up, I played hockey which strengthens the abductors. Unfortunately, I favored my right leg significantly which caused an over development and shortening of the musculature on the right side resulting in scoliosis and back pain throughout high school and college until about a year into yoga when I finally learned how to unlock my hips!
S.I JOINT
Now for other people, the low back isn’t affected but the S.I. Joint is. This seems to be most common amongst women, especially those that have had children – the ligaments tend to be more lax and so the sacrum can move inside the two sides of the pelvis resulting in pain on the back of the pelvis or radiating through the lower back near the pelvis and sacrum.
THE SOLUTION
There are many muscles that surround the pelvis that can pull on either side of the ilium or sacrum which could create pain, so where do we begin? Often times it can be overwhelming and ineffective to target all the hip and back muscles every yoga practice, so it is useful to focus on one area per practice. In the video below I share with you ways of working on the Abductor group for strength and range of motion. You may find that one side is not as strong as the other – if this is the case I recommend strengthening the weaker side which will help bring the abductors into balance.
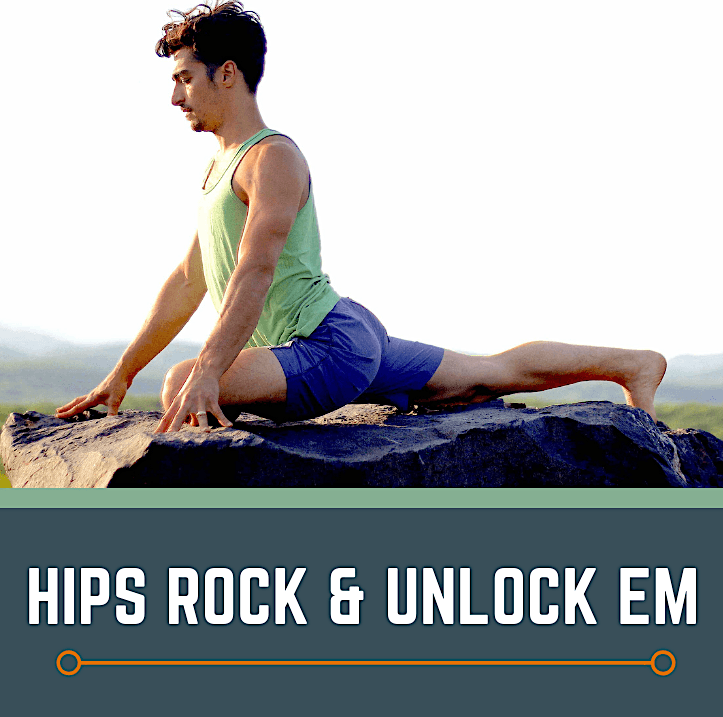
I do have a workshop called Hips: Rock and Unlock Em that I created as a way to target as many of these muscles within one practice. You could start there to get a feel for what areas of your hips are underdeveloped or out of balance.
In addition, I highly recommend the JULY IMMERSION which focuses on the Chakras. The first 5 practices of that immersion will awaken your strength, flexibility and awareness of the muscles that surround the hips.

OPEN YOUR HIPS AND HEART
The July Immersion takes you on a 12 Class Journey through the Chakras and the elements, to develop your strength, flexibility, and awareness of each energy center and the corresponding muscles. There is a heavy focus on the Hips in the Earth, & Water classes, and the Back in the Water and Air classes, balanced by Core strengthening in the Fire section.
THE STEP BY STEP APPROACH
“Dream big, start small, then connect the dots.” This quote from Dan Millman’s Wisdom of the Peaceful Warrior has been the foundation of my yoga practice from the moment I stepped on the yoga mat. It was that book that led my to yoga in the first place, and that line that became a mantra in my head from that moment on. How does it apply to the asana practice? Most people come into the yoga practice and feel something magnificent and of course they want to come back. At some point, regardless of how egoless we believe ourselves to be, we become attracted to the external postures of the yoga practice. It’s typically innocent of course, we associate a feeling with certain postures, on a subtle level we believe that when we attain them we will feel strong, powerful, fearless, light, free, at peace, worthy of love, kindness, etc. On an intellectual level, we usually know that this is not reality but we get pulled into it anyway. The beautiful thing is that we are being pulled into practice and the practice reveals what we need to learn. So I wouldn’t ridicule this process, but rather as you walk the path remind yourself that everything you wish to feel already exists within you, and rather than expecting yoga to do the practice for you, step into the feeling you crave and let that amplify your practice. This is what it means to practice with intention.
All that being said while we are living in this body we want to take care of it and allow it to reach its highest potential which includes movement practices, stability practices, diet, hygiene, mental health, creative expression, and so on. When I say highest potential, I don’t mean an end result or destination but rather a trajectory that gets us to walk the path. The purpose of this blog is to support your physical well-being in regard to your body. Asana is the practice that cultivates our body awareness, but most of us focus on the postures instead of our body and as a result we are left with thousands of shapes and alignment cues. A shortcut to body awareness is to put your body first, and the pose second! What does that mean? There are only a few major joints to learn in the body, and each has a few movements available to it. There are muscles that surround each joint that create this movement. If you use your asana practice to become aware, proficient, or even masterful in each movement then you will no longer be perplexed when you see a new pose, you will know exactly what is needed to put your body in that shape. You will grow to understand your limitations and your abilities, becoming your own best teacher.
THE CHROMATIC SYSTEM
I created Chromatic Yoga based on this concept of small steps toward our potential. Each month we have a focus in our classes, a Physical Through-Line (PTL), and a Thematic Through-Line (TTL). The PTL is the one muscle group or joint action that we pull through an entire class, or workshop, while the TTL is similar but for building awareness of the mind and subtle energies of life. Because I encourage Chromatic Teachers to be authentic with how they teach, each will have their own way of creatively sharing the PTL and TTL. This month PTL – Abductors of the hip, is the focus of the video below. These are just a few ways to strengthen and become aware of the muscles.
To find a Chromatic Yoga Teacher near you be sure to visit us at www.ChromaticYoga.com
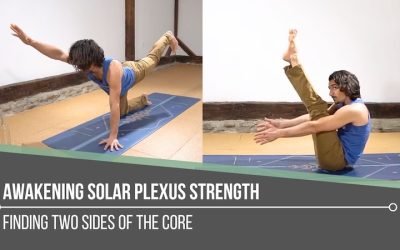
3 Steps to Master the Abductors
- Awareness: learn the sensation of activating the abductors
- Strengthen: the muscle group through various postures in your yoga practice.
- Practice: activate the abductors over the course of time, through as many yoga postures as possible until you can easily activate them on command in any posture!
Step 1. Awareness
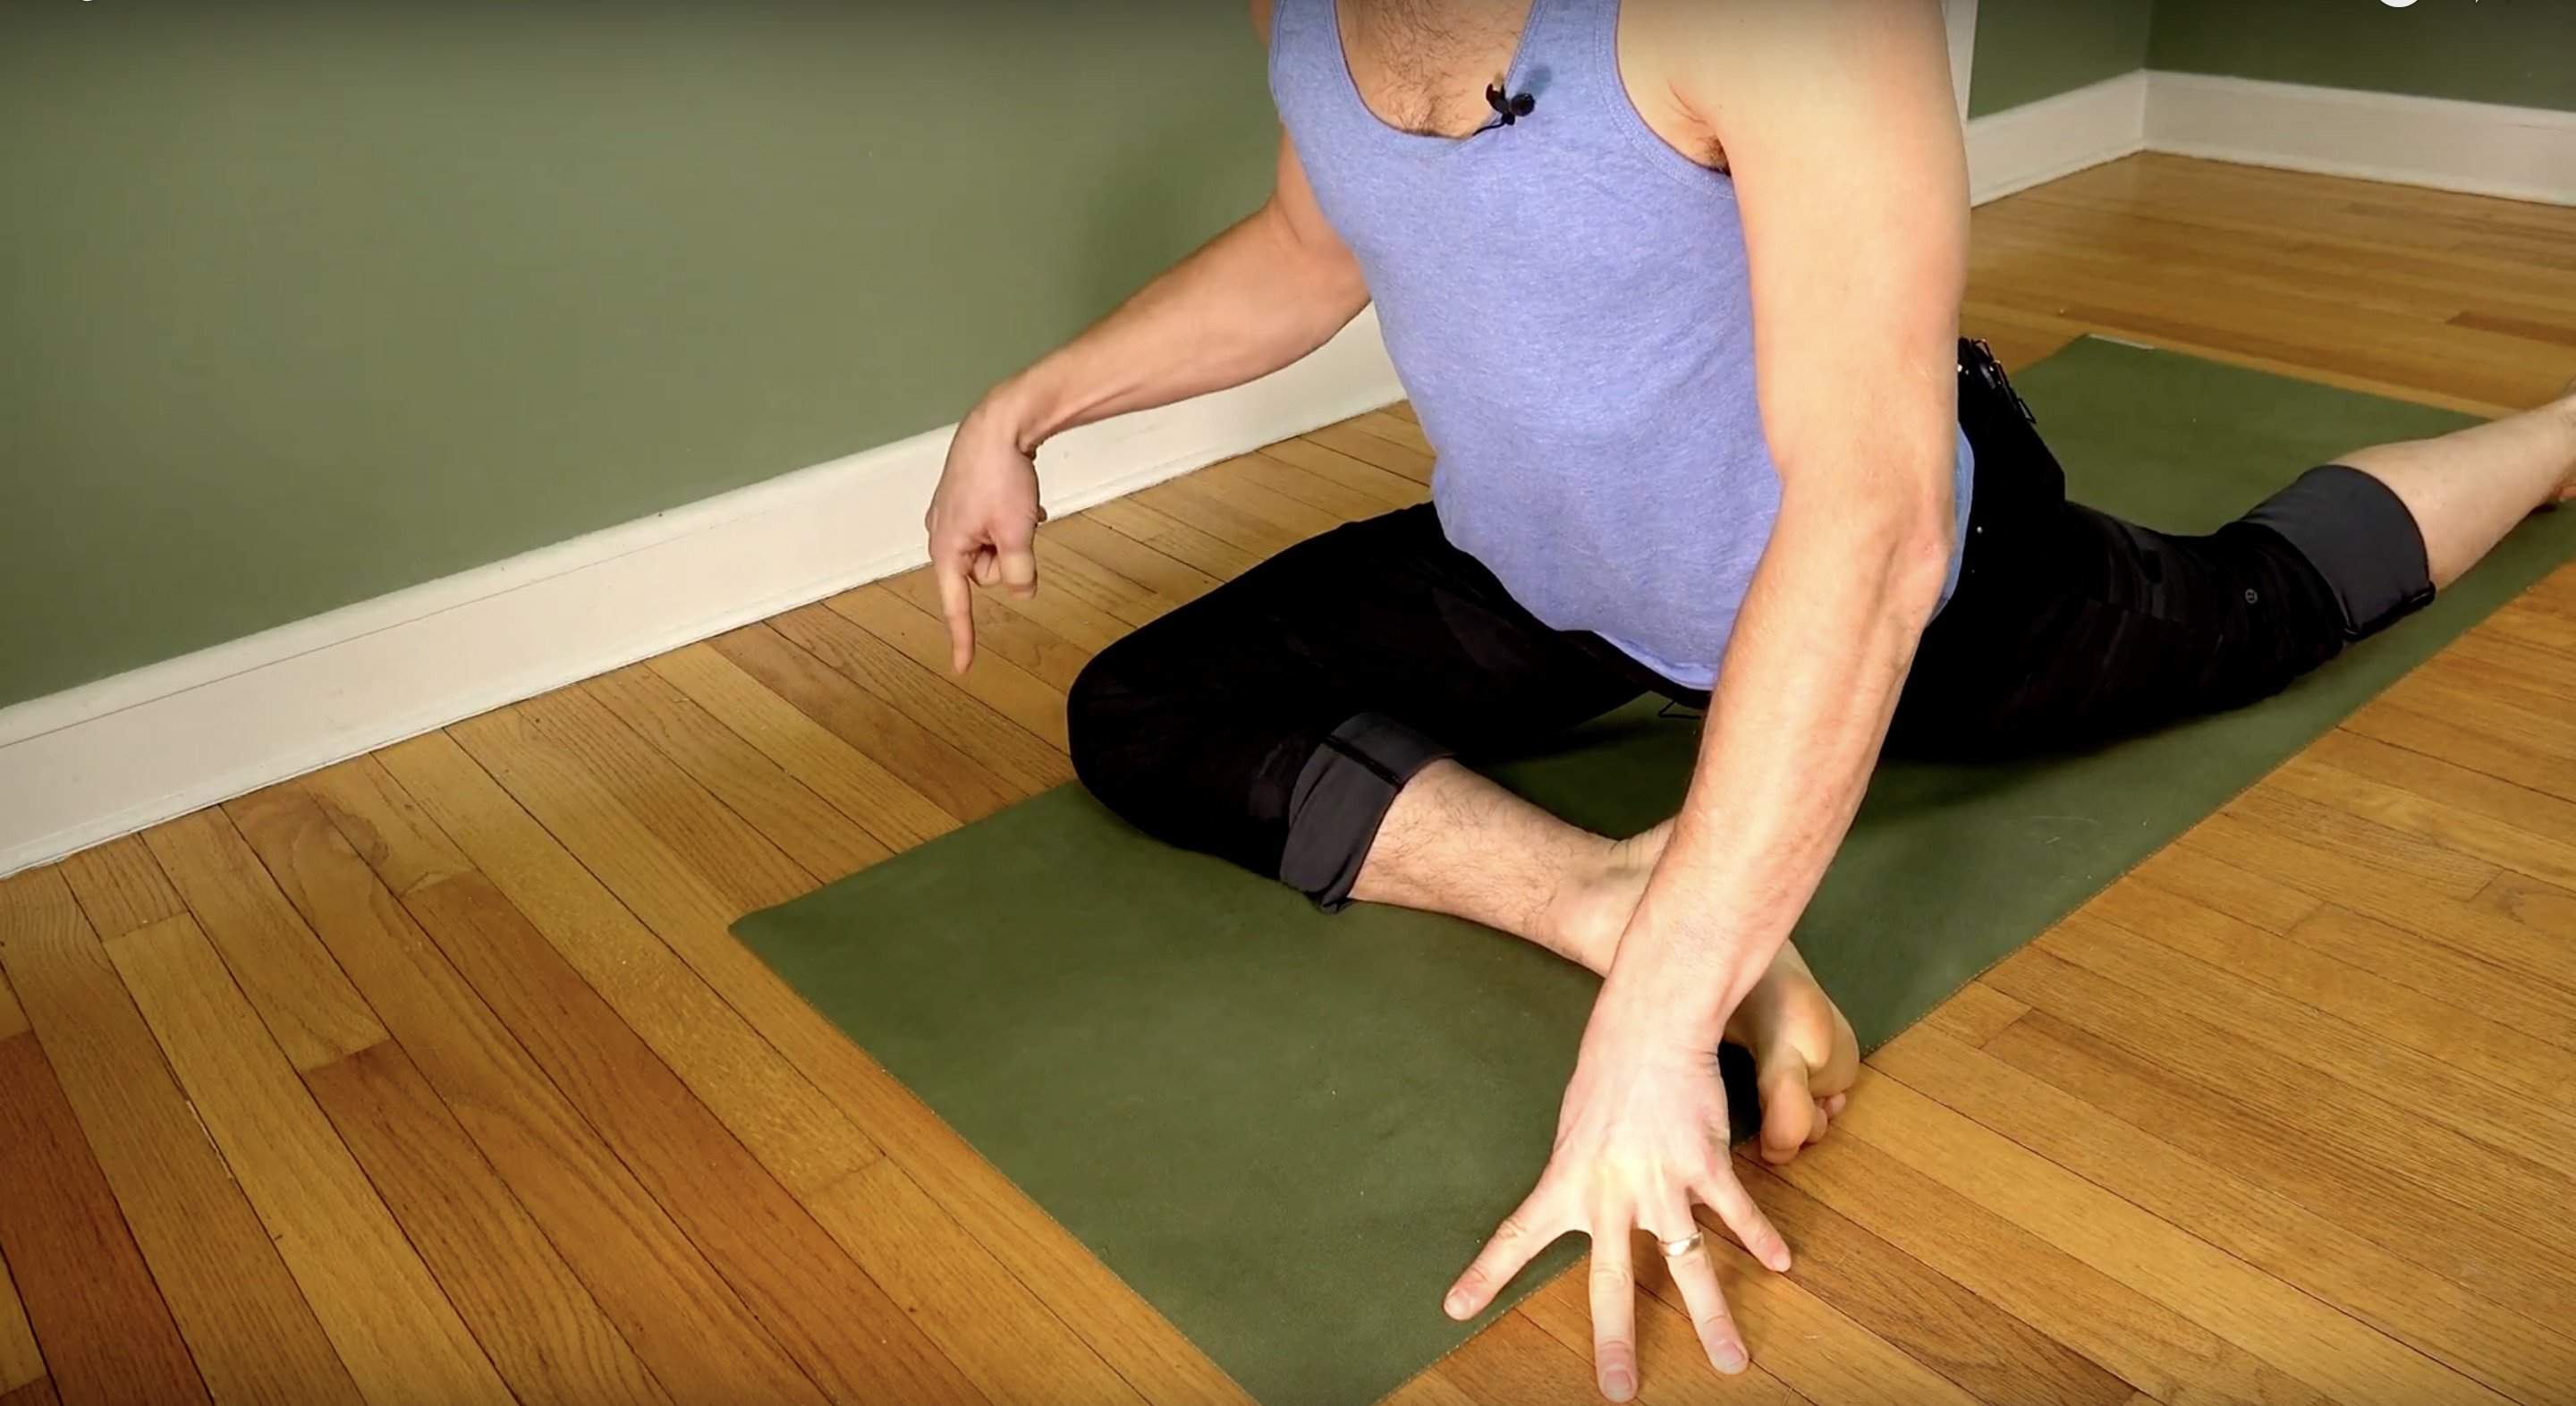
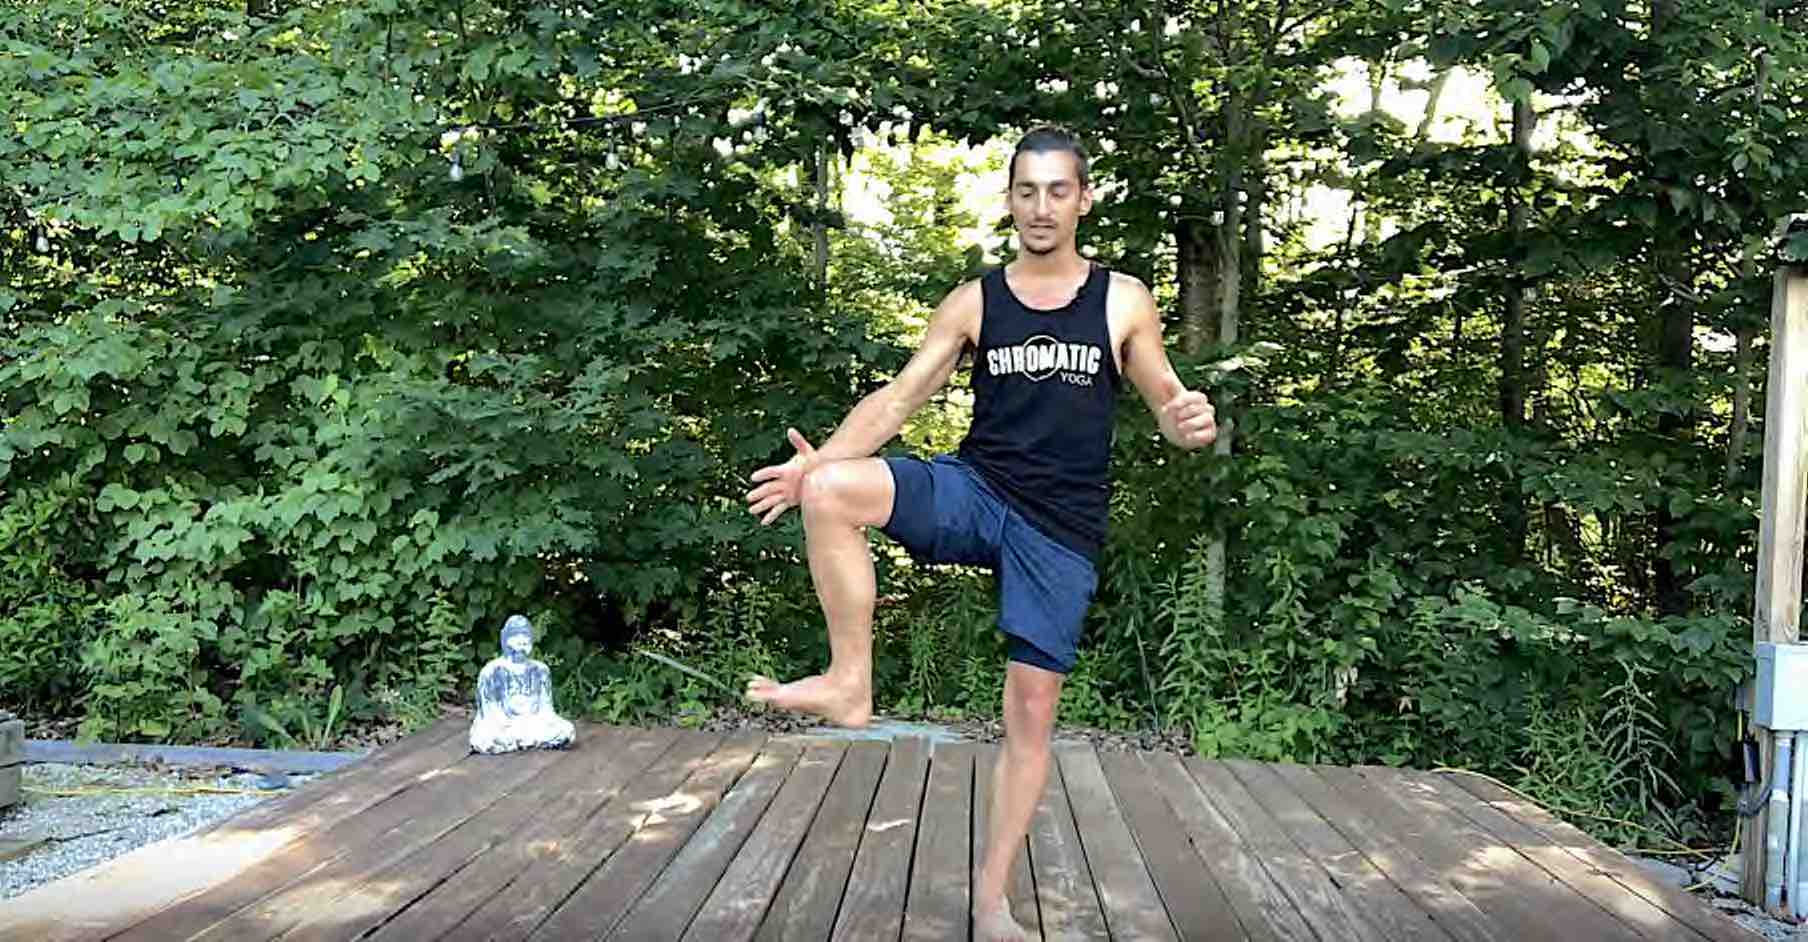
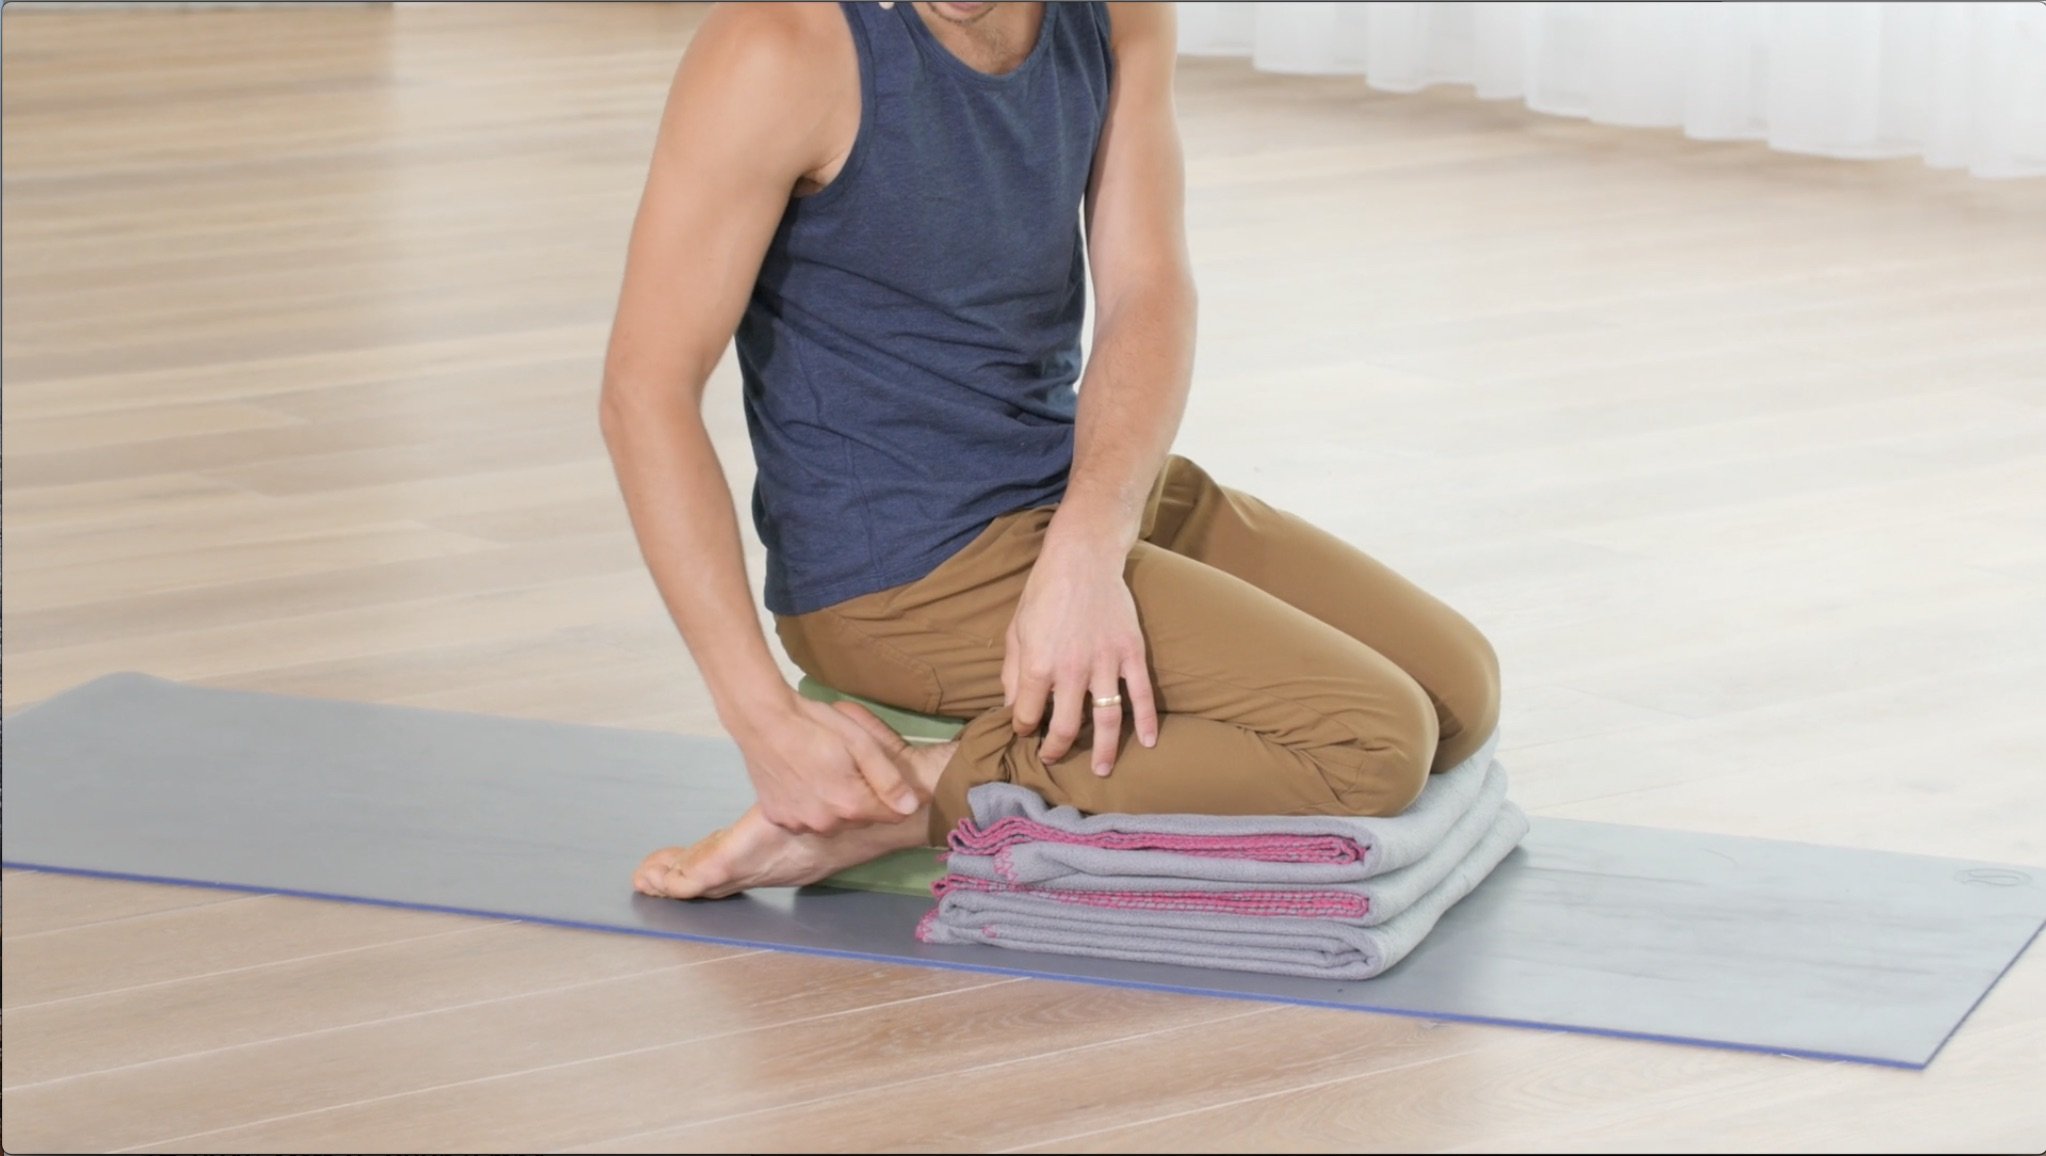
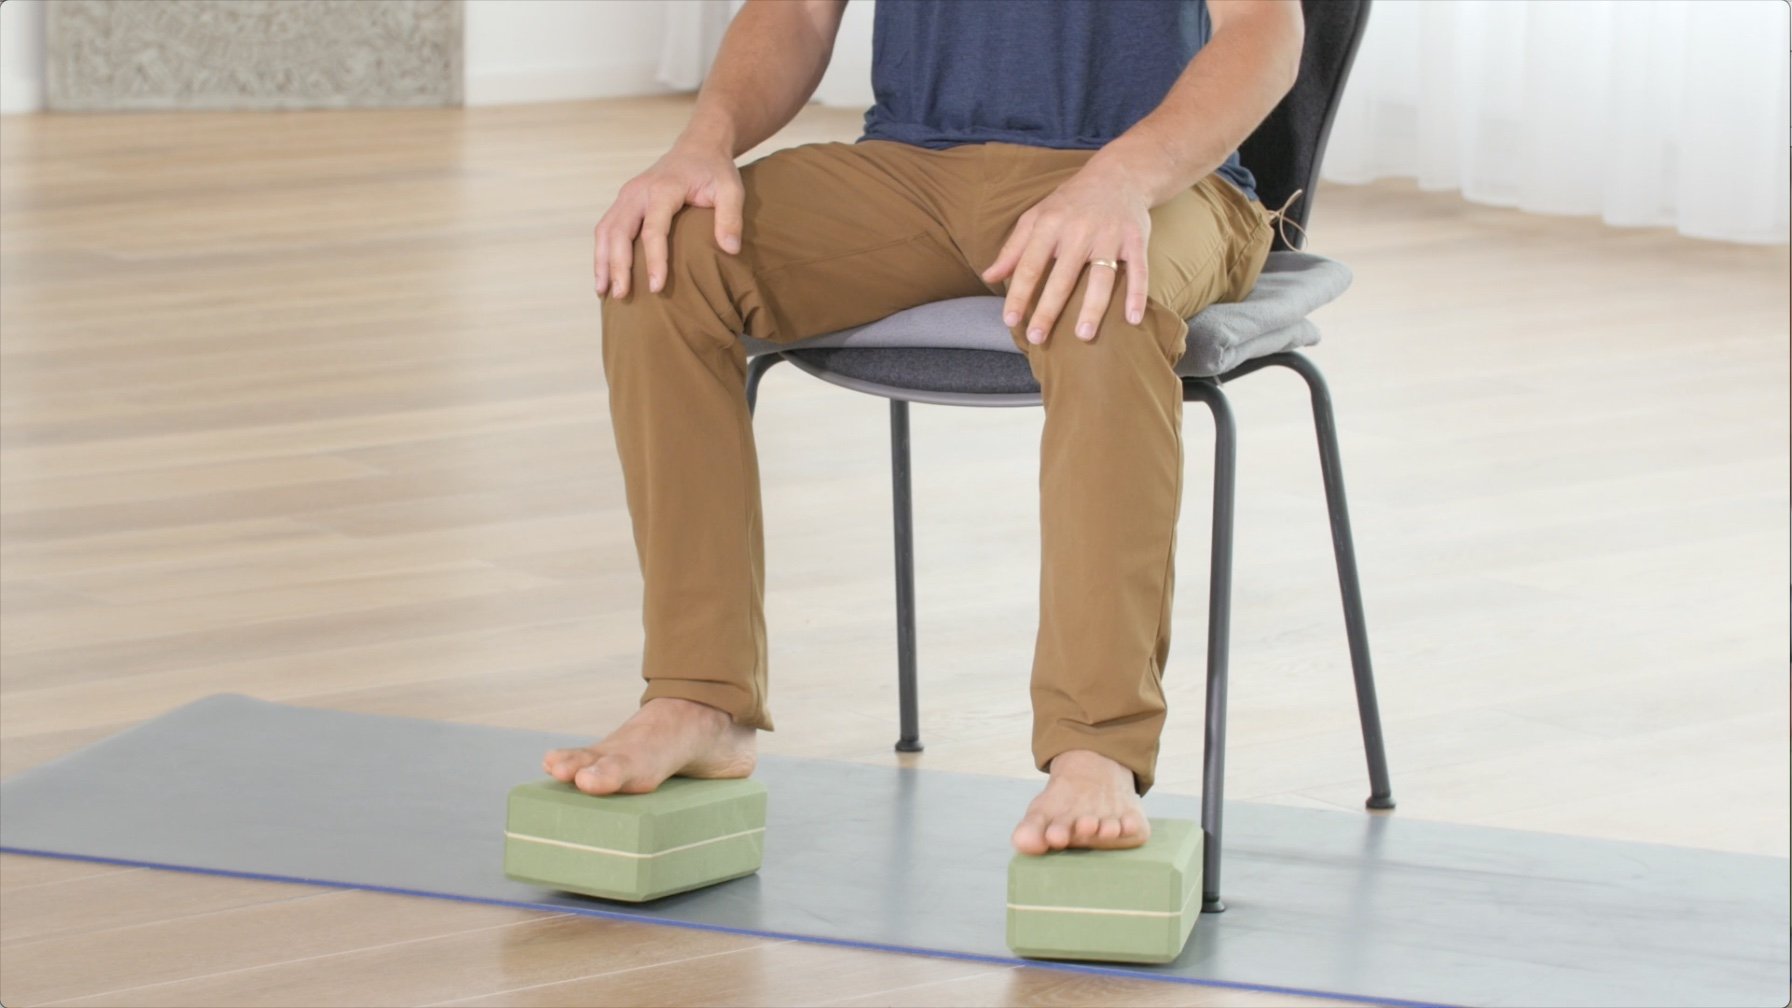
The first step to building awareness of any muscle is to intellectually understand where it exists in the body. The abductor group is generally located in the outer hip/pelvic region. In addition to the intellectual understanding, you must learn what it feels like to activate this muscle. For this, it’s typically easiest to “create a boundary” and press into it. So here I have placed a hand outside the knee and I press into the hand which creates the action of abduction and engages the abductors.
Step 2: strengthen
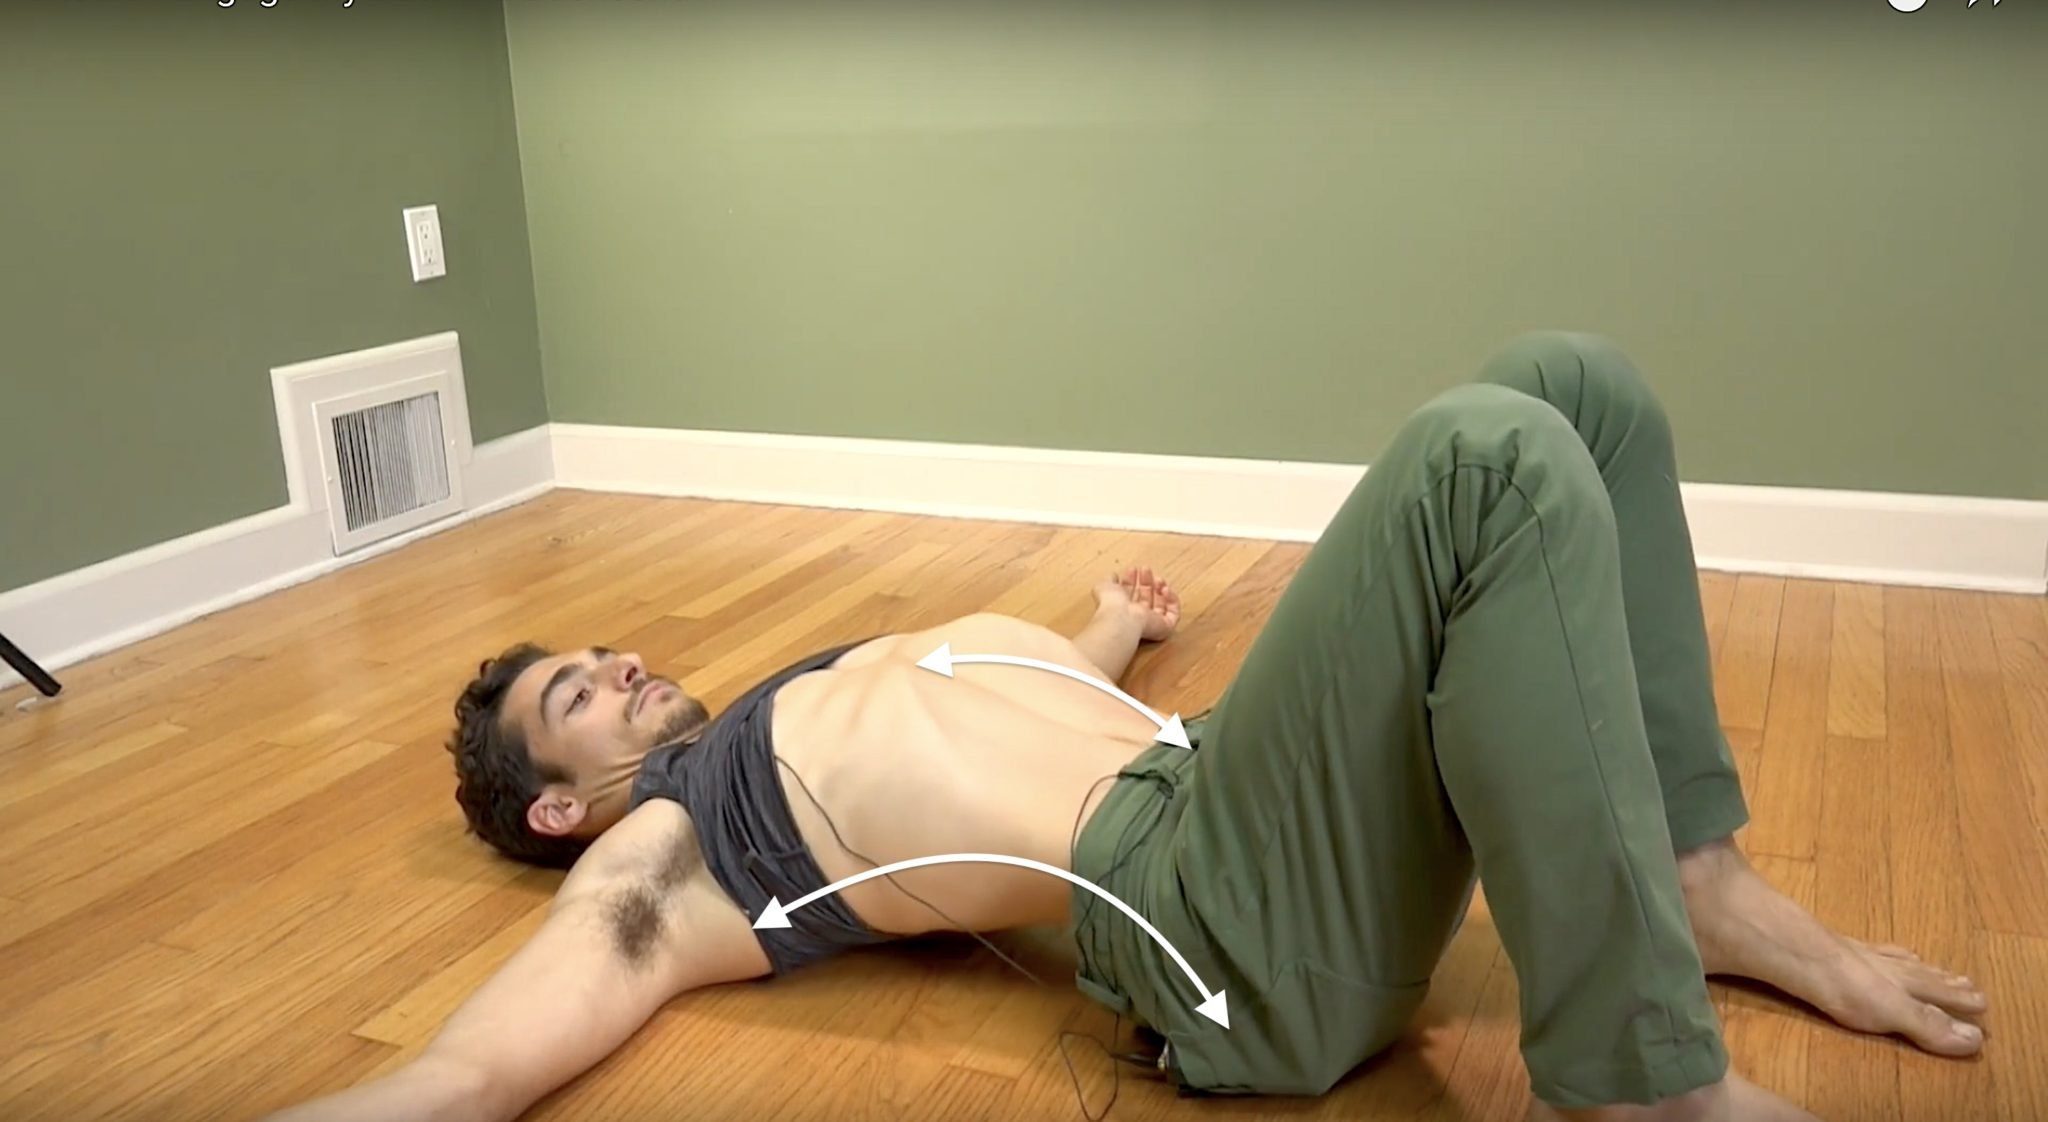
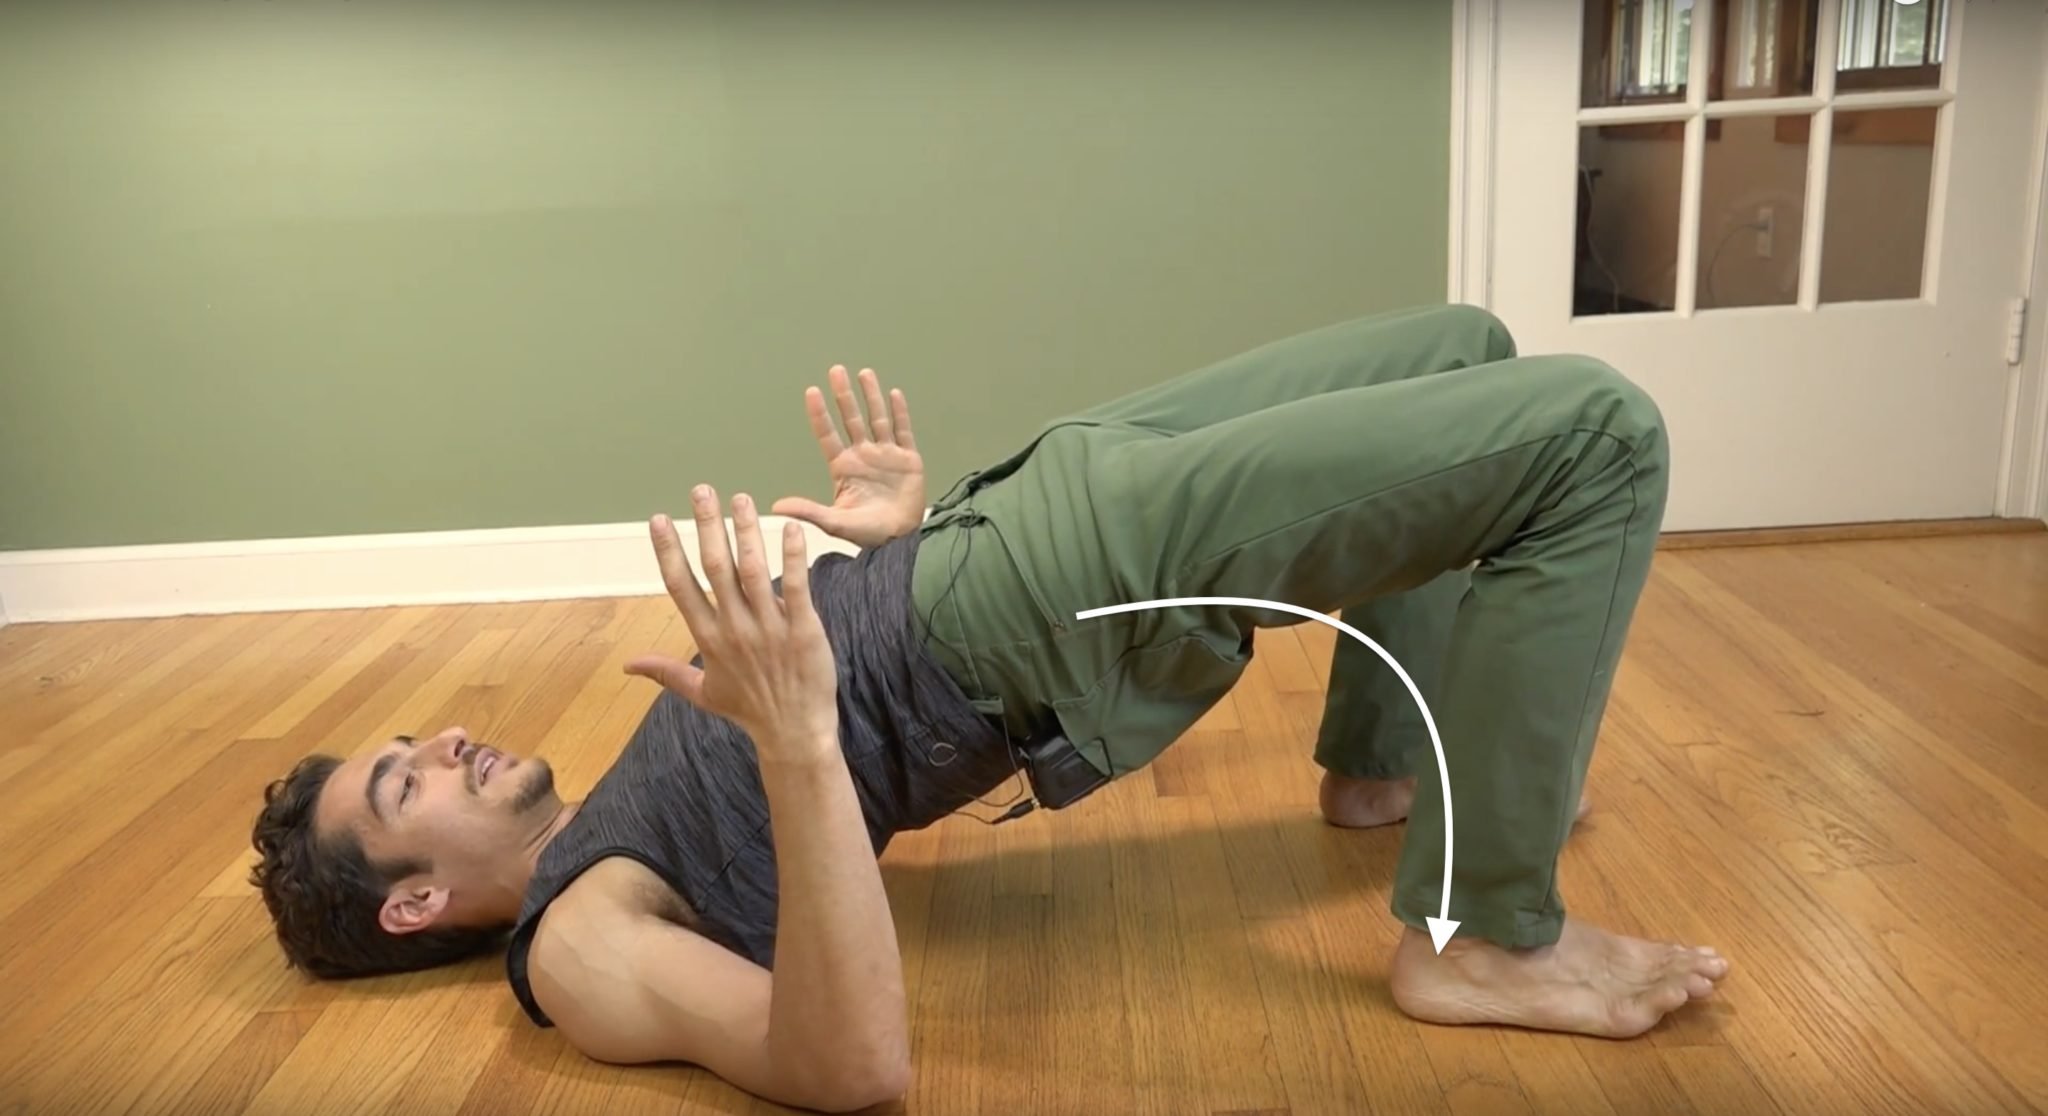
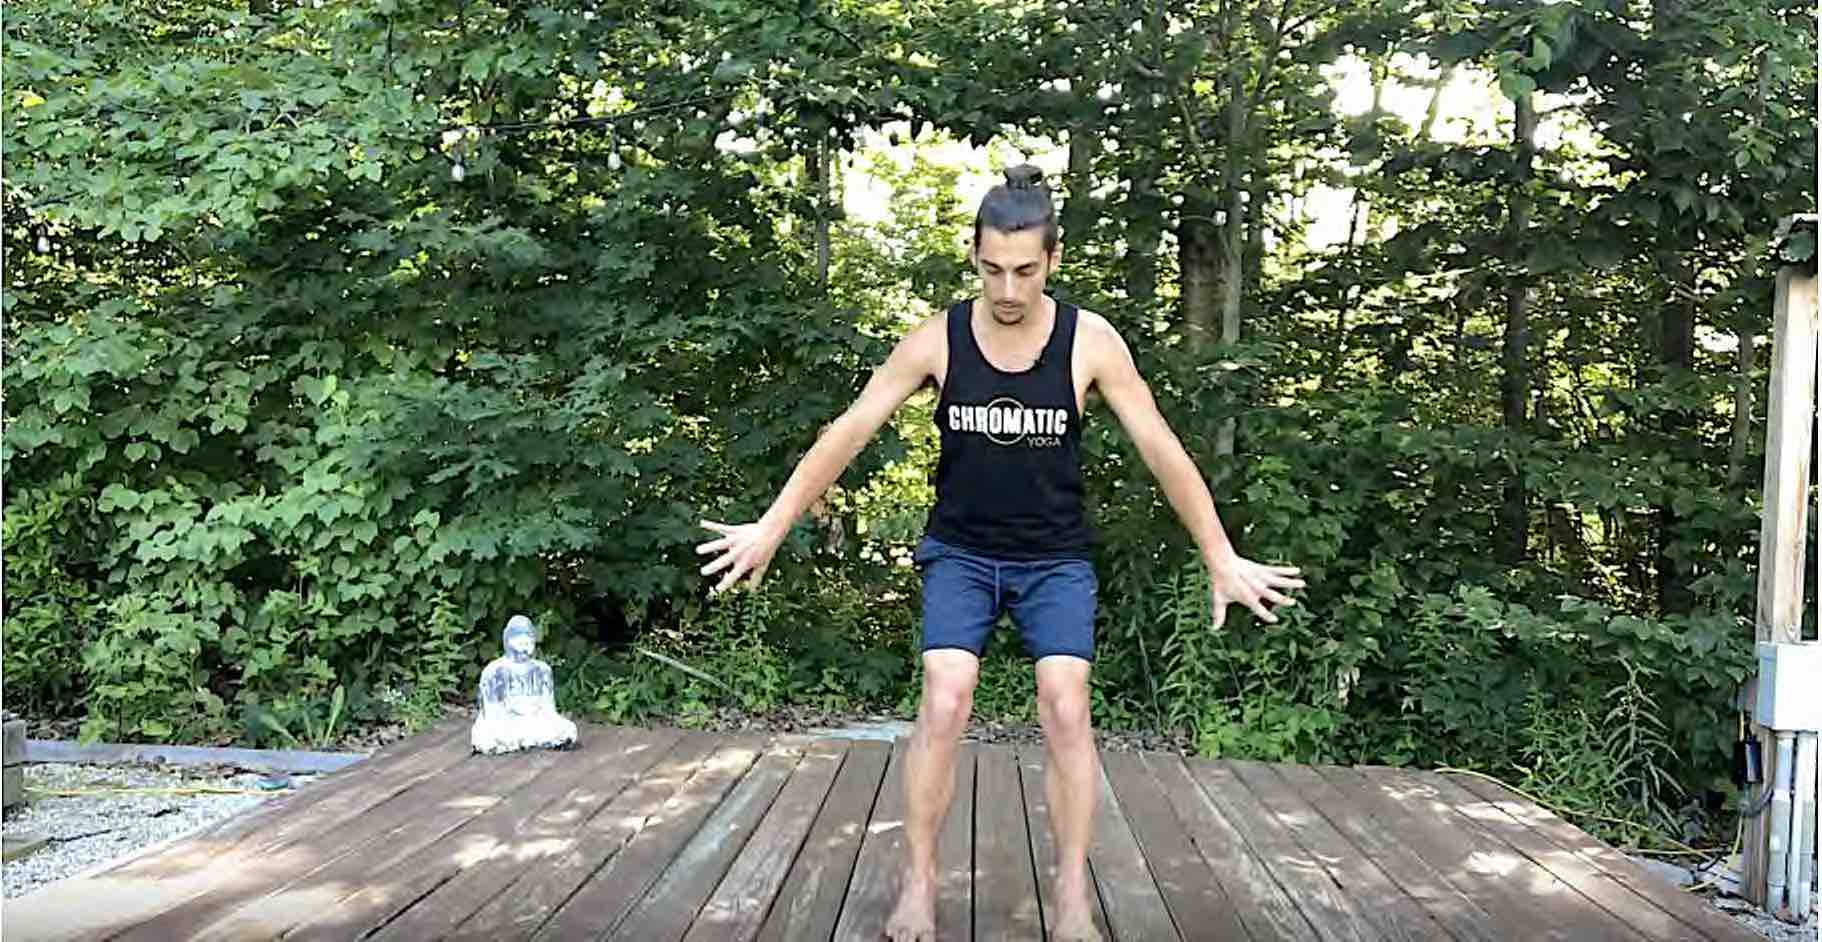
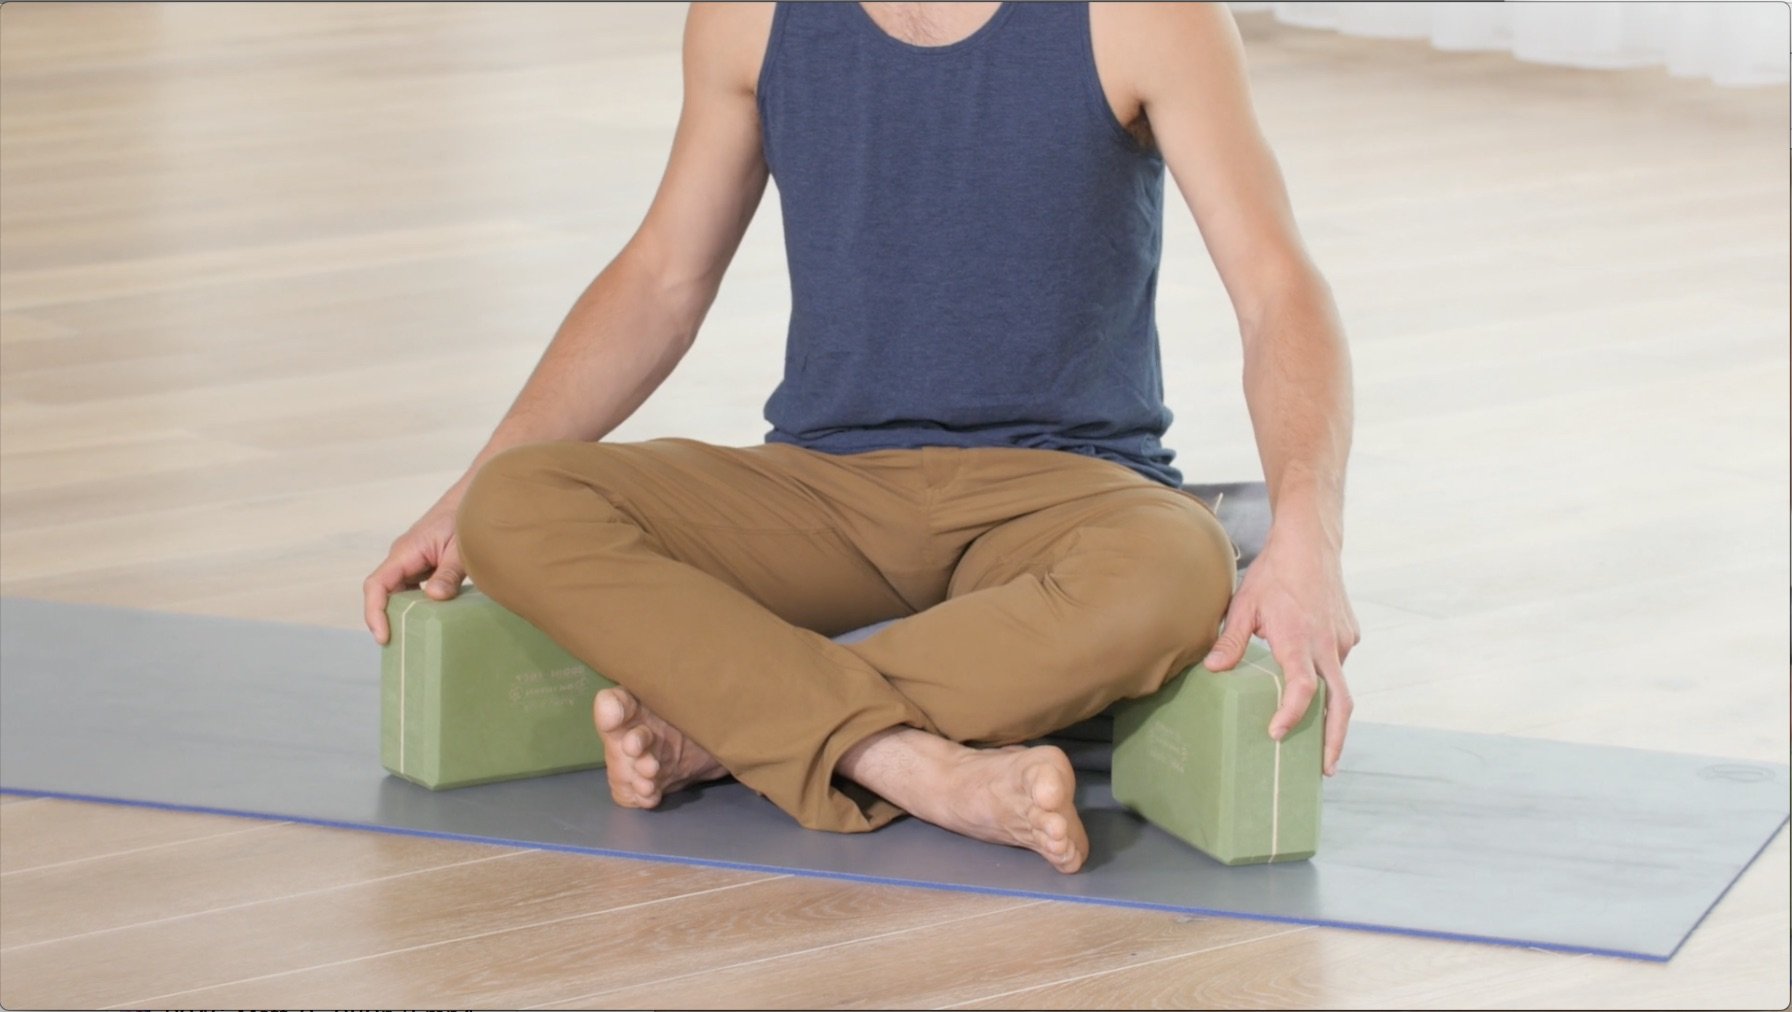
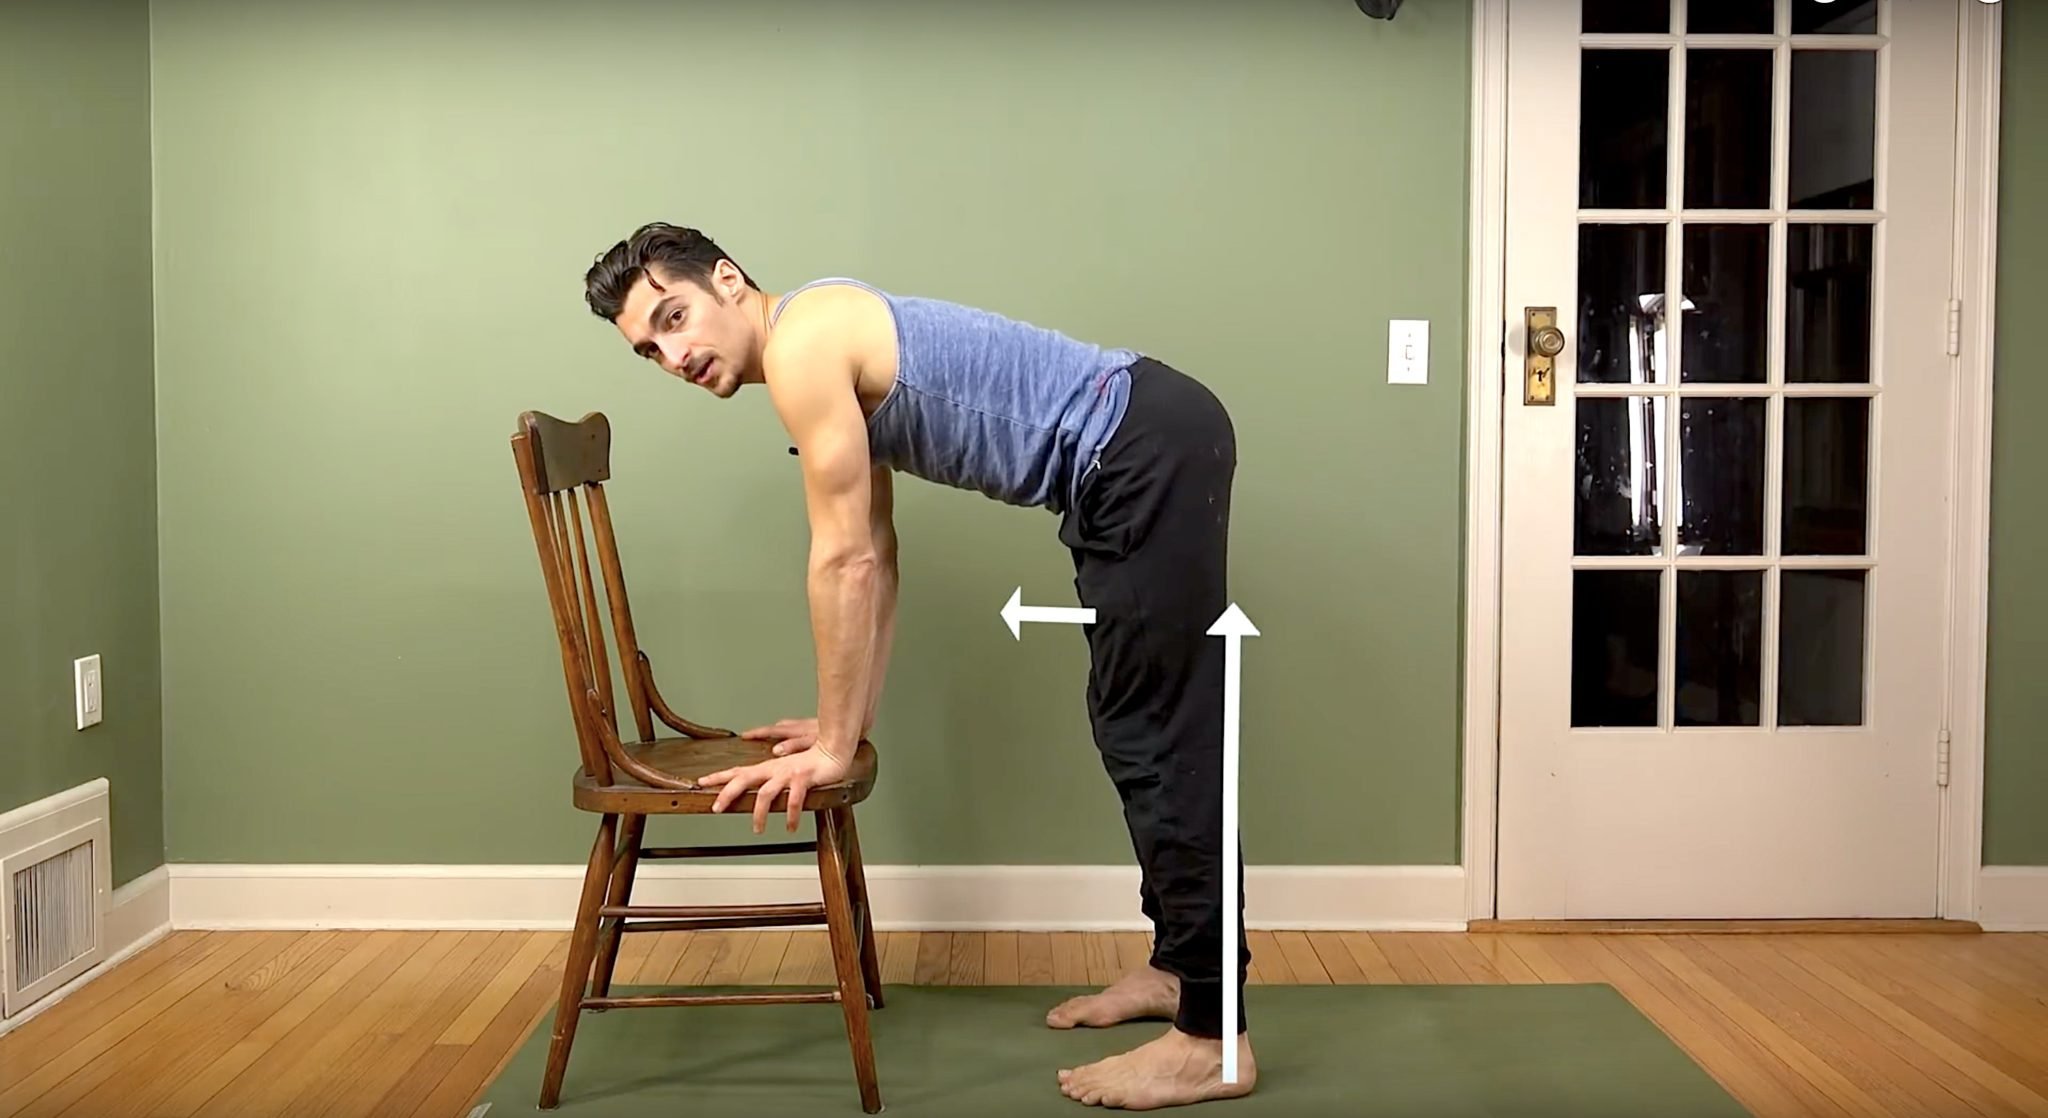
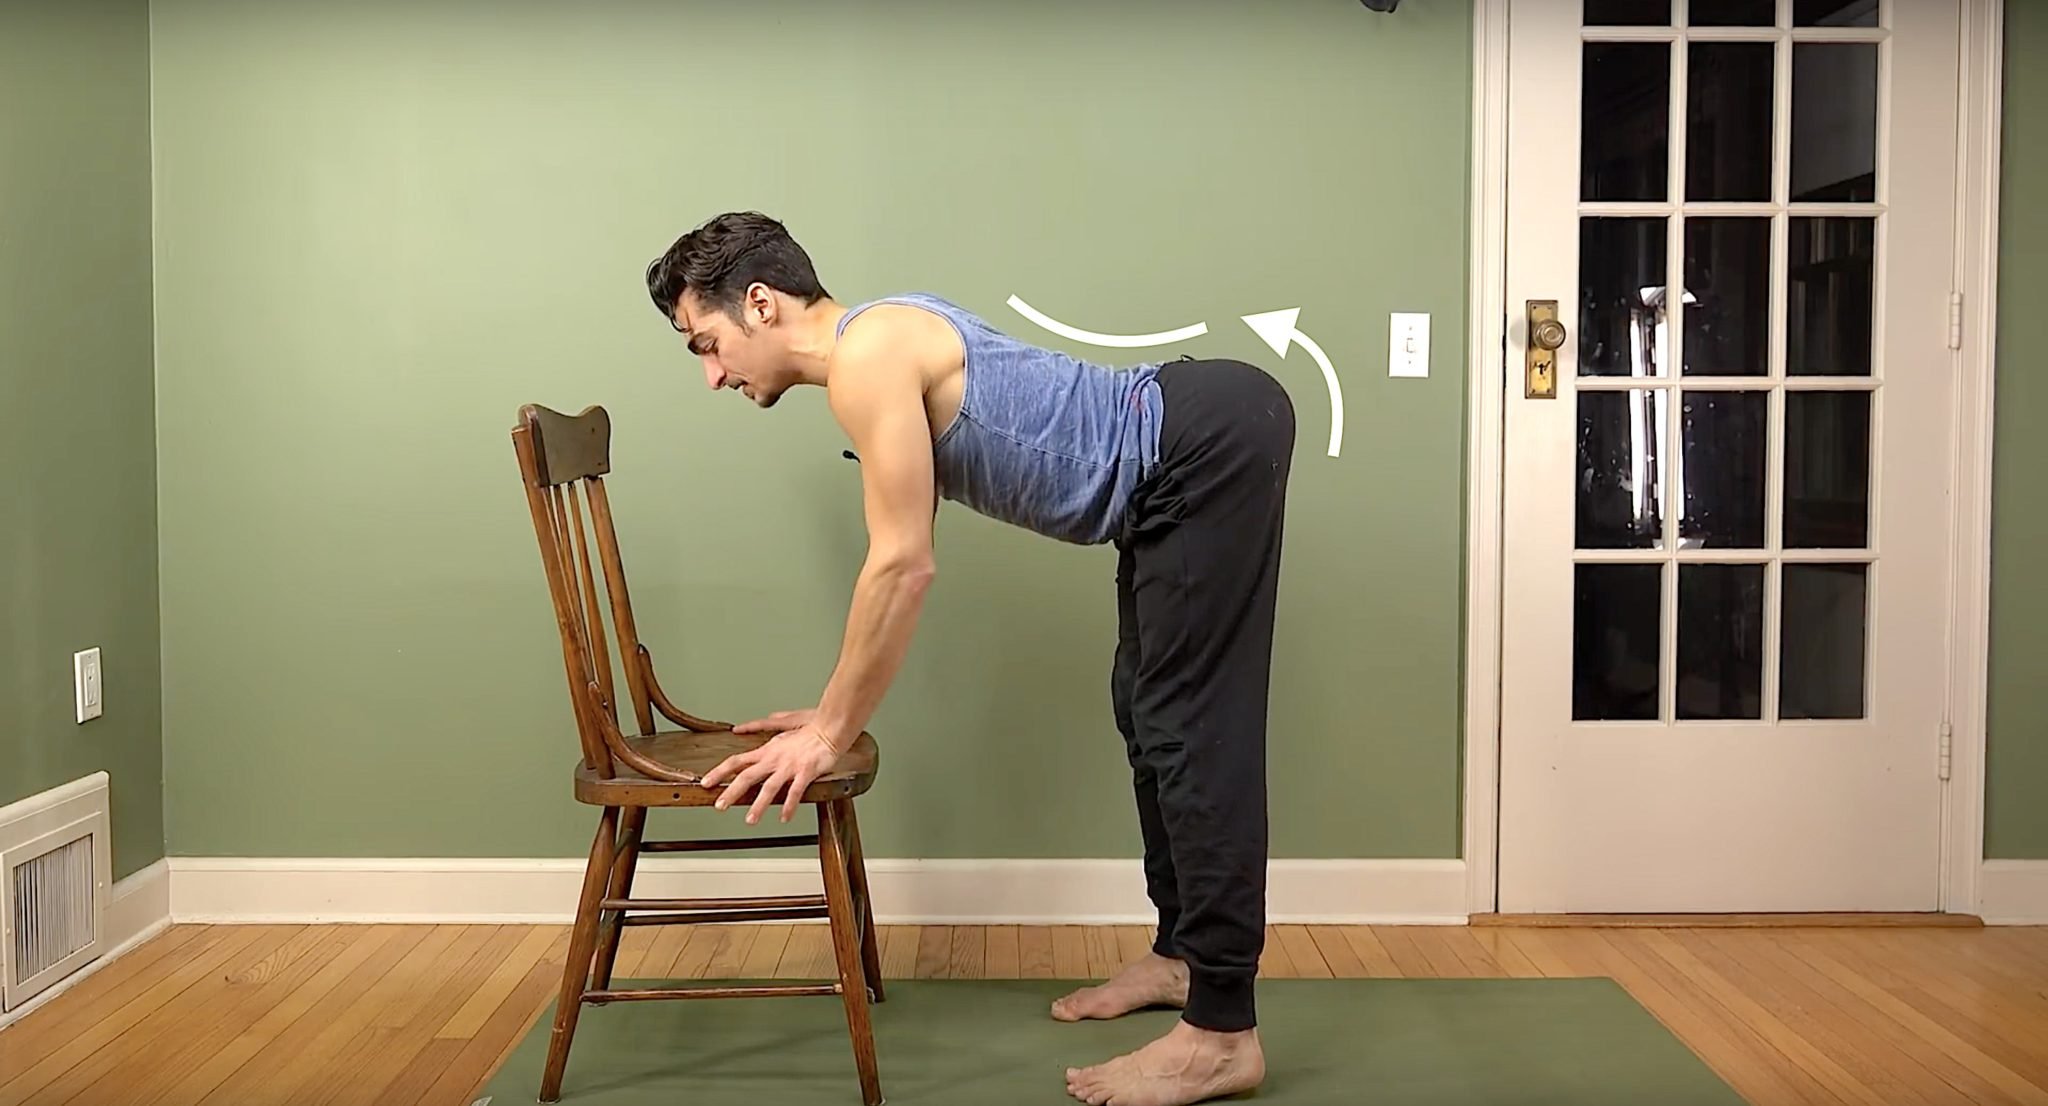
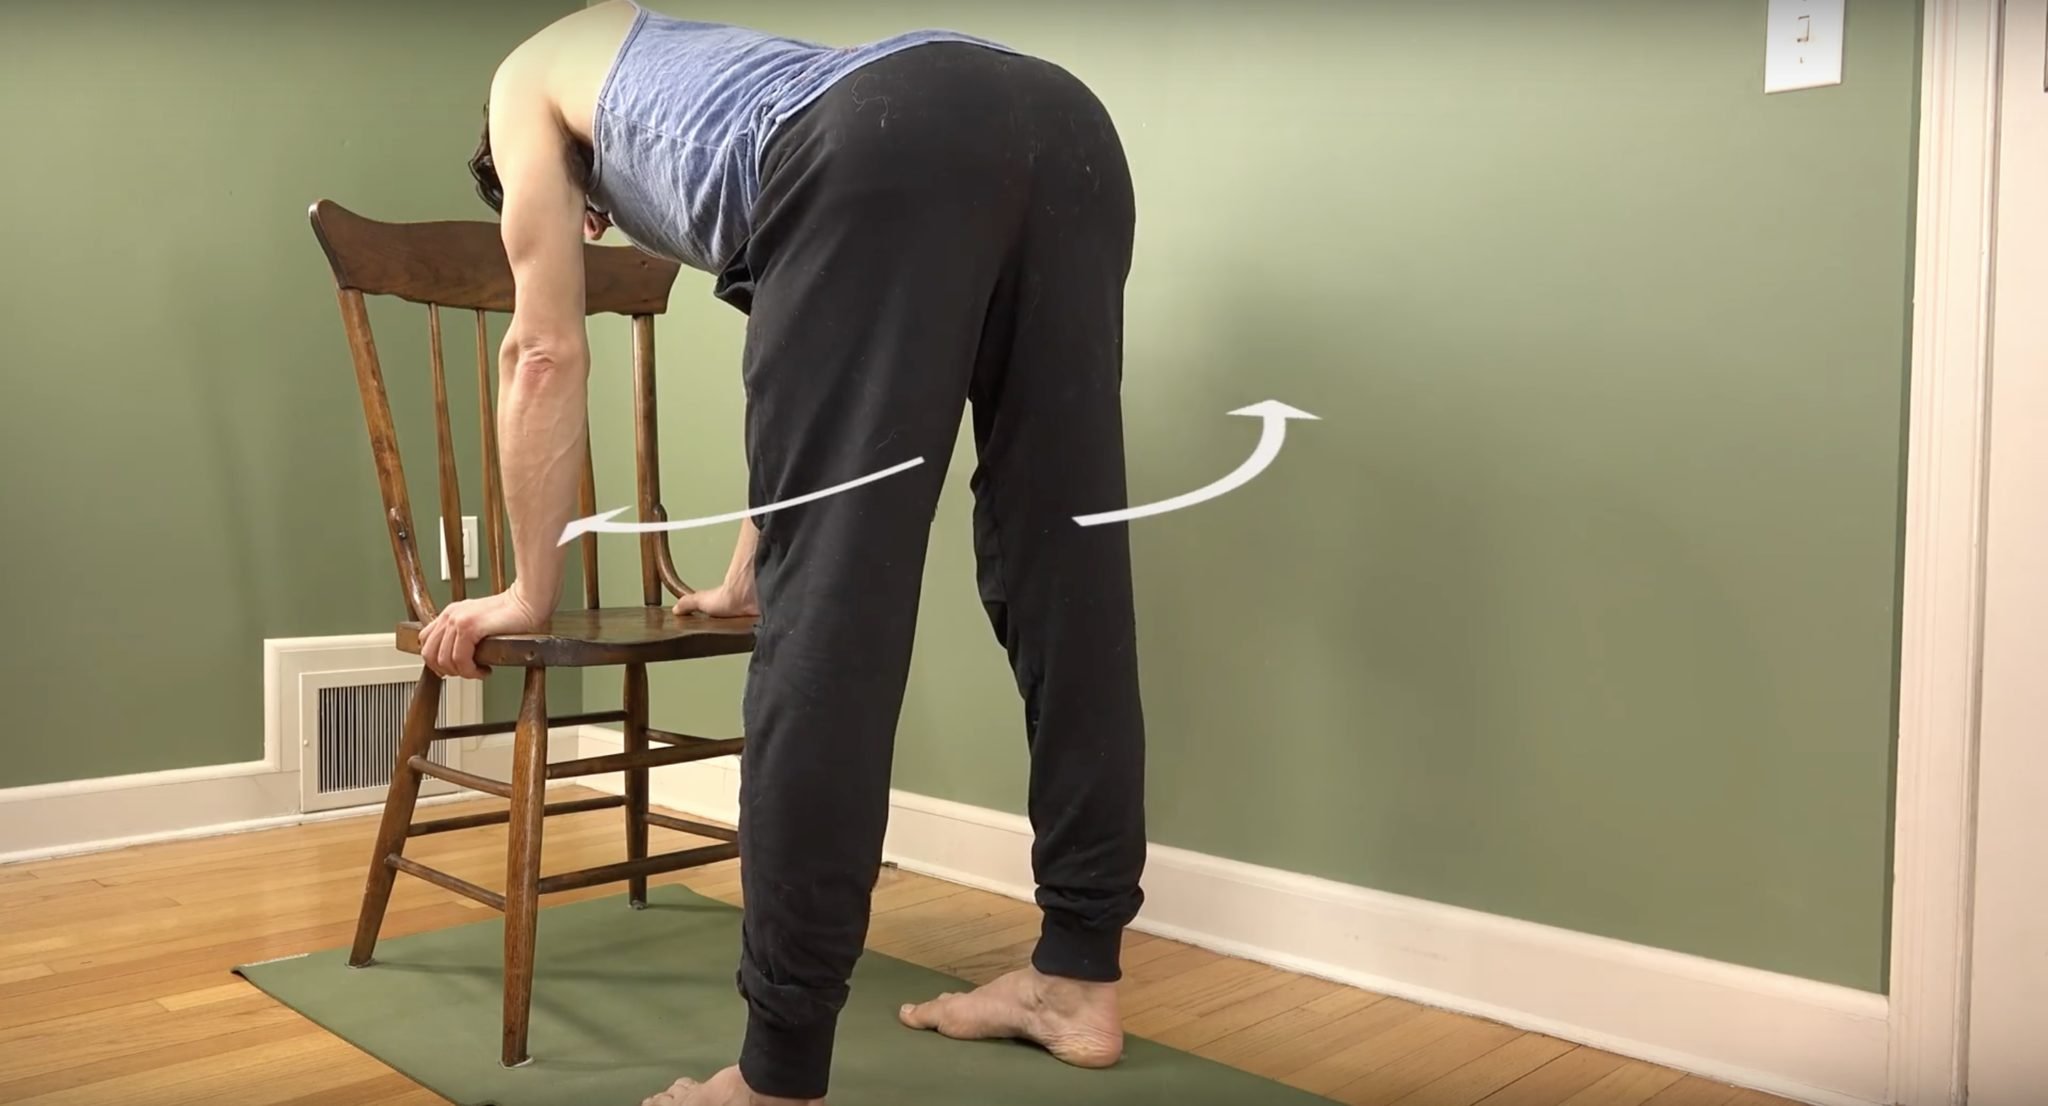
Next, you will want to develop strength in accessible postures. Typically choosing static postures for “isometric” engagement is a safe and stable way to strength. Isometric means activate the muscle without movement of the joints. For this video, I chose Chair pose to share with you. With feet about hip-width apart, push your yoga mat apart with your heels while keeping your knees pointing straight forward. Note: if your pelvis is tucked under you may not be able to access the abductors, stick your buttocks upward.
Step 3: Practice
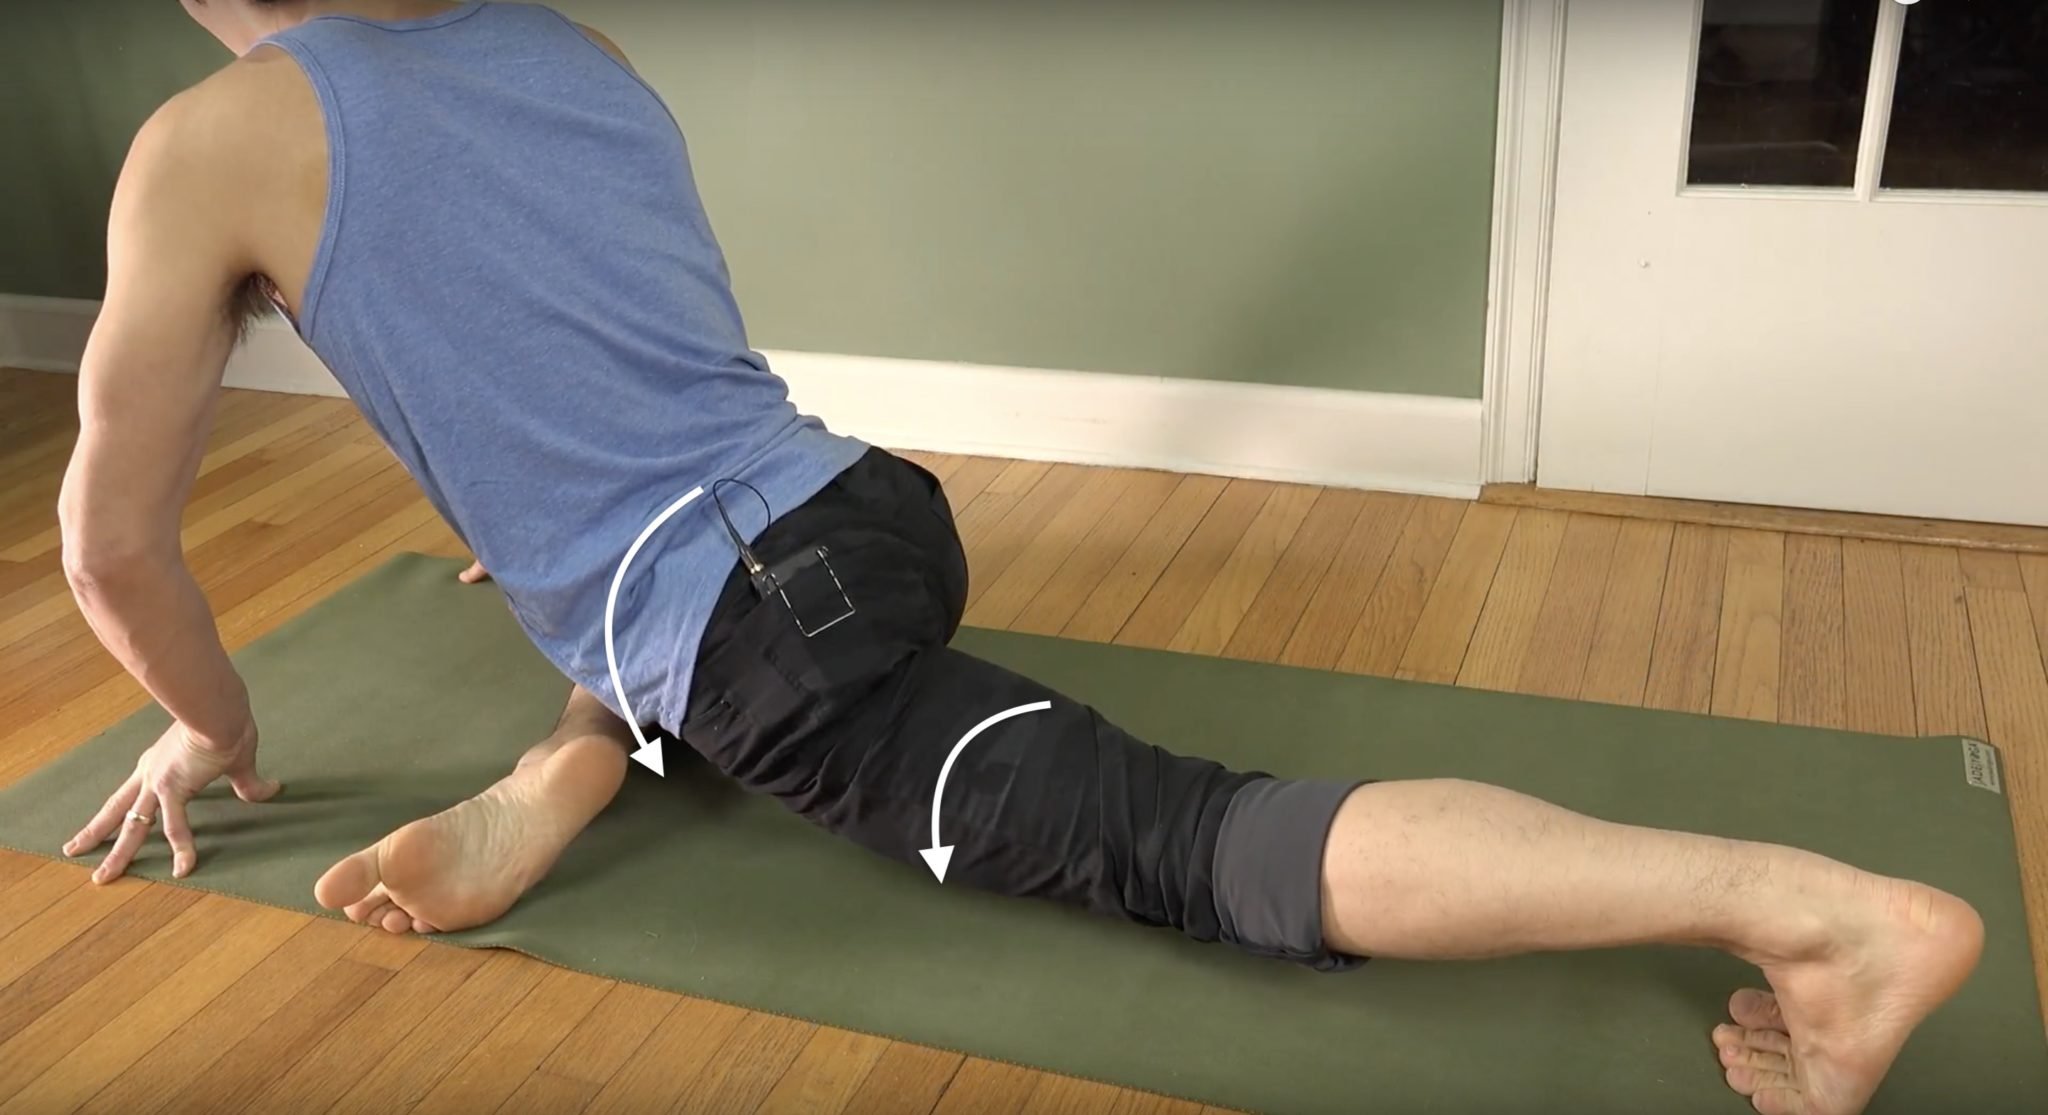
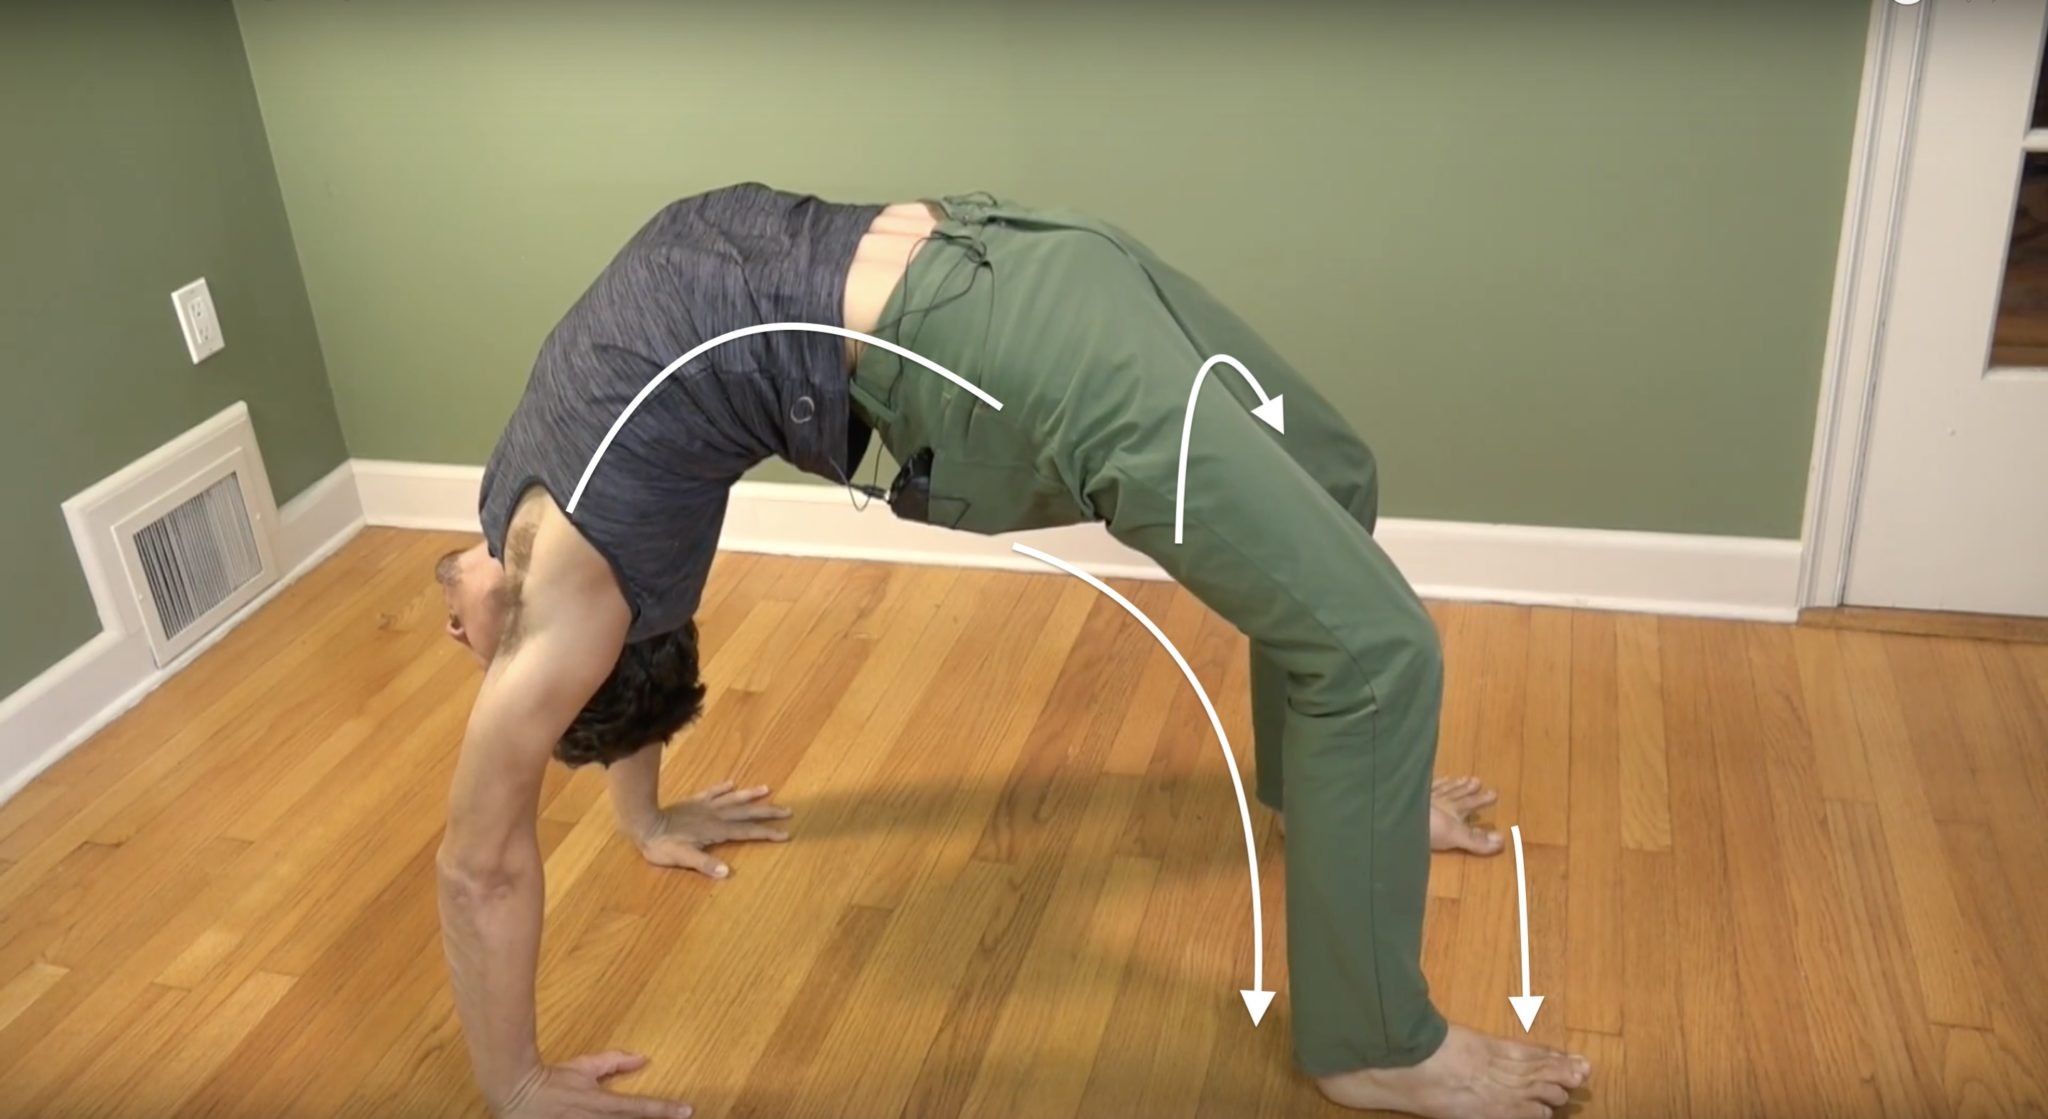
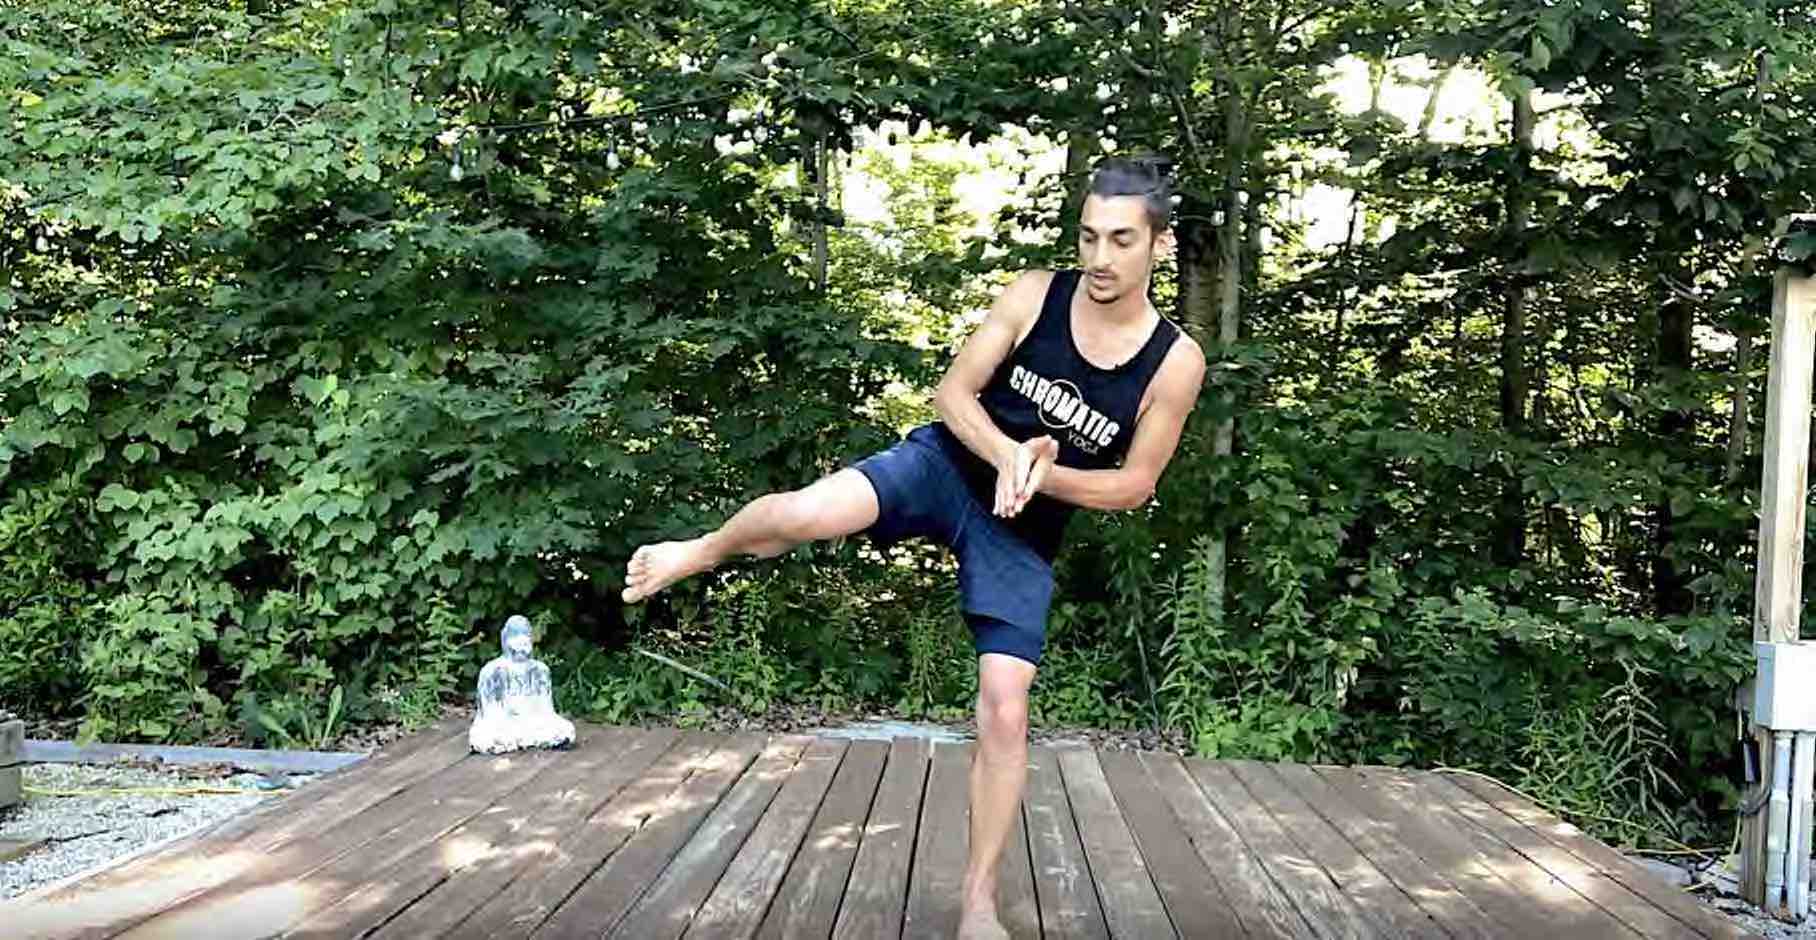
Lastly, you will need to learn how to activate this muscle group through a range of motion. This means not only choosing a wide range of static yoga postures to activate the abductors in, but you will also want to do the movements that it creates. For this, I chose fire hydrant pose, both abducting the upper hip by lifting the leg up high, and the lower hip by squeezing the pelvis inward. Because the foot is on the ground, moving and rotating the pelvis away from the foot is abduction. You will feel it in your outer hip muscles.
Mastery Leads to Discernment
Why become masterful at anything? Mastery is not an end goal, it is simply a state of heightened awareness and capability. To become masterful in your physical body is not a chore but rather a privilege. Getting to know this vehicle that we have for only a short period of time is a form of respect and love. There is no end to mastery, just like there is no end to potential, it’s simply a trajectory or path that we walk out of respect to the greater energy that pulses through us. Mastery simply means that we can assess what is appropriate for the well-being of our body at any given time, and we have the tools to do what’s necessary to feel better. While we will always have blind spots, we can minimize the vast amount of guesswork by taking the step-by-step approach to understanding our body – one muscle group or joint action at a time.
To apply this approach to the body, I recommend practicing The July Immersion – 12 Yoga Classes, 4 Guided Meditations – and Hips: Rock and Unlock ‘Em! The online workshop is a journey through what I call the 4 quadrants of the hips, supporting you on the path toward mastery of the inner thighs, outer hips, posterior chain, and hip flexors.
Hips: Rock & Unlock 'Em
Get 2 full hours with Matt Giordano focusing on the techniques that increase the range of motion in your hips and provide long-lasting freedom. You will have immediate, unlimited access, and can enjoy the benefits today!
LIVESTREAM PACKAGES

boundless freedom
- 12 YOGA CLASSES
- SHOULDER BIOMECHANICS
- TANTRIK YOGA TEACHINGS
- 4 POST CLASS MEDITATIONS
- 12 PEAK POSTURES
- SALE Price:$98

BIRDS OF PARADISE
- 12 YOGA CLASSES
- 4 GUIDED MEDITATIONS
- LIVETIME ACCCESS TO ALL
- 12 PEAK POSTURES
- 12 YOGA SUTRA THEMES
- SALE Price:$98

BEST STARTER PACKAGE
- 6 YOGA CLASSES
- 2 GUIDED MEDITATIONS
- LIVETIME ACCCESS TO ALL
- 6 PEAK POSTURES
- 6 YOGA SUTRA THEMES
- SALE Price:$78

JOURNEY TO BLISS
- 12 YOGA CLASSES
- 4 GUIDED MEDITATIONS
- LIVETIME ACCCESS TO ALL
- 12 PEAK POSTURES
- 12 YOGA SUTRA THEMES
- SALE Price:$98

KING PIGEON & HANUMAN
- 12 YOGA CLASSES
- 4 GUIDED MEDITATIONS
- LIVETIME ACCCESS TO ALL
- 12 PEAK POSTURES
- 12 YOGA SUTRA THEMES
- SALE Price:$98
JOURNEY TO THE HEART
- 12 YOGA CLASSES
- 4 GUIDED MEDITATIONS
- LIVETIME ACCCESS TO ALL
- 12 PEAK POSTURES
- 12 YOGA SUTRA THEMES
- SALE Price:$128

BACK, NECK & SHOULDERS
- 12 YOGA CLASSES
- 4 GUIDED MEDITATIONS
- LIVETIME ACCCESS TO ALL
- 12 PEAK POSTURES
- 12 YOGA SUTRA THEMES
- SALE Price:$128
Continue Learning
Build Better Joint Support
read more
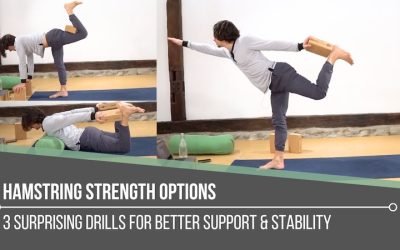
Hamstring Strength Options
Hamstring Strength Optionship extensorsHAMSTRING STRENGTH OPTIONS When we think about hamstrings in yoga, most of us immediately think about stretching. Matt reminds us that this powerful muscle group is rarely celebrated for what it is also designed to do: create...
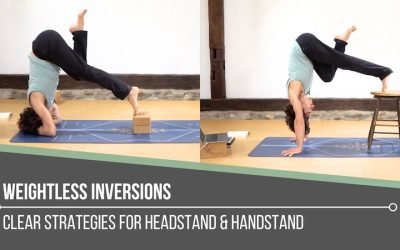
Weightless Inversions
Weightless InversionssirsasanaWEIGHTLESS INVERSIONS Weightless inversions are not about removing effort. They are about redistributing it with awareness. Matt reminds us that when we refine how we place weight through the hands, shoulders, and core, the body begins to...
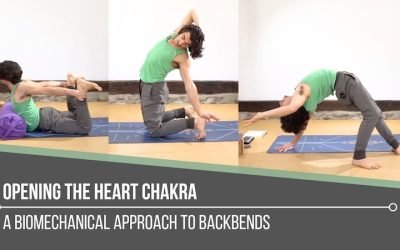
Opening The Heart Chakra
Opening The Heart ChakrabackbendOPENING THE HEART CHAKRA Opening the heart chakra is not simply about reaching deeper into a backbend. Matt reminds us that this space is rooted in love, balance, and connection, both with ourselves and with others. It reflects how we...
5 Visual Demonstration Techniques for Yoga Teachers
5 Visual Demonstration Techniques for Yoga TeachersYoga TeachersVisual Demonstration This is often confused with “teaching from the mat.” Teaching at the front of the room can be useful at the right time and place, but that is not what we are referring to here. In...
Awakening Solar Plexus Strength
Awakening Solar Plexus Strengththird chakraAWAKENING SOLAR PLEXUS STRENGTH Awakening solar plexus strength invites us into the centre of transformation. Matt reminds us that this third chakra, Manipura, is our fire, our willpower, and our ability to take action. It...
TOP RECOMMENDATIONS

Handstand Training
Learn the techniques that make Handstand fun, easy and accessible! This 2 part course consists of the top most effective exercises will increase your strength and technique so you can easefully balance a handstand.

SHOULDER REVELATION
In this 12 class immersion you will practice specific techniques to strengthen and unlock your shoulders. Each class focuses on a specific joint articulation and muscle group so you gain mastery in the shoulders.

HEART OPENERS
Finally, a 12 class immersion designed specifically to help you discover the freedom of heart openers. Learn how to avoid uncomfortable compression, and awaken your true range of motion in a step by step manner.
THE FREE TECHNIQUE PACK
When You Subscribe, You Will Get Instant Access to
- the Technique Pack: 15 yoga pose breakdowns
- exclusive online course discounts
- exclusive blogs and videos

![yoga backbend techniques: 12 classes [backbend technique to relieve back pain "bowing the spine']](https://www.theyogimatt.com/wp-content/uploads/2021/10/Archna-Mohan-chromatic-5.jpg "Archna Mohan chromatic")
![yoga backbend techniques: 12 classes [backbend technique to relieve back pain "bowing the spine']](https://www.theyogimatt.com/wp-content/uploads/2021/10/Archna-Mohan-chromatic-6.jpg "Archna Mohan chromatic")