Arm Balance TransitionskakasanaARM BALANCE TRANSITIONS Arm balance postures can be challenging enough without attempting to layer on a smooth transition in and out of them. However, fluid transitions are a natural progression in our yoga practice; they also provide...
Best Backbend Technique to relieve back pain
BACKBEND TECHNIQUE TO RELIEVE BACK PAIN
“BOWING THE SPINE”
Bowing The Spine
Why are backbends uncomfortable for many people?
Can we do anything to change this?
Let’s dive into my #1 backbend technique to relieve back pain and provide you with maximum range of motion. Before we do, though, we need to first acknowledge that backbends are not something most of us do every day. Quite the opposite. When was the last time you bent over backwards to type on your computer, eat a meal, or scroll through Instagram? It’s not a typical functional movement, but that doesn’t mean it doesn’t serve our health and well-being.
A healthy spine has the capability to move forward and back. The easiest starting point to relieve pain is always to figure out what your dominant movement or posture is, and slowly work to reverse it. Simply put, strengthening the back muscles and lengthening the front body muscles is the first step toward feeling great in your back. HOW to do this is the challenge.
Intuitively, we know how to move our bodies, but that gets lost due to conditioned, repetitive patterning. Think of babies just about to crawl — they push themselves up into a back-bending low Cobra first and then eventually learn how to coordinate the knees. Somehow they figure out what needs to happen to be able to move. Before your yoga practice, when was the last time your peeled yourself off the floor and did something like that Cobra? So give yourself a break. If backbends are uncomfortable, it’s not because you aren’t capable; your adult body just needs to learn it again.
![yoga backbend techniques: 12 classes [backbend technique to relieve back pain "bowing the spine']](https://www.theyogimatt.com/wp-content/uploads/2021/04/May-2021-immersion.jpg "heart opening yoga immersion")
"HEART OPENERS" IMMERSION
- Increase spinal range of motion
- Master techniques like “bowing the spine”
- Release stress patterns, discomfort, or pain in your back
- Twelve 75-minute classes, all levels appropriate
- Learn postures: Full Wheel, Bow, Camel, King Pigeon, King Dancer, King Cobra, Scorpion, and more!
- Lifetime unlimited access to all
RECONNECT TO YOUR BODY WISDOM
Make no mistake — you have the same inner wisdom that you did as a child, but it takes some retraining. What’s more, your body develops muscle memory from all the physical and emotional contracting you do during the day. Soon, shoulders slump forward, bringing your neck and head along with them. Arms move closer together and your chest caves in.
Yoga brings awareness to the felt sense of your physical potential beyond just basic needs. Backbending is beyond your basic, functional needs, but backbends can be enriching and healing.
Learning anything new requires focused effort, routine, repetitive practice, and failure. The process is no different when it comes to learning postures in your body, except for one important distinction: Failing body postures can lead to short- or long-term injury.
To minimize risk, we have to apply smart techniques and step-by-step actions informed by contemporary anatomy education. Rather than repeating the same uncomfortable backbends over and over, hoping for change, you learn and apply new techniques. With time and repetition, you can develop the appropriate strength and flexibility that can lead to joyful backbends.

300 HOUR ONLINE TEACHER TRAINING
GET 500 HOUR CERTIFIED AS A MASTER TEACHER
Master your skillset as a teacher through refined techniques, anatomy, biomechanics, sequencing, philosophy, meditation techniques. theming, yoga business, and much more!
WHAT IS “BOWING THE SPINE”?
THE #1 BACKBEND TECHNIQUE TO RELIEVE BACK PAIN AND INCREASE SPINAL FLEXIBILITY
“Bowing the spine” is a technique that combines a few key elements that I go over in detail in the video below. The dominant action is sliding your intervertebral discs forward, which requires a deliberate shifting of your rib cage. The secondary action is lengthening the distance between the upper and lower body.
If you want to try this technique in your practice and learn how to develop greater strength, range of motion, and body awareness with backbends, join me for May’s 12-class immersion: Heart Openers: Discover the Joy of Backbending
FREE VIDEO PODCAST ON BOWING THE SPINE WITH PROFESSOR MATT
To implement this technique and access your spinal potential, check out
WILL THIS WORK FOR EVERYONE?
I personally don’t believe there is a practice, pose, or technique that is “one size fits all“. Everybody is different, and some techniques will be more appropriate for one body than another. I came to yoga with scoliosis, a super tight psoas, and daily back pain. Doing any backbend was torture for me. Today, backbends are my go-to pose to reset my spine and get back to feeling great in my body. Did that happen overnight? Absolutely not. It took years of practice and refinement. Bowing the spine is a backbend technique to relieve back pain and help you gain greater range of motion in your spine, but the technique itself cannot do it for you. Remember, you are the one doing the pose; the pose doesn’t do you. In other words, never try to fit yourself into a shape. Allow your body to find its own posture. That said, like any great challenge, we must learn the skills necessary to gracefully dance through it.

SPINAL RESET
Reset your spine with 12 classes focused on backbends, side bends, twists, and forward folds. This immersion is a great way to learn the biomechanics of the upper body. Get lifetime, unlimited access to all 12 classes today!
FINAL THOUGHTS ON IMPLEMENTING THE BACKBEND TECHNIQUE TO RELIEVE BACK PAIN, “BOWING THE SPINE”
If you want to balance your habitual physical patterns, backbends are an EXCELLENT practice to do so. Be sure that you are not just practicing shapes — that will tend to cause pain. Instead, practice techniques that give you access to the appropriate physical expression for your particular body. To learn how to apply this technique properly in your body, it is best to implement it under the guidance of someone who understands it within their own body. I highly recommend getting the Heart Openers 12-class immersion in order to take the step-by-step journey that will not only leave you feeling proficient with the technique but also give you access to a wider range of backbend postures.
TOP RELEVANT RECOMMENDATIONS
- HEART OPENERS: Discover The Joy of Backbending [12-class immersion]
- “Journey to Bliss” (includes Full Wheel Workshop + 11 more master classes)
- THE SPINAL RESET: Back Bend, Side Bend, Twist [12-class immersion]
MORE WAYS TO DEVELOP YOUR PRACTICE
- Live Immersions: 3 Classes Per Week
- 200 hour training: Get Certified
- 300 Hour Online Training: Get 500 Hour Certified
"HEART OPENERS" IMMERSION
- Increase spinal range of motion
- Master techniques like “bowing the spine”
- Release stress patterns, discomfort, or pain in your back
- Twelve 75-minute classes, all levels appropriate
- Learn postures: Full Wheel, Bow, Camel, King Pigeon, King Dancer, King Cobra, Scorpion, and more!
- Lifetime unlimited access to all
Continue Learning

Arm Balance Transitions
read more
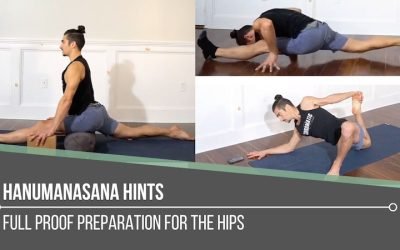
Hanumanasana Hints
Hanumanasana HintssplitsHANUMANASANA HINTS Applying intelligent techniques to a posture like Hanumanasana is crucial—simply hoping for the best is definitely not the way to go! That mindset leaves us vulnerable to injury. Hanumanasana is also the type of pose that can...
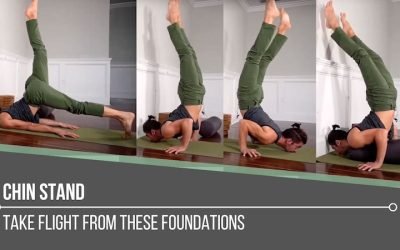
Chin Stand
Chin Standganda bherundasanaCHIN STAND Without a doubt, Chin Stand requires preparation. This posture must be approached with the utmost humility, essential in order to respect the potential risk. If this pose is not explored regularly in our physical practice, it may...
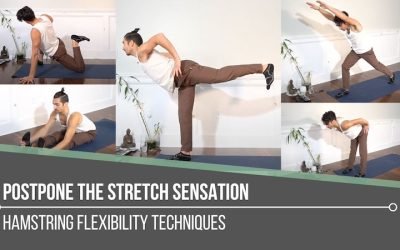
Postpone The Stretch Sensation
Postpone the Stretch SensationflexibilityPOSTPONE THE STRETCH SENSATION If one of the goals of our physical yoga practice is to increase flexibility, we may automatically believe that we just need to stretch more. It’s critical that we understand that increasing...
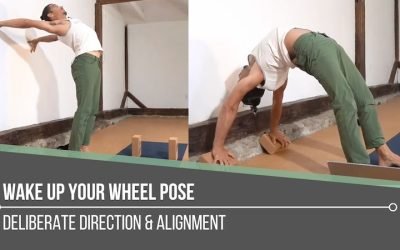
Wake Up Your Wheel Pose
Wake Up Your Wheel Poseheart openerWAKE UP YOUR WHEEL POSE We don’t have to question it—we know whether or not we’re feeling open, free, and strong in Wheel Pose. There’s a lightness and expansiveness that takes over when everything falls into place: From the initial...
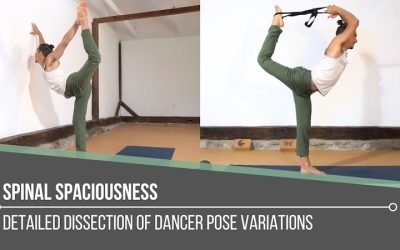
Spinal Spaciousness
Spinal Spaciousnessdancer poseSPINAL SPACIOUSNESS Some key indicators of spinal health include strong bones, durable yet flexible ligaments, supple discs, and strong supportive muscles. Aside from nutrition, it’s not enough to say that movement in general is enough to...
THE FREE TECHNIQUE PACK
When You Subscribe, You Will Get Instant Access to
- the Technique Pack: 15 yoga pose breakdowns
- exclusive online course discounts
- exclusive blogs and videos