Handstand ActionsLEAN, GRIP, PUSHHANDSTAND ACTIONS Handstand isn’t something we conquer in a single class, it’s a layered process that demands repetition and refinement. There are certain key handstand actions that are non-negotiable: lifting the shoulders up to the...
find your seat
Find Your Seat
Let’s go over the 3 best seated meditation postures and find out which one is right for you. The deep benefits of seated meditation are well known to have been experienced by many. On the other hand, people around the world find the practice to be inaccessible because they can’t sit comfortably for more than a minute. This is true for me, even to this day! No matter how open my hips are, or how strong my core and back are, if I try and sit on the ground for an extended period of time one of my legs will fall asleep or I will at the least just be uncomfortable. If you have the same experience, you will find these particular postures to be very supportive!
THE CHALLENGES
Why is it challenging to sit? There are a host of reasons why we might find it difficult to sit on the ground – perhaps primarily because we just don’t do it. Sitting in a chair does not allow our hips to go through their full range of motion each day and as a result, our back and hip flexors don’t develop the strength needed to keep us upright. Yoga can serve as an amazing practice to redevelop the capacity to sit more efficiently although it won’t happen overnight – which is why it’s necessary to check out the 3 postures in the video and photos below, so you can sit comfortably on the ground while you are working on the long term hip-opening journey.
Trying to re-pattern our body takes repetitive practice. As with any other skill, you can only learn from doing it. That is why I created a 12 class immersion to help you feel better, sit better, and establish a meditation practice. MOVE•BREATHE•RELEASE helps you increase flexibility of the hips, strengthen your back muscles for better posture, teach you breathwork techniques, and gives you the tools for mental and emotional clarity and freedom. Meditation requires guidance just like yoga, and I guide you in all 12 classes so you feel safe, confident, and inspired with each practice.

MOVE•BREATHE•RELEASE
12 Class Package for Yoga, Pranayama, and Meditation
- Breathe better with pranayama “breathwork” exercises
- Release Hip Tension with asana practice
- Increase Flexibility & Strength
- Increase Focus and Clarity
- Decrease Stress
- Unwind physical & Emotional Tension
- Move more freely
- Release low back tension through hip opening
- 12 All Levels Live Asana Classes
- Lifetime Unlimited Access to All
Is Meditation Calming?
When Most people begin a meditation practice they expect it to have the results that everyone preaches; calm mind, relaxing, stress reducing. While some people do experience these results right away, others may experience the opposite. In weight lifting you must build a foundation of strength before you can move on to heavy compound movements, and establishing this foundation can at times be challenging and discouraging. Meditation is very much the same, the practice of it might feel like you are lifting heavy weights for your mind and as a result, you might initially only experience the challenge of it. With repetition, your mind will get stronger. You will be able to focus longer and the results will come faster!
On top of it, if you are physically uncomfortable when practicing meditation you are not likely to magically walk away feeling calmer. This is why it’s important to find a seat by selecting from one of the 3 best seated meditation postures.
VIDEO TO FIND YOUR SEAT
CHOOSE FROM THE 3 BEST SEATED MEDITATION POSTURES
Assess your hips
Each of us has our own movement patterns which cause some muscles to be stronger, some weaker, some are tight, some are not, etc. We also have different bone structures that will make some positions easier than others. Finding a comfortable seat is one of the most important aspects of a seated meditation posture. If you are uncomfortable, it is very hard to move the mind beyond the discomfort of the body. This is why I have provided three options for seated meditation postures. Go through each and ask yourself which one is most sustainable. Keep in mind there is no perfect seated posture for meditation, there is only the best one for you and that is the one you feel most comfortable in and that also allows you to stay awake and present.
“3 Best Seated Meditation Postures” Detailed Break Down
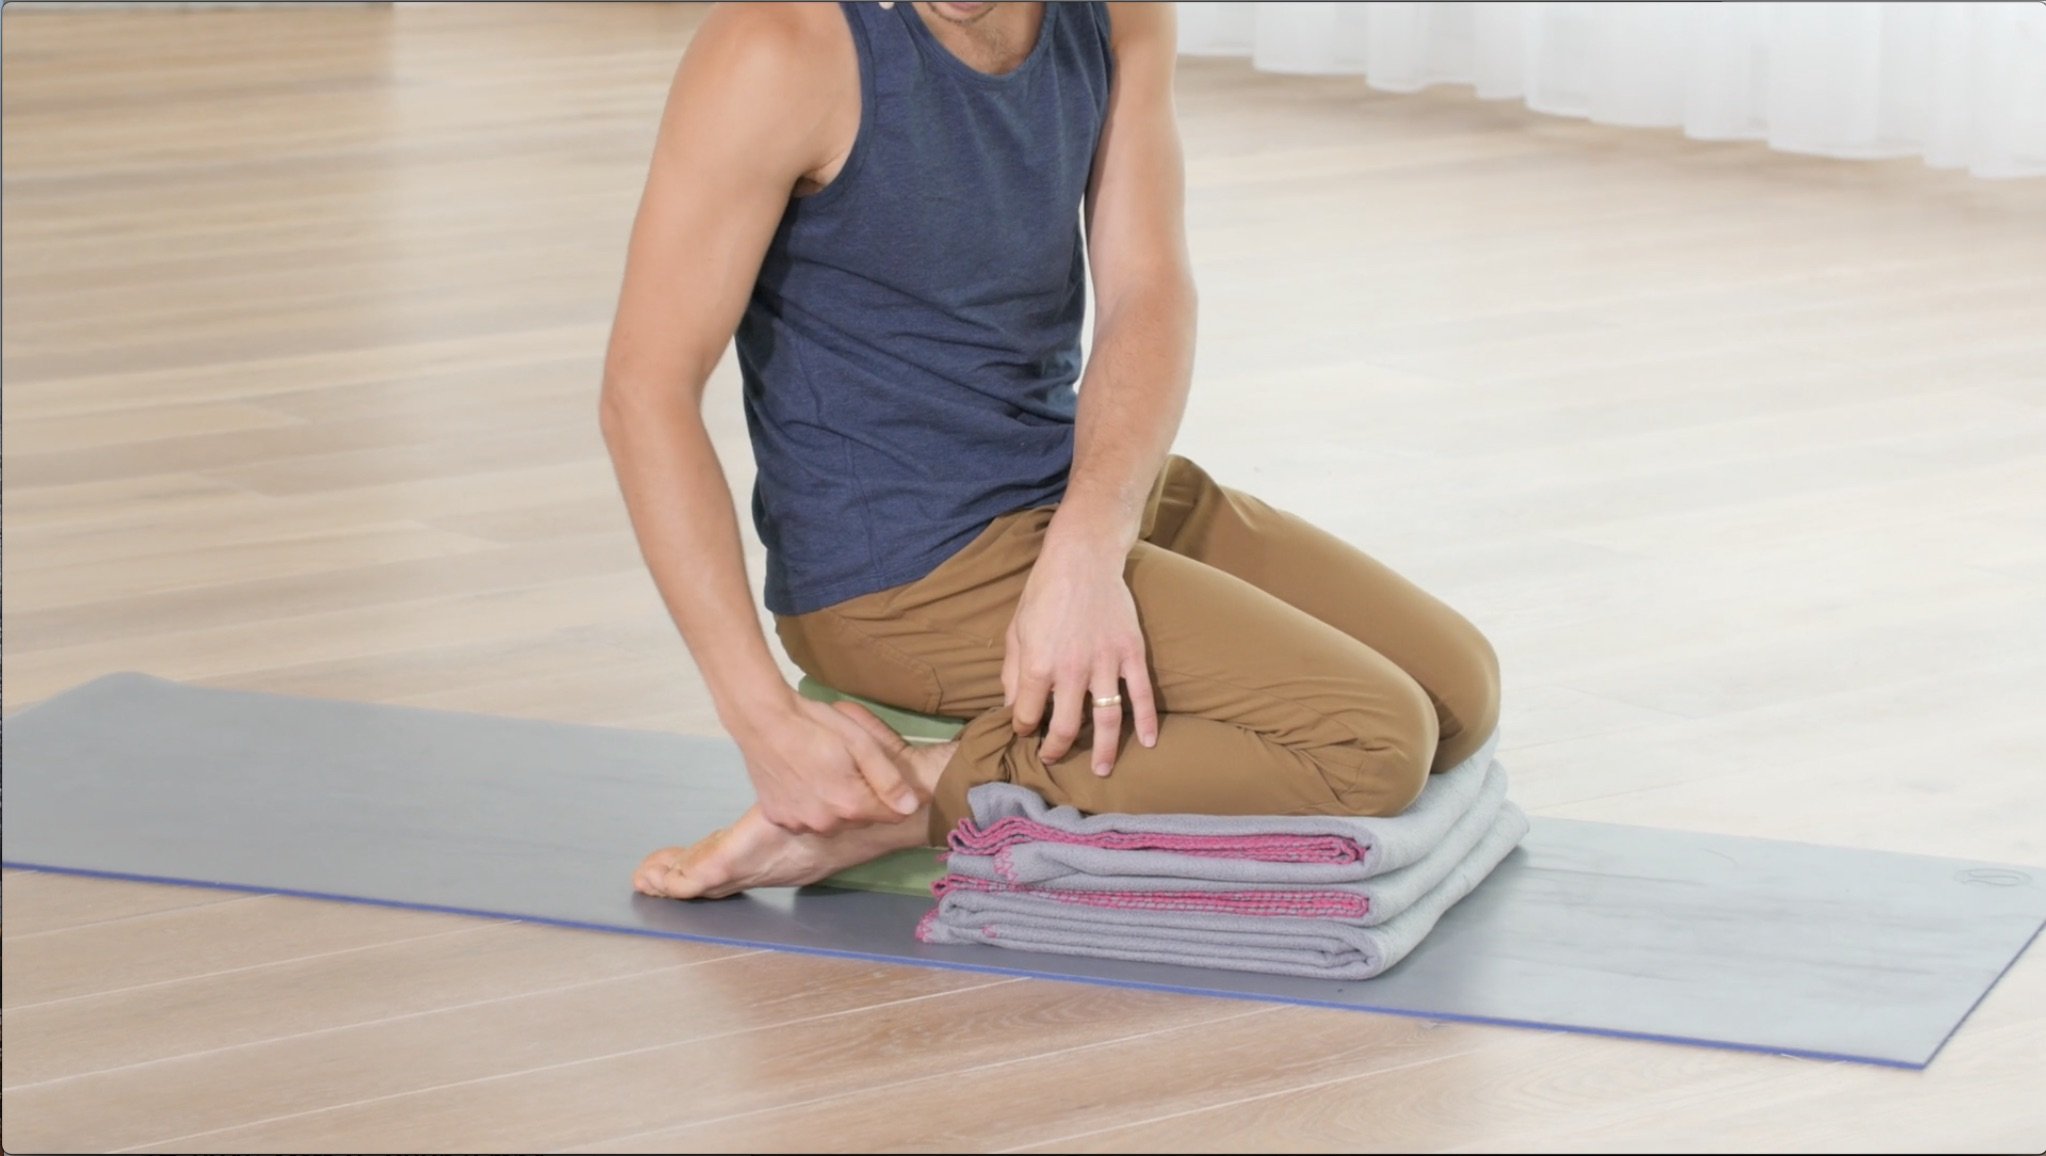
Option 1 - Bhadrasana (Hero's Pose)
My personal favorite seated posture for those who have tighter outer hips and inner thighs as it requires little flexibility in these areas. It presents a challenge for those with tight quads and shin muscles. Using blankets and blocks can help alleviate these challenges. I would suggest warming up and stretching the thighs and ankles prior to working on this posture. In the above video, I go over a twisted thigh stretch and a seated posture on heels. If these postures prove to be too challenging after a warm-up, then this posture is likely to cause discomfort during a seated meditation.
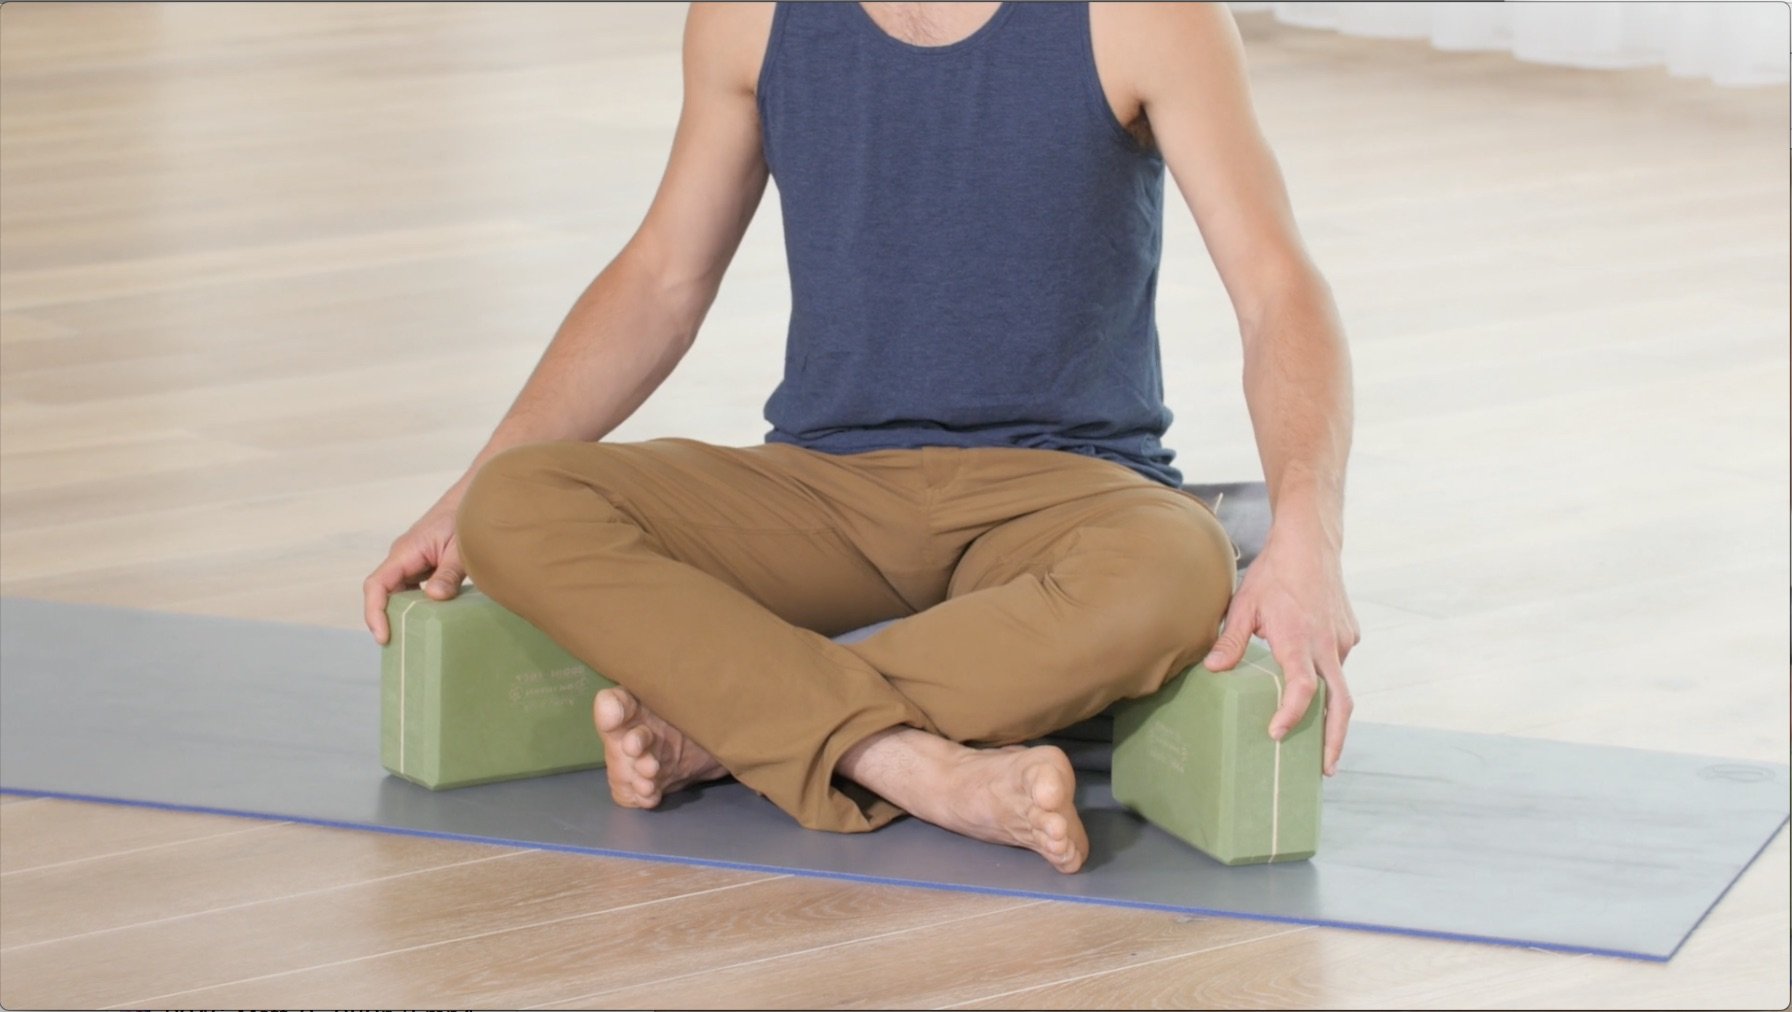
Option 2: Cross Legged
Sukhasana, the so-called “easy seat” – an ironic title, as it can be incredibly misleading. For those with open inner thighs, hip flexors, and outer hips this can be an easy posture indeed, but if that is not the case for you then you’ll definitely want to use props. Using the right amount of blankets and block support can make this posture easier and more accessible.
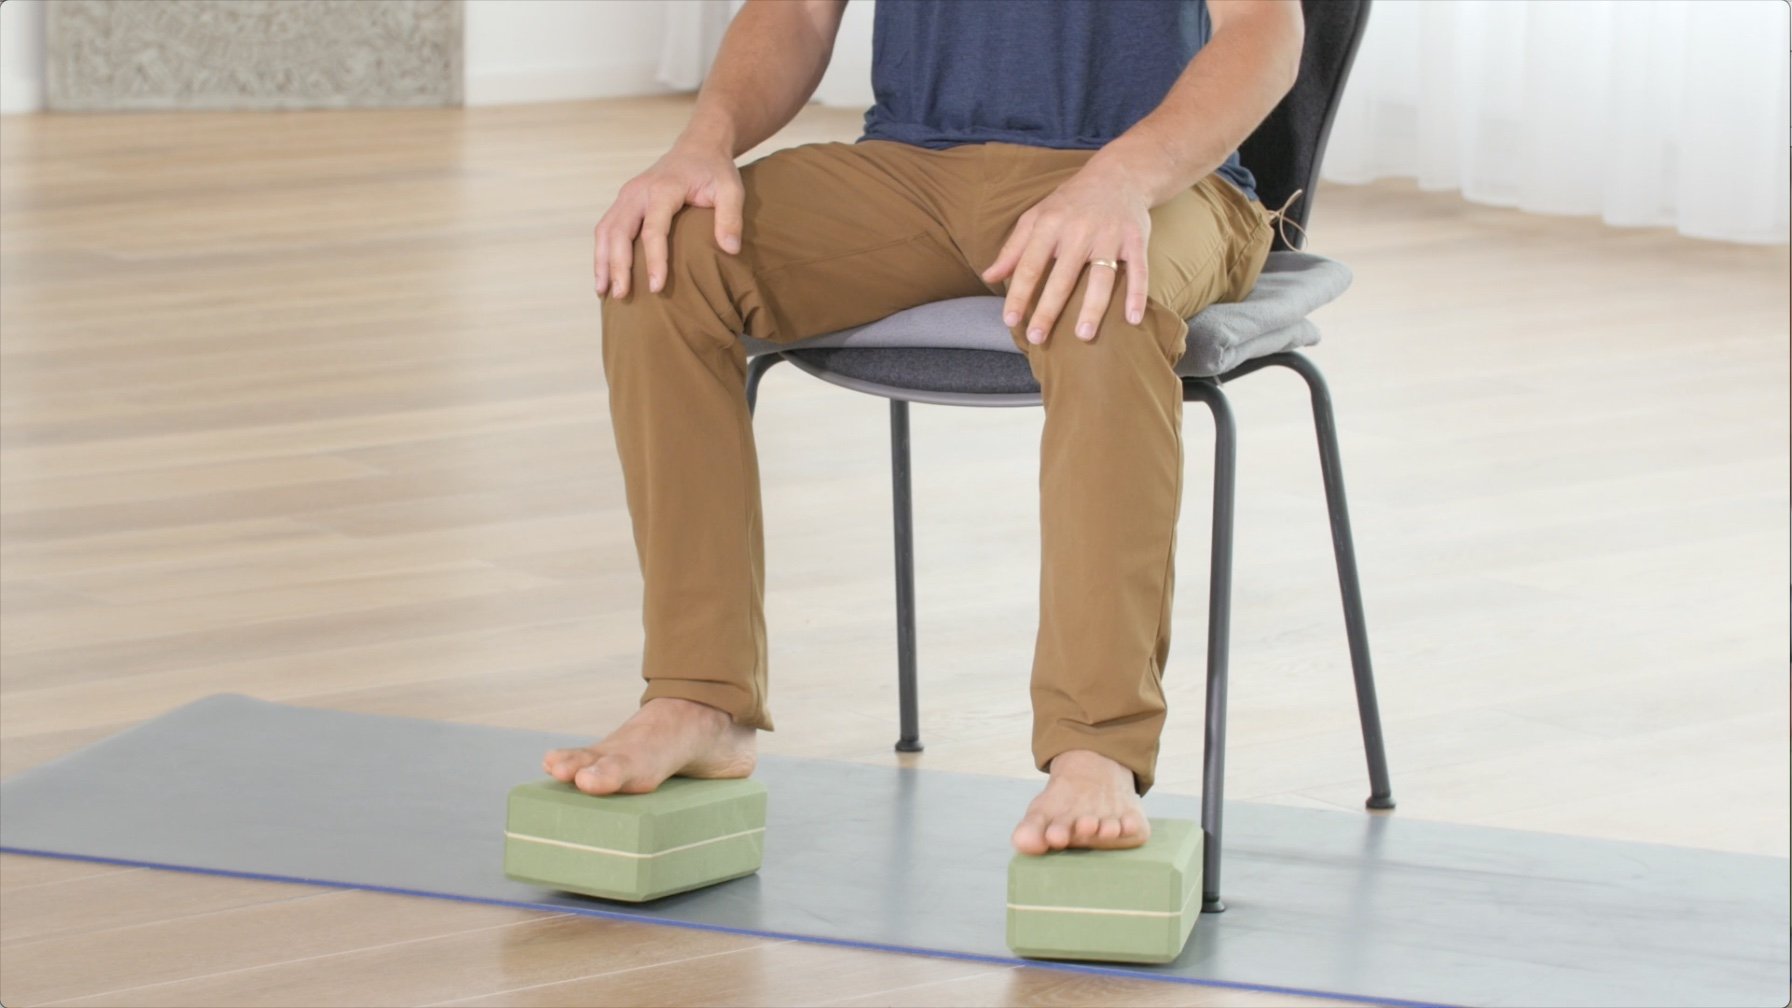
Option 3: On Chair with Blocks
In the video I show a seated option call sidasana, however, I wanted to offer one other one here. Sitting in a chair can seem like cheating, as it can be incredibly easy to get too relaxed in it. Here you will notice how I prepare the chair with blocks and a blanket and I sit on the edge of the seat so that I still used my back and hip flexors to keep me upright. Some level of muscle engagement is important to stay awake and present when meditating.
MOVE•BREATHE•RELEASE
12 Class Package for Yoga, Pranayama, and Meditation
- Breathe better with pranayama “breathwork” exercises
- Release Hip Tension with asana practice
- Increase Flexibility & Strength
- Increase Focus and Clarity
- Decrease Stress
- Unwind physical & Emotional Tension
- Move more freely
- Release low back tension through hip opening
- 12 All Levels Live Asana Classes
- Lifetime Unlimited Access to All
How to Start Meditation
The best way to practice meditation, like anything else, is to have guidance. When I was younger, I struggled for years to meditate without the support of a teacher and mostly I became frustrated and lost in my thoughts. When I stumbled upon my teacher “Rudrani” she helped provide me with the tools and guidance to make meditation accessible and enjoyable. This is why I created the MOVE•BREATHE•RELEASE to share with you the techniques that produce the intended results that so many talk about; peace of mind, inner freedom, focus, mental clarity, joy, equanimity, balance, etc.
From Body to Mind
One thing I noticed early on in my meditation practice was the discomfort of my body. I couldn’t focus my mind on anything when I was seated because I was distracted by my back, my knee, my neck, and so on. This realization led me to the physical practice of yoga. Through the yoga practice, I gained a heightened sense of awareness of my body. At first, this was almost a curse because I could feel everything – including my discomfort! Over time and practice, I gained a bit of mastery in my body, in that I could feel the discomfort and choose postures to better accommodate myself and release it. I suggest you choose from one of the 3 best seated meditation postures above and use it for now as your “go-to pose”. I also recommend you get to know the other two poses as well because you will find that on some days your “go-to” is just not the appropriate one for you.
The seated meditation practice became so much more enjoyable for me when I could extend my attention beyond the physical, knowing that I wasn’t causing damage by forcing myself to sit through knee or back pain. While I do believe that some pain in the body can be a result of mental projection, I also know firsthand that placing love and attention on the body can support the health of the mind. There really isn’t a divide between brain and body – the mind is a collective of all our physical and emotional experiences. For sound mental health to be our primary state of being we must get to know ourselves on all levels and develop our awareness.
OTHER HELPFUL PRACTICES
Hips: Rock & Unlock 'Em
Get 2 full hours with Matt Giordano focusing on the techniques that increase the range of motion in your hips and provide long lasting freedom. You will have immediate, unlimited access, and can enjoy the benefits today!
Elements of Mastery Online
Get the immersion that is offered around the world now in the comfort of your own home. Practice on your own time, when you want, and where you want. Re-watch, study, read, take notes, get into your body, free your mind, and advance your practice with this in depth online immersion
Continue Learning
Handstand Actions
read more
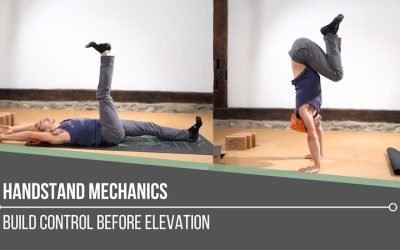
Handstand Mechanics
Handstand MechanicsINVERSIONHANDSTAND MECHANICS Stability, strength, and coordination come together in the pursuit of mastering handstand mechanics. One of the most critical foundations is internal rotation at the hip joints, which can aid with certain entries and...
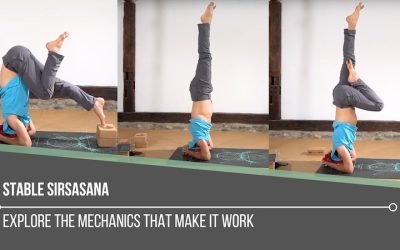
Stable Sirsasana
Stable SirsasanaHEADSTANDSTABLE SIRSASANA Creating a stable Sirsasana is less about the final pose and more about the mechanics that lead us there. From weight transfer and spinal alignment to hamstring flexibility and shoulder engagement, each layer matters. Unlike...
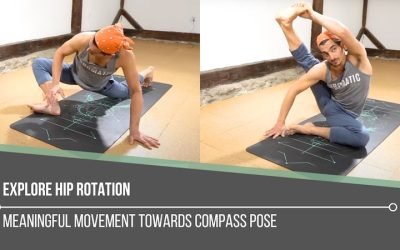
Explore Hip Rotation
Explore Hip RotationSURYA YANTRASANAEXPLORE HIP ROTATION Hip rotation isn’t just an anatomical concept—it’s an open invitation to become more intimate with our body’s story. In yoga, we often live in lateral (external) rotation, especially in hip-opening postures....
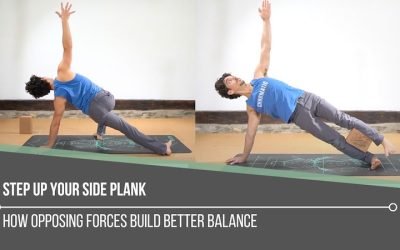
Step Up Your Side Plank
Step Up Your Side PlankVASISTHASANASTEP UP YOUR SIDE PLANK Side Plank might look simple, but true proficiency starts in the details. One of the keys to refining the posture is learning how opposing muscle groups create an isometric contraction—a subtle engagement that...
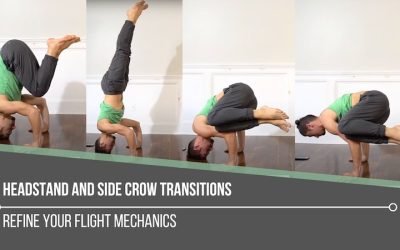
Headstand and Side Crow Transitions
Headstand and Side Crow TransitionsPARSVA BAKASANAHEADSTAND AND SIDE CROW TRANSITIONS Mastery begins with mechanics, especially when it comes to headstand and side crow transitions. Each posture on its own demands control, coordination, and a deep understanding of...
THE FREE TECHNIQUE PACK
When You Subscribe, You Will Get Instant Access to
- the Technique Pack: 15 yoga pose breakdowns
- exclusive online course discounts
- exclusive blogs and videos