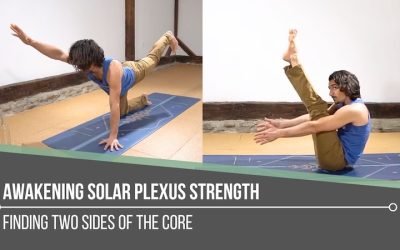
Awakening Solar Plexus Strengththird chakraAWAKENING SOLAR PLEXUS STRENGTH Awakening solar plexus strength invites us into the centre of transformation. Matt reminds us that this third chakra, Manipura, is our fire, our willpower, and our ability to take action. It...
Downward Dog Shoulder Alignment
DOWNWARD DOG
SHOULDER ALIGNMENT
How Yoga Props Enhance Your Downward Dog
ADHO MUKHA
ALIGNMENT QUESTIONS IN DOWNWARD-FACING DOG
How many times have you done Downward-Facing Dog in your yoga practice? I can’t answer that either. It’s a posture that shows up in a yoga class quite often. It just becomes part of the foundation of a physical practice after a while. When you started your practice, you may have been told that it’s a resting posture, but it doesn’t always feel like that, does it? It takes some time for it to feel “right” or even “comfortable.” You’ve most likely navigated through things like the following:
Should my heels touch the mat?
How far apart should my hands be from one another?
What about the direction of my hands?
How far apart should my hands be from my feet?
Should my wrists feel this way?
Is it ok to bend my knees?
This list goes on.
Over time, you start to develop a deeper understanding of the pose and to develop and integrate patterns in your body that feel “right.”
As you continue to learn and grow in your practice, you may also reach a point where you begin to wonder if these patterns are actually serving you. This wondering may come from pain and/or injuries that arise, or simply from exposure to different practices and/or teachers. What often happens is that once you get comfortable with “the way you’ve always done it,” the challenge may be to consider a different way and/or to add on some new actions to actually improve not only the posture but also the health of your joint placement/alignment in the posture.
It is important, however, to be open to the process of “unlearning” and the process of developing new patterns. The important perspective to take when you encounter times like this in your yoga practice is to understand that it is all a part of growth and your specific journey to learn more about your own body. It’s actually an opportunity. Approaching your practice with an openness to opportunity often leads to the unraveling and to access to new breakthroughs in your practice.

SHOULDER REVELATION
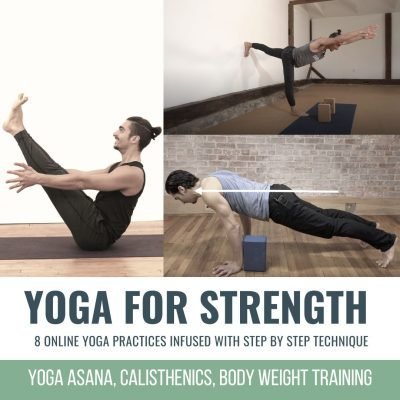
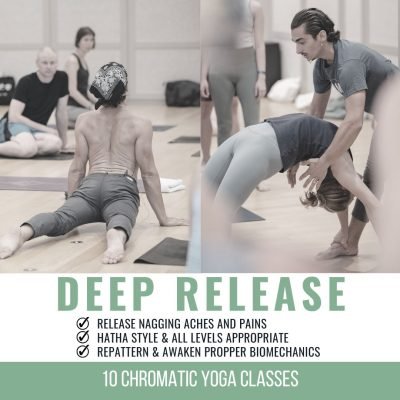
Strength•Mobility•Biomechanics
- Increase strength and flexibility
- Decrease risk of injury
- Release shoulder tension
- Learn anatomy and biomechanics
- Access a wider range of postures
- Stabilize the rotator cuff muscles
- Learn binds, heart openers, and arm balances
- 12 all-levels, 75-minute online classes
- Lifetime unlimited access to all
$198.00 $138.00
WHAT IS SHOULDER IMPINGEMENT?
“Shoulder impingement is a common condition believed to contribute to the development or progression of rotator cuff disease.”
Ludewig, Paula M, and Jonathan P Braman. “Shoulder impingement: biomechanical considerations in rehabilitation.” Manual therapy vol. 16,1 (2011): 33-9. doi:10.1016/j.math.2010.08.004
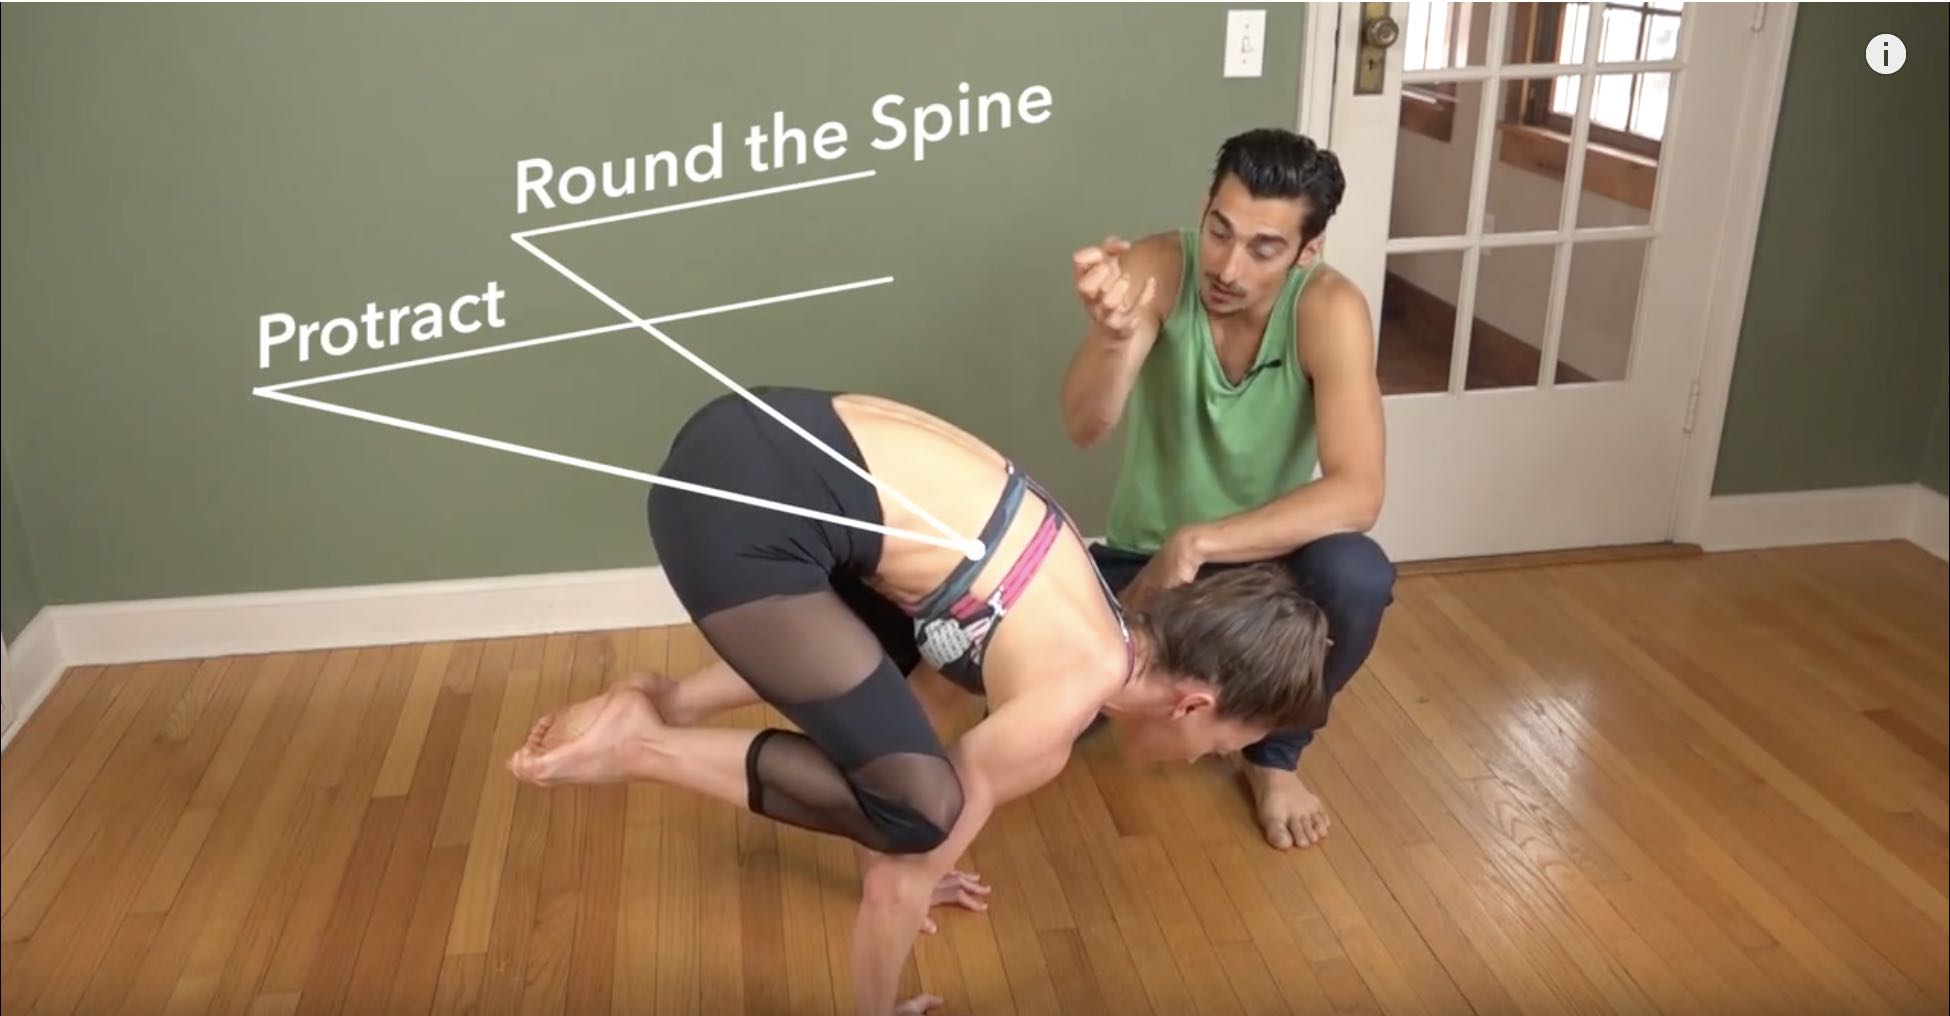
Shoulder impingement and/or a pinching sensation in the shoulders is a common complaint when it comes to the execution of Downward-Facing Dog. You might feel this in early attempts to do the posture or after repeating patterns like drawing your shoulders away from your ears, which may cause pain or irritation in the posture.
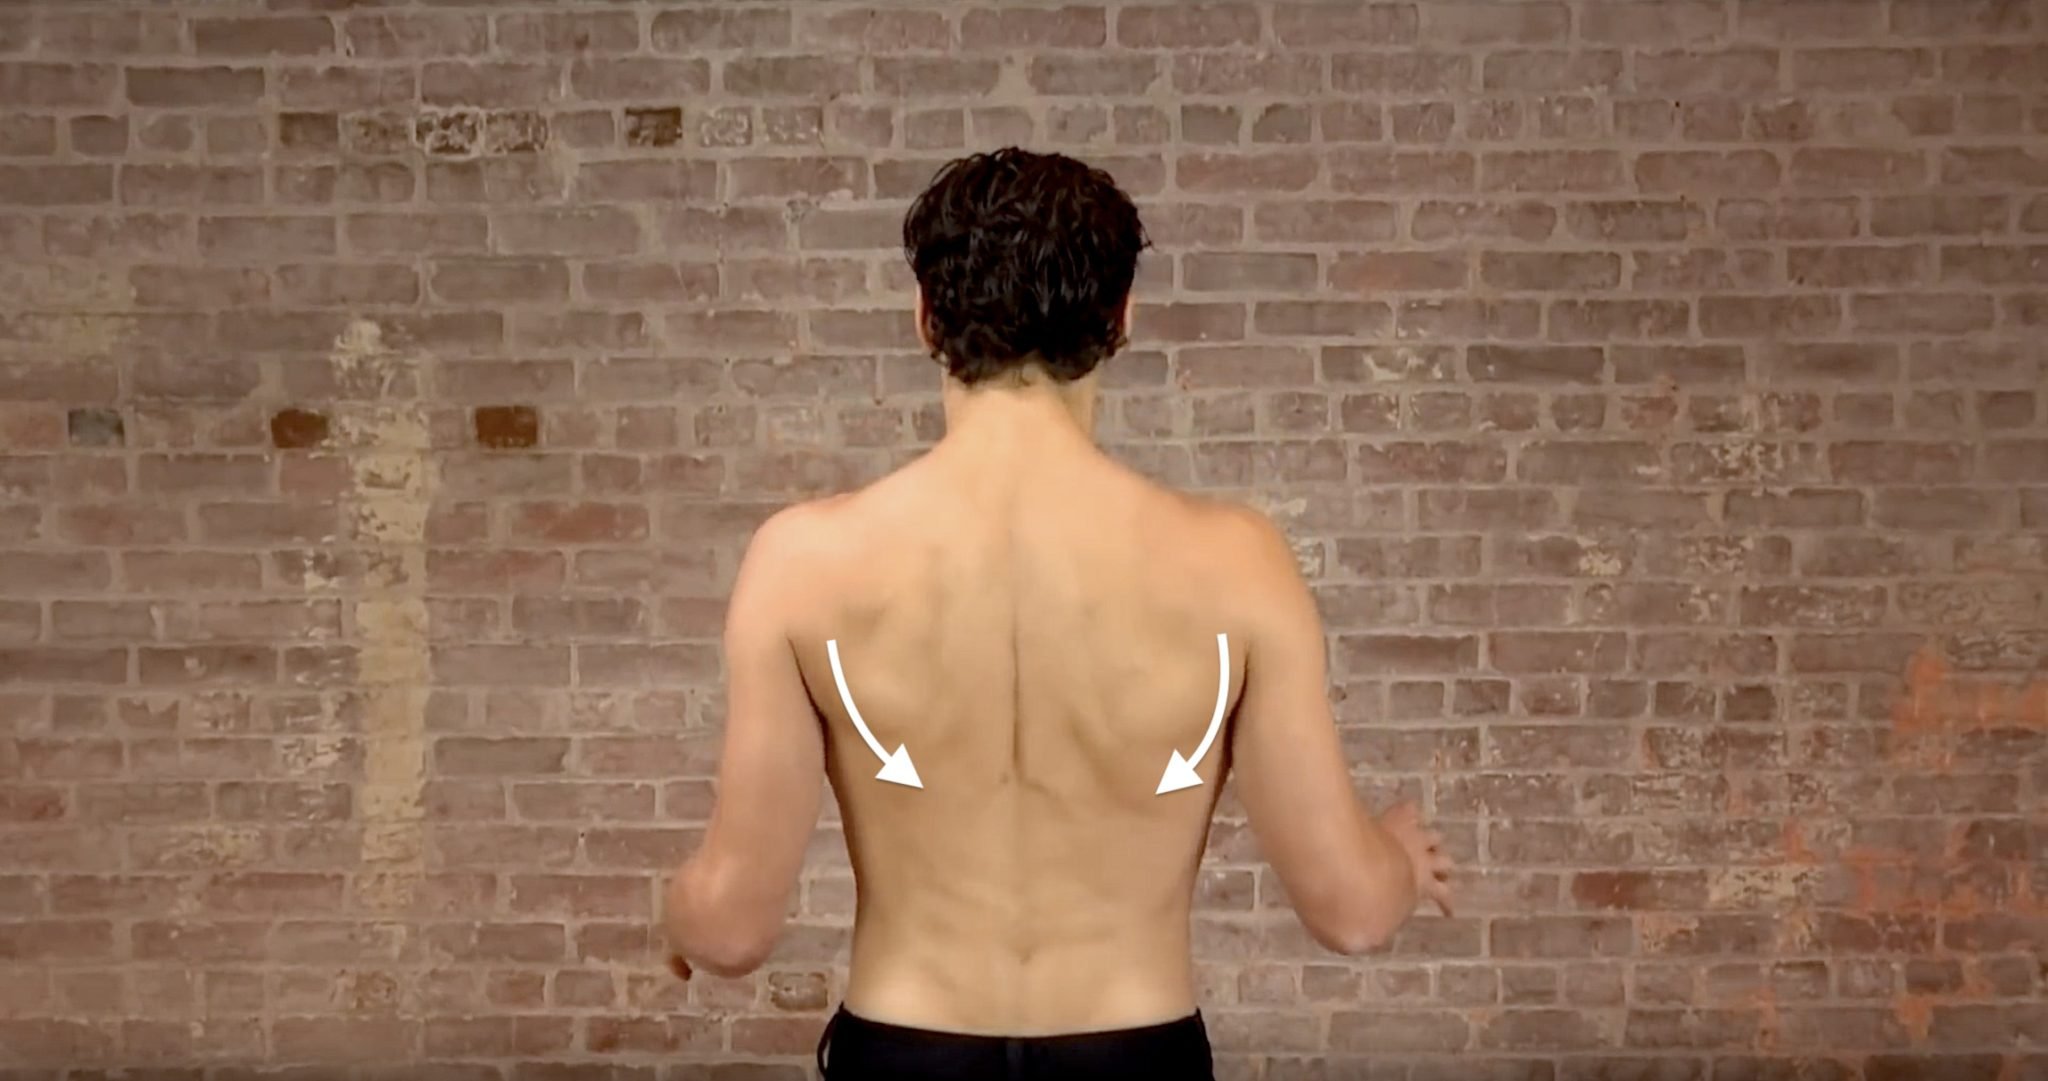
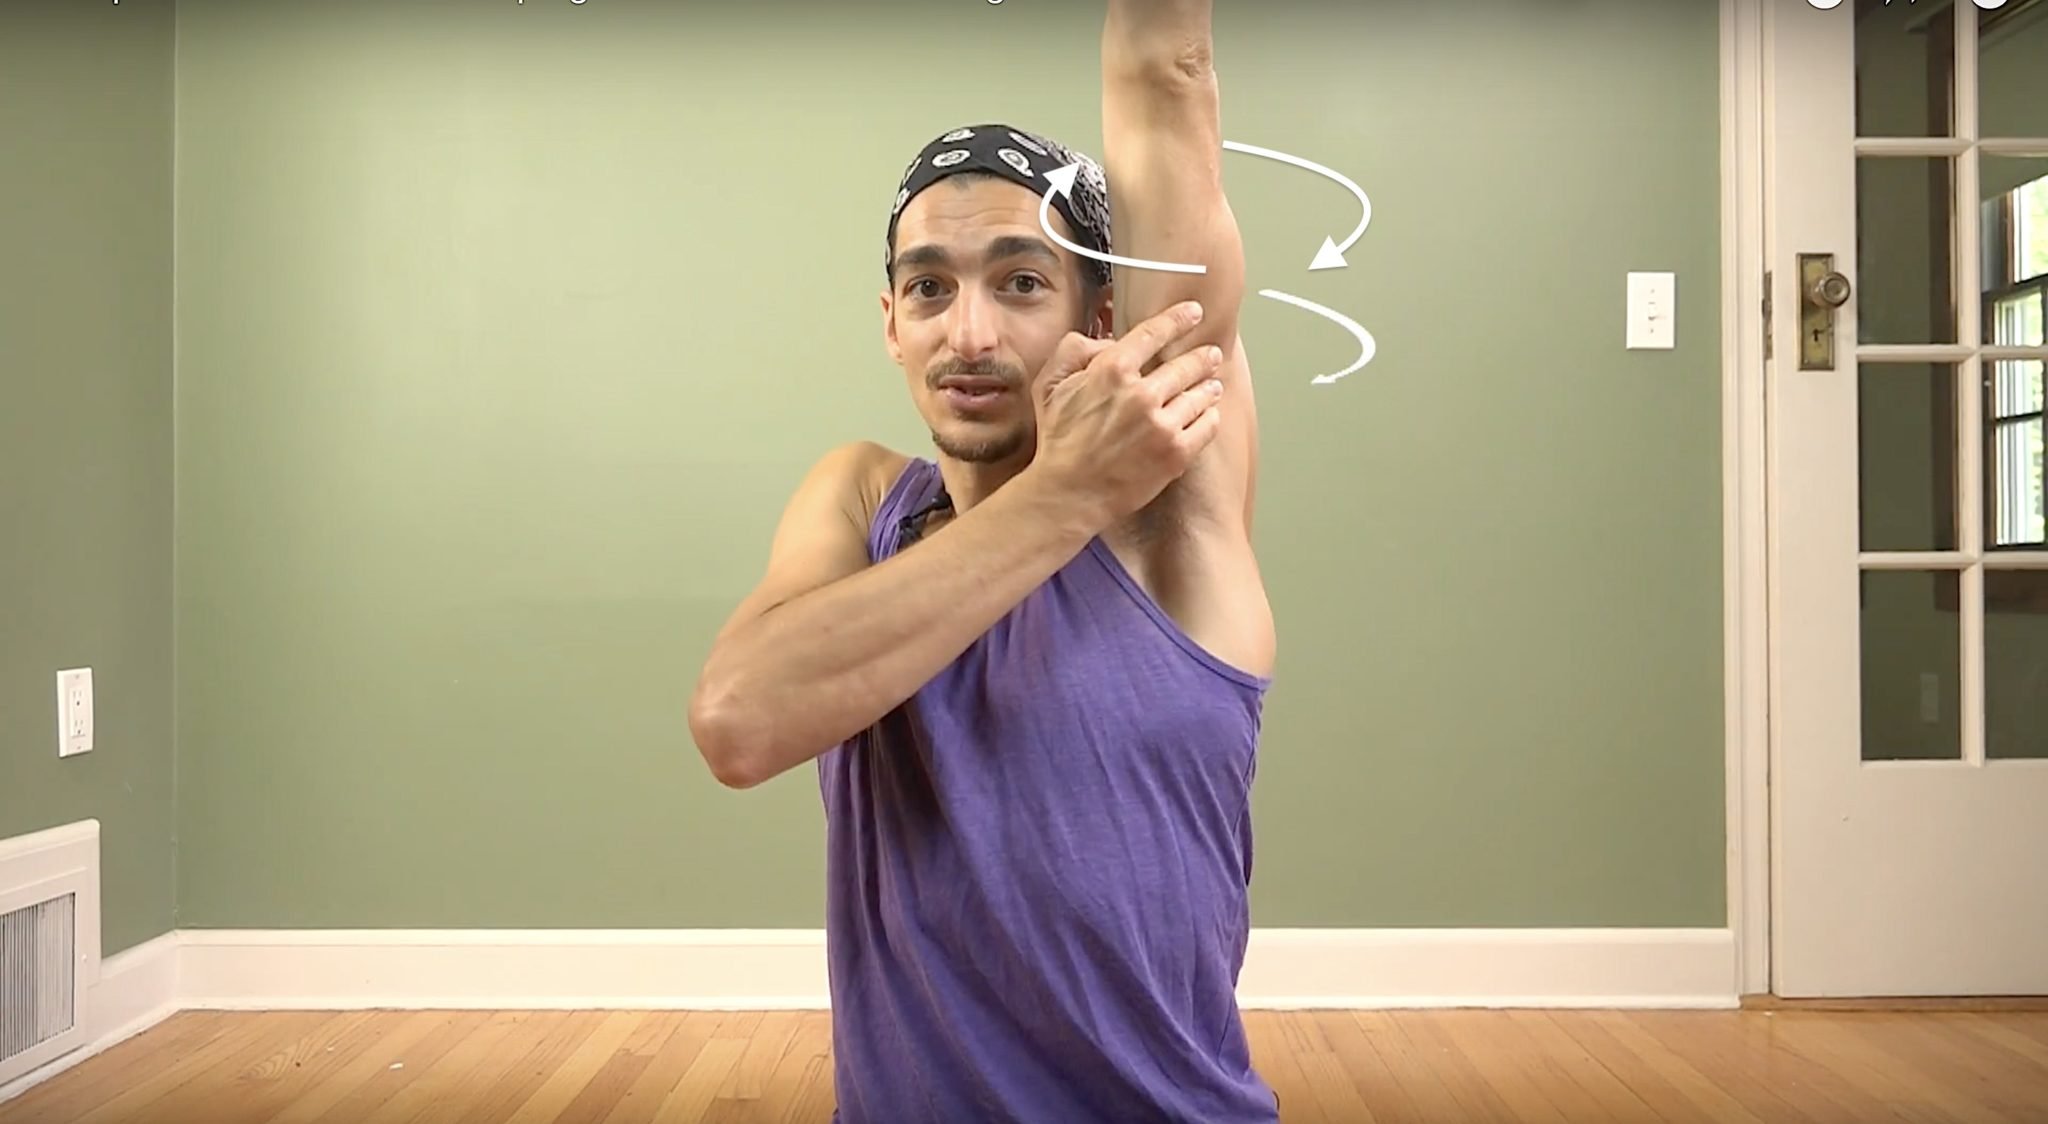
In the video, Matt explains quite nicely by saying that when you draw the scapulae (shoulder blades) away from your ears, the upper arm bone (humerus) collides with the acromion process. This action and collision is what creates the impingement, or “pinching.” This pinching can create pain or discomfort or may even lead to injury. From a visual standpoint, how do you know this is happening? Matt explains that you can see what looks like a “dimple” in the shoulder when the humerus is pulling down away from your ears. For further information for proper alignment in Downward Dog, you can also check out Matt’s blog 3 STEPS TO AVOID SHOULDER IMPINGEMENT IN DOWNWARD-FACING DOG.
WATCH THE VIDEO: DOWNWARD-DOG SHOULDER ALIGNMENT

NEXT TRAINING BEGINS FEBRUARY 2024 ENROLLMENT NOW OPEN!

NEXT TRAINING BEGINS FEBRUARY 2024 ENROLLMENT NOW OPEN!
USING A ROLLED UP YOGA MAT FOR DOWNWARD-FACING DOG
Rolling up a yoga mat and using it as an additional prop provides excellent feedback and even assists you in the execution of the steps to set up Downward-Facing Dog. It helps to create new patterns in your body to avoid shoulder impingement in this foundational posture.
Matt details exactly how to use your mat by following these steps:
- Place a rolled-up mat horizontally across the top of your mat.
- Place your hands in front of the rolled-up mat.
- Move backward into Downward Dog (bend your knees and send your tailbone to the sky).
- Lifting them up, move your armpits forward toward your hands.
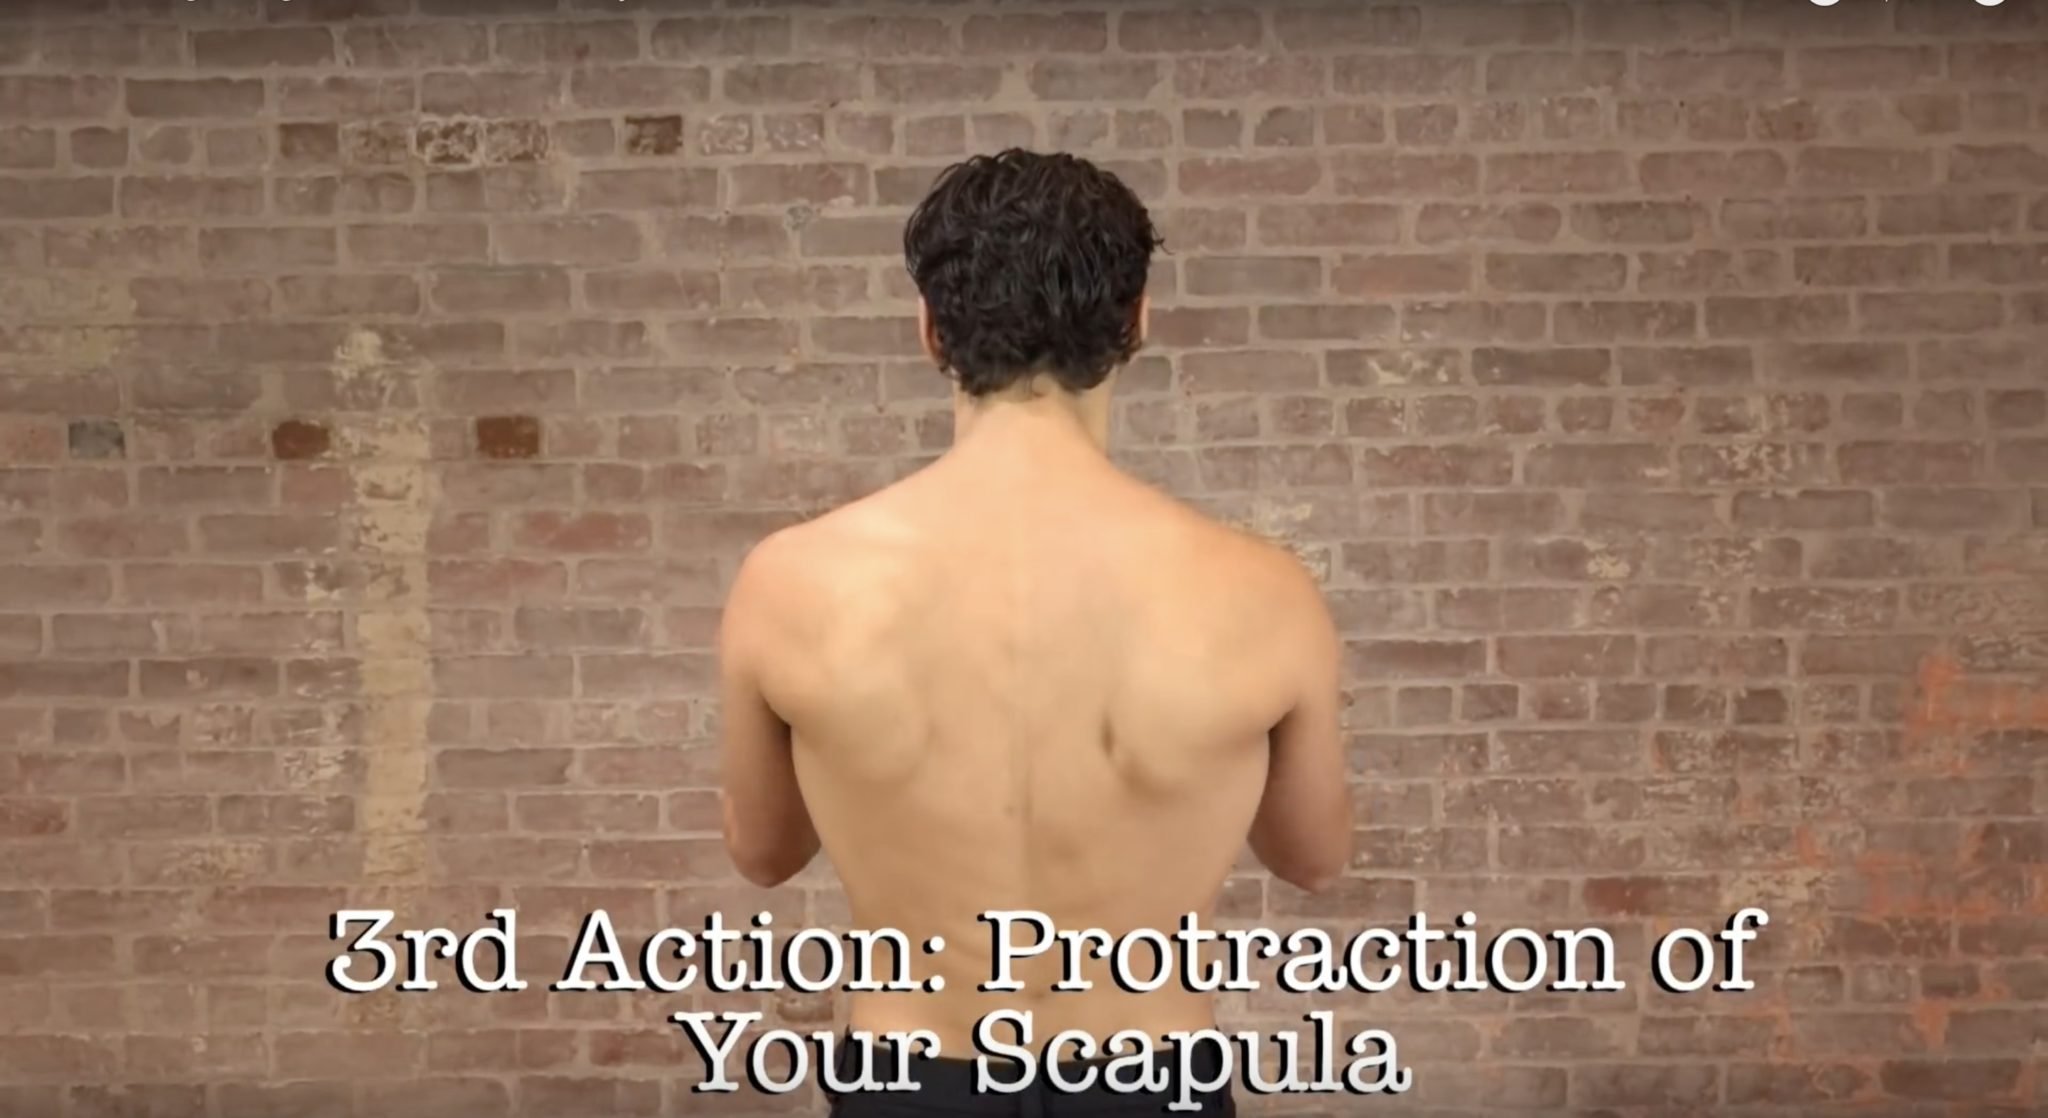
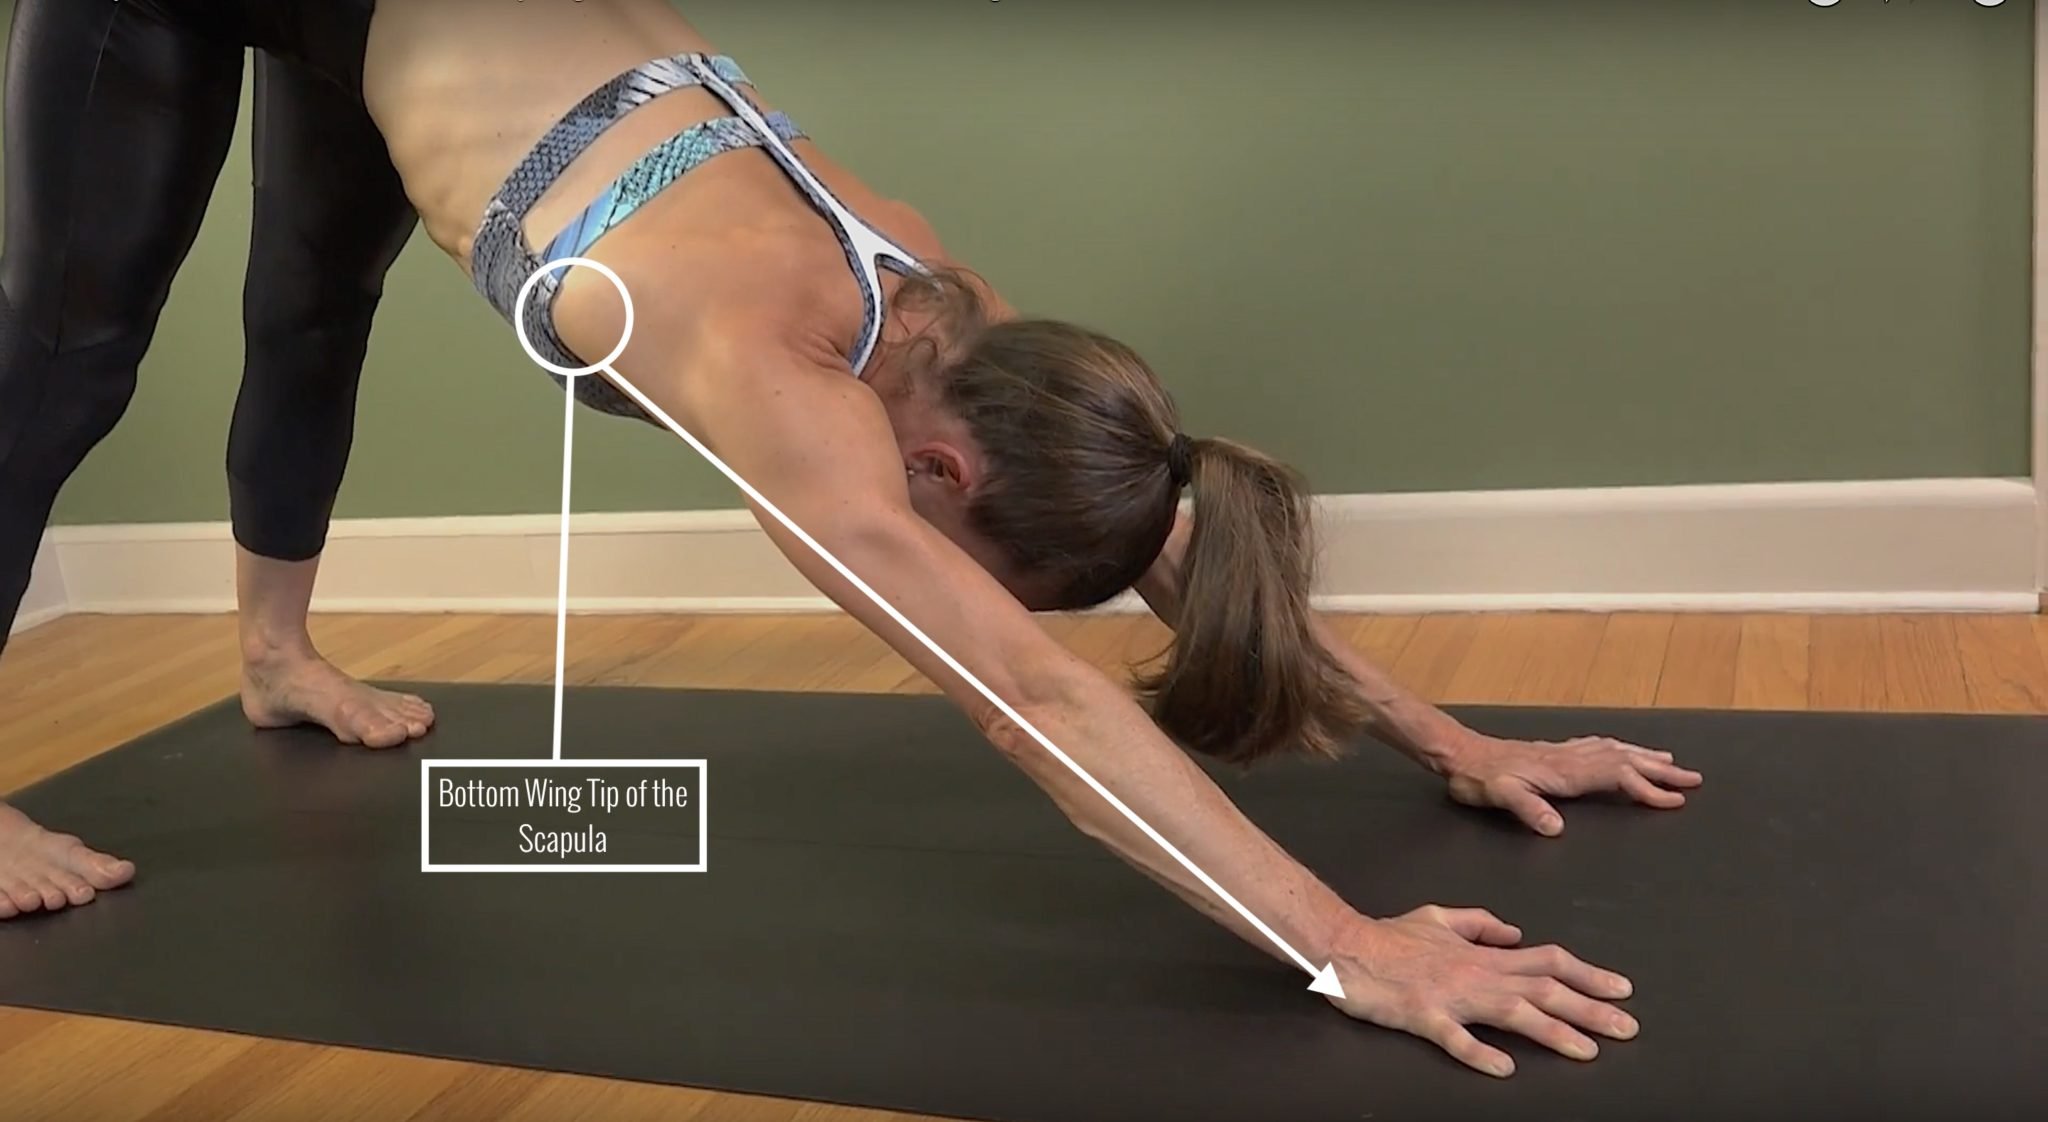
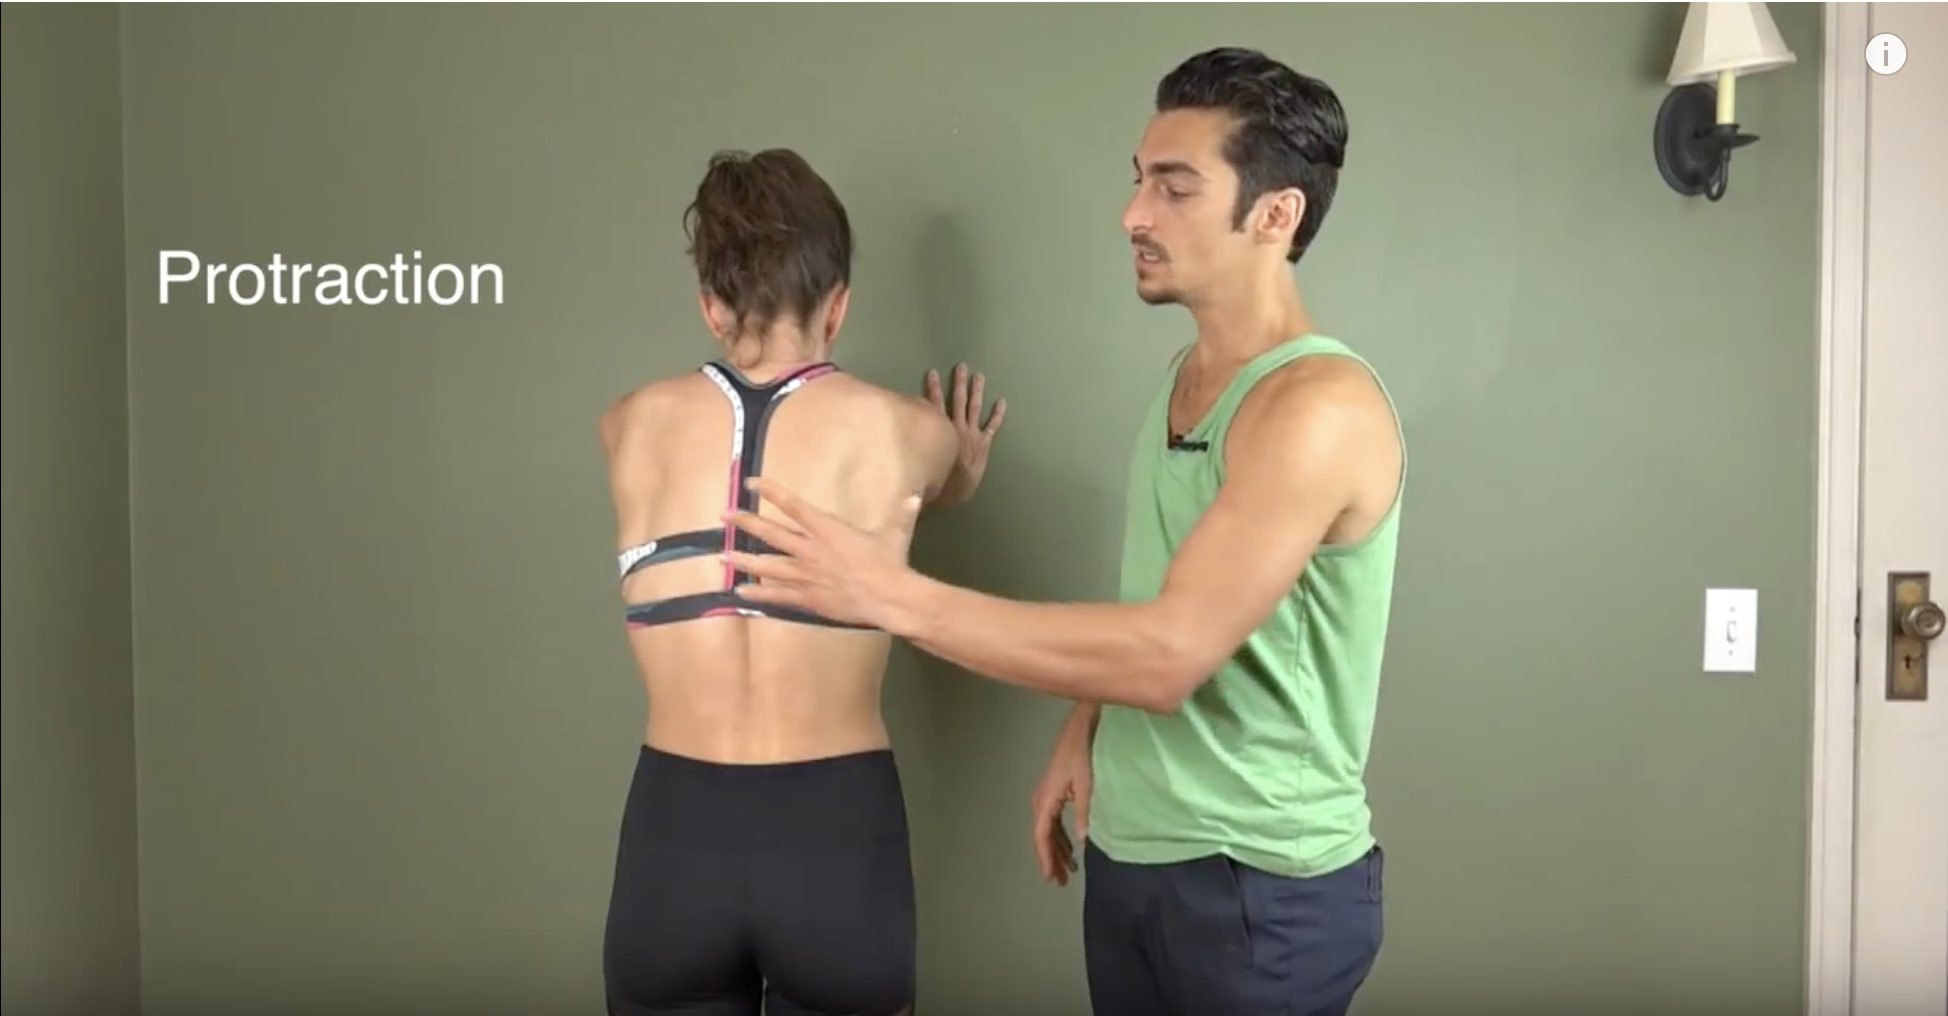
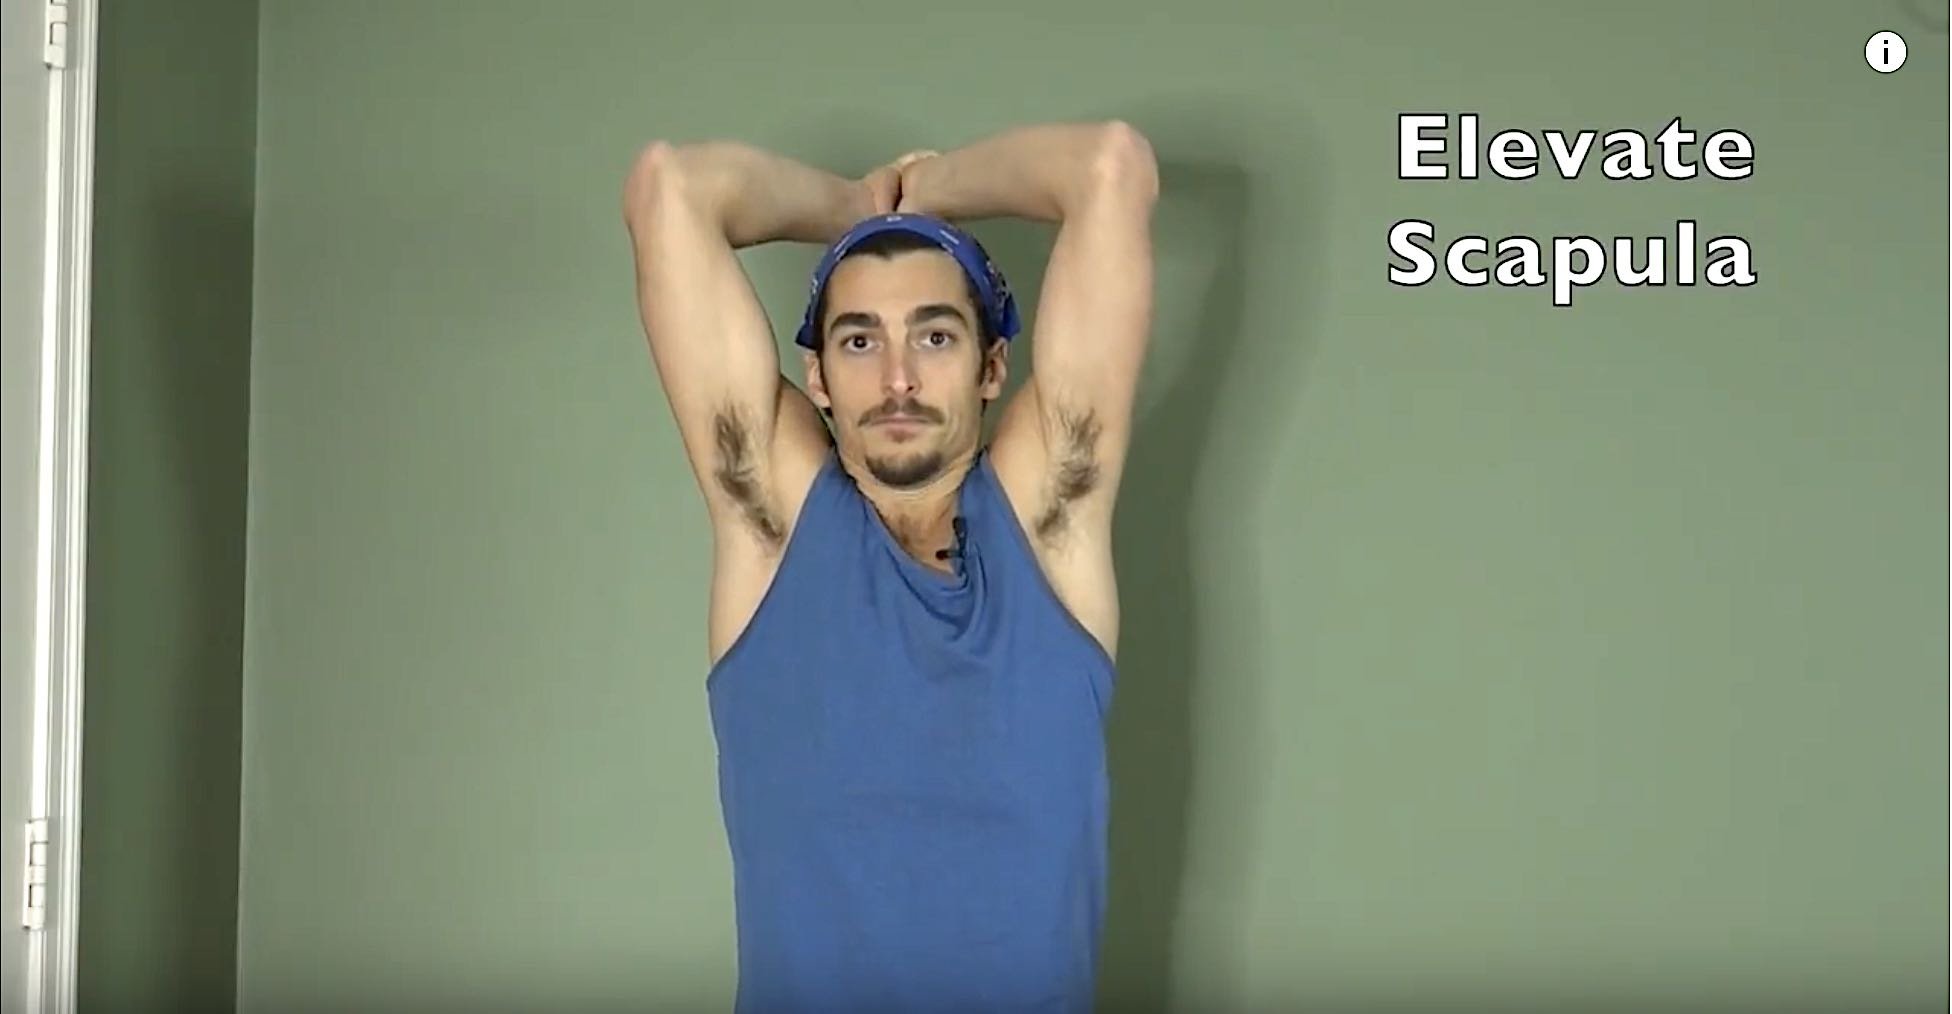
What’s happening here is that this action will activate the rhomboids, and the upper trapezius will activate from the lift of the armpits. This will also support the movement of the top of the shoulder blades going inward while the bottom of the scapula are protracting.
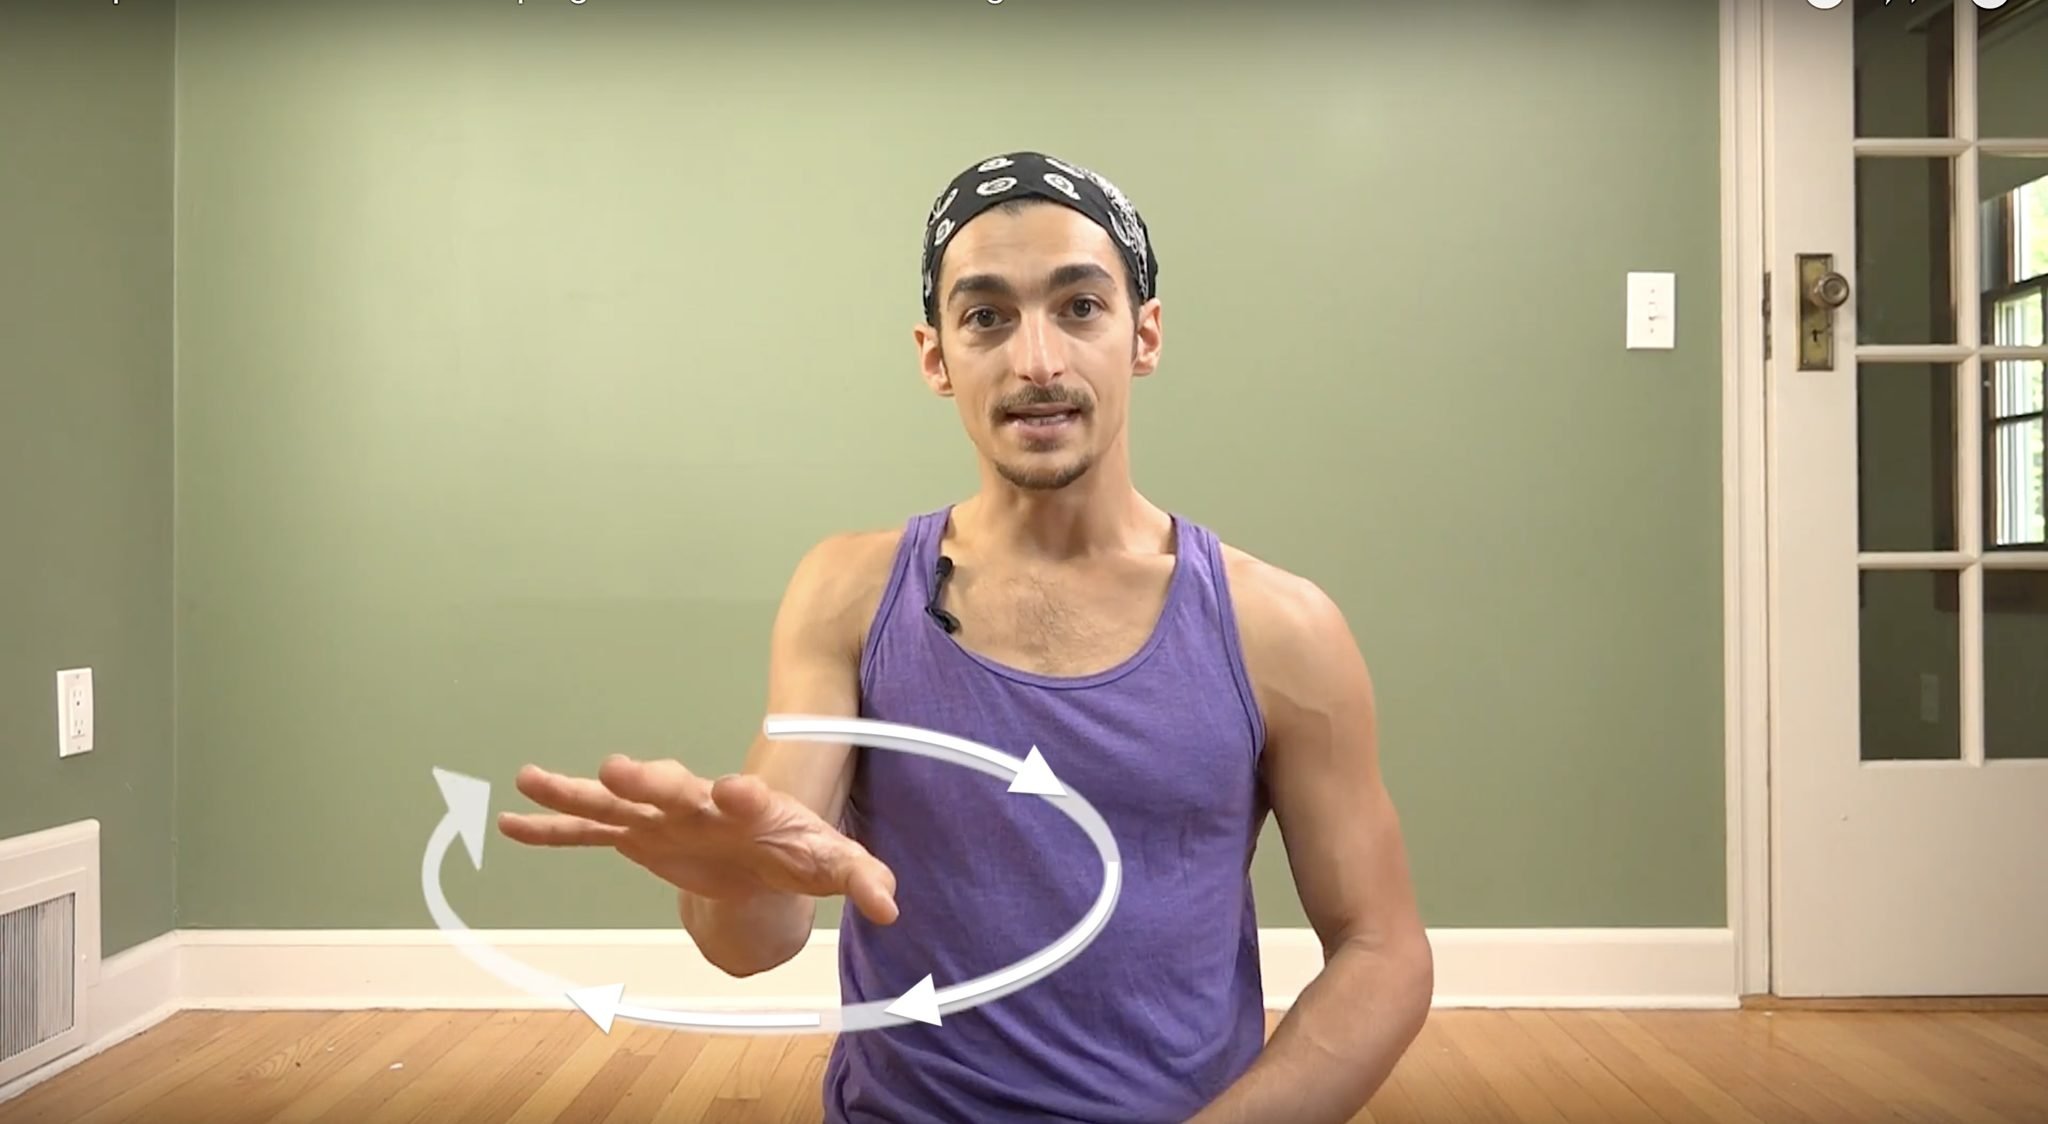
This step also provides a great opportunity to check in and get some feedback within your body. If you’re putting a lot of pressure into the yoga mat, then you know you’re dropping the armpits down and are causing the sub-acromion pinch. Matt offers the cue here of reaching through the outer lines of the arms so that the scapulae upwardly rotate.
“During normal motion, the scapulae will upwardly rotate and posteriorly tilt on the thorax during elevation of the arm in flexion, abduction, scapular plane abduction, or unrestricted overhead reaching.”
Ludewig, Paula M, and Jonathan P Braman. “Shoulder impingement: biomechanical considerations in rehabilitation.” Manual therapy vol. 16,1 (2011): 33-9. doi:10.1016/j.math.2010.08.004
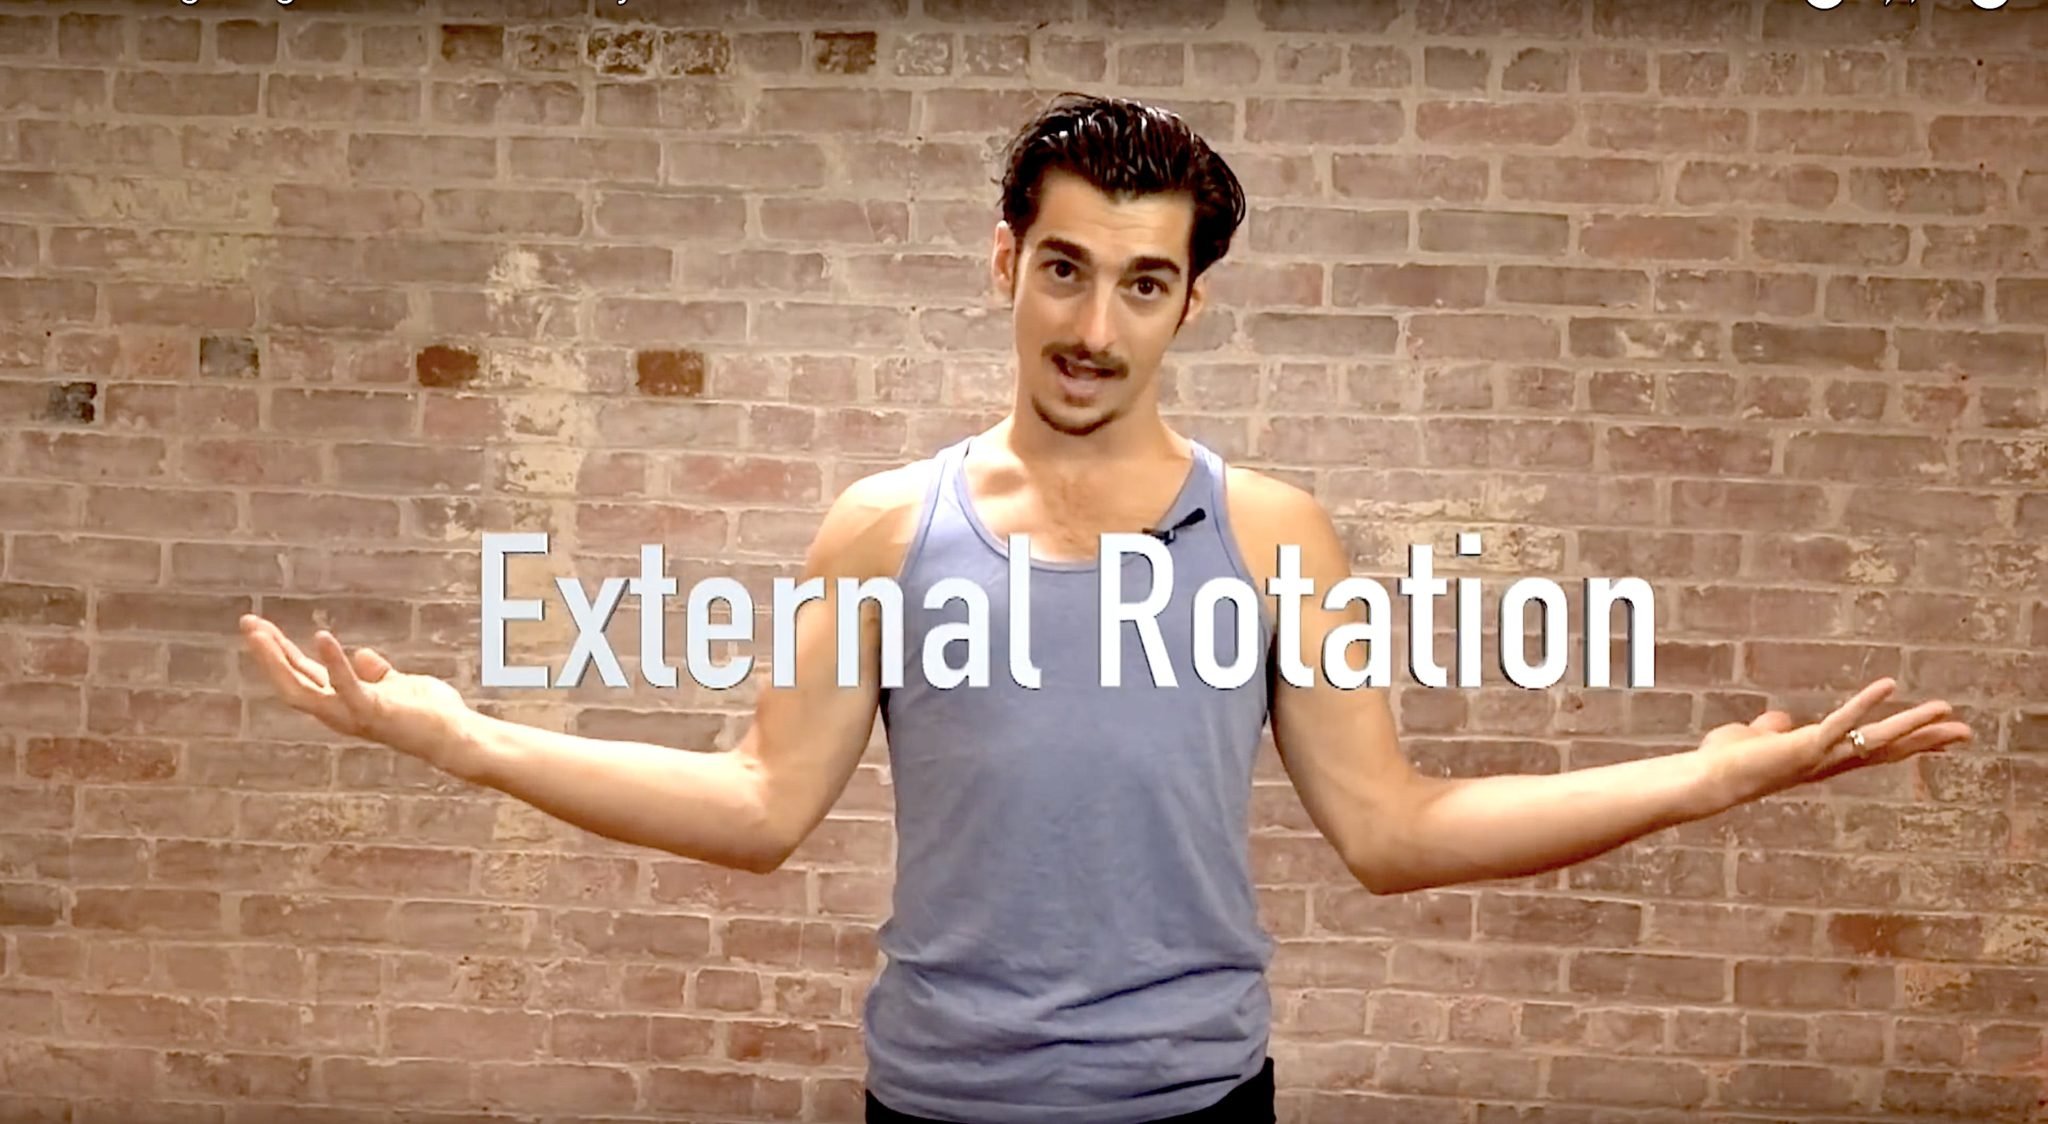
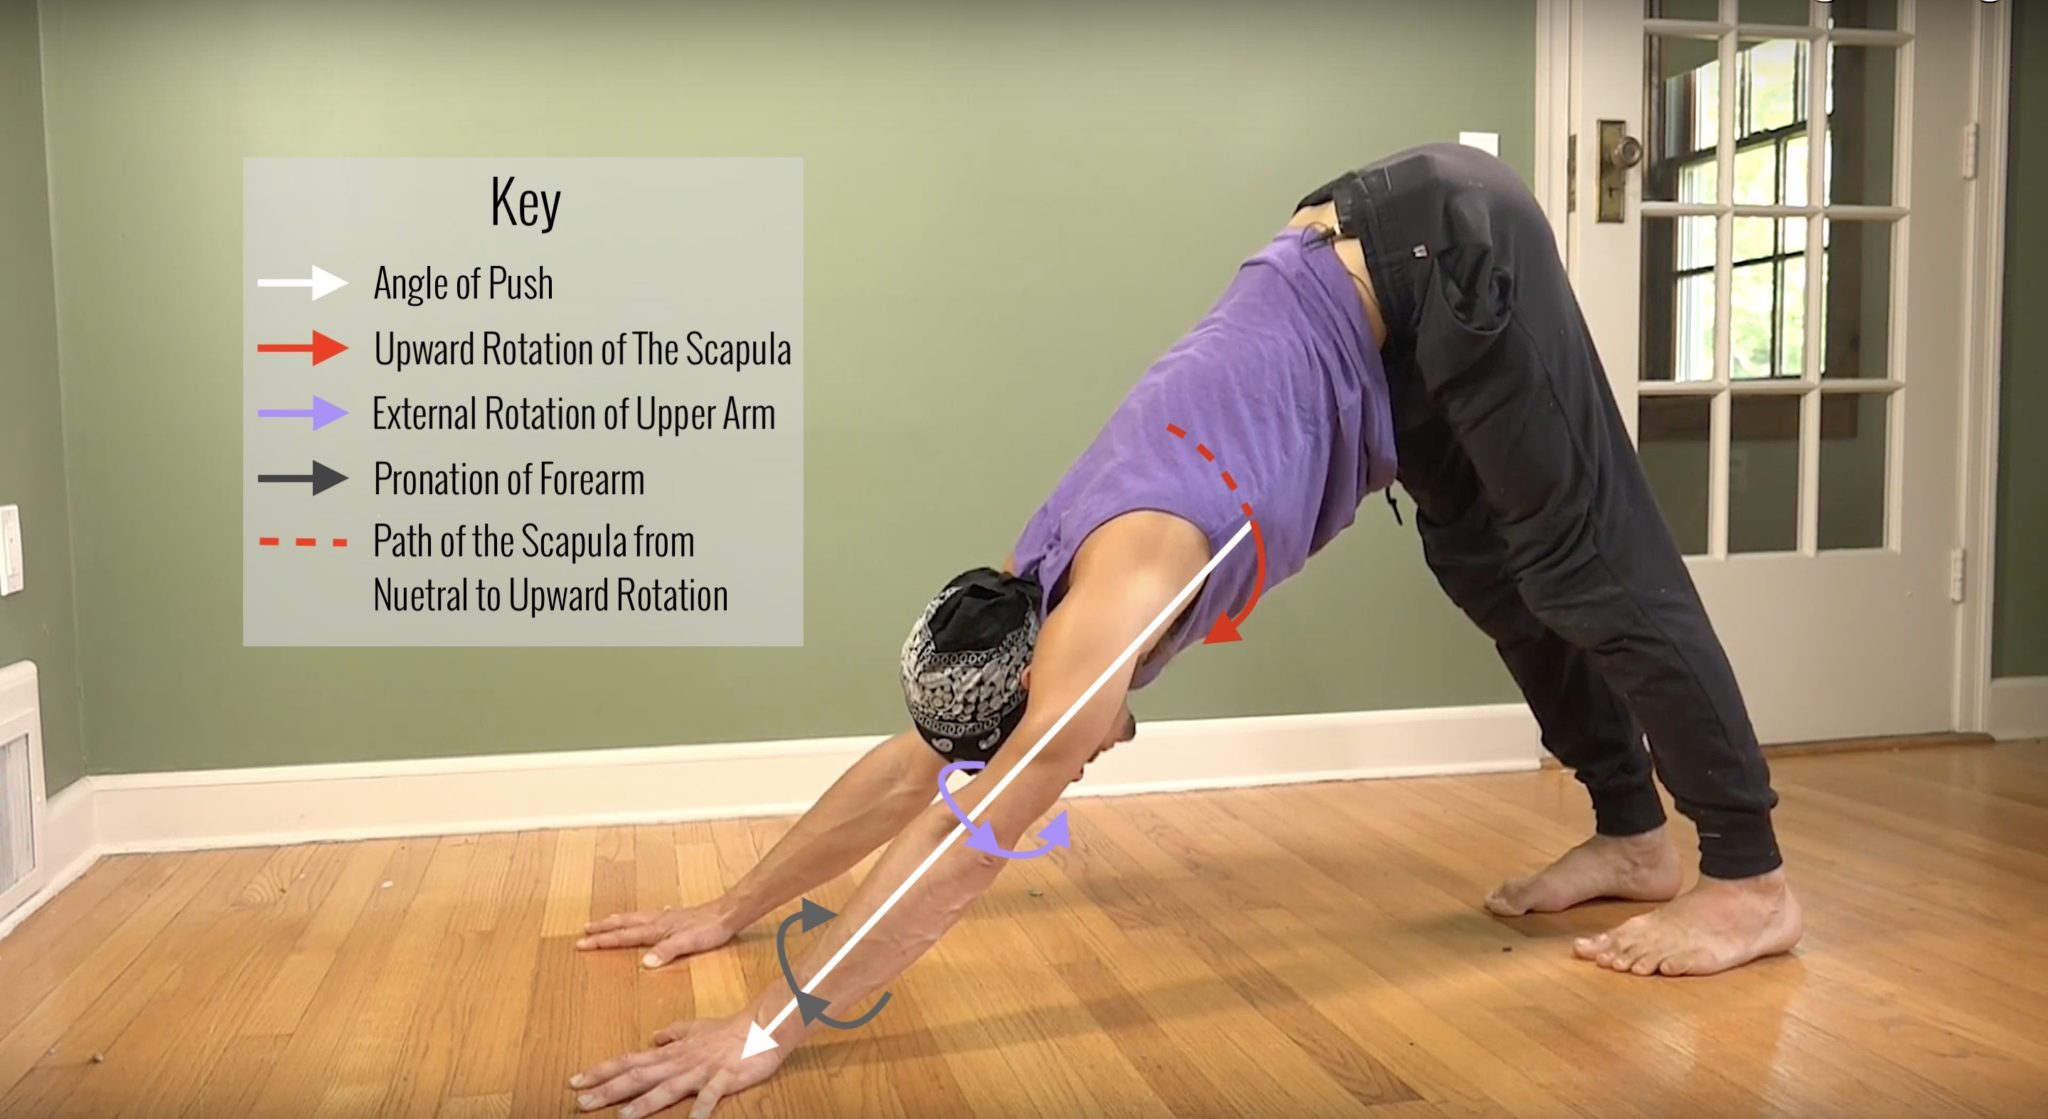
5. Externally rotate the humerus (biceps face forward, and pinky edge of the hand pulls bottom portion of scapula around).
After these actions are put into place, you may feel like the inside edge of your hand is pulling up, so articulating the next step is important.
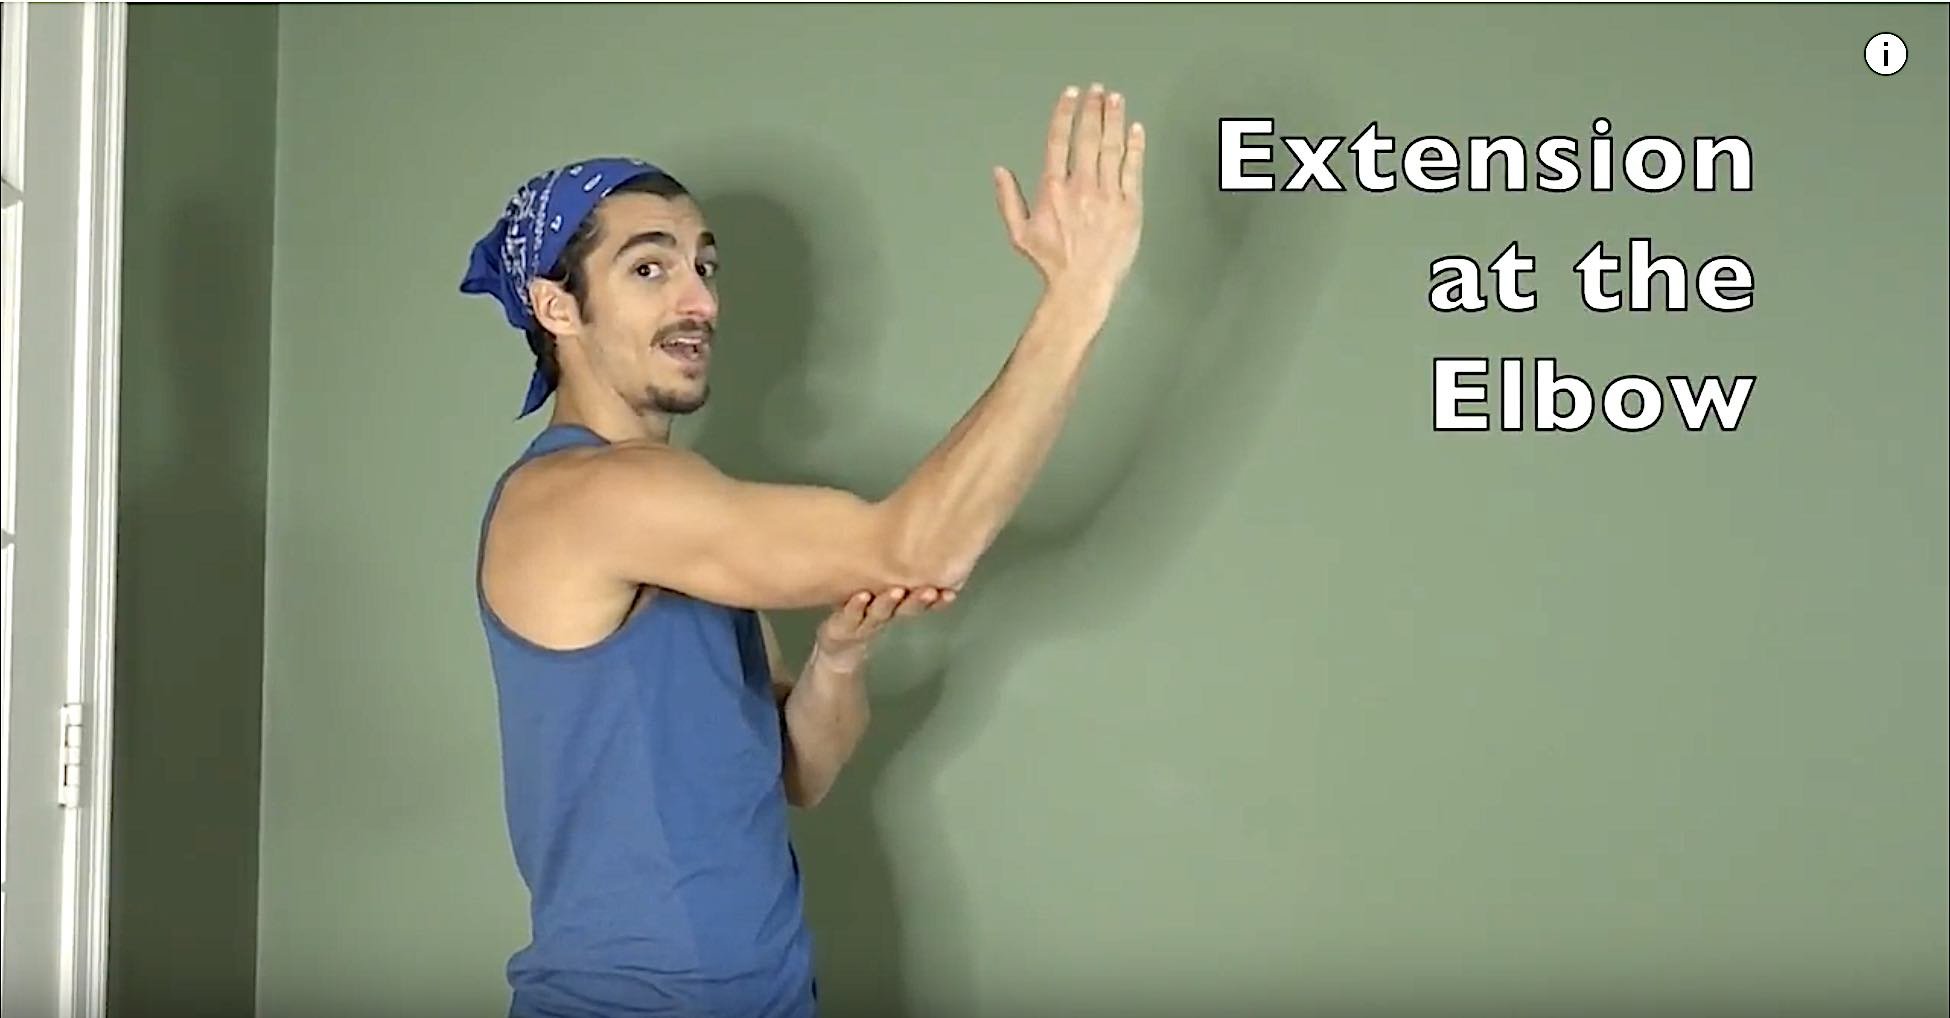
6. Turn your palms down (the radioulnar joint pronates the forearm, and this is a separate action that happens specifically at the forearm, separately from the action of the external rotation of the humerus).
7. Turn hands out a little more and wider (this also helps to create less chance of shoulder impingement).
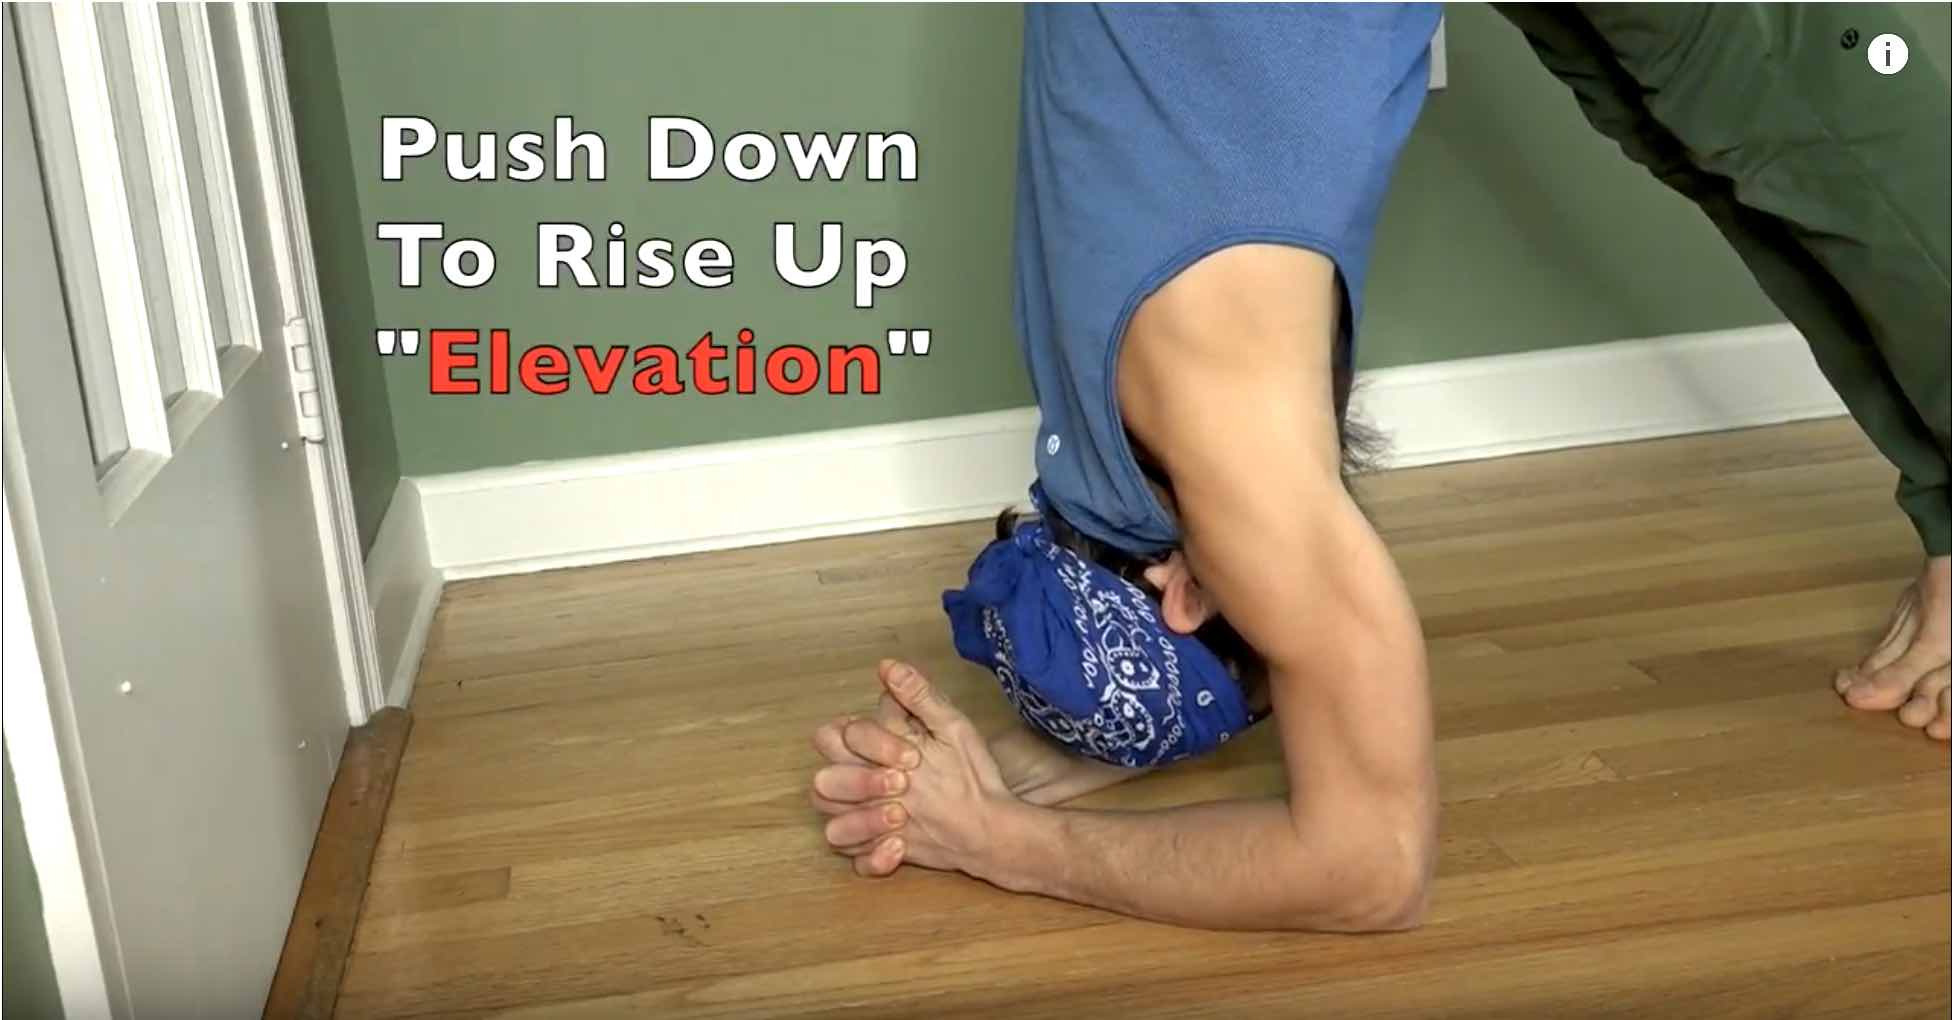
8. Heels of the hands are lifted (again, creating that lightness and less touch against the yoga mat).
Not only will this create less impingement, it will also strengthen the flexors of the wrist, which will feel better and allow you to feel more safe.

ANATOMY IN MOTION
APRIL 2022 Immersion
- Embody anatomy
- Learn key muscles, bones, and joints
- Visualize your movements internally
- Improve proprioception
- Sensation-based practices
- Unlock and strengthen major muscle groups
- Active, passive, and isometric stretching
- Improve mobility and stability
- Get VERY geeky
$168.00
SIMPLIFY THE STEPS FOR MASTERING DOWNWARD-DOG SHOULDER ALIGNMENT
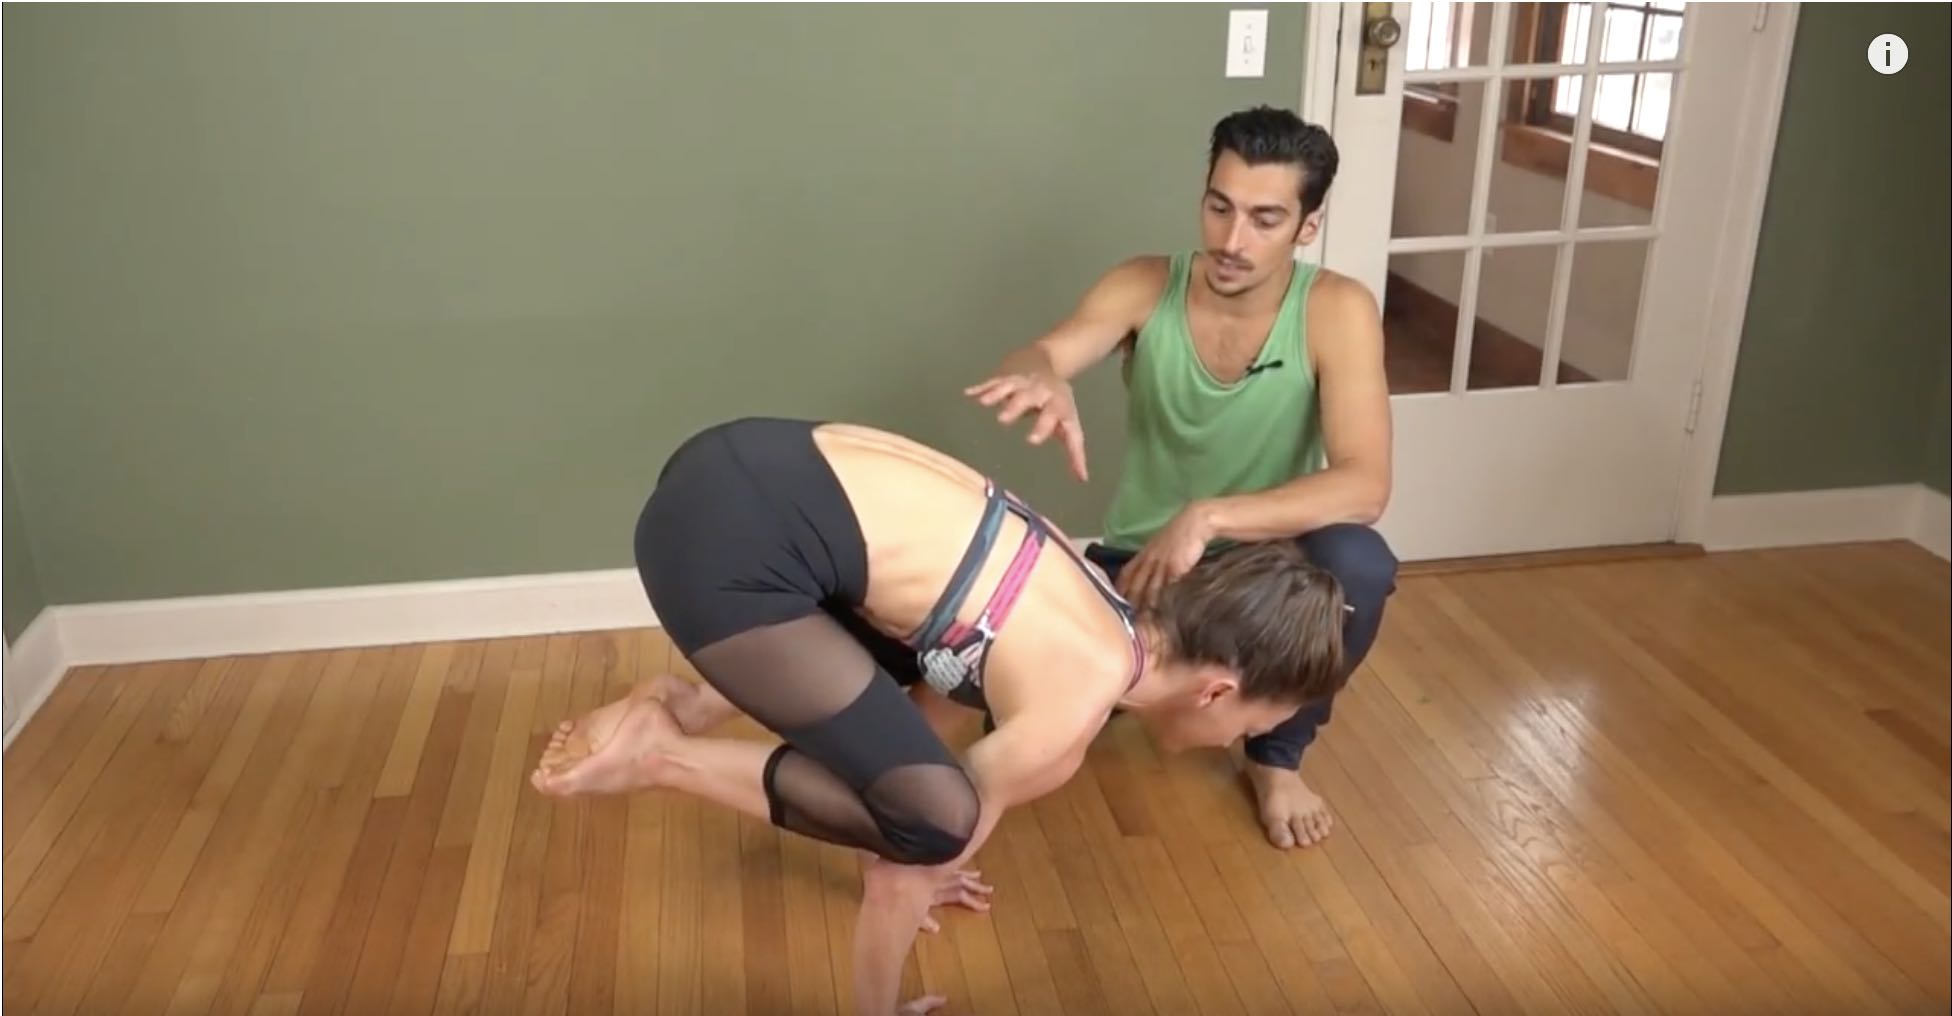
In the video, Matt offers what’s called a “Mock” or “Modified” Downward Dog on your knees. Here are the steps:
- Lift armpits
- Lengthen — shoulders to the ears
- Go up and back
- Externally rotate the arm bones (biceps face forward)
- Lift heels of the hands (carpal tunnels)
Integrating these new actions may feel quite awkward once you start to gradually implement them. They may not feel quite “right.” This is that process of “unlearning” and creating new neuromuscular patterns in your body. Eventually they will start to feel more “comfortable,” and you will notice the change in the development of your strength. Setting this foundation will help to support your journey in other postures in which it is necessary to utilize strength and balance from your shoulders, forearms, and hands.
If you enjoy diving deeper into the potential of your body and of the yoga practice as a whole, you can deepen your studies in Matt’s 200 and 300 Hr. Trainings.
CLICK ON THE LINKS BELOW FOR MORE DETAILS.
The 200 Hr. Teacher Training: Click Here to See the Next Start Date
The 300 Hr. Advanced Teacher Training: Click Here to See the Next Start Date
Article by Trish Curling
Video Extracted From: 300 Hr. Training
CHOOSE YOUR PATH
NEXT TRAINING BEGINS FEBRUARY 2024 ENROLLMENT NOW OPEN!
NEXT TRAINING BEGINS FEBRUARY 2024 ENROLLMENT NOW OPEN!
Continue Learning
Awakening Solar Plexus Strength
read more
Hip Flexor Stretch Mechanics
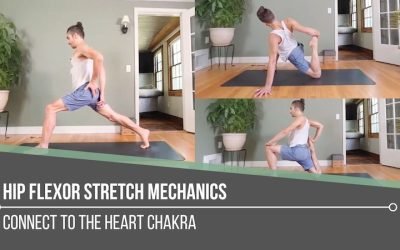
Hip Flexor Stretch MechanicsALIGNMENTHIP FLEXOR STRETCH MECHANICS Hip flexor stretch mechanics begins with understanding that stability and length often come from opposing actions. In the first demonstration, Matt cues the back inner thigh to lift upward, which tips...
A Yoga Treatment For The Shoulders
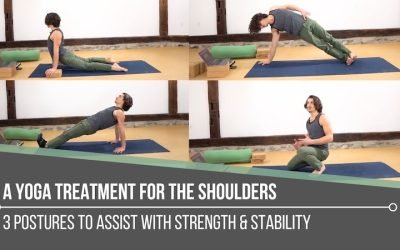
A Yoga Treatment For The ShouldersSTABILITYA YOGA TREATMENT FOR THE SHOULDERS Shoulders tend to speak up when stability is missing. Matt reminds us that building strength isn’t about aesthetics, it’s about support, resilience, and keeping the body working as one...
Reverse Tabletop Strength
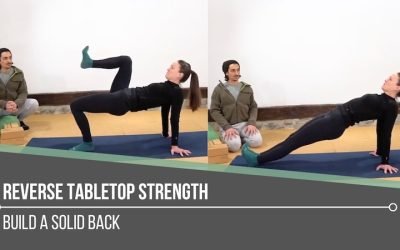
Reverse Tabletop StrengthMECHANICSREVERSE TABLETOP STRENGTH “Solid” implies strength, yet in yoga, we can easily lose sight of how intentionally building the back body supports everything we do. Reverse Tabletop may look simple, but it asks a lot from the posterior...
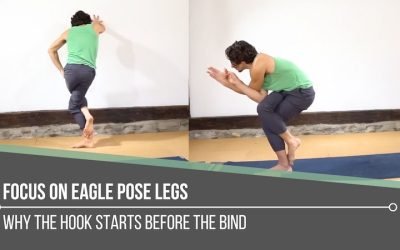
Focus On Eagle Pose Legs
Focus On Eagle Pose LegsMECHANICSFOCUS ON EAGLE POSE LEGS When we focus on Eagle Pose legs, it’s tempting to assume the bind is a flexibility test. But this posture quietly reveals something more nuanced: timing, joint mechanics, and how efficiently the legs organize...
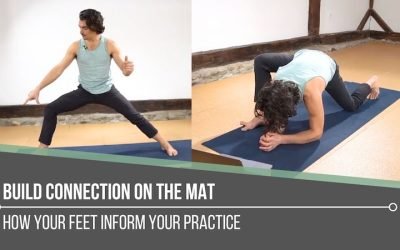
Build Connection On The Mat
Build Connection On The MatGROUNDINGBUILD CONNECTION ON THE MAT Building connection on the mat starts at the place we tend to overlook: our feet. If we only practice the “shape” of a posture, we can miss the biomechanics that change how the whole pose feels from the...
THE FREE TECHNIQUE PACK
When You Subscribe, You Will Get Instant Access to
- the Technique Pack: 15 yoga pose breakdowns
- exclusive online course discounts
- exclusive blogs and videos