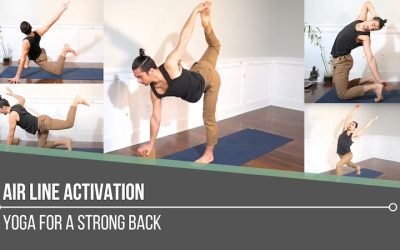
Air Line Activationback strengthAIR LINE ACTIVATION Finding ways to effectively strengthen the back in our yoga practice can be a challenge. If our goal is to cultivate strength in this area of the body, we must understand that it requires more than just adding...
4 Exercises For The Ankles and Feet
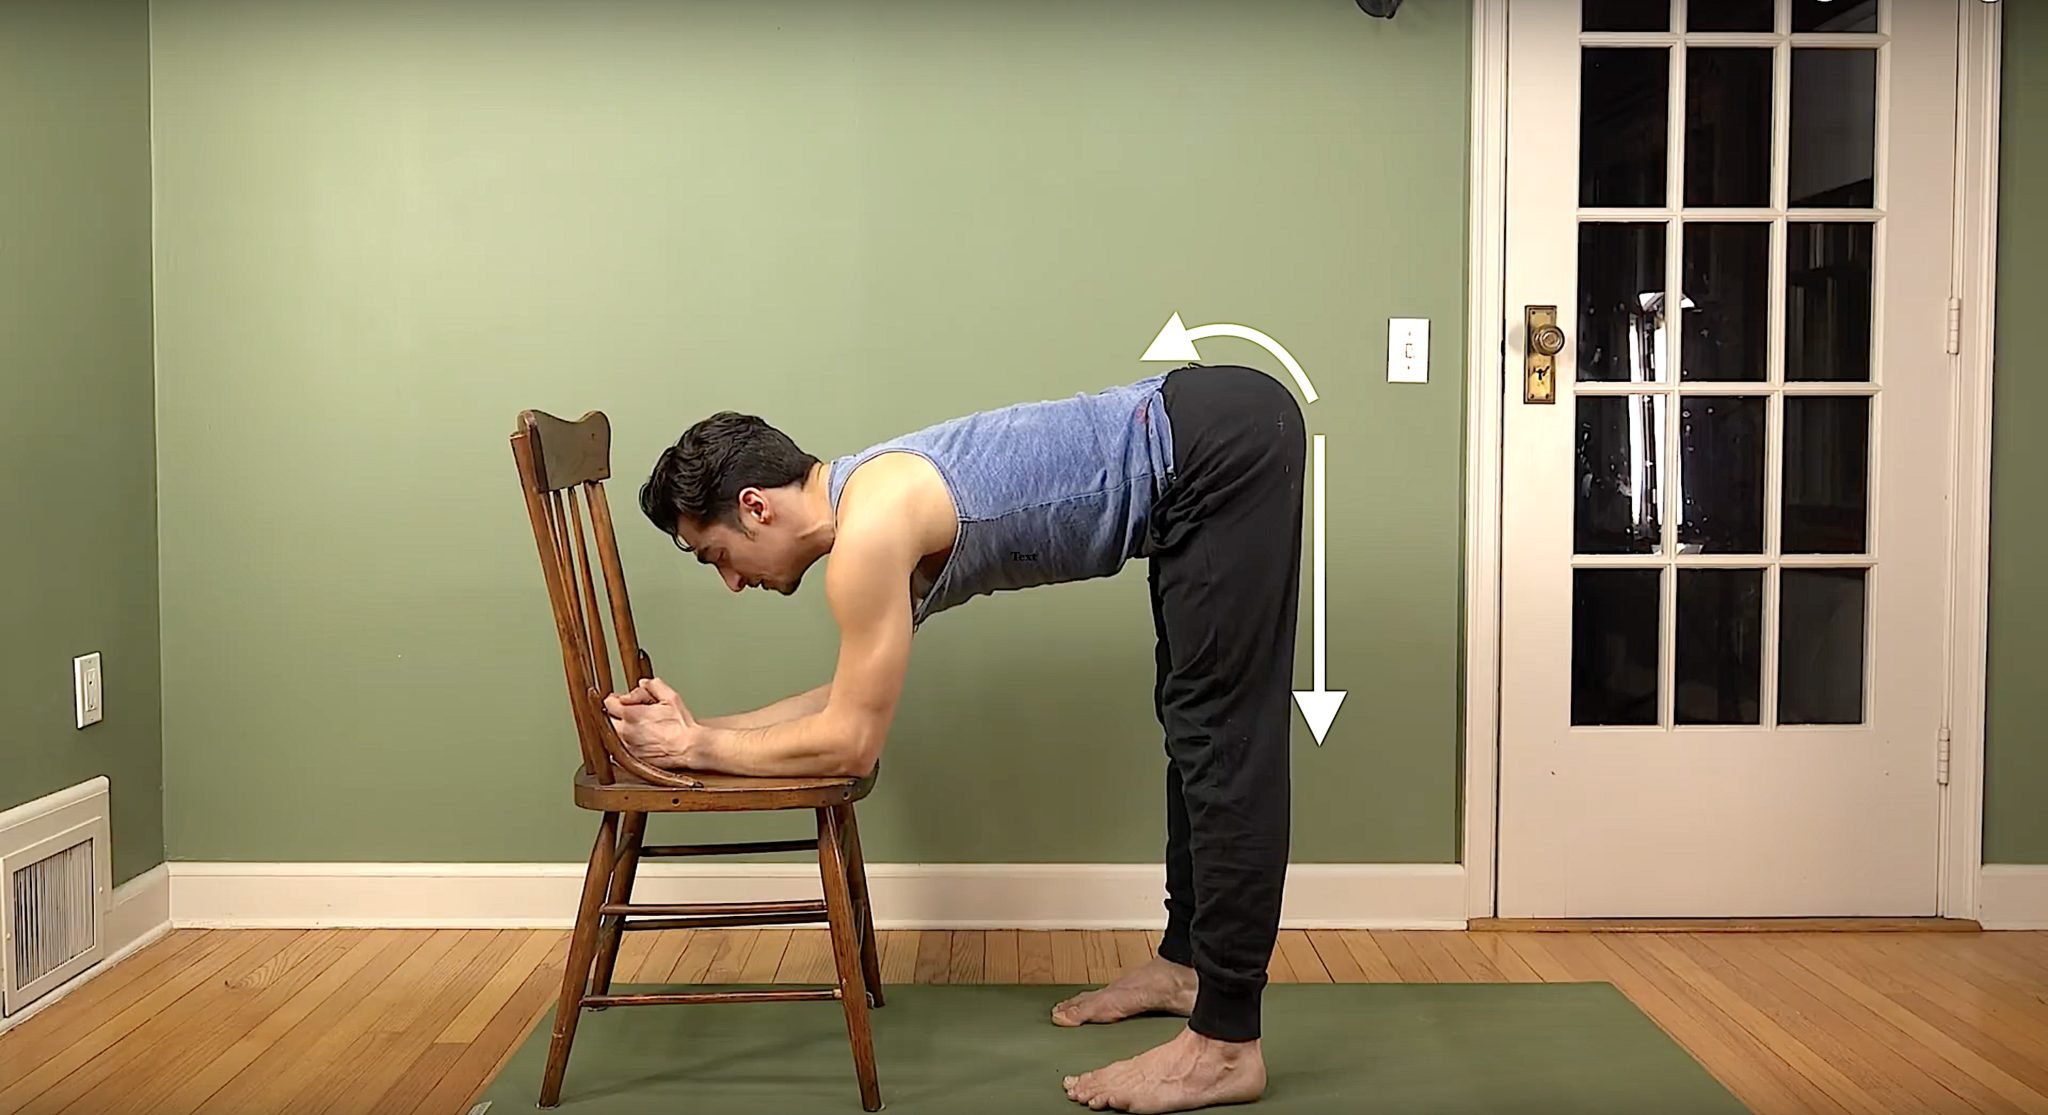
Strengthening our Foundation
Walking on the streets of some of my favorite European cities, I took note of how tired the muscles of my feet and lower legs were. Although I consider myself to be a rather in shape human being, during the winter months I can fall into periods of inactivity – having to spend more time indoors, on my computer, and focusing less on my body than I’d like. Despite my dedication to my yoga practice, and even playing recreational sports like Ice Hockey, the reality is I am just not walking, running, and jumping around barefoot on multiple surfaces throughout the entire year. So I decided to get back in shape, but from the ground up!
Consider this: How much preparation and attention goes into setting the foundation of a home? While many of us want to skip straight to the appliances and decorations, none of that matters if the structure isn’t sound. Builders spend a great deal of time making sure that the foundation is solid so that the rest of the home lasts for a long time. When it comes to the human body, we also tend to want to focus on the “appliances” rather than on our foundation. In my 11+ years of practicing yoga, I have encountered hundreds of ab exercises, alignment techniques for the hips, shoulders, and core, and so on. When I try to think about a class that focused on the feet and ankles, I can think of only two (aside from my own “Hips” and “Root Down” workshops.) But for real, the feet…I remember two classes. I am not saying they don’t exist, I am sure you have one or two teachers that focus on the feet too, but I think we can agree that it’s a rarity. Could you imagine deciding to build a home and the majority of builders didn’t mention a foundation?
While I offer many practical techniques to apply to your standing poses in my Hips: Rock & Unlock ‘Em workshop, I wanted to provide some additional exercises that are completely free so you have the opportunity to practice them and focus on your foundation.
I have been focusing on these exercises lately to rebuild strength and awareness of my feet, and it’s amazing how much better my hips and low back are feeling when I’m walking around, standing, and even doing handstands.
So let’s get you up to speed with the ankle joint, what joint actions are available to you, and how to strengthen these actions.
Rebuild Strength
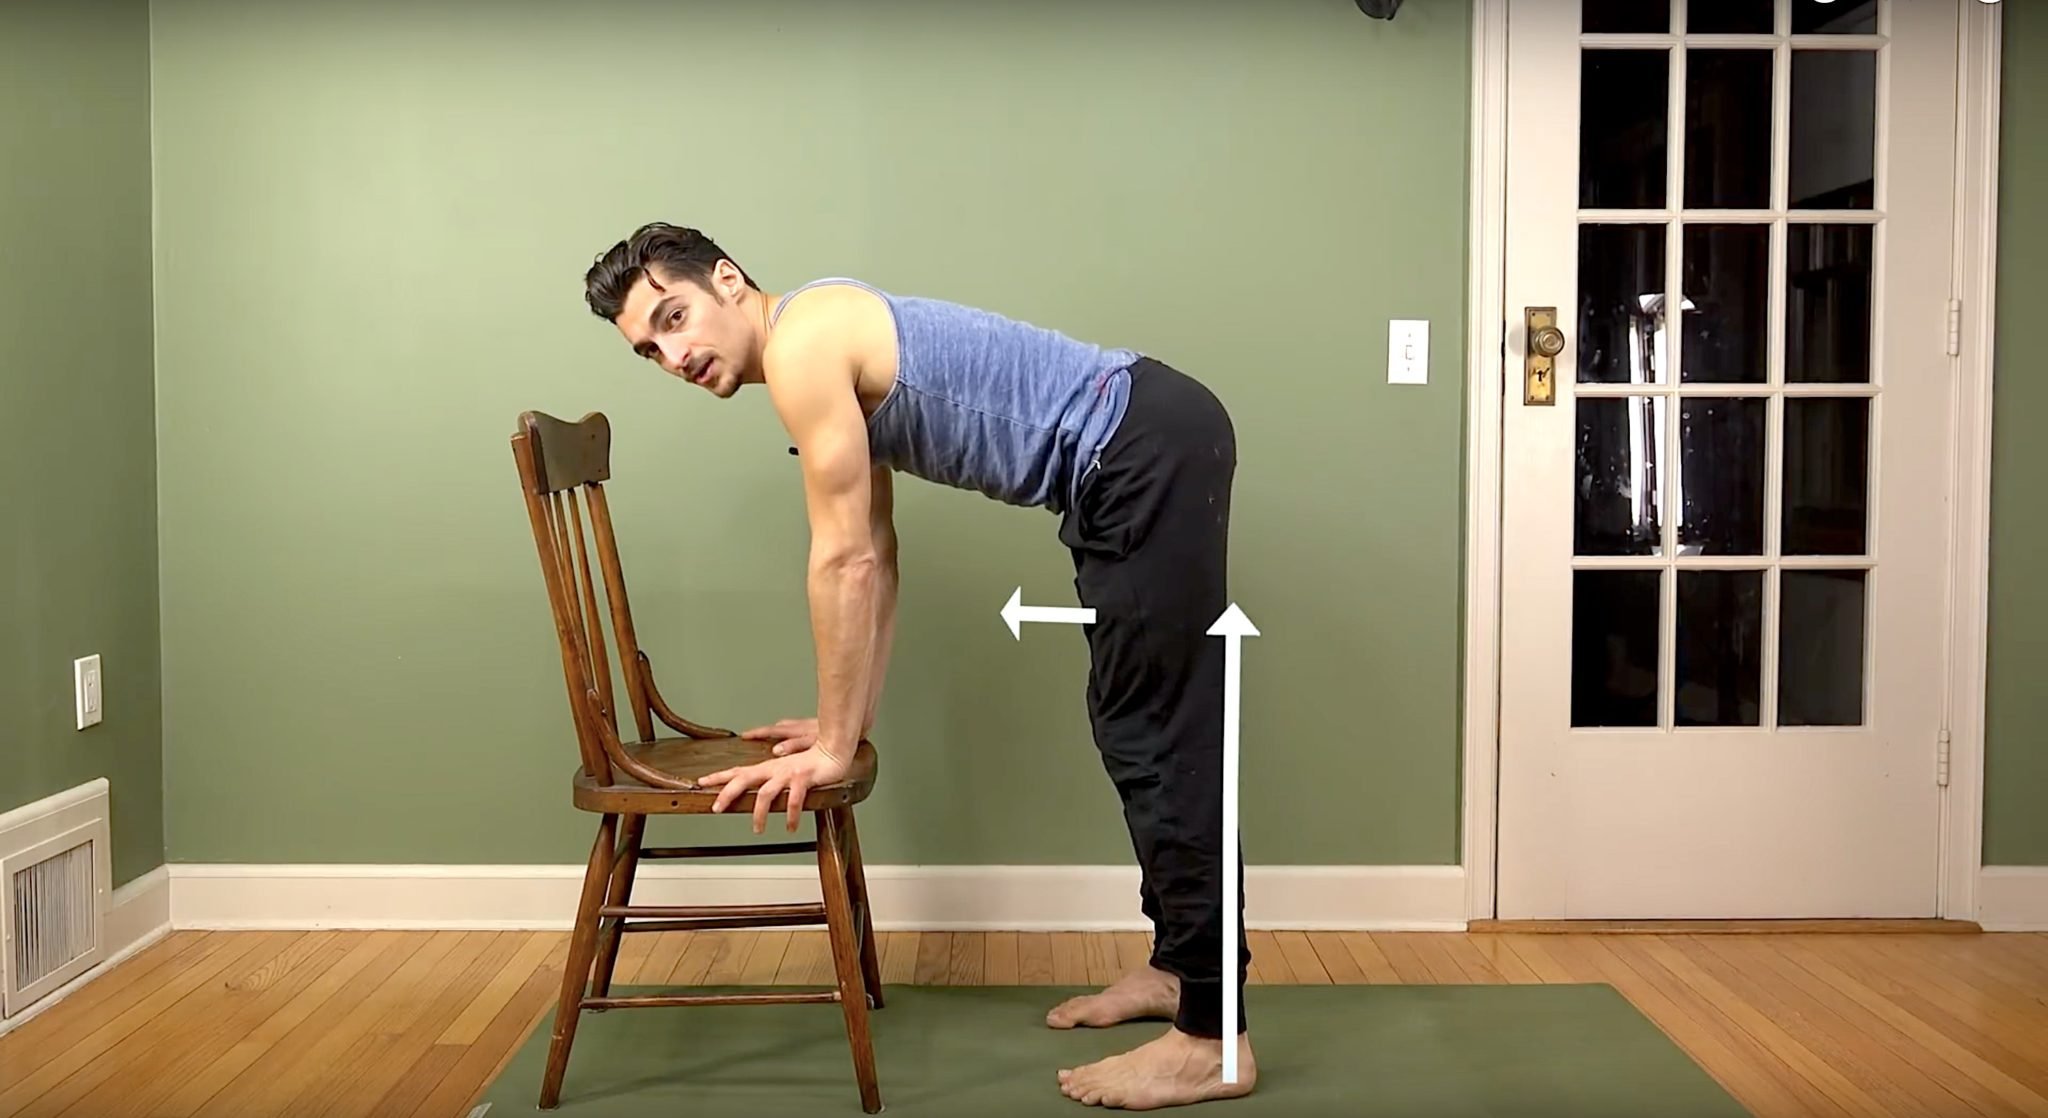
The ankles and feet often lose strength when wearing overly supportive shoes all day, or simply sitting for the majority of the day. Rebuilding strength in the ankles and feet sets a strong foundation for how you walk and stand which can affect the rest of your posture!
4 Main Actions of the Ankles
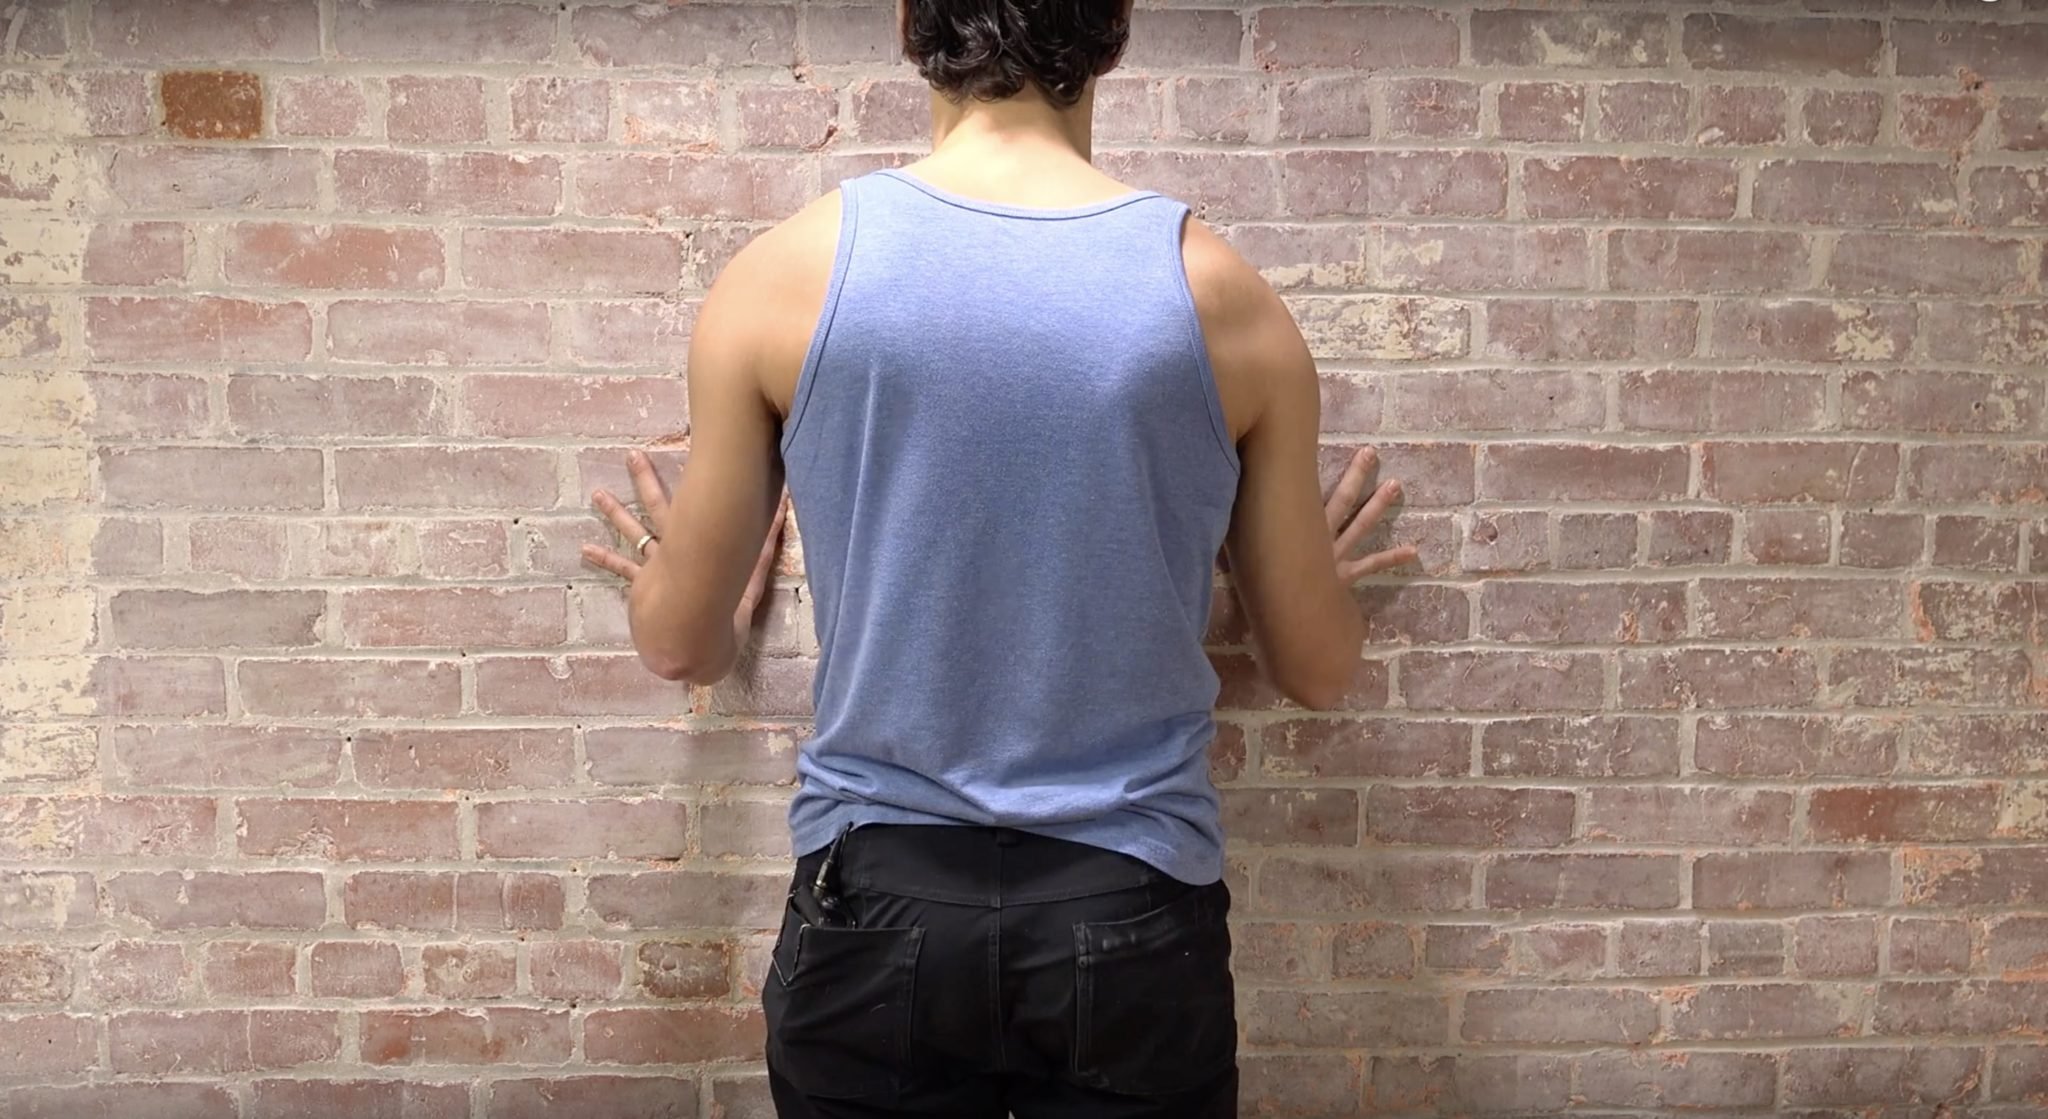
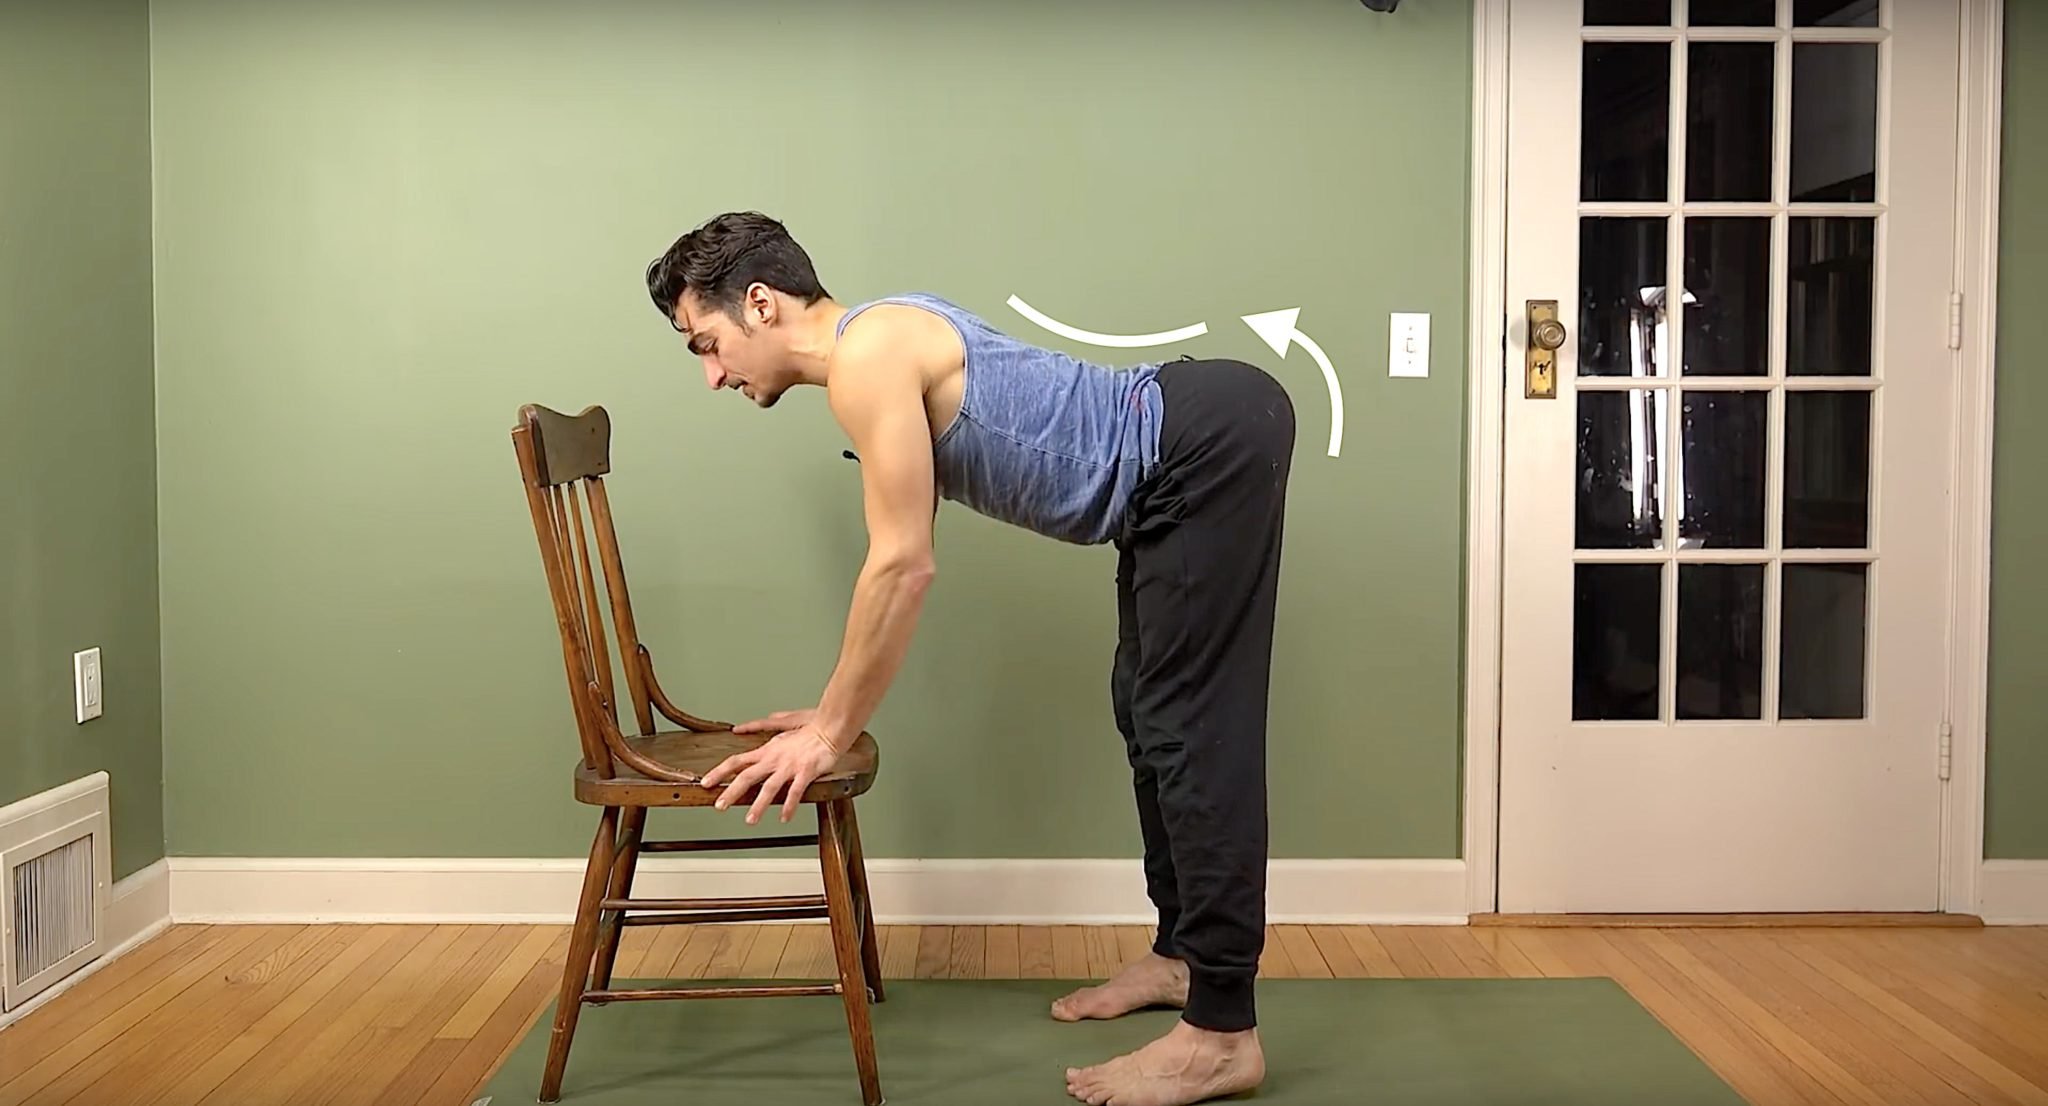
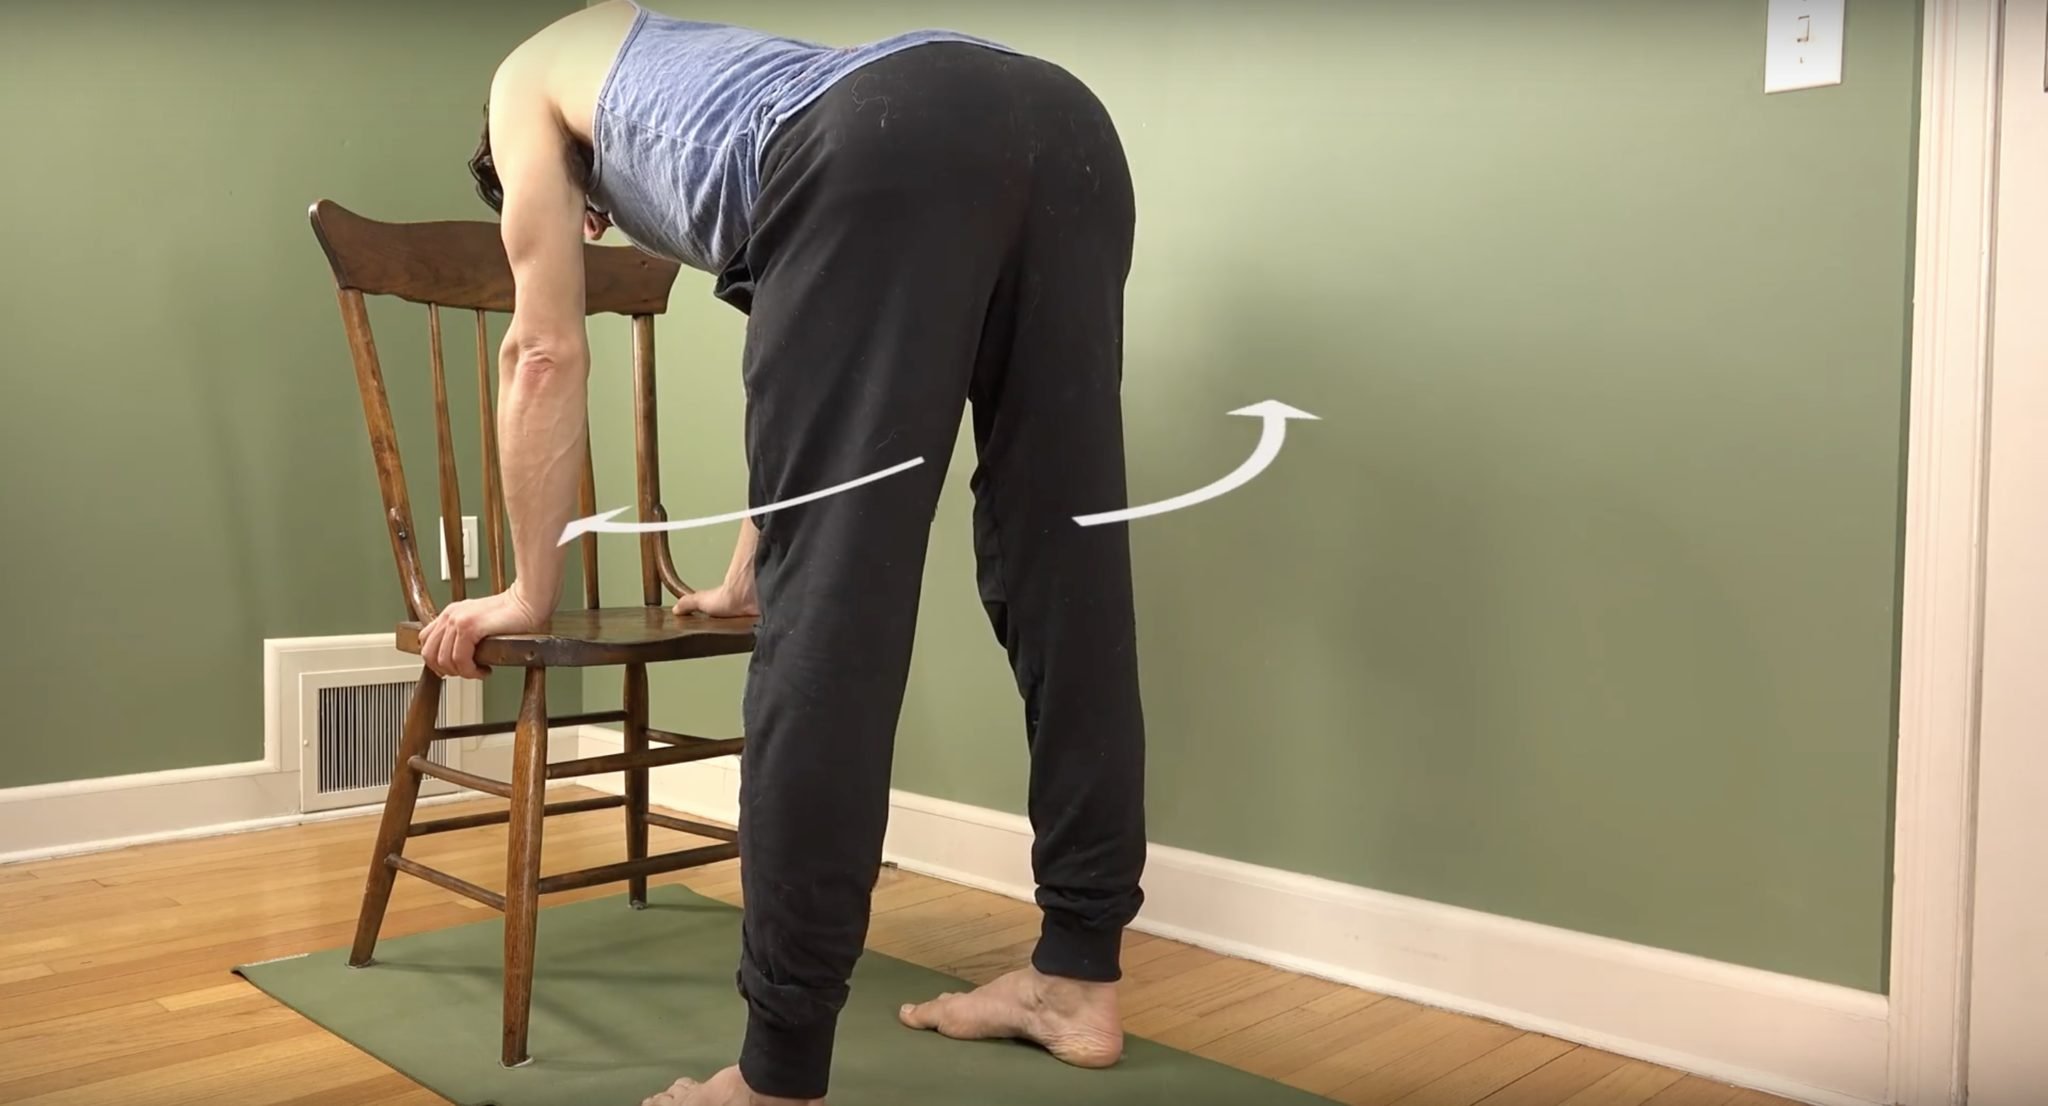
There are four main actions of the ankles that allow us to walk, pivot, jump and move. Being aware of each action and our ability to articulate them can support the overall well-being of our feet, ankles, knees, and hips.
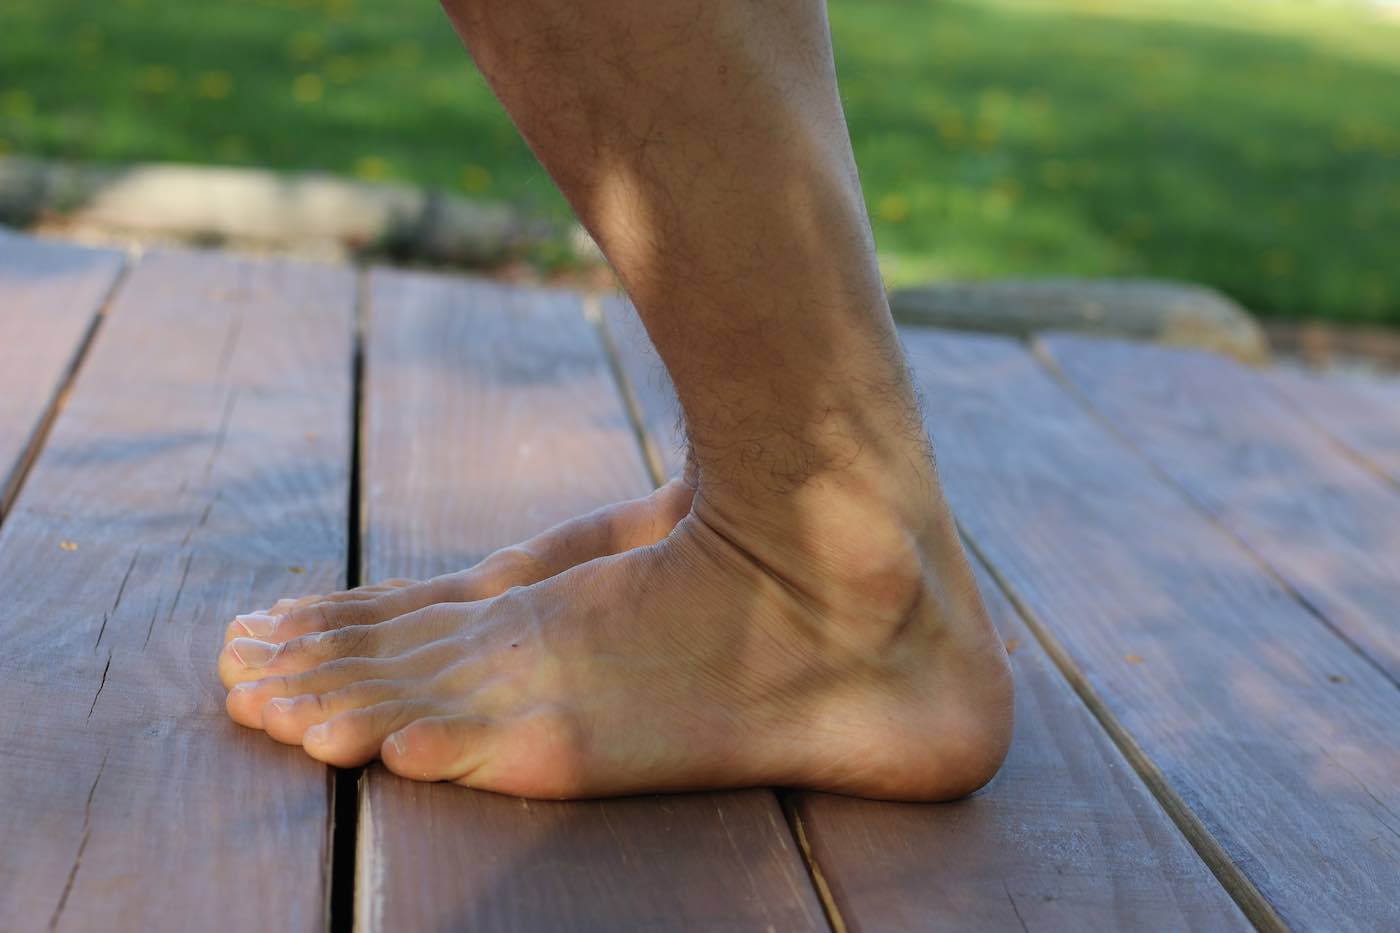
Dorsiflexion
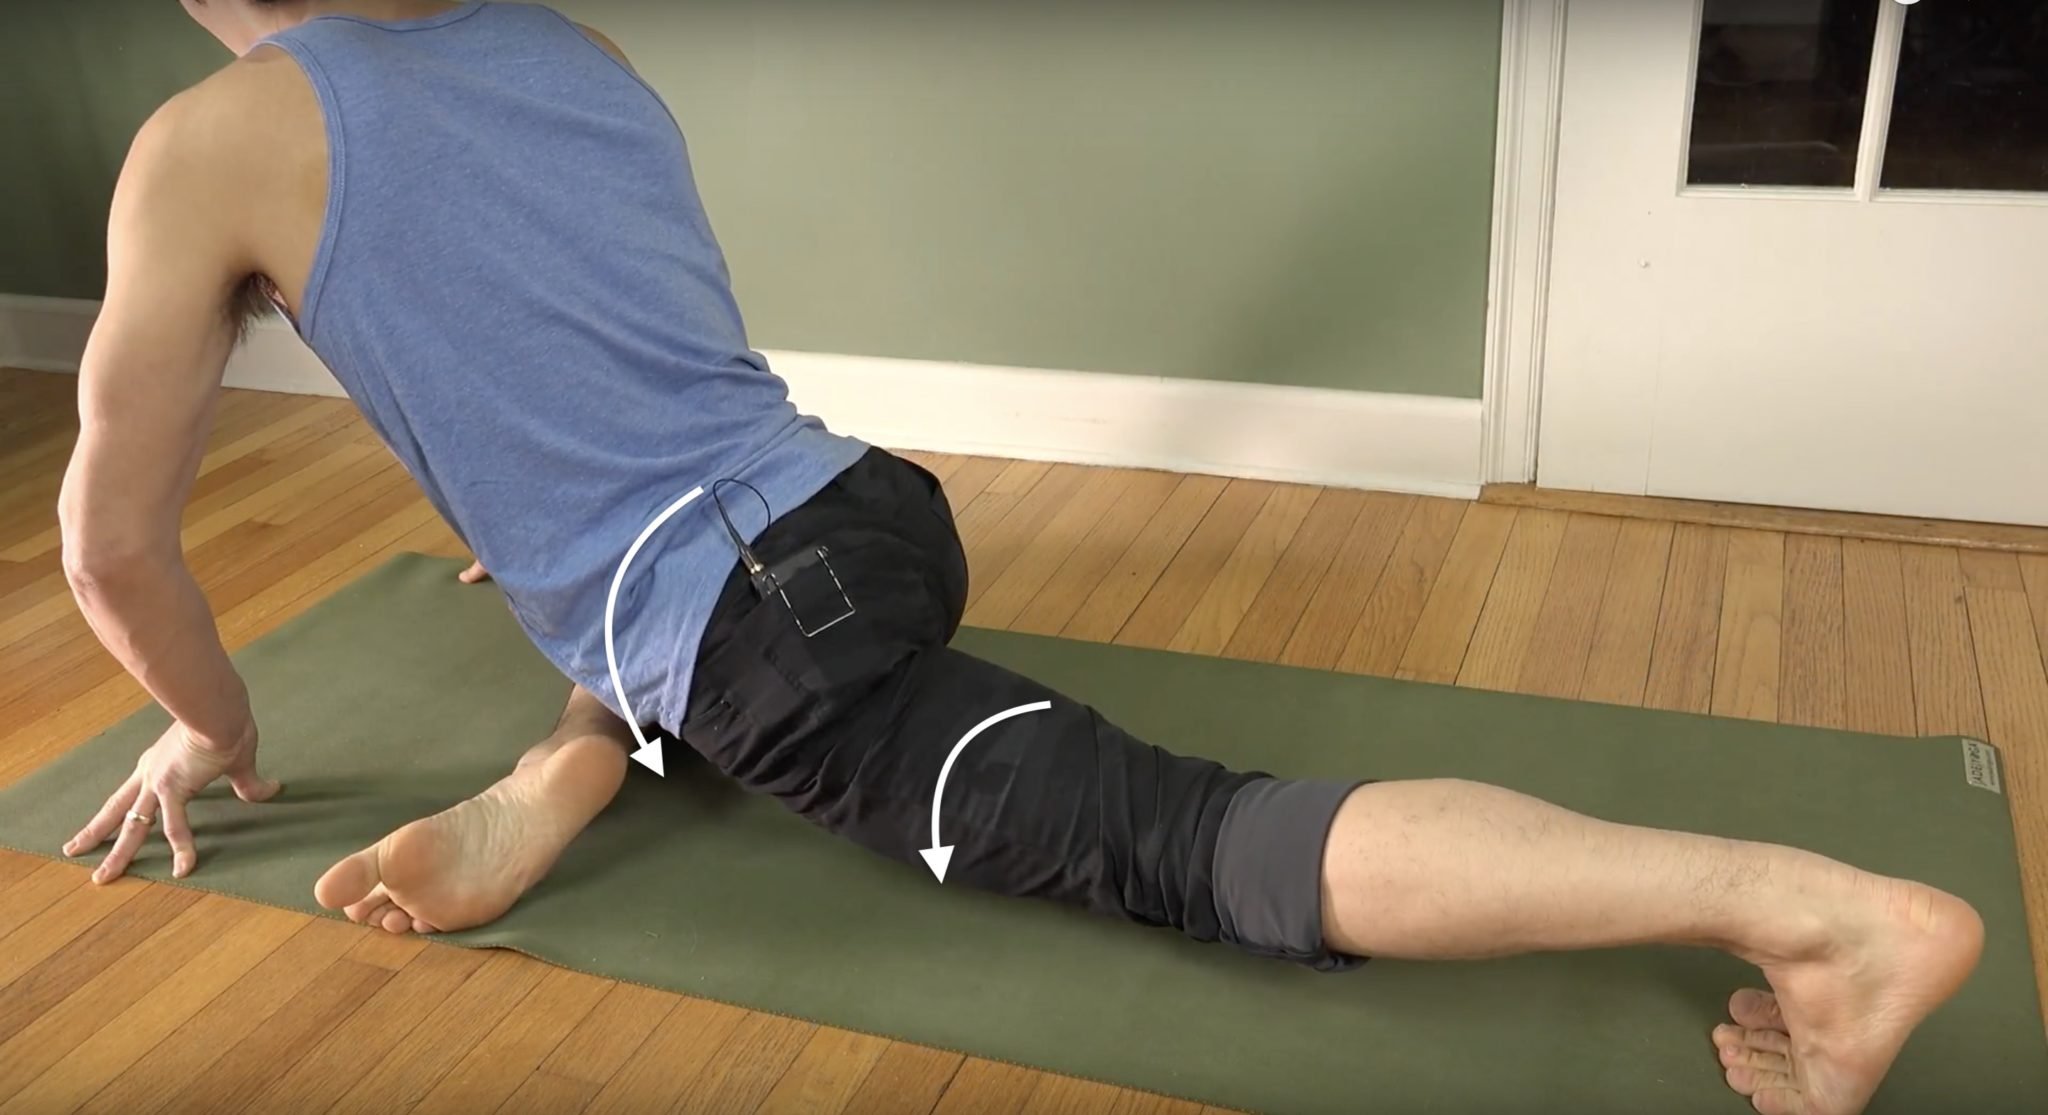
Commonly referred to as “flexing the feet,” Dorsiflexion is when the tops of your feet and fronts of your shins move toward each other.
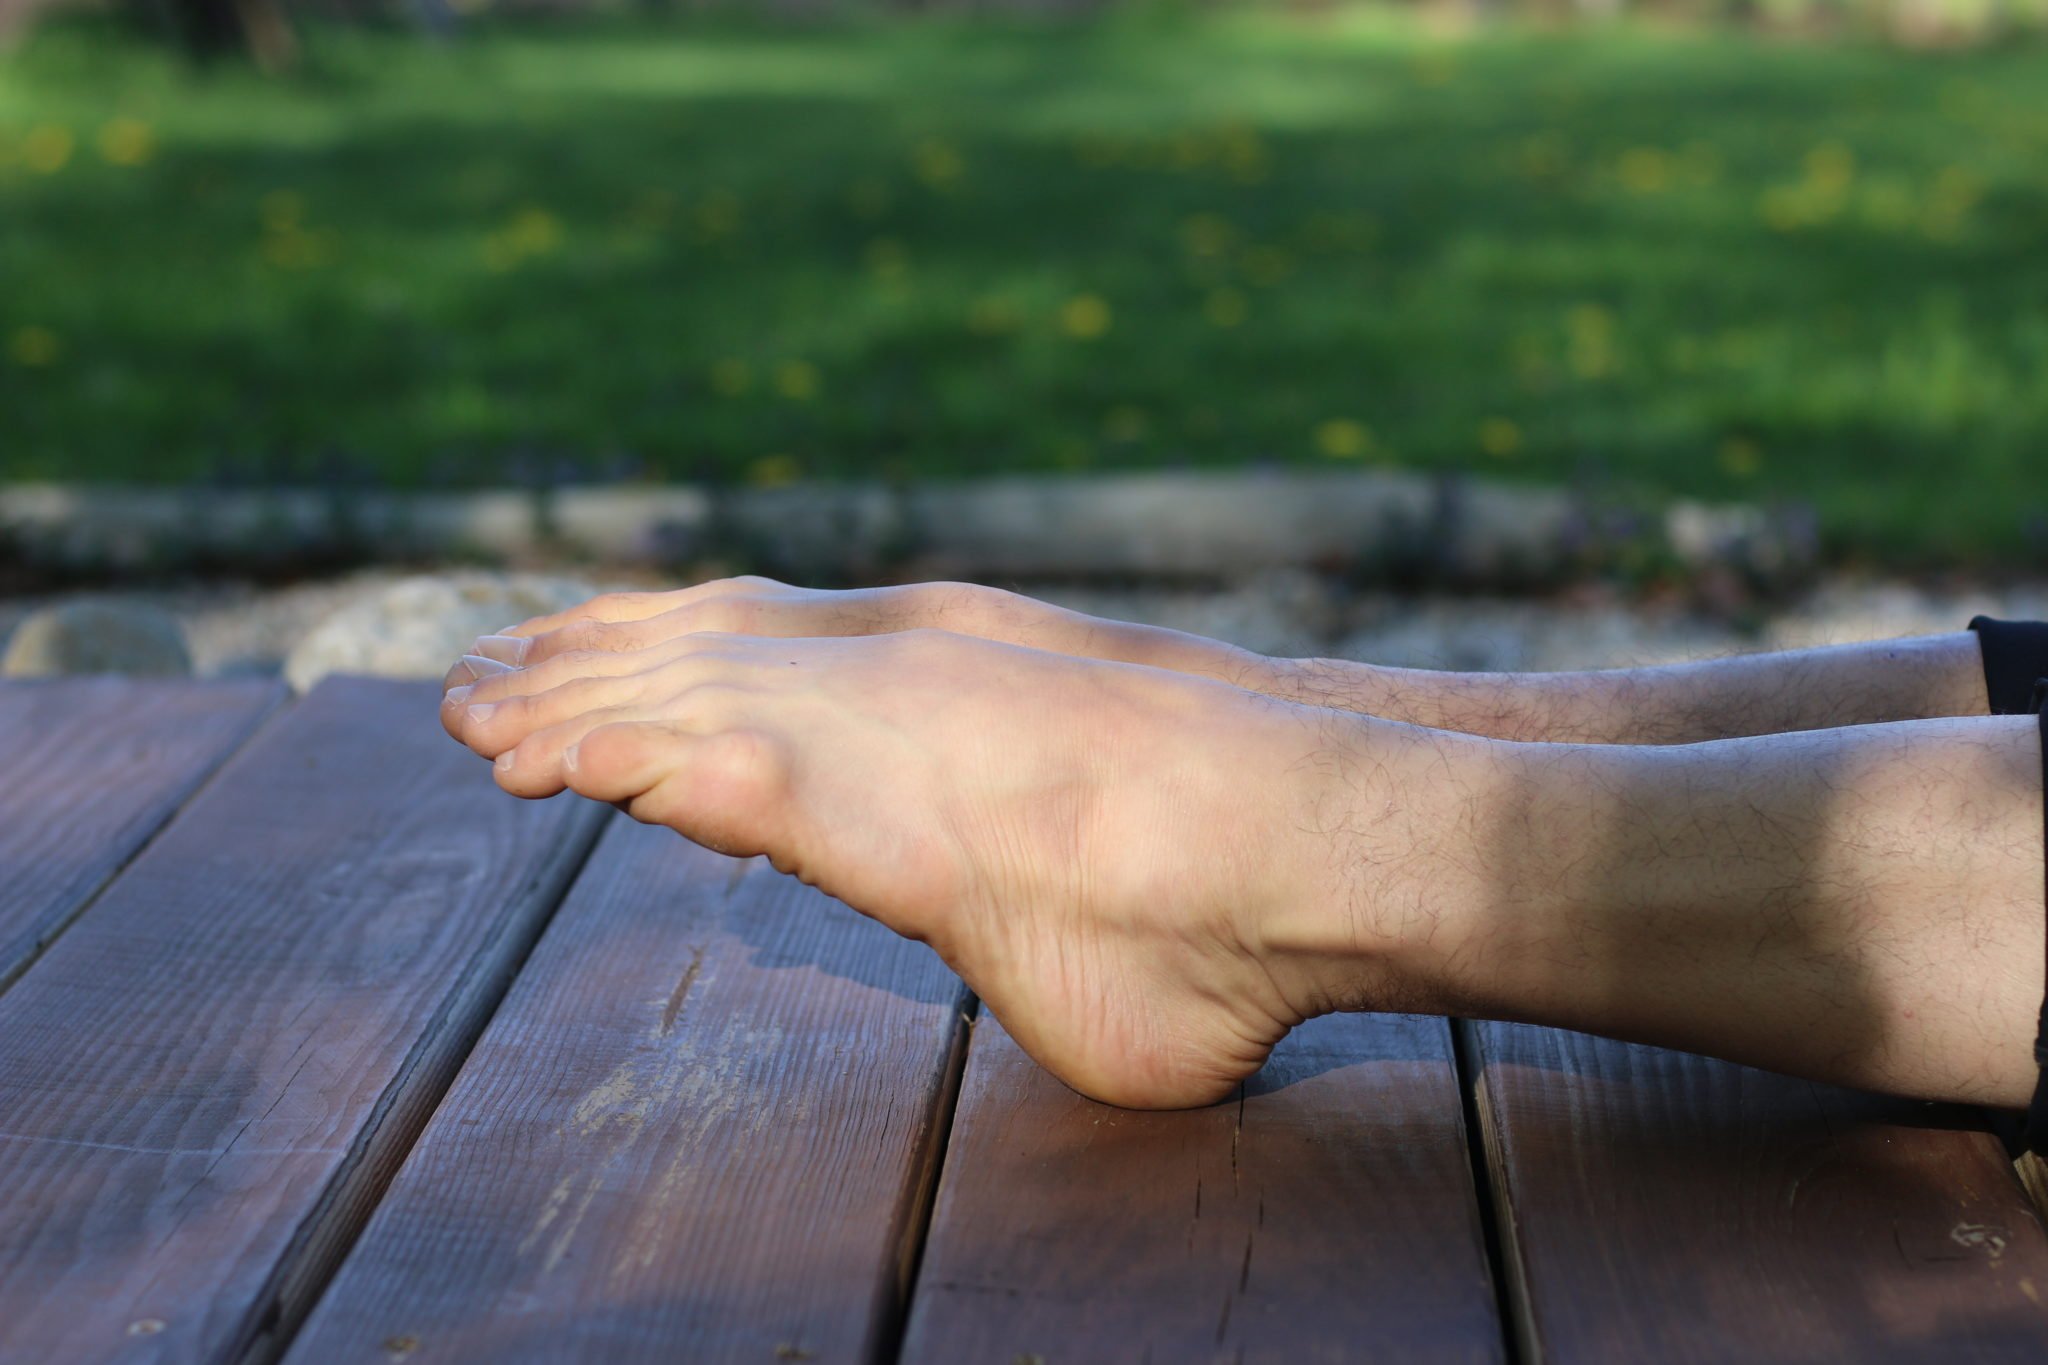
Inversion
When the outer ankle lengthens, like a “sickled foot.” I don’t use that term often because it implies that this action is not good, but it is an important action to walking and also maintaining an arch in the foot in the asana practice.
Plantar flexion
“Pointing the feet,” Plantar Flexion is the opposite of dorsiflexion – Tops of feet and shins move away from each other.
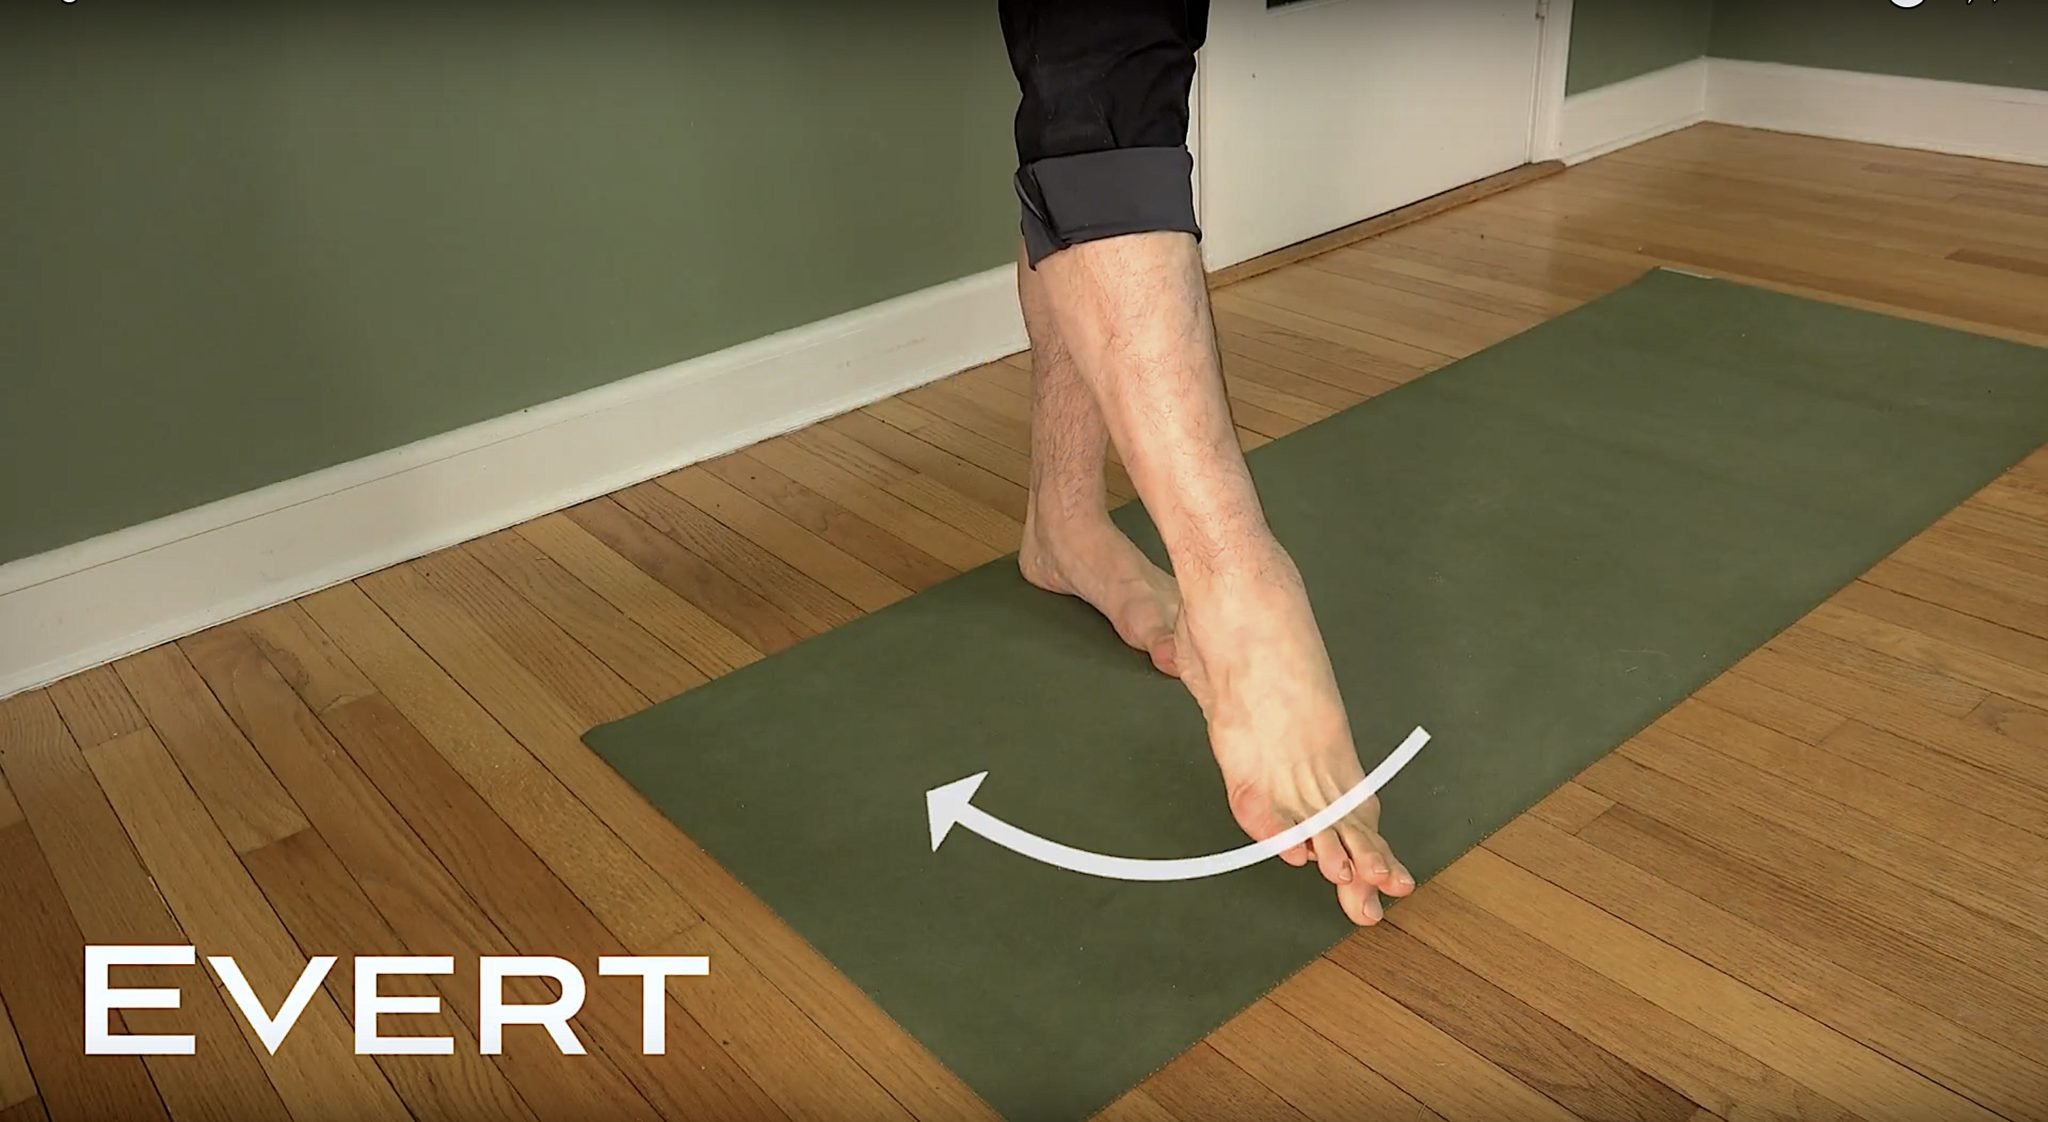
Eversion
The Opposite of Inversion – outer edge of the foot is closer to the outer shin than the inside of the foot
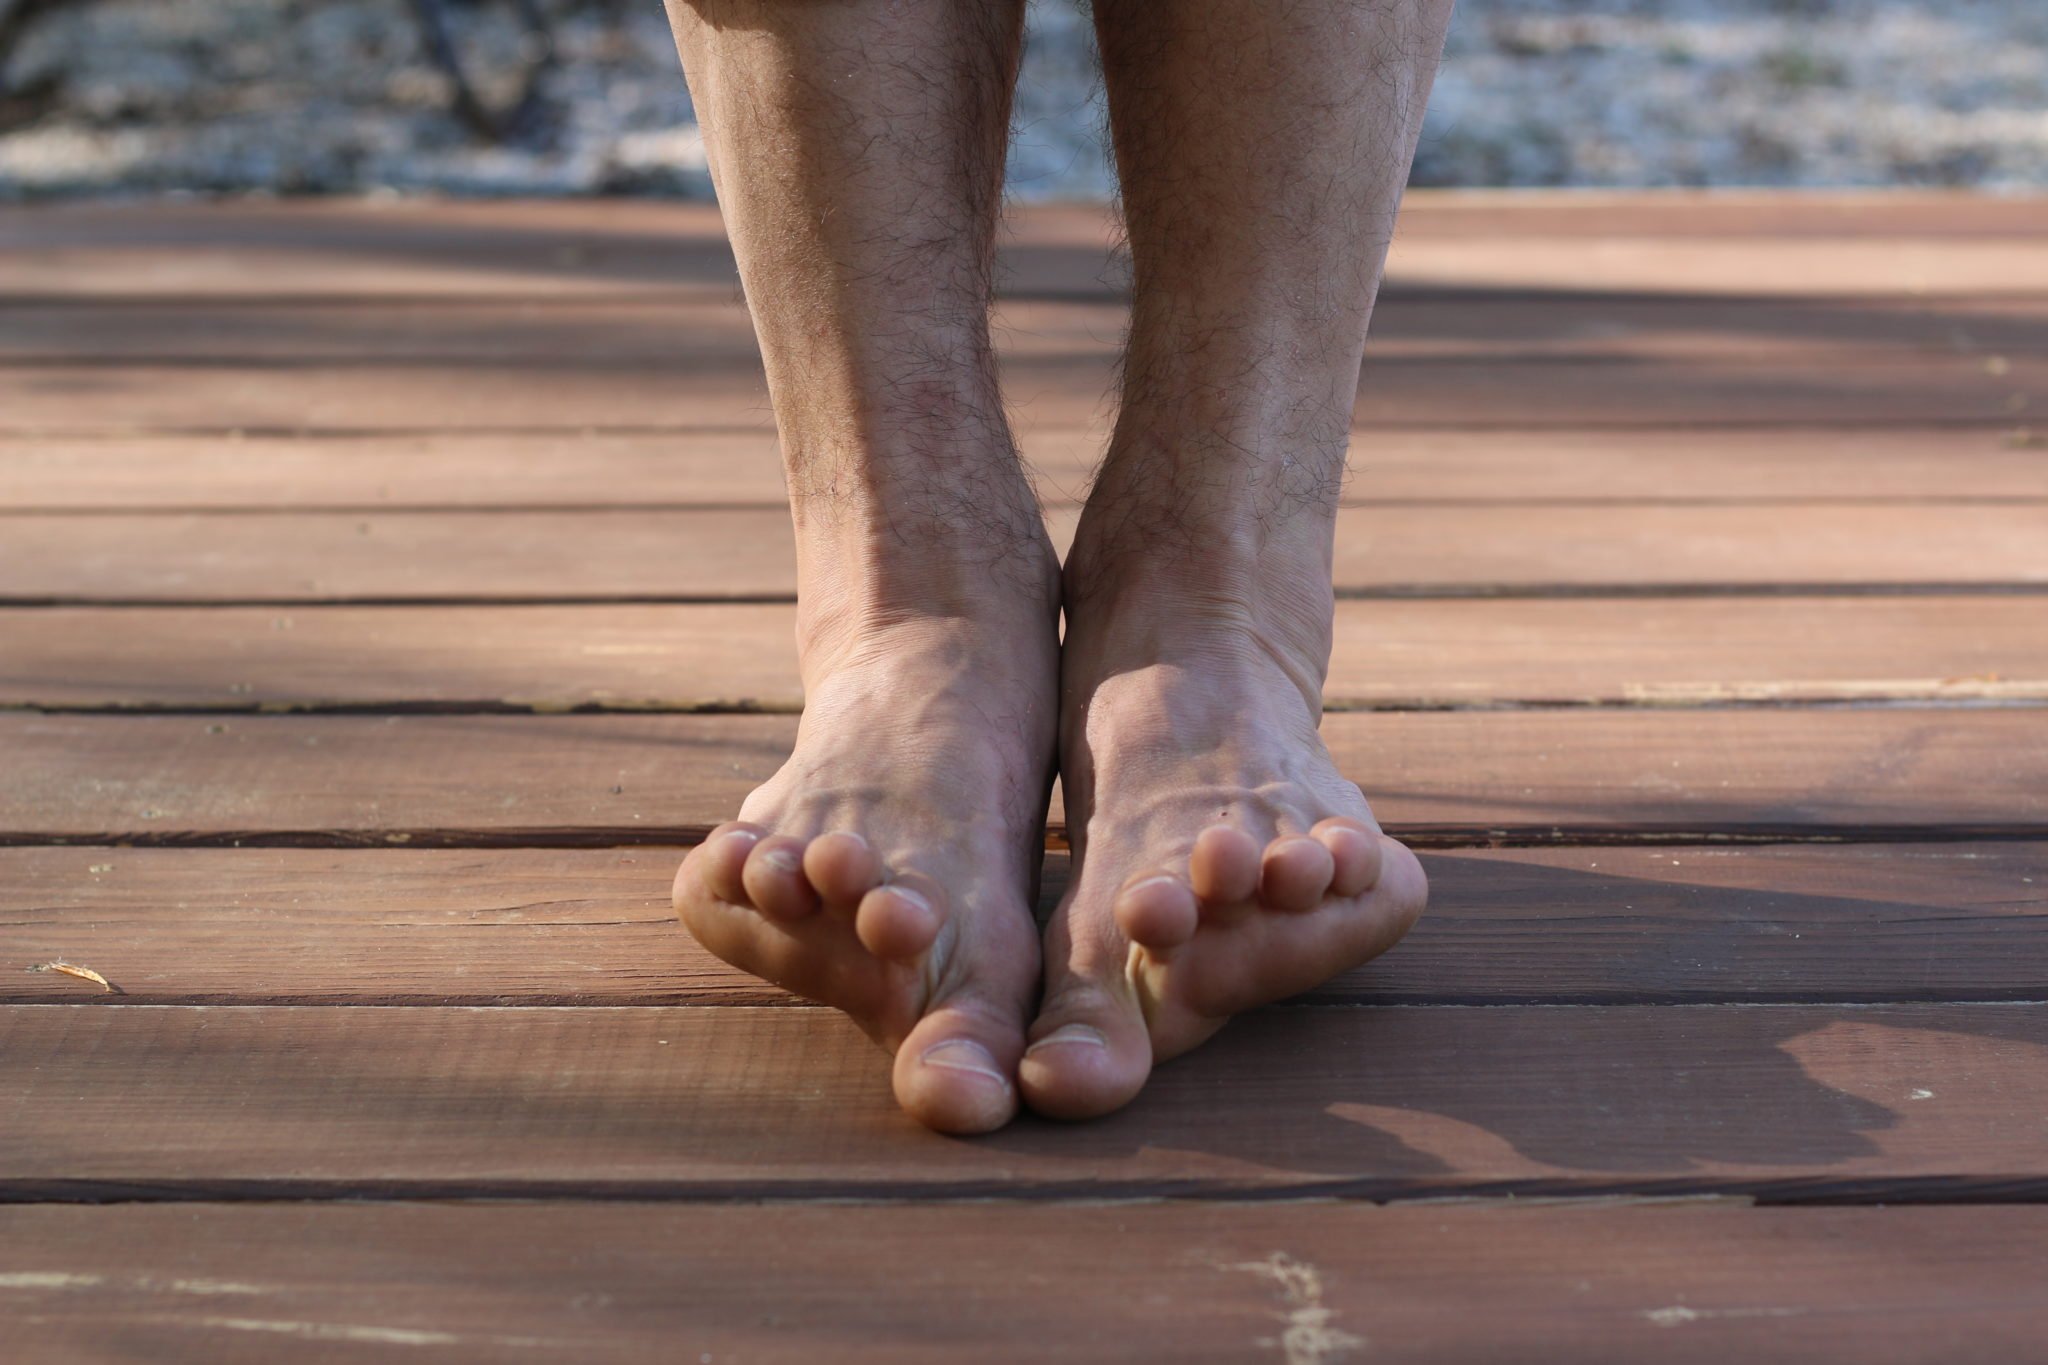
Toe Spreading
Having strong and flexible muscles of the feet can support healthy movement of the whole body.
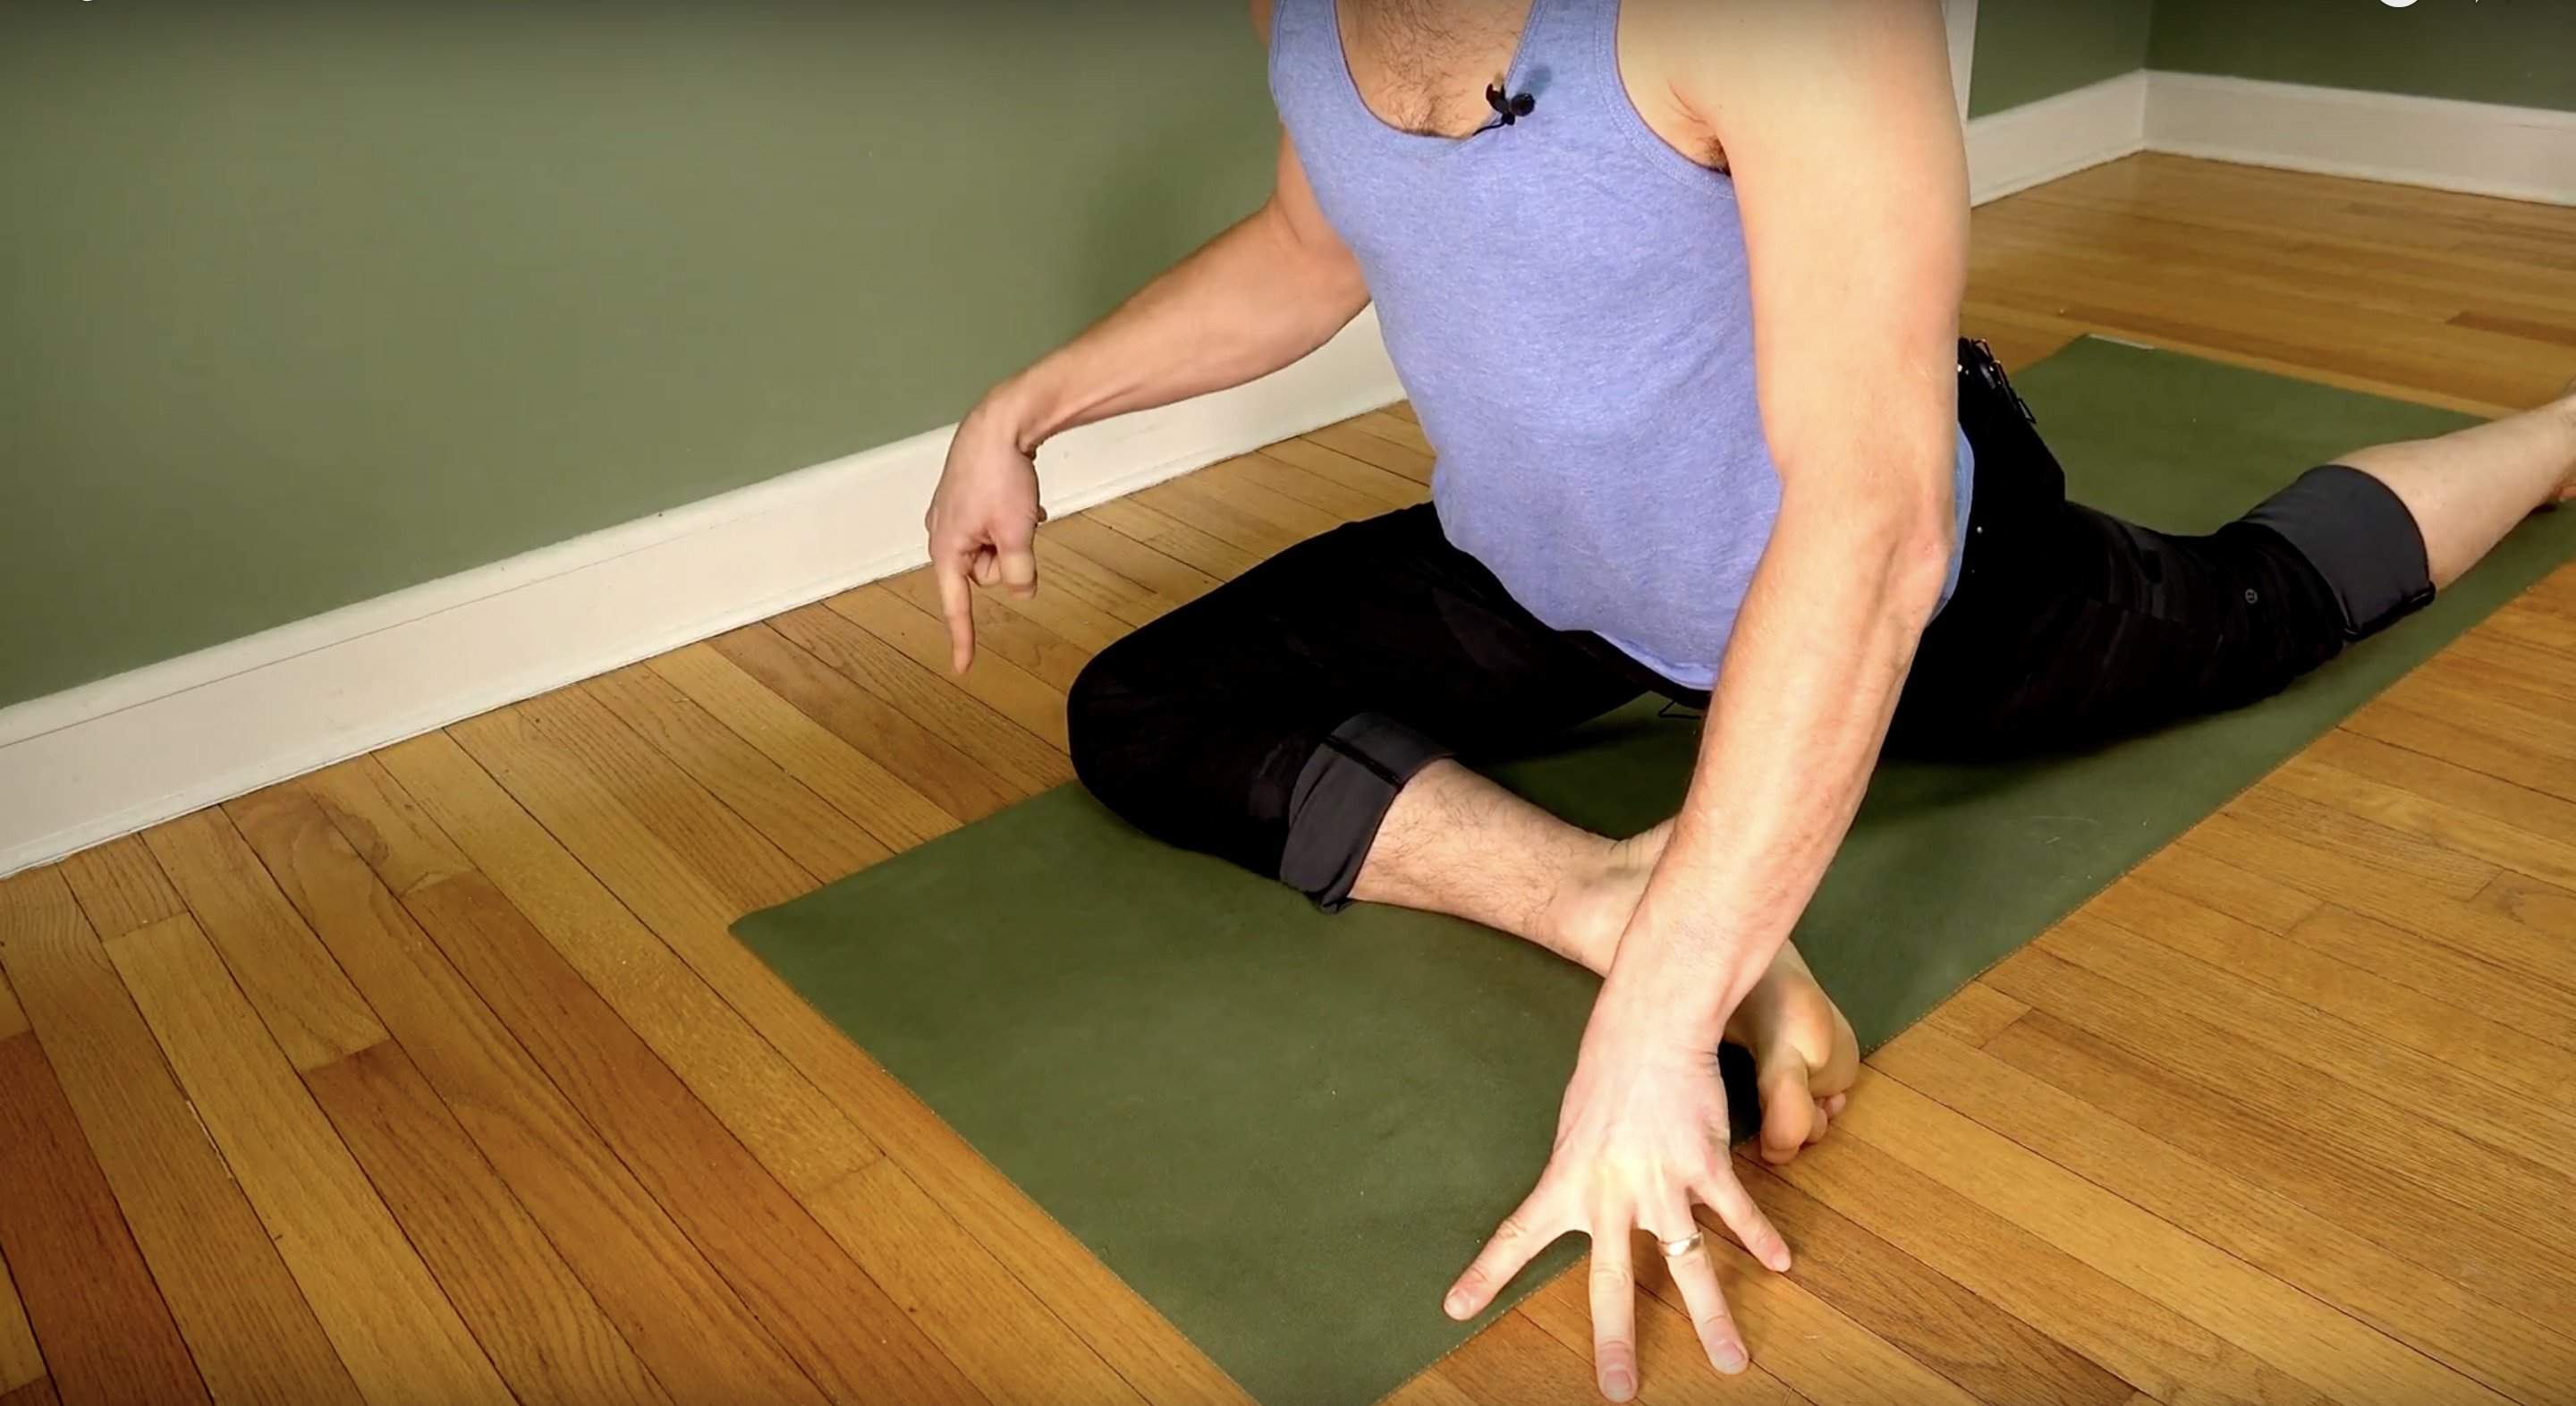
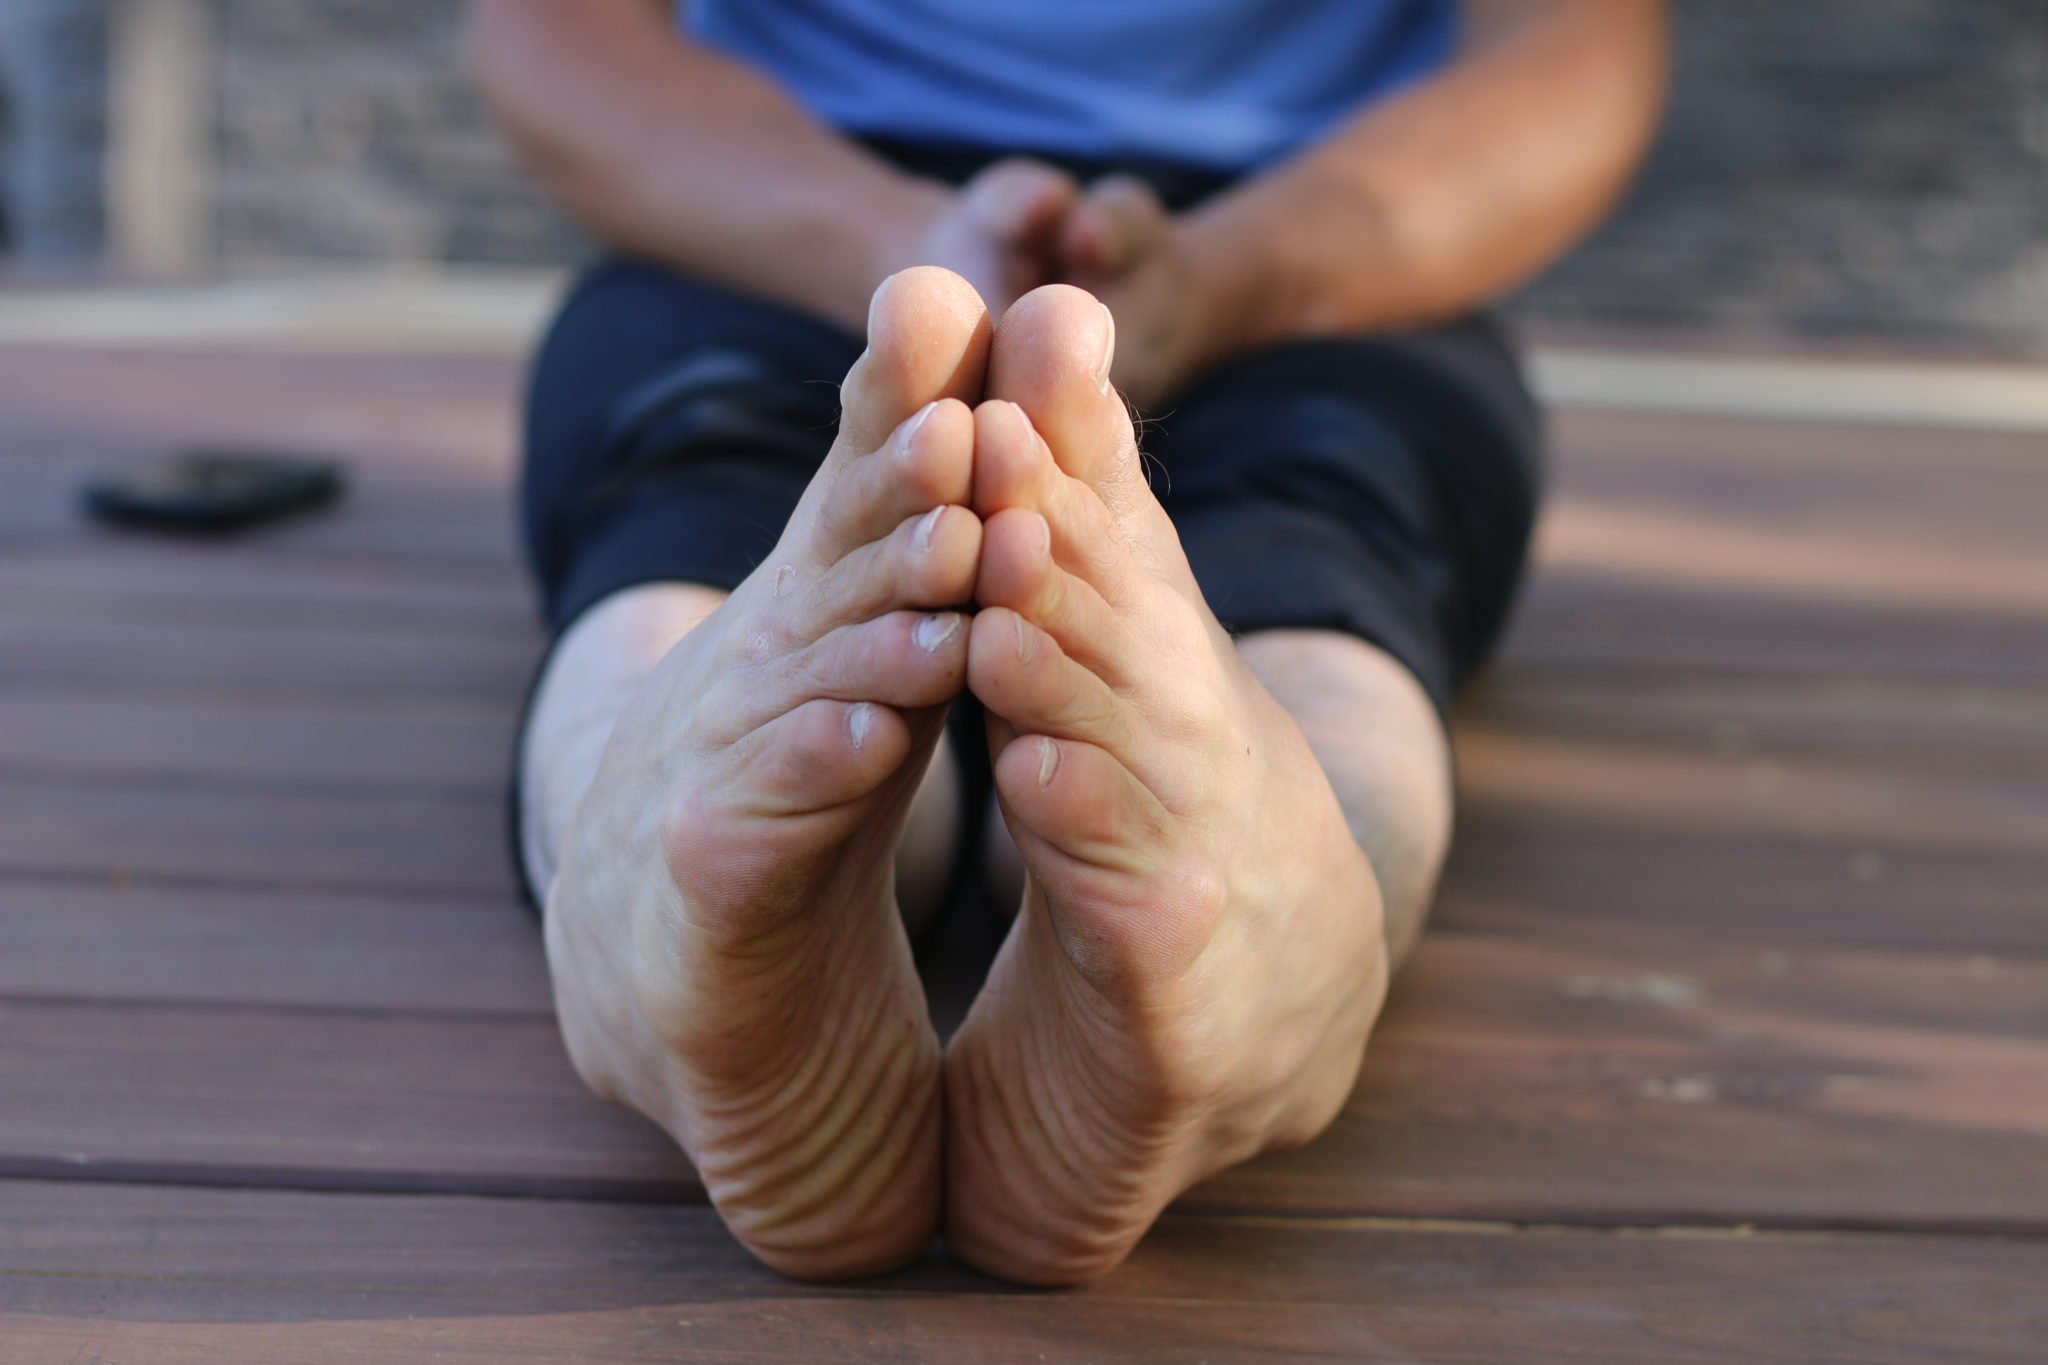
Bonus: Toe Spreading
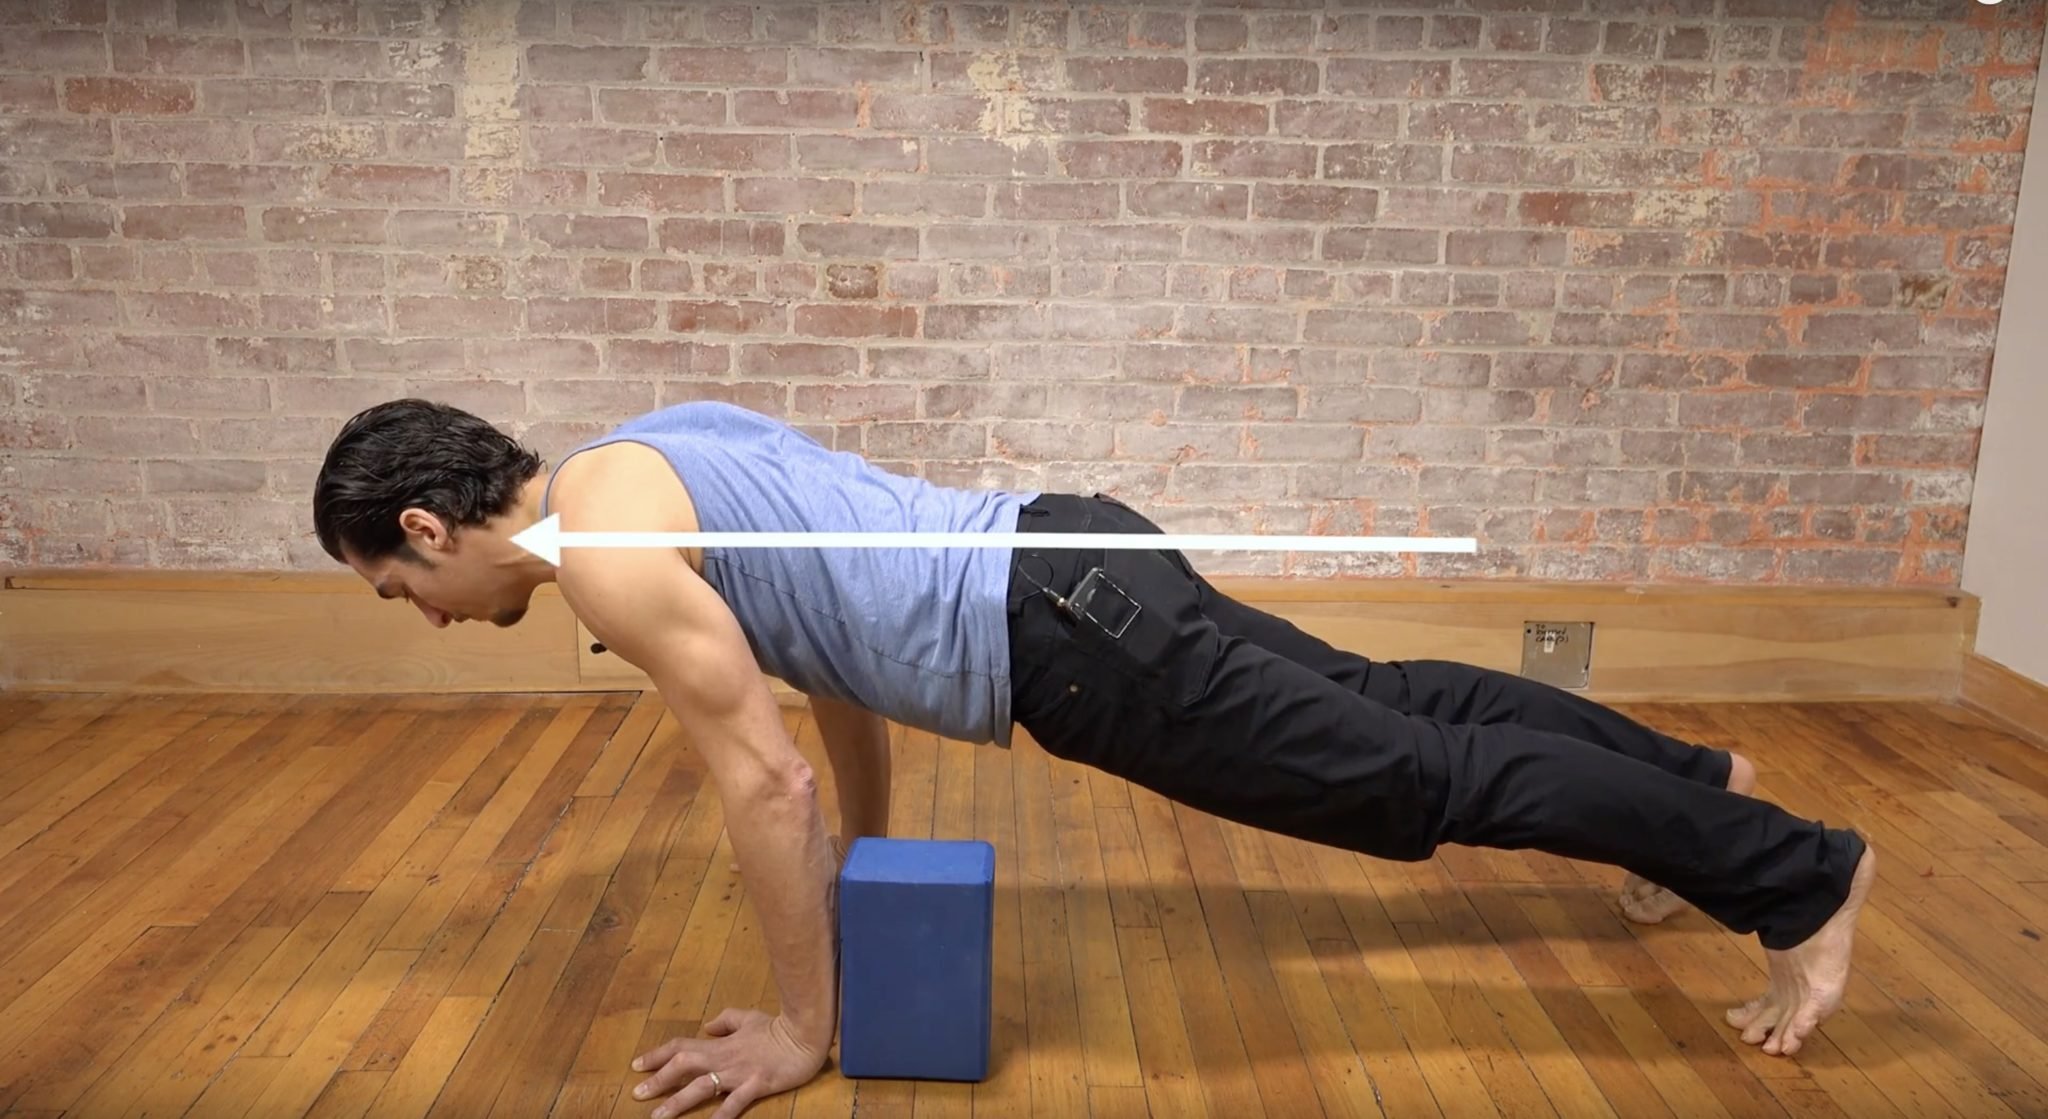
A classic hatha yoga practice is toe spreading. Oftentimes, it is taught to interlace your toes of one foot with your toes of the other. In this version, I show how to interlace fingers and toes, which in some ways can be easier, and in others may be more challenging. Regardless, developing range of motion in the muscles of the feet can support proper movement and impact absorption when walking, running, or jumping. Always remember that if the foundation has limited movement, some energy has to be distributed elsewhere and could result in excess movement and impact at the knees. Give it a shot, and wash your hands before you eat!
What do I do now?
There are many more exercises to train the strength and range of motion of your ankle joint and feet. In my personal opinion, it’s less about how many exercises you do and more about how much attention you put into your practice, and how often you are doing the exercises. Choose what feels most appropriate to you and work on those particular exercises and actions for a while until you feel an improvement in your strength and range of motion. If along the way you feel like you are losing stability or range of motion, change up the exercises you are practicing to bring your body back to balance. As always, consult a specialist prior to doing anything that you are unsure about. Thank you for stopping by. If you appreciate this video and blog, please share it! If you are looking for a full practice to strengthen the feet, legs, and hips, check out Hips: Rock and Unlock ‘Em
Hips: Rock & Unlock 'Em
Get 2 full hours with Matt Giordano focusing on the techniques that increase the range of motion in your hips and provide long-lasting freedom. You will have immediate, unlimited access, and can enjoy the benefits today!
Continue Learning
Air Line Activation
read more
Double Stag Handstand
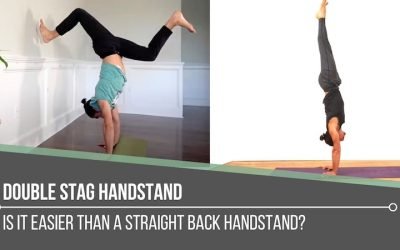
Double Stag HandstandbalanceDOUBLE STAG HANDSTAND Cultivating confidence is a non-negotiable when it comes to implementing a handstand practice. If handstands seem insurmountable even to consider, don’t fret; there might be an easier option. Easier? Really? Yes! Ok,...
Accelerated Handstand Development
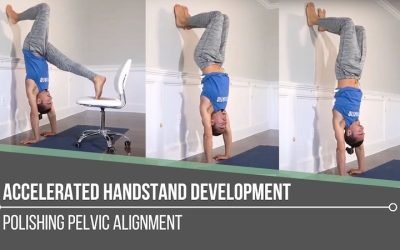
Accelerated Handstand DevelopmentinversionACCELERATED HANDSTAND DEVELOPMENT Accelerating the process of achieving a goal comes from consistent practice, but it also depends heavily on the information and knowledge we’ve acquired. Whether a handstand is part of our...
Tweak The Twists In Your Yoga Practice
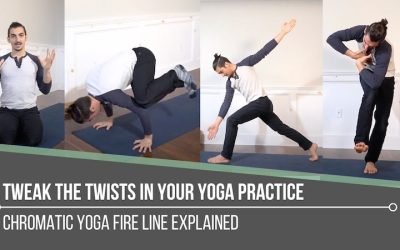
Tweak the Twists in Your Yoga PracticepadmasanaTWEAK THE TWISTS IN YOUR YOGA PRACTICE The definition of "tweak" here is the following: to improve (a mechanism or system) by making fine adjustments to it. This perfectly describes a major part of what’s involved in the...
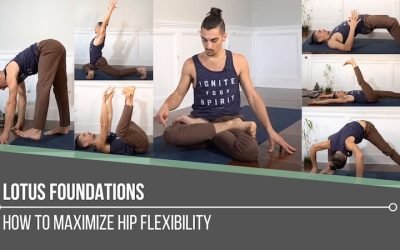
Lotus Foundations
Lotus FoundationspadmasanaLOTUS FOUNDATIONS Lotus Pose requires a healthy amount of hip flexibility. For some, it comes easy. Reasons for this might be that the person is hypermobile in the hips, knees, and ankles and/or that many months or years of effort have been...
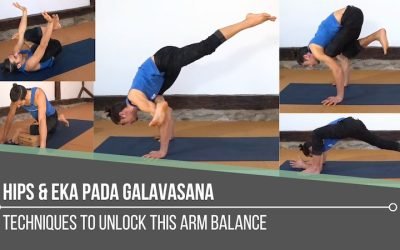
Hips and Eka Pada Galavasana
Hips and Eka Pada Galavasanaflying pigeonHIPS AND EKA PADA GALAVASANA Depending on where we are in our asana practice journey, arm balances may feel a little overwhelming. It can be difficult to know where to start. Instead of thinking about the final destination, we...
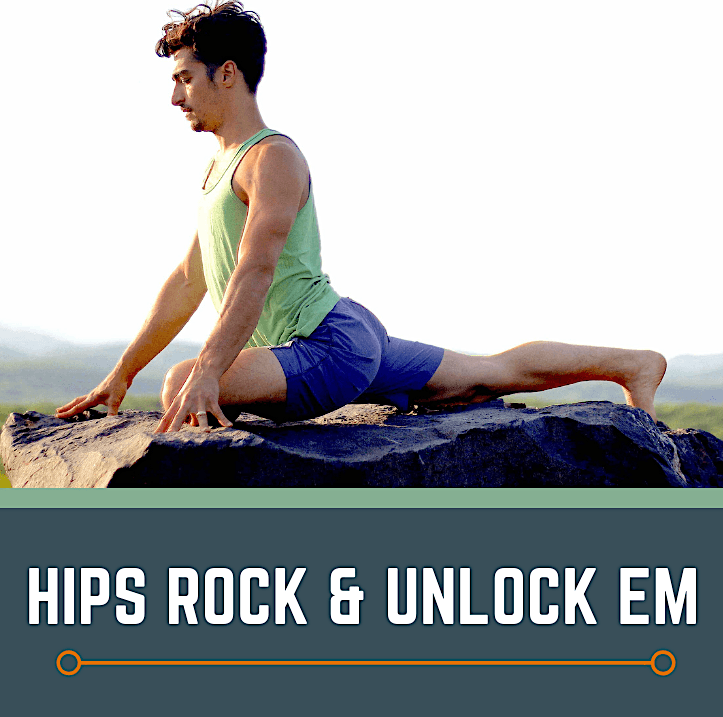
Hips: Rock & Unlock 'Em
Get 2 full hours with Matt Giordano focusing on the techniques that increase the range of motion in your hips and provide long lasting freedom. You will have immediate, unlimited access, and can enjoy the benefits today!
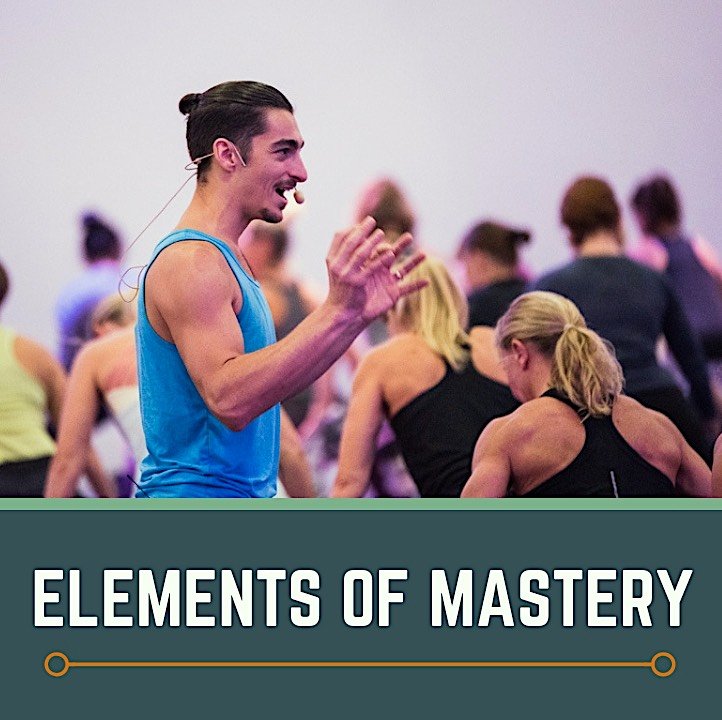
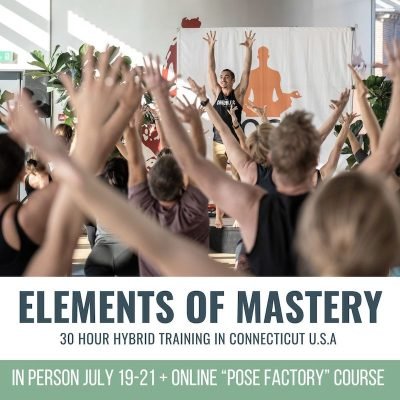
The Elements of Mastery
Are you looking to go deeper in your study of yoga and want an online resource to support you in your journey? This training packed with content to advance your practice and teaching! You can take your time or immerse yourself in the training.
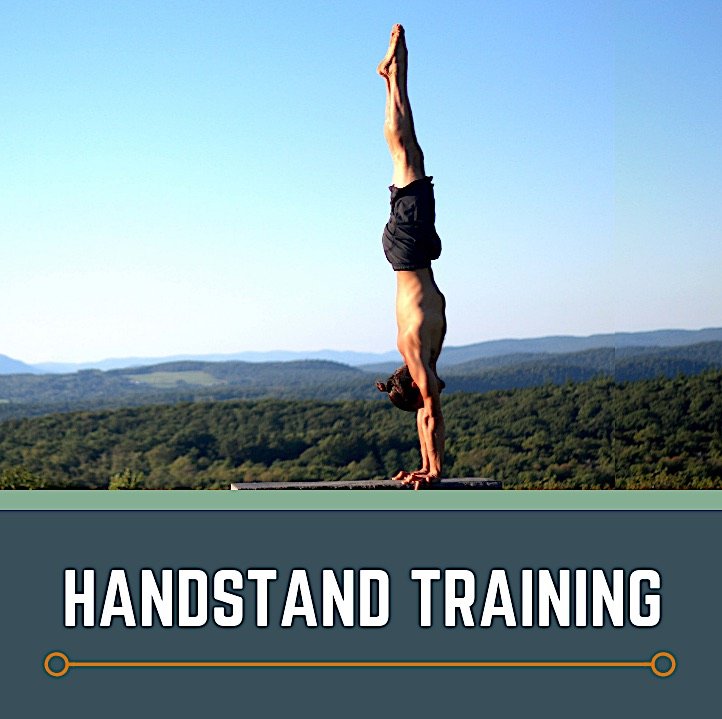
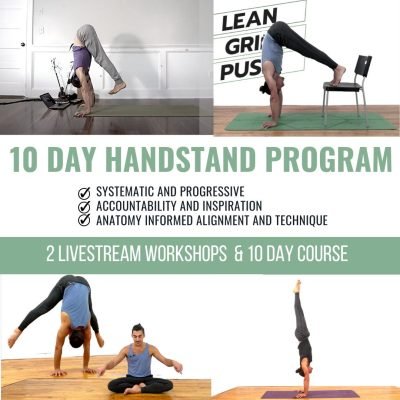
Handstand Training
A long time best seller, this handstand training brings you the tools and training that are required for a masterful handstand. In this series you will build strength in the areas of the body that actually matter, and learn the why and how with each step.
THE FREE TECHNIQUE PACK
When You Subscribe, You Will Get Instant Access to
- the Technique Pack: 15 yoga pose breakdowns
- exclusive online course discounts
- exclusive blogs and videos
![yoga backbend techniques: 12 classes [backbend technique to relieve back pain "bowing the spine']](https://www.theyogimatt.com/wp-content/uploads/2021/10/Archna-Mohan-chromatic-5.jpg "Archna Mohan chromatic")
![yoga backbend techniques: 12 classes [backbend technique to relieve back pain "bowing the spine']](https://www.theyogimatt.com/wp-content/uploads/2021/10/Archna-Mohan-chromatic-6.jpg "Archna Mohan chromatic")