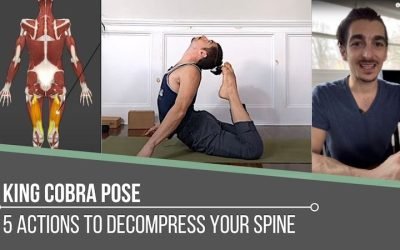
KING COBRA POSE YOGA ANATOMY • BIOMECHANICS • TECHNIQUEKING COBRA5 Key Actions to Decompress Your Spine in King Cobra PoseNot all that glitters is gold, and without the right approach, this glorious backbend may not be a shining example of spinal health. King Cobra...
Eka Pada Koundinyasana 2
Eka Pada Koundinyasana 2
Five Drills for Greater Access
flying splits
EKA PADA KOUNDINYASANA 2: STRENGTH AND POISE
The elegant long lines of a posture like Eka Pada Koundinyasana 2 require a great deal of strength and preparation. The pose also requires both ease and poise. Strength is required for more than holding the posture; it also contributes to the element of ease. There’s no doubt that this arm balance is a challenging one. If you believe that confidence is essential for a posture like this one, then you’re right! What’s appealing about working towards a posture like Eka Pada Koundinyasana 2 is that you develop confidence through the preparation. How do you prepare? In today’s video, Matt demonstrates 5 drills that will help you develop the strength and poise that is expressed in the pose.

MOVE
- Access your movement potential
- Sweat and raise your heart rate
- Master your breath/movement coordination
- Increase mobility at all major joints
- Learn to gracefully transition between postures
- Improve your flexibility
- Strengthen your hips, back, shoulders, and core
- Improve your balance
- Each class will raise your heart rate, bring you to a sweat, and return you back to a relaxed state of mind and body
- 12 Classes: All levels appropriate
- Lifetime unlimited access to all
- Attend the livestream OR practice the replays any time that's convenient for you
$168.00
GROUNDWORK WITH YOGA BLOCKS
Breaking up the actions between the upper and lower body can really help to refine the execution of Eka Pada Koundinyasana 2. In the first drill, Matt demonstrates an option with yoga blocks set up underneath your chest to relieve some of the effort in your arms. Doing this helps you focus on the techniques utilized in the hips and legs, which create the height and length required for balancing the posture.
You’ll see that the first drill sets the foundation for all of the drills in the video.
Here are the core steps in Drill #1:
(left leg forward)
- With hands wide and slightly behind either side of the blocks, place your left leg onto your upper left arm
- Lean forward and place your chest on a block or blocks (depending on the height required for your body)
- Create an anterior tilt of your pelvis while internally rotating the upper thigh of your left leg
- Take the option to straighten the front leg—your back knee may stay on the mat
In the 2nd drill, you are repeating the same actions as above; however, you are adding on by straightening the back leg. Matt demonstrates this with socks on, making it easier to practice by gliding your back foot on the floor rather than on a yoga mat. This is the first step in creating those elegant lines.
WATCH THE VIDEO
EKA PADA KOUNDINYASANA 2: FIVE DRILLS FOR GREATER ACCESS
STATIC ENTRY WITHOUT YOGA BLOCKS
Drill #3 invites you to attempt entry into Eka Pada Koundinyasana 2 from a static position, without the use blocks. Matt reminds you that entering the posture from a static position is muscularly demanding and that without the help of the blocks, it’s vital to create more stability in your upper body. If you’ve practiced with Matt before, then you know that one of the essential elements of an arm balance is to grip the ground with your fingers. As you grip the ground in Eka Pada Koundinyasana 2, it’s imperative that you lean forward to offset the weight in your lower body. While executing the actions of the hips (anterior tilt of the pelvis and internal rotation of the upper thigh bone), another action will help to solidify the pose: squeezing your thigh into your arm. This will strengthen the adductors and create maximum stability. From there, you can start to lengthen the legs out in opposite directions.
Practicing this posture in socks and on a hardwood floor can be extremely helpful in emphasizing a more graceful extension and easier access. Matt also offers the option of bending the knee of the back leg in order to gain a little more height before you straighten the leg out.

200 HOUR ONLINE TEACHER TRAINING
GET CERTIFIED & DEEPEN YOUR YOGA PRACTICE
- Deepen your yoga practice
- Build confidence speaking in front of groups in person and online
- Learn foundational class structures and templates
- Learn techniques for a wide range of yoga postures
- Get certified and highly qualified to teach yoga
- Yoga Alliance Globally Recognized Certification Program
STATIC ENTRY WITH YOGA BLOCKS
In this variation of Drill #3, the blocks support the back leg. The core actions remain the same, and you’ll see in the video that Matt stacks 2 yoga blocks on top of each other. Once you have both sent your weight forward into your hands and lengthened your front leg, you can take a deep bend of your back leg (while your back knee is resting on the blocks). You can experiment with either keeping the knee down or furthering the play with balance and lifting your back knee up away from the blocks.

300 HOUR ONLINE TEACHER TRAINING
GET 500 HOUR CERTIFIED AS A MASTER TEACHER
Master your skill set as a teacher through refined techniques, anatomy, biomechanics, sequencing, philosophy, meditation techniques, theming, yoga business, and much more!
- Get 500 hour certified
- Learn anatomy, biomechanics, asana techniques
- Expand your teaching skills
- Masterful sequencing and verbal delivery
- Learn meditation and breathwork techniques
- Transformative tools: theming, dharma talks, satsang
ENTRY WITH MOMENTUM
In Drill #4, you’ll explore coming into Eka Pada Koundinyasana 2 with momentum. This allows you to practice a more dynamic way of entering the posture, which requires a great deal of coordination. Matt explains that less effort is required of the muscular system, but you’ll notice that you’ll require a slight pull back to keep yourself from falling. This means that the gripping of the fingers into the ground will also be key in maintaining balance.
Here are the core steps for entry with momentum:
(left side)
- Begin in a short Downward-Facing Dog
- Lift your left leg up
- In one continuous motion, follow the steps to place your left leg on your left arm while creating the actions in your pelvis, upper thigh, and adductors
Drill #5 reintroduces the yoga blocks to get you started at a higher height. Matt places 2 blocks, stacked one on top of the other, underneath the foot of the leg that will extend behind you. This creates a “shelf” to help you gather greater height and momentum for the movement of your front leg. A tip is to place the blocks more directly behind the leg that will eventually come forward. You’ll see in the video how this really informs your ability to shift your weight more forward.
ONCE YOU KNOW, YOU CAN FLOW
Matt advises you to practice these drills and variations repeatedly. As you experiment with them, you’ll build strength and confidence in the posture itself, and you’ll also build confidence in how you move your body as a whole. Repeating these drills creates an imprint in your body and puts your body “in the know,” or creates muscle memory. Once your body knows, you can release a little bit of focus as regards technique and allow yourself to flow and move between postures with more grace and ease. It’s not that you leave technique behind, but you develop a trust in your body’s ability to move with a sense of assuredness. You’ll access Eka Pada Koundinyasana 2 with more strength and poise, and you’ll reveal a seamlessness in your practice that helps you find your flow.
You’ll want to sign up for Matt’s Move Immersion to dive deeper into your movement potential.
See you on the mat!
The 200 Hr. Teacher Training: Click Here to See the Next Start Date
The 300 Hr. Advanced Teacher Training: Click Here to See the Next Start Date
Article by Trish Curling
Video Extracted From: Vinyasa Immersion
MOVE
- Access your movement potential
- Sweat and raise your heart rate
- Master your breath/movement coordination
- Increase mobility at all major joints
- Learn to gracefully transition between postures
- Improve your flexibility
- Strengthen your hips, back, shoulders, and core
- Improve your balance
- Each class will raise your heart rate, bring you to a sweat, and return you back to a relaxed state of mind and body
- 12 Classes: All levels appropriate
- Lifetime unlimited access to all
- Attend the livestream OR practice the replays any time that's convenient for you
$168.00
Continue Learning
King Cobra Pose Tutorial
read more
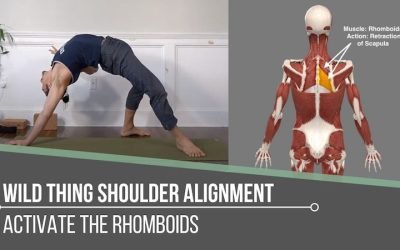
Wild Thing Shoulder Alignment
WILD THING SHOULDER ALIGNMENT ANATOMY • BIOMECHANICS • TECHNIQUEShoulder AlignmentWILD THING SHOULDER ALIGNMENTWhat is the correct shoulder alignment for the pose we call Wild Thing? To answer this, we would first have to define the guidelines for "right" and "wrong."...
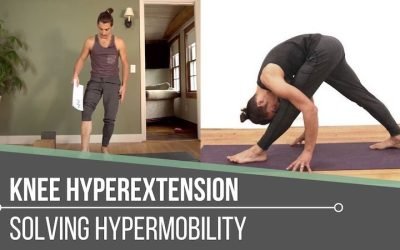
hyperextension of the knee in pyramid pose
KNEE HYPEREXTENSION HOW TO SOLVE HYPERMOBILITY IN PYRAMID POSEKNEE HYPEREXTENSIONKNEE HYPEREXTENSION: PROTECT YOUR KNEES IN PARSVOTTANASANA, PYRAMID POSEWhen it comes to our asana practice, more often than not, the subject of our knees is a hot topic. Typically, we’re...
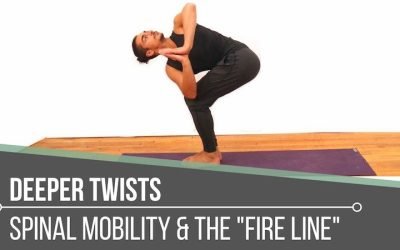
deeper twists and spinal mobility with the fire line
DEEPER TWISTS INCREASE SPINAL MOBILITY WITH THE FIRE LINEDEEPER TWISTSDEEPER TWISTS & SPINAL MOBILITY: "FIRE LINE"Do you correlate strength with twisting postures in your yoga practice, or is it flexibility that comes to mind first? There’s no doubt that both...
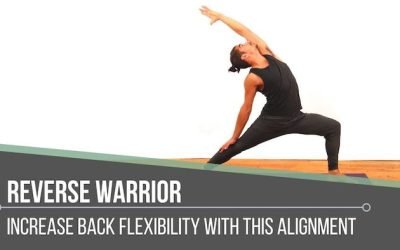
reverse warrior for better back bend flexibility
REVERSE WARRIOR INCREASE BACK FLEXIBILITY WITH THIS PARTICULAR ALIGNMENTREVERSE WARRIORREVERSE WARRIOR: PREPARE FOR BACKBENDSFull expansion, widespread freedom, release, and openness -- this might describe what we feel as yogis when it comes to the shape of a backbend...
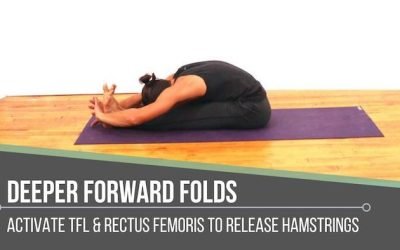
Deeper Forward Folds with TFL Technique
TECHNIQUE FOR DEEPER FORWARD FOLDS ACTIVATE TFL & RECTUS FEMORIS TO INCREASE HAMSTRING FLEXIBILITYFORWARD FOLDSDEEPER FORWARD FOLDS: PRASARITA PADOTTANASANAIt’s not unusual to feel “stuck” in our yoga practice at times. We may come to a place in our physical...
THE FREE TECHNIQUE PACK
When You Subscribe, You Will Get Instant Access to
- the Technique Pack: 15 yoga pose breakdowns
- exclusive online course discounts
- exclusive blogs and videos

