Opening The Heart ChakrabackbendOPENING THE HEART CHAKRA Opening the heart chakra is not simply about reaching deeper into a backbend. Matt reminds us that this space is rooted in love, balance, and connection, both with ourselves and with others. It reflects how we...
6 Postures For Hips and Lower Back
6 Postures for Hips and Lower Back
stretch
6 POSTURES FOR HIPS AND LOWER BACK
When we’re interested in learning about postures that help us with our hips and lower back, it’s simply not good enough to find a video or practice that says that certain poses will help with these areas of the body. A statement like that is too broad—it doesn’t mean very much until we understand how to implement the poses in our yoga practice.
Yoga is a powerful tool because it provides us with the gift of awareness. In the context of a physical yoga practice, a teacher like Matt shows us how to get to know our own bodies in a deeper way. We learn how to exercise discernment so that a posture becomes tailored to our individual needs. In today’s video, we’ll not only observe 6 postures for the hips and lower back but also obtain the information to guide us in a direction that makes them helpful.

HIP RELEASE
2-HOUR LIVESTREAM WORKSHOP!
- Technique-infused 2-hour workshop
- Nondogmatic alignment awareness
- Inner thigh & outer hip flexibility
- Increase active range of motion of the hips and pelvic movements
- Learn anatomy of the hips as you practice
- Strengthen the muscles for optimal balance
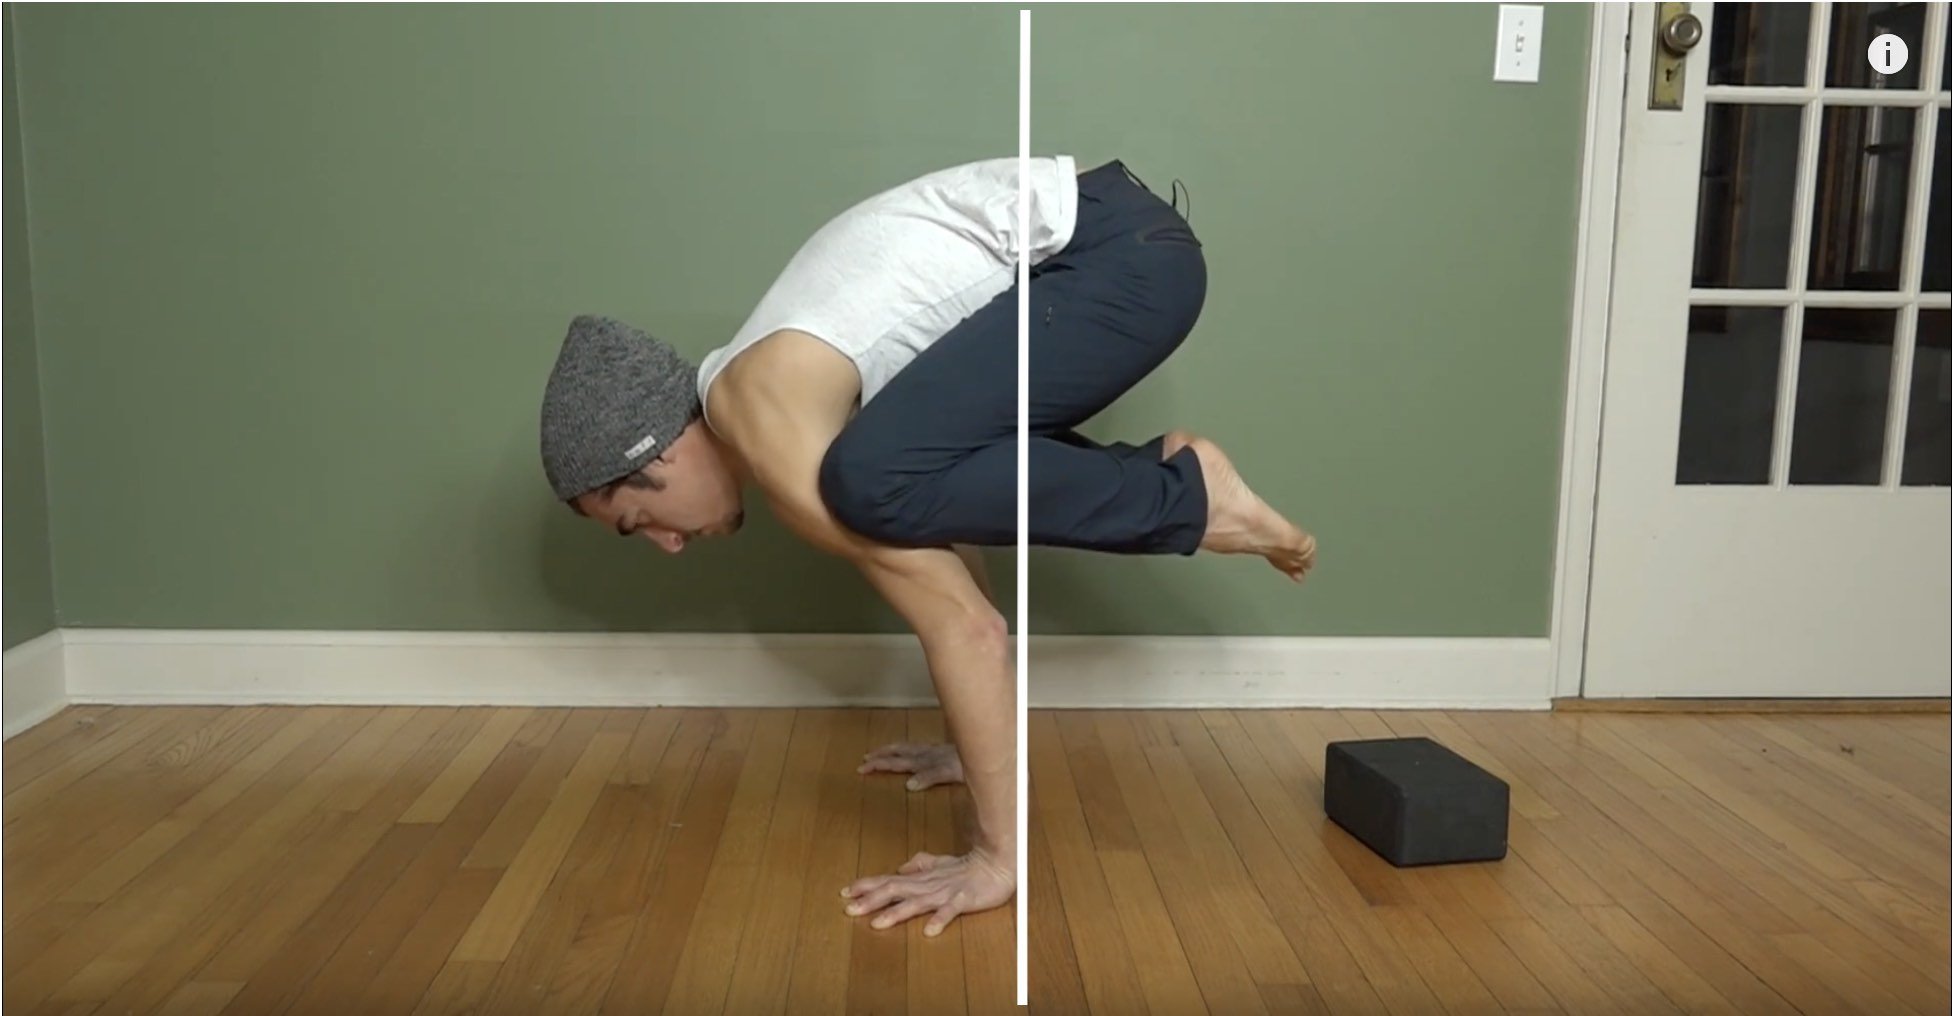
- Postural focus: Flying Pigeon and Lotus Pose
- Injury awareness: Avoiding knee & low-back strain/pain/compression
- Use anatomy knowledge to debunk popular alignment
- Skillfully guided sequence by the founder of Chromatic Yoga, Matt Giordano
- LIVESTREAM DATE: March 30th at 10am Eastern Time (NYC Timezone)
- REPLAY: Available immediately, lifetime access
PELVIC TILTS IN WARRIOR II AND IN REVERSE WARRIOR
How can postures become helpful? We can get to know when and where stretching and/or strengthening is appropriate. We always have choices.
In Warrior II and Reverse Warrior, the discussion is essentially about the action of leveling or not leveling the hips.
In the video, Matt explains that in his experience, he has often seen the front pelvis dropped downwards in Warrior II. However, this position in the hips may actually be more beneficial in Reverse Warrior, if we have the intention of stretching the side of the the front waistline. The lateral pelvic tilt helps create a stronger lateral flexion of the spine and an increased stretch in the psoas. Maintaining a more leveled pelvis in Warrior II can eliminate potential compression in the front hip. Exploring these articulations of the pelvis can help us find what is valuable at any given time.
WATCH THE VIDEO
6 POSTURES FOR HIPS AND LOWER BACK: HOW TO DECIDE BETWEEN STRETCH & STRENGTH
STANDING FIGURE 4 AND JANU SIRSASANA
Standing Figure 4
This variation offers another opportunity to explore the positioning of the hips for an increased stretch of the side body. Matt first cues a medial rotation of the hips and then, to again increase the stretch in the side waistline, he cues “hiking up the pelvis” for more lateral flexion when we’re bent over on the diagonal .
Janu Sirsasana
Here we gain more insight in terms of choosing whether stretch or strength is beneficial. Due to the lateral flexion of the spine, this variation offers a deep stretch for the quadratus lumborum (QL), which might feel good. If the opposite is true and there is more discomfort than ease, an upright version may be more beneficial. In the upright version of the pose, the back muscles are engaged. If they feel tight, we may lean towards stretching, but tight muscles are often an indication of weakness, so opting for strength may be the key to finding relief in the lower back.

200 HOUR ONLINE TEACHER TRAINING
GET CERTIFIED & DEEPEN YOUR YOGA PRACTICE
- Deepen your yoga practice
- Build confidence speaking in front of groups in person and online
- Learn foundational class structures and templates
- Learn techniques for a wide range of yoga postures
- Get certified and highly qualified to teach yoga
- Yoga Alliance Globally Recognized Certification Program
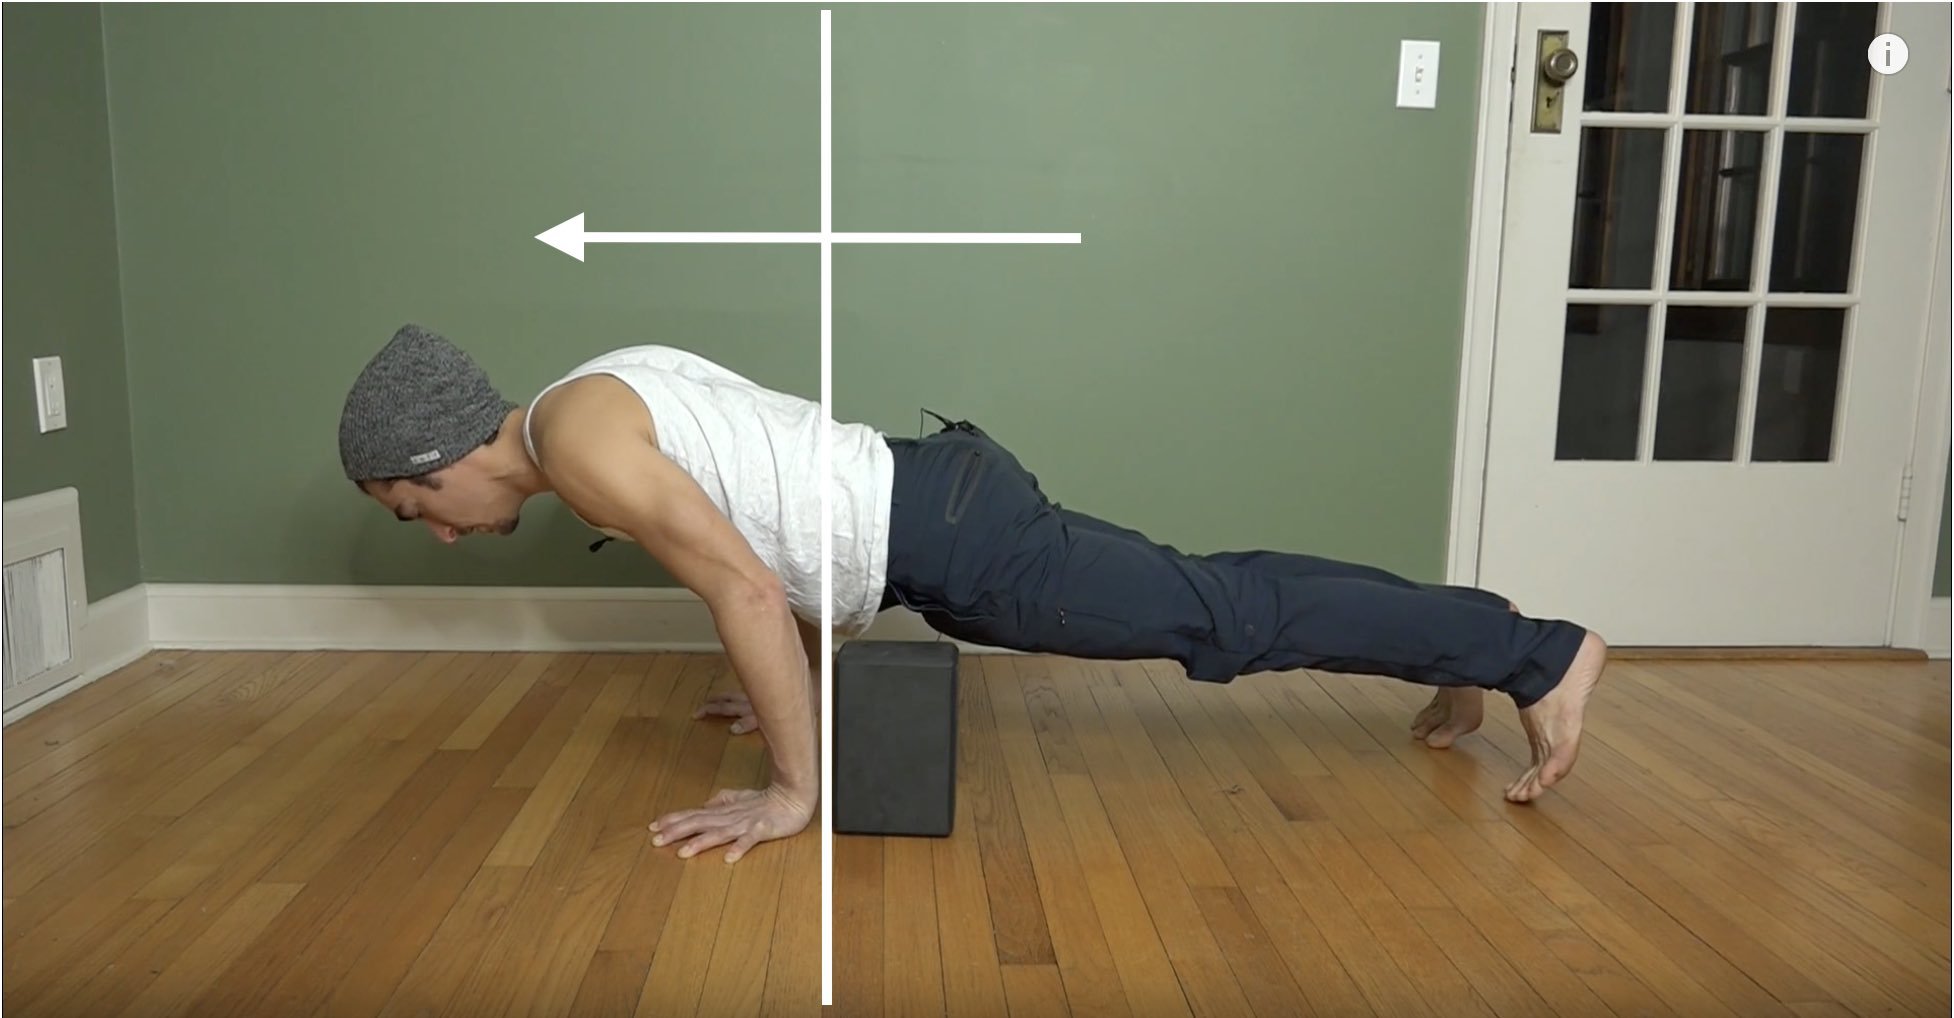
FROG POSE AND HURDLER STRETCH
Frog Pose
Due to the intense shape of the posture, Frog Pose can reveal a great deal about our current experience with the strength and flexibility of our adductors. To encourage the optimal health and safety of the muscles, implementing a facilitated stretch offers stability while stretching. In the video, Matt shares how varying the angles of the pelvis will influence where we feel the stretch in the adductors.
Hurdler Stretch
This shape offers both stretch and strength for the QL. Matt offers two variations in the video to help us to find what is more accessible. In both variations, both the tilt of the pelvis and “finer” details like pressing the exposed side of the rib cage up and a small tucking of the buttock on the straight-leg side will assist in supporting the lower back and hips to refrain from strain.

300 HOUR ONLINE TEACHER TRAINING
GET 500 HOUR CERTIFIED AS A MASTER TEACHER
Master your skill set as a teacher through refined techniques, anatomy, biomechanics, sequencing, philosophy, meditation techniques, theming, yoga business, and much more!
- Get 500 hour certified
- Learn anatomy, biomechanics, asana techniques
- Expand your teaching skills
- Masterful sequencing and verbal delivery
- Learn meditation and breathwork techniques
- Transformative tools: theming, dharma talks, satsang
THE FINER DETAILS CARRY THE WEIGHT
Throughout the exploration of these postures, it’s these finer details that help personalize what we experience in the hips and lower back. Thoughtful and careful implementation supports our individual goals regarding increased flexibility and/or strength in the lower back and hips. Paying attention to the finer details makes all the difference in what we feel sensationally in our bodies.
This is why practicing with Matt creates such a transformational experience. His upcoming workshop, Hip Release, will be filled with techniques to help with increased range of motion in the hips, effective strength and flexibility drills, and ways to avoid pain. Register at the link to enliven your practice today.
See you on the mat!
The 200 Hr. Teacher Training: Click Here to See the Next Start Date
The 300 Hr. Advanced Teacher Training: Click Here to See the Next Start Date
Article by Trish Curling
Videos Extracted From: Blissful Hips

ONLINE ANATOMY COURSE
- Accessible, exciting, and easy to learn
- Anatomy and biomechanics for yoga
- Appropriate for both teachers and students
- Learn joint alignment vs pose alignment
- Demystify yoga poses and transitions
- Release aches and pains
- Learn how to avoid common injuries
- Caters to all levels with modifications and props
- 20 hours Continued Education Credits with Yoga Alliance
- 20 hours toward Chromatic Yoga Certification and 300 Hour
- Lifetime access
Continue Learning
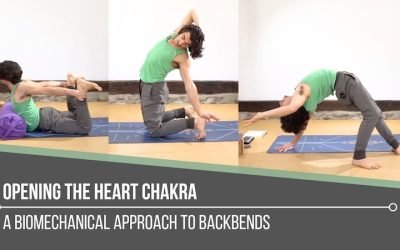
Opening The Heart Chakra
read more
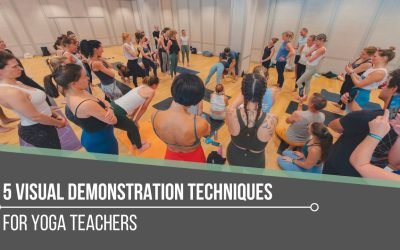
5 Visual Demonstration Techniques for Yoga Teachers
5 Visual Demonstration Techniques for Yoga TeachersYoga TeachersVisual Demonstration This is often confused with “teaching from the mat.” Teaching at the front of the room can be useful at the right time and place, but that is not what we are referring to here. In...
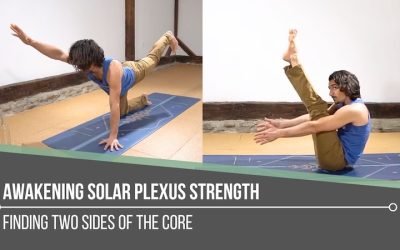
Awakening Solar Plexus Strength
Awakening Solar Plexus Strengththird chakraAWAKENING SOLAR PLEXUS STRENGTH Awakening solar plexus strength invites us into the centre of transformation. Matt reminds us that this third chakra, Manipura, is our fire, our willpower, and our ability to take action. It...
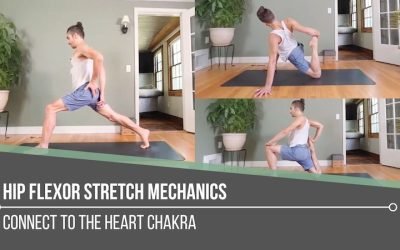
Hip Flexor Stretch Mechanics
Hip Flexor Stretch MechanicsALIGNMENTHIP FLEXOR STRETCH MECHANICS Hip flexor stretch mechanics begins with understanding that stability and length often come from opposing actions. In the first demonstration, Matt cues the back inner thigh to lift upward, which tips...
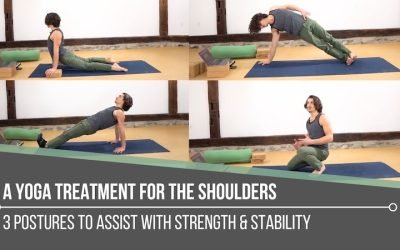
A Yoga Treatment For The Shoulders
A Yoga Treatment For The ShouldersSTABILITYA YOGA TREATMENT FOR THE SHOULDERS Shoulders tend to speak up when stability is missing. Matt reminds us that building strength isn’t about aesthetics, it’s about support, resilience, and keeping the body working as one...
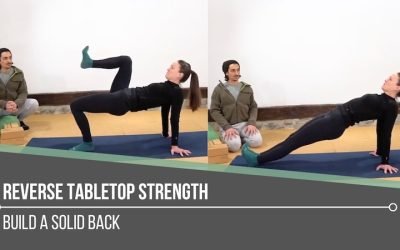
Reverse Tabletop Strength
Reverse Tabletop StrengthMECHANICSREVERSE TABLETOP STRENGTH “Solid” implies strength, yet in yoga, we can easily lose sight of how intentionally building the back body supports everything we do. Reverse Tabletop may look simple, but it asks a lot from the posterior...
THE FREE TECHNIQUE PACK
When You Subscribe, You Will Get Instant Access to
- the Technique Pack: 15 yoga pose breakdowns
- exclusive online course discounts
- exclusive blogs and videos