Opening The Heart ChakrabackbendOPENING THE HEART CHAKRA Opening the heart chakra is not simply about reaching deeper into a backbend. Matt reminds us that this space is rooted in love, balance, and connection, both with ourselves and with others. It reflects how we...
Prepare For Lotus
Prepare for Lotus
Standing Postures for Deep Hip Opening
flexibility
PREPARE FOR LOTUS
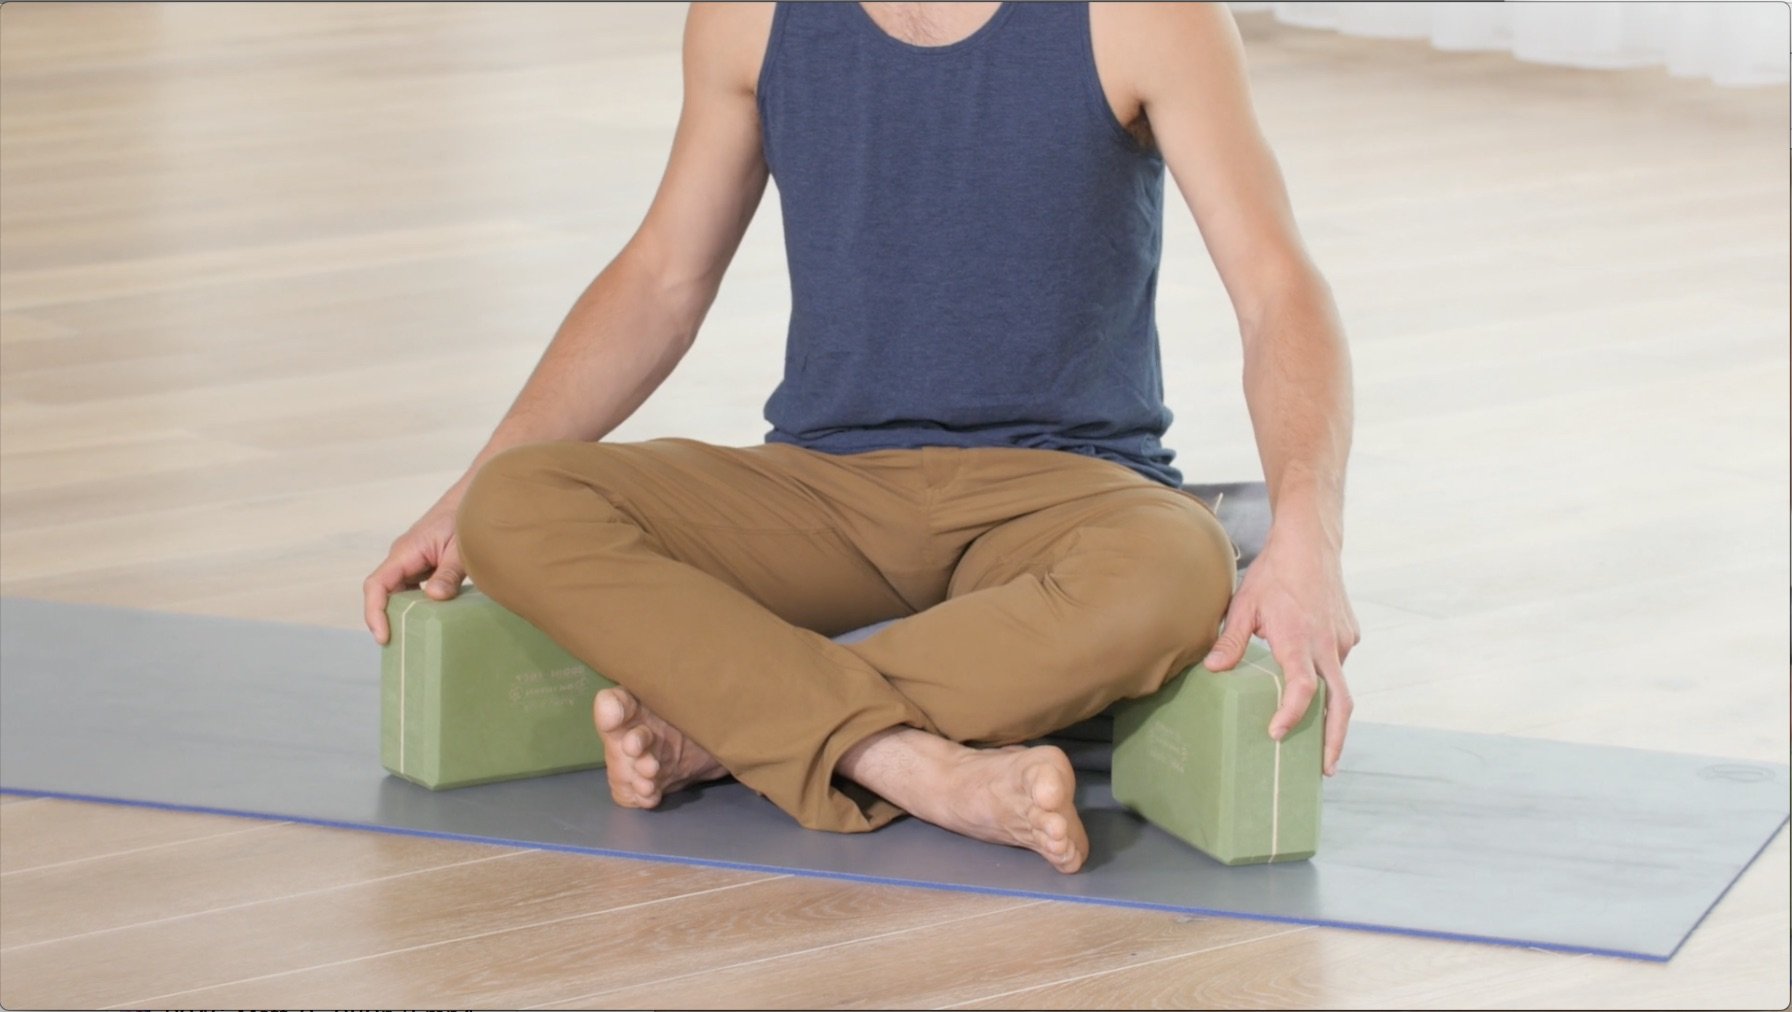
There are multiple ways to prepare for Lotus Pose. The 5 standing postures and the techniques that are highlighted today are from a portion of a sequence Matt shares in the first class of his current Lotus Immersion. Here, it’s not just about doing the postures themselves; it’s more about the execution and intention behind them. If your goal is to create a healthy range of motion in your hips, going through the motions simply won’t offer all that you need. In order to increase hip mobility, especially for a posture like Lotus, you must prepare your body. An integral part of the preparation is to strengthen the gluteal and abductor muscles. Utilizing techniques in standing postures like Forward Fold, Crescent Pose, Warrior 2, Extended Side Angle, and “Crisscross Pyramid” can be a wonderful first step in creating a solid foundation.

LOTUS
- Anatomy-informed classes
- Increase hip mobility and range of motion
- Balance flexibility and strength
- Skillful techniques for Lotus variations and many other hip openers
- Moderate Vinyasa-style classes
- Unlock your Lotus Pose
- Learn the 4 Quadrants of the Hips
- 8 Classes: All levels appropriate
- Lifetime unlimited access to all
- Attend the livestream OR practice the replays any time that’s convenient for you
$128.00 $108.00
FORWARD FOLD & CRESCENT POSE PREPARATION
External rotation and hip abduction are essential movements for Lotus Pose, as is a generous degree of hip flexibility. In order to prepare for Lotus, increasing flexibility requires strengthening first. You can start this process by strengthening your abductors in Forward Fold. In the video, Matt demonstrates a simple technique, in which you place your hands on your outer shins, that lights up your abductors.
Strong glute muscles are also essential for Lotus because they assist in externally rotating your hip. For this reason, the next standing posture is Crescent Pose. Once again, a few simple actions help activate the glutes. Two of the main actions are the posterior tilt of the pelvis and the pressing down of the front heel. You’ll see in the video that beyond just “doing” the posture, taking the right actions brings your intentions for strength to life.
WATCH THE VIDEO
PREPARE FOR LOTUS: 5 STANDING POSTURES FOR DEEP HIP OPENING
WARRIOR 2 & EXTENDED SIDE ANGLE PREPARATION
What’s lovely about the techniques Matt offers for strengthening the glutes and abductors is that they are all self-adjustments. You have total control over the intensity, which is often conservative but still goes a long way to increase strength. Along with the self-adjustment in Warrior 2, Matt mentions paying special attention to the rotation of the back of the pelvis. Maintaining the proper direction of your pelvis is the difference between actually being able to activate your glutes and failing to achieve the desired result. You carry the same direction of the pelvis into Side Angle preparation. The techniques demonstrated here are great: Depending on the placement of your front arm, you can focus more on the glute activation or you can invite in more stretch for your adductors. Lengthening the adductors is also imperative in preparing for Lotus.

200 HOUR ONLINE TEACHER TRAINING
GET CERTIFIED & DEEPEN YOUR YOGA PRACTICE
- Deepen your yoga practice
- Build confidence speaking in front of groups in person and online
- Learn foundational class structures and templates
- Learn techniques for a wide range of yoga postures
- Get certified and highly qualified to teach yoga
- Yoga Alliance Globally Recognized Certification Program
“CRISSCROSS PYRAMID”
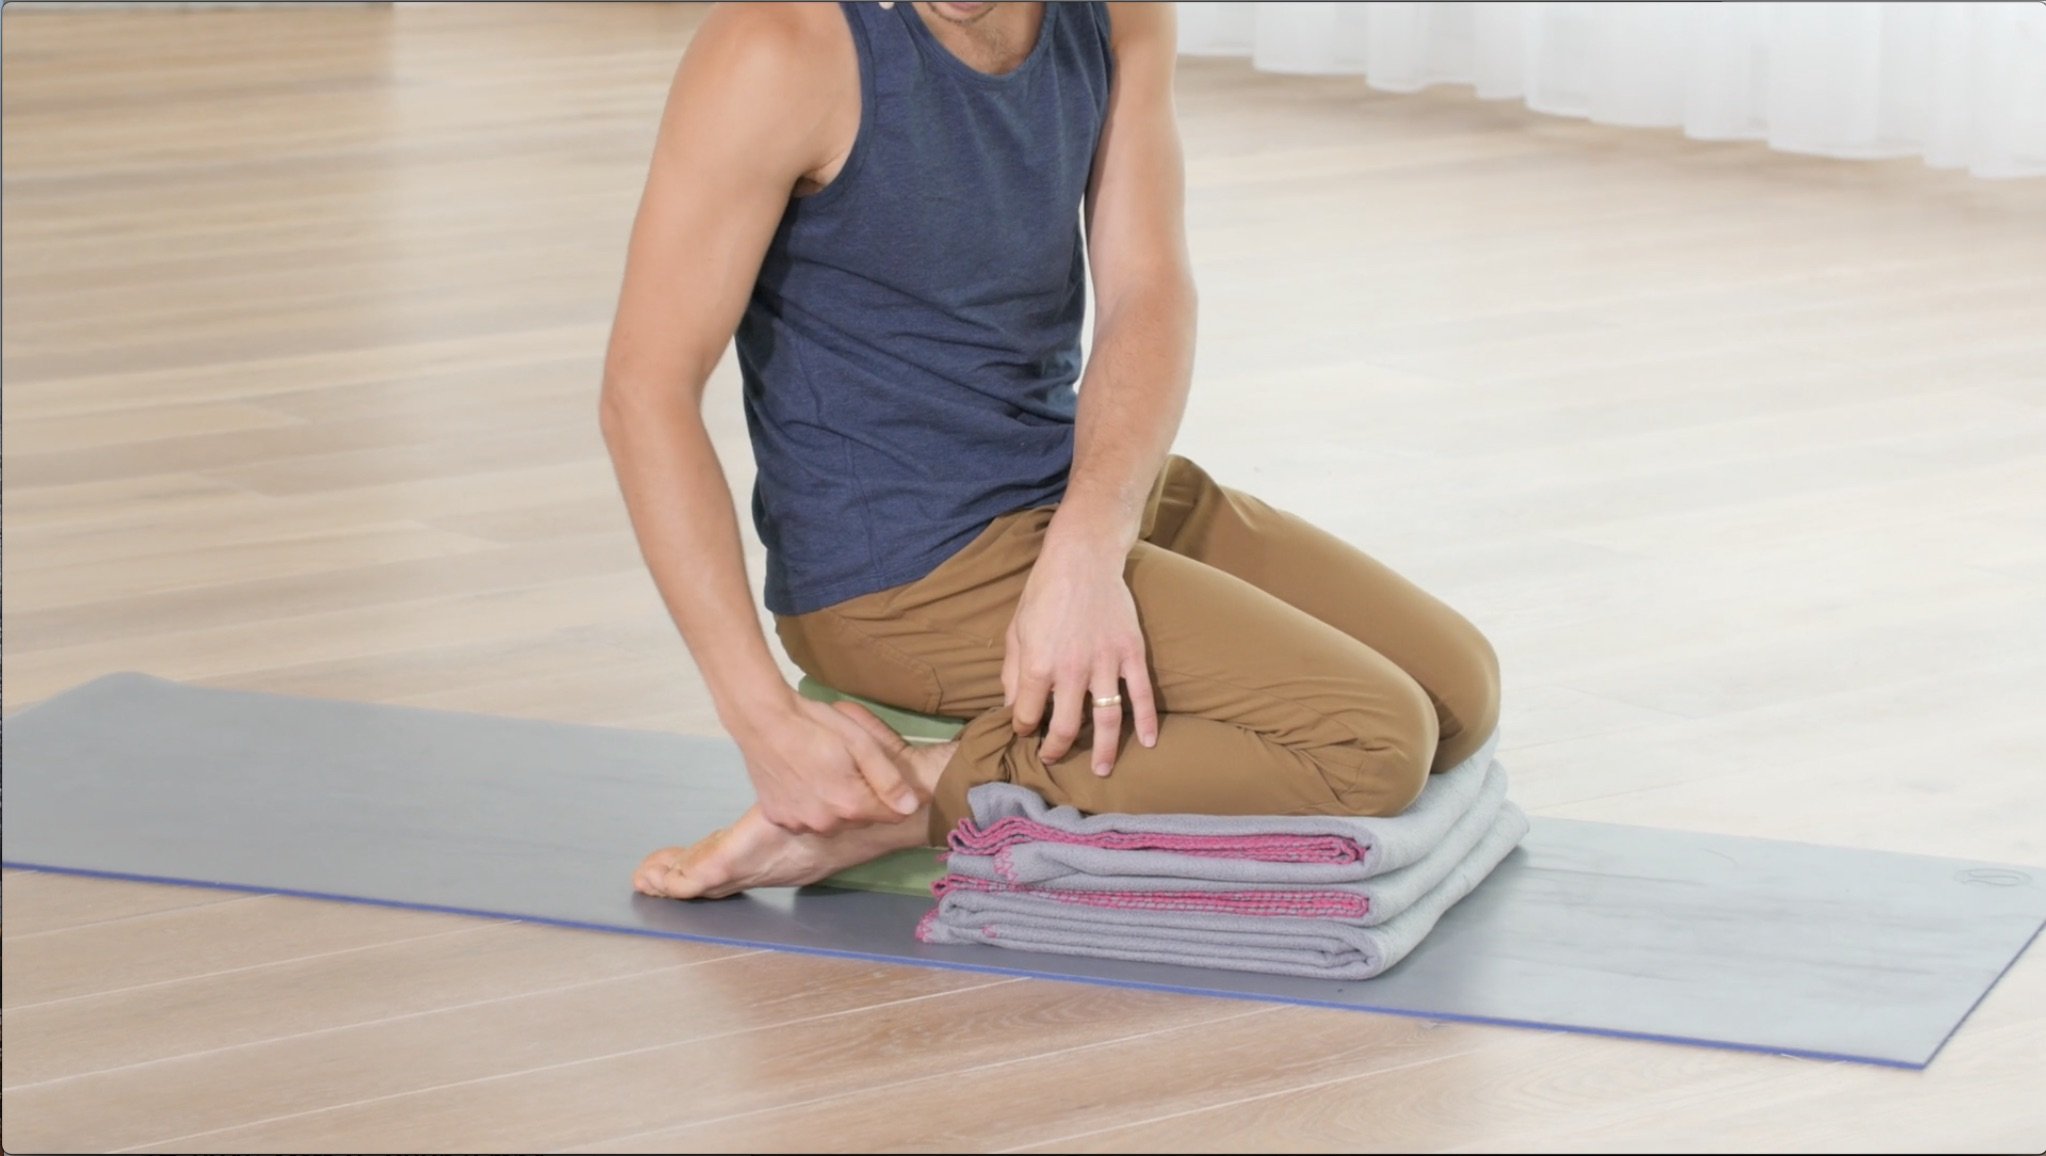
Whenever Matt instructs this kind of “cross action” in a given posture, it’s always so intriguing. He provides cues for certain actions that offer more than you anticipate. In “Crisscross Pyramid,” for example, you’ll experience a stretch sensation and therefore a lengthening in the outer hips. Because Matt always advises strengthening before lengthening, this posture is well placed in the sequence! Beyond the hips, if you want to truly prepare for Lotus, you must also consider the positioning of your feet and ankles. While Matt explores this in seated postures, he also begins to prepare you in this standing posture earlier in the practice. He advises you to press the big toe of your front foot into the mat while simultaneously lifting your middle toes. This action takes your ankle into eversion, which is the same as the articulation required in Lotus Pose.

300 HOUR ONLINE TEACHER TRAINING
GET 500 HOUR CERTIFIED AS A MASTER TEACHER
Master your skill set as a teacher through refined techniques, anatomy, biomechanics, sequencing, philosophy, meditation techniques, theming, yoga business, and much more!
- Get 500 hour certified
- Learn anatomy, biomechanics, asana techniques
- Expand your teaching skills
- Masterful sequencing and verbal delivery
- Learn meditation and breathwork techniques
- Transformative tools: theming, dharma talks, satsang
THERE’S MORE THAN ONE WAY
Even though Matt carefully offers the techniques within these standing postures and demonstrates how extremely effective they are in strengthening and lengthening the muscles that are required to be primed for Lotus Pose, he also reminds you to carve your own path. Ultimately, you will have your own tendencies, patterns, and challenges that you may need to rewire, so incorporating other ways that will help prepare for Lotus are very much welcomed. That’s the beauty of being able to explore multiple techniques, postures, and actions within one immersion focused on Lotus Pose. Matt’s Lotus Immersion is packed with a multitude of ways to approach hip opening from an anatomical perspective. These 5 standing postures open the door, but there is always more to uncover. Register for Lotus in order to broaden your toolkit for better hip mobility.
See you on the mat!
The 200 Hr. Teacher Training: Click Here to See the Next Start Date
The 300 Hr. Advanced Teacher Training: Click Here to See the Next Start Date
Article by Trish Curling
Video Extracted From: Lotus Immersion

BREATH OF FIRE
- Moderate Vinyasa-style classes
- Core strengthening & integration
- Master your breath with pranayama practices
- Access your core in arm balances, heart openers, twists, forward folds, inversions, and more
- Learn where and how to breathe in challenging postures
- Each class will include one pranayama (breathwork practice) and several core strengtheners
- Access your core muscles: deep, superficial, anterior, posterior, and lateral
- 12 Classes: All levels appropriate
- Lifetime unlimited access to all
- Attend the livestream OR practice the replays any time that’s convenient for you
$148.00
Continue Learning
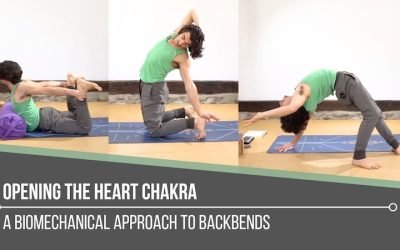
Opening The Heart Chakra
read more
5 Visual Demonstration Techniques for Yoga Teachers
5 Visual Demonstration Techniques for Yoga TeachersYoga TeachersVisual Demonstration This is often confused with “teaching from the mat.” Teaching at the front of the room can be useful at the right time and place, but that is not what we are referring to here. In...
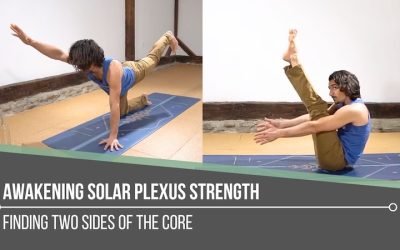
Awakening Solar Plexus Strength
Awakening Solar Plexus Strengththird chakraAWAKENING SOLAR PLEXUS STRENGTH Awakening solar plexus strength invites us into the centre of transformation. Matt reminds us that this third chakra, Manipura, is our fire, our willpower, and our ability to take action. It...
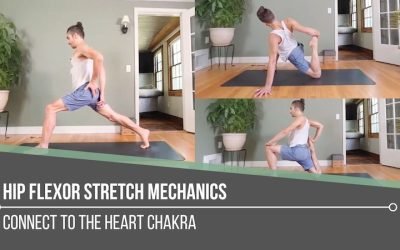
Hip Flexor Stretch Mechanics
Hip Flexor Stretch MechanicsALIGNMENTHIP FLEXOR STRETCH MECHANICS Hip flexor stretch mechanics begins with understanding that stability and length often come from opposing actions. In the first demonstration, Matt cues the back inner thigh to lift upward, which tips...
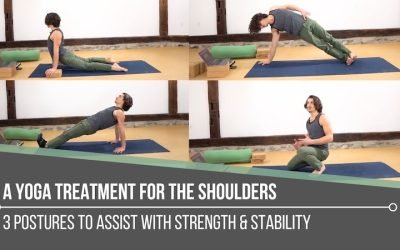
A Yoga Treatment For The Shoulders
A Yoga Treatment For The ShouldersSTABILITYA YOGA TREATMENT FOR THE SHOULDERS Shoulders tend to speak up when stability is missing. Matt reminds us that building strength isn’t about aesthetics, it’s about support, resilience, and keeping the body working as one...
Reverse Tabletop Strength
Reverse Tabletop StrengthMECHANICSREVERSE TABLETOP STRENGTH “Solid” implies strength, yet in yoga, we can easily lose sight of how intentionally building the back body supports everything we do. Reverse Tabletop may look simple, but it asks a lot from the posterior...
THE FREE TECHNIQUE PACK
When You Subscribe, You Will Get Instant Access to
- the Technique Pack: 15 yoga pose breakdowns
- exclusive online course discounts
- exclusive blogs and videos
![yoga backbend techniques: 12 classes [backbend technique to relieve back pain "bowing the spine']](https://www.theyogimatt.com/wp-content/uploads/2021/05/JULY-IMMERSION-14.jpg "JULY IMMERSION")

![yoga backbend techniques: 12 classes [backbend technique to relieve back pain "bowing the spine']](https://www.theyogimatt.com/wp-content/uploads/2020/09/200-hour-horizontal.jpg "200 hour horizontal")