Build Better Joint Supportankle & kneeBUILD BETTER JOINT SUPPORT Sometimes we focus so heavily on flexibility that we forget our joints also need intelligent strength surrounding them. Matt reminds us that stability is not rigidity. It is the body’s ability to...
Flying Pigeon
FLYING PIGEON
Key Actions to Balance in Flying Pigeon Pose
Flying pigeon
Flying Pigeon: Balance
Flying Pigeon is an exceptionally challenging pose for several reasons–strength, balance, flexibility for starters. Learning to balance on the hands requires tremendous strength in the flexors of the wrist, or what I call in my Handstand Training, “The Brakes”. Appropriately named because strength in the flexors of the wrist is what stops you from falling when you’re on your hands. You will hear me in the video talking about gripping the ground; this is the action that will turn on the brakes. On all fours, grip your fingers into the ground. With one hand, challenge the opposite hand by trying to pick up the fingers off the ground. Let’s say your right hand is on the ground; the right hand tries its best to dig its fingers into the earth. The left hand tries to pick the right hand’s fingers up. Switch roles. Reading about this won’t do anything so you will have to get it in your body to really get it…did it? Great! Let’s continue. Whenever you are on your hands in your yoga practice, maintain this type of activation to build strength in your brakes over time.
Flexibility
I still remember my first flying pigeon. I was in Elena Brower’s Anusara Yoga class. My hips were super tight back then. She had some great techniques to help us open our hips, many of which I still implement into my own practice and share in my online trainings , and immersions. In one of my recent articles on compass pose, I spoke on the topic that flexibility requires technique more than it does forcing repetitive stretches. To increase flexibility for flying pigeon, you need to target several muscle groups which I call the 4 Quadrants of the hips. All 4 quadrants (front, back, inside, backside) can be targeted within your yoga practice by activating them isometrically through the postures. If you have been practicing live or in person with me, then you are very familiar with this approach and if you haven’t felt the benefits, you will soon with repetition. To give you one example to try, get into warrior 2 and pull your feet toward each other like you are trying to bunch up the mat under your feet. This activates the inner quadrant of the back leg and the back quadrant of the front leg. Over time this will create health in these muscle groups which will directly increase your range of motion.

ARM BALANCES
Learn 12+ arm balances while expanding your knowledge of the body and increasing your body awareness. All classes are 75 minutes and ALL-levels appropriate
- Crow Pose, Side Crow, and variations
- Flying Pigeon, Koundinyasana 1 & 2
- Titibhasana, Bhujapidasana
- Handstand, Forearm Stand, and many more!
SALE PRICE: $198.00 $128.00
KEY TECHNIQUES & ORDER OF ACTIONS
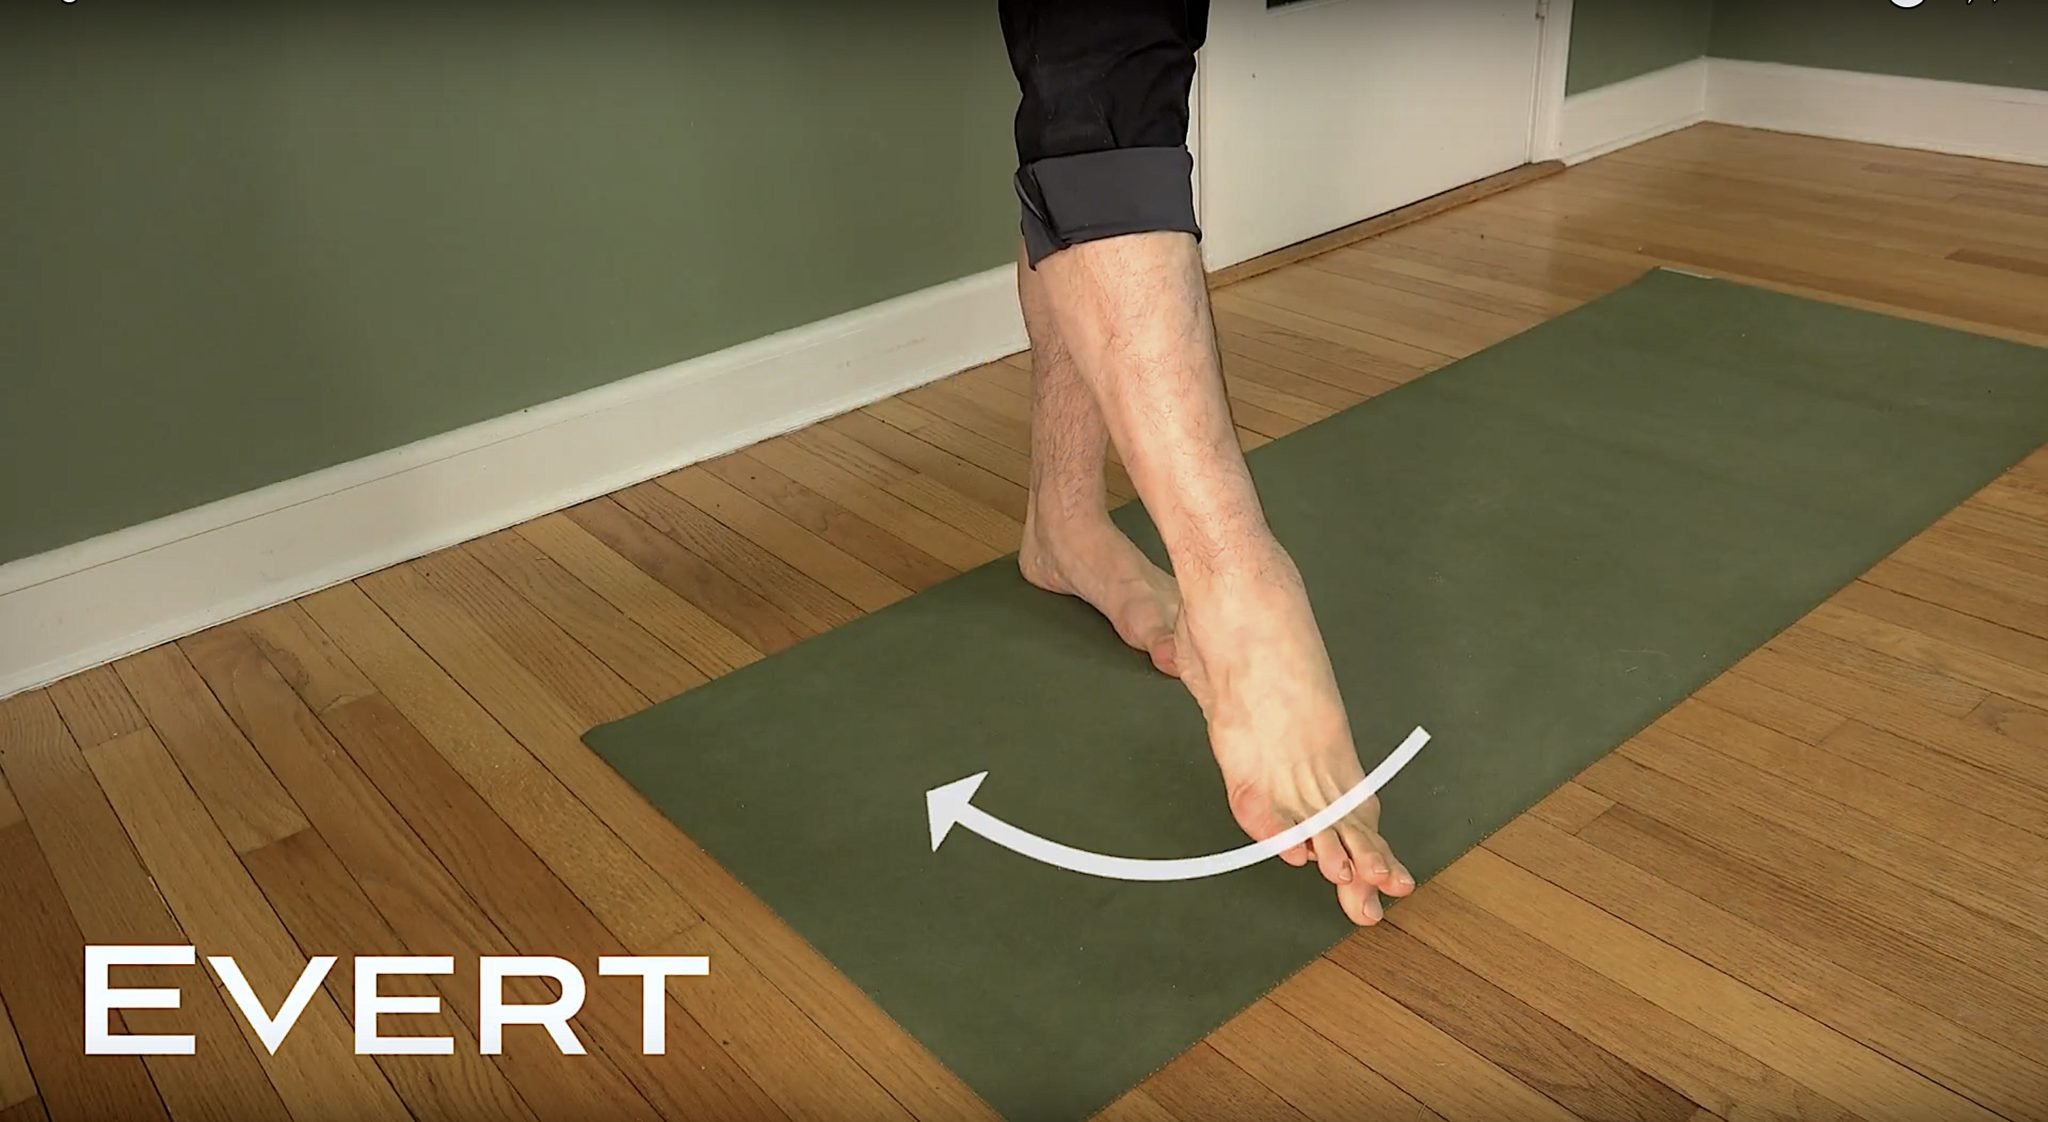
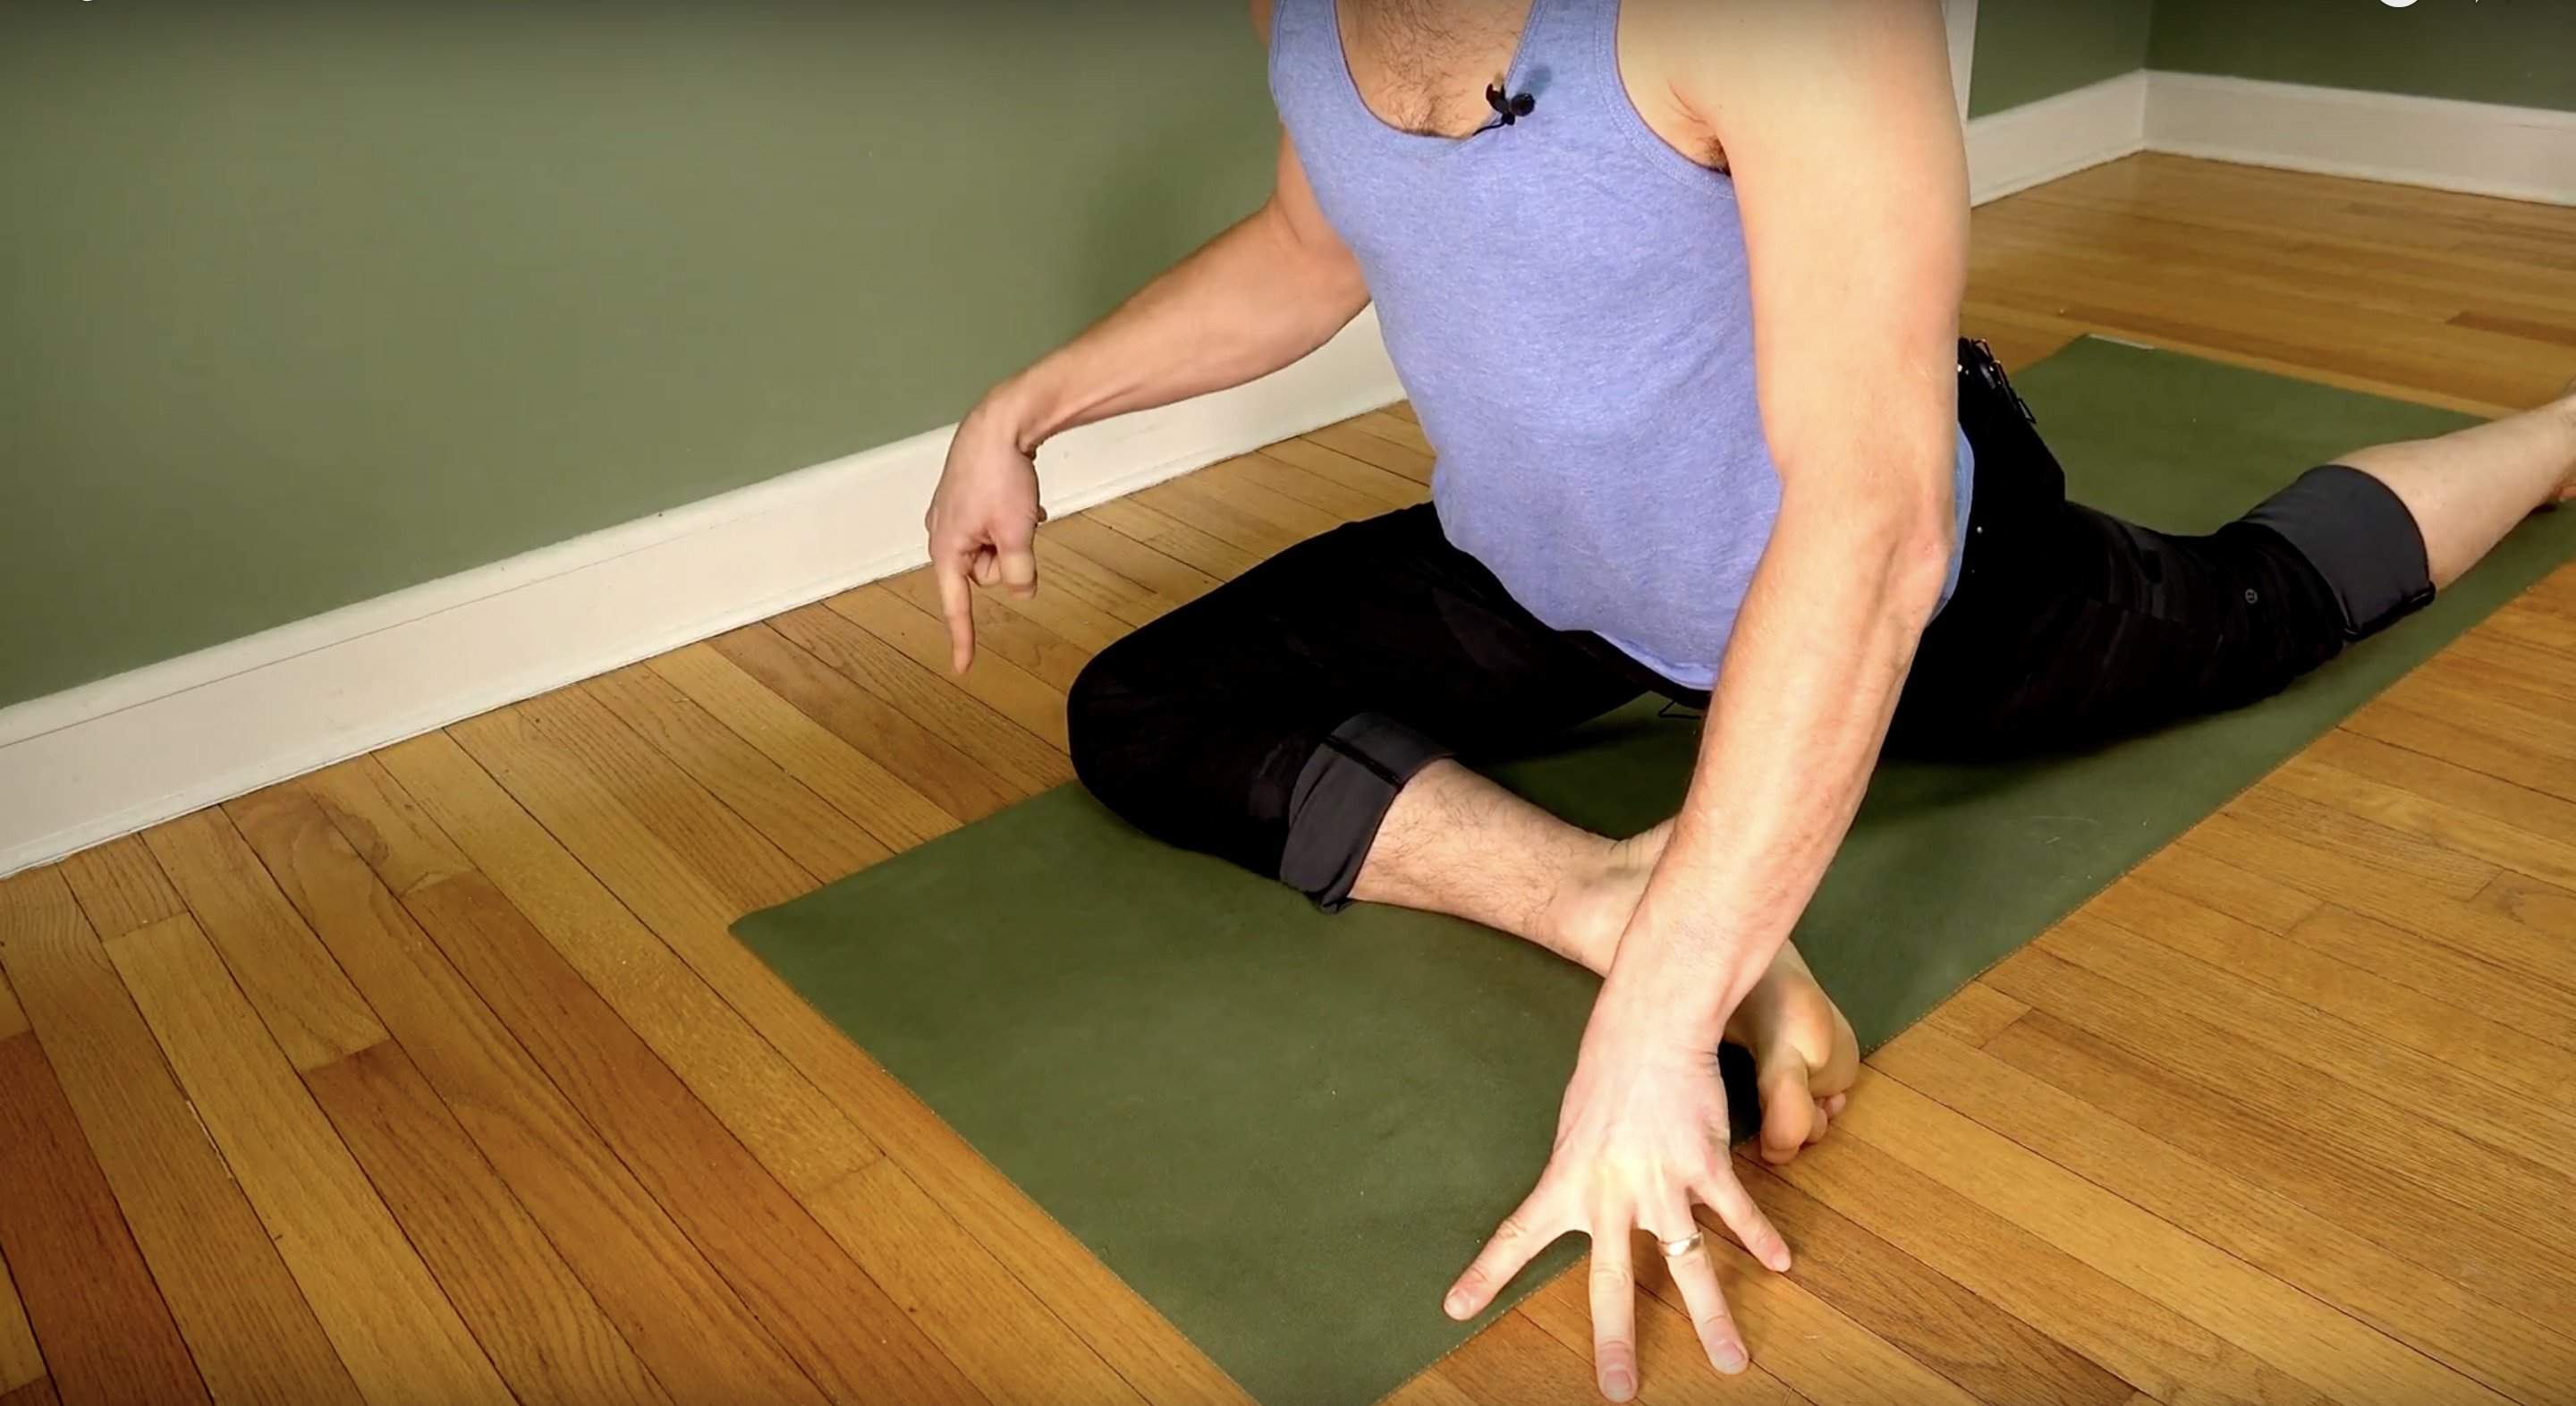
THE SET UP
- Invert the ankle and drop the hip: This will help you get the foot high up toward the arm pit
- Evert to “clamp” the foot: this will help you avoid the sliding of the foot off the arm
- Lift opposite knee into arm pit: This will help you avoid the bruising on the triceps, however it requires a great deal of hip flexibility and may not be possible for you at first.
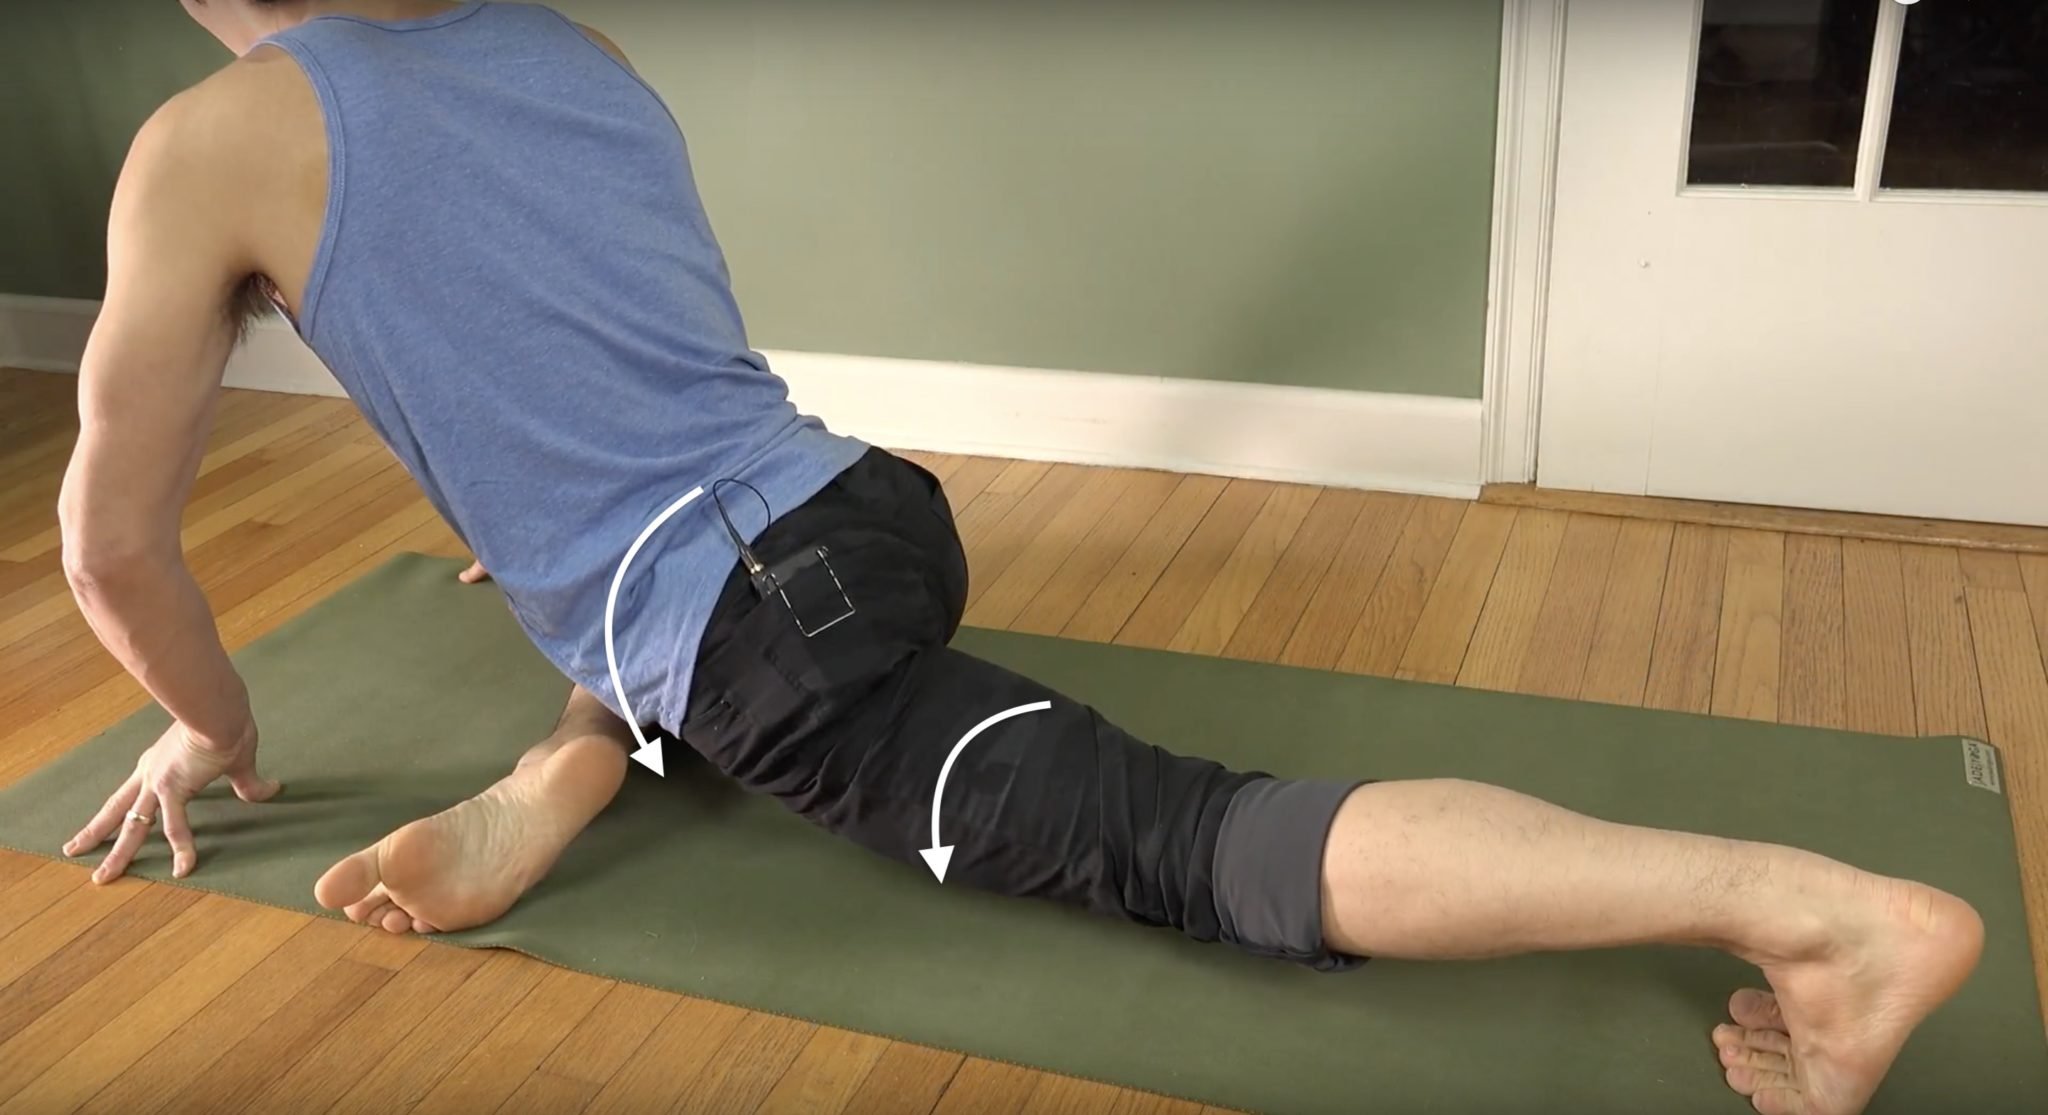
THE BALANCE
- Walk the hands forward: its necessary or you wont be able to balance
- Grip the ground: these are your brakes – they stop you from falling.
- Lean your body forward: This is what takes the weight out of your feet and hips and into your hands so that flight becomes possible
- Press front shin down into the arms: this will give you lift off so that you become lighter, if you are more flexible in the hips than this step is very important.
- Squeeze your back knee in: this gets your psoas and core active and keeps the weight of the pose forward.
![yoga backbend techniques: 12 classes [backbend technique to relieve back pain "bowing the spine']](https://www.theyogimatt.com/wp-content/uploads/2021/10/Archna-Mohan-chromatic-5.jpg "Archna Mohan chromatic")
HIPS & HAMSTRINGS
ONLINE YOGA IMMERSION
- 12 classes to increase flexibility of the hips and hamstrings
- Maximize your strength through range of motion
- Access your pose potential
- Release tension of hips and back
- Sensation-based practices
- Unlock and strengthen major muscle groups
- Active, passive, and isometric stretching
- Improve mobility and stability
- So much more!
$148.00 $128.00
Strength
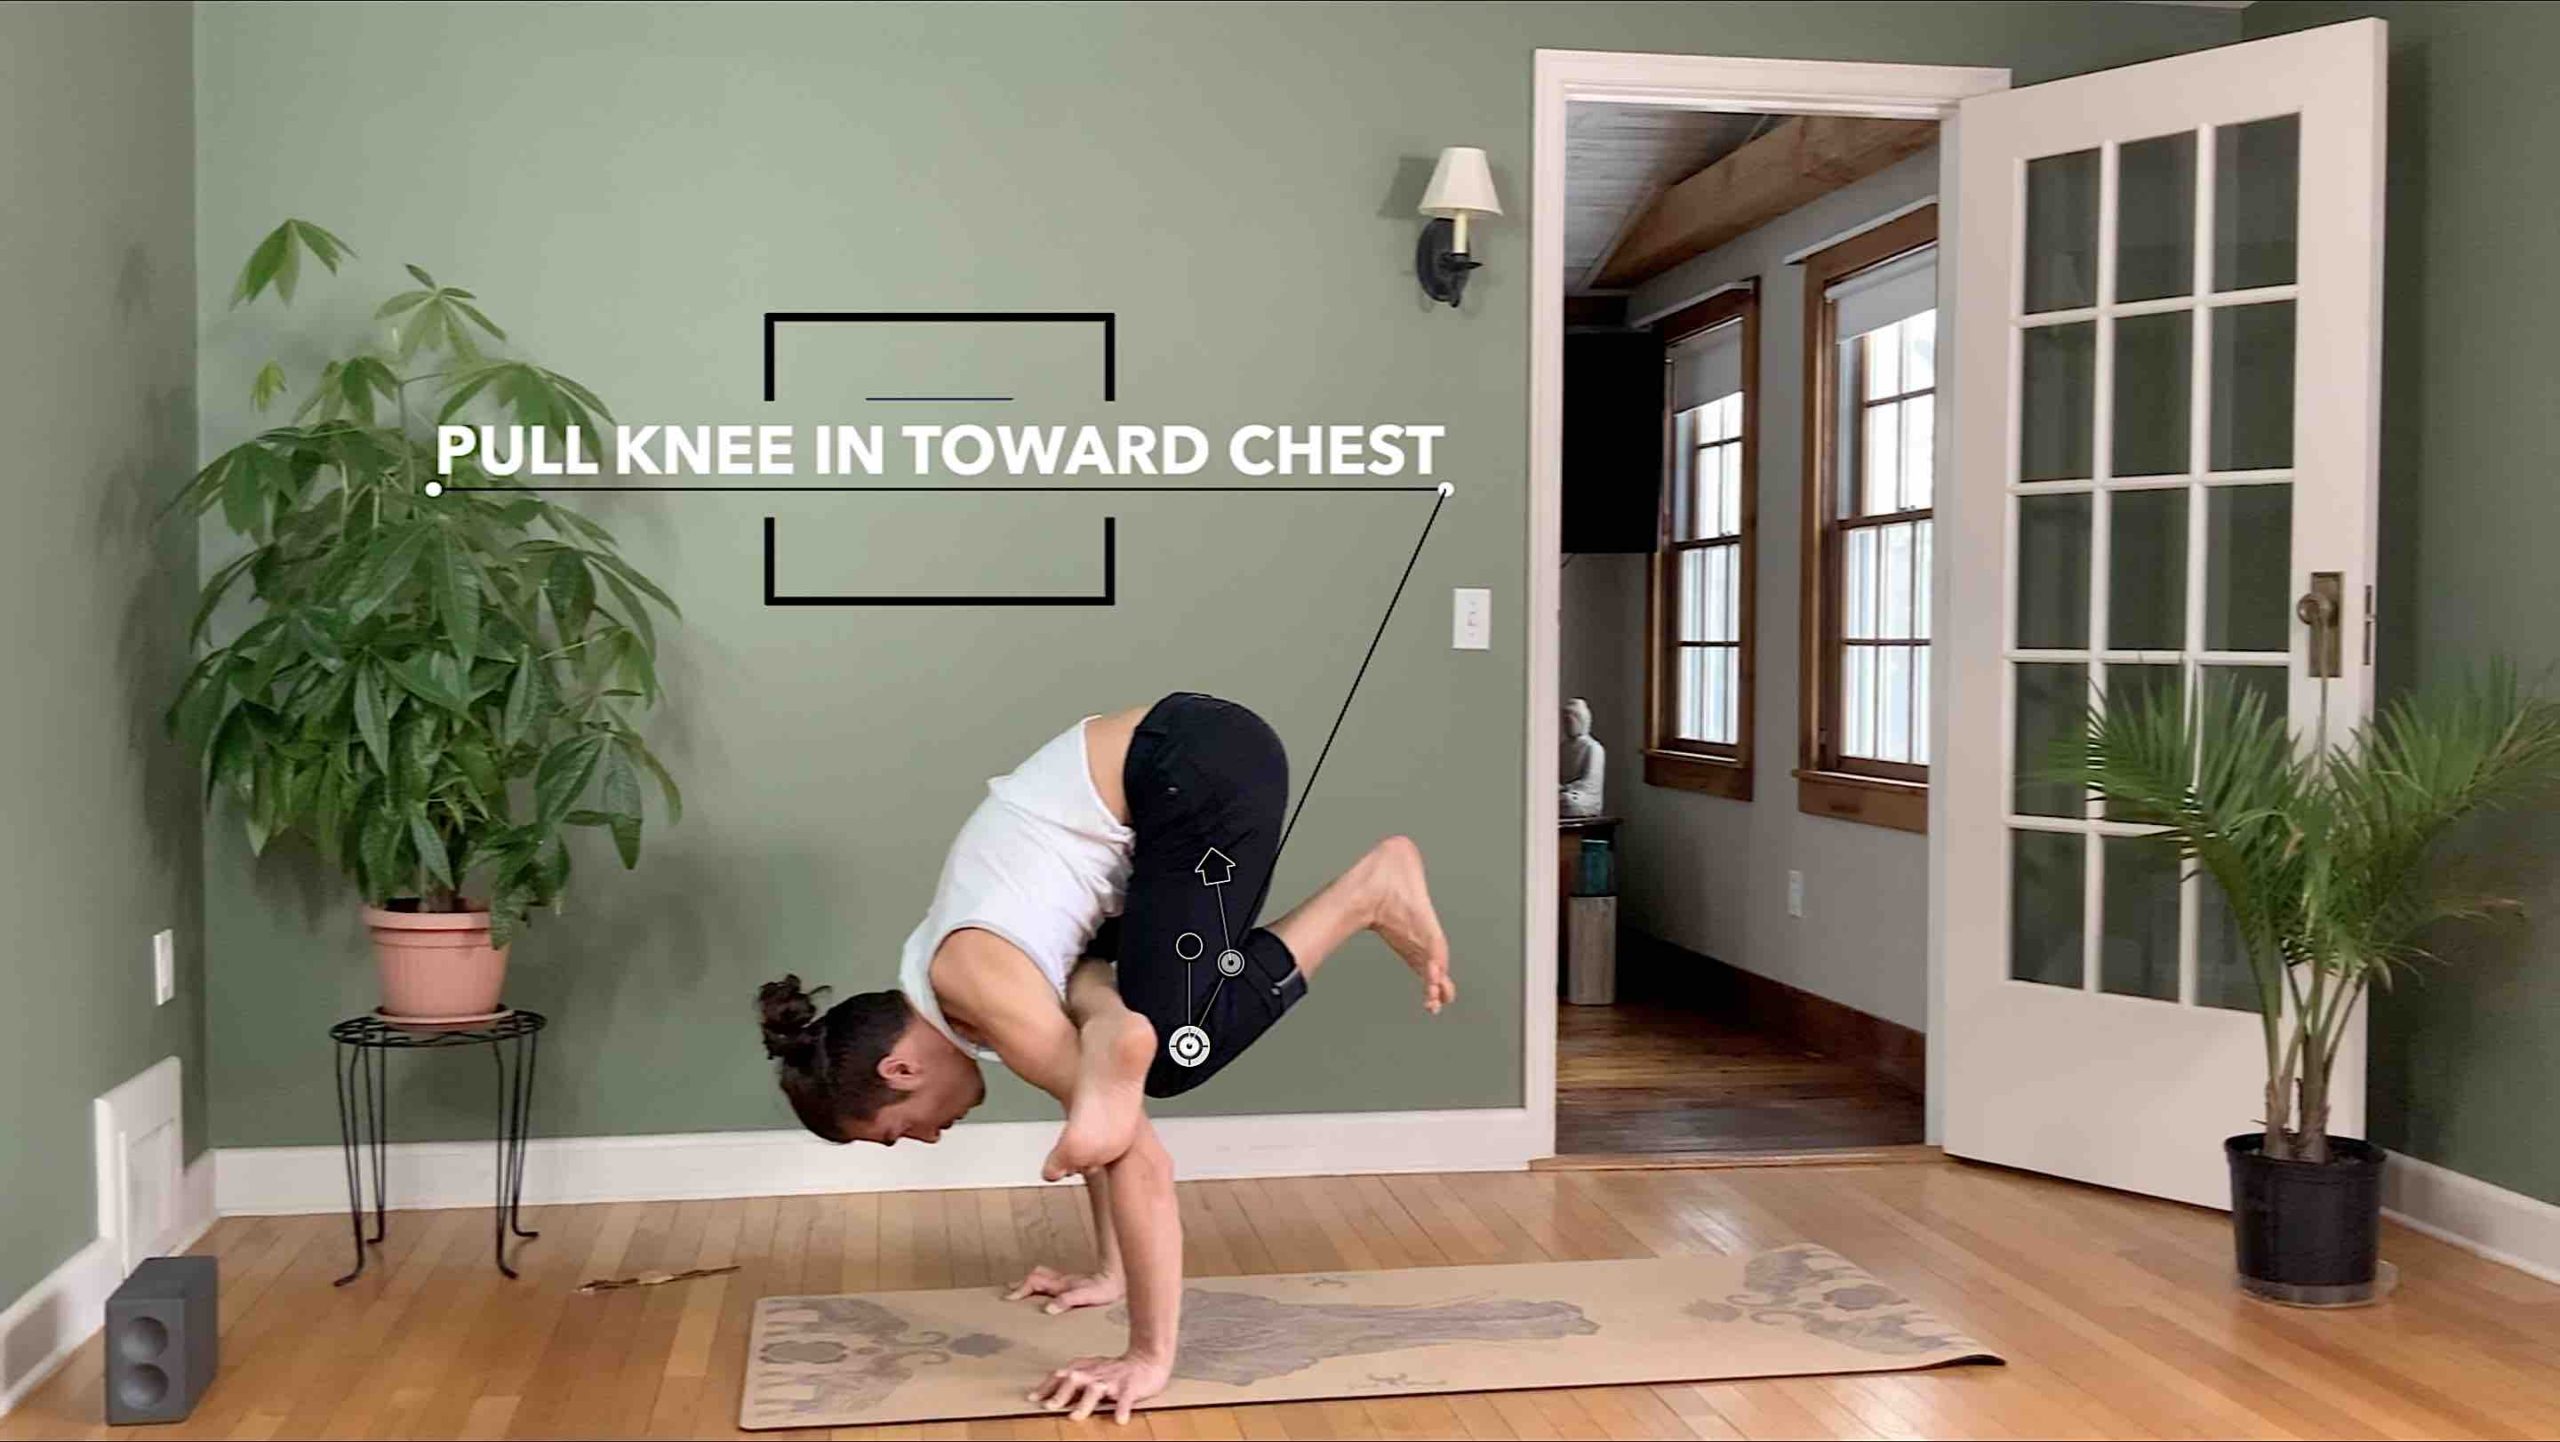
When learning this posture, it is very helpful to pull the back knee into the chest. This will activate the hip flexors and lower abdominals which helps in two ways. First, it helps to keep the shin on the arm if the front hip is tighter. Second, it helps keep the weight of your body forward, which is required to maintain balance in the posture.
This posture can be deceptively challenging, so go easy on yourself if you find it incredibly difficult. Try these tips and remember that strength and flexibility require technique and repetition. Enjoy!
Continue Learning
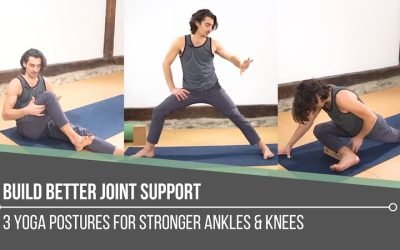
Build Better Joint Support
read more
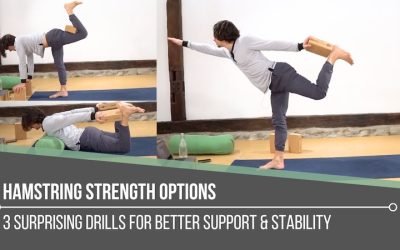
Hamstring Strength Options
Hamstring Strength Optionship extensorsHAMSTRING STRENGTH OPTIONS When we think about hamstrings in yoga, most of us immediately think about stretching. Matt reminds us that this powerful muscle group is rarely celebrated for what it is also designed to do: create...
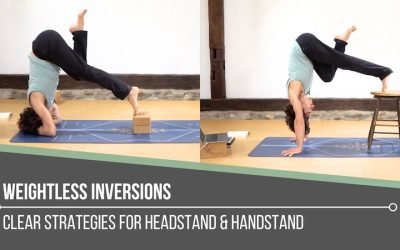
Weightless Inversions
Weightless InversionssirsasanaWEIGHTLESS INVERSIONS Weightless inversions are not about removing effort. They are about redistributing it with awareness. Matt reminds us that when we refine how we place weight through the hands, shoulders, and core, the body begins to...
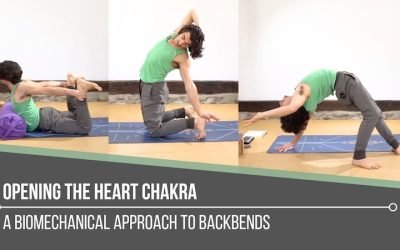
Opening The Heart Chakra
Opening The Heart ChakrabackbendOPENING THE HEART CHAKRA Opening the heart chakra is not simply about reaching deeper into a backbend. Matt reminds us that this space is rooted in love, balance, and connection, both with ourselves and with others. It reflects how we...
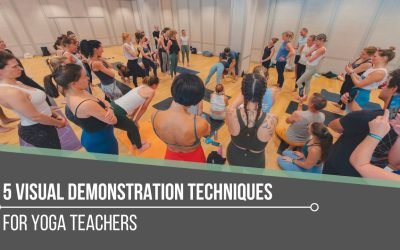
5 Visual Demonstration Techniques for Yoga Teachers
5 Visual Demonstration Techniques for Yoga TeachersYoga TeachersVisual Demonstration This is often confused with “teaching from the mat.” Teaching at the front of the room can be useful at the right time and place, but that is not what we are referring to here. In...
Awakening Solar Plexus Strength
Awakening Solar Plexus Strengththird chakraAWAKENING SOLAR PLEXUS STRENGTH Awakening solar plexus strength invites us into the centre of transformation. Matt reminds us that this third chakra, Manipura, is our fire, our willpower, and our ability to take action. It...
NEW RELEASES
-
Chromatic Immersion Trial
$0.00 for 1 month with a 30-day free trial Sign Up Now -
Sale!
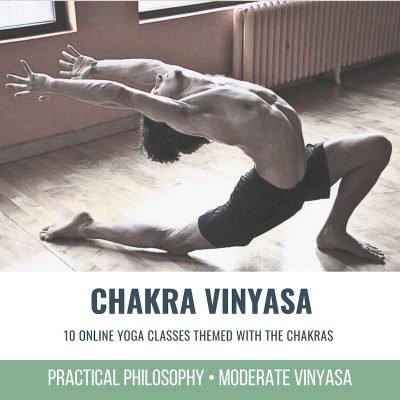
Chakra Vinyasa
Original price was: $168.00.$98.00Current price is: $98.00. Add to cart -
Sale!
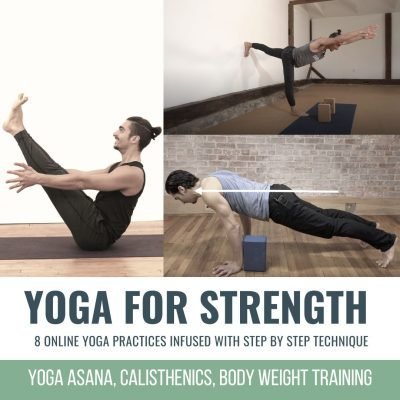
Yoga for Strength
Original price was: $168.00.$78.00Current price is: $78.00. Add to cart -
Sale!
slow flow and go Trial Class
Original price was: $8.00.$0.00Current price is: $0.00. Add to cart -
Sale!
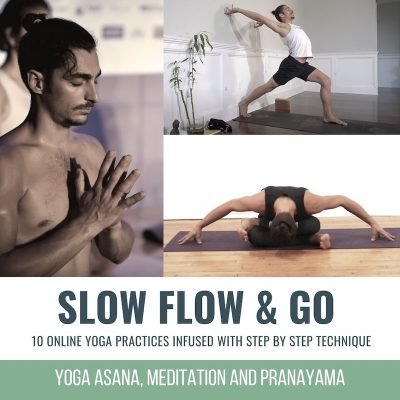
slow flow and go
Original price was: $168.00.$98.00Current price is: $98.00. Add to cart -
Sale!
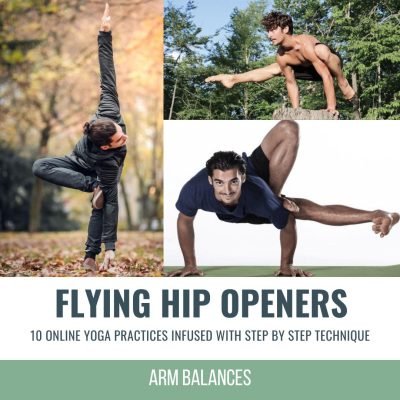
Flying Hip Openers
Original price was: $168.00.$98.00Current price is: $98.00. Add to cart -
Sale!
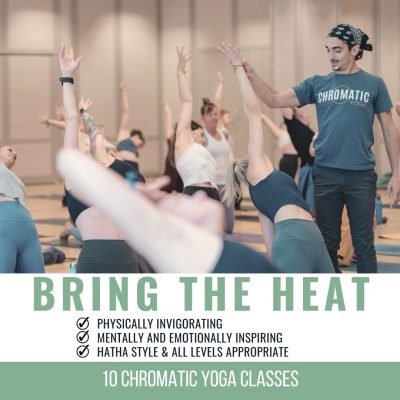
Bring The Heat
Original price was: $168.00.$138.00Current price is: $138.00. Add to cart -
Sale!
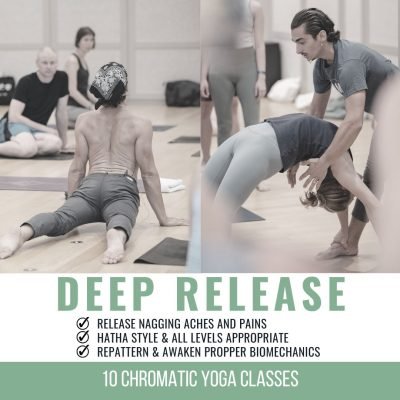
Deep Release
Original price was: $168.00.$138.00Current price is: $138.00. Add to cart
THE FREE TECHNIQUE PACK
When You Subscribe, You Will Get Instant Access to
- the Technique Pack: 15 yoga pose breakdowns
- exclusive online course discounts
- exclusive blogs and videos