Urdhva Dhanurasana UnknownsALIGNMENTURDHVA DHANURASANA UNKNOWNS Let’s take a pause from what we think we know about Wheel Pose and consider the Urdhva Dhanurasana unknowns. Often, we hear the cue, “Just press up into Wheel,” and we do—without questioning the subtle...
King Pigeon Variations
King Pigeon Variations
Full Body Awareness for Your Shoulders
mobility
KING PIGEON
If you’ve practiced with Matt before, you’ll be aware of the domino effect or the ripple effect of how a yoga posture unfolds. Matt brilliantly breaks down every pose with care and intricate detail. This helps you not only to understand a pose intellectually but also to physically feel this unfolding take place in your body; it’s like the satisfaction you feel when you hear the snap of the correct puzzle piece connecting into the right place. King Pigeon is a perfect example of this unfolding. One action intimately informs the next.

SHOULDER MOBILITY
Access Your Active Range of Motions
- Increase strength and flexibility
- Decrease risk of injury
- Release shoulder tension
- Learn anatomy and biomechanics
- Access a wider range of postures
- Stabilize the rotator cuff muscles
- Learn binds, heart openers, and arm balances
- 12 all-levels, 75-minute online classes
- Lifetime unlimited access to all
SHOULDER ACTIONS
At first glance, it appears that a great deal of shoulder flexion is required for King Pigeon Pose. That’s not false, but there is more to that than meets the eye. The setup of King Pigeon additionally requires shoulder extension, elevation, a balance between internal and external rotation, and retraction of the scapulae. In other words, it can appear and/or even feel quite complex because there are a lot of muscle engagements and contracting actions taking place. More specifically, it’s how these actions are carried out.
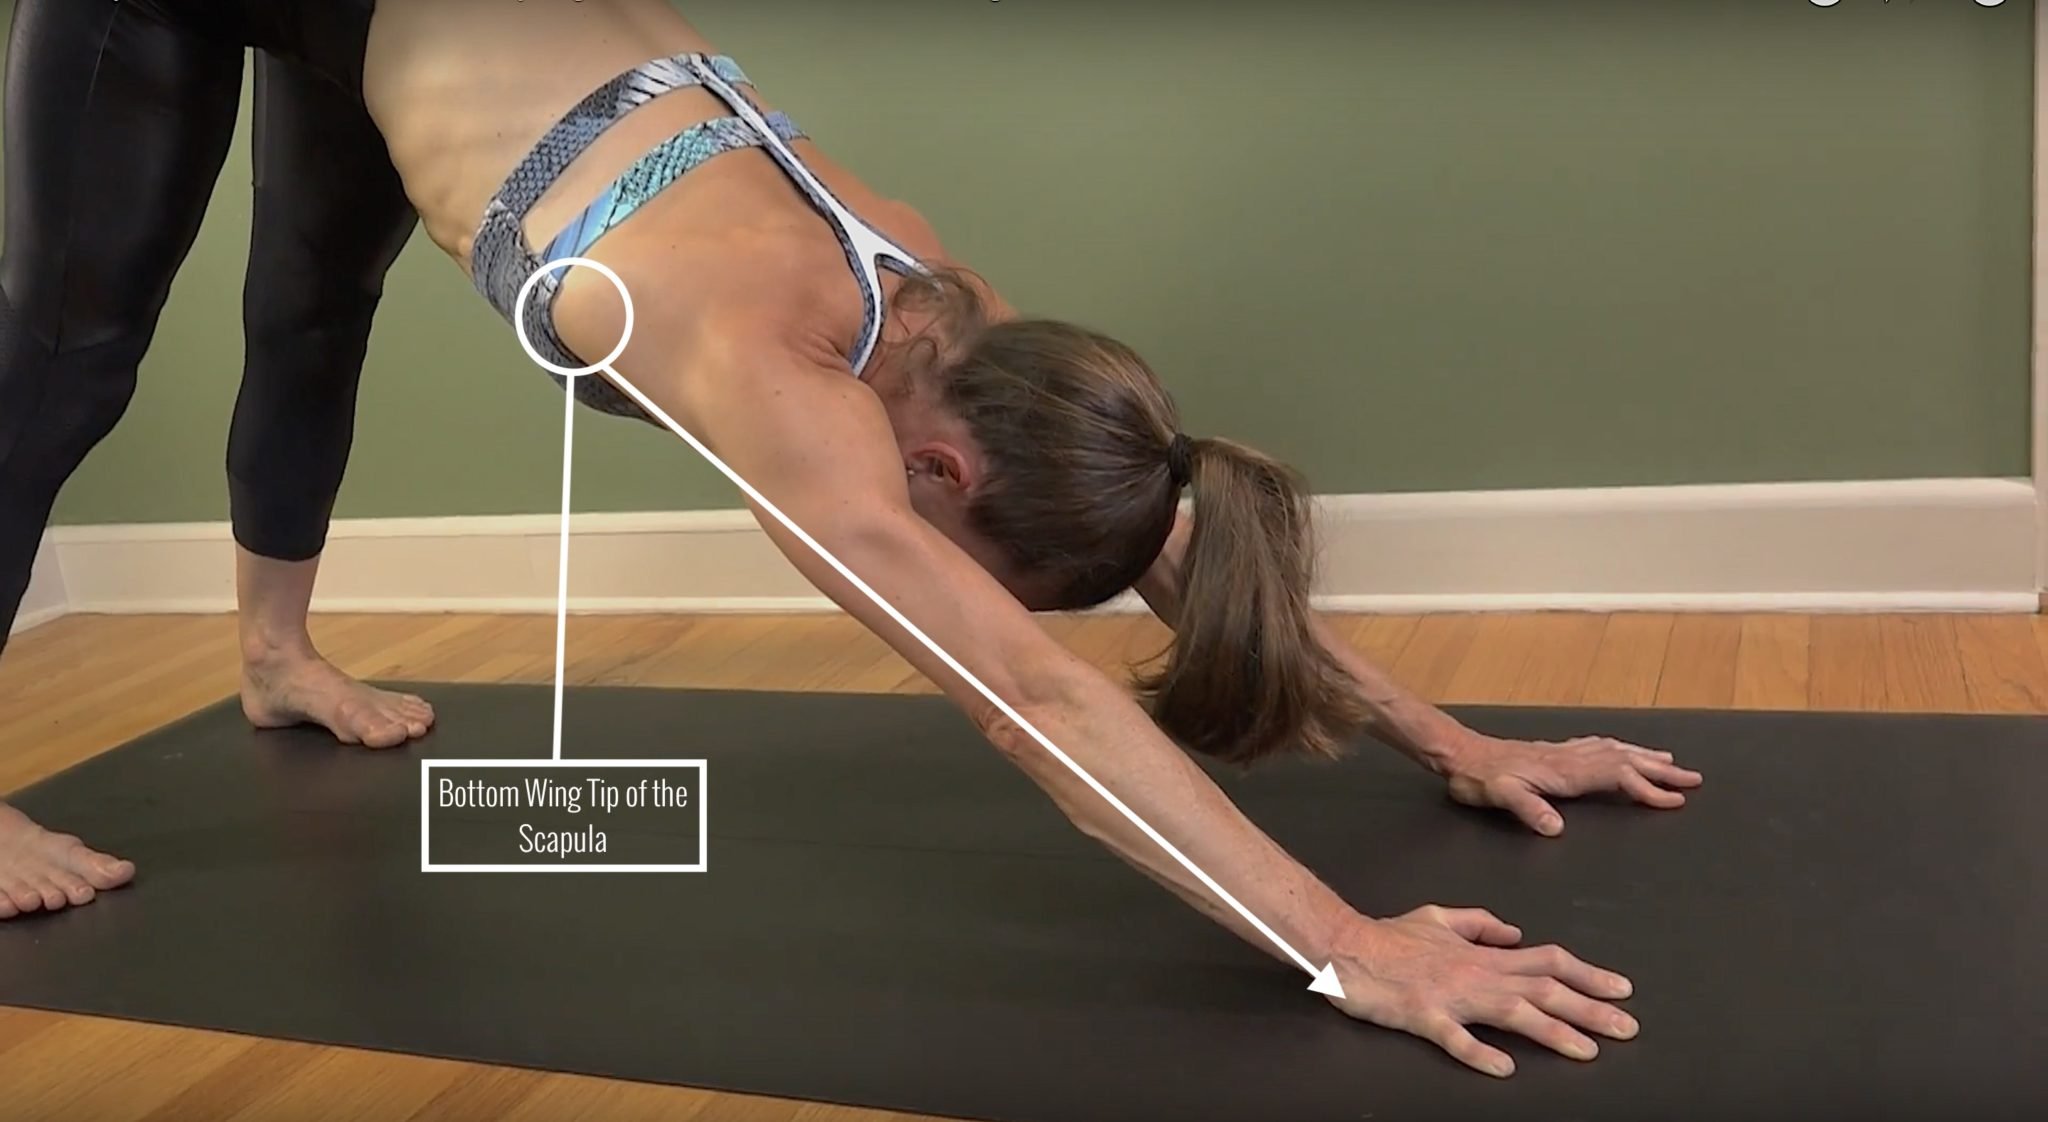
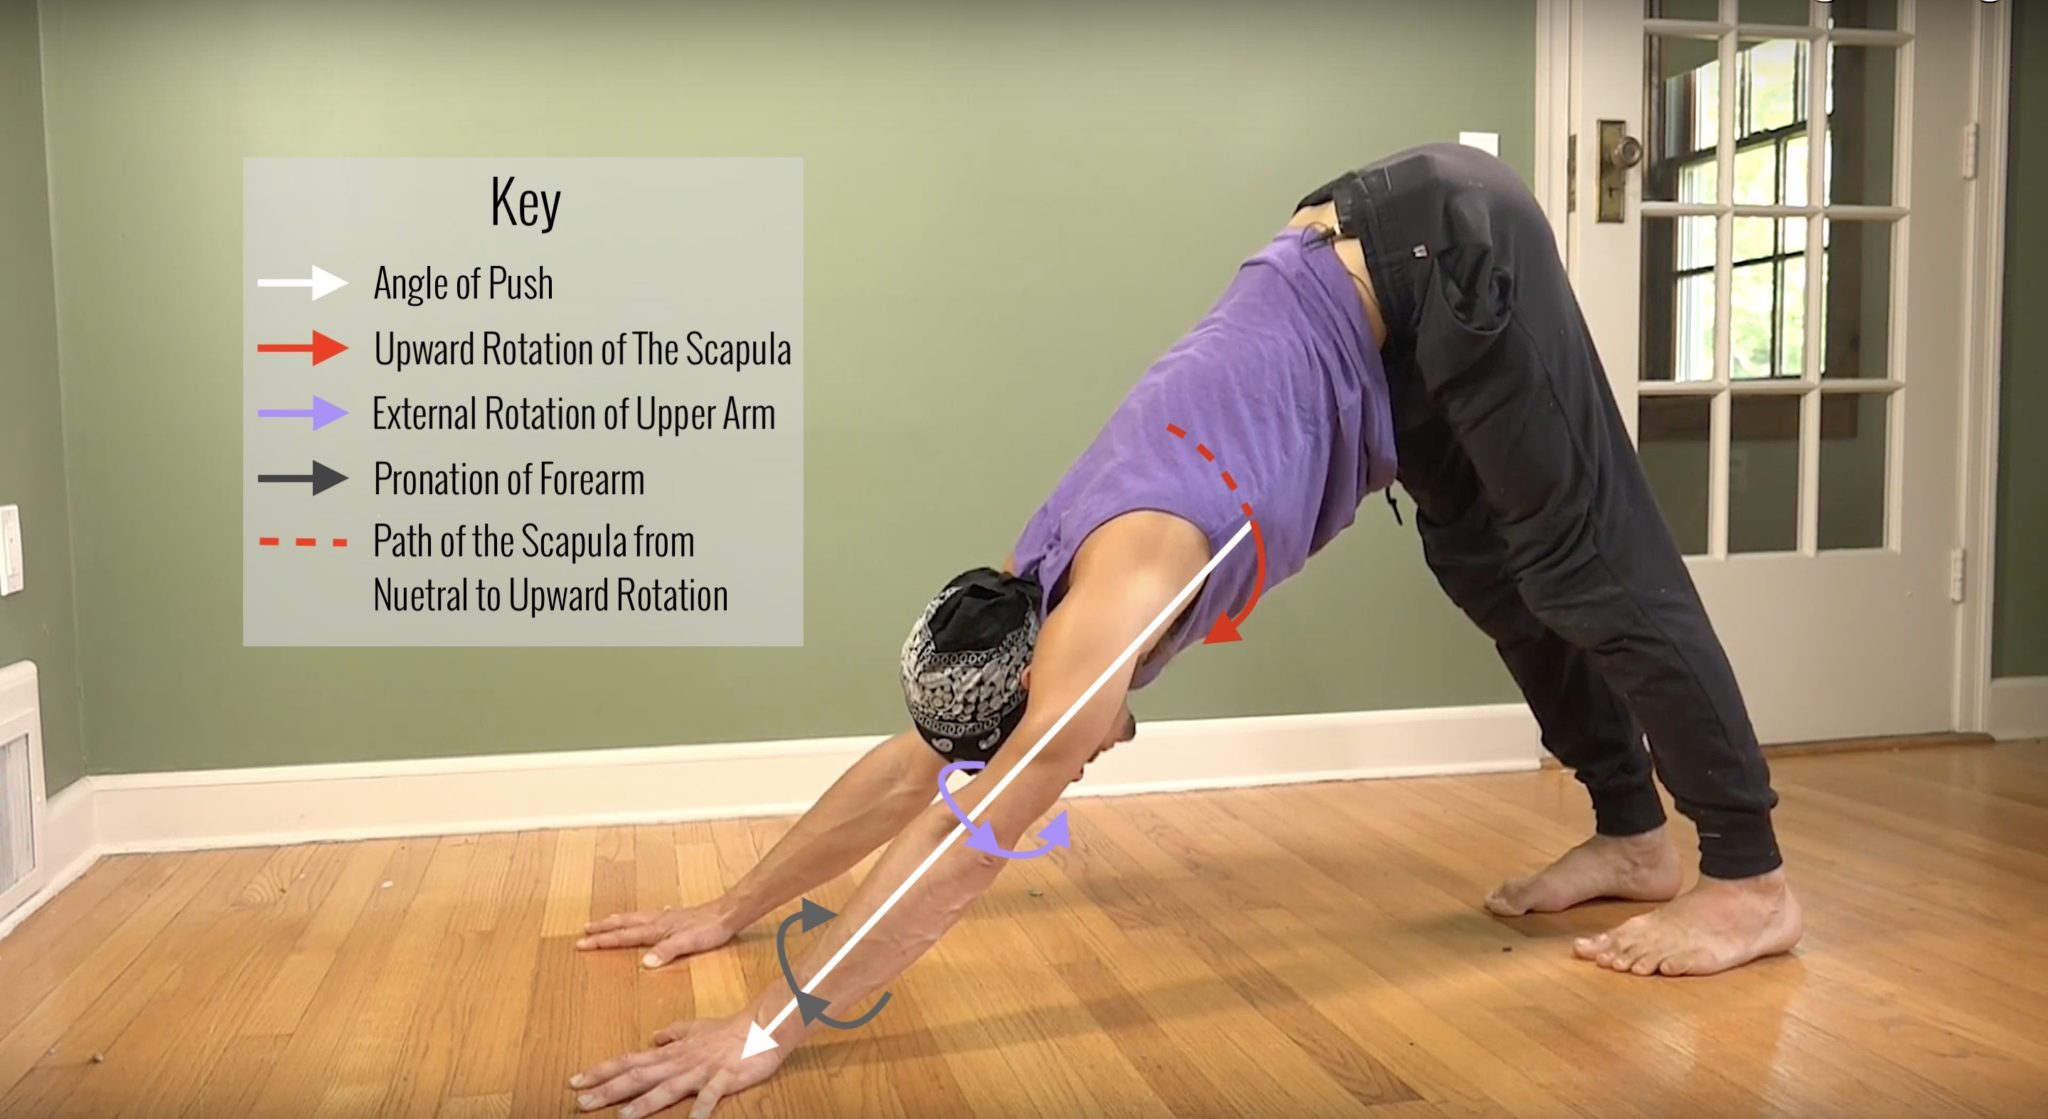
If you’re not familiar with how Matt teaches Downward-Facing Dog, you should check out my previous article, Downward-Facing Dog Shoulder Alignment. There are parallels that are extremely helpful. Once you are in King Pigeon, the key to safer alignment is the elevation of the shoulders and then the pulling of the armpits back (hollowing of the armpits). These 2 actions take place in Downward-Facing Dog to help minimize the possibility of shoulder impingement. In King Pigeon, these actions will also help to create greater shoulder mobility while reducing the potential for pain in the front of the shoulders and in the upper trapezius.
WATCH THE VIDEO
KING PIGEON: FULL BODY AWARENESS FOR YOUR SHOULDERS
MORE THAN THE SHOULDERS
In order to diminish potential strain or pain in the shoulders, there are other actions and muscle activations that also hold great importance. Understanding the rest of the posture will help you find more ease in your execution. For example, creating a more robust backbend (spinal extension) will help reduce the amount of pressure in the shoulders. This will of course require the activation and then stretching/opening of the chest.
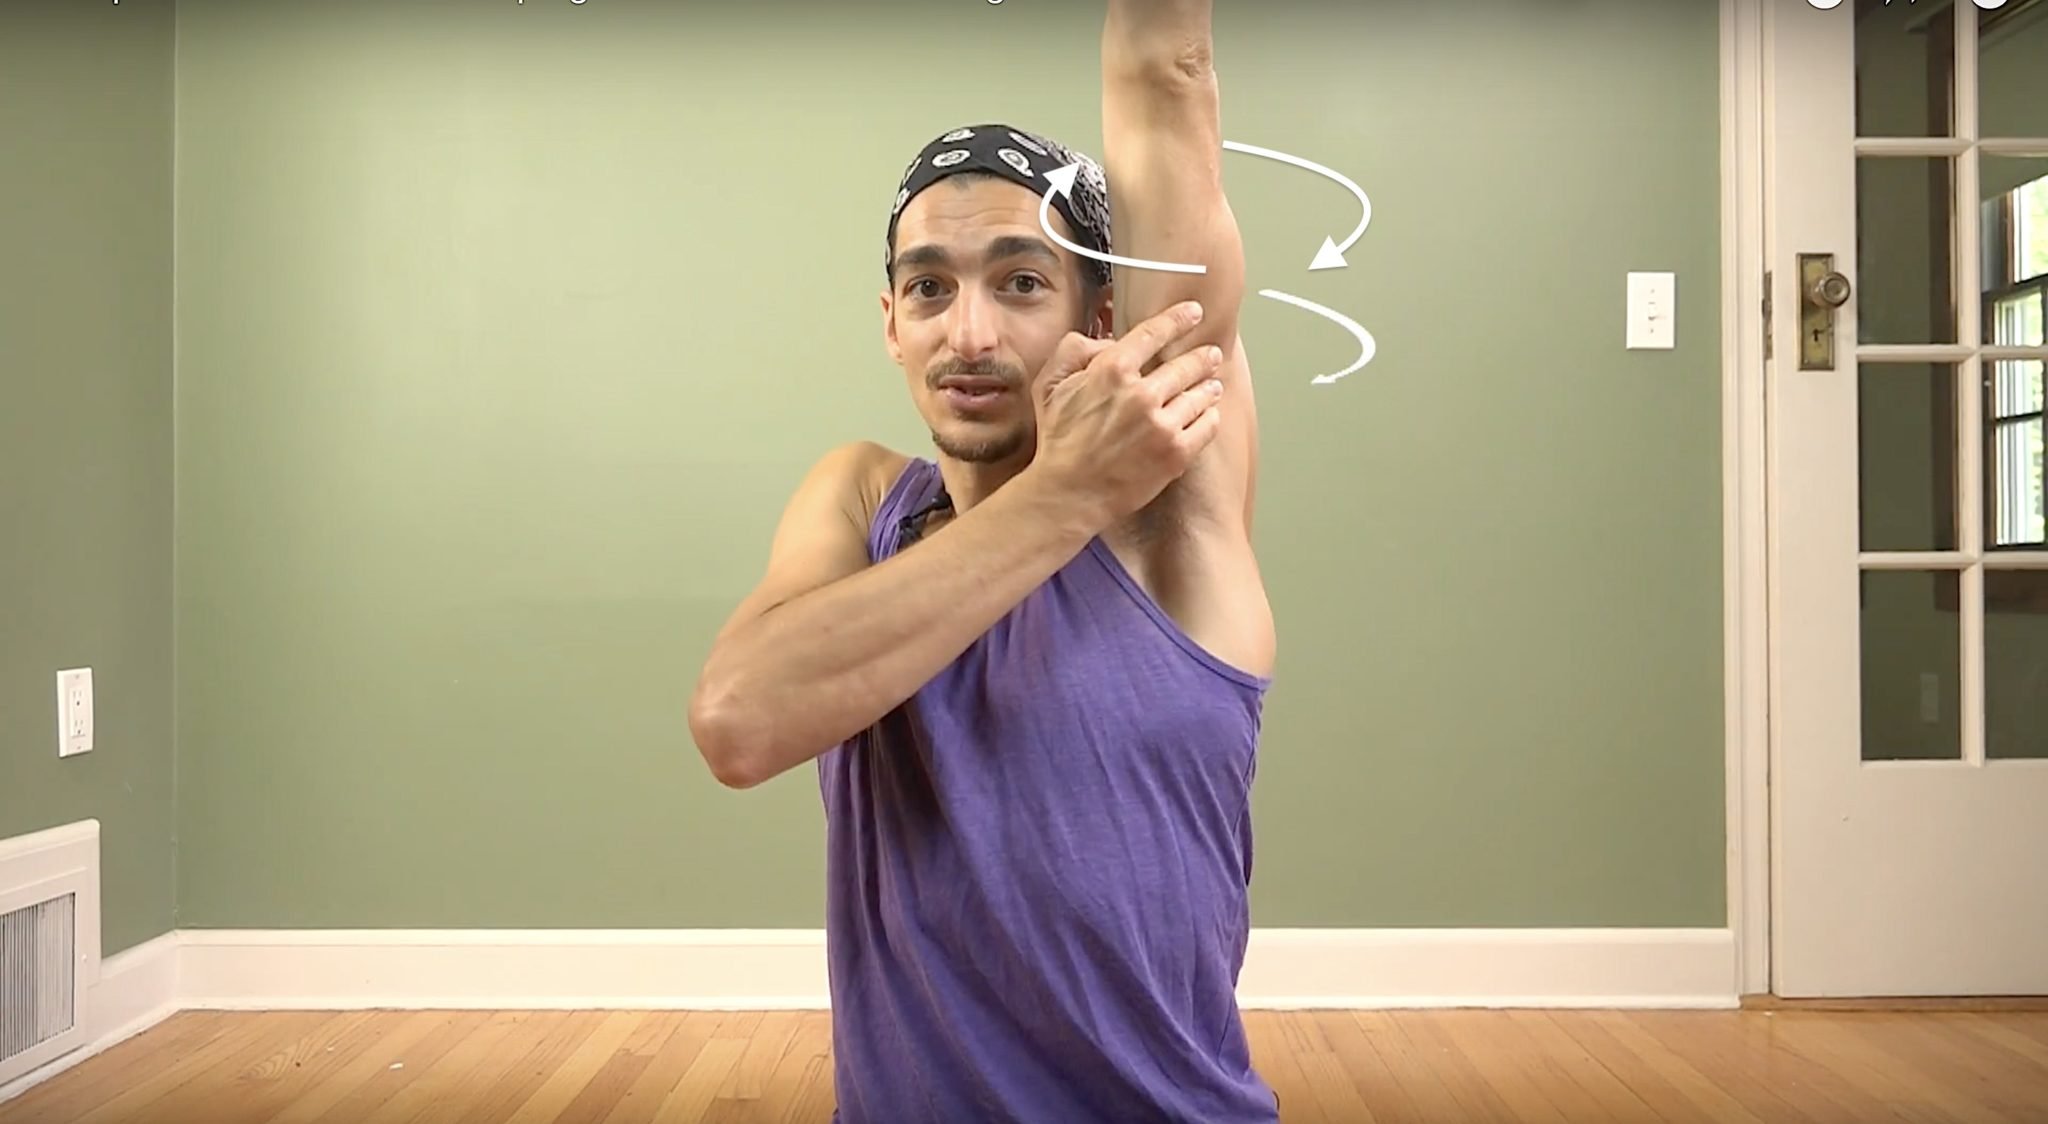
One of the most valuable actions is actually the pressing forward of the inner elbow. This is the catalyst for the external rotation that brings the arms up into flexion. When the arms are here, the armpits lift and pull back, through which, with awareness and intention, you can actively create scapular retraction (activation of the rhomboids, upper and middle trapezius, and rear deltoid muscles). Let’s look at the ripple effect.

200 HOUR ONLINE TEACHER TRAINING
GET CERTIFIED & DEEPEN YOUR YOGA PRACTICE
- Deepen your yoga practice
- Build confidence speaking in front of groups in person and online
- Learn foundational class structures and templates
- Learn techniques for a wide range of yoga postures
- Get certified and highly qualified to teach yoga
- Yoga Alliance Globally Recognized Certification Program
KING PIGEON WITH A YOGA STRAP
(Right leg in front)
- Come into Pigeon Pose. A block underneath the right-side buttock is a great reminder and support to keep the hips more leveled. You can still stabilize and be intentional about activating the glute muscles.
- Loop a strap around your foot.
- Grab the strap with your left hand (palm facing up).
- Turn your chest towards your foot.
- Do a side bend by sending the right ribs forward.
- Use hamstrings to pull your foot closer.
- Pull your elbow in.
- Rotate the arm so it is externally rotated.
- Elbow comes up.
- Once the elbow is by your face, you can close/turn the pelvis.
- Lift your hips up.
- Grab the strap with other hand.
It’s almost like a checklist—once you have completed one action, you will see how the others intuitively get checked off and naturally fall into place; in other words, once you maintain the side bend and pull your foot closer, your elbow will naturally pull in closer to your body.

300 HOUR ONLINE TEACHER TRAINING
GET 500 HOUR CERTIFIED AS A MASTER TEACHER
Master your skill set as a teacher through refined techniques, anatomy, biomechanics, sequencing, philosophy, meditation techniques, theming, yoga business, and much more!
- Get 500 hour certified
- Learn anatomy, biomechanics, asana techniques
- Expand your teaching skills
- Masterful sequencing and verbal delivery
- Learn meditation and breathwork techniques
- Transformative tools: theming, dharma talks, satsang
KING PIGEON WITHOUT A STRAP
(Left leg forward)
This variation will require deeper spinal extension and more shoulder mobility. Following Matt’s Chromatic formula—the layering of actions—helps you to move towards the reality of achieving the posture. In the video, you’ll see directly how with each step taken, the body reacts.
Here are the steps:
- With a block under the left buttock, come into Pigeon Pose.
- Turn towards your right foot to grab hold with the right hand (palm facing up with foot flexed and toes turned away from your midline).
- Turn the chest and lift the hips up.
- The elbow now comes in close to the body.
- Rotate the arm into external rotation.
- The chest goes forward significantly.
- Other hand also comes around to grab the foot.
King Pigeon is not a posture to jump into! It demands awareness, patience, and understanding. Full-body awareness is the key to unlocking access to this posture.
There is still time to join in on the Shoulder Mobility immersion. Practicing these classes will help close the gap, in more advanced postures like King Pigeon, between what can seem like overwhelm and a deeper understanding of your own body in these postures.
See you on the mat!
The 200 Hr. Teacher Training: Click Here to See the Next Start Date
The 300 Hr. Advanced Teacher Training: Click Here to See the Next Start Date
Article by Trish Curling
Video Extracted From: Shoulder Revelation
UPCOMING TEACHER TRAININGS
NEXT TRAINING BEGINS FEBRUARY 2024 ENROLLMENT NOW OPEN!

NEXT TRAINING BEGINS FEBRUARY 2024 ENROLLMENT NOW OPEN!
Continue Learning
Urdhva Dhanurasana Unknowns
read more
Redefine Chaturanga
Redefine ChaturangaALIGNMENTREDEFINE CHATURANGA To redefine Chaturanga, we first have to be willing to challenge what we think we already know. Many of us were taught a narrow-hand, elbows-tight variation of the pose—elbows hugging the ribs, hands close beneath the...
Tight Hips
Tight HipsHIP MOBILITYTIGHT HIPS When working to release tight hips, most people instinctively go straight for deep stretches. But one often overlooked area that holds a surprising amount of tension is the adductorS (the inner thigh muscles) that connect to the...
Retraction Of The Scapula
Retraction Of The ScapulaSHOULDER ACTIONSRETRACTION OF THE SCAPULA It may appear that scapular retraction holds less weight in finding deeper backbends, but this action can be quite significant in what we experience when it comes to strength, stability, and...
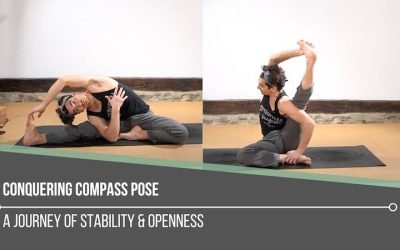
Conquering Compass Pose
Conquering Compass PoseSURYA YANTRASANACONQUERING COMPASS POSE Conquering Compass Pose isn’t about forcing your leg behind your shoulder—it’s about understanding and participating in the muscular coordination that makes the posture possible. The real power comes from...
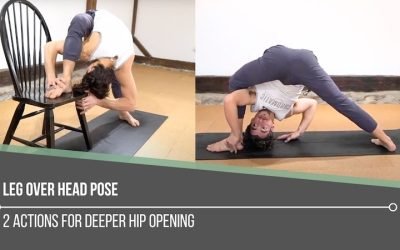
Leg Over Head Pose
Leg Over Head PoseEKA PADA SIRSASANALEG OVER HEAD POSE Leg Over Head Pose is one of those postures that challenges not only our bodies but also our mindset. When faced with a seemingly impossible pose, we tend to respond in one of three ways: dismissing it as...
THE FREE TECHNIQUE PACK
When You Subscribe, You Will Get Instant Access to
- the Technique Pack: 15 yoga pose breakdowns
- exclusive online course discounts
- exclusive blogs and videos