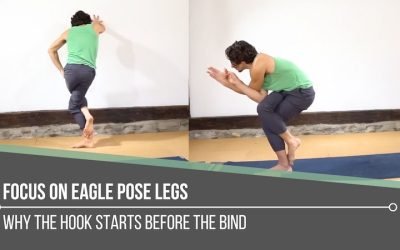
Focus On Eagle Pose LegsMECHANICSFOCUS ON EAGLE POSE LEGS When we focus on Eagle Pose legs, it’s tempting to assume the bind is a flexibility test. But this posture quietly reveals something more nuanced: timing, joint mechanics, and how efficiently the legs organize...
Bird Of Paradise
Bird of Paradise
Svarga Dvijasana
BIRD OF PARADISE
In Bird of Paradise, we’re balancing while binding, which can be quite an undertaking. Preparation for this posture requires shoulder mobility, hip mobility, and a tremendous amount of strength. What we also need to be cognizant of is how we are slowly building it from the ground up. Beyond going slowly, it’s very much about the techniques we implement for safe execution, from the feet all the way up into the hips and shoulders.
Another integral part of our yoga practice is the embodiment of vairagya. As much as we place effort and consistency into the techniques as we move towards Bird of Paradise, we must still remain laser focused on the detachment from the results. It’s the process and journey of learning that teaches us the most. Let’s explore the technique process Matt teaches to nurture our practice as a whole.

CHROMATIC GLOBAL TRAINING
REGISTRATION NOW OPEN
- Solve the "Yoga Teacher's Daily Grind"
- Become the BEST teacher you can be
- Get personalized feedback and support
- Learn anatomical sequencing and verbal cues
- Clear and impactful visual demonstration
- Strategic workshop design and sell out your events
- Become a Certified Chromatic Teacher
- Room for future growth: lead Chromatic Yoga Immersions and Trainings
BOUND SIDE-ANGLE VARIATIONS
The Traditional Variation
One of the most alluring things about this setup is that the internal rotation actually initiates the access to the bind. With the torso low to the ground, internally rotating the shoulder is what allows the lower arm to have more freedom to move. This movement helps us find the bind or the clasp. From there, we can scoop the tailbone under while moving slowly into a backbend and then gradually implementing the external rotation in the shoulders that is required to open the chest.
Bound Side-Angle Standing at the Wall
Even though this variation is on one leg, we’re still minimizing the balance element. Using the articulations from the previous variation, we are more mindful of the forward force from the hip of the standing leg. It’s common to thrust it forward, but we actually need to pull it back.
WATCH THE VIDEO
BIRD OF PARADISE: BEND, BIND & BALANCE
GET A LITTLE CLOSER
Now we start to consider how to prepare for more balance in Bird of Paradise. In the video, Matt begins at the wall in the Bound Side-Angle variation. This time, we gradually take the bottom foot closer to the wall. This creates more stability for us to balance on the standing leg. Next, we lean away from the wall and begin to point the toes of the top foot, which also shifts our stance to become more upright. This may also reveal any pressure or punching forward of the shoulders, in particular the shoulder that is in front of the top leg.

200 HOUR ONLINE TEACHER TRAINING
GET CERTIFIED & DEEPEN YOUR YOGA PRACTICE
- Deepen your yoga practice
- Build confidence speaking in front of groups in person and online
- Learn foundational class structures and templates
- Learn techniques for a wide range of yoga postures
- Get certified and highly qualified to teach yoga
- Yoga Alliance Globally Recognized Certification Program
GET UP FROM A CHAIR
If we are feeling the urge to force ourselves into the shape, this is where we can back off and explore other options for entry.
Bending at the hips while placing the top leg on a chair can help us to work on the connection of the shoulder and the inner knee. It’s imperative to bring them close together, but doing so requires a generous amount of hip opening. Picking the leg up from the height of the chair may provide increased accessibility.
For better balance, bending the knee of the standing leg can increase stability.

300 HOUR ONLINE TEACHER TRAINING
GET 500 HOUR CERTIFIED AS A MASTER TEACHER
Master your skill set as a teacher through refined techniques, anatomy, biomechanics, sequencing, philosophy, meditation techniques, theming, yoga business, and much more!
- Get 500 hour certified
- Learn anatomy, biomechanics, asana techniques
- Expand your teaching skills
- Masterful sequencing and verbal delivery
- Learn meditation and breathwork techniques
- Transformative tools: theming, dharma talks, satsang
KEEP IT TIGHT
Part of negotiating the dance between the balance and the bind is deciding where to place our focus and attention. Do we need to work on hip mobility more than shoulder mobility? Is it the other way around? Maybe it’s both? Any given practice can reveal what we actually need, so it’s important to stay in tune with what our bodies are telling us.
No matter what, deep hip flexion is required so that we keep it tight between the top leg and the shoulder that’s on the same side.
In the video, we see that the shoulder is pulled down into more internal rotation. We need the opposite action if we sacrifice the tight closure just to be able to extend the top leg.
If we slowly work on where to bend, we can then bind and ultimately balance, one step at a time.
Take your practice to the next level! Registration for Matt’s 200 & 300 Hr. Teacher Training is now open.
The 200 Hr. Teacher Training: Click Here to See the Next Start Date
The 300 Hr. Advanced Teacher Training: Click Here to See the Next Start Date
Article by Trish Curling
Video Extracted From: Shoulder Mobility Immersion

ONLINE ANATOMY COURSE
- Accessible, exciting, and easy to learn
- Anatomy and biomechanics for yoga
- Appropriate for both teachers and students
- Learn joint alignment vs pose alignment
- Demystify yoga poses and transitions
- Release aches and pains
- Learn how to avoid common injuries
- Caters to all levels with modifications and props
- 20 hours Continued Education Credits with Yoga Alliance
- 20 hours toward Chromatic Yoga Certification and 300 Hour
- Lifetime access
Continue Learning
Focus On Eagle Pose Legs
read more
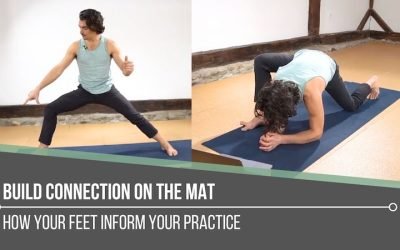
Build Connection On The Mat
Build Connection On The MatGROUNDINGBUILD CONNECTION ON THE MAT Building connection on the mat starts at the place we tend to overlook: our feet. If we only practice the “shape” of a posture, we can miss the biomechanics that change how the whole pose feels from the...
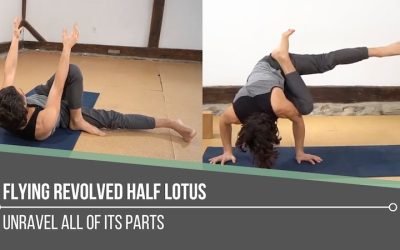
Flying Revolved Half Lotus
Flying Revolved Half LotusARM BALANCEFLYING REVOLVED HALF LOTUS Some postures don’t arrive through imitation; they arrive through investigation. Flying Revolved Half Lotus is one of those shapes. It borrows familiar ingredients like Side Crow mechanics, hip opening,...
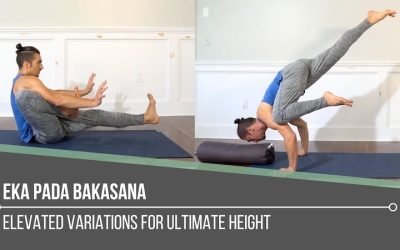
Eka Pada Bakasana
Eka Pada BakasanaSINGLE LEG CROWEKA PADA BAKASANA Eka Pada Bakasana asks us to balance curiosity with patience. This one-legged crow variation isn’t just about lifting a leg, it’s about organizing pressure, timing, and trust in unfamiliar territory. The posture...
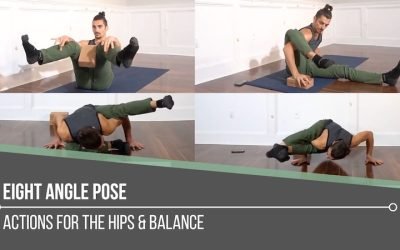
Eight Angle Pose
Eight Angle PoseASTAVAKRASANAEIGHT ANGLE POSE Sometimes we think arm balances are about getting higher, but Matt reframes Eight Angle pose as a mechanics workshop. This posture thrives when we test rotation, pelvic placement, and upper-body stability as interconnected...
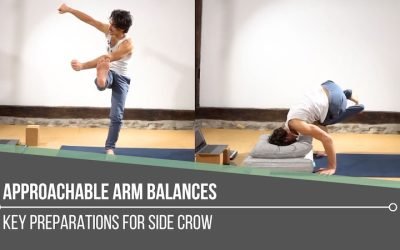
Approachable Arm Balances
Approachable Arm BalancesPARSVA BAKASANAAPPROACHABLE ARM BALANCES Approachable arm balances aren’t about fearlessness; they’re about informed action. When we understand the mechanics behind the posture, we gain the power to shape our own outcomes. Rather than jumping...
THE FREE TECHNIQUE PACK
When You Subscribe, You Will Get Instant Access to
- the Technique Pack: 15 yoga pose breakdowns
- exclusive online course discounts
- exclusive blogs and videos


