Opening The Heart ChakrabackbendOPENING THE HEART CHAKRA Opening the heart chakra is not simply about reaching deeper into a backbend. Matt reminds us that this space is rooted in love, balance, and connection, both with ourselves and with others. It reflects how we...
Stable Sirsasana
Stable Sirsasana
HEADSTAND
STABLE SIRSASANA
Creating a stable Sirsasana is less about the final pose and more about the mechanics that lead us there. From weight transfer and spinal alignment to hamstring flexibility and shoulder engagement, each layer matters. Unlike handstand, headstand alignment is technically simpler because it doesn’t require as much shoulder mobility, yet it carries the added responsibility of neck stability. While some of us may benefit from straightening the natural curve of the neck, others may find this causes compression. The goal isn’t perfection—it’s a safe, exploratory approach. Matt teaches that aligning the ears with the shoulders while pressing the head slightly back is a good place to explore the set up of a stable vertical line. But if this causes discomfort, shifting the gaze forward and preserving the curve may be more appropriate. For those of us with neck sensitivity, forearm stand becomes a solid alternative. Whatever our path, Sirsasana begins with a strong, secure structure.

ALIGNED VINYASA
REGISTRATION NOW OPEN
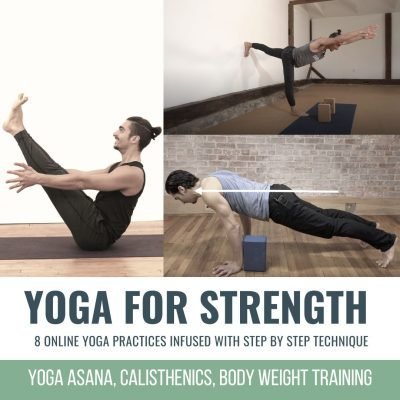
- 10 Chromatic Yoga practices with founder Matt Giordano
- Full length 75 minute classes
- 10 Peak Postures: The Most Essential Poses of the Vinyasa Practice
- Meticulously Crafted Experiences to Enhance Your Postural Practice
- Non-dogmatic, Anatomy informed Alignment
- The Perfect Blend of Knowledge and Practice
- A Heavy Emphasis on Technique for the Poses Everyone Expects You to Know but No One Teaches
- 12 Continuing Education hours with Yoga Alliance
- 12 Accredited Hours with the Chromatic School of Yoga
- Step-by-Step instruction for increased accessibility
- Sweat, Breath, Strengthen, Stretch and Feel Amazing!
START WITH THIS PUSH DRILL
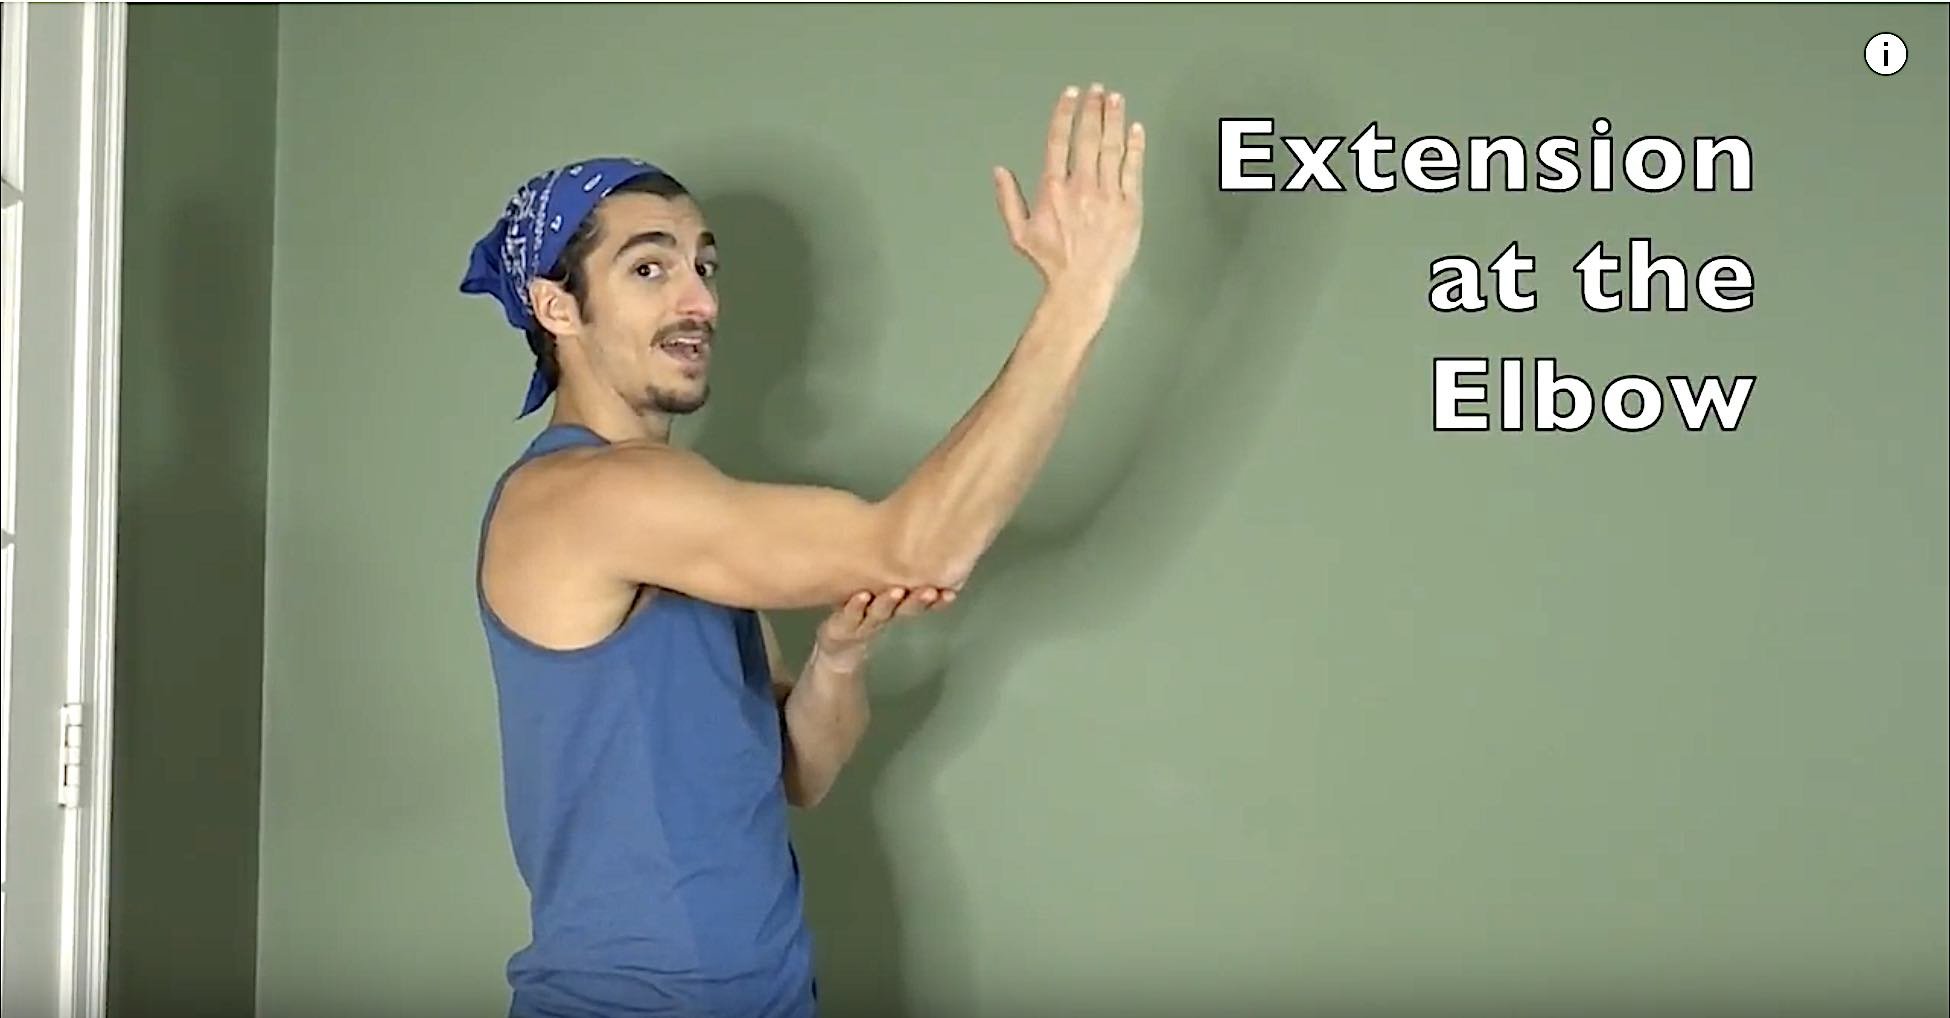
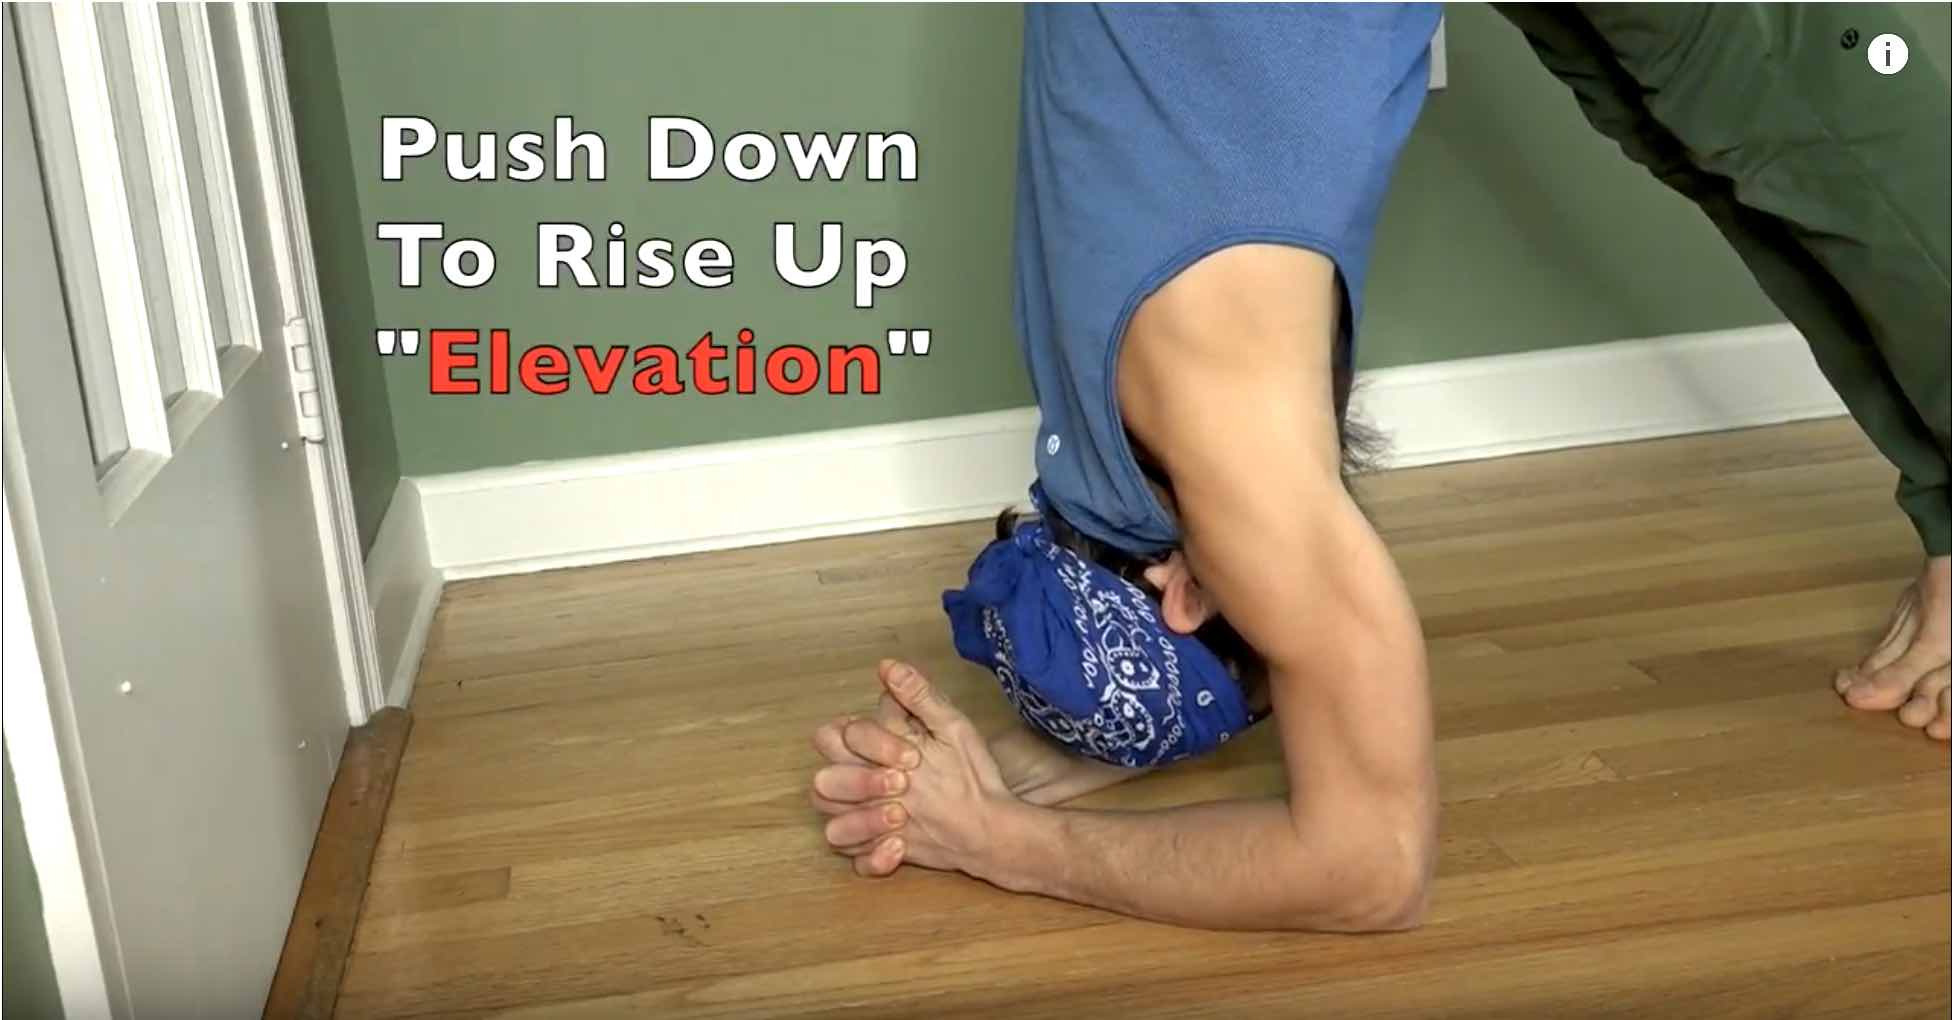
Before even lifting the legs, we begin with a foundational strength drill in Dolphin pose. Matt walks us through a push-pull sequence: shoulders move over the elbows, head gently touches toward the ground, then we push the floor away to lift the head. This controlled action activates the serratus anterior, helping to stabilize the shoulder girdle without overgripping. To prevent serratus dominance, we also engage the rhomboids, drawing the shoulder blades slightly together to balance the muscular effort. This combination of opposition is what helps build a stable Sirsasana from the base up. If mobility or flexibility are limiting factors, Matt suggests placing the feet on yoga blocks to reduce the range of motion and enhance proprioception. This drill gives us not only the strength we need, but the motor control and joint awareness that headstand demands.
WATCH THE VIDEO
STABLE SIRSASANA: EXPLORE THE MECHANICS THAT MAKE IT WORK
GET INTO HALF TUCK POSITION
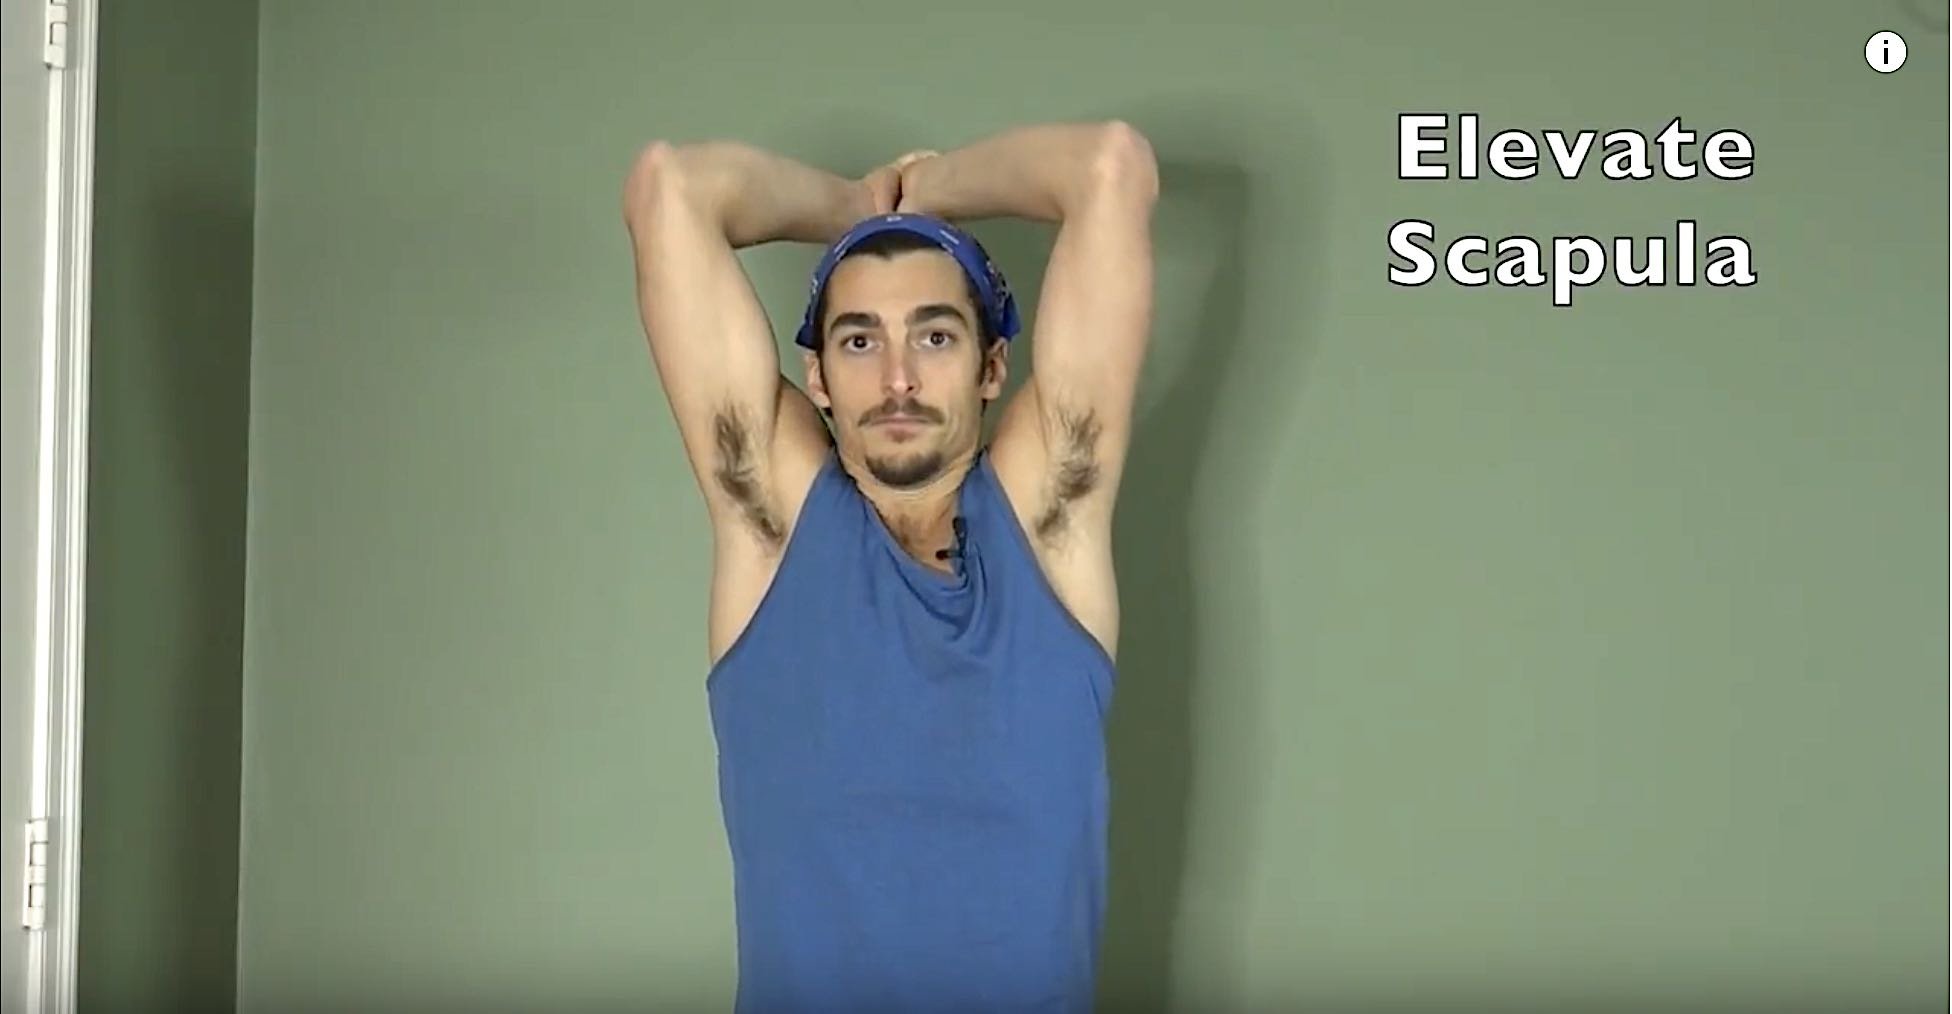
From a grounded base, we now work toward the half tuck, an essential milestone in building up to a stable Sirsasana. With thumbs pointed up and behind the head, we create a physical reference for subtle head movement. As the head presses back, the thumbs guide proprioception and create alignment through the cervical spine. One knee hugs in toward the chest to eliminate hamstring tension, allowing the body to shift upward with more ease. A block under the grounded foot offers additional lift, making this transition more accessible. This phase is all about exploring how the weight shifts into our upper body while safely managing load through the head and shoulders. If the grounded leg gets light, it’s a cue that we may be ready for full tuck. Still, Matt reminds us: safety first. Back toward a wall or placing bolsters down to soften a potential fall. Above all, know that choosing not to progress is just as skillful as choosing to move on.

200 HOUR ONLINE TEACHER TRAINING
GET CERTIFIED & DEEPEN YOUR YOGA PRACTICE
- Deepen your yoga practice
- Build confidence speaking in front of groups in person and online
- Learn foundational class structures and templates
- Learn techniques for a wide range of yoga postures
- Get certified and highly qualified to teach yoga
- Yoga Alliance Globally Recognized Certification Program
SQUEEZE IN TO GO UP
No matter how we enter Sirsasana (one leg at a time or both together), the concept of squeezing in creates internal support. If both legs rise simultaneously, we press the legs firmly into each other. If one leg leads, we squeeze the inner thighs as if they were already touching. This isometric contraction does more than bring the legs together—it helps stabilize the pelvic center and reduces unnecessary sway in the lower back. These subtle engagements prevent us from “leaking” energy and instead keep the body centered and collected. The transition into full inversion becomes a slow, controlled climb rather than a leap. This method doesn’t just get us into the pose, it trains the body to remain steady once there. Instead of rushing to the final shape, this slow build is where we gain true control, and ultimately, a much more stable Sirsasana.

300 HOUR ONLINE TEACHER TRAINING
GET 500 HOUR CERTIFIED AS A MASTER TEACHER
Master your skill set as a teacher through refined techniques, anatomy, biomechanics, sequencing, philosophy, meditation techniques, theming, yoga business, and much more!
- Get 500 hour certified
- Learn anatomy, biomechanics, asana techniques
- Expand your teaching skills
- Masterful sequencing and verbal delivery
- Learn meditation and breathwork techniques
- Transformative tools: theming, dharma talks, satsang
FROM THE BOTTOM TO THE TOP
The temptation to kick or jump into headstand is common, but Matt encourages us to resist that urge. Why? Because every skipped step delays the strength and awareness needed to support the whole. Instead, we bring it all together: the push from the Dolphin-like position, the positioning of the neck, the isometric inner thigh engagement, and the head-to-hand relationship we’ve trained. With blocks removed, we rely on hip flexor strength and hamstring mobility to pull the legs in close. Slowly, they lift into the tuck, then into vertical, and finally into stillness. There’s magic in that moment: lightness rising from stability. Stable Sirsasana isn’t a show of force, it’s the result of thoughtful sequencing, patience, and care. When the foundation is sound, the structure above feels effortless. And when we train our body to rise with awareness, the pose becomes more than just a balance, it becomes the culmination of our highest potential.
You can continue to build strength and stability from the ground up in Matt’s Aligned Vinyasa Immersion.
The 200 Hr. Teacher Training: Click Here to See the Next Start Date
The 300 Hr. Advanced Teacher Training: Click Here to See the Next Start Date
Article by Trish Curling
Video Extracted From: Aligned Vinyasa Immersion

ONLINE ANATOMY COURSE
- Accessible, exciting, and easy to learn
- Anatomy and biomechanics for yoga
- Appropriate for both teachers and students
- Learn joint alignment vs pose alignment
- Demystify yoga poses and transitions
- Release aches and pains
- Learn how to avoid common injuries
- Caters to all levels with modifications and props
- 20 hours Continued Education Credits with Yoga Alliance
- 20 hours toward Chromatic Yoga Certification and 300 Hour
- Lifetime access
Continue Learning
Opening The Heart Chakra
read more
5 Visual Demonstration Techniques for Yoga Teachers
5 Visual Demonstration Techniques for Yoga TeachersYoga TeachersVisual Demonstration This is often confused with “teaching from the mat.” Teaching at the front of the room can be useful at the right time and place, but that is not what we are referring to here. In...
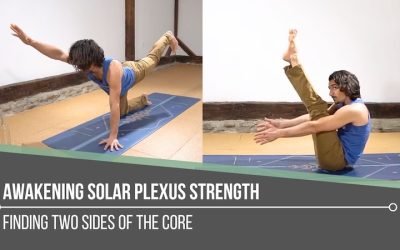
Awakening Solar Plexus Strength
Awakening Solar Plexus Strengththird chakraAWAKENING SOLAR PLEXUS STRENGTH Awakening solar plexus strength invites us into the centre of transformation. Matt reminds us that this third chakra, Manipura, is our fire, our willpower, and our ability to take action. It...
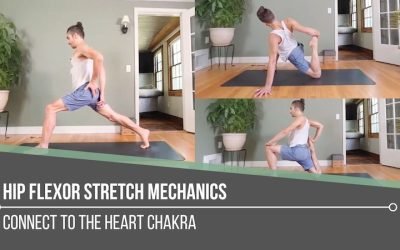
Hip Flexor Stretch Mechanics
Hip Flexor Stretch MechanicsALIGNMENTHIP FLEXOR STRETCH MECHANICS Hip flexor stretch mechanics begins with understanding that stability and length often come from opposing actions. In the first demonstration, Matt cues the back inner thigh to lift upward, which tips...
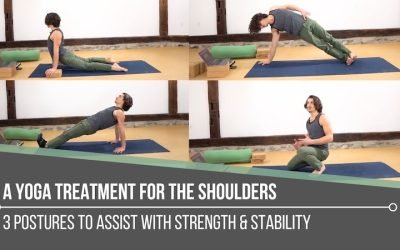
A Yoga Treatment For The Shoulders
A Yoga Treatment For The ShouldersSTABILITYA YOGA TREATMENT FOR THE SHOULDERS Shoulders tend to speak up when stability is missing. Matt reminds us that building strength isn’t about aesthetics, it’s about support, resilience, and keeping the body working as one...
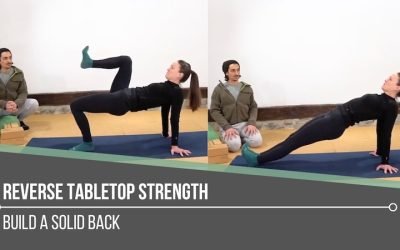
Reverse Tabletop Strength
Reverse Tabletop StrengthMECHANICSREVERSE TABLETOP STRENGTH “Solid” implies strength, yet in yoga, we can easily lose sight of how intentionally building the back body supports everything we do. Reverse Tabletop may look simple, but it asks a lot from the posterior...
THE FREE TECHNIQUE PACK
When You Subscribe, You Will Get Instant Access to
- the Technique Pack: 15 yoga pose breakdowns
- exclusive online course discounts
- exclusive blogs and videos