Weightless InversionssirsasanaWEIGHTLESS INVERSIONS Weightless inversions are not about removing effort. They are about redistributing it with awareness. Matt reminds us that when we refine how we place weight through the hands, shoulders, and core, the body begins to...
Hanumanasana Hints
Hanumanasana Hints
splits
HANUMANASANA HINTS
Applying intelligent techniques to a posture like Hanumanasana is crucial—simply hoping for the best is definitely not the way to go! That mindset leaves us vulnerable to injury. Hanumanasana is also the type of pose that can be quite intimidating if we don’t have a lot of experience with it. Go slowly and use the techniques Matt demonstrates in today’s video, which offer a safe path to explore the variations and methods that feel right in our own bodies. The Hanumanasana “hints” provided help us understand what’s required physically. Through the techniques, we gain a grasp of what muscles are being engaged, when to engage them, and when to lean into expansion. Extension and expansion are the nature of the posture, but it is also rooted in stability and strength.

THE POSE FACTORY
WAITLIST NOW OPEN
- Dogmatic alignment versus functional alignment
- Learn popular postural pitfalls
- Myths versus truth
- Formulaic approach for comprehensive learning
- Excellent guide for yoga enthusiasts
- Must-have for yoga teachers
- Joint-health awareness
- Muscle integrity, range of motion
- Props for accessibity
- Alignment alterations in the case of injuries
THE 4 VITAL ACTIONS FOR THE HIPS
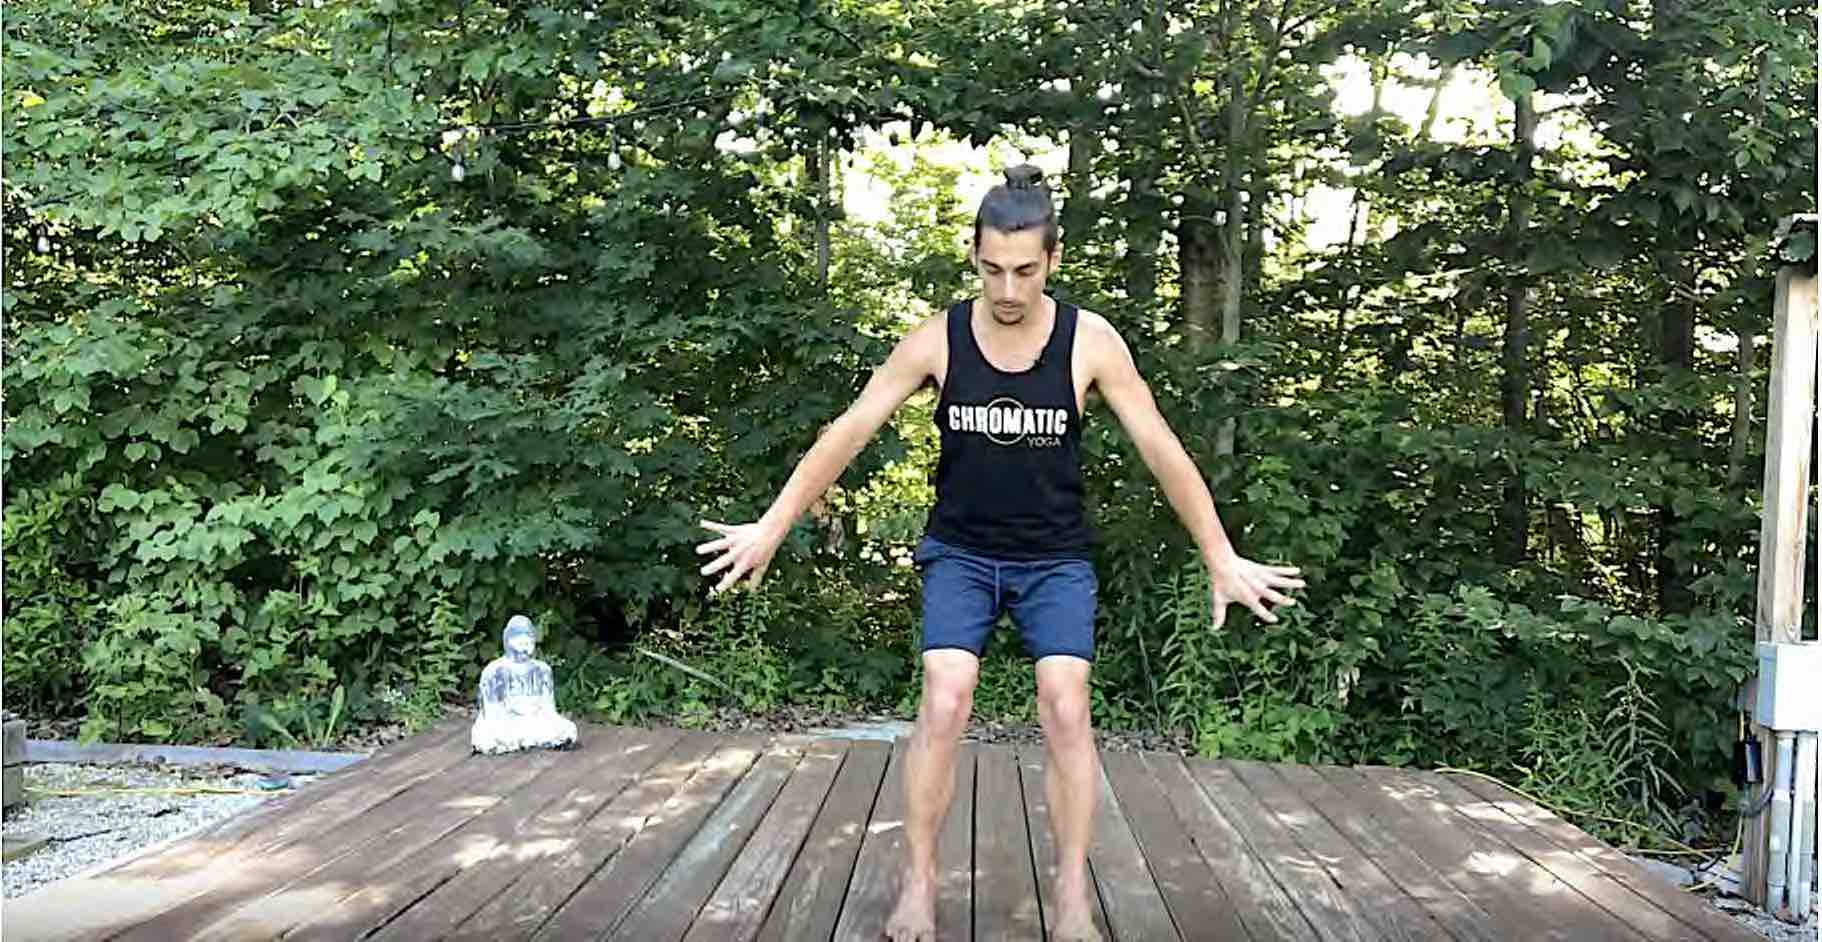
There are 4 main actions that help us prepare for Hanumanasana. They help activate the muscles that surround the hips. Strengthening is in fact what will ultimately inform our capacity for increased hip mobility. The actions will also influence what we experience in regard to flexibility in areas like the adductors, abductors, quadriceps, and hamstrings.
Here are the 4 main main actions Matt outlines:
- Squeezing in
- Expanding out
- Rotating in
- Rotating out
In the video clip, we see how these actions are applied to the variations and drills.
WATCH THE VIDEO
HANUMANASANA PREPARATION: FOOLPROOF PREPARATION FOR THE HIPS
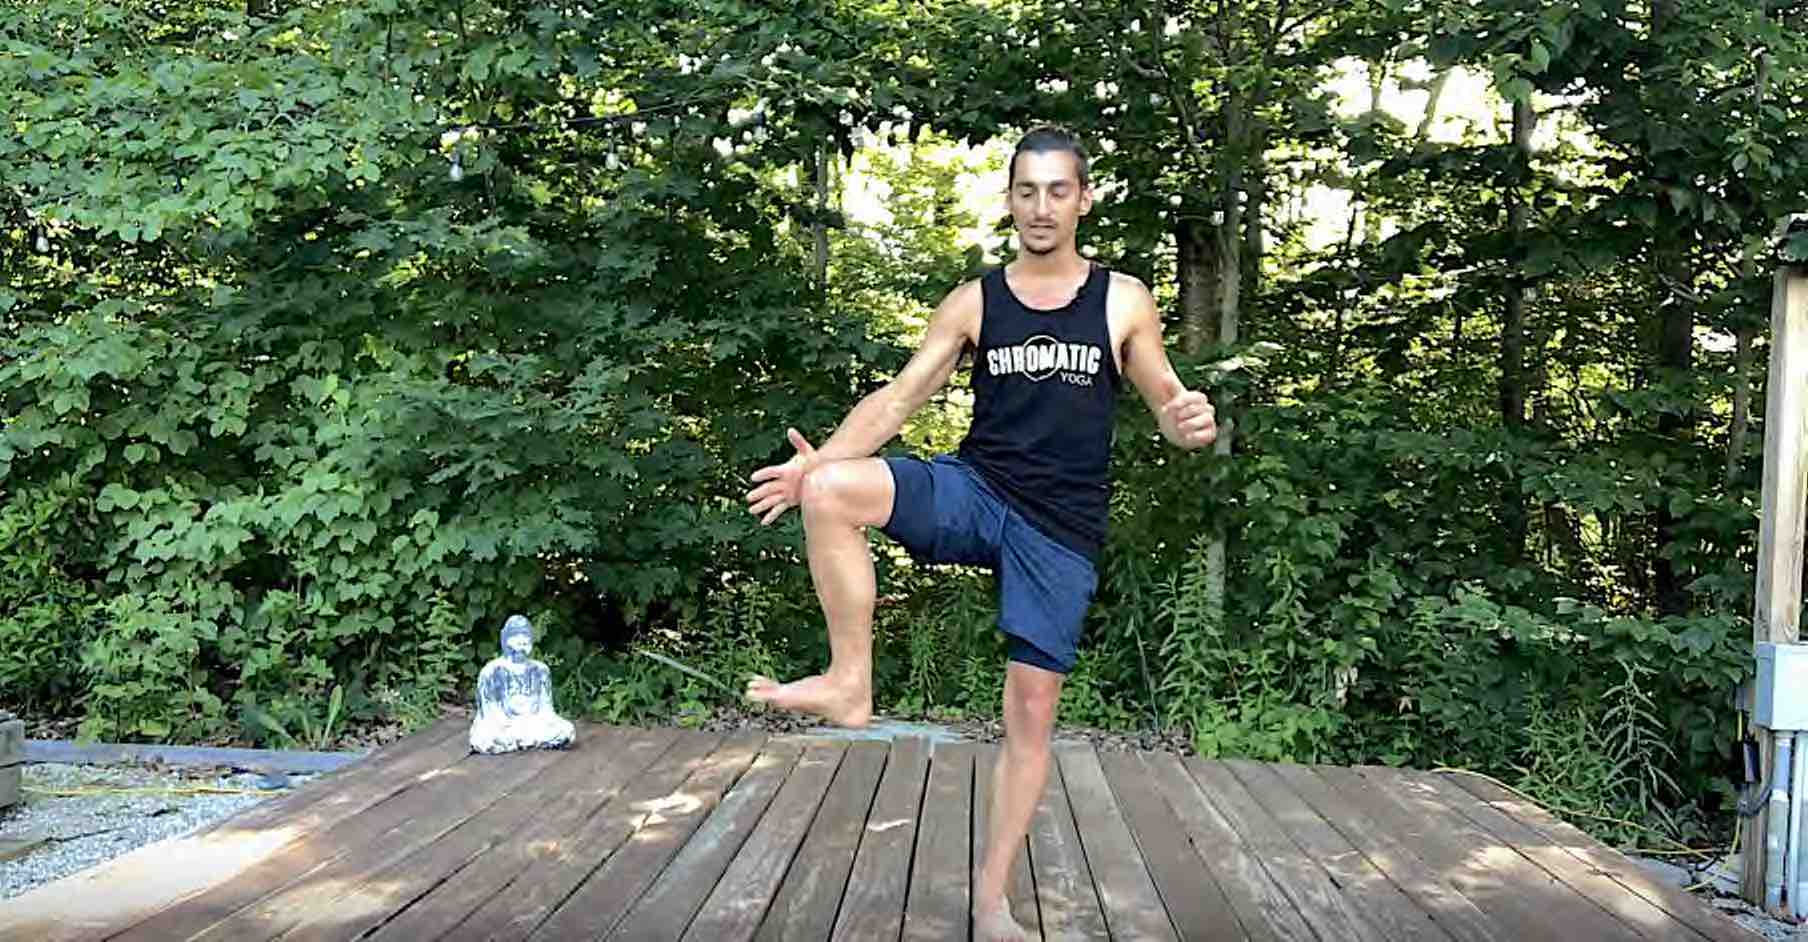
LIZARD ROTATIONS
The Lizard Pose variation offered today is rich in technique. Matt demonstrates a quadricep activation in the back leg while rotating inward and outward with the front leg. This provides an opportunity to exercise control within these movements. There’s also an element of squeezing in in order to remain balanced, especially if we plantarflex (point) the back foot.
After this strengthening, we move towards stretching and a degree of expansion. This is an example of what was discussed in our recent blog post, Postpone the Stretch Sensation. After training the body to understand that it is safe, through strengthening, we can then be more free to lengthen.
After the Lizard rotations in preparation for Hanumanasana, Matt then opens up the posture by bowing his torso further away from his front leg and then taking hold of his back foot to stretch the quadriceps in the back leg.

200 HOUR ONLINE TEACHER TRAINING
GET CERTIFIED & DEEPEN YOUR YOGA PRACTICE
- Deepen your yoga practice
- Build confidence speaking in front of groups in person and online
- Learn foundational class structures and templates
- Learn techniques for a wide range of yoga postures
- Get certified and highly qualified to teach yoga
- Yoga Alliance Globally Recognized Certification Program
BOLSTER SUPPORT
Now we actually get into the shape of Hanumanasana with the use of props. As always, there are options. Matt demonstrates with a bolster and two blocks; he also mentions that using sturdy chairs in the place of yoga blocks is totally acceptable. This is where the discernment to use what works best for ourselves as individuals is key.
Again, we start with control and contraction. Matt begins by pulling inward—pressing both the heel of the front foot and the back knee or back foot down while pulling them towards one another. He then layers on first an inward rotation of the front thigh to activate the adductor muscles, then he rotates the front thigh outwards to target the back inner thighs, front outer hamstrings, and gluteus muscles. Following these strengthening actions, stretching and lengthening are the next steps.

300 HOUR ONLINE TEACHER TRAINING
GET 500 HOUR CERTIFIED AS A MASTER TEACHER
Master your skill set as a teacher through refined techniques, anatomy, biomechanics, sequencing, philosophy, meditation techniques, theming, yoga business, and much more!
- Get 500 hour certified
- Learn anatomy, biomechanics, asana techniques
- Expand your teaching skills
- Masterful sequencing and verbal delivery
- Learn meditation and breathwork techniques
- Transformative tools: theming, dharma talks, satsang
THERE’S NO RUSH
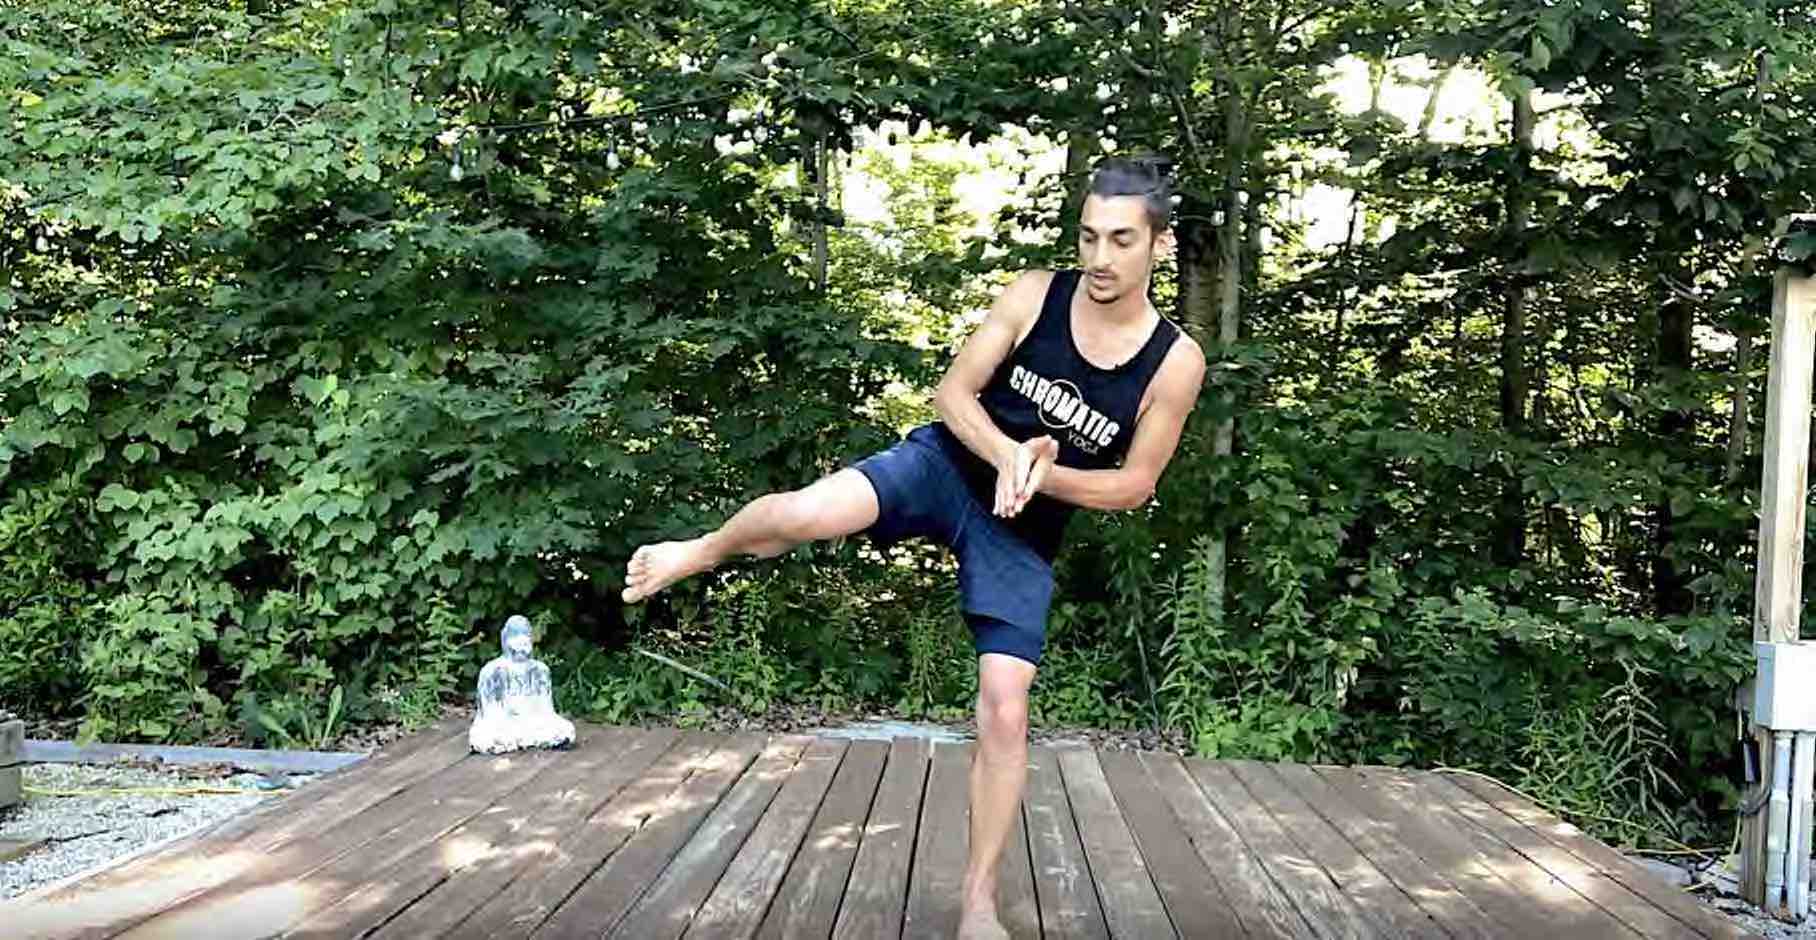
Here comes the expansion. In this Hanumanasana drill, we put on socks to slide our feet on a slippery floor.
Although we are experimenting with more depth, it’s imperative that we go slow with the amount of expansion. We know that we remain in control of the freedom in this drill when we can still engage and draw the legs back in towards one another as we alternate on each side. If we are unable to do this, Matt advises that we shorten the distance between the legs. There’s absolutely no rush. This is our opportunity to tap into the more controlled techniques previously explored. This is the foolproof preparation for Hanumanasana.
The waitlist for Matt’s upcoming online course The Pose Factory is open. You won’t want to miss more details about the techniques that unlock postures like Hanumanasana.
The 200 Hr. Teacher Training: Click Here to See the Next Start Date
The 300 Hr. Advanced Teacher Training: Click Here to See the Next Start Date
Article by Trish Curling
Video Extracted From: The Splits Immersion

ONLINE ANATOMY COURSE
- Accessible, exciting, and easy to learn
- Anatomy and biomechanics for yoga
- Appropriate for both teachers and students
- Learn joint alignment vs pose alignment
- Demystify yoga poses and transitions
- Release aches and pains
- Learn how to avoid common injuries
- Caters to all levels with modifications and props
- 20 hours Continued Education Credits with Yoga Alliance
- 20 hours toward Chromatic Yoga Certification and 300 Hour
- Lifetime access
Continue Learning
Weightless Inversions
read more
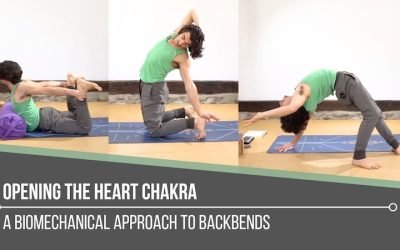
Opening The Heart Chakra
Opening The Heart ChakrabackbendOPENING THE HEART CHAKRA Opening the heart chakra is not simply about reaching deeper into a backbend. Matt reminds us that this space is rooted in love, balance, and connection, both with ourselves and with others. It reflects how we...
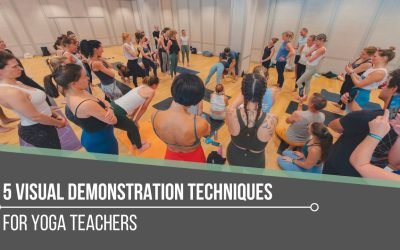
5 Visual Demonstration Techniques for Yoga Teachers
5 Visual Demonstration Techniques for Yoga TeachersYoga TeachersVisual Demonstration This is often confused with “teaching from the mat.” Teaching at the front of the room can be useful at the right time and place, but that is not what we are referring to here. In...
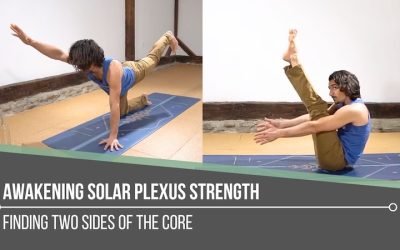
Awakening Solar Plexus Strength
Awakening Solar Plexus Strengththird chakraAWAKENING SOLAR PLEXUS STRENGTH Awakening solar plexus strength invites us into the centre of transformation. Matt reminds us that this third chakra, Manipura, is our fire, our willpower, and our ability to take action. It...
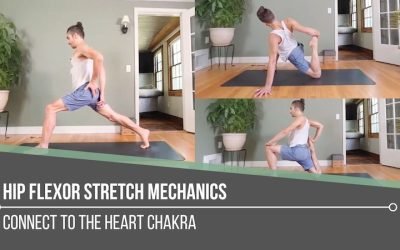
Hip Flexor Stretch Mechanics
Hip Flexor Stretch MechanicsALIGNMENTHIP FLEXOR STRETCH MECHANICS Hip flexor stretch mechanics begins with understanding that stability and length often come from opposing actions. In the first demonstration, Matt cues the back inner thigh to lift upward, which tips...
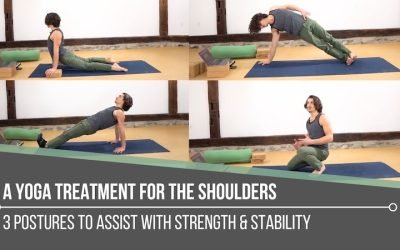
A Yoga Treatment For The Shoulders
A Yoga Treatment For The ShouldersSTABILITYA YOGA TREATMENT FOR THE SHOULDERS Shoulders tend to speak up when stability is missing. Matt reminds us that building strength isn’t about aesthetics, it’s about support, resilience, and keeping the body working as one...
THE FREE TECHNIQUE PACK
When You Subscribe, You Will Get Instant Access to
- the Technique Pack: 15 yoga pose breakdowns
- exclusive online course discounts
- exclusive blogs and videos

![yoga backbend techniques: 12 classes [backbend technique to relieve back pain "bowing the spine']](https://www.theyogimatt.com/wp-content/uploads/2021/05/JULY-IMMERSION-14.jpg "JULY IMMERSION")

![yoga backbend techniques: 12 classes [backbend technique to relieve back pain "bowing the spine']](https://www.theyogimatt.com/wp-content/uploads/2020/09/200-hour-horizontal.jpg "200 hour horizontal")