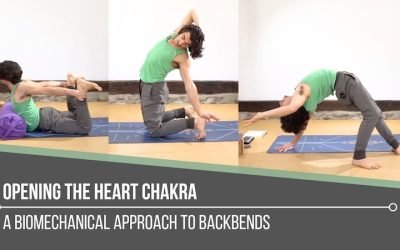
Opening The Heart ChakrabackbendOPENING THE HEART CHAKRA Opening the heart chakra is not simply about reaching deeper into a backbend. Matt reminds us that this space is rooted in love, balance, and connection, both with ourselves and with others. It reflects how we...
Serratus Push Ups Tutorial
Serratus Push-Ups Tutorial
Variations for Strength
strength
What Is The Importance of Serratus Anterior Push-Ups?
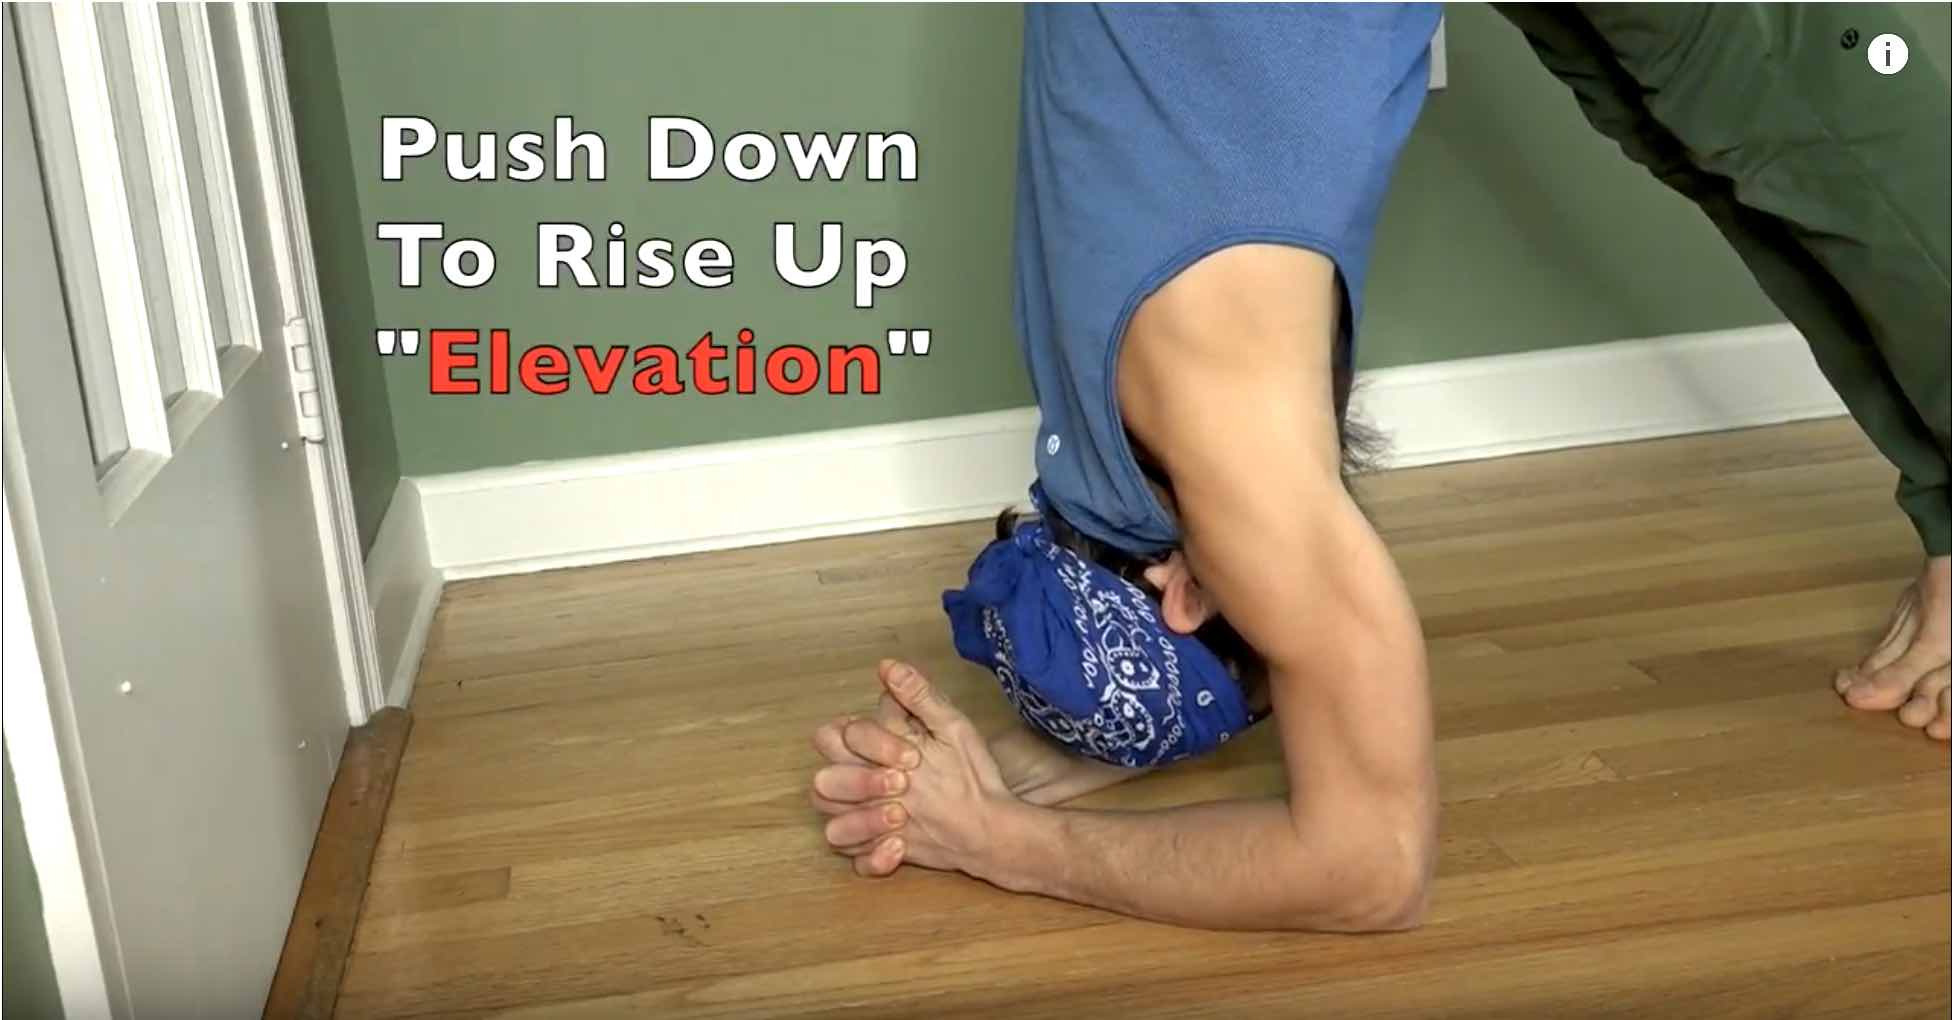
When you hear the term “boxer muscles,” you most likely know that it’s referring to the serratus anterior. However you refer to it, it’s an important part of creating both stability and strength for your shoulders. A great way to strengthen the serratus anterior is by doing “serratus push-ups.” There is a variety of different ways in which to approach them. In today’s serratus push-ups tutorial video, Matt demonstrates 4 variations that help you tap into the strength required for greater access to postures that require the use of these “push” muscles.
Why Are They Relevant To Your Yoga Practice?
Serratus push-ups are also commonly referred to as scapula push-ups. They are a wonderful and necessary part of your toolkit for both increased strength of your shoulders and mobility of the scapulae. The serratus anterior facilitates upward rotation of the scapulae whenever you take your arms into a position over your head. Upward rotation of the scapulae is necessary to take some of the work away from the trapezius. It also helps reduce the possibility of hypermobility in the glenohumeral joint.
In your physical yoga practice, this is relevant in postures like Downward-Facing Dog, Chair Pose, Crescent Lunge, and Handstand (just to name a few). Upward rotation of the scapulae is also helpful in your everyday life. Having the awareness to utilize the movement of the shoulder blades when reaching for objects overhead, for example, offers the same result. You maintain greater health and movement of the shoulder because you are recruiting the use of the serratus anterior muscles to create movement of the scapula.

HANDSTAND & MEDITATION
ONLINE YOGA IMMERSION
BREAK THROUGH MENTAL & PHYSICAL BLOCKS
- Learn the most effective drills to safely build your Handstand
- Practice essential meditation techniques to break through mental barriers and build confidence
- Improve focus and breath support right side up and upside down
- Build strength and the necessary skills for balancing Handstand
- 12 classes: All levels appropriate
- Lifetime unlimited access to all
- Attend livestream OR practice the replays any time that’s convenient for you
SALE PRICE: $168.00
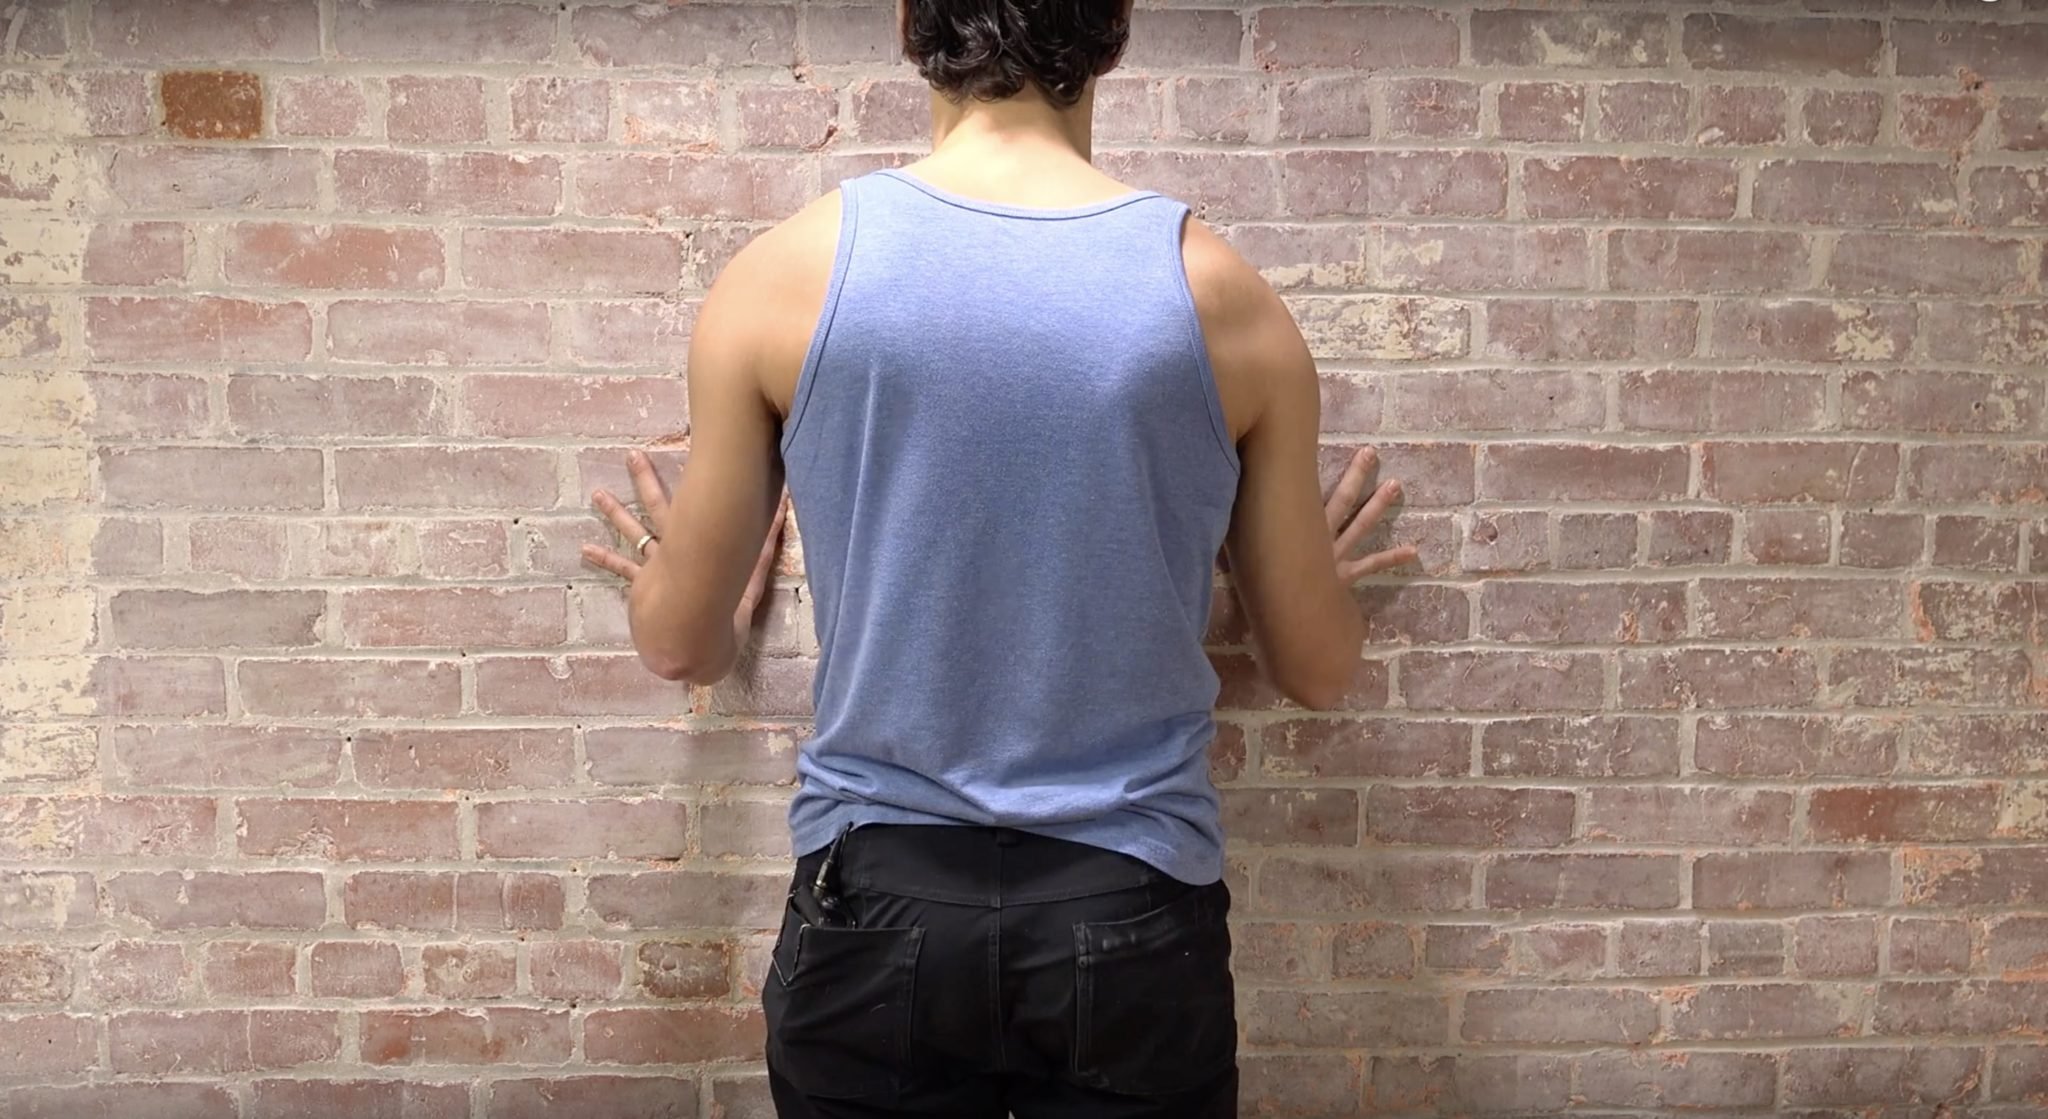
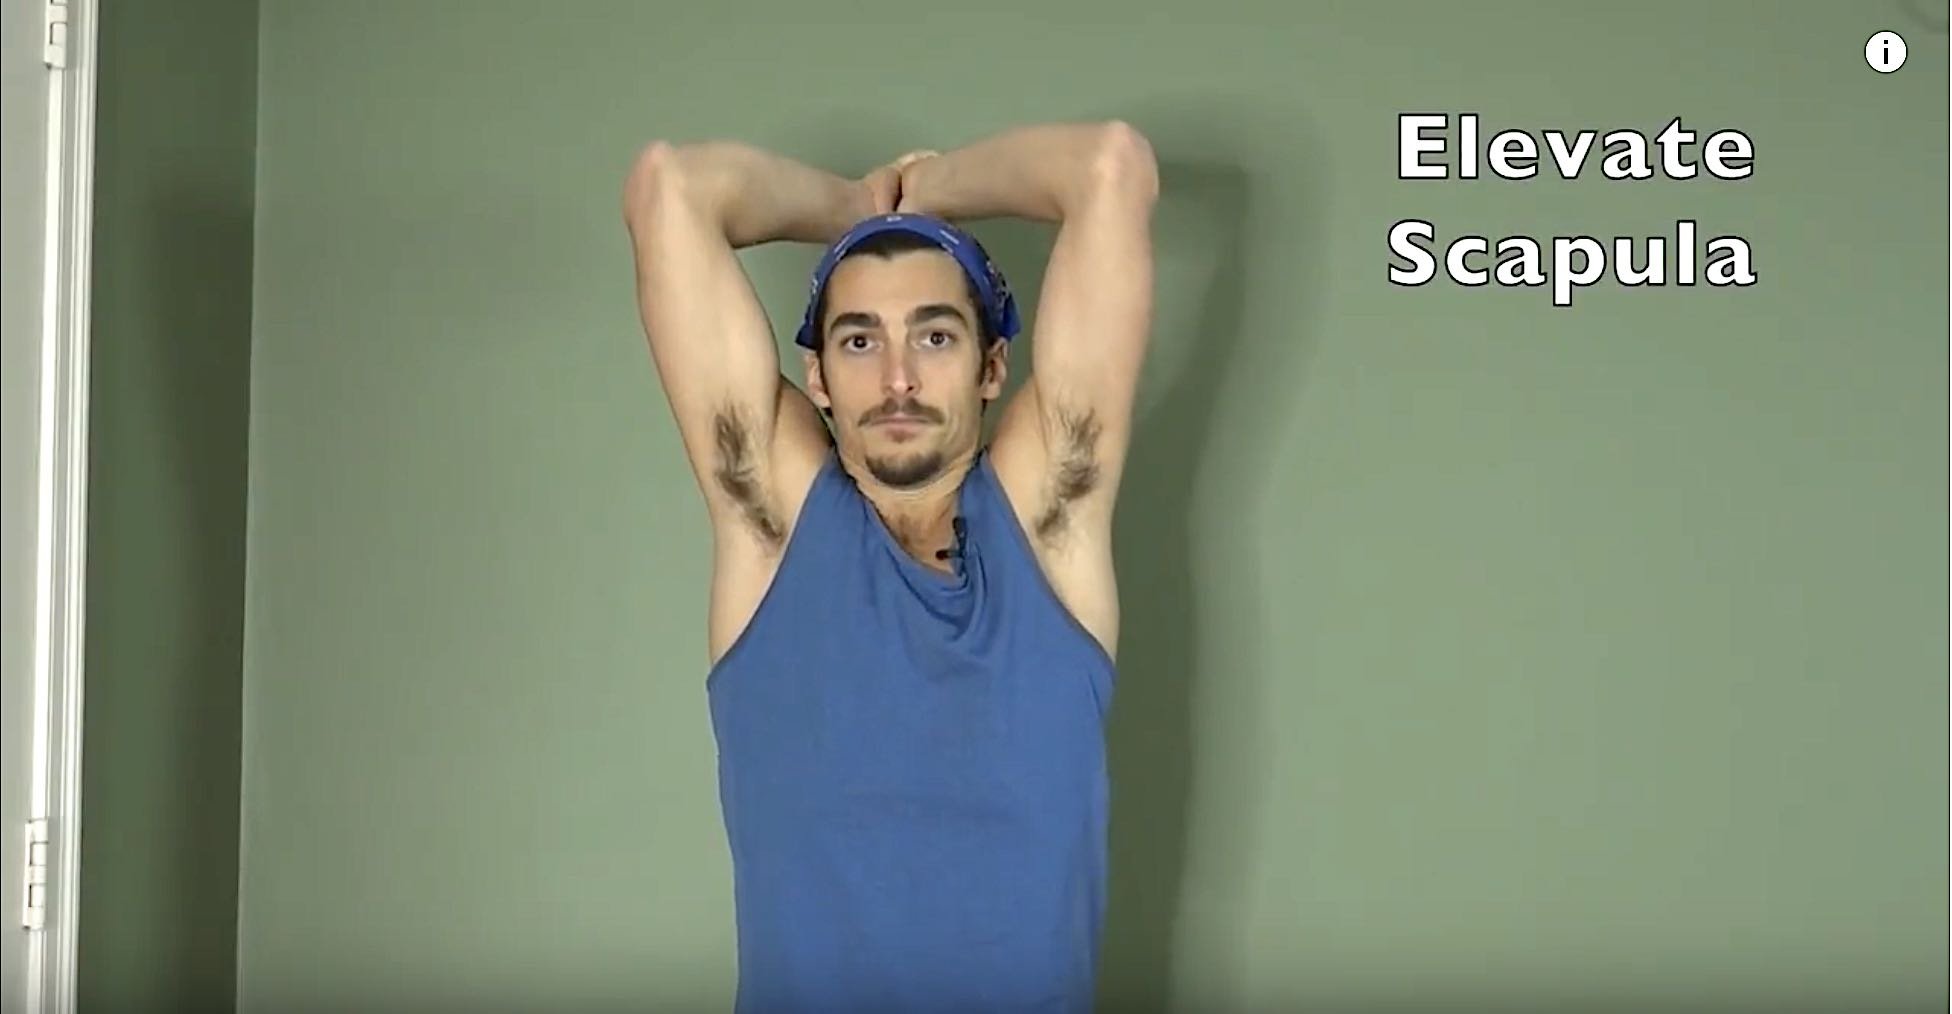
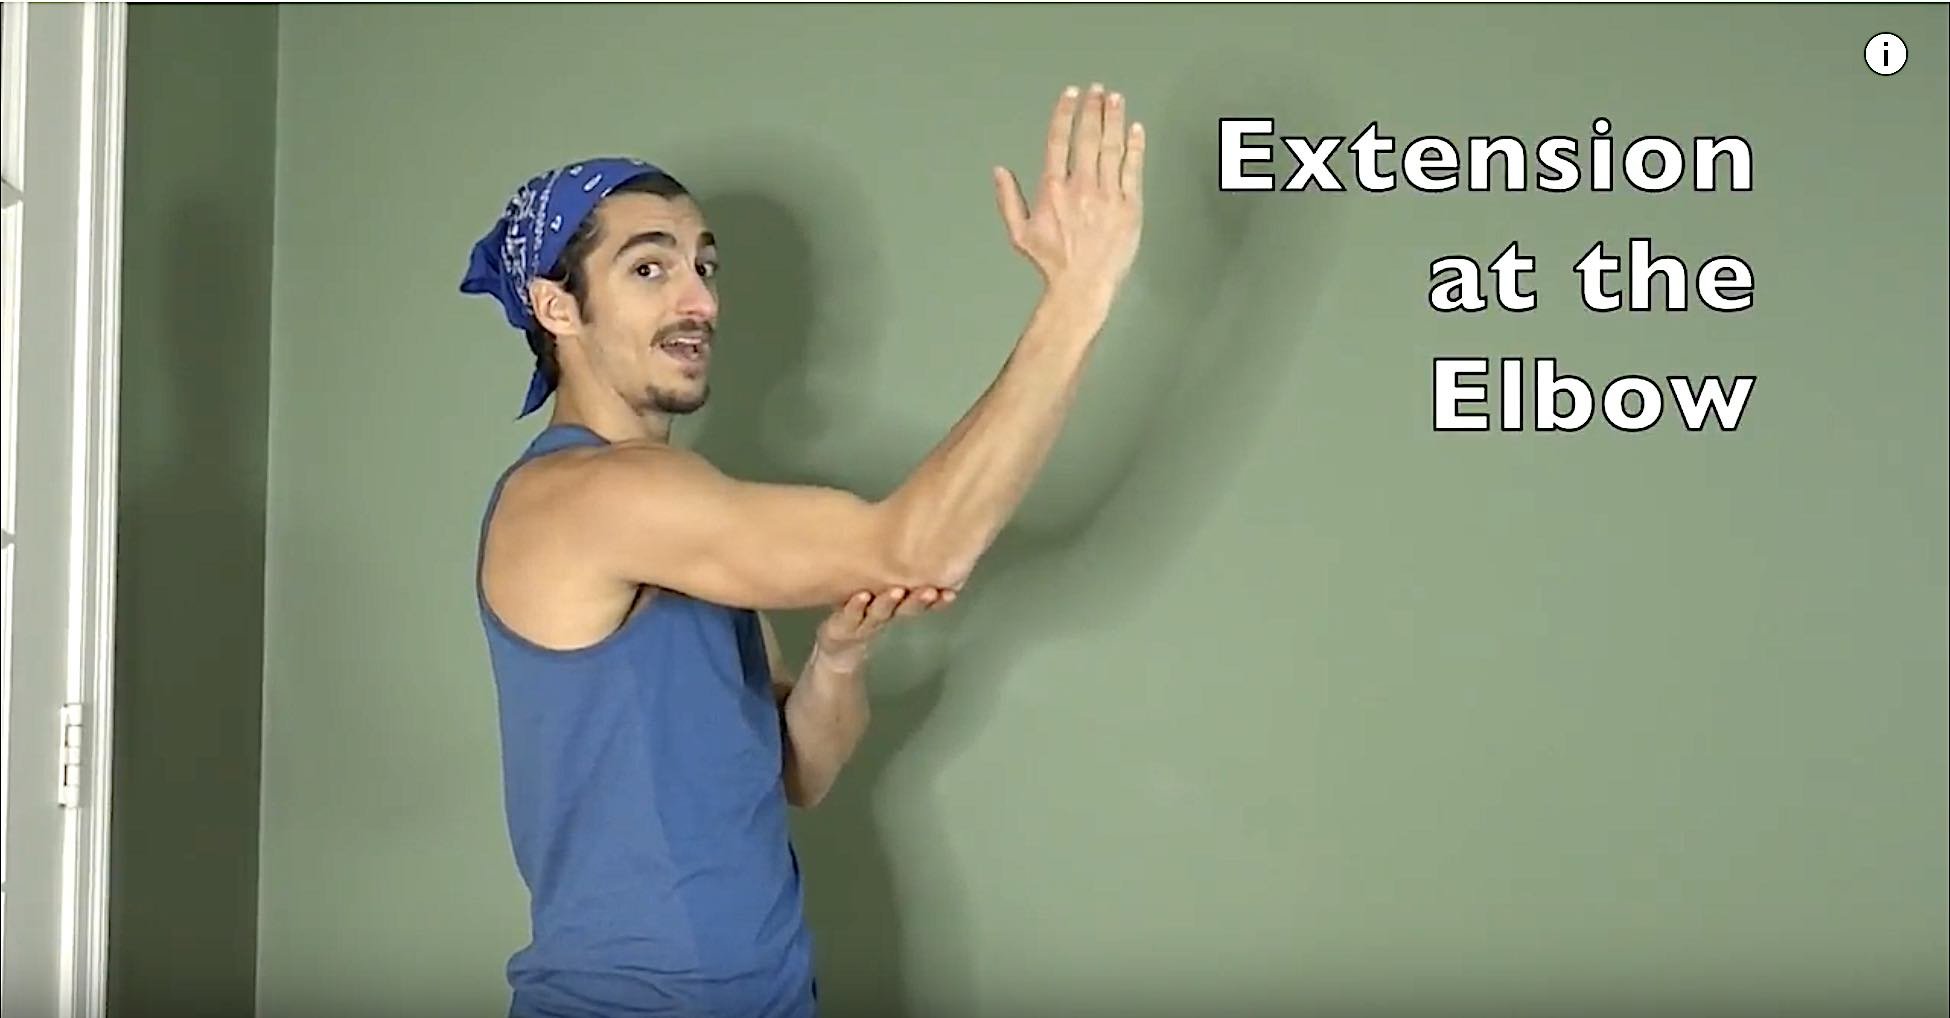
SERRATUS ANTERIOR MUSCLES
These muscles run underneath your scapulae, then around to the ribcage: “The serratus anterior is ‘multi-headed’ and forms the lateral part of the chest wall, giving it a ‘serrated’ appearance.” Contracting these muscles creates the movement of the scapulae around your ribs (protraction).
Long, Ray. The Key Muscles of Yoga. Bandha Yoga Publications, 2005. Pg. 162
WATCH THE VIDEO: SERRATUS PUSH-UPS TUTORIAL

NEXT TRAINING BEGINS FEBRUARY 2024 ENROLLMENT NOW OPEN!

NEXT TRAINING BEGINS FEBRUARY 2024 ENROLLMENT NOW OPEN!
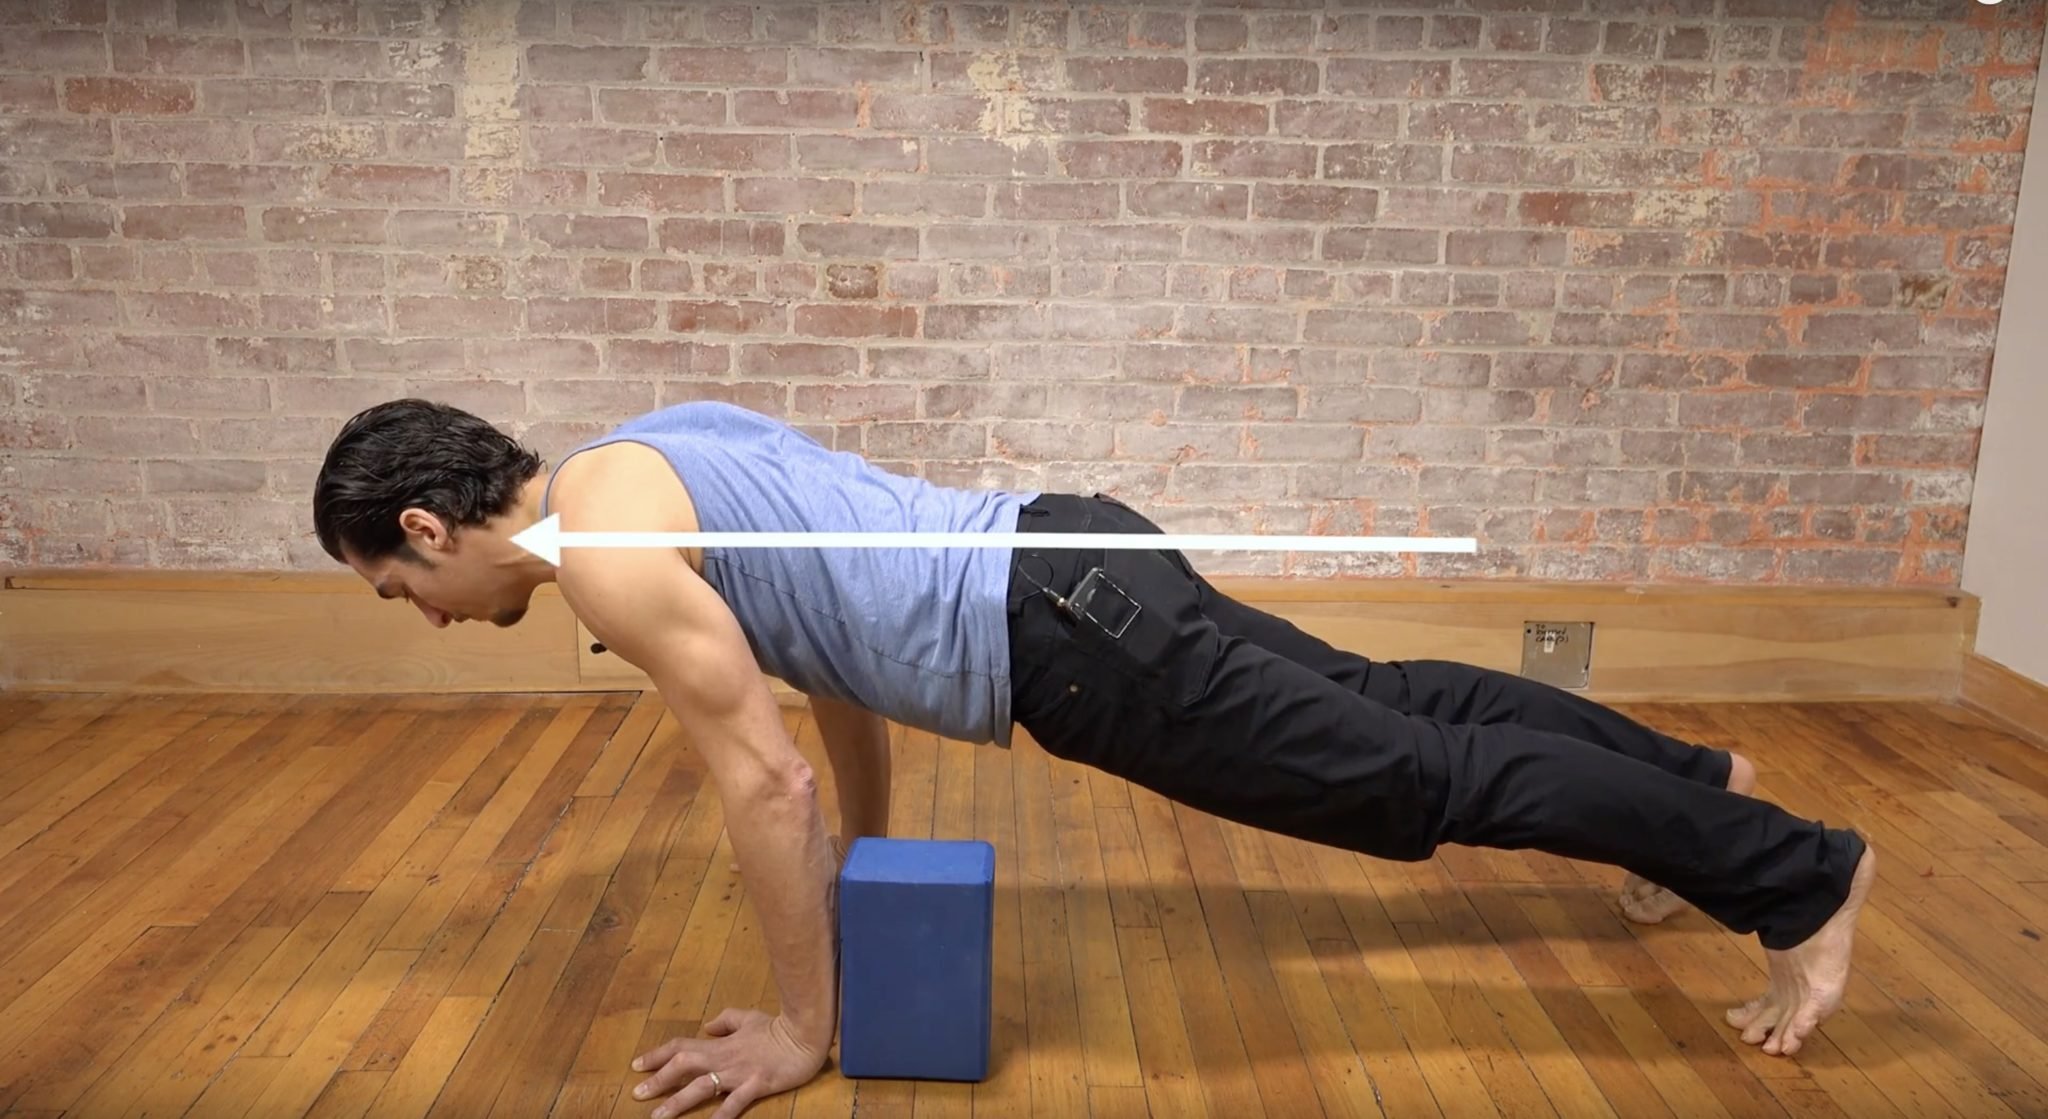
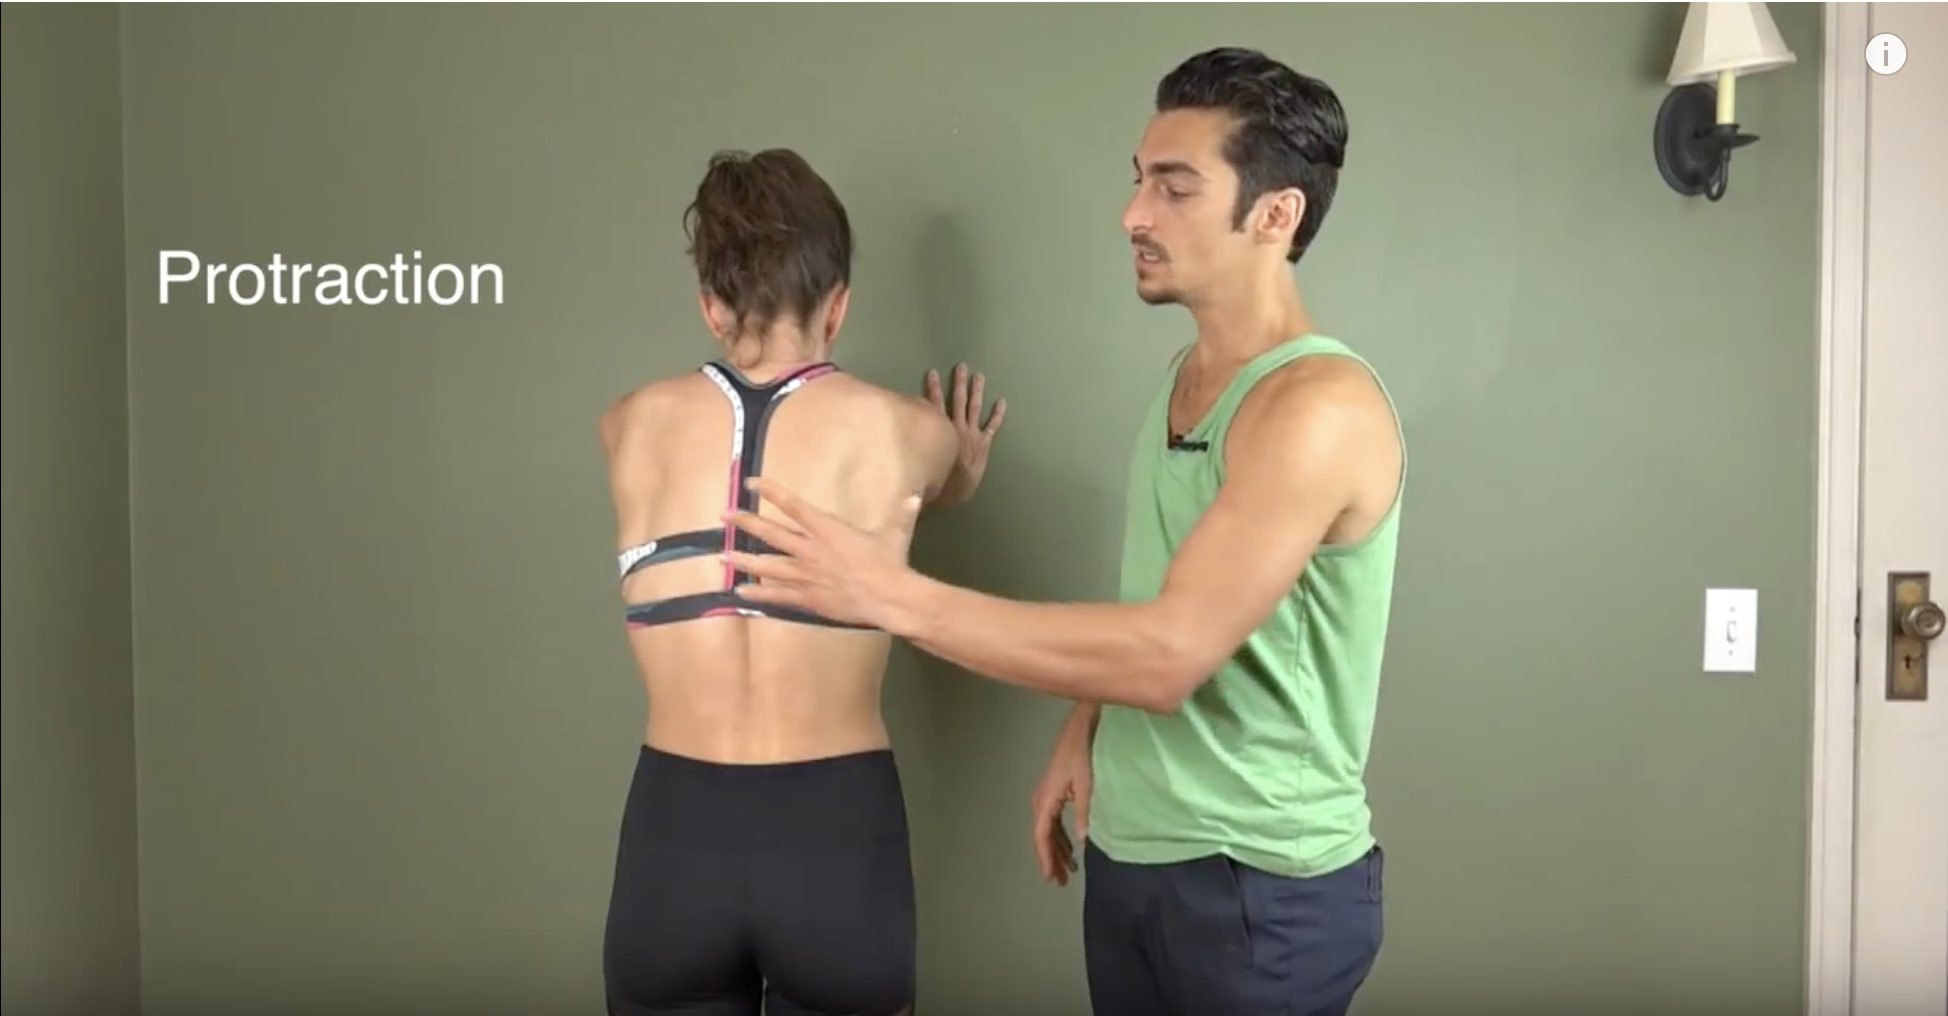
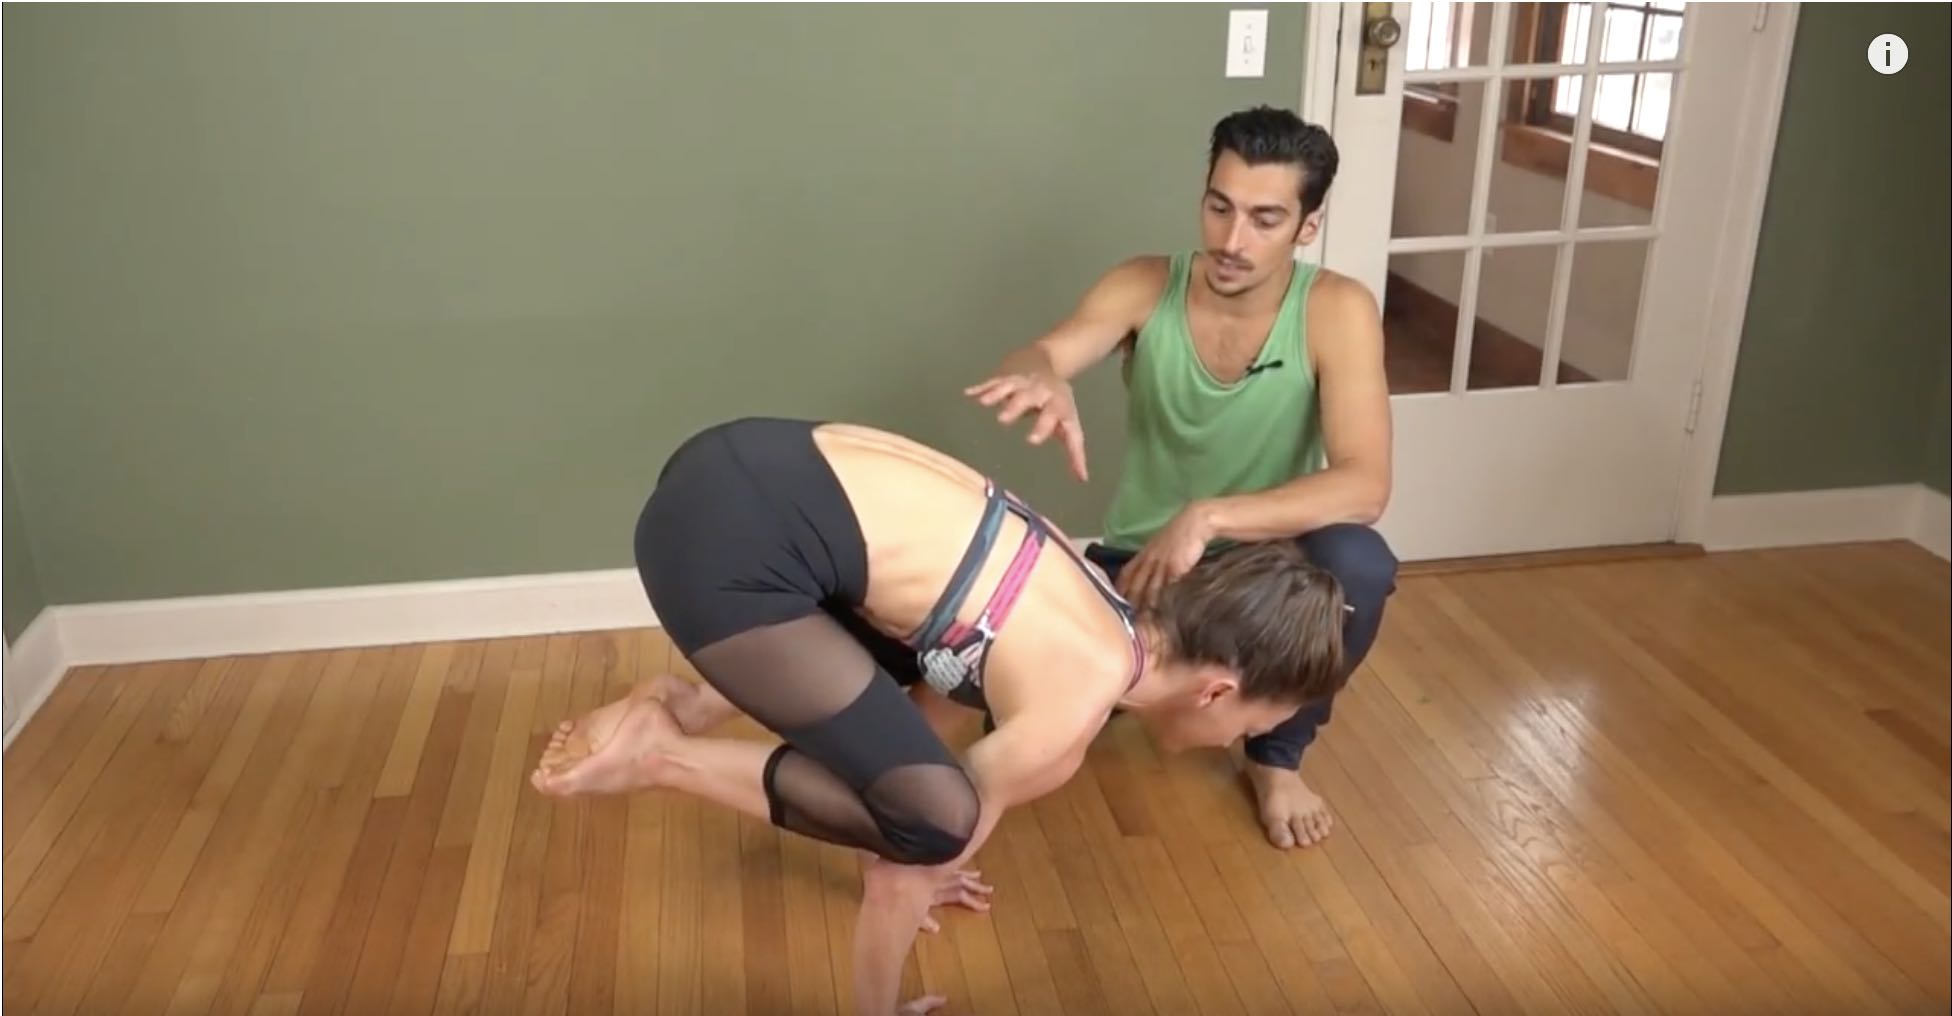
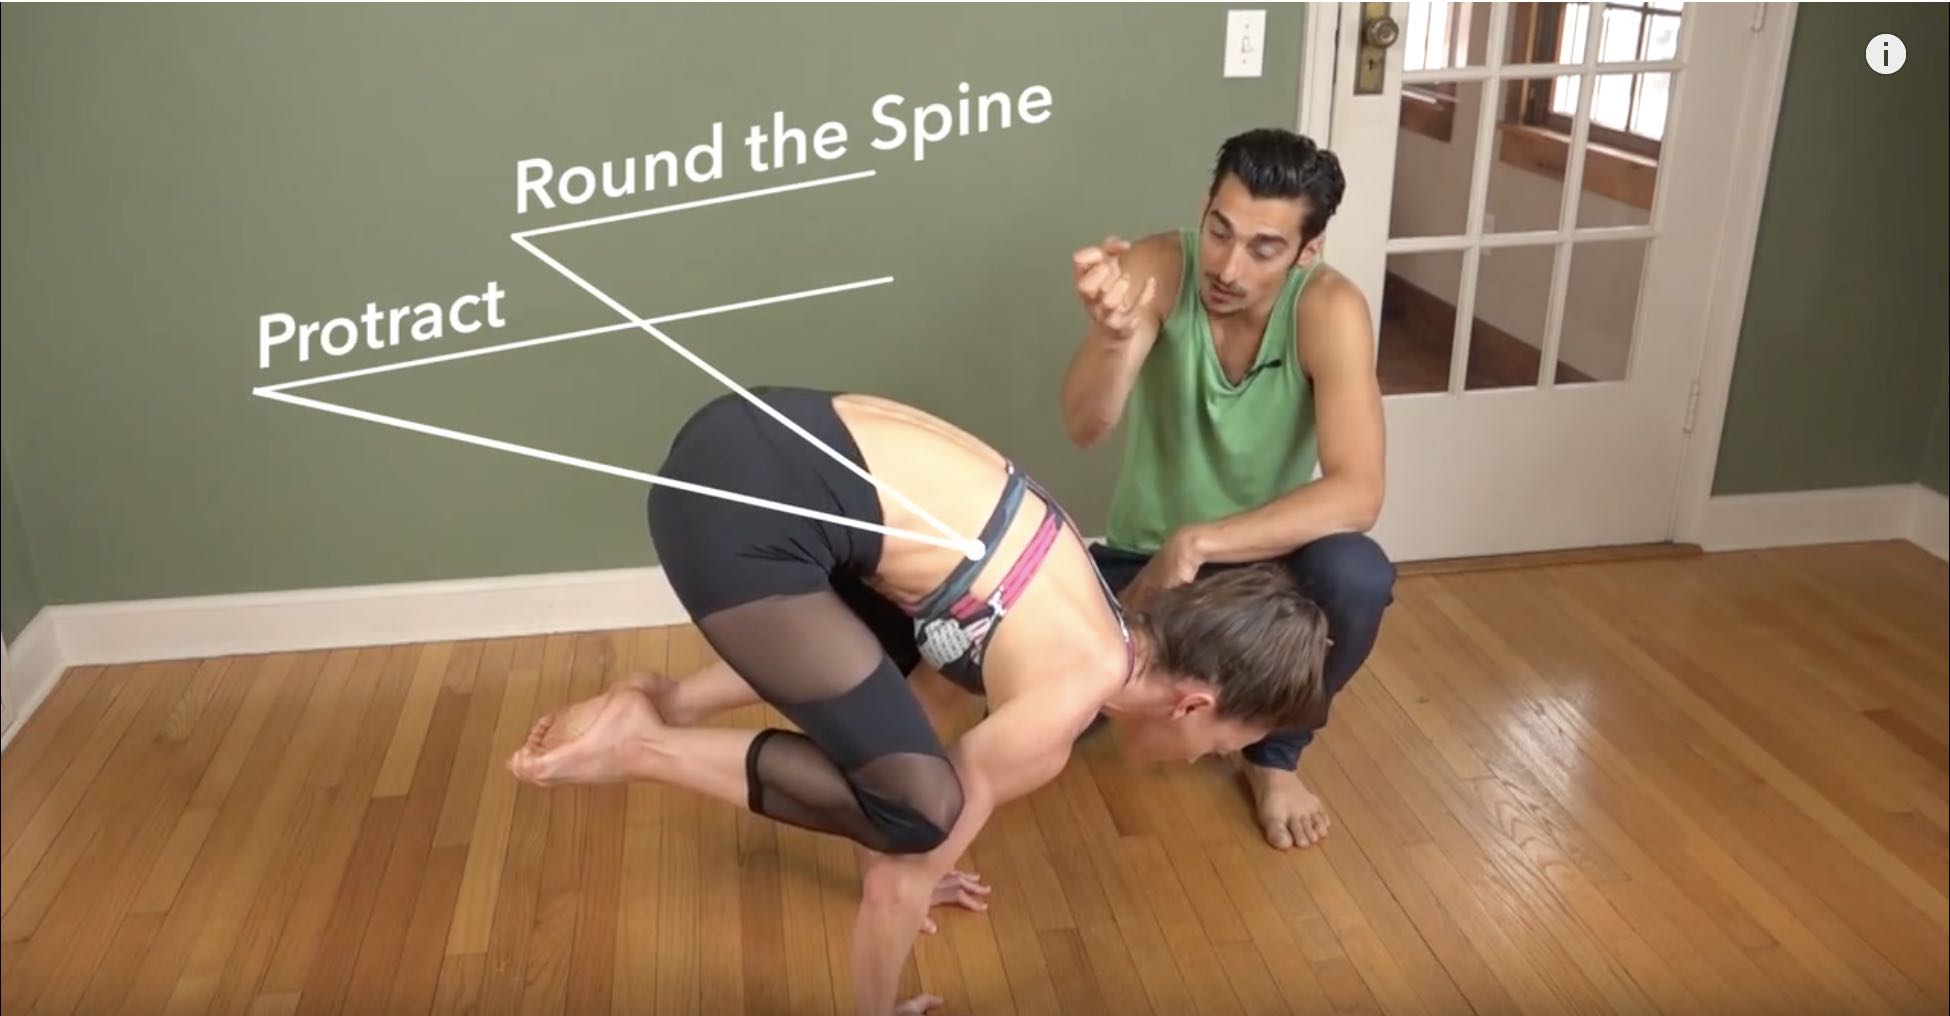
THE 2 MAIN ACTIONS
In a serratus push-up, the 2 main actions are retraction and protraction of the scapulae.
Retraction of the Scapulae
When you are performing one of the serratus push-up variations, it’s really your torso that moves towards the surface beneath you in order to create the retraction. In this case, the scapulae are not creating the movement. The focus here is the “push,” when you actually “push the floor away” in order to move into the next action in the movement (protraction).
Protraction of the Scapulae
Protraction creates a great deal of stability in your shoulder joint. When you take your arms overhead in your yoga practice, it’s likely that you will default into retraction (drawing your shoulder blades towards one another). If this is your intention, that’s fine, but let’s consider what that means in the context of Handstand. If the goal is to be straight up and down and stable in the posture, of course it requires a great deal of strength. It’s important then to be extremely intentional about creating protraction of the scapulae (pushing your shoulder blades away from one another). It’s in this “push” action that you recruit and rely on the serratus anterior muscles to support and align your body for the greatest amount of stability.

STRENGTH
ONLINE YOGA IMMERSION
Yoga for Strength: Strengthen Your Weaknesses • Maximize Your Physical Potential
- 12 classes: Each class targets a specific muscle group
- Strengthen your core, back, hips, shoulders, wrists, ankles, legs, and arms
- Learn creative ways to strength train within the context of a yoga practice
- Increase mobility by balancing your strength with oppositional muscle groups
- Joyful accountability to help you reach your practice goals
SALE PRICE: $138.00 $128.00
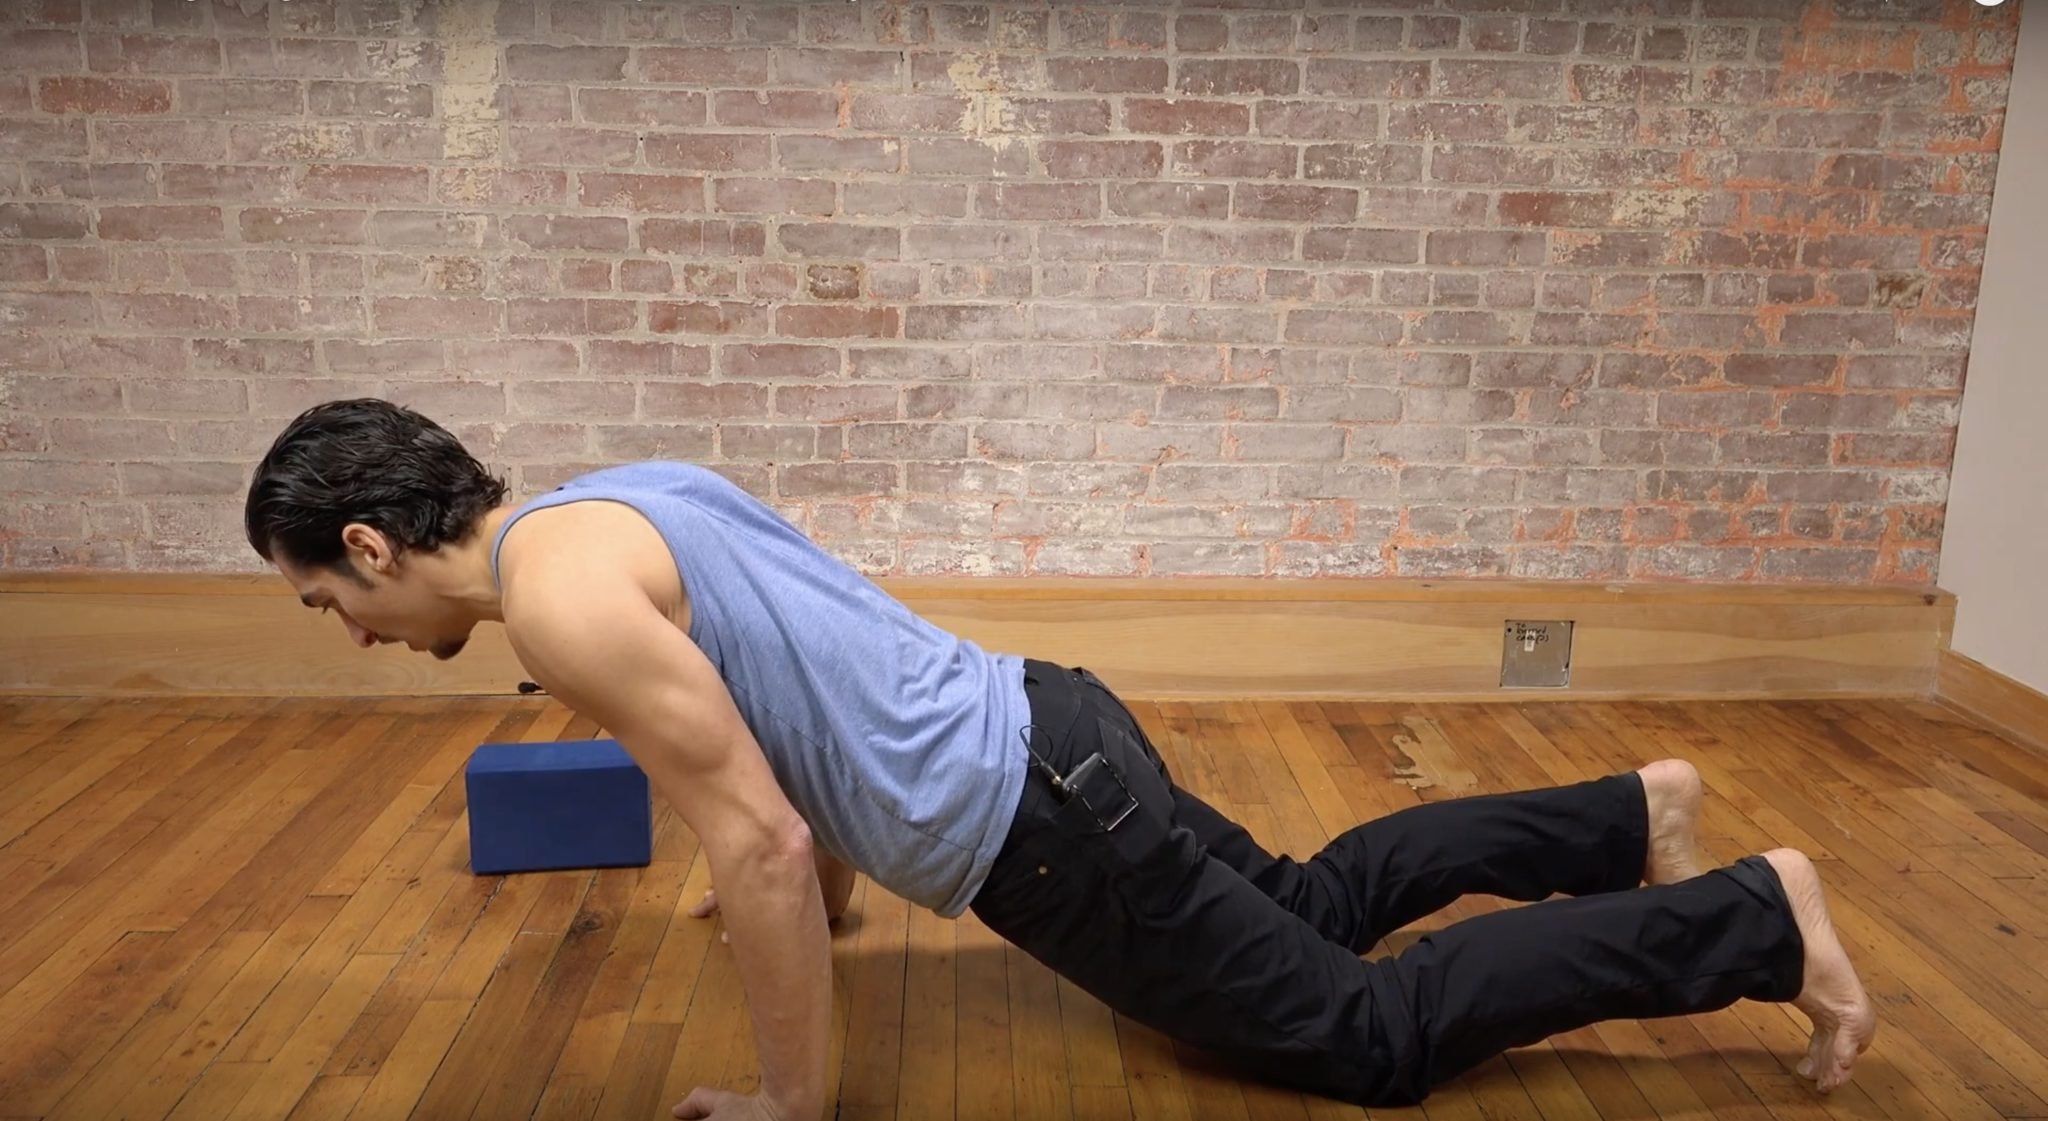
SERRATUS PUSH-UPS: 4 VARIATIONS FOR STRENGTH
There are specific cues for each scapular push-up variation that help you to maximize your potential to create strength.
Variation (Level 1)
- Place the forearms on the floor with your knees stacked under your hips
- Let the chest sink into the retracted scapulae
- Push the elbows into the ground until scapulae push apart (creating the 2nd phase of the push-up)
Variation (Level 2)
- Take your knees further away (more into a plank-like position)
- Execute the serratus push-ups
Variation (Level 3)
- Plank on forearms with toes tucked
- Execute serratus push-ups
Variation (Level 4)
- Plank on forearms with toes pointed
- Round your back
- Bring ankle bones together
- Execute serratus push-ups
A SIMPLE FORMULA FOR STRENGTH
Consistency and progression are the winners here. It’s important to explore all 4 of these serratus push-up variations to find out what is most suitable for you. Matt suggests a conservative number of repetitions while you maintain integrity in your form. Once you feel like you are able to increase the number of repetitions, you may progress to the next level or variation (doing only a conservative amount) in order to become aware of whether or not you wish to return to the previous level, possibly increasing the number of repetitions. Exploring in this way over time is a recipe for increased strength in the serratus anterior and increased stability of the scapulae.
There is still time to explore more of this in Matt’s current immersion, Handstand & Meditation.
See you on the mat!
The 200 Hr. Teacher Training: Click Here to See the Next Start Date
The 300 Hr. Advanced Teacher Training: Click Here to See the Next Start Date
Article by Trish Curling
Video Extracted From: Handstand & Meditation Immersion
CHOOSE YOUR PATH
NEXT TRAINING BEGINS FEBRUARY 2024 ENROLLMENT NOW OPEN!
NEXT TRAINING BEGINS FEBRUARY 2024 ENROLLMENT NOW OPEN!
Continue Learning
Opening The Heart Chakra
read more
5 Visual Demonstration Techniques for Yoga Teachers
5 Visual Demonstration Techniques for Yoga TeachersYoga TeachersVisual Demonstration This is often confused with “teaching from the mat.” Teaching at the front of the room can be useful at the right time and place, but that is not what we are referring to here. In...
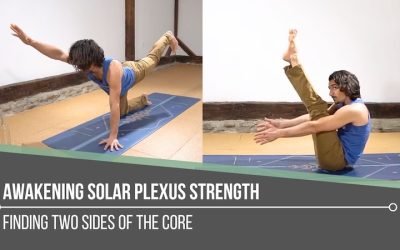
Awakening Solar Plexus Strength
Awakening Solar Plexus Strengththird chakraAWAKENING SOLAR PLEXUS STRENGTH Awakening solar plexus strength invites us into the centre of transformation. Matt reminds us that this third chakra, Manipura, is our fire, our willpower, and our ability to take action. It...
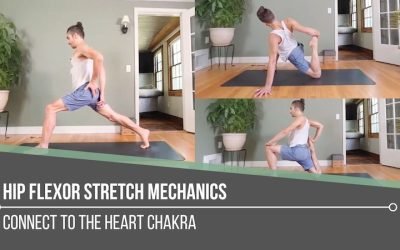
Hip Flexor Stretch Mechanics
Hip Flexor Stretch MechanicsALIGNMENTHIP FLEXOR STRETCH MECHANICS Hip flexor stretch mechanics begins with understanding that stability and length often come from opposing actions. In the first demonstration, Matt cues the back inner thigh to lift upward, which tips...
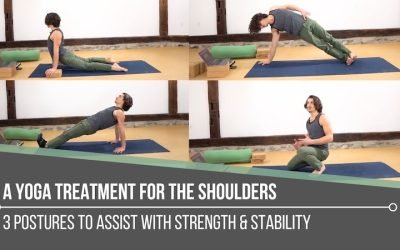
A Yoga Treatment For The Shoulders
A Yoga Treatment For The ShouldersSTABILITYA YOGA TREATMENT FOR THE SHOULDERS Shoulders tend to speak up when stability is missing. Matt reminds us that building strength isn’t about aesthetics, it’s about support, resilience, and keeping the body working as one...
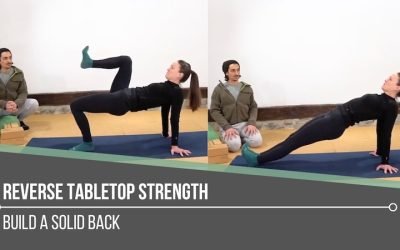
Reverse Tabletop Strength
Reverse Tabletop StrengthMECHANICSREVERSE TABLETOP STRENGTH “Solid” implies strength, yet in yoga, we can easily lose sight of how intentionally building the back body supports everything we do. Reverse Tabletop may look simple, but it asks a lot from the posterior...
THE FREE TECHNIQUE PACK
When You Subscribe, You Will Get Instant Access to
- the Technique Pack: 15 yoga pose breakdowns
- exclusive online course discounts
- exclusive blogs and videos