Hip Flexor Health for Better MovementstretchHIP FLEXOR HEALTH FOR BETTER MOVEMENT Healthy hip flexor muscles are associated with both stretch and strength. Although we’re going to focus more heavily on strength in this article, always note that both strength and...
Arm Balances: Protraction Action
ARM BALANCE STRENGTH BUILDING
Most who practice yoga have come to realize that the practice requires a certain physical strength that doesn’t necessarily coincide with the image of strength in our head. Every yogi has seen a physically in-shape gym goer walk into a yoga class and struggle in his/her first down dog. The reason for this is because there are tons of muscles in the body, and all of them have a purpose. The ones you see on the surface are called the superficial muscles, and their job is primarily to create big movements like swinging a baseball bat, jumping, climbing, etc. While many Yoga postures and transitions require the use of these muscles, the Deep muscles or stabilizing muscles are often most used. In this video, I go over the muscle groups that I find are most important for the majority of arm balances.
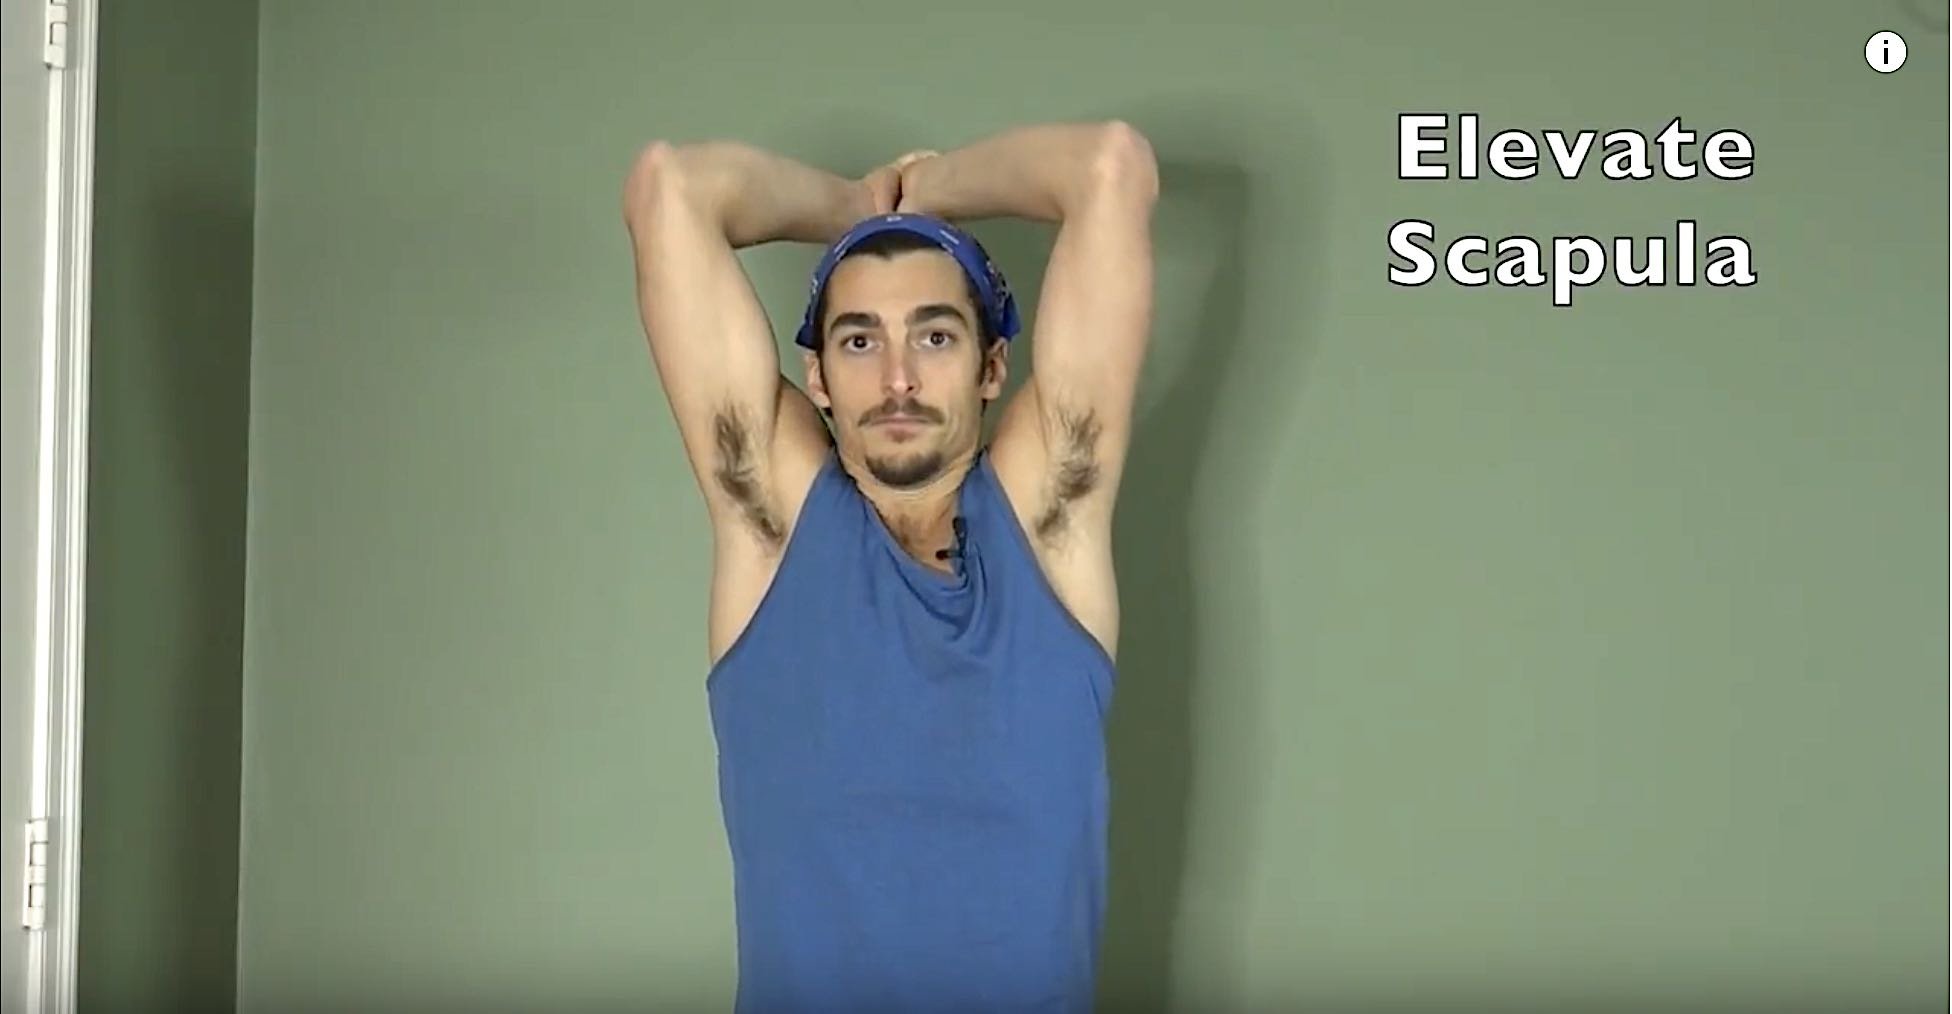
Serratus Anterior
The muscles I speak of in this video are the Serratus Anterior, and the 4 layers of abdominals (rectus abdominis, external obliques, internal obliques, and transverse abdominis). Serratus Anterior is incredibly important for many arm balances because it creates stability in the shoulder blades and moves the body away from the ground. In the “Handstand Strength Training” video I give exercises in plank pose to help students develop the strength of this muscle. When this muscle is fully engaged in plank the body is further away from the ground. The same is true in arm balances. Further from the ground begins to feel lighter and easier, and as mentioned in the video above, your wrists will feel better as well. The reason you feel lighter and more at ease when the Serratus Anterior is fully engaged is simple- all muscles have an easier time contracting when they are fully shortened. Think of your bicep muscle; isn’t it easier to hold a weight in your hand when your hand is closest to your shoulder vs halfway down at the “holding a tray” position. Part of this is the relationship to gravity but even if you changed the angle of your body that would still be the easiest position for the muscles to be engaged. This is the same reason why it’s easier to do a little tiny pull-up vs going through the full range of motion from straight arms all the way up to bent arms. If you are looking to build strength in the Serratus Anterior I suggest checking out either “The Breakthrough” or “The Chakras and The Elements”. Both immersion focus on strength building for arm balances.

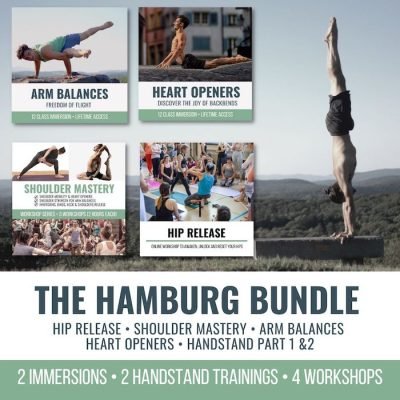
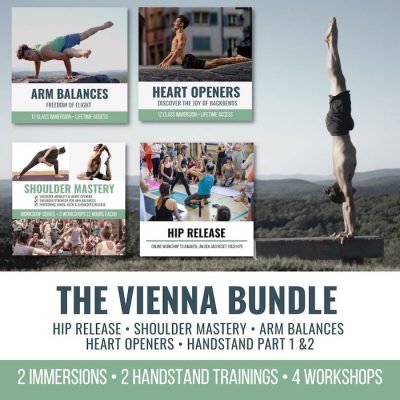
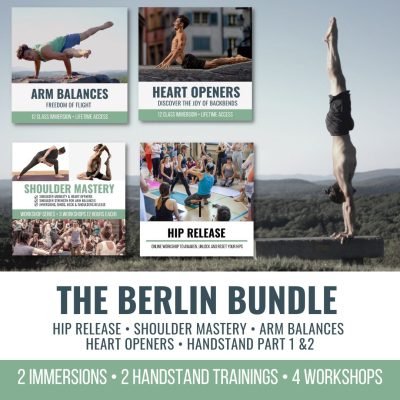
THE BREAKTHROUGH
FOCUS: ARM BALANCES & HIP OPENERS
- Build Upper Body Strength
- Release Hip Tension
- Learn Techniques to make hip opening and arm balances more accessible!
- Experience the revelatory "aha" moments in the postures you struggle with
- Uncover your range of motion and flexibility
- Release low back tension through hip opening
- 12 All Levels Live Asana Classes
- Lifetime Unlimited Access to All
Arm Balances: The Core
The four abdominals have multiple functions including flexion (rounding) of the spine, twisting, side bending, stabilizing, and compressing/lifting inner organs (primarily the transverse abdominis). Depending on the pose, many arm balances require one or more abdominals to engage because of the shape, and because they have the ability to make the midsection more compact. The more compact you feel, the lighter you will feel because all the extremities tend to pull in closer to the center of gravity when the abdominals engage. What I am not going over in this video is the important role that your legs play within all arm balances. I will be releasing another video on Youtube soon showing you how the legs relate to the core. If you are interested in finding out when that video goes up, subscribe to my newsletter and I will let you know. Developing strength in the abdominals has long been a part of the fitness industry, but until recently it was purely for visual purposes. Most people associate having a six-pack with health, but the reality is that it’s more important to have core intelligence than strength. A little strength and a lot of awareness go a very long way, much further than a lot of strength and little awareness of how to use it. Developing strength through applied actions such as doing handstand, crow pose, or exercises that produce greater intelligence in your body is what I focus on in my handstand and arm balance practice. As a result not only do I feel strong in my asana practice but my back feels great, and I am able to apply the awareness to other activities that require body intelligence. For my favorite core strengtheners you click here, or if you are looking for free ways to learn, simply search youtube for how to strengthen the 4 muscles of the core (searching each muscle separately). Anyone who offers an application for the strength and not just the exercise is likely thinking along the same lines of “muscle intelligence” vs strength. Remember you want to know what the muscle does intellectually and know what it feels like in your body. That combination will make it easier to apply later on to your practice!

CHAKRAS AND ELEMENTS
FULL BODY AWAKENING
- Unlock Your Hips!
- Awakem Your Arm Balance Practice
- Detailed Ankle and Feet Articulation
- Develop Low Back and Buttock Strength
- Strengthen Your Core
- Release S.I. Joint Pain
- Release Neck Pain
- The July Immersion Has it ALL
- Each Chakra & Element is Paired with an Area of the Body and Muscle Group
- 12 All Levels Live Asana Classes
- 4 Live Guided Meditations
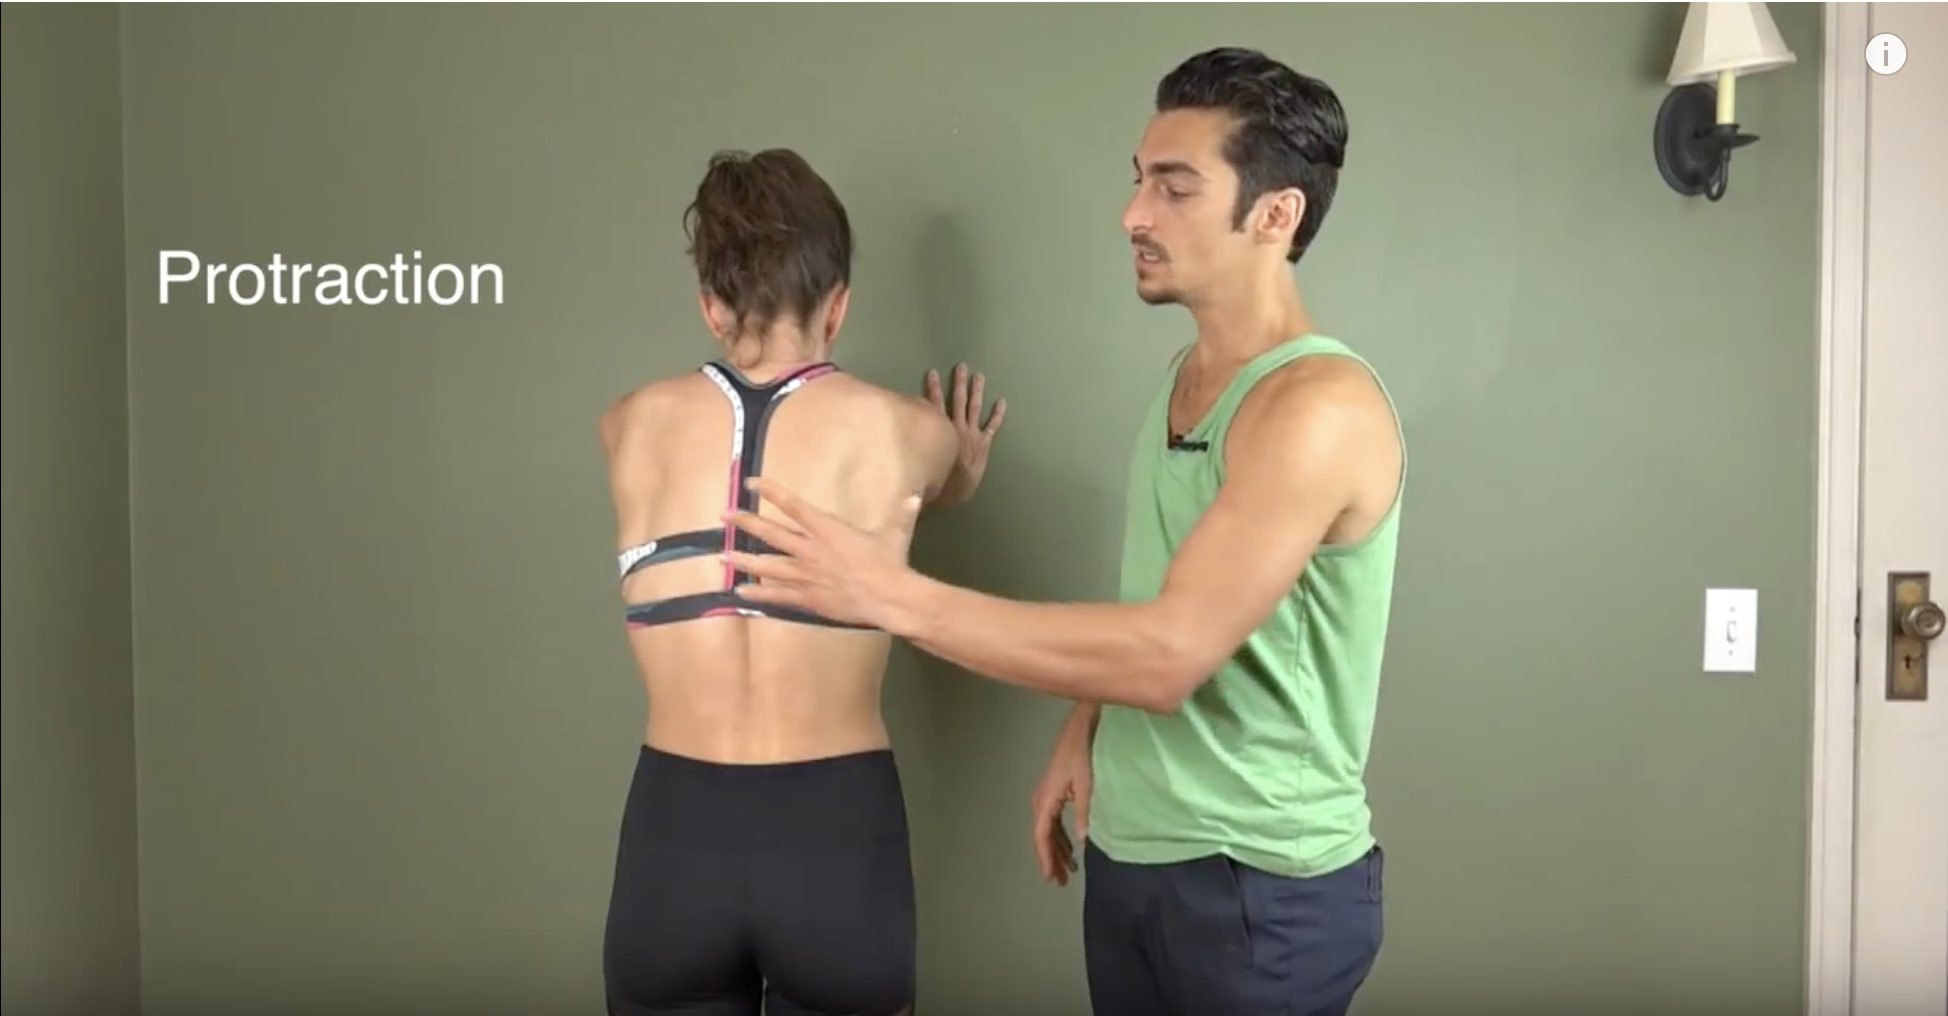
Plank at the Wall
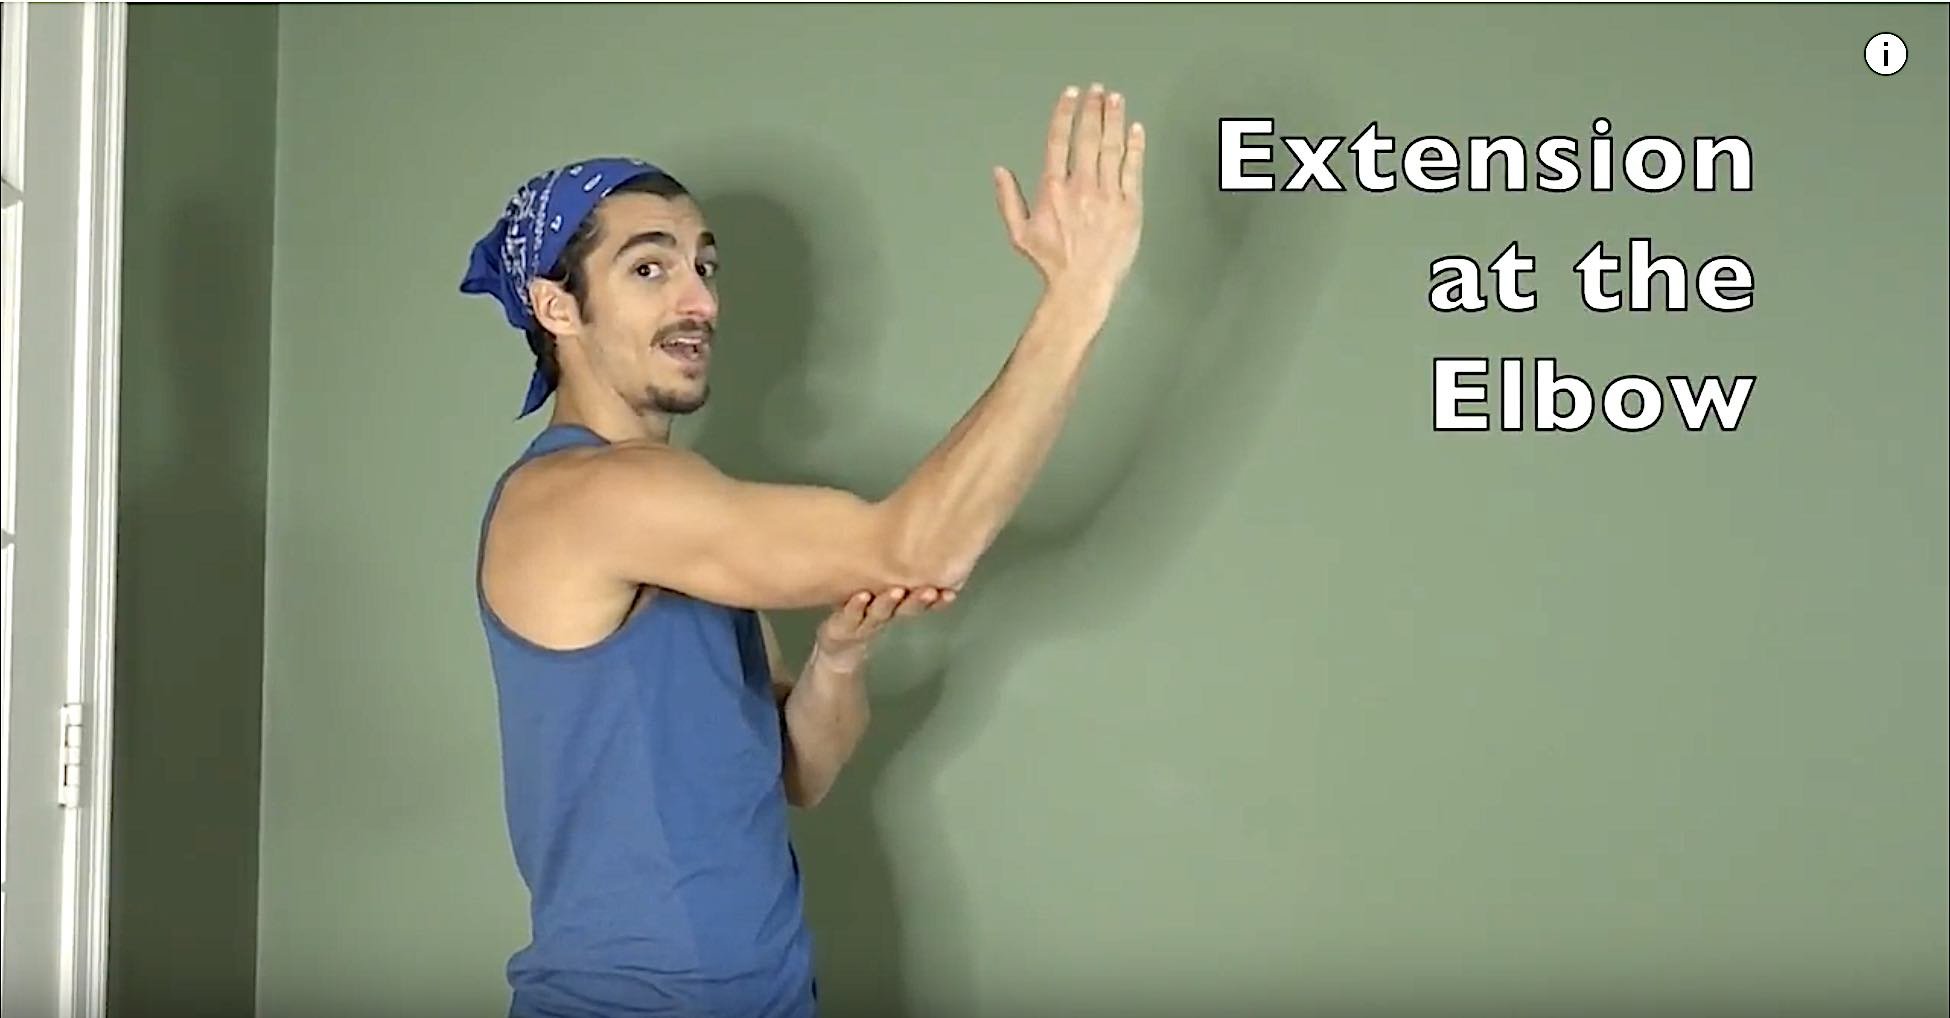
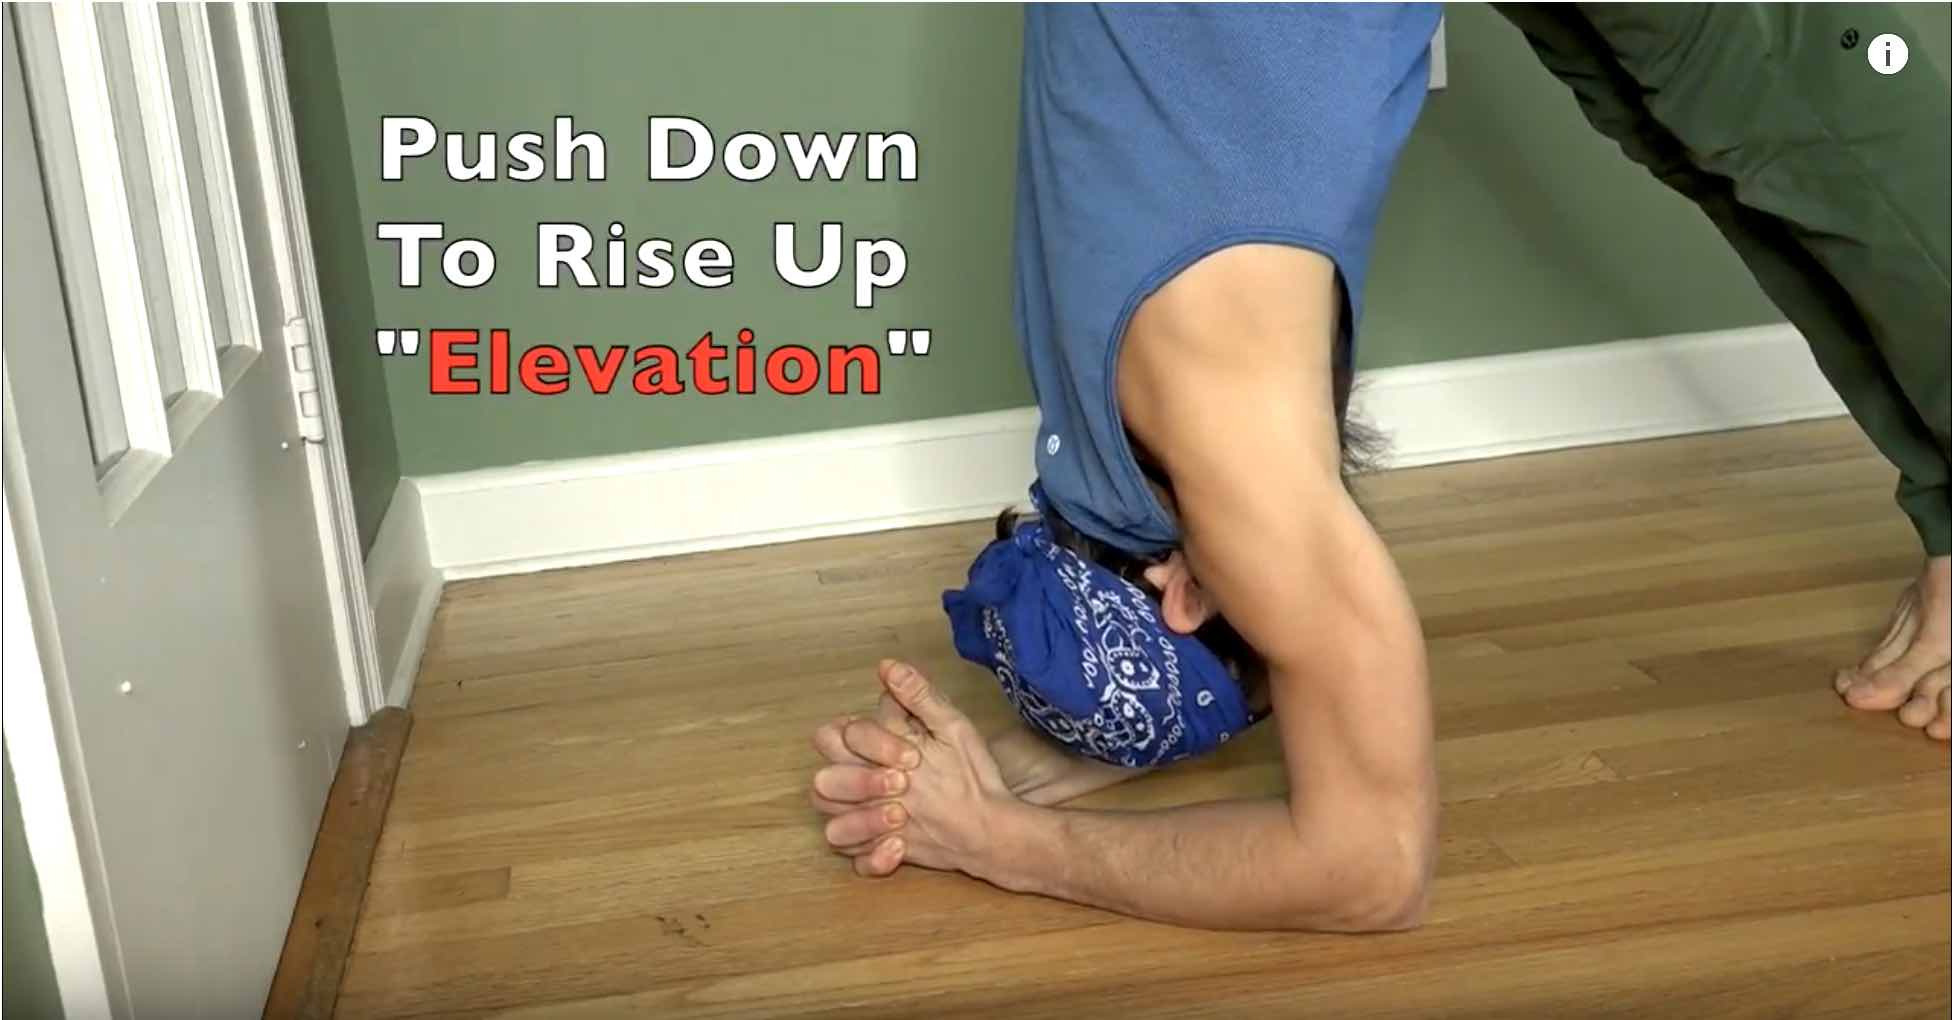
Taking plank at the wall is one of the best ways to truly develop proprioception for protracting the shoulder blades. As mentioned in the video protraction is when you push the shoulder blades apart from one another and they move around your rib cage. This is an activation of the serratus anterior muscles which tend to require strengthening for most people. At the wall, you can focus on the action without the requirement of strength.
Flexion of the Spine
Flexion of the spine in arm balances requires the muscular activation of the rectus abdominals, obliques, and likely the deep core muscles. While it is possible to do arm balances with the core completely relaxed and still hold the postures, it tends to be easier with the recruitment of them. To develop strength in your core, I highly recommend my top exercises on the Handstand Training video.
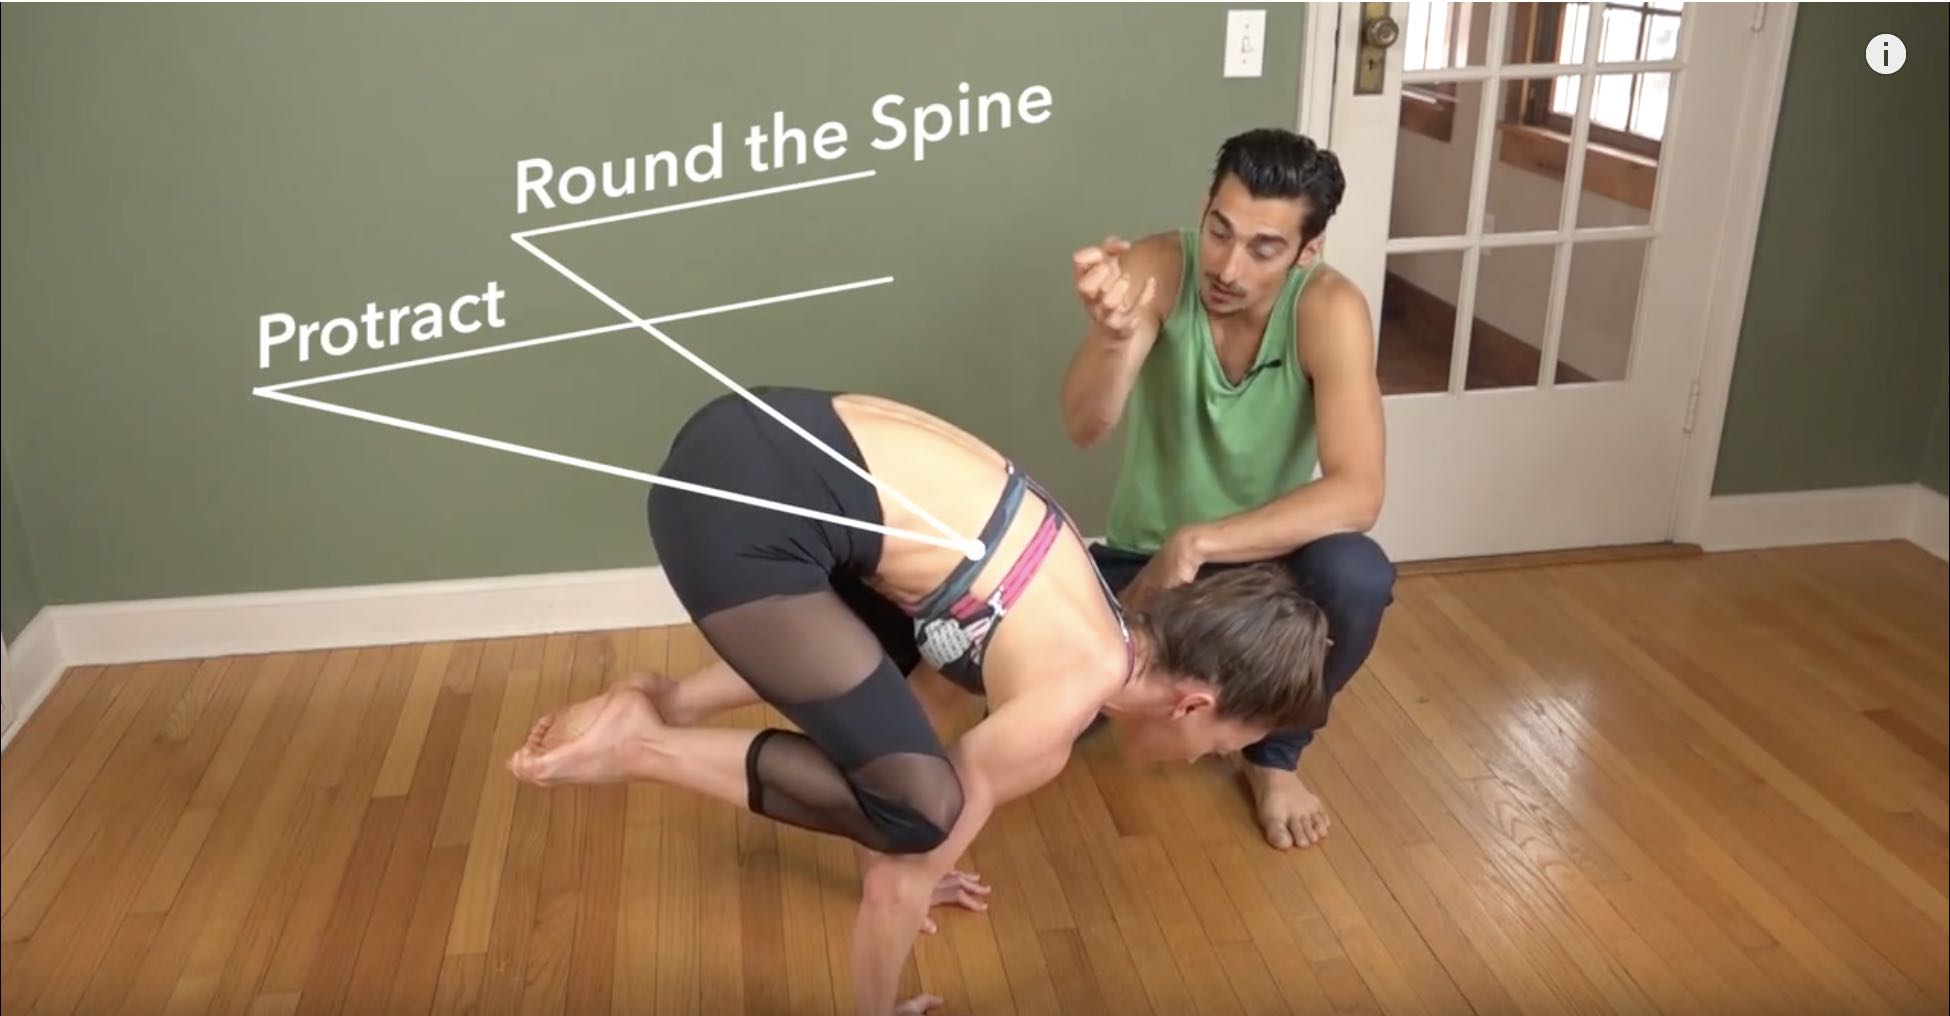
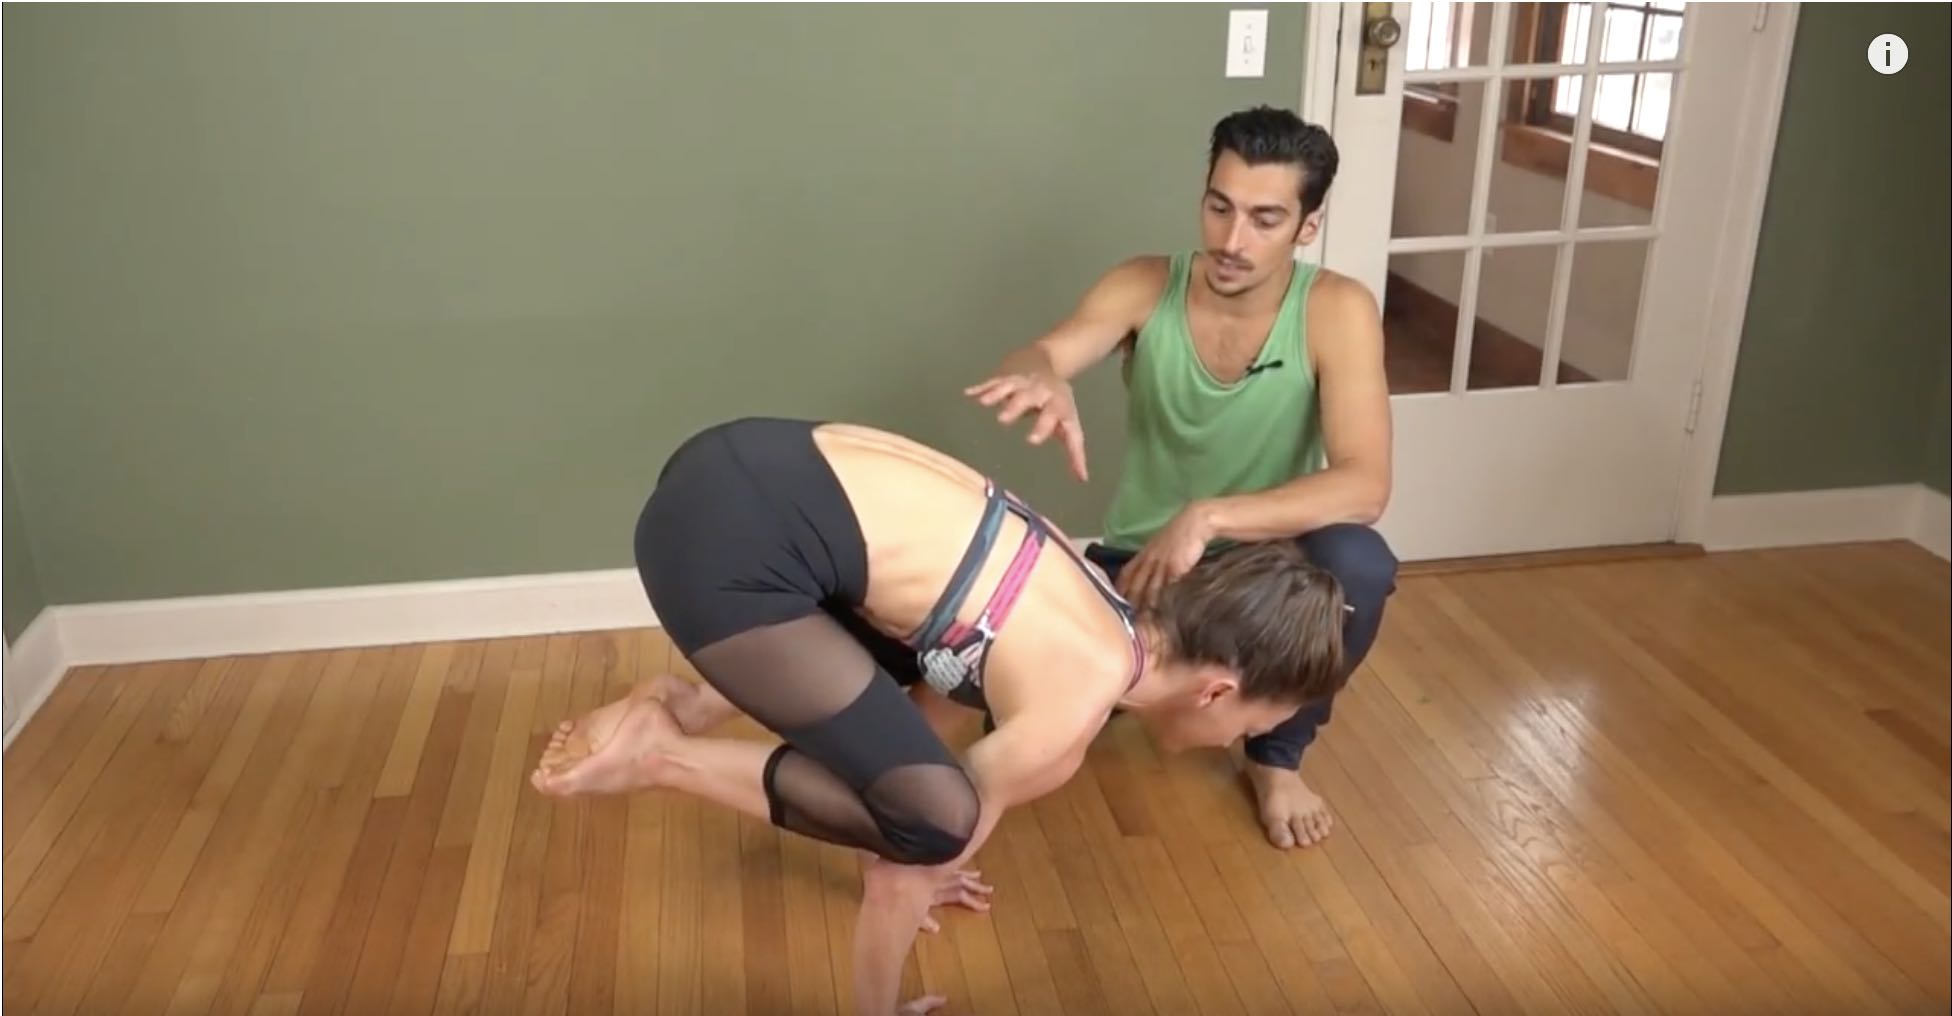
Crow With Protraction and flexion
Putting the two actions together might sound complicated but the two actions actually go hand in hand. Protraction makes spinal flexion easier to access and vice versa. I recommend first trying this in plank posture. If you haven’t yet watched the two blogs on Chaturanga, this is the best place to start integrating protraction into your arm balances. After you’ve worked with chaturanga, if you feel confident balancing crow then you can try applying these actions.
First Awareness, Then Strength.
It’s easy to try and jump ahead and go straight to our most challenging arm balance posture and try to apply new actions to it. This approach is okay but if you find that you are not getting it or not feeling a difference, it’s likely because your body needs to develop an awareness around the action itself before it can build strength. We need to create the feedback loop in our body from thought to action to sensation and back again. Once that feedback loop is established, strength can be built through repetition.
Thanks for joining me here. I hope these tips help with your practice and/or your teaching. Please share your comments, questions, or requests and I will get back to you.
-Matt
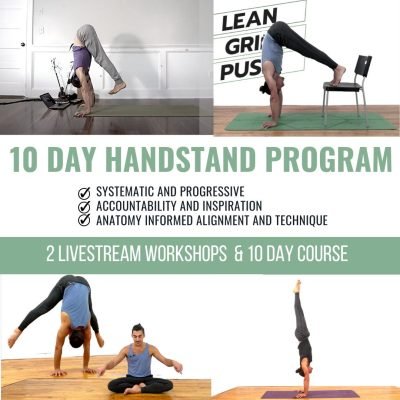
Handstand Strength Training
Learn the techniques that make Handstand fun, easy, and accessible! This collection of the top 12 most effective exercises will make you rethink how you approach handstand and what is possible, so you can finally build the proper strength and awareness it takes to hold a handstand.
Continue Learning
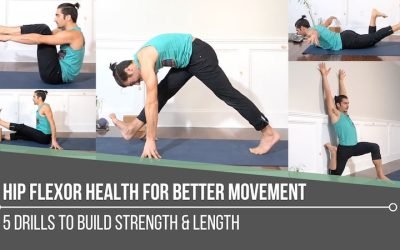
Hip Flexor Health For Better Movement
read more
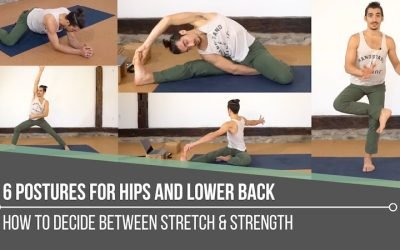
6 Postures For Hips and Lower Back
6 Postures for Hips and Lower Backstretch6 POSTURES FOR HIPS AND LOWER BACK When we're interested in learning about postures that help us with our hips and lower back, it’s simply not good enough to find a video or practice that says that certain poses will help with...

Hips & Hanumanasana
Hips & HanumanasanasplitsHIPS & HANUMANASANA What a posture! Hanumanasana is such a beautiful expression of what is possible in our physical yoga practice. However, it’s not about “achieving” Hanumanasana but about the exploration of what is possible in terms...
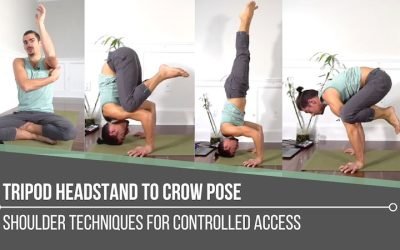
Tripod Headstand To Crow Pose
Tripod Headstand to Crow for Controlled AccessinversionsTRIPOD HEADSTAND TO CROW POSE When exploring an inversion like Tripod Headstand, the shoulder muscles become part of the primary focus. Tripod Headstand on its own can be challenging enough, but adding a...
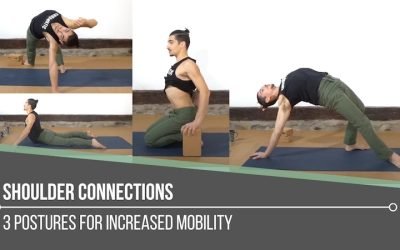
Shoulder Connections
Shoulder Connections 3 Postures for Increased Mobilityshoulder stabilitySHOULDER CONNECTIONS To increase mobility in our shoulders, we must first understand how they move, so we become more connected with their function and how they inform a variety of yoga postures....
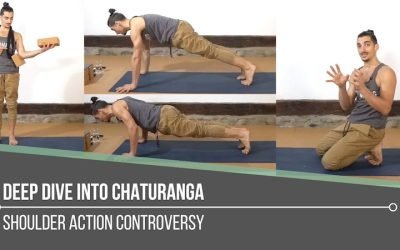
Deep Dive Into Chaturanga
Deep Dive Into Chaturanga Shoulder Action Controversyshoulder stabilityDEEP DIVE INTO CHATURANGA Earlier this week, Matt posted a video on his Instagram page highlighting the shoulder blade movement that takes place in Chaturanga—moving from protraction to retraction....
THE FREE TECHNIQUE PACK
When You Subscribe, You Will Get Instant Access to
- the Technique Pack: 15 yoga pose breakdowns
- exclusive online course discounts
- exclusive blogs and videos