Handstand ActionsLEAN, GRIP, PUSHHANDSTAND ACTIONS Handstand isn’t something we conquer in a single class, it’s a layered process that demands repetition and refinement. There are certain key handstand actions that are non-negotiable: lifting the shoulders up to the...
Down Dog: Avoid Shoulder Impingement
3 Steps to Avoid Shoulder Impingement
in Downward-Facing DogShould You “Relax Your Shoulders” Away From Your Ears?
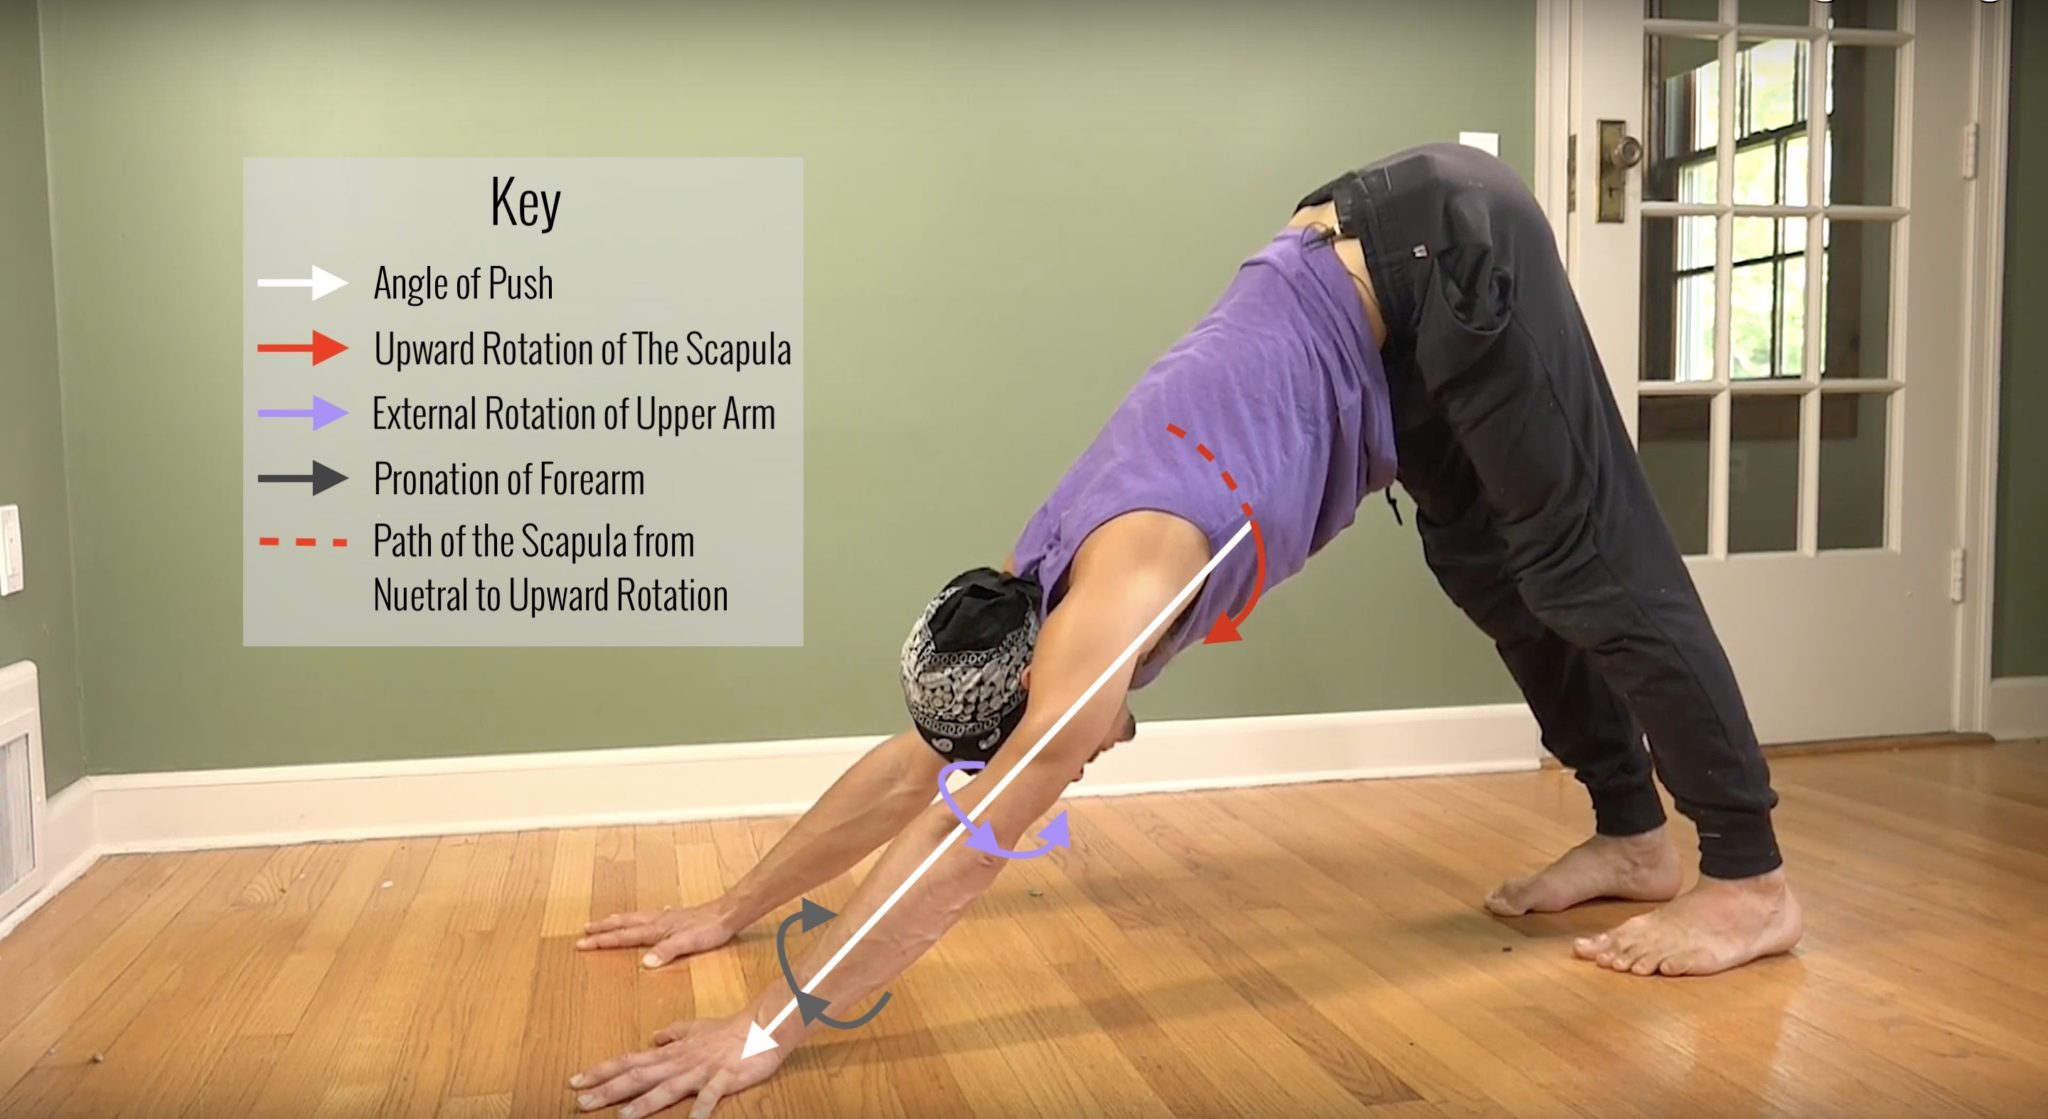
In my previous blog, “The Yoga Cue That Could Be Destroying Your Shoulders,” I explained how taking the arms up overhead while dropping our shoulders down our back could be a recipe for shoulder impingement. Many teachers use Downward Dog as a “resting pose.” In my experience, I have found that “relaxing” in Downward Dog is quite often the reason for most shoulder issues but can easily be rectified with the 3 cues I provide in the video and photo breakdown below:
- Externally Rotate the Humerus
- Pronate the Forearms (not directly related to the shoulder but balances out Step 1)
- Elevate the Scapula
Elevation of the scapula happens when you lift your shoulder blades upward, which is like “shrugging” your shoulders, or when you excitedly reach your arms up to the sky. We naturally let our shoulders lift when our arms go up, but since many instructors cue the opposite, it is easy develop a pattern that does not serve the health of our shoulders. In addition to the verbal cue of “soften your shoulders,” gravity also causes issues if we don’t actively resist when we are in postures like Downward Dog, Forearm Stand, Handstand, or in a jump forward. My suggestion is to strengthen the muscles that elevate the scapula (upper trapezius and serratus anterior being the primary ones) in order to develop the pattern that can help to avoid shoulder impingement.
Many people cringe when I suggest strengthening the muscles that lift the shoulders up, saying something like “but my shoulders are stuck up by my ears, shouldn’t I relax them down?” The short answer is yes, but the longer answer is that muscles hold tension when they are weak. Your shoulders are likely up by your ears because of stress, rather than excess strength . . . unless you are a world champion bodybuilder . . . then ignore this. We also have muscle-holding patterns, which means that when we hold our neck, head, and arms in one position for most of the day, it will cause the muscles to become accustomed to holding those positions, and as a result you will be somewhat stuck in that shape. Simply pulling your shoulders back down will not relax the trapezius; rather, it could cause more stress, and the muscle could become more aggravated.

SHOULDER REVELATION
Strength•Mobility•Biomechanics
- Increase strength and flexibility
- Decrease risk of injury
- Release shoulder tension
- Learn anatomy and biomechanics
- Access a wider range of postures
- Stabilize the rotator cuff muscles
- Learn binds, heart openers, and arm balances
- 12 all-levels, 75-minute online classes
- Lifetime unlimited access to all
$198.00 $138.00
BUT ISN’T IT IMPORTANT TO RELAX MY NECK?
Relaxing is undoubtedly important, and it will help release tension in your mind and body. At the same time, muscles relax from being activated properly and then released. You have certainly experienced this after engaging your muscles in a good workout or yoga class and then the incredible relaxation afterwards. Stretching a muscle can help release tension at times, but more often than not, I find active engagement or passive shortening of a muscle is far more effective. When a muscle is healthy and strong, it is better able to relax.
Follow the 3 easy steps in the video below to avoid shoulder impingement, and you will grow stronger in your trapezius muscles and rotator cuff.
Maintaining Joint Space
Research indicates that externally rotating the humerus helps to move the supraspinatus tendon away from the impingement area under the acromion process. Essentially this means that by rotating your arm bones outward (biceps turn forward) you are less likely to pinch the the soft tissues that run between your arm bone and the shoulder socket.

HANDSTAND TRAINING
2 PART COURSE FOR STRENGTH & BALANCE
- Part 1: Get strong in key areas for Handstand
- Part 2: Learn to Balance Handstand
- Techniques, anatomy and drills to gain mastery on your hands
- Easy to follow, step by step approach
- Find weak points and make them your strengths
- The most efficient & effective course to access handstand
- Option to purchase each course separately or together
CURRENT SALE PRICE FOR BOTH
$298.00 $148.00
Other Helpful Muscle Engagements
Research also shows that activating both the biceps and triceps at the same time can actually support creating more space in the glenohumeral joint (where the arm meets the shoulder socket). You can do this by actively pushing the arms straight, and then try to squeeze your hands toward each other like a bull dog. It is challenging to do oppositional muscle engagements so this takes a bit of exploring. First work on straightening the elbows and activating the triceps. When you squeeze your arms toward each other you will also get the added benefit of activating the adductor muscles which can also support more space in the shoulder joint.
DOES THIS APPLY TO HANDSTAND AS WELL?
Your shoulder joints do not know the difference between downward dog and handstand – aside from the gravitational pull, the shoulders are in the same alignment in downward dog as they are in handstand, this is called flexion. When the arms are flexed over head, you are at risk of impingement. The only difference is that in handstand you have to compete with gravity and so you will need to increase your efforts. You will find much more on this subject in the online course titled Handstand Part 2: Balance.
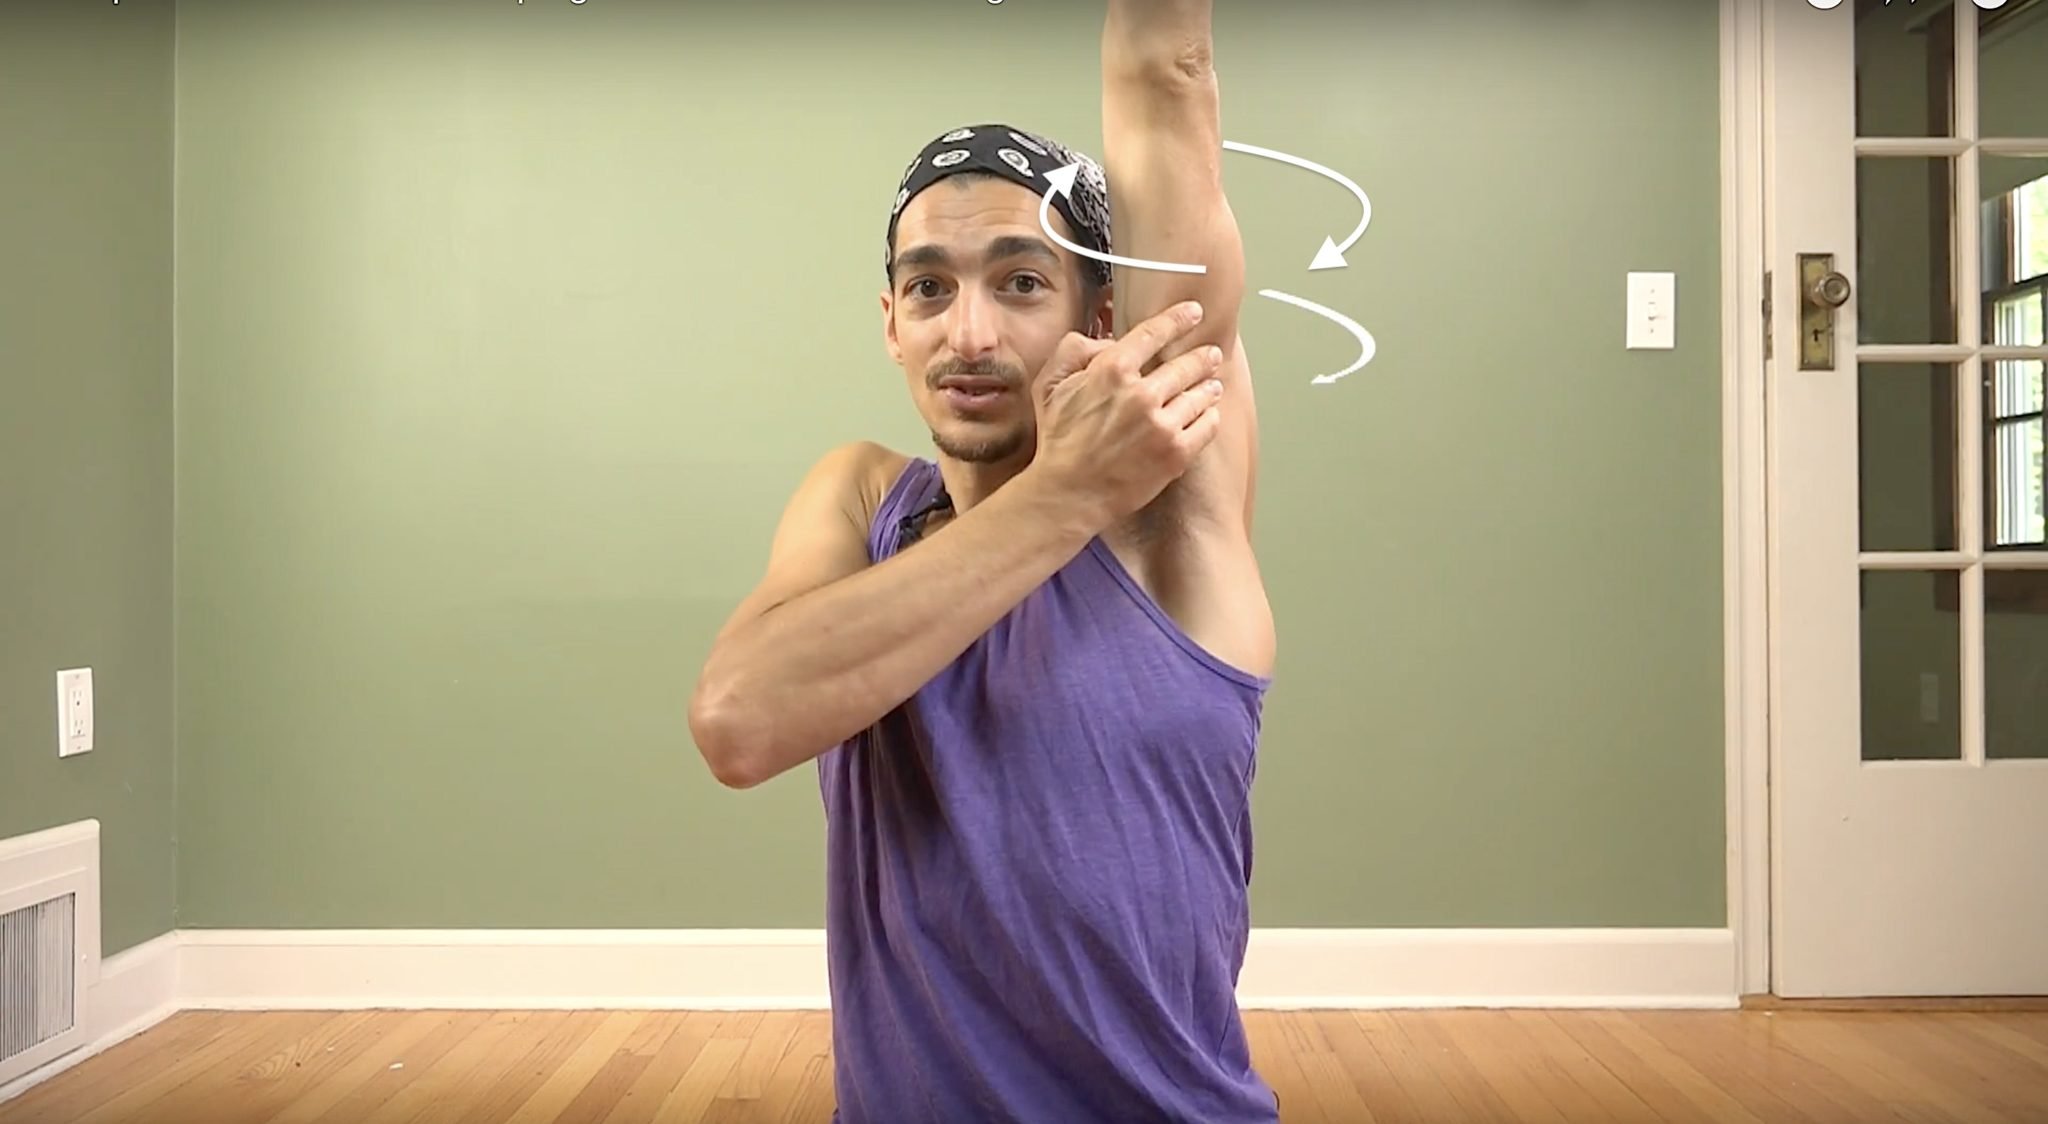
Step 1 - Externally Rotate the Arm Upper Arm Bone
Rotating the humerus externally when the arm goes up over head can help to avoid the impingement interval in the joint. One of your rotator cuff muscles, the supraspinatus, runs through the glenohumeral joint (under the acromion process and above the head of the humerus). This muscle helps to lift the arms up from tadasana, but because of its location it is easily pinched if the arms go over head but the shoulder blades don’t follow the movement. Downward dog is often the culprit- the weight of the body on the shoulders requires that we put effort into the posture to push the ground away, however with cues like “relax your shoulders” and “soften” we often release the appropriate muscular action required to maintain space resulting in shoulder impingement. In plain English – Externally rotate your arms (triceps rotate toward your face) and you will maintain more space in the joint and less potential for impingement.
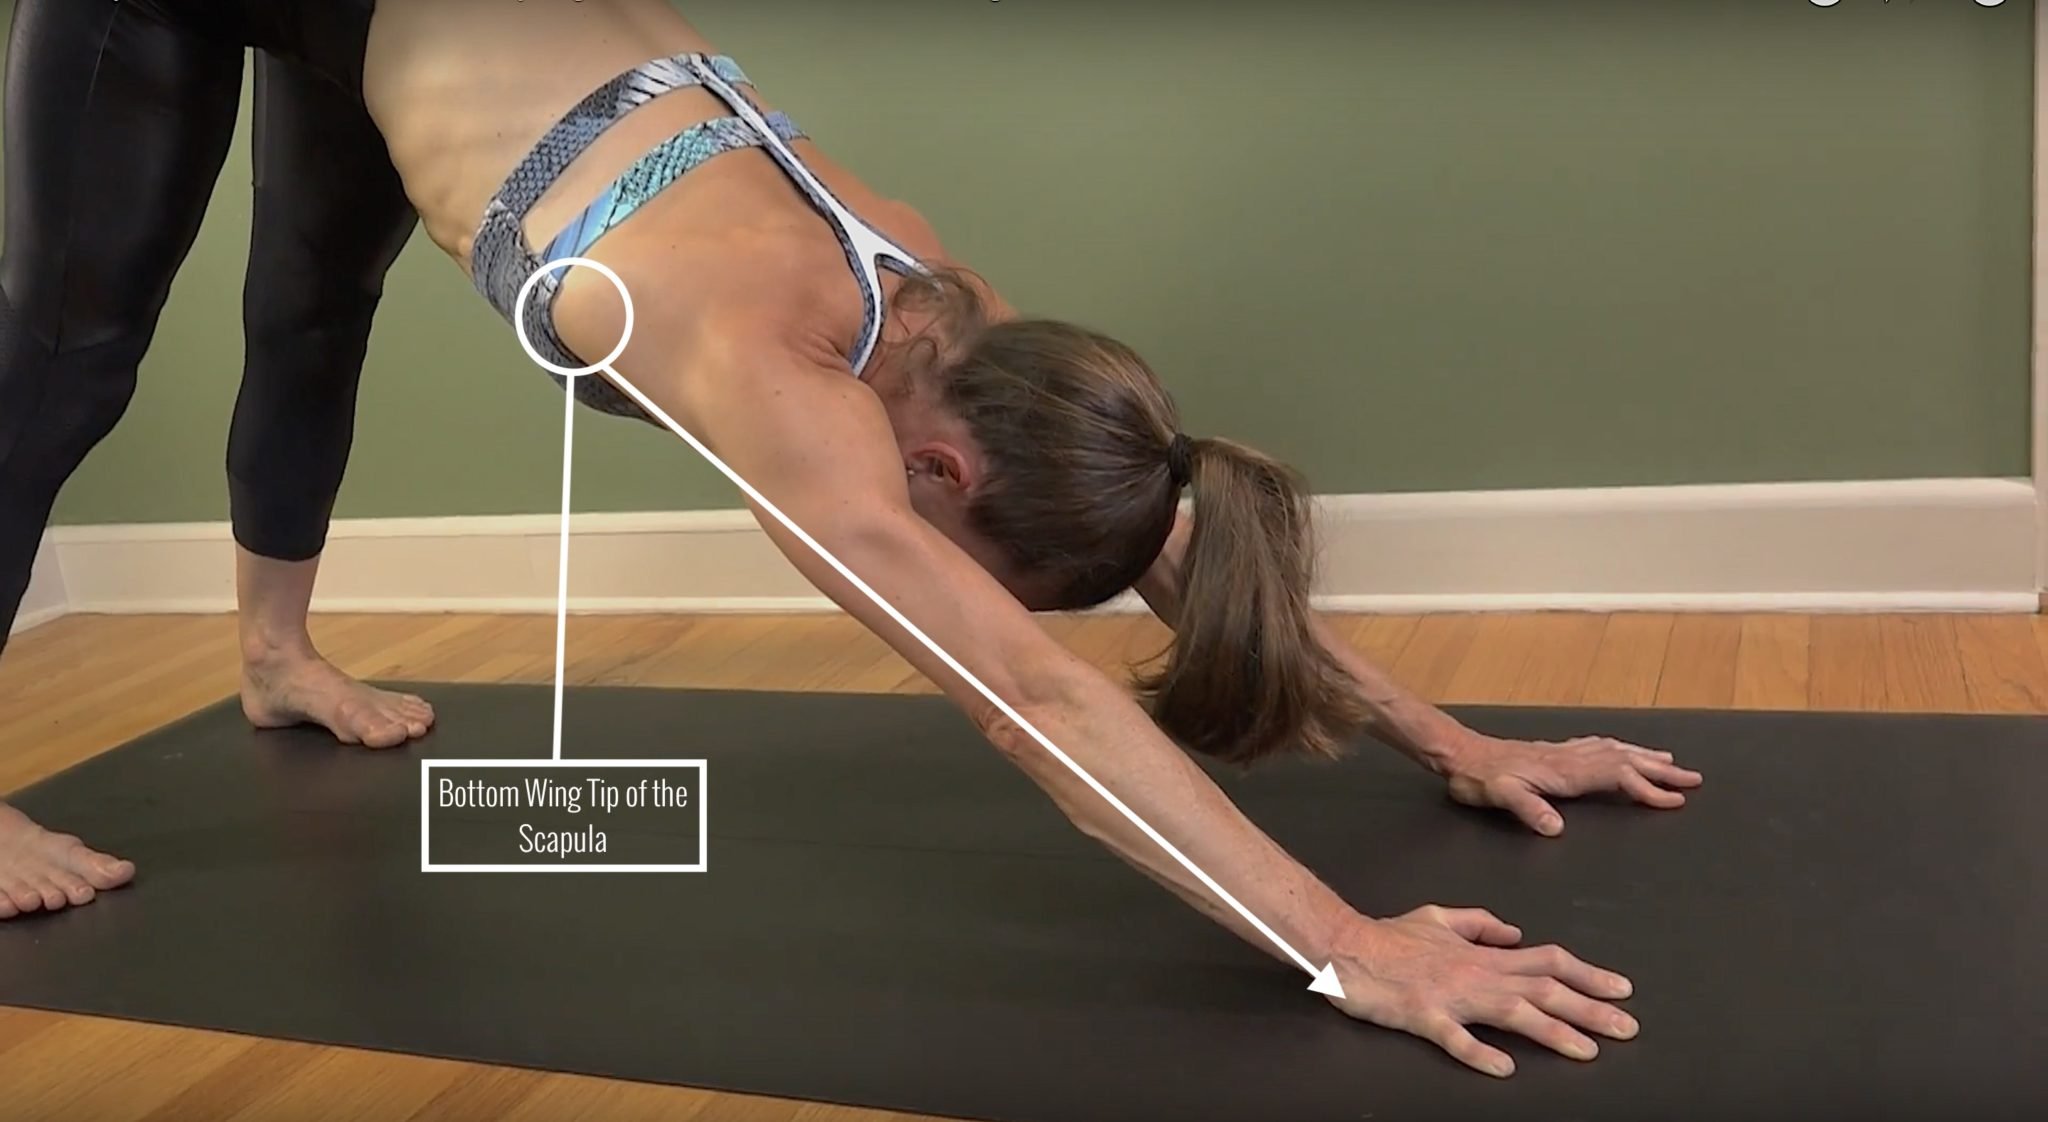
Step 3: Upward Rotation of The Scapula
From the outer line of your shoulder blades press through your hands into the earth. When you elevate your shoulder blades toward the ears from the outside line of the arm, the bottom wingtip of the scapula begins to rotate out and up – this is known as upward rotation of the scapula. As a result of upward rotation your shoulder blades rotates and angles itself to allow the arm bone to be overhead without a collision of bones in the joint, creating less possibility of impingement.
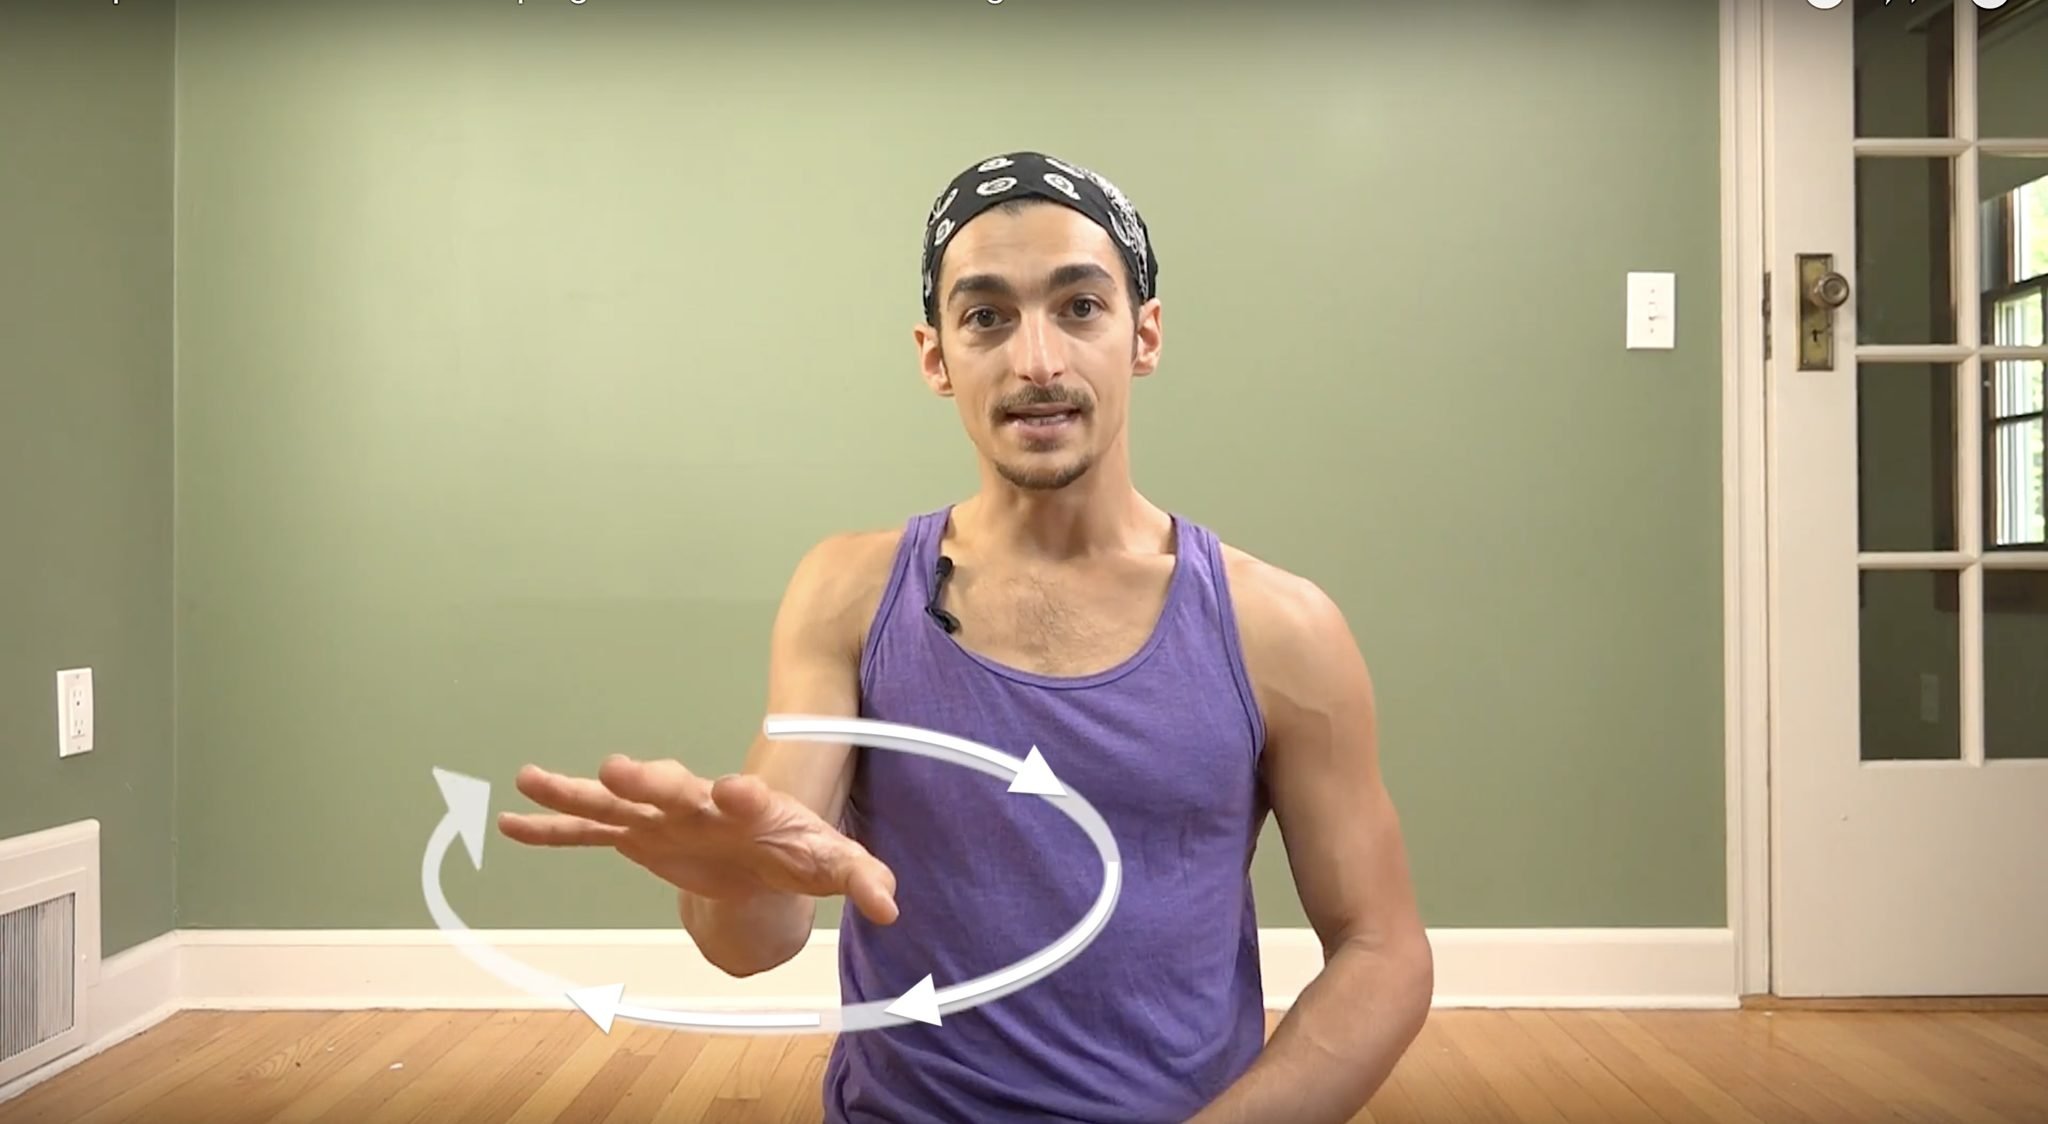
Step 2: Pronate the Forearm
When externally rotating the upper arm bone you will notice that the lower arm (forearm) will go along for the ride and rotate as well. This results in an increased pressure in the outside of the hand and wrist. To evenly distribute the weight to the whole hand, simply pronate your forearm, by rotating the inner forearm and hand down toward the ground. Many teachers will stress this by asking you to press your index finger and thumb down. Depending on your range of motion in your radial ulnar joint, you may not be able to press the inside edge of your hand down and maintain external rotation of the shoulder. My suggestion is to turn the hands slightly outward if this is the case. Learning to rotate the forearm in opposition of the upper arm bone can be challenging, but through mindful repetition you will be able to do it, and you will feel an increased strength and stability from it. To Strengthen your wrist, I highly recommend Handstand Training
The 3 Actions
While I have broken this down into 3 steps, with time and practice it can be 1 step and the 3 actions can happen all at once. To build muscle coordination it is useful to separate the actions and practice them individually. Though I created a definitive order to follow, know that it is beneficial to mix up the 3 steps and put them out of order. You may find another combination to work better for your body! The dotted red line above is to indicate the path of the bottom wing tip of the scapula. If you do not do push the bottom wing tip will wind up closer to the spine, it is helpful to video yourself to see where your shoulder blades are on your back.

ONLINE TEACHER TRAININGS
GET CERTIFIED AT THE 200 OR 500 HOUR LEVELS
- 200 Hour Training: Get certified to teach yoga
- 300 Hour Training: Take your certification to the 500 hour level
- Recognized globally by Yoga Alliance
- Take your practice to the next level
- All levels, ages, and experience welcomed
Depression of the Scapula
Pulling your shoulders down away from the ears is the opposite of everything I have mentioned in this post, however it is an important action to work on especially for arm balances like side plank because depression creates stability when the arms are at or below shoulder height.
When Can I Relax My Shoulders?
One of the best parts about getting stronger with shoulder elevation (upward rotation) is that the muscles of your upper trapezius will become more supple and be able to relax more easily. Just like after working really hard in a yoga class you feel that complete relaxation in your body, each of your muscles experience that after being strengthened. There are plenty of opportunities to relax your shoulders down your back – just not when you reach your arms overhead. So when you are sitting at your chair you can think shoulders move slightly back and shoulder blades relax downward. When you are in a strong posture like crow pose and your upper arms are not over head, you can even work on strengthening the muscles of depression of the scapula. My philosophy on the body is that there are no wrong actions or muscle engagements, there are just appropriate and inappropriate times to use them.
A great rule of thumb you can take with you: when in doubt just let your shoulders follow your hands – if the hands go up, let your shoulders go up, if they go down let them go down, if you reach forward let them go forward, etc. Enjoy your exploration, thank you for stopping by!
-Matt
SHARE YOUR THOUGHTS & QUESTIONS
TOP RECOMMENDATIONS
Handstand Training
Learn the techniques that make Handstand fun, easy and accessible! This 2 part course consists of the top most effective exercises will increase your strength and technique so you can easefully balance a handstand.
SHOULDER REVELATION
In this 12 class immersion you will practice specific techniques to strengthen and unlock your shoulders. Each class focuses on a specific joint articulation and muscle group so you gain mastery in the shoulders.

HEART OPENERS
Finally, a 12 class immersion designed specifically to help you discover the freedom of heart openers. Learn how to avoid uncomfortable compression, and awaken your true range of motion in a step by step manner.
Continue Learning
Handstand Actions
read more
Handstand Mechanics
Handstand MechanicsINVERSIONHANDSTAND MECHANICS Stability, strength, and coordination come together in the pursuit of mastering handstand mechanics. One of the most critical foundations is internal rotation at the hip joints, which can aid with certain entries and...
Stable Sirsasana
Stable SirsasanaHEADSTANDSTABLE SIRSASANA Creating a stable Sirsasana is less about the final pose and more about the mechanics that lead us there. From weight transfer and spinal alignment to hamstring flexibility and shoulder engagement, each layer matters. Unlike...
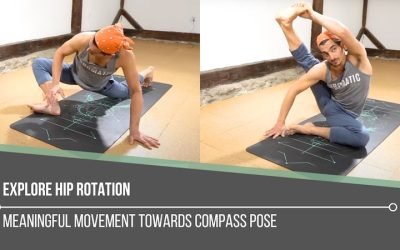
Explore Hip Rotation
Explore Hip RotationSURYA YANTRASANAEXPLORE HIP ROTATION Hip rotation isn’t just an anatomical concept—it’s an open invitation to become more intimate with our body’s story. In yoga, we often live in lateral (external) rotation, especially in hip-opening postures....
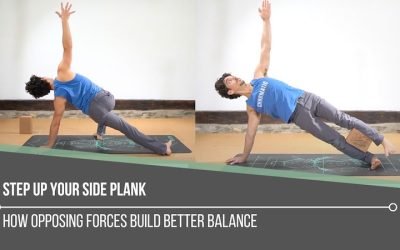
Step Up Your Side Plank
Step Up Your Side PlankVASISTHASANASTEP UP YOUR SIDE PLANK Side Plank might look simple, but true proficiency starts in the details. One of the keys to refining the posture is learning how opposing muscle groups create an isometric contraction—a subtle engagement that...
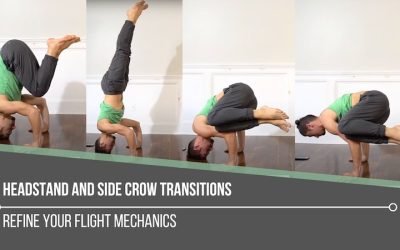
Headstand and Side Crow Transitions
Headstand and Side Crow TransitionsPARSVA BAKASANAHEADSTAND AND SIDE CROW TRANSITIONS Mastery begins with mechanics, especially when it comes to headstand and side crow transitions. Each posture on its own demands control, coordination, and a deep understanding of...
THE FREE TECHNIQUE PACK
When You Subscribe, You Will Get Instant Access to
- the Technique Pack: 15 yoga pose breakdowns
- exclusive online course discounts
- exclusive blogs and videos