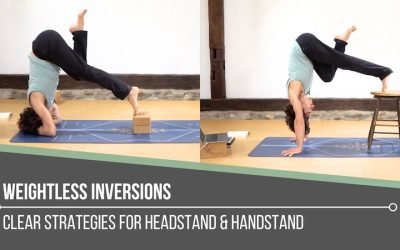
Weightless InversionssirsasanaWEIGHTLESS INVERSIONS Weightless inversions are not about removing effort. They are about redistributing it with awareness. Matt reminds us that when we refine how we place weight through the hands, shoulders, and core, the body begins to...
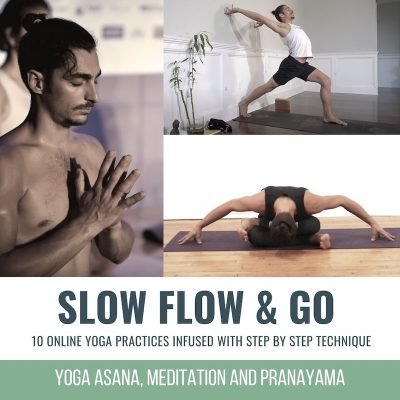
deeper twists and spinal mobility with the fire line
DEEPER TWISTS
INCREASE SPINAL MOBILITY WITH THE FIRE LINE
DEEPER TWISTS
DEEPER TWISTS & SPINAL MOBILITY: “FIRE LINE”
Do you correlate strength with twisting postures in your yoga practice, or is it flexibility that comes to mind first? There’s no doubt that both strength and flexibility are required for deeper twists, but let’s shine the spotlight on strength as we take a deeper look into how we can unlock our true potential when it comes to the execution of twisting postures in our asana practice.
YOUR INTENTION FOR THE TWIST
Twisting postures in yoga are known for their multitude of benefits. Let’s understand though that our intentions behind various twisting postures and the ways in which we execute them can benefit vs. harm our bodies to varying degrees. We may also have very different reasons for incorporating twists into our asana practice. If the goal is to create more of a therapeutic experience, then gentler twists may be the appropriate approach to take. If the intent and/or purpose is to work more deeply into a twist, then there are ways to heighten the experience with proper awareness and activation (we’ll see this shortly with Matt’s unique approach). Whether there is some level of vulnerability due to injury or not, doing things like pushing through the arms or trying to force more deeply into a twist can in fact cause harm, and this is never the desired outcome.

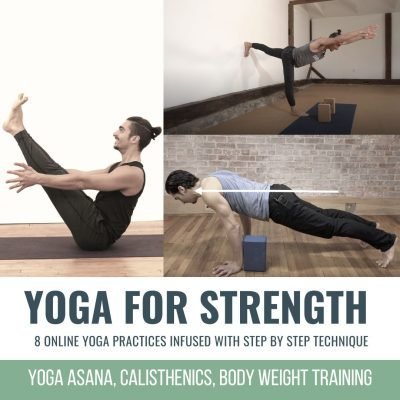
MOBILITY
ONLINE YOGA IMMERSION
- Key techniques to increase flexibility
- Strength development for mobility and range of motion
- Learn postures: Hanumanasana (Splits), Extended Side Plank
- Active and passive mobility for shoulders, hips, and spine
- Improve spinal twists, heart openers, shoulder openers, and hip openers
- Find greater ease in seated postures
- Improve mobility and posture off the mat
- When and how to do active, passive, and isometric stretching
$148.00
Yes, all movements on or off the mat will indeed place varying degrees of pressure on the discs in our spine, and, outside of the body’s natural resilience, there are ways in which we can create more integrity to support these movements. Although simply by twisting, we increase the amount of pressure on the spinal discs, twisting is also the answer to the question of how to increase their health.
Our discs require nourishment, and I love the sponge analogy — the “squeeze and soak effect” — when considering how to stimulate this nourishment. An appropriate twisting action or posture can actually help to equalize the pressure in the discs by supplying them with fluid, which allows them to expand. This creates more space and shock absorption between each vertebra, allowing your spine to react with more resilience to movements that create more weight, pressure, and/or impact in your body.
Now, Matt’s approach to twists is quite unique and extremely effective. His approach asks you to bring your focus and awareness to where you can create activations with more intention in order for your body to respond with greater ease.
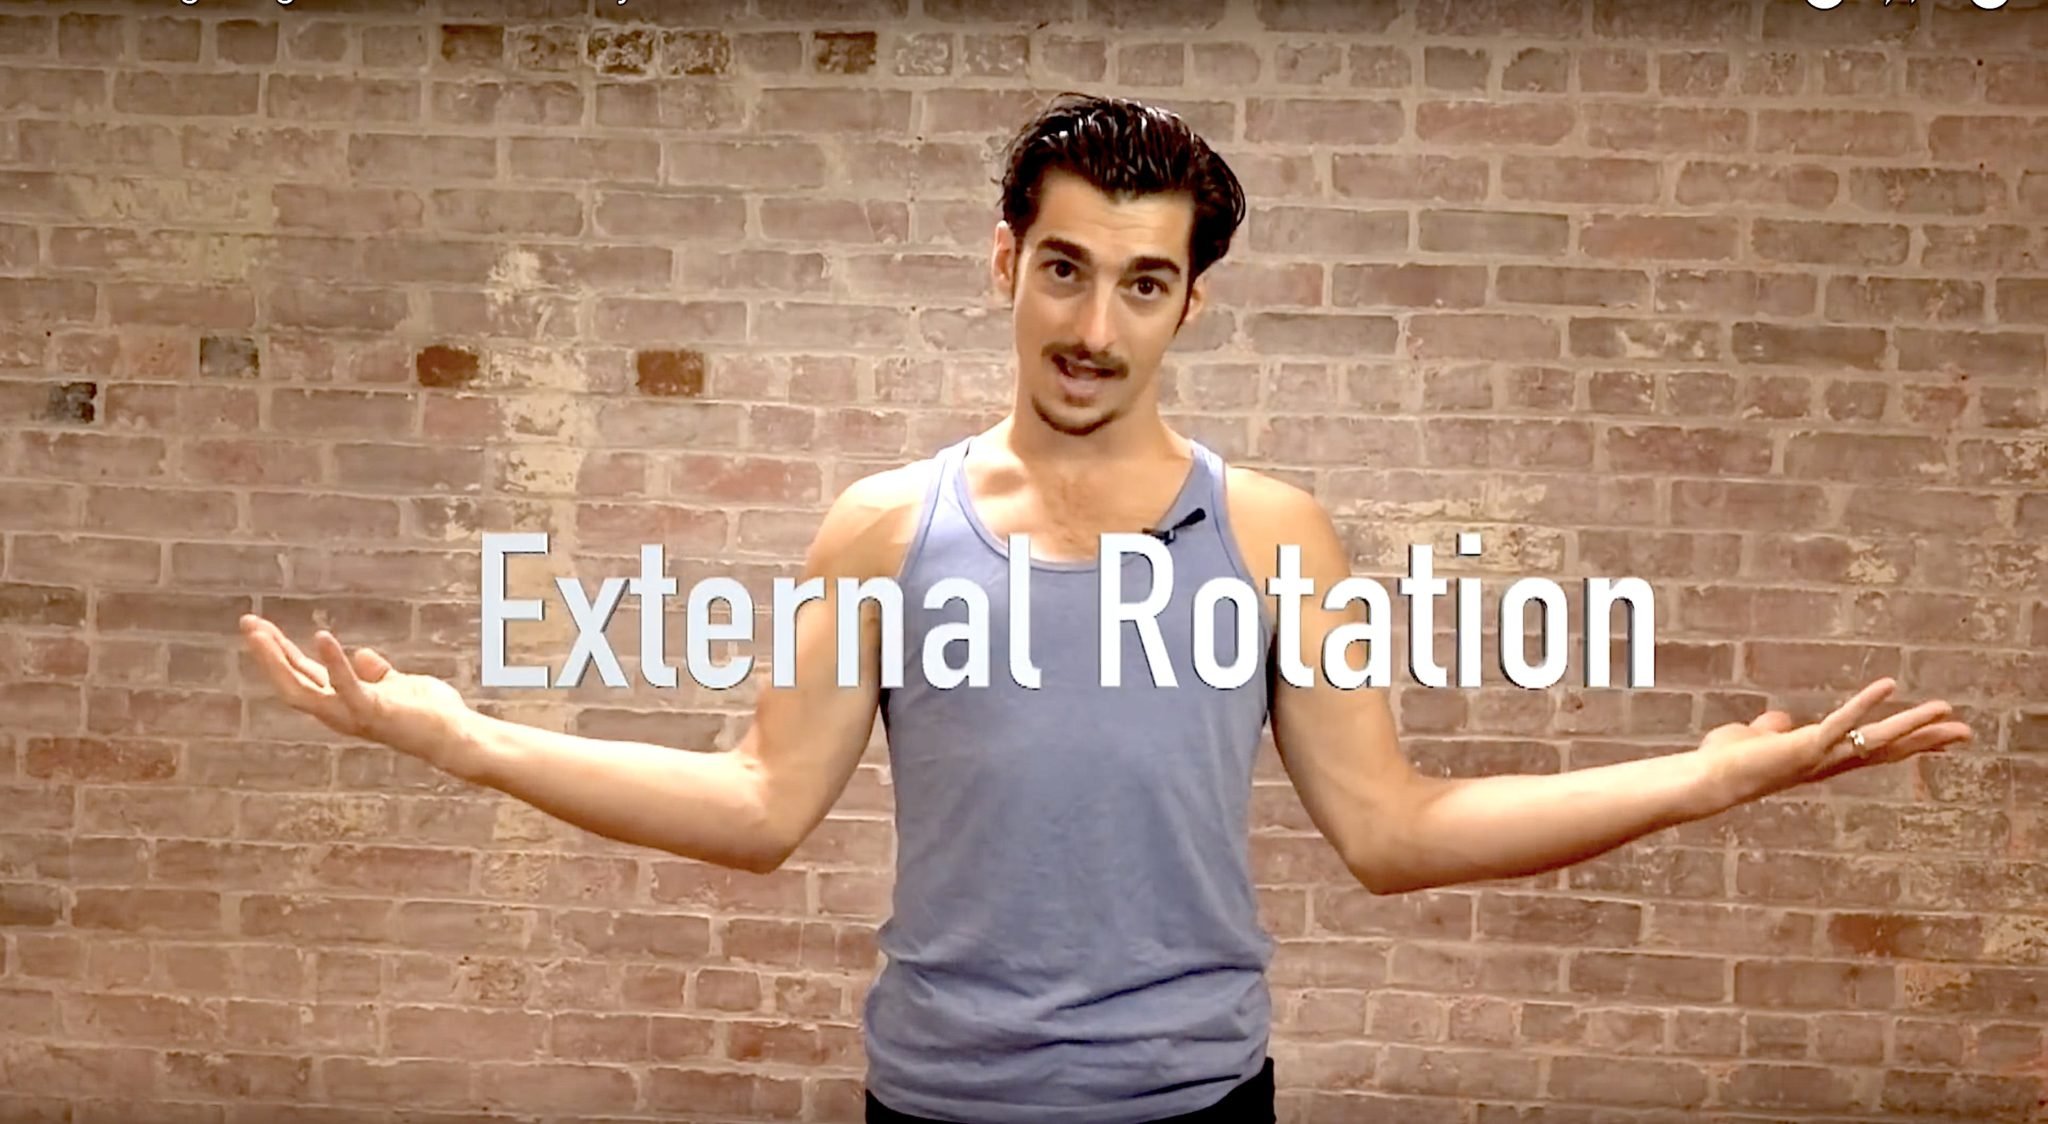
WHAT IS THE FIRE LINE?
If you’ve been following Matt and/or practicing with him, then you are familiar with his Chromatic Approach to yoga. Regarding the physical practice, we understand this approach as systemic with a deep awareness of how we move our bodies and progress to a “peak posture.” Something Matt created is the idea of the “Fire Line,” which he describes as a kinesthetic chain of muscle activation, or a co-activated line of muscle, or a co-ordinated engagement of several muscles in order to gain greater access to balance, strength, stability, and flexibility.
MUSCLE ACTIVATION IN THE FIRE LINE
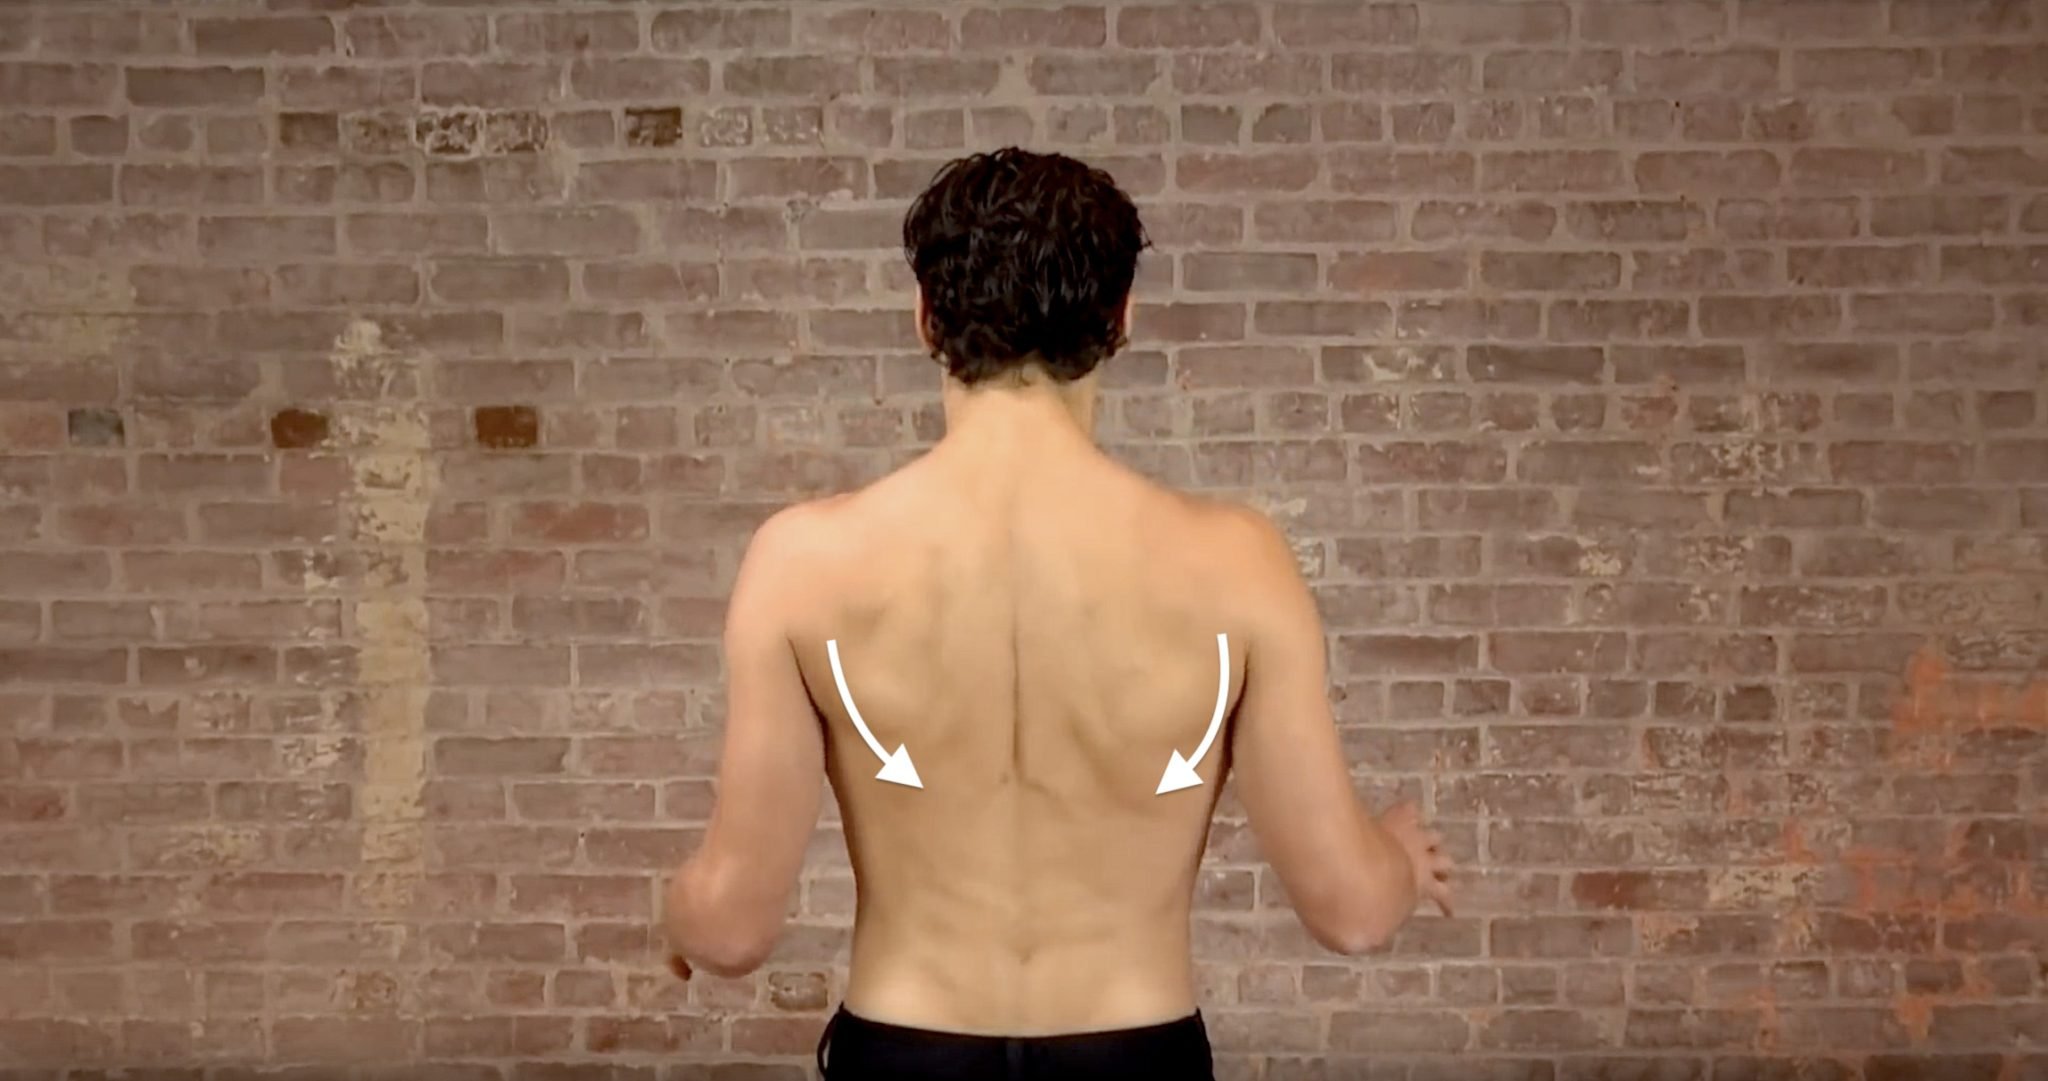
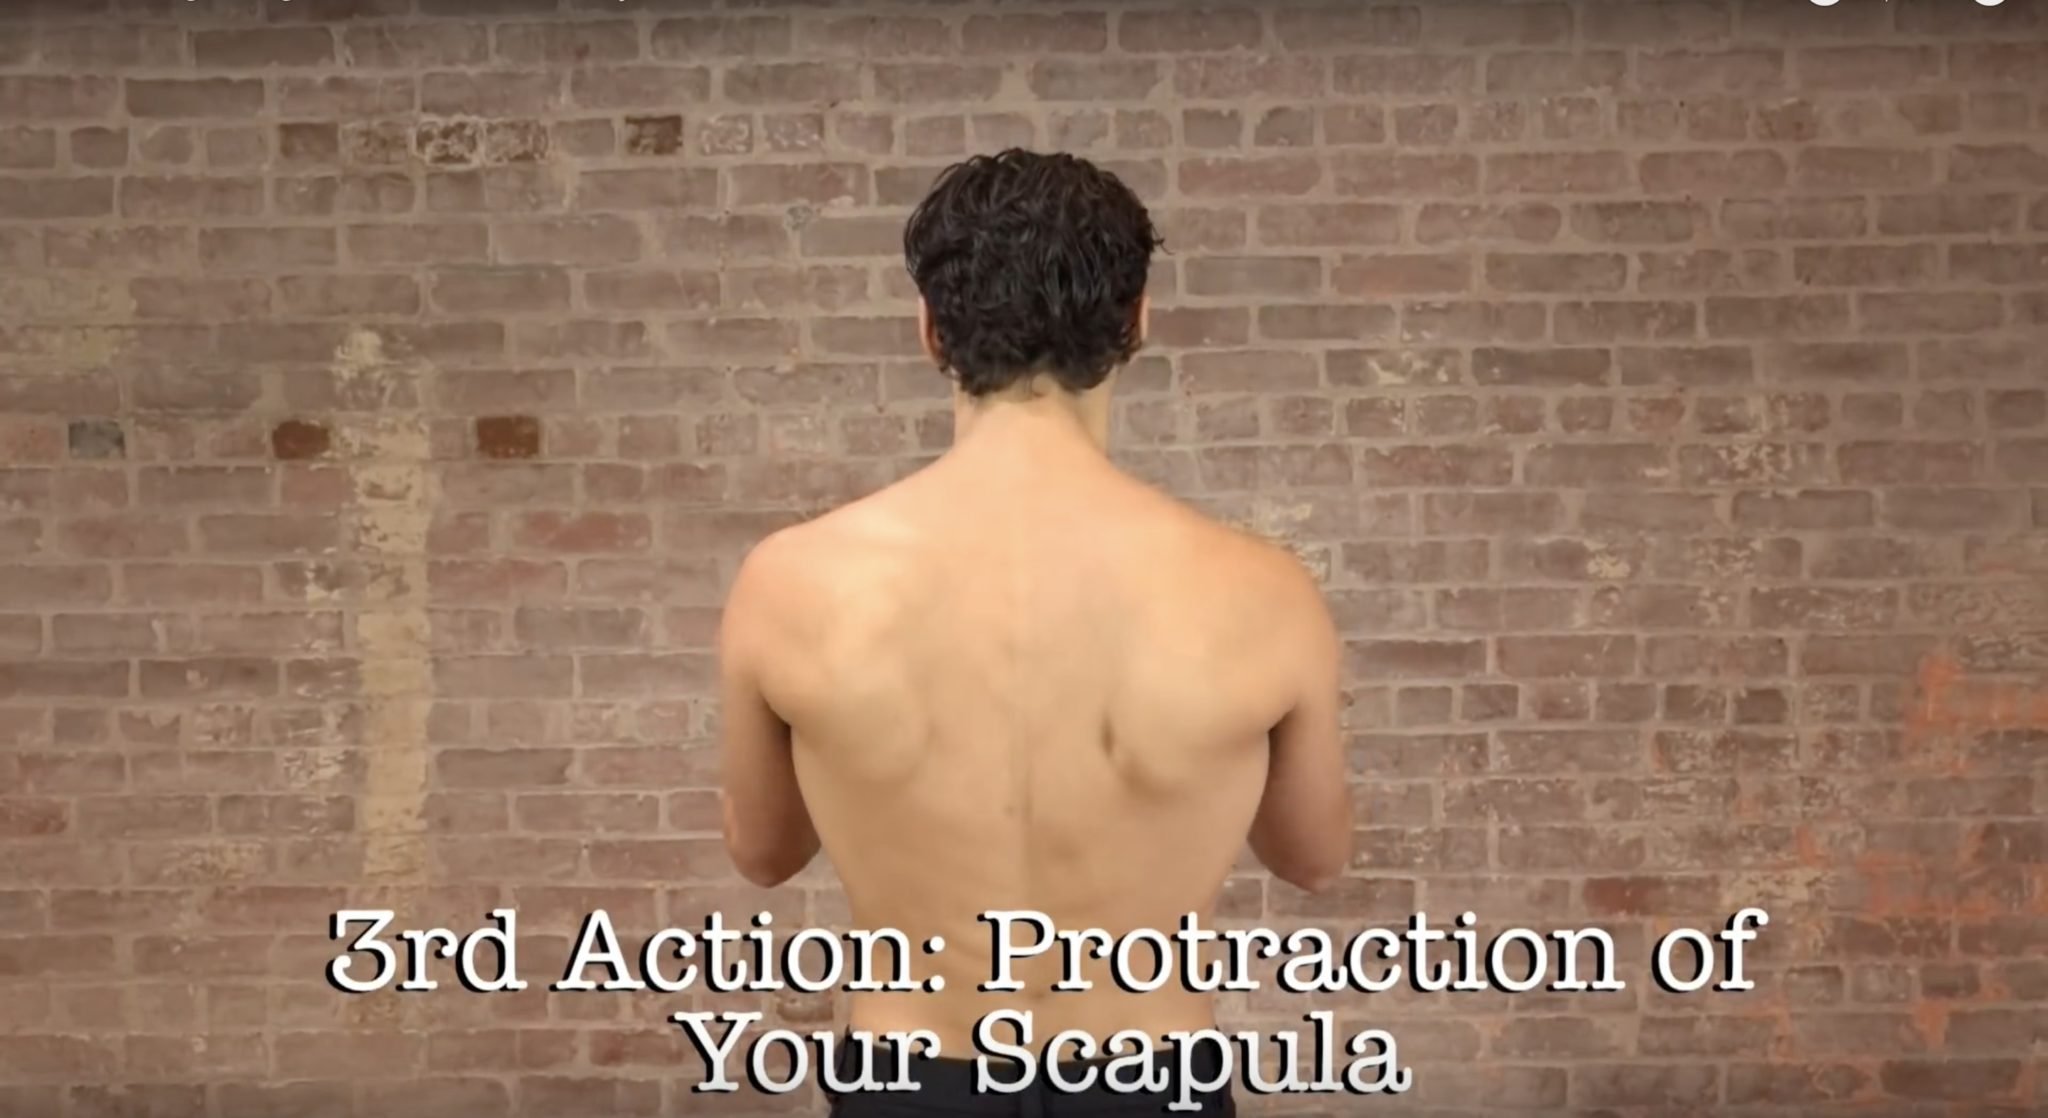
Matt starts off by explaining that we first bring our attention and awareness to the serratus anterior on one side of the body, which funnels into the external obliques through the linea alba, then traveling underneath the external obliques on the other side of the body to the internal obliques, which then go down to the opposite hip bone.
The Fire Line branches off “like a river” in 2 directions. The 1st branch goes to the outside of the gluteus maximus down through the IT band and connects to the outer shin. The 2nd branch goes from the inside of the hip—the iliacus and/or psoas muscle, which is on the inside of the bowl of your pelvis and attaches right at the inner thigh, where it meets the pelvis inside of the femoral head (inside of thigh bone). This all travels in the same direction, where we find the adductor group, which runs at the inside of your leg; some of the muscles in this group attach down at the shin.
We draw a thread of connection all the way through. Through Matt’s dedication to practice and his experience with his own body and with teaching and observing his students, he realized that activating this line allows the yoga practitioner to execute a variety of different twisting postures with great integrity and ability.
He highlights that the “center of the fire” is right at the core. We must recognize that the fire goes inward and creates a rounding through the back of the body. The key is to bring awareness to this rounding by exaggerating a pulling back of the ribcage.
With all of this in mind, we can see why strength plays a key role. Instead of just “dumping,” or forcing our bodies into a twist, we very thoughtfully engage the muscles in this Fire Line to more safely and deeply experience a variety of twisting postures.

SPINAL AWAKENING
November 2021 Immersion
- Twists • side bends • forward folds • heart openers
- Learn techniques to strengthen & mobilize your spine
- Release back tension and discomfort
- Twelve 75-minute classes, all levels appropriate
- Advance your postural practice
- Lifetime unlimited access to all
YOUR DISCOUNT CODE: STRENGTHMEMBER
$148.00 $118.00
REVOLVED CHAIR POSE
Take a close look at Matt’s deliberate actions in today’s video. What we see is not only the chromatic approach, the build, the preparation; but we see the activation of the fire line in order to avoid the collapse into Revolved Chair Pose.
When we approach twisting postures with strength as the anchor, not only do we execute twists with more purpose, but overall we feel more empowered in our bodies and our practice. What a beautiful outcome.
Imagine getting this type of insight on your practice on a regular basis, and being able to integrate it into your mind and body. Online Immersions with Matt are the perfect way to get techniques like the fire line into your practice. Each immersion consists of 12 all levels classes so you can advance your body awareness and deepen your practice.
If you have been practicing with the immersions than you know exactly how powerful and effective they are.
But what if you want to share this knowledge with others? Take advantage of the opportunity to study with Matt in his upcoming teacher trainings. His 200 and 300 Hr trainings are open for enrollment.
The 200 Hr. Teacher Training: Click Here to See The Next Start Date
This is for you if you are interested in deepening your yoga practice, building your confidence, learning how to create a class, sharing this practice with friends, family or beyond. Yes it’s for all levels, ages, etc.
The 300 Hr. Advanced Teacher Training: Click Here to See The Next Start Date
This training is definitely for you if you are already certified at the 200 or 500 hour level but want to take your teaching career and practice to the next level. In this training you will learn Anatomy, Bio-mechanics, Postural Techniques, Intelligent Sequencing, Breathwork, Meditation, Heart Centered Philosophy, Theming, Business Structure, Marketing, Social Media, Branding and how to build a sustainable and successful career!
Article by Trish Curling @anioyoga
Video Extracted From: The 200 & 300 Hour Trainings and April 2020 Immersion “The Greatest Hits”
MOBILITY
ONLINE YOGA IMMERSION
- Key techniques to increase flexibility
- Strength development for mobility and range of motion
- Learn postures: Hanumanasana (Splits), Extended Side Plank
- Active and passive mobility for shoulders, hips, and spine
- Improve spinal twists, heart openers, shoulder openers, and hip openers
- Find greater ease in seated postures
- Improve mobility and posture off the mat
- When and how to do active, passive, and isometric stretching
$148.00
CHOOSE YOUR PATH


Continue Learning
Weightless Inversions
read more
Opening The Heart Chakra
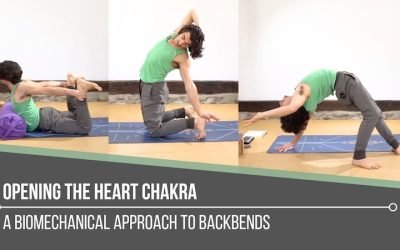
Opening The Heart ChakrabackbendOPENING THE HEART CHAKRA Opening the heart chakra is not simply about reaching deeper into a backbend. Matt reminds us that this space is rooted in love, balance, and connection, both with ourselves and with others. It reflects how we...
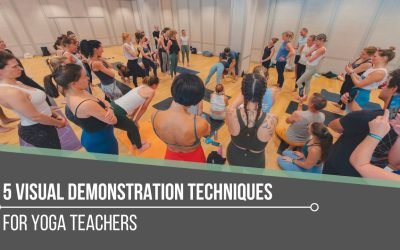
5 Visual Demonstration Techniques for Yoga Teachers
5 Visual Demonstration Techniques for Yoga TeachersYoga TeachersVisual Demonstration This is often confused with “teaching from the mat.” Teaching at the front of the room can be useful at the right time and place, but that is not what we are referring to here. In...
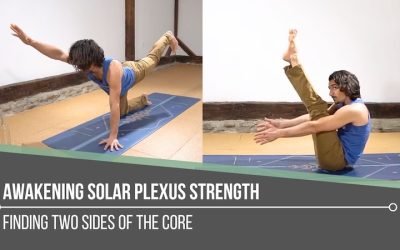
Awakening Solar Plexus Strength
Awakening Solar Plexus Strengththird chakraAWAKENING SOLAR PLEXUS STRENGTH Awakening solar plexus strength invites us into the centre of transformation. Matt reminds us that this third chakra, Manipura, is our fire, our willpower, and our ability to take action. It...
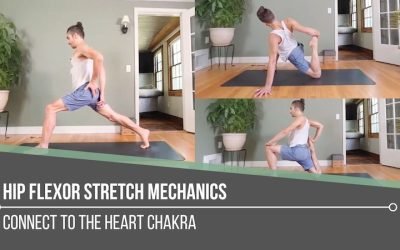
Hip Flexor Stretch Mechanics
Hip Flexor Stretch MechanicsALIGNMENTHIP FLEXOR STRETCH MECHANICS Hip flexor stretch mechanics begins with understanding that stability and length often come from opposing actions. In the first demonstration, Matt cues the back inner thigh to lift upward, which tips...
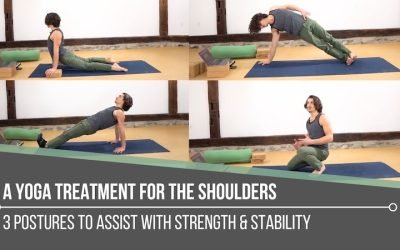
A Yoga Treatment For The Shoulders
A Yoga Treatment For The ShouldersSTABILITYA YOGA TREATMENT FOR THE SHOULDERS Shoulders tend to speak up when stability is missing. Matt reminds us that building strength isn’t about aesthetics, it’s about support, resilience, and keeping the body working as one...
THE FREE TECHNIQUE PACK
When You Subscribe, You Will Get Instant Access to
- the Technique Pack: 15 yoga pose breakdowns
- exclusive online course discounts
- exclusive blogs and videos