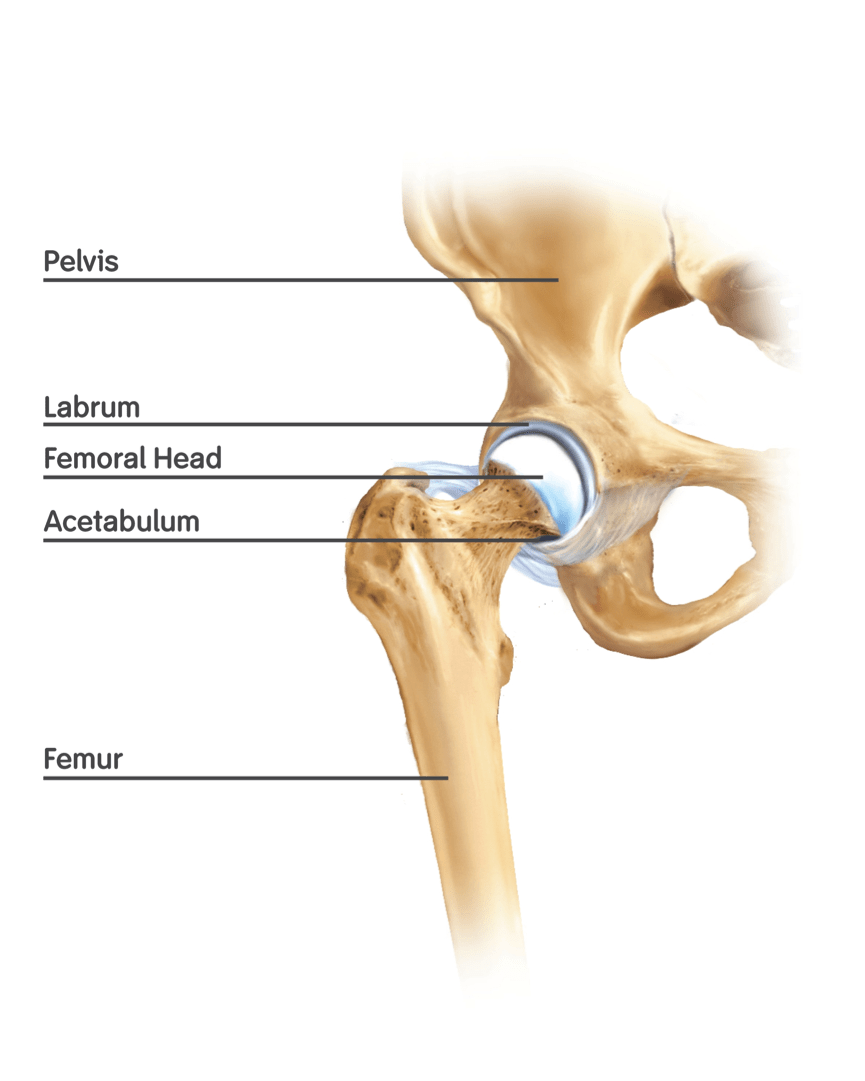
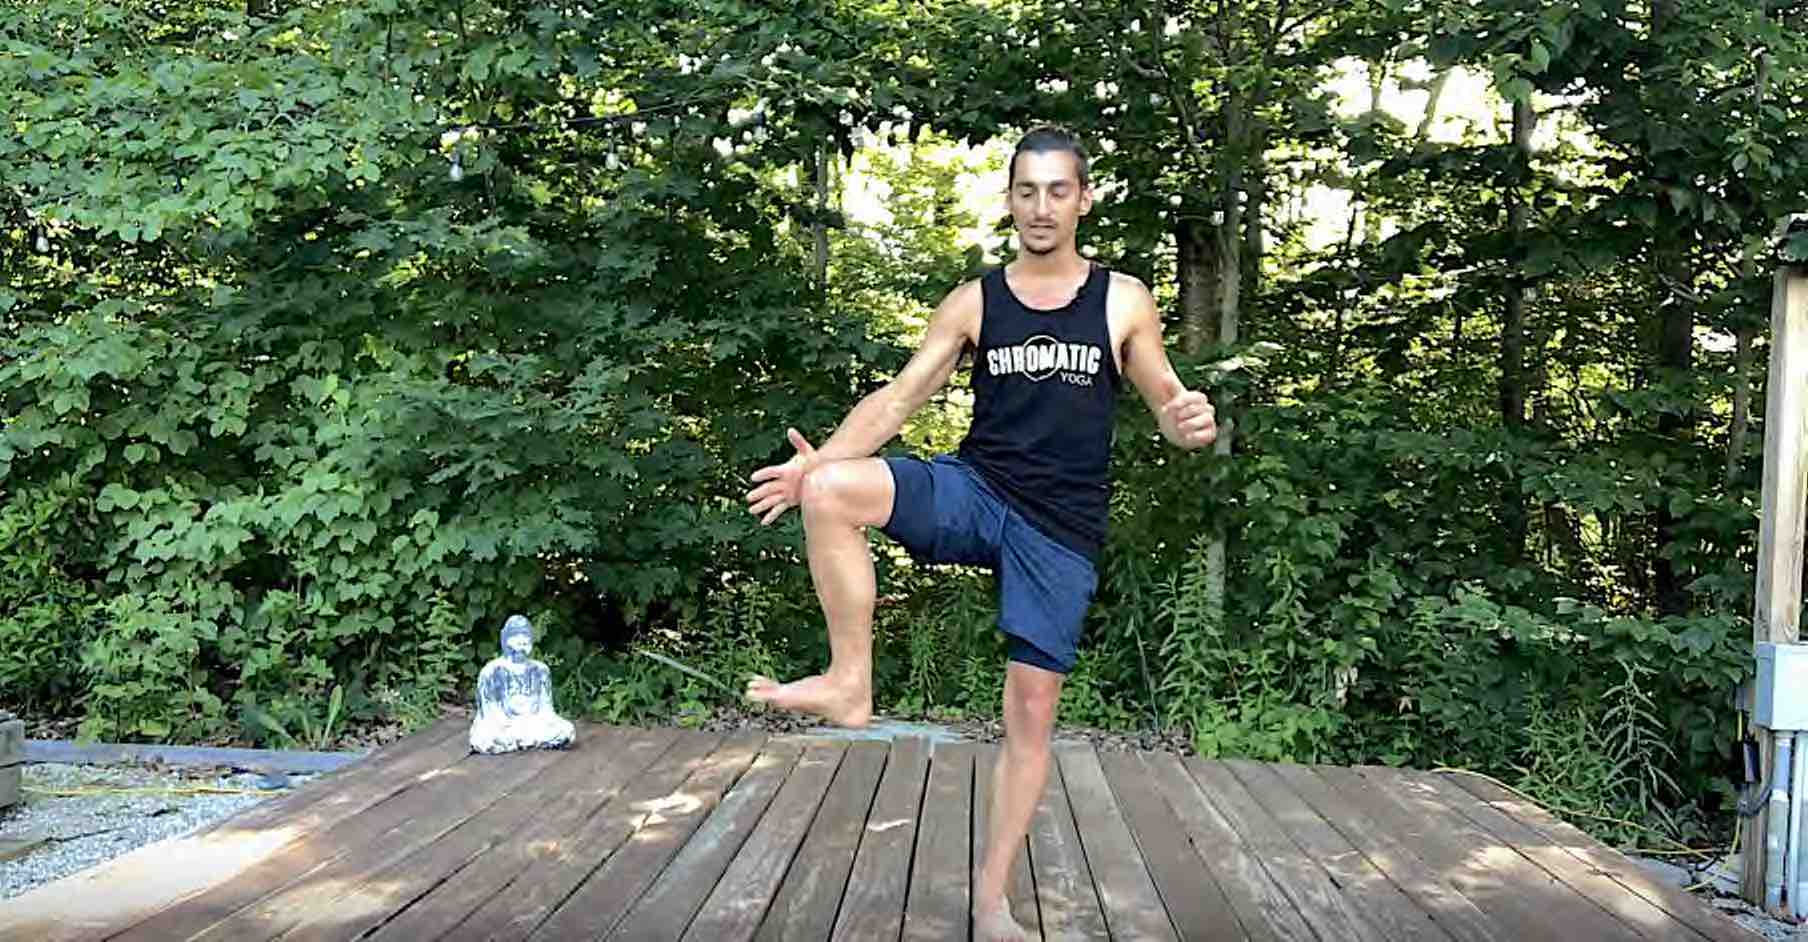
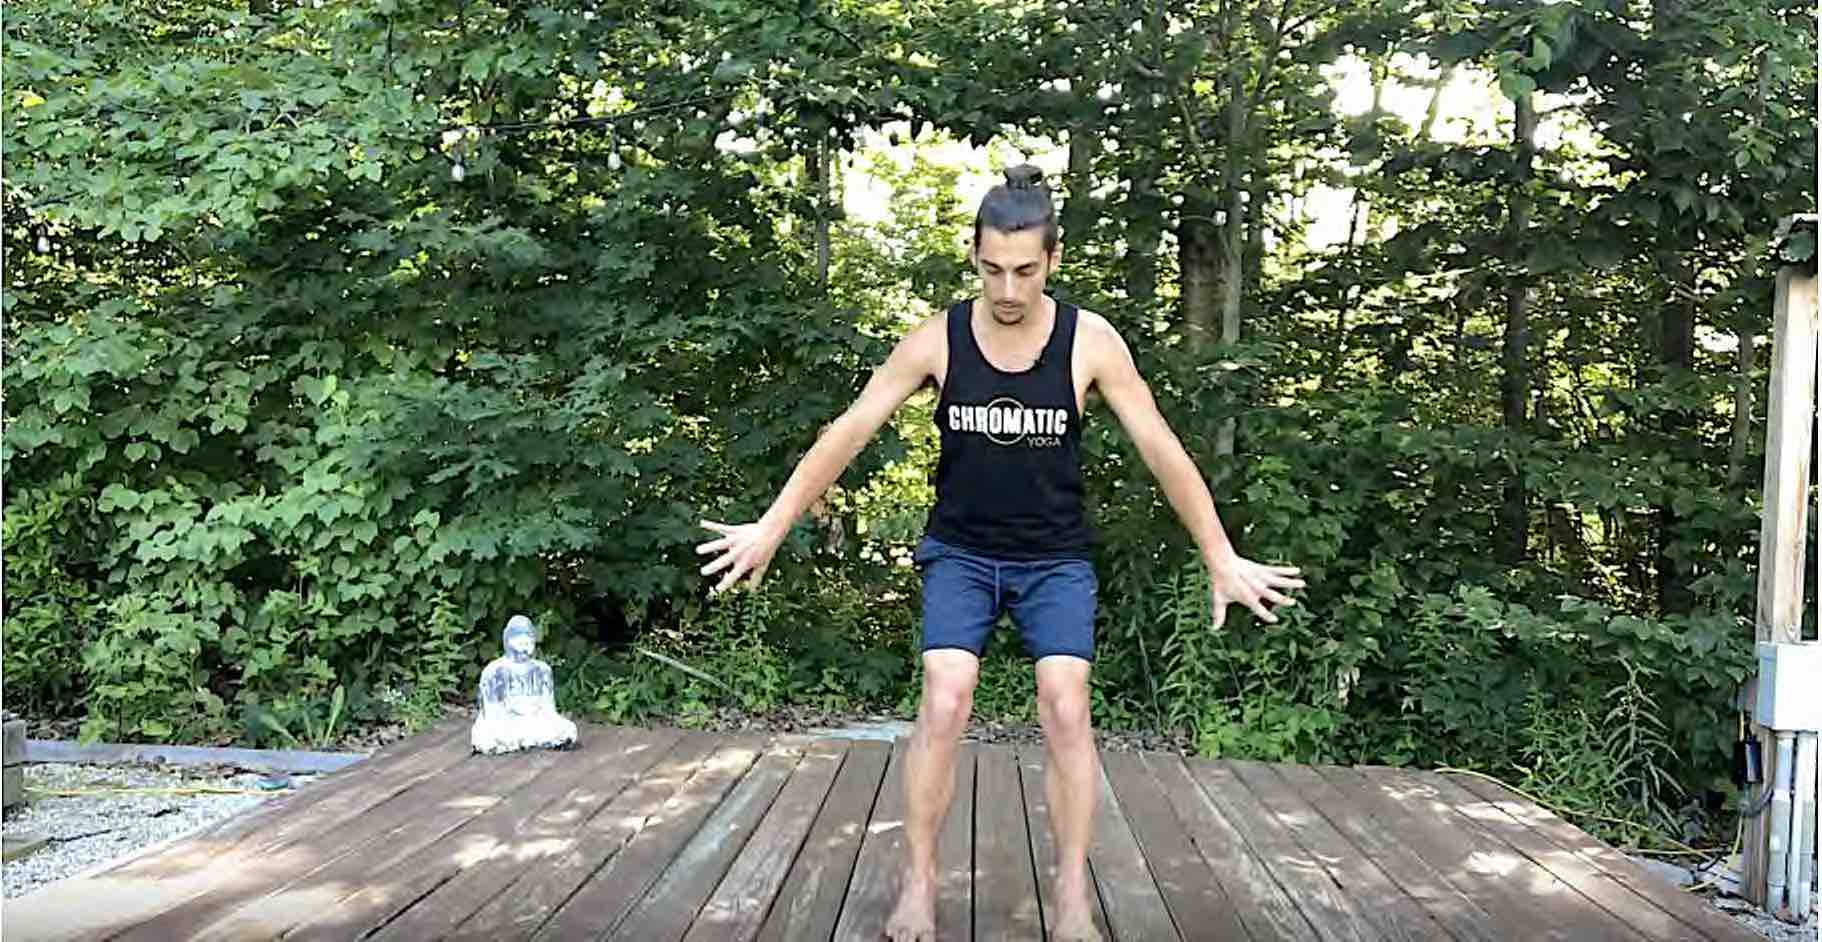
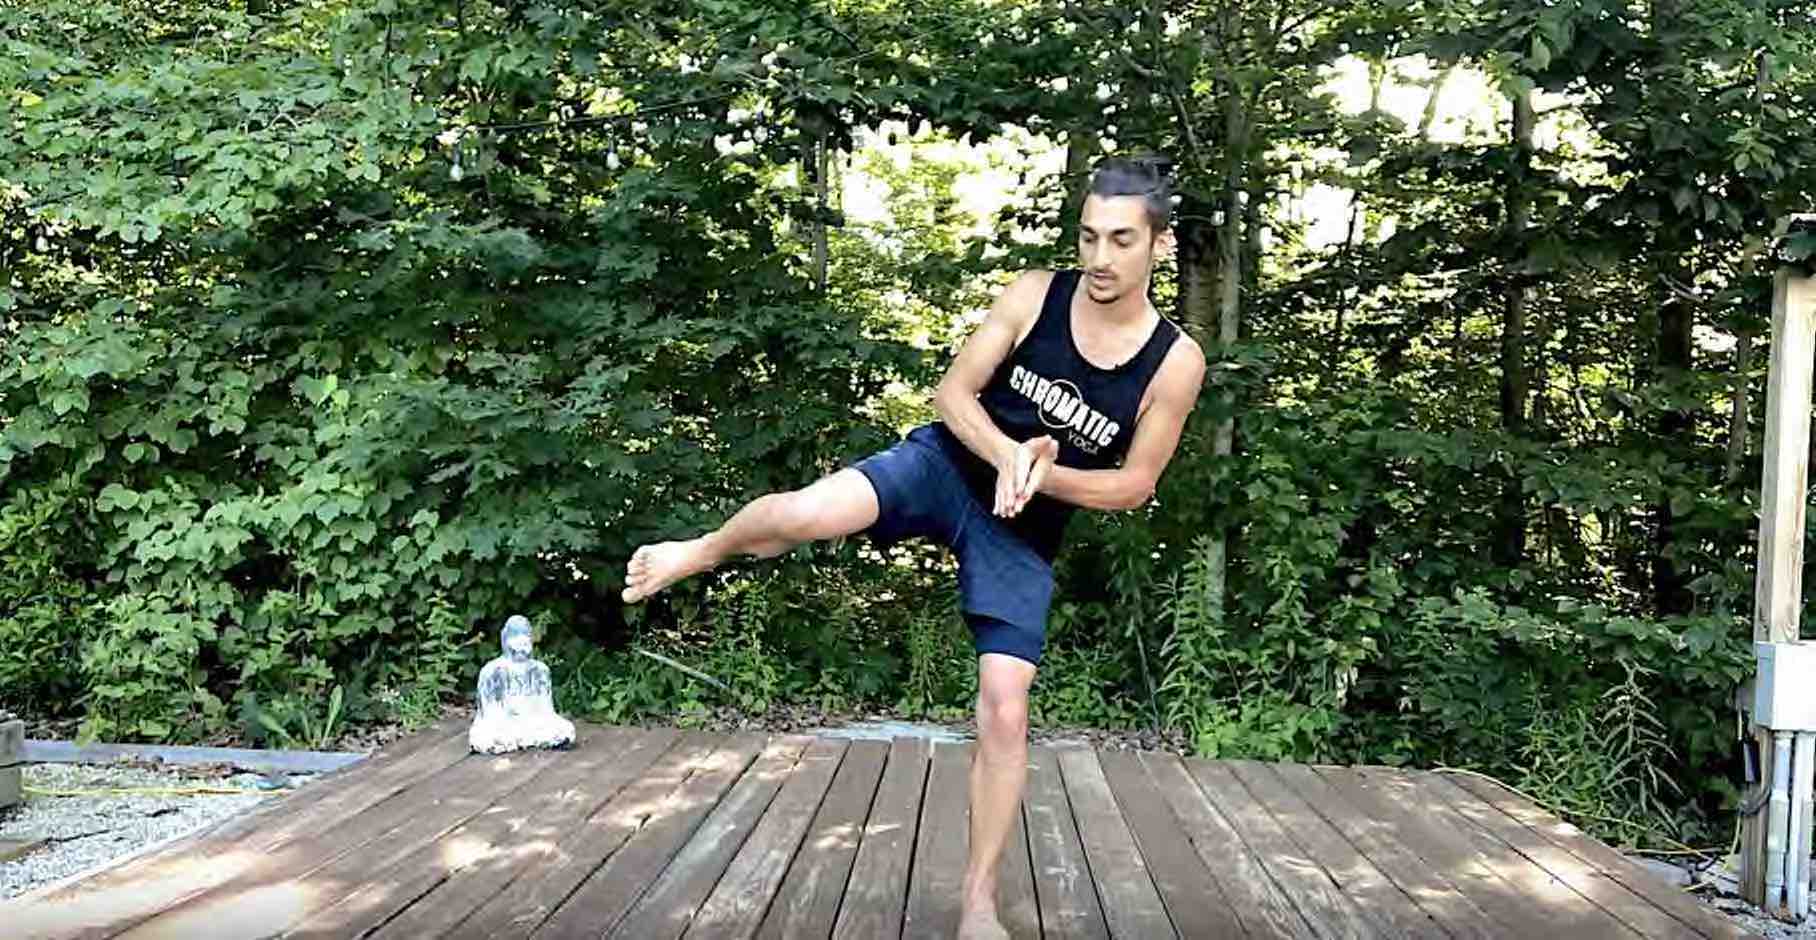
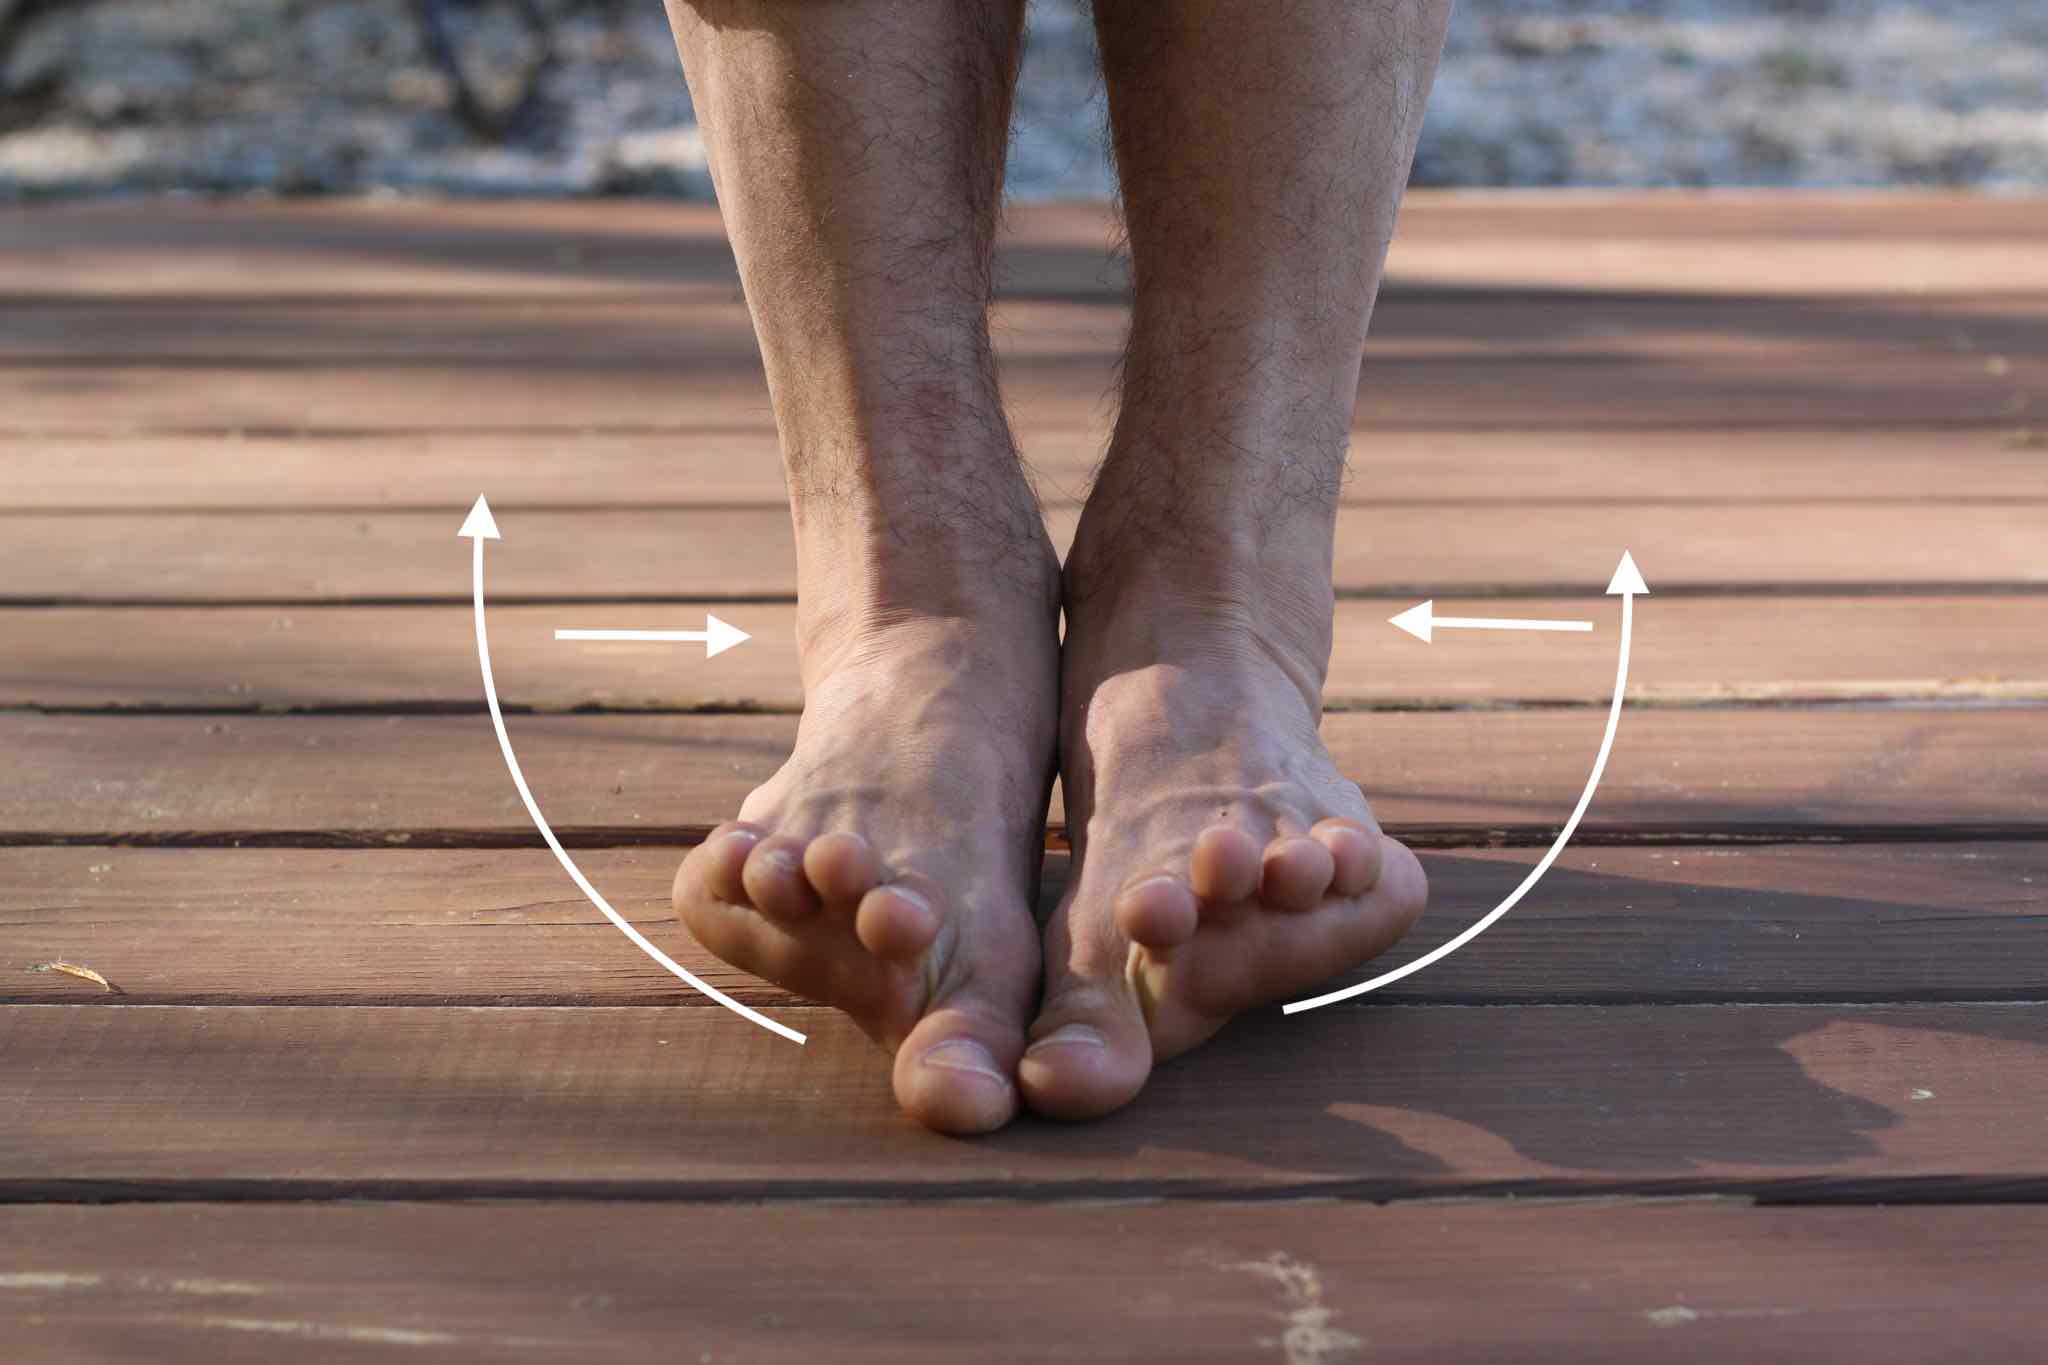
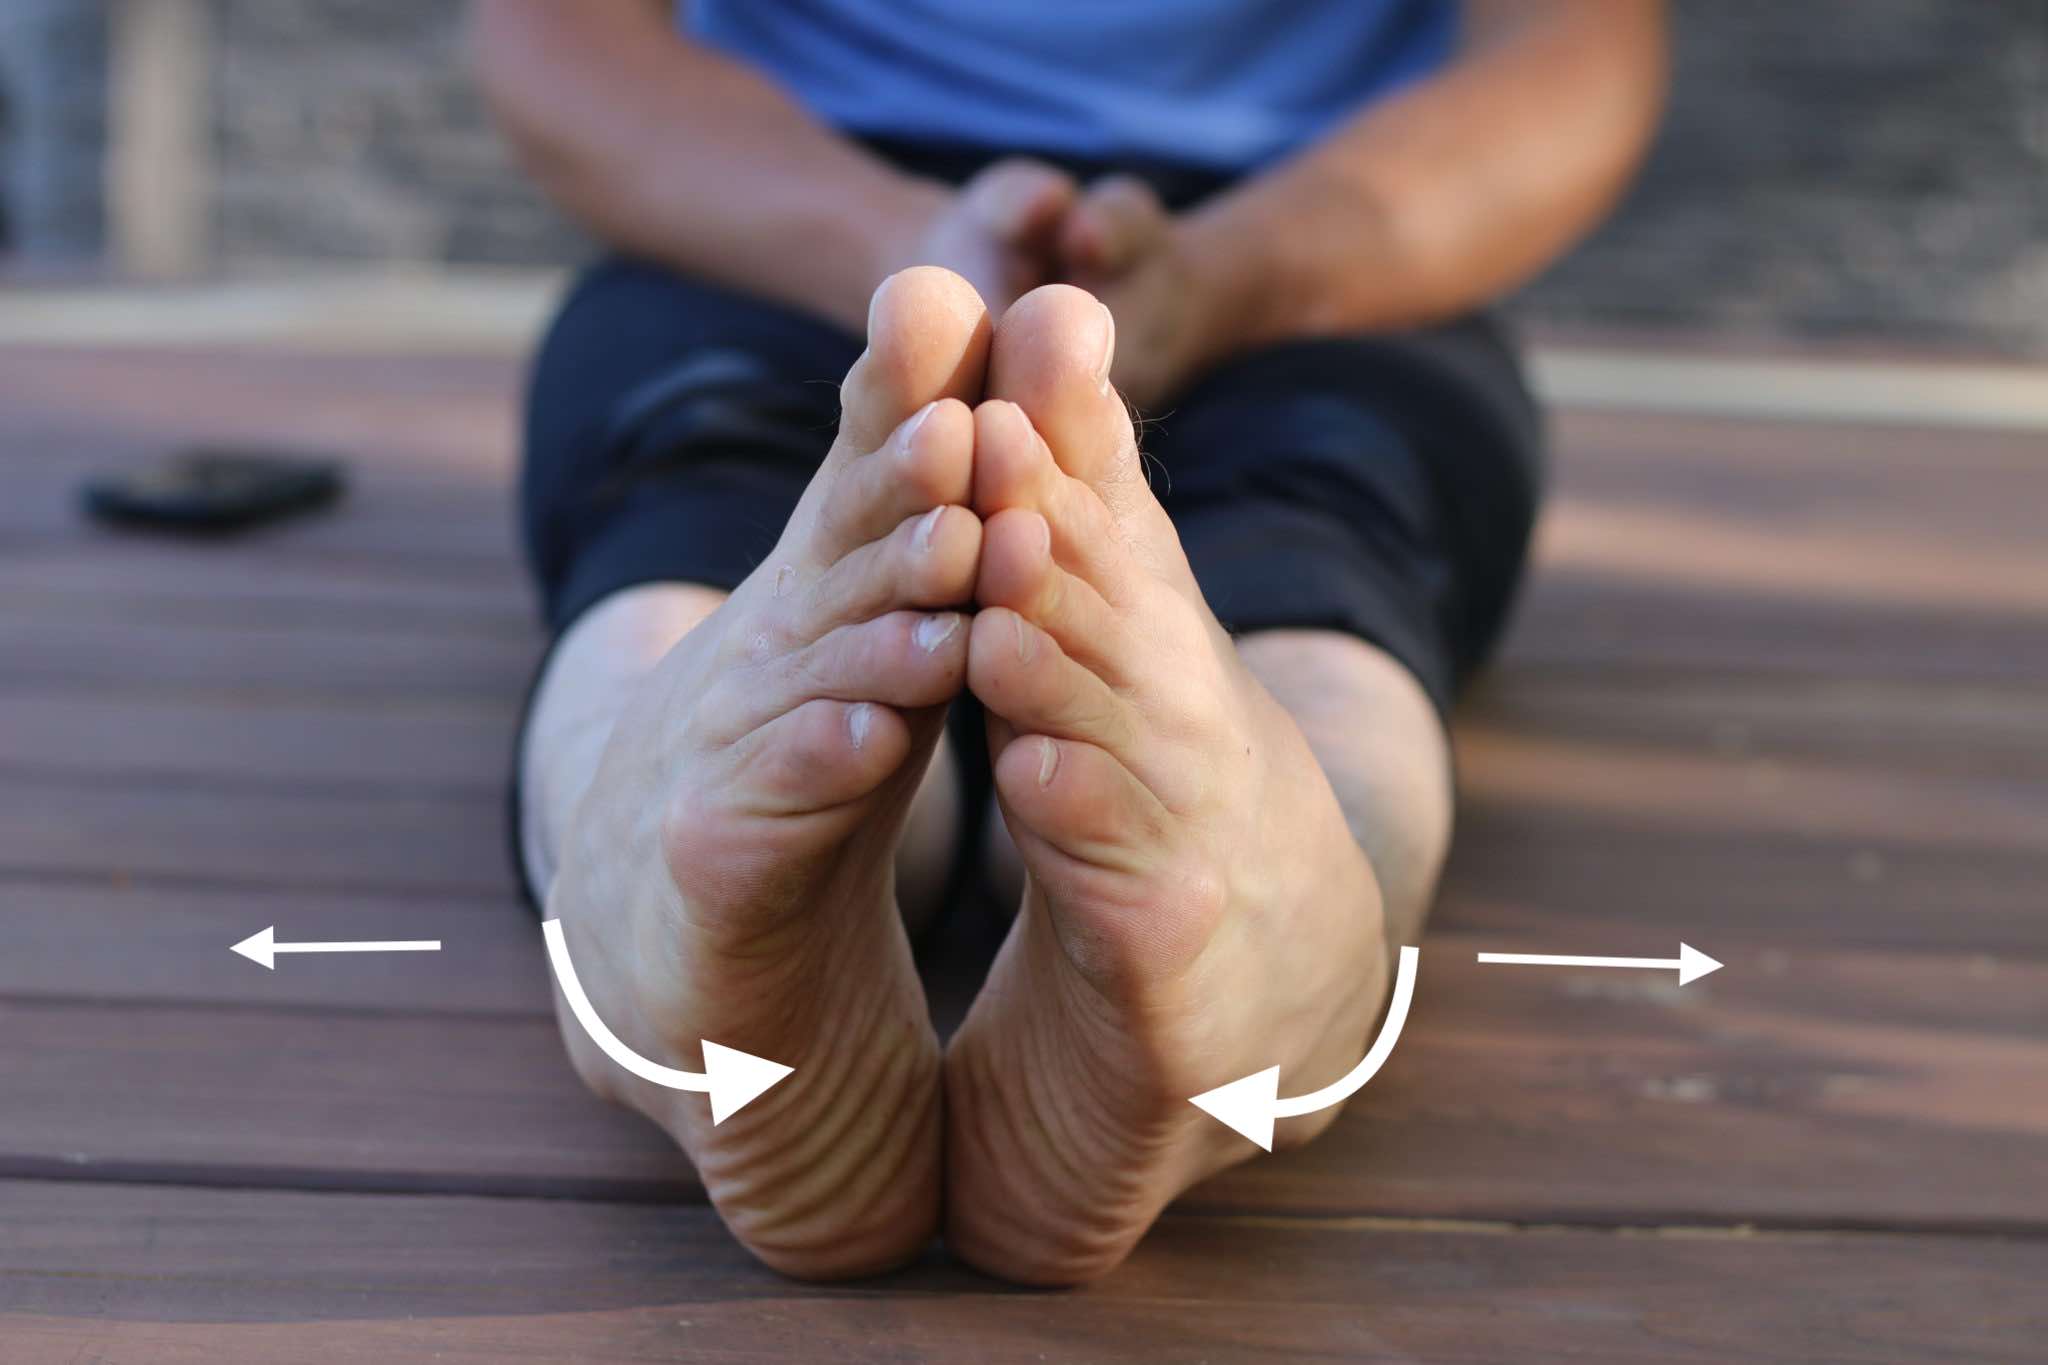
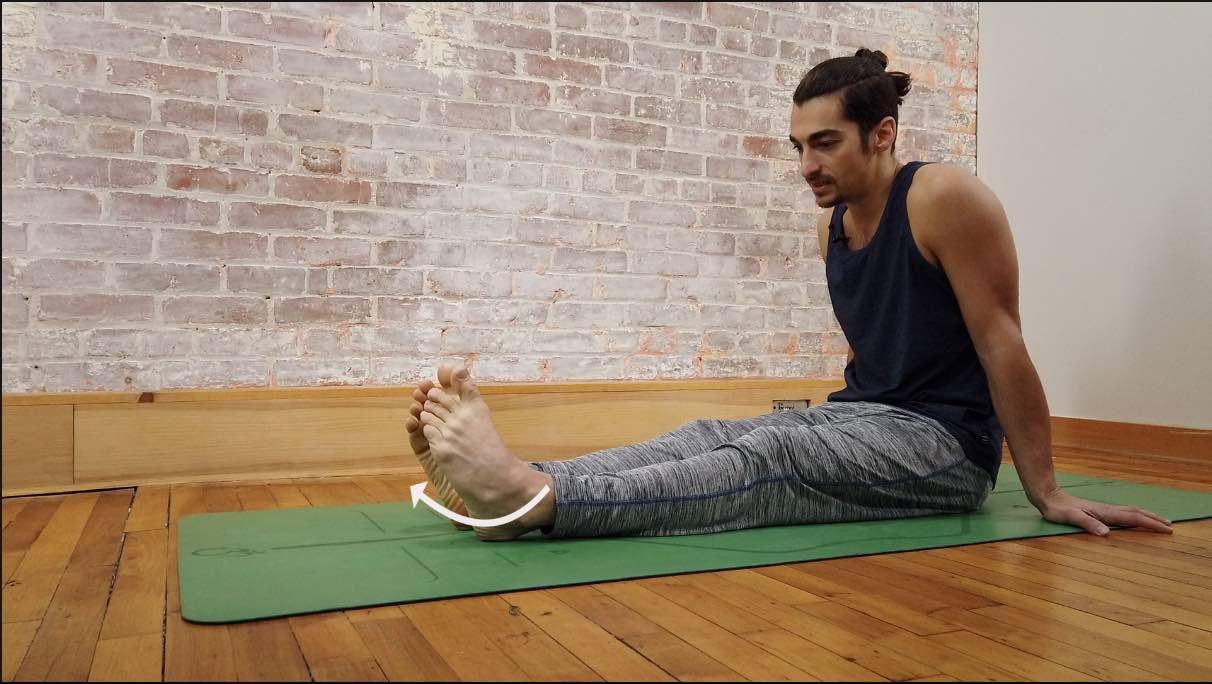
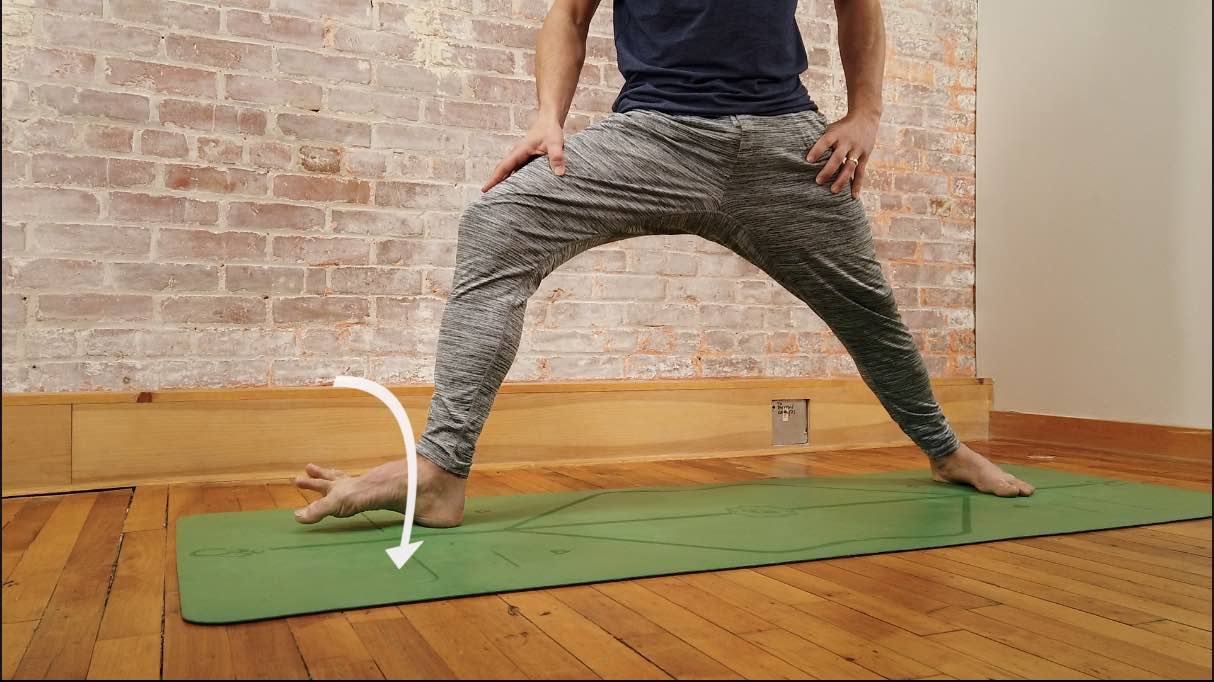
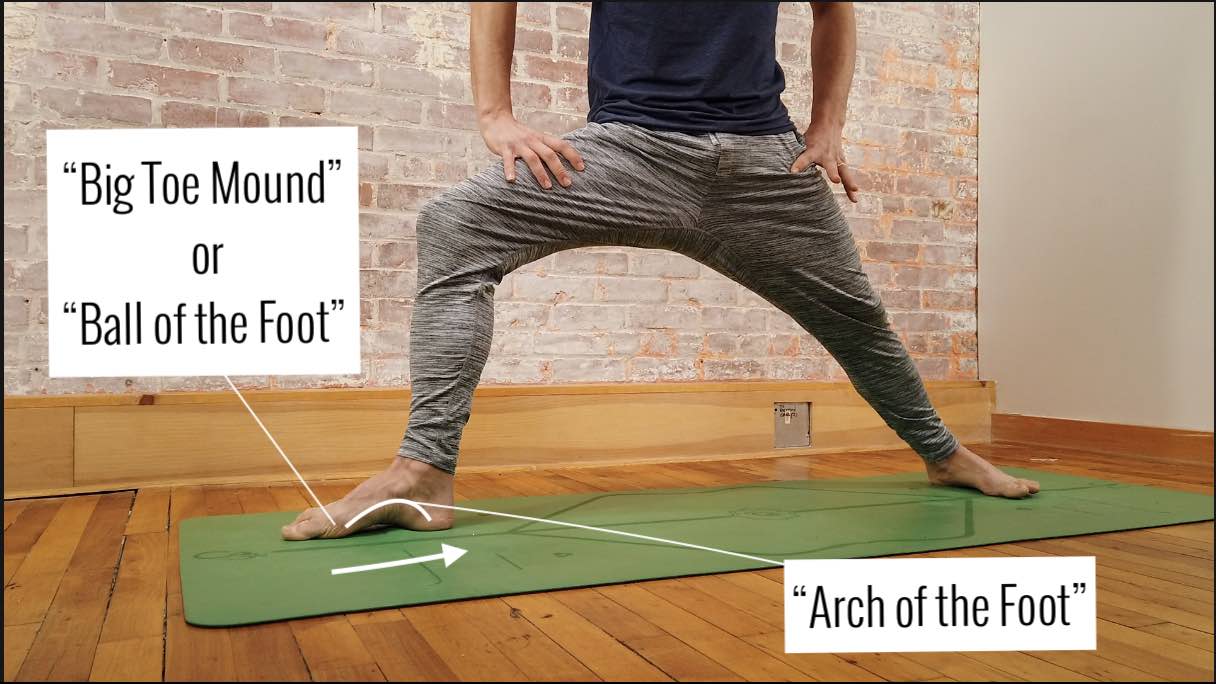
Headstand and Side Crow TransitionsPARSVA BAKASANAHEADSTAND AND SIDE CROW TRANSITIONS Mastery begins with mechanics, especially when it comes to headstand and side crow transitions. Each posture on its own demands control, coordination, and a deep understanding of...
The Transformation Equation
A.C.T.
Deep inside every one of us there exists a desire to be the best we can be during this short time that we have here in this life. It may be covered up by insecurities, shame, guilt, or the business of our day-to-day. You owe it to yourself to live a life that feels amazing and has a positive impact on everyone around you. Reading this means you are already stepping in the right direction. Only those called toward a path of self-awareness would get excited enough at the word “transformation.” Most would be terrified of the word and back away entirely. Acknowledge your courage and continue seeking the tools that support your growth.
A.C.T. is the acronym I use for the Transformation Equation. It stands for Awareness + Conscious Action = Transformation. Before we go over what I mean by this, let’s first get clear on one thing. Transformation in the spiritual sense of the word is not the same as change. Change is inevitable, it’s happening all around us, within us, and it is unstoppable. Try to take control and stop change and you will always lose as it is a law of life. On the other hand, Transformation is a choice. While everyone longs to transform their lives and live at their highest potential, few are willing to risk the comforts of the known over the adventure of the unknown. Stepping into your potential is not without risk. You can try and calculate it but ultimately you have no idea what lies ahead. All you can control is what you do with the time that you have. Do you choose to face the challenges that are required for you to step up to your potential, or do you sit back living in the known stagnancy of day-to-day tasks?
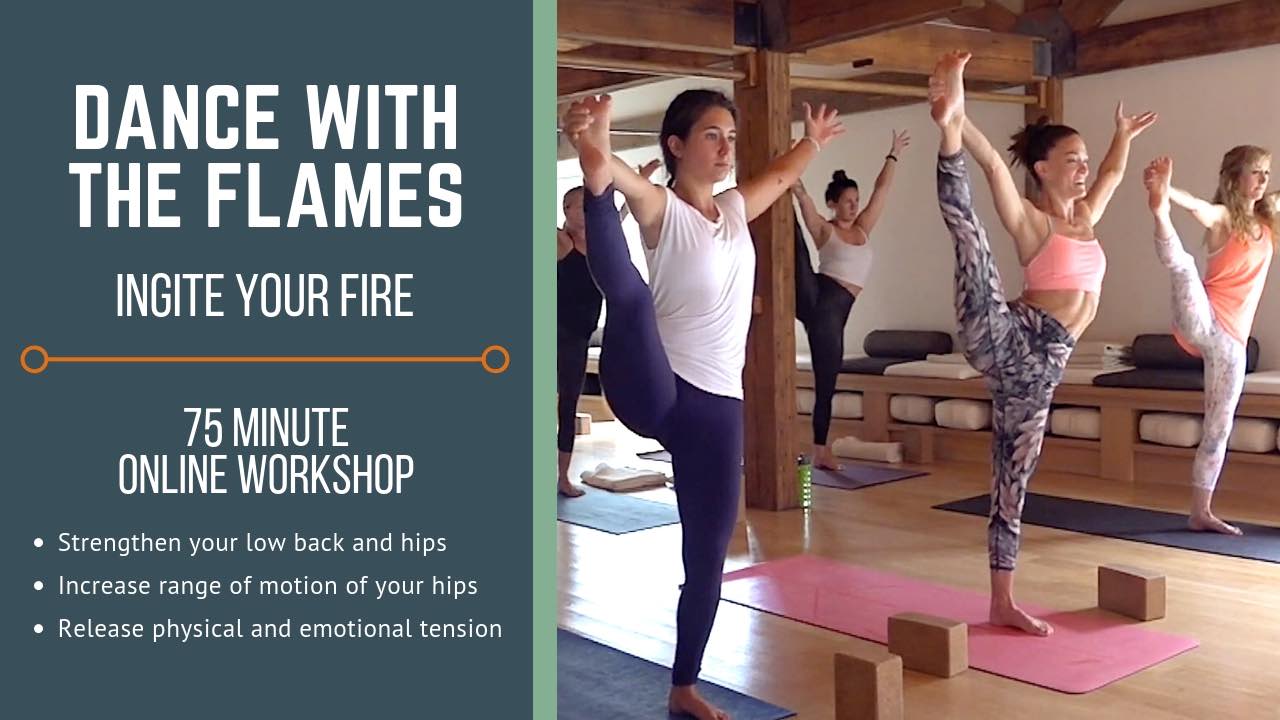
Dance With The Flames
Do you struggle with tight or weak hips, low back discomfort, or emotional stress? This workshop will provide you with a step-by-step approach to increase flexibility, strength, and peace of mind. Evoke your inner fire and dance through life, the journey starts now!
AWARENESS + CONSCIOUS ACTION = TRANSFORMATION
Step 1. Awareness
Awareness is required before action if you want your efforts to produce positive outcomes. Action without awareness will still be productive but as we know, it often causes burn out and unfavorable results. Awareness can only be built through routine exercises of self-inquiry and observation. Self-inquiry is focused contemplation, asking yourself the questions to better understand your patterns of behavior. Most people are terrified of self-awareness simply because they don’t want to see all the aspects of themselves that they do not like. While it is true that you will see the darkness of who you are, you will also grow to see your amazing light that permeates every cell of your body. You cannot see your inner magnificence without cleaning off the lens that you see yourself through, which means you’ll have to be willing to see aspects of yourself that you are not proud of. No matter how much we each deny it, we all want to be the best we can be, and that requires facing our internal challenges, cleaning our lens of perception, and inquiring about who we are and why. Self-inquiry takes tremendous courage but as a result, we become self-aware, grateful for the person that we are, relaxed in our being, confident, filled with love to give, able to receive, more productive, less burnt out, more joyful, and so on.
Step 2: Conscious action
Action in alignment with awareness leads to profound results. Conscious Action requires awareness in every step, re-evaluation, and clear communication with anyone you are carrying out the actions with. Awareness produces a clarity inside of who you are and what you want to create with the time you have in this body. However, without Conscious Action, you can never grow into your potential. Potential is a trajectory, a path that you walk not a destination. Your potential could simply be to become a kind-hearted, loving human being, or it might be bigger than that: to become one who pulls others around them into their potential. Your potential will always grow as you take steps toward it – stay in tune through self-inquiry, and Consciously take action in alignment with it.
Result: Transformation
Transformation is the inevitable result of your awareness and actions. The choice to transform your current life for the person you are becoming is one that very few people take in this life. Transformation can not happen without Awareness because without seeing your own magnificence you can never expand upon it. If all you see is your self-doubt and insecurities, and you spend your energy hiding them from the majority of people you connect with, you will never have the energy to move forward. Do you choose to hide or do you choose to get courageous, see and share yourself, and expand into the person you are becoming? Watch the video below to see more about how to make use of the transformation equation and build the courage to step into your magnificence potential. You deserve it.
Create a Life You Love
Place your energy on what you want to create in your life so that the short life that you get to live is filled with love! If you are looking to go deeper, I taught and recorded a workshop live called Dance with the Flames which uses the theme of stepping into the fire of transformation in order to live the life you deserve. I sincerely hope you make use of the transformation equation and that it serves you for the many years to come! Please share your comments, questions, and experiences. I look forward to hearing from you.
DANCE WITH THE FLAMES
A rare and exciting experience that will take you through an incredible adventure in both body and mind. If you are looking to step into the fire of transformation so you can joyfully dance with the flames, this is the perfect workshop. It was filmed live to bring you the fullness of energy!
Continue Learning
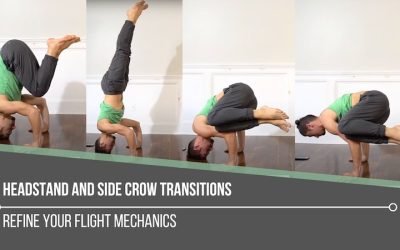
Headstand and Side Crow Transitions
read more
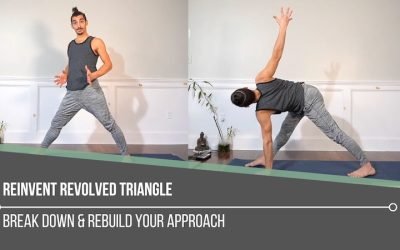
Reinvent Revolved Triangle
Reinvent Revolved TriangleTRIKONASANAREINVENT REVOLVED TRIANGLE “Now twist!” Sounds easy enough—until we realize the complexity hidden within the cue. Revolved Triangle is far more than just a twist. It’s a balance challenge, a hamstring and IT band stretch, a spinal...
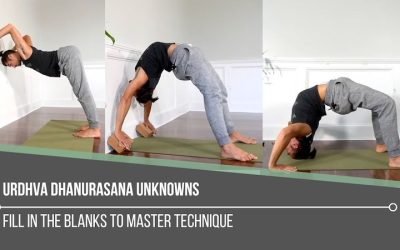
Urdhva Dhanurasana Unknowns
Urdhva Dhanurasana UnknownsALIGNMENTURDHVA DHANURASANA UNKNOWNS Let’s take a pause from what we think we know about Wheel Pose and consider the Urdhva Dhanurasana unknowns. Often, we hear the cue, “Just press up into Wheel,” and we do—without questioning the subtle...
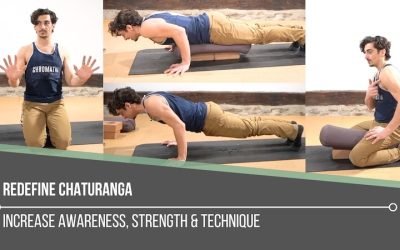
Redefine Chaturanga
Redefine ChaturangaALIGNMENTREDEFINE CHATURANGA To redefine Chaturanga, we first have to be willing to challenge what we think we already know. Many of us were taught a narrow-hand, elbows-tight variation of the pose—elbows hugging the ribs, hands close beneath the...
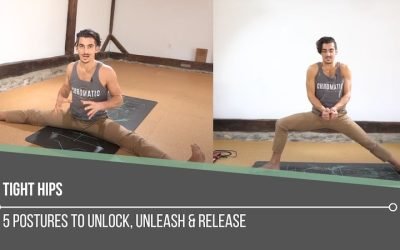
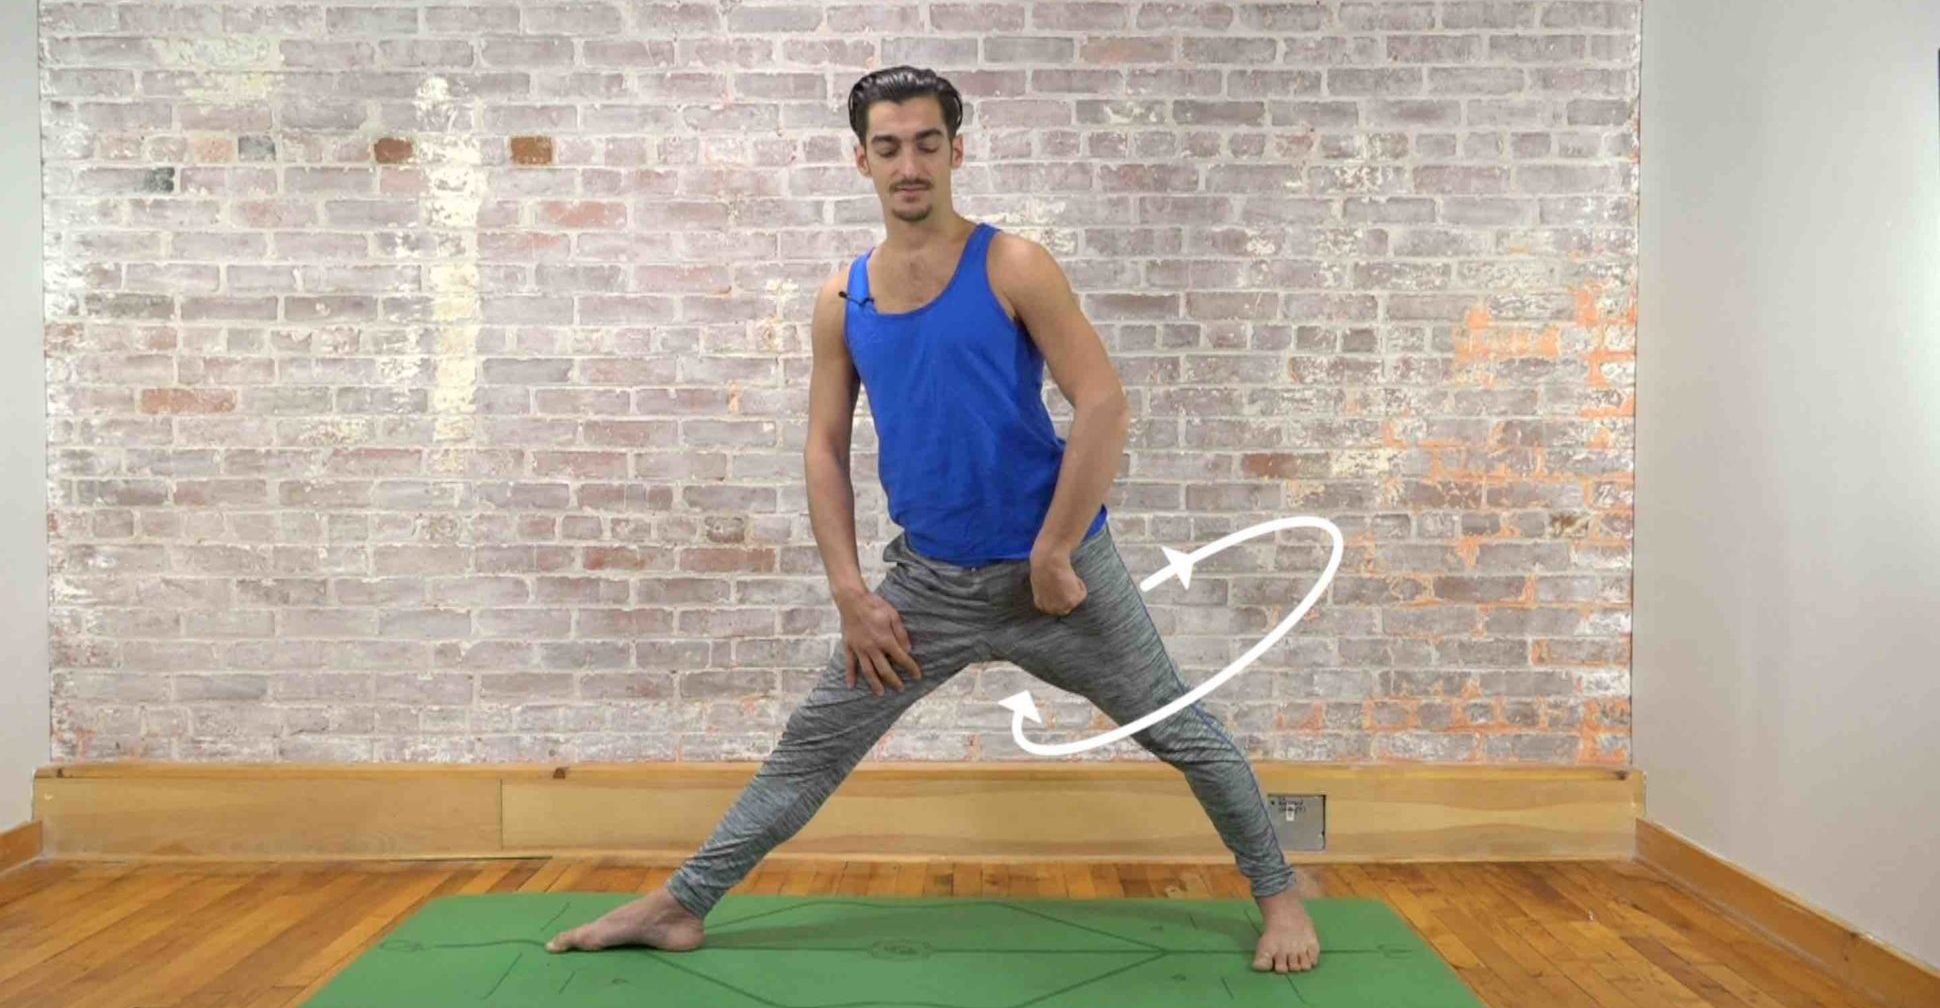
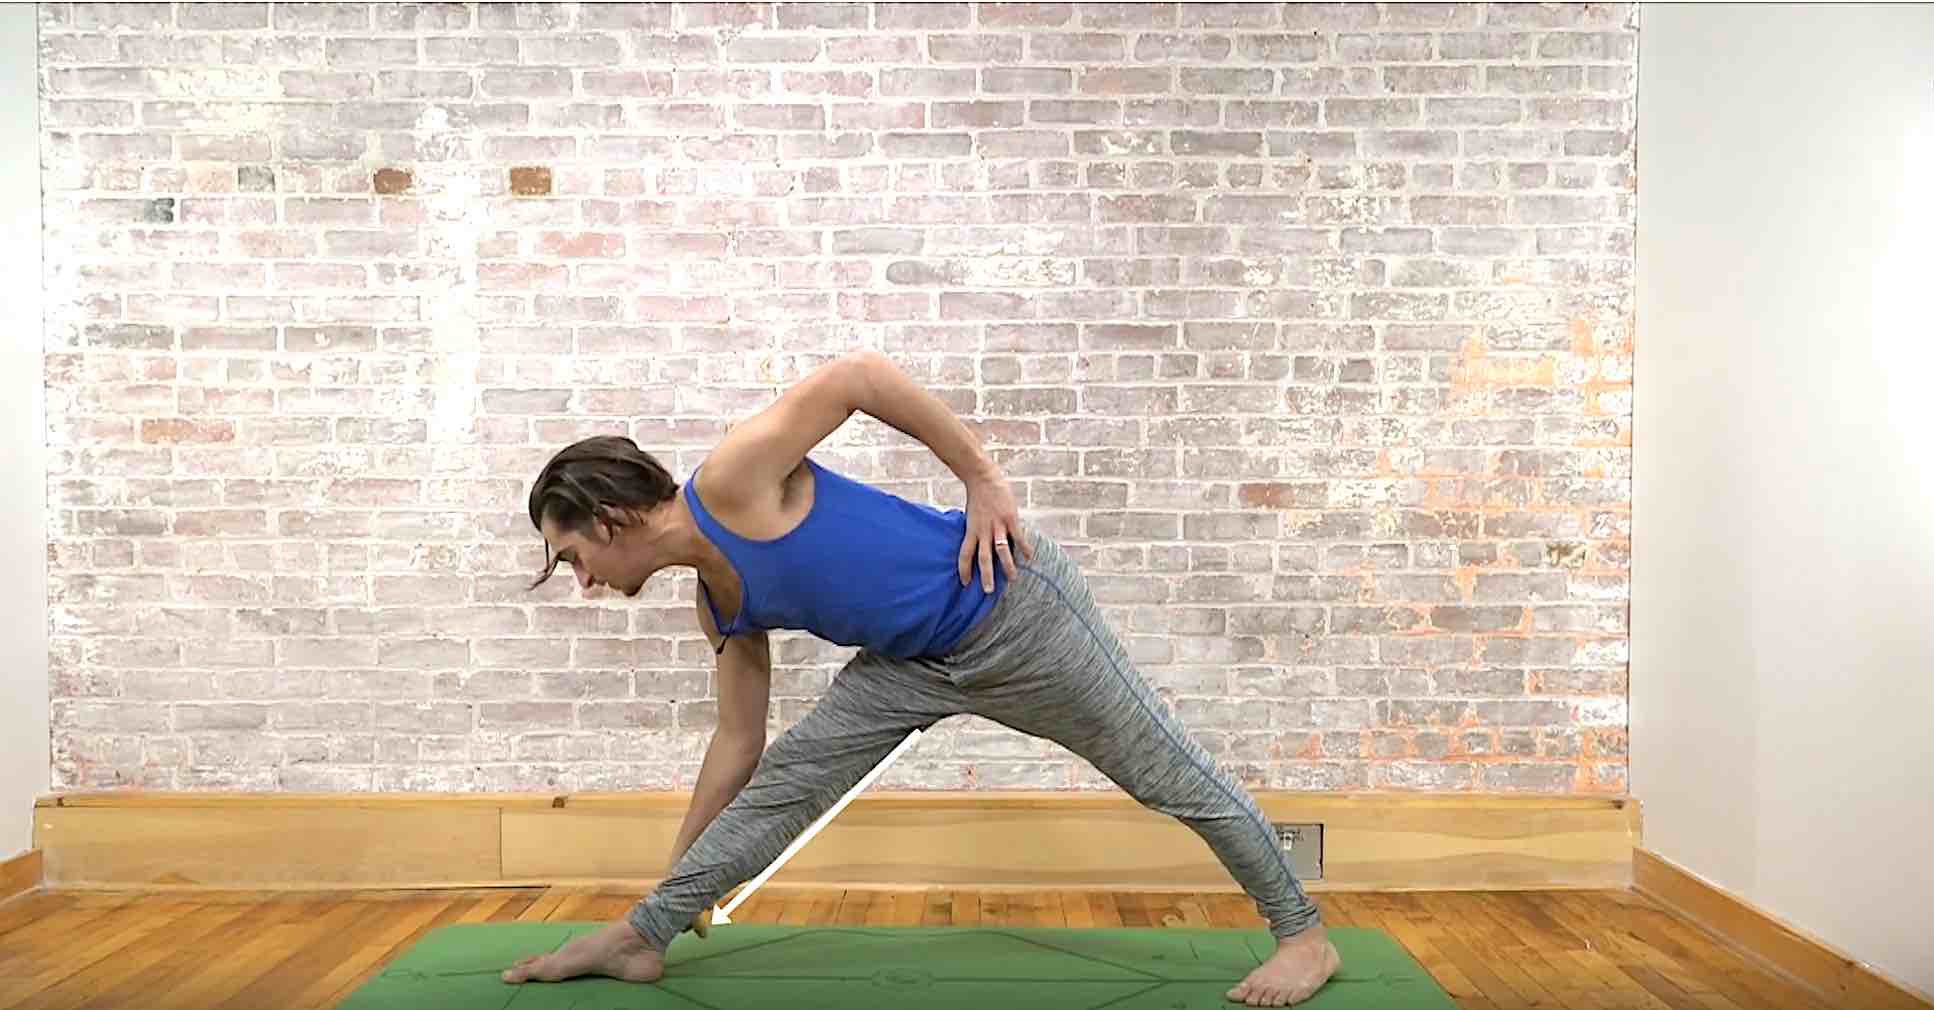
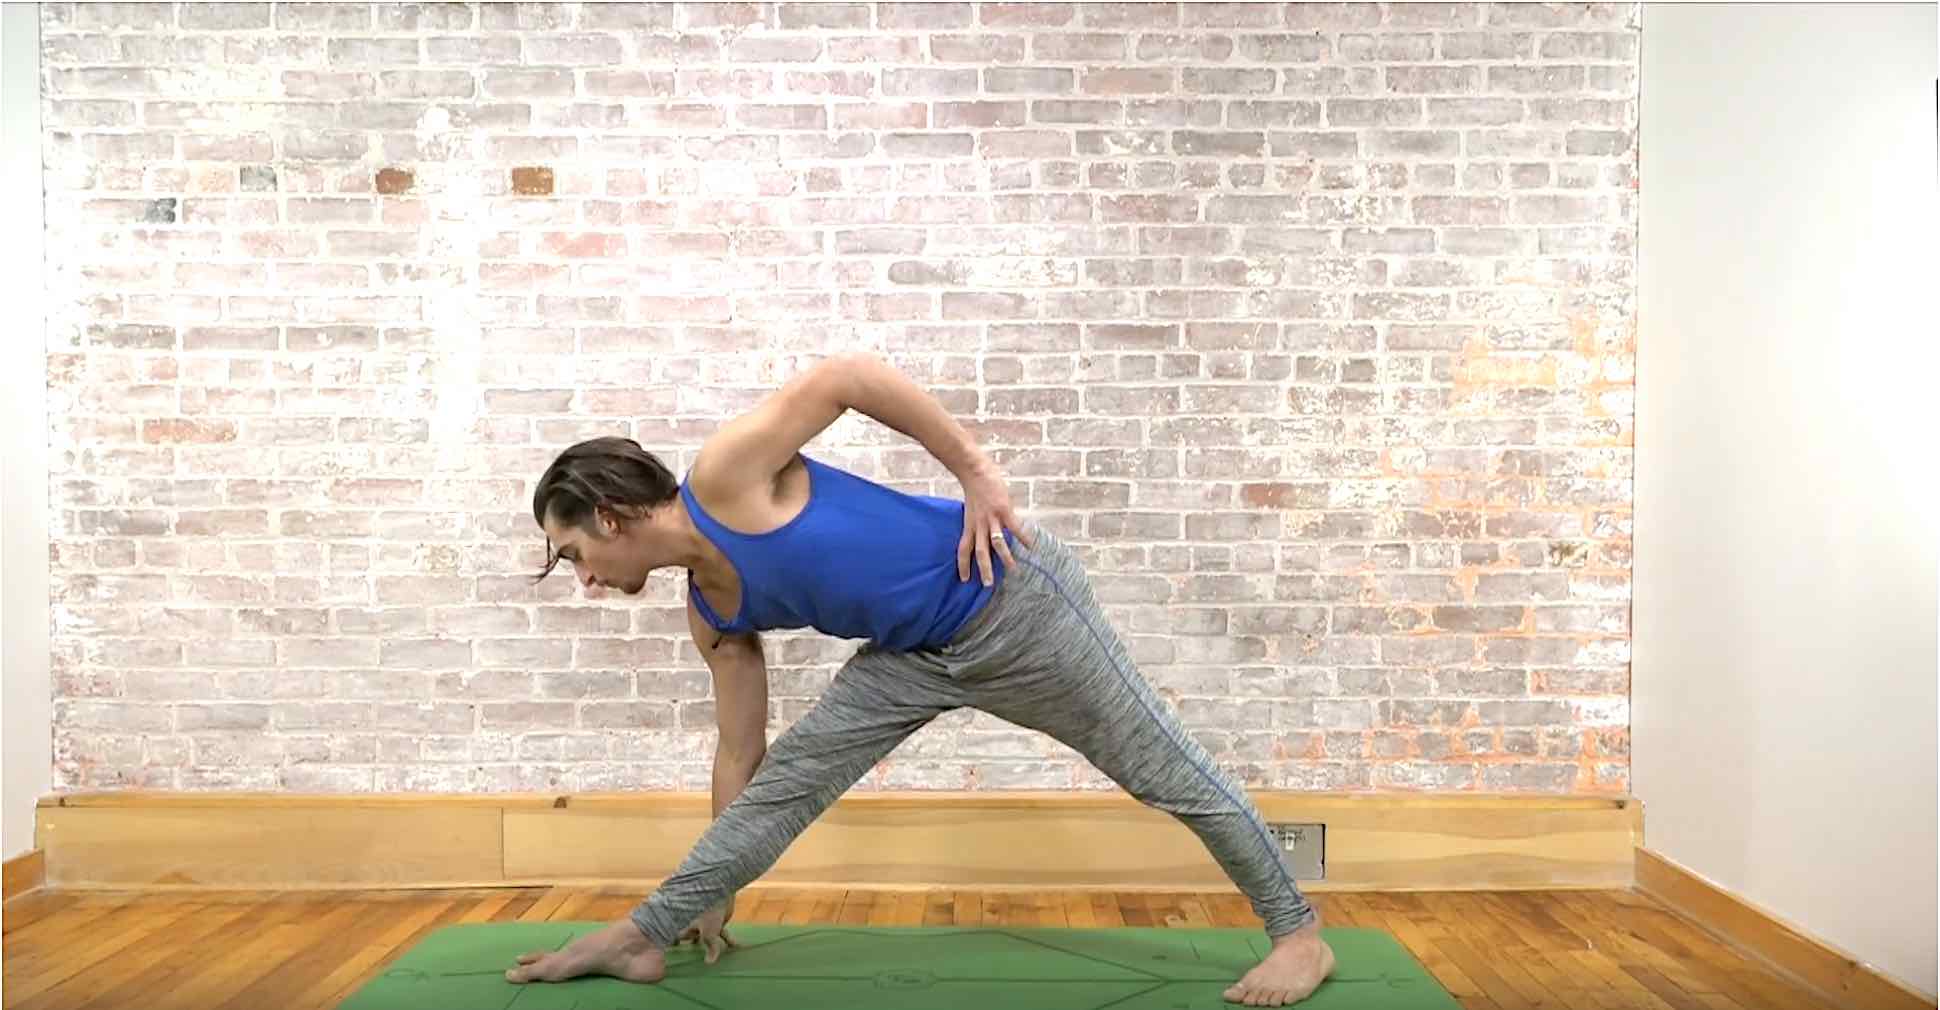
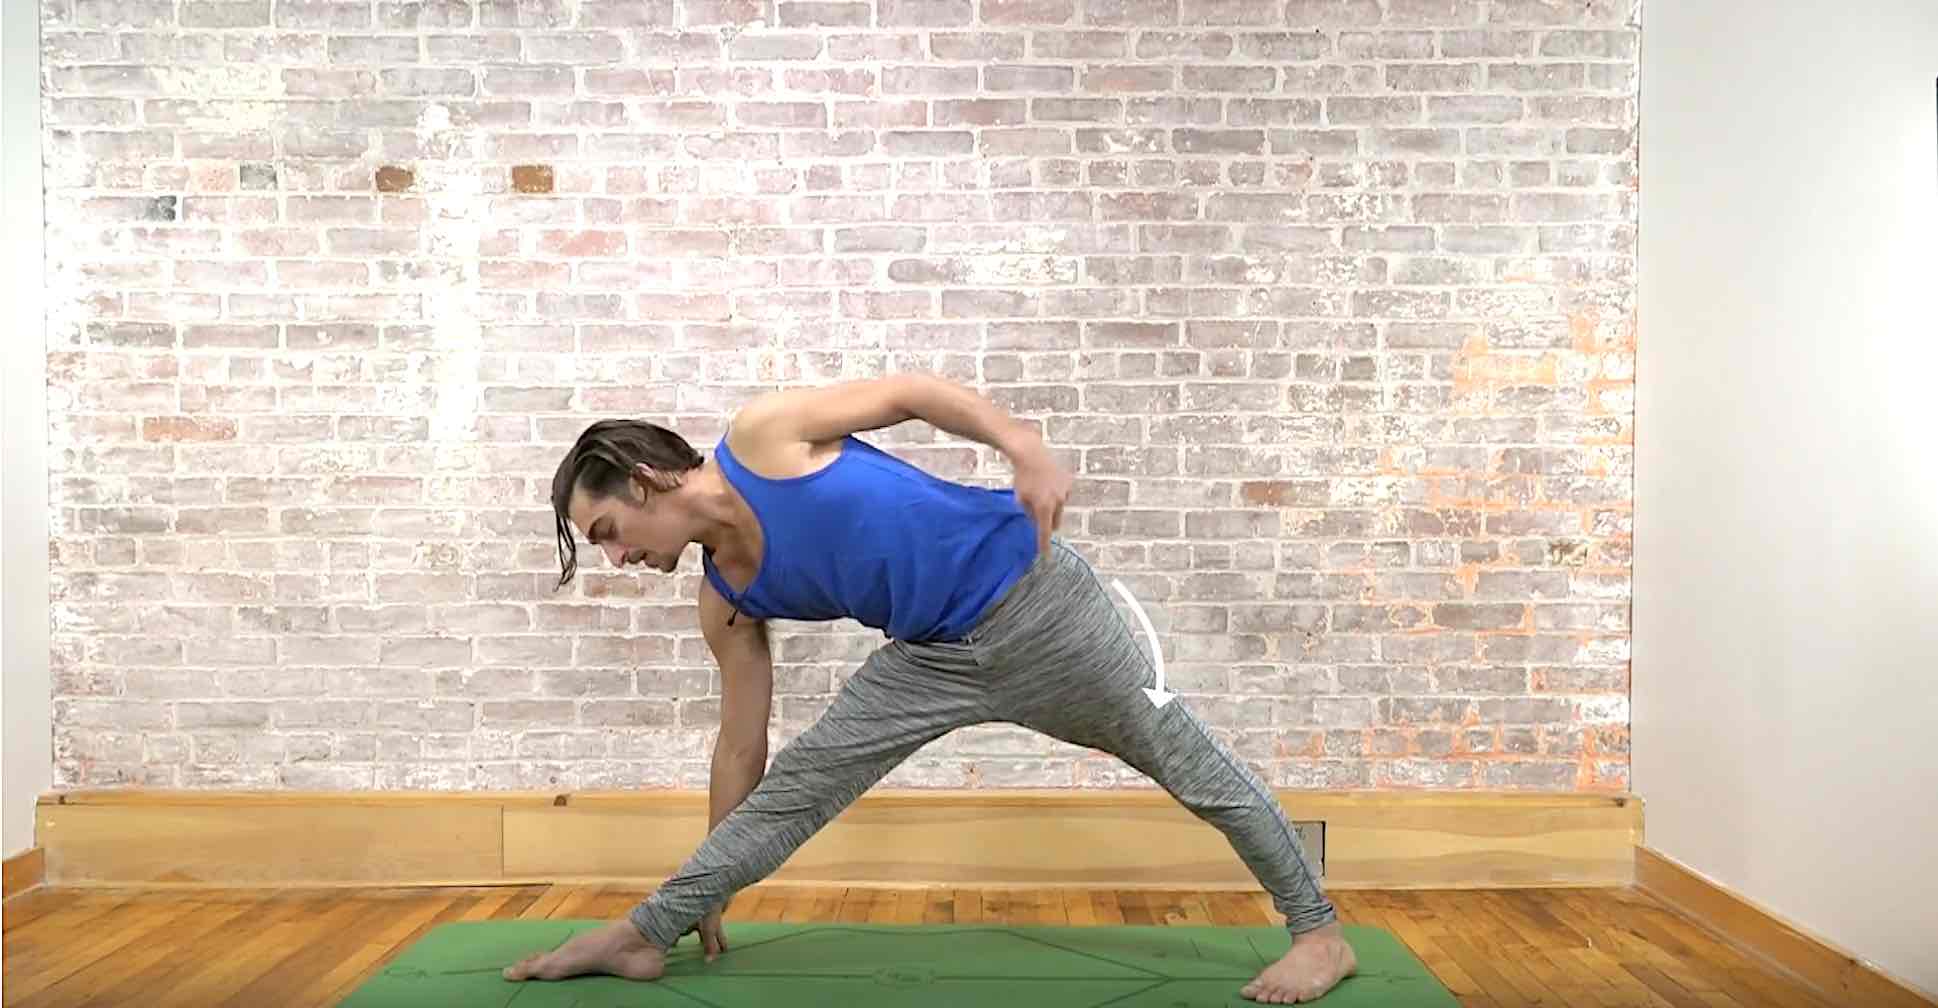
Tight Hips
Tight HipsHIP MOBILITYTIGHT HIPS When working to release tight hips, most people instinctively go straight for deep stretches. But one often overlooked area that holds a surprising amount of tension is the adductorS (the inner thigh muscles) that connect to the...
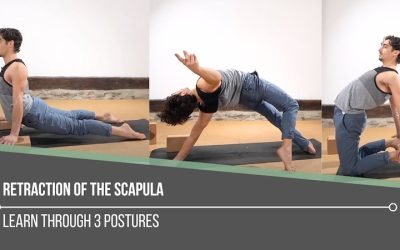
Retraction Of The Scapula
Retraction Of The ScapulaSHOULDER ACTIONSRETRACTION OF THE SCAPULA It may appear that scapular retraction holds less weight in finding deeper backbends, but this action can be quite significant in what we experience when it comes to strength, stability, and...
TOP RECOMMENDATIONS

Handstand Training
Learn the techniques that make Handstand fun, easy and accessible! This 2 part course consists of the top most effective exercises will increase your strength and technique so you can easefully balance a handstand.

SHOULDER REVELATION
In this 12 class immersion you will practice specific techniques to strengthen and unlock your shoulders. Each class focuses on a specific joint articulation and muscle group so you gain mastery in the shoulders.

HEART OPENERS
Finally, a 12 class immersion designed specifically to help you discover the freedom of heart openers. Learn how to avoid uncomfortable compression, and awaken your true range of motion in a step by step manner.
THE FREE TECHNIQUE PACK
When You Subscribe, You Will Get Instant Access to
- the Technique Pack: 15 yoga pose breakdowns
- exclusive online course discounts
- exclusive blogs and videos


![yoga backbend techniques: 12 classes [backbend technique to relieve back pain "bowing the spine']](https://www.theyogimatt.com/wp-content/uploads/2021/10/Archna-Mohan-chromatic-5.jpg "Archna Mohan chromatic")