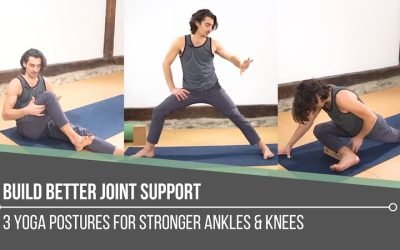
Build Better Joint Supportankle & kneeBUILD BETTER JOINT SUPPORT Sometimes we focus so heavily on flexibility that we forget our joints also need intelligent strength surrounding them. Matt reminds us that stability is not rigidity. It is the body’s ability to...
Wake Up Your Wheel Pose
Wake Up Your Wheel Pose
heart opener
WAKE UP YOUR WHEEL POSE
We don’t have to question it—we know whether or not we’re feeling open, free, and strong in Wheel Pose. There’s a lightness and expansiveness that takes over when everything falls into place: From the initial setup to the final expression, everything flows like a set of dominoes falling one after the other. When we don’t have a system of execution with knowledge, practice, and preparation behind it, our Wheel Pose can feel quite listless. So the question becomes, how can we wake it up and revive such a powerful posture? There are a few things to pack into the toolkit in order to find our greatest potential in Wheel Pose, but one of the simplest things Matt encourages us to be aware of is DIRECTION. This plays a key role in cultivating the experience we desire.

FREEDOM OF THE HEART
- Learn how to access pain-free heart openers
- Technique-infused 2-hour workshop
- Step-by-step tutorials for each heart opener
- Decrease low back discomfort
- Increase spinal strength, stability, and support
- Improve your standing and seated postures
- Improve the flexibility of commonly stuck muscle groups
- Injury Awareness: Avoiding spinal compression
- Debunk popular alignment with anatomy knowledge
- Skillfully guided sequence by the founder of Chromatic Yoga, Matt Giordano
- LIVESTREAM DATE: June 9 at 10am Eastern Time (NYC Timezone)
- REPLAY: Available immediately, lifetime access
UP AGAINST THE WALL
If you’ve taken classes, workshops, or courses with Matt, then you’ll know that it’s of the utmost importance to take an intelligent approach to a posture, or in other words, to progress toward it; progression is part of the Chromatic way. When practicing the Chromatic system, we break things down into digestible pieces.
At the beginning of today’s video, Matt demonstrates a Wheel Pose drill up against the wall. This drill removes the weight of gravity, allowing us focus on techniques that create more depth in spinal extension. This focus helps us get sensationally in touch with areas of the spine that require careful attention in order to take care in creating further mobilization. We gain the first inkling of the importance of direction, that is, where we send the chest and feet. You’ll see that once Matt walks away from the wall, he sends his chest forward and then up to the sky.
WATCH THE VIDEO
WAKE UP YOUR WHEEL POSE: DELIBERATE DIRECTION & ALIGNMENT
ROLL UP YOUR YOGA MAT
Standing upright in the first drill allows for a fair amount of “easy” exploration. As we begin to feel more confident, we can progress further. So next, we get down in order to get up.
The next progression in the video is an exploration of Wheel in which we roll up a yoga mat against the wall. Here, we also get a sense of the placement of the forearms. Directing them in a wider, outward angle helps unlock the shoulders and again move the direction of Wheel Pose towards the wall. Matt explains that when the forearms are pulled closer together, it places the shoulders into a more locked position, pushing the direction of the pose into the feet. This is not where we want to be when attempting to maximize depth.

200 HOUR ONLINE TEACHER TRAINING
GET CERTIFIED & DEEPEN YOUR YOGA PRACTICE
- Deepen your yoga practice
- Build confidence speaking in front of groups in person and online
- Learn foundational class structures and templates
- Learn techniques for a wide range of yoga postures
- Get certified and highly qualified to teach yoga
- Yoga Alliance Globally Recognized Certification Program
WHEEL WITH BLOCKS
Here, we swap out the yoga mat for a couple of yoga blocks placed diagonally against the wall. Something to consider here is that even if the feet are not placed far away from the wall, we want to create the sense of a directional pull of the knees away from the wall as we lift the chest up and towards the wall. There is an oppositional pull between the chest and the knees. What may result is less bend in the knees in the final stages of the posture because of the softening of the heart and the depth created in the spinal extension.

300 HOUR ONLINE TEACHER TRAINING
GET 500 HOUR CERTIFIED AS A MASTER TEACHER
Master your skill set as a teacher through refined techniques, anatomy, biomechanics, sequencing, philosophy, meditation techniques, theming, yoga business, and much more!
- Get 500 hour certified
- Learn anatomy, biomechanics, asana techniques
- Expand your teaching skills
- Masterful sequencing and verbal delivery
- Learn meditation and breathwork techniques
- Transformative tools: theming, dharma talks, satsang
TEST OUT THE OPPOSITE
The sensations of the opposite ways we can feel in Wheel Pose are discussed above: We can feel listless and languid, or rather the desired opposite of the spectrum, namely vibrant, strong, and fully awake.
The only way to understand this is through exploration and practice. Through exploration, we can spend time slightly exaggerating where we “should not be” in the pose. Try it! Move deliberately in the opposite direction to investigate the outcomes.
At the end of the video, Matt first pushes his Wheel Pose in the direction of the feet, but you can see that adjusting by walking the feet out and then pushing in the direction of the wall changes everything about the posture. Changing the alignment and moving in the “right” direction transforms our experience.
Check out Matt’s recent workshop, Freedom of the Heart, to dive deeper into these concepts and transform your backbending practice.
The 200 Hr. Teacher Training: Click Here to See the Next Start Date
The 300 Hr. Advanced Teacher Training: Click Here to See the Next Start Date
Article by Trish Curling
Video Extracted From: Freedom of the Heart Workshop

ONLINE ANATOMY COURSE
- Accessible, exciting, and easy to learn
- Anatomy and biomechanics for yoga
- Appropriate for both teachers and students
- Learn joint alignment vs pose alignment
- Demystify yoga poses and transitions
- Release aches and pains
- Learn how to avoid common injuries
- Caters to all levels with modifications and props
- 20 hours Continued Education Credits with Yoga Alliance
- 20 hours toward Chromatic Yoga Certification and 300 Hour
- Lifetime access
Continue Learning
Build Better Joint Support
read more
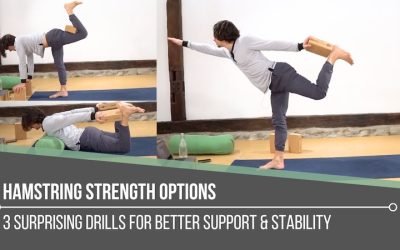
Hamstring Strength Options
Hamstring Strength Optionship extensorsHAMSTRING STRENGTH OPTIONS When we think about hamstrings in yoga, most of us immediately think about stretching. Matt reminds us that this powerful muscle group is rarely celebrated for what it is also designed to do: create...
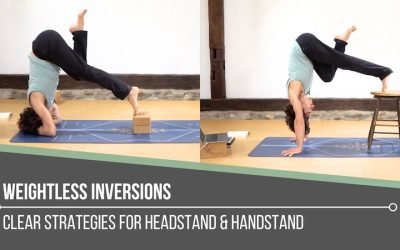
Weightless Inversions
Weightless InversionssirsasanaWEIGHTLESS INVERSIONS Weightless inversions are not about removing effort. They are about redistributing it with awareness. Matt reminds us that when we refine how we place weight through the hands, shoulders, and core, the body begins to...
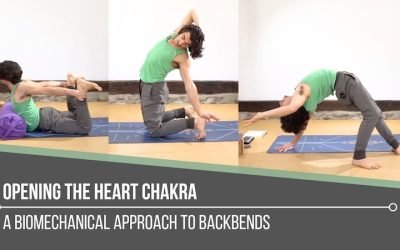
Opening The Heart Chakra
Opening The Heart ChakrabackbendOPENING THE HEART CHAKRA Opening the heart chakra is not simply about reaching deeper into a backbend. Matt reminds us that this space is rooted in love, balance, and connection, both with ourselves and with others. It reflects how we...
5 Visual Demonstration Techniques for Yoga Teachers
5 Visual Demonstration Techniques for Yoga TeachersYoga TeachersVisual Demonstration This is often confused with “teaching from the mat.” Teaching at the front of the room can be useful at the right time and place, but that is not what we are referring to here. In...
Awakening Solar Plexus Strength
Awakening Solar Plexus Strengththird chakraAWAKENING SOLAR PLEXUS STRENGTH Awakening solar plexus strength invites us into the centre of transformation. Matt reminds us that this third chakra, Manipura, is our fire, our willpower, and our ability to take action. It...
THE FREE TECHNIQUE PACK
When You Subscribe, You Will Get Instant Access to
- the Technique Pack: 15 yoga pose breakdowns
- exclusive online course discounts
- exclusive blogs and videos


