Headstand and Side Crow TransitionsPARSVA BAKASANAHEADSTAND AND SIDE CROW TRANSITIONS Mastery begins with mechanics, especially when it comes to headstand and side crow transitions. Each posture on its own demands control, coordination, and a deep understanding of...
EKA PADA BAKASANA II
EKA PADA BAKASANA II
The Essence of Push & Pull
THE GUNAS
THE GUNAS—The essence of push & pull
We’ve all experienced the essence of push and pull in one way or another. Its presence is evident all around and within us. We all experience the rise and fall, the movement of our thoughts in our minds (the vritti). These forces are present during our various emotions, when we’re making decisions, during conflict, when we are challenging ourselves physically and emotionally. Push and pull is undeniable in nature and the environment all around us… You get it. It’s really everywhere. We also experience it in our yoga practice. In the Yoga Sutras, these forces are explained as the Gunas.
To be more specific, Alan Finger, in Tantra of the Yoga Sutras, explains Yoga Sutra 1.16 (Tat param purusa khyater gunavaitrsnyam) in the following way:
“The three gunas are rajas, tamas, and sattva. They are considered to be the primary sources of nature that are responsible for all of the change and movement that we experience in life.”
Finger, Alan. Tantra of the Yoga Sutras, Shambhala Publications, 2018. (pg. 26)
What’s incredible is that we will see how this also applies to our physical yoga practice. Matt breaks down the biomechanics of Eka Pada Bakasana II and shows us how the essence of push and pull exists in both the mind and the body.

HANDSTAND & MEDITATION
ONLINE YOGA IMMERSION
BREAK THROUGH MENTAL & PHYSICAL BLOCKS
- Learn the most effective drills to safely build your Handstand
- Practice essential meditation techniques to break through mental barriers and build confidence
- Improve focus and breath support right side up and upside down
- Build strength and the necessary skills for balancing Handstand
- 12 classes: All levels appropriate
- Lifetime unlimited access to all
- Attend livestream OR practice the replays any time that’s convenient for you
SALE PRICE: $168.00
RAJAS, TAMAS, & SATTVA
Finger explains how rajas is a more outward, vigorous force, while tamas is a more inward, softer, more restful force. While these 2 energies sit at opposite ends from one another, it’s sattva that sits in the middle and/or is considered the balance between the two. Alan Finger explains that sattva is where we find stillness.
Being that these forces are ever present and that the circumstances of our lives are constantly shifting, it’s easy to find ourselves leaning more towards one side of the spectrum than the other. It’s our awareness that helps us to recognize when we have gone “too far” over to one side. Now, it’s super important to understand that if we adopt the more contemporary interpretation of the three gunas, then we understand that all of these forces are necessary and very human parts of life. It’s not “bad” to experience one or the other, but it’s your awareness and deeper connection, or knowing of yourself, that helps you experience these states of being without any attachment.
When in a more rajasic state, we are in a place of taking action; we are “handling our business,” so to speak. There is no struggle to get out of bed, we might engage in a regular asana practice, we eagerly run through tasks at home and/or at work, etc. On the other side, in a more tamasic state, we surrender to rest, and we tend to go more inward. In this state, we allow ourselves time to replenish and renew.
If we adopt this more contemporary point of view, there seems to be a comfort and safety present. There is no need to reject what already exists within and around us. Noticing, without judgment, these forces of nature may help us move and flow more freely between each state when necessary. This may be viewed as actually being in a more sattvic state because we are actually experiencing flow, a steady mind, and therefore stillness and balance.
HOW DOES THIS APPLY TO YOUR PHYSICAL YOGA PRACTICE?
Matt teaches a class in the Heart Module in his 300 Hr. Teacher Training called “Push & Pull: Rajas and Tamas. Crow/Half Crow Half Titibhasana” (Eka Bakasana II). There he says, “Sattva is how we feel when the push and pull of rajas and tamas come into a state of equanimity. This leads quite nicely into how we can understand the push and pull in our asana practice as well. In this sense, it’s the actions and activations we take in our bodies.”
Before we explore this, it’s also essential to understand that even though the gunas are natural forces of nature, we can still find ourselves spending too much time on one end of the spectrum. In this class, Matt explains that when we are way out of balance, a more rajasic state can produce feelings of anger, impatience, even anxiety. If we’re spending too much time in a tamasic state, this is where we may not be attending to necessary tasks and there is loss of energy and lack of motivation.
Just like our yoga practice, these emotions, actions, or lack of actions are not who we are; they are actually opportunities. They are messages telling us something. They’re sending us messages that something needs to shift. This can be recognized as the development of our discernment. Now this is key, this is actually the juicy part! This collision of philosophy and physical practice is where we really unleash both our emotional and physical potential.
In today’s video, Matt demonstrates the required push and pull in Eka Pada Bakasana II (Half Crow / Half Titibhasana). We witness the importance of what Matt says: “harnessing the activity of the mind (rajas) to move toward sattva.” This is done with focus and intention. There can only be well-placed effort, continuous well-placed effort, in order to achieve this.
WATCH THE VIDEO: EKA PADA BAKASANA II

NEXT TRAINING BEGINS FEBRUARY 2024 ENROLLMENT NOW OPEN!

NEXT TRAINING BEGINS FEBRUARY 2024 ENROLLMENT NOW OPEN!
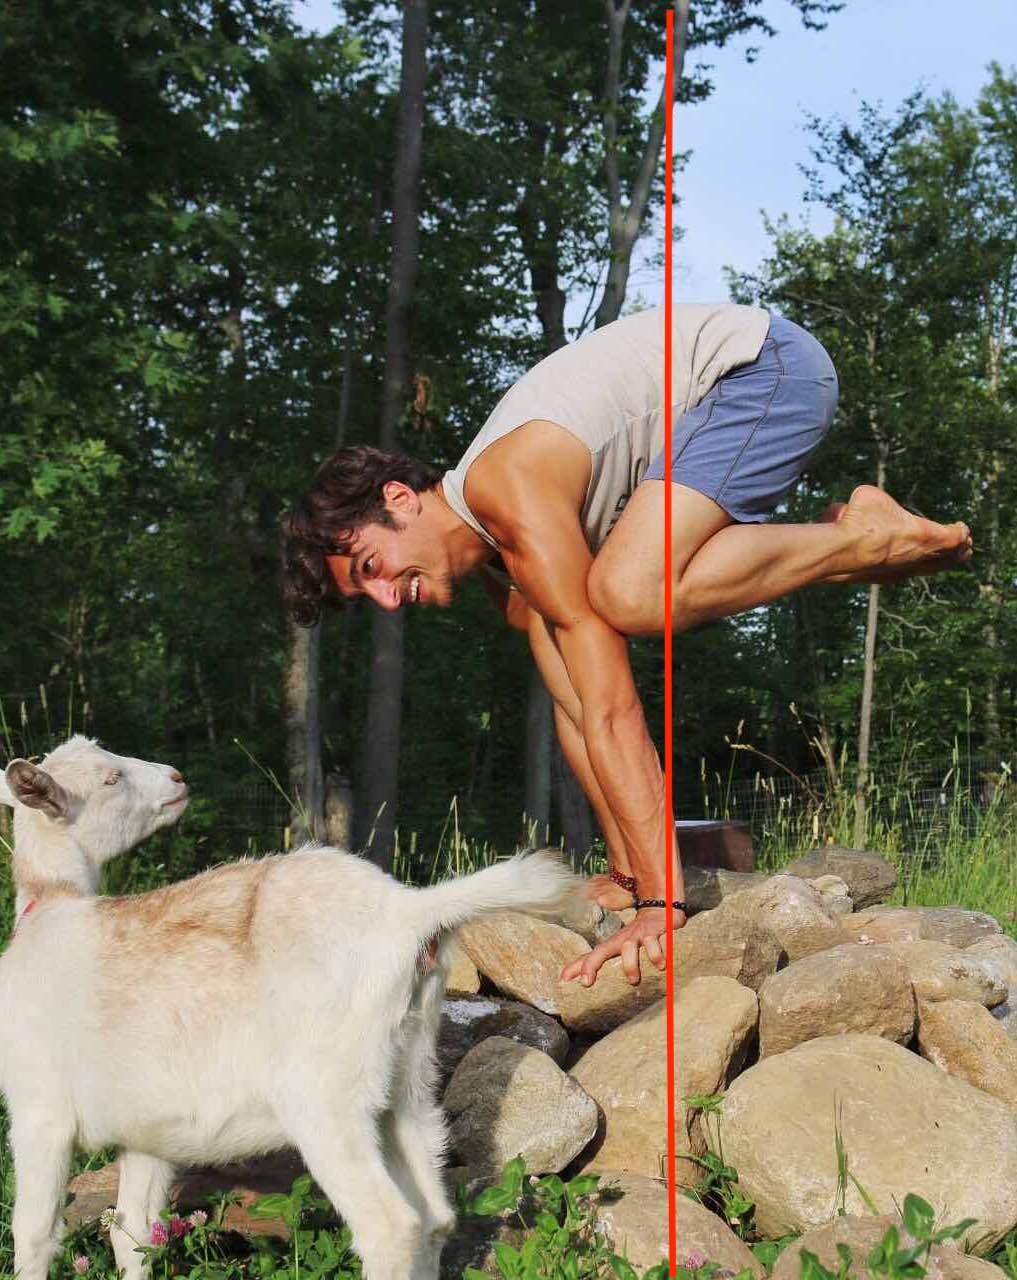
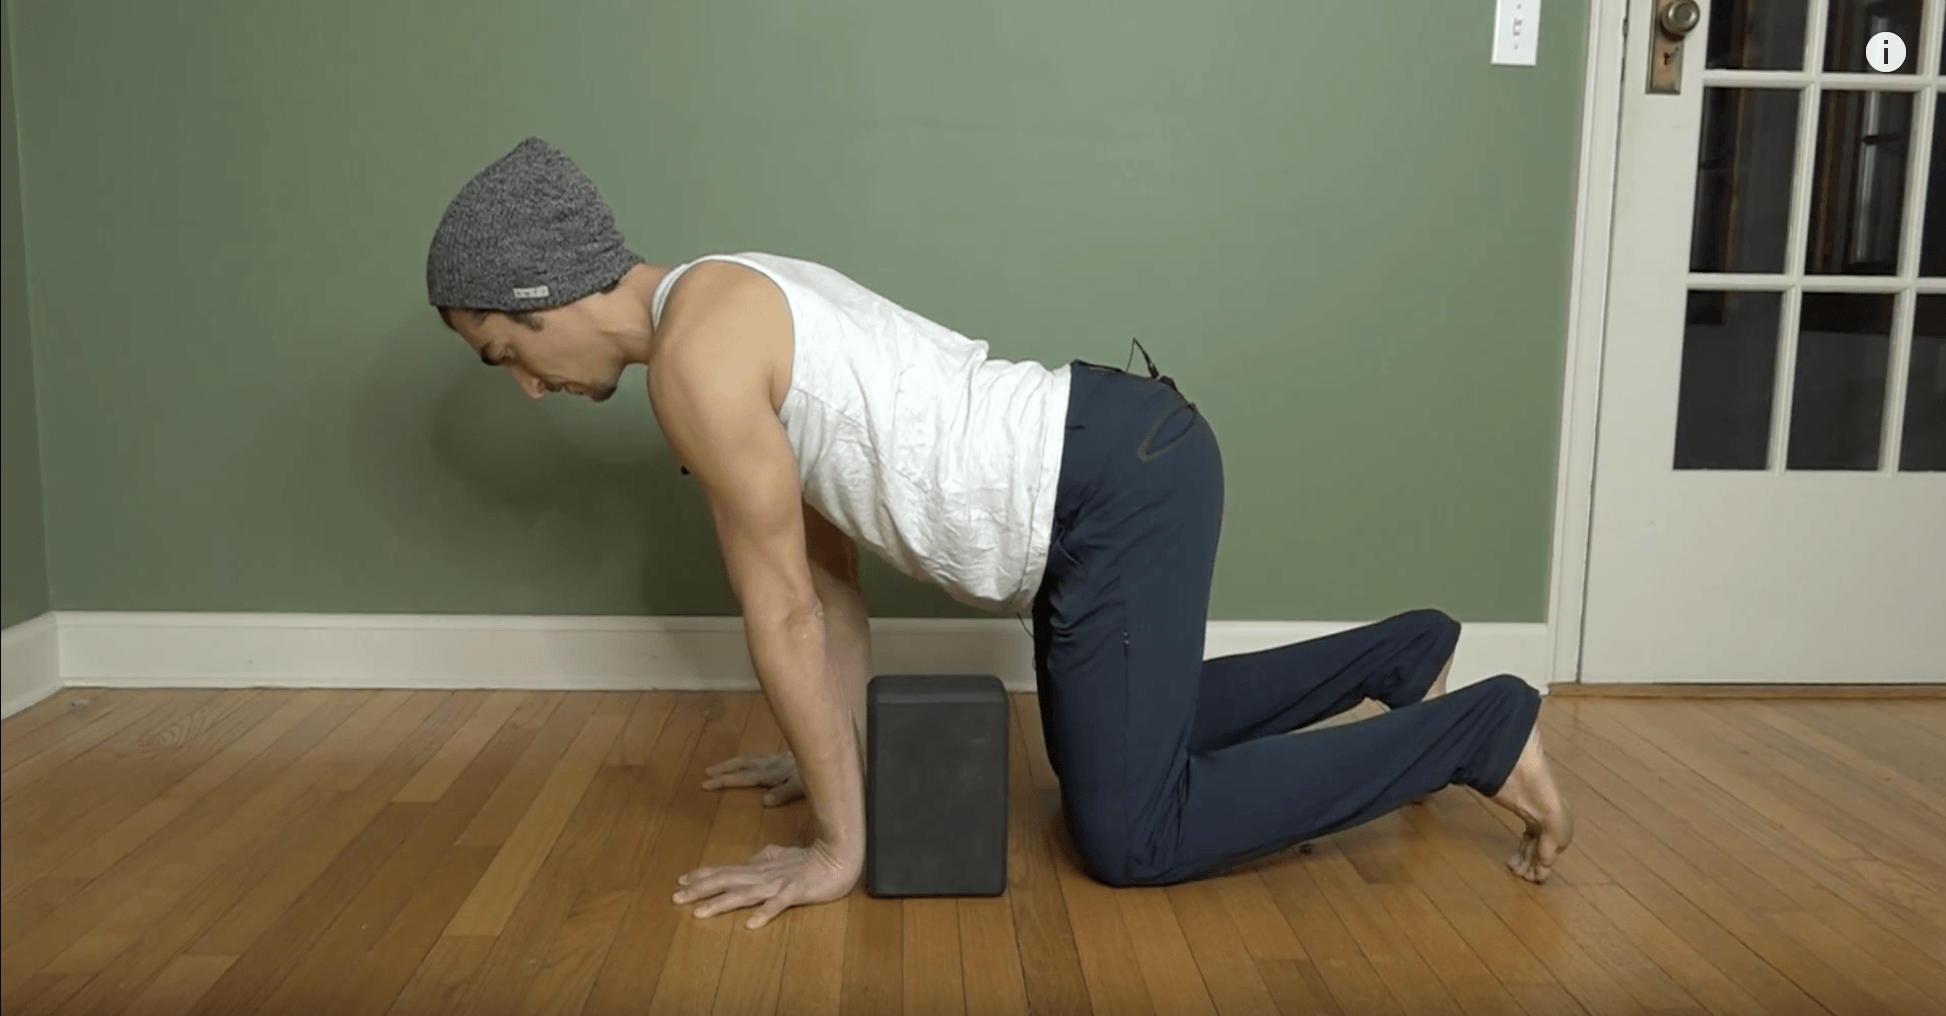
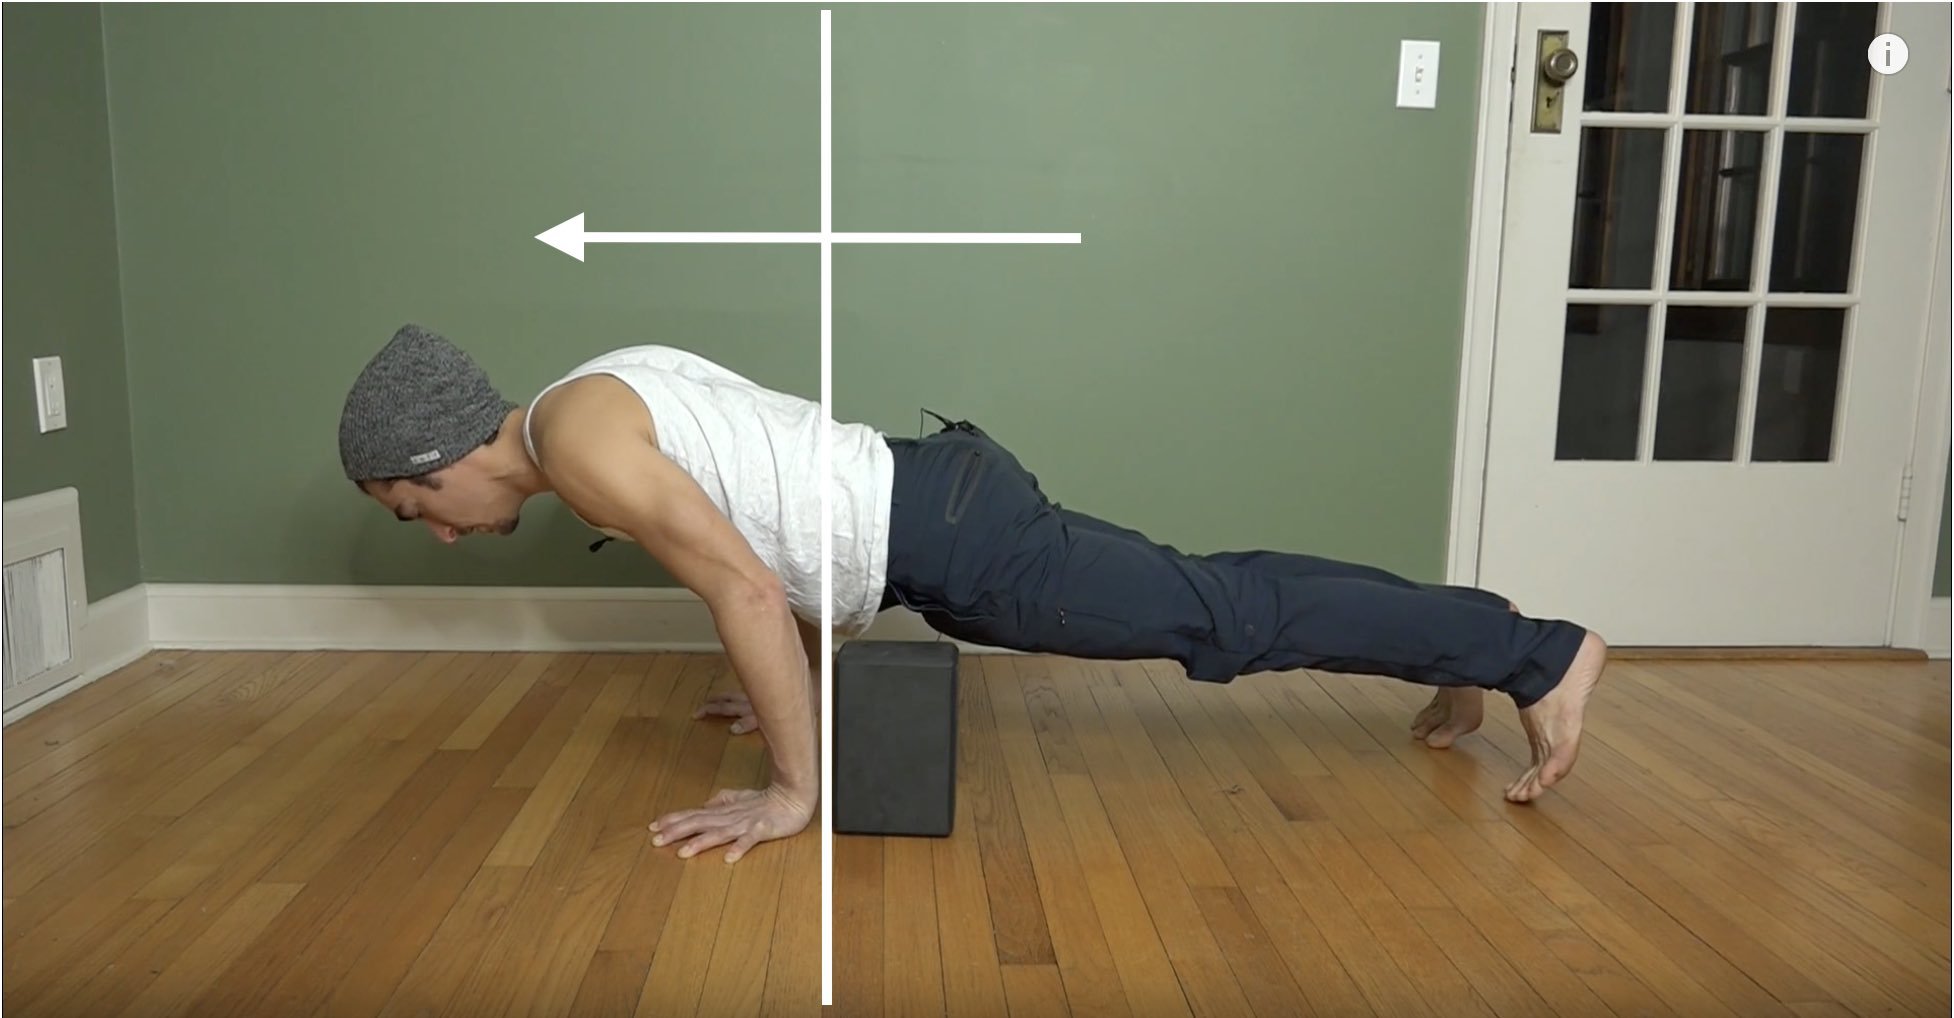
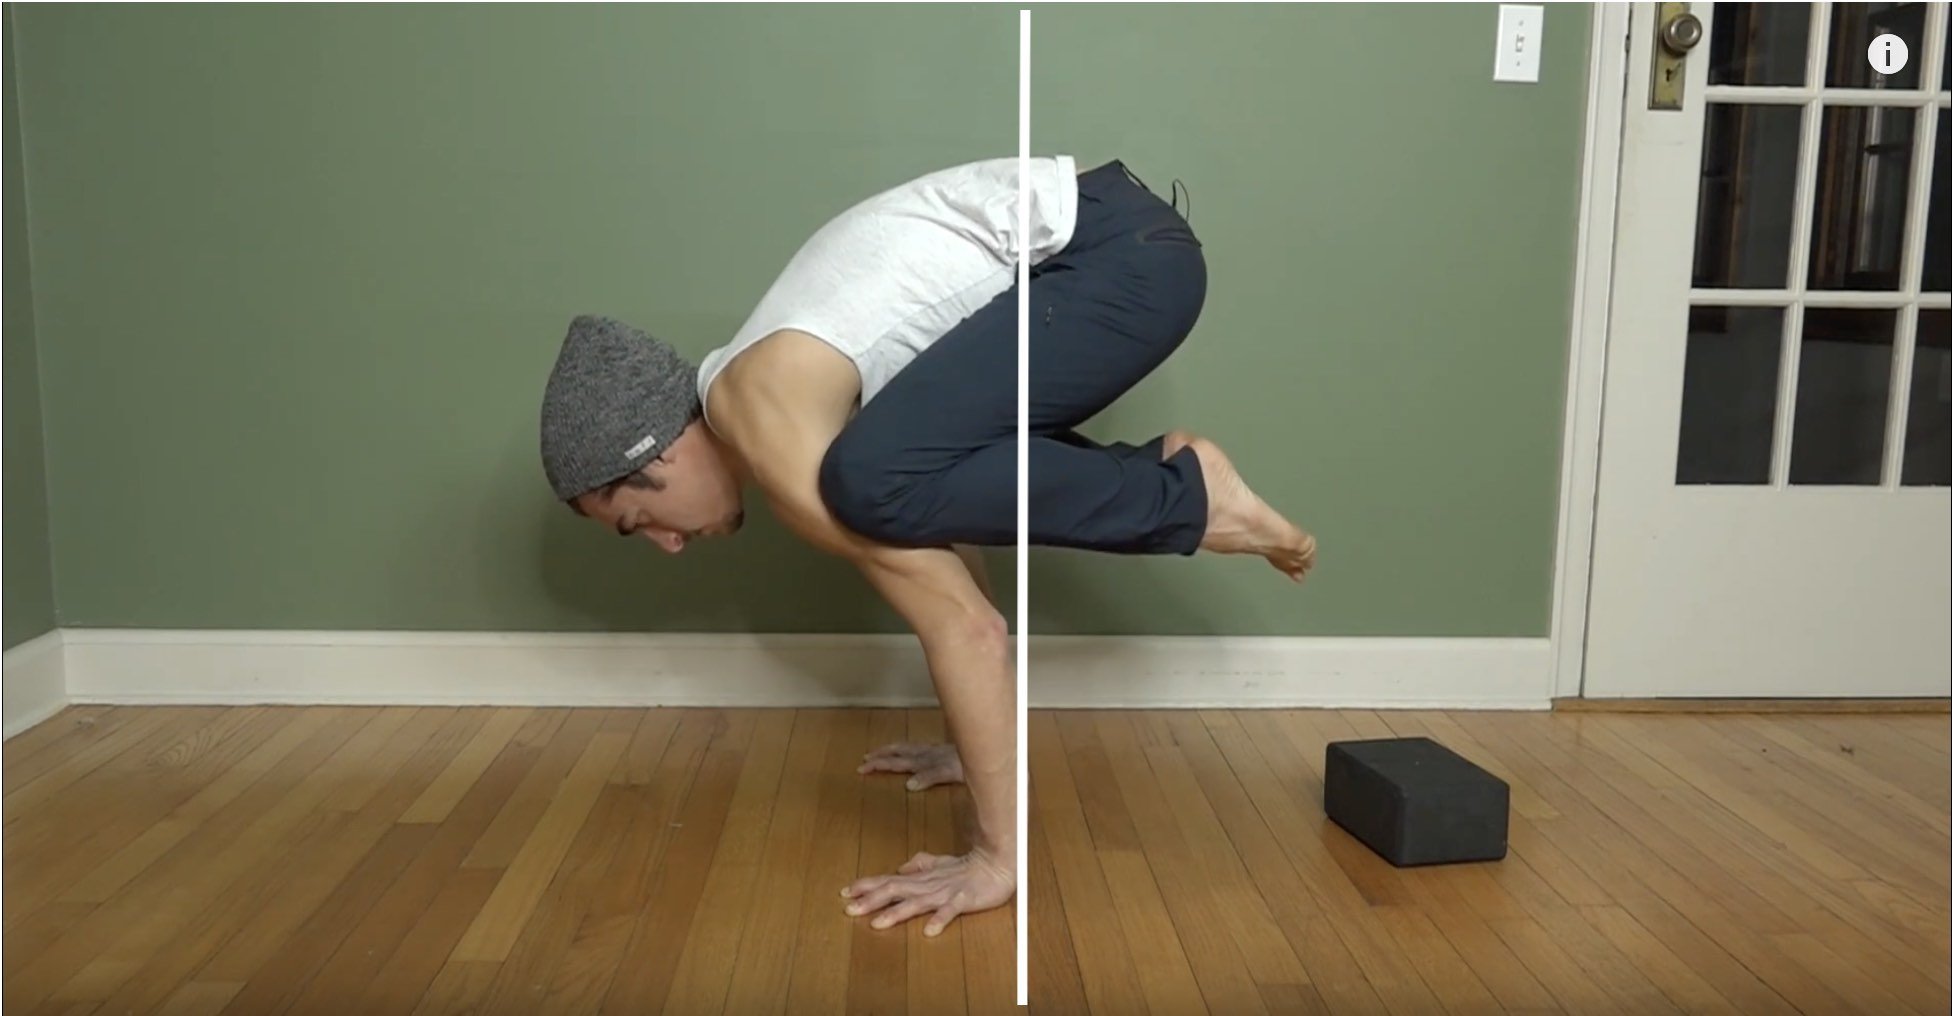
EKA PADA BAKASANA II (HALF CROW, HALF TITIBHASANA)
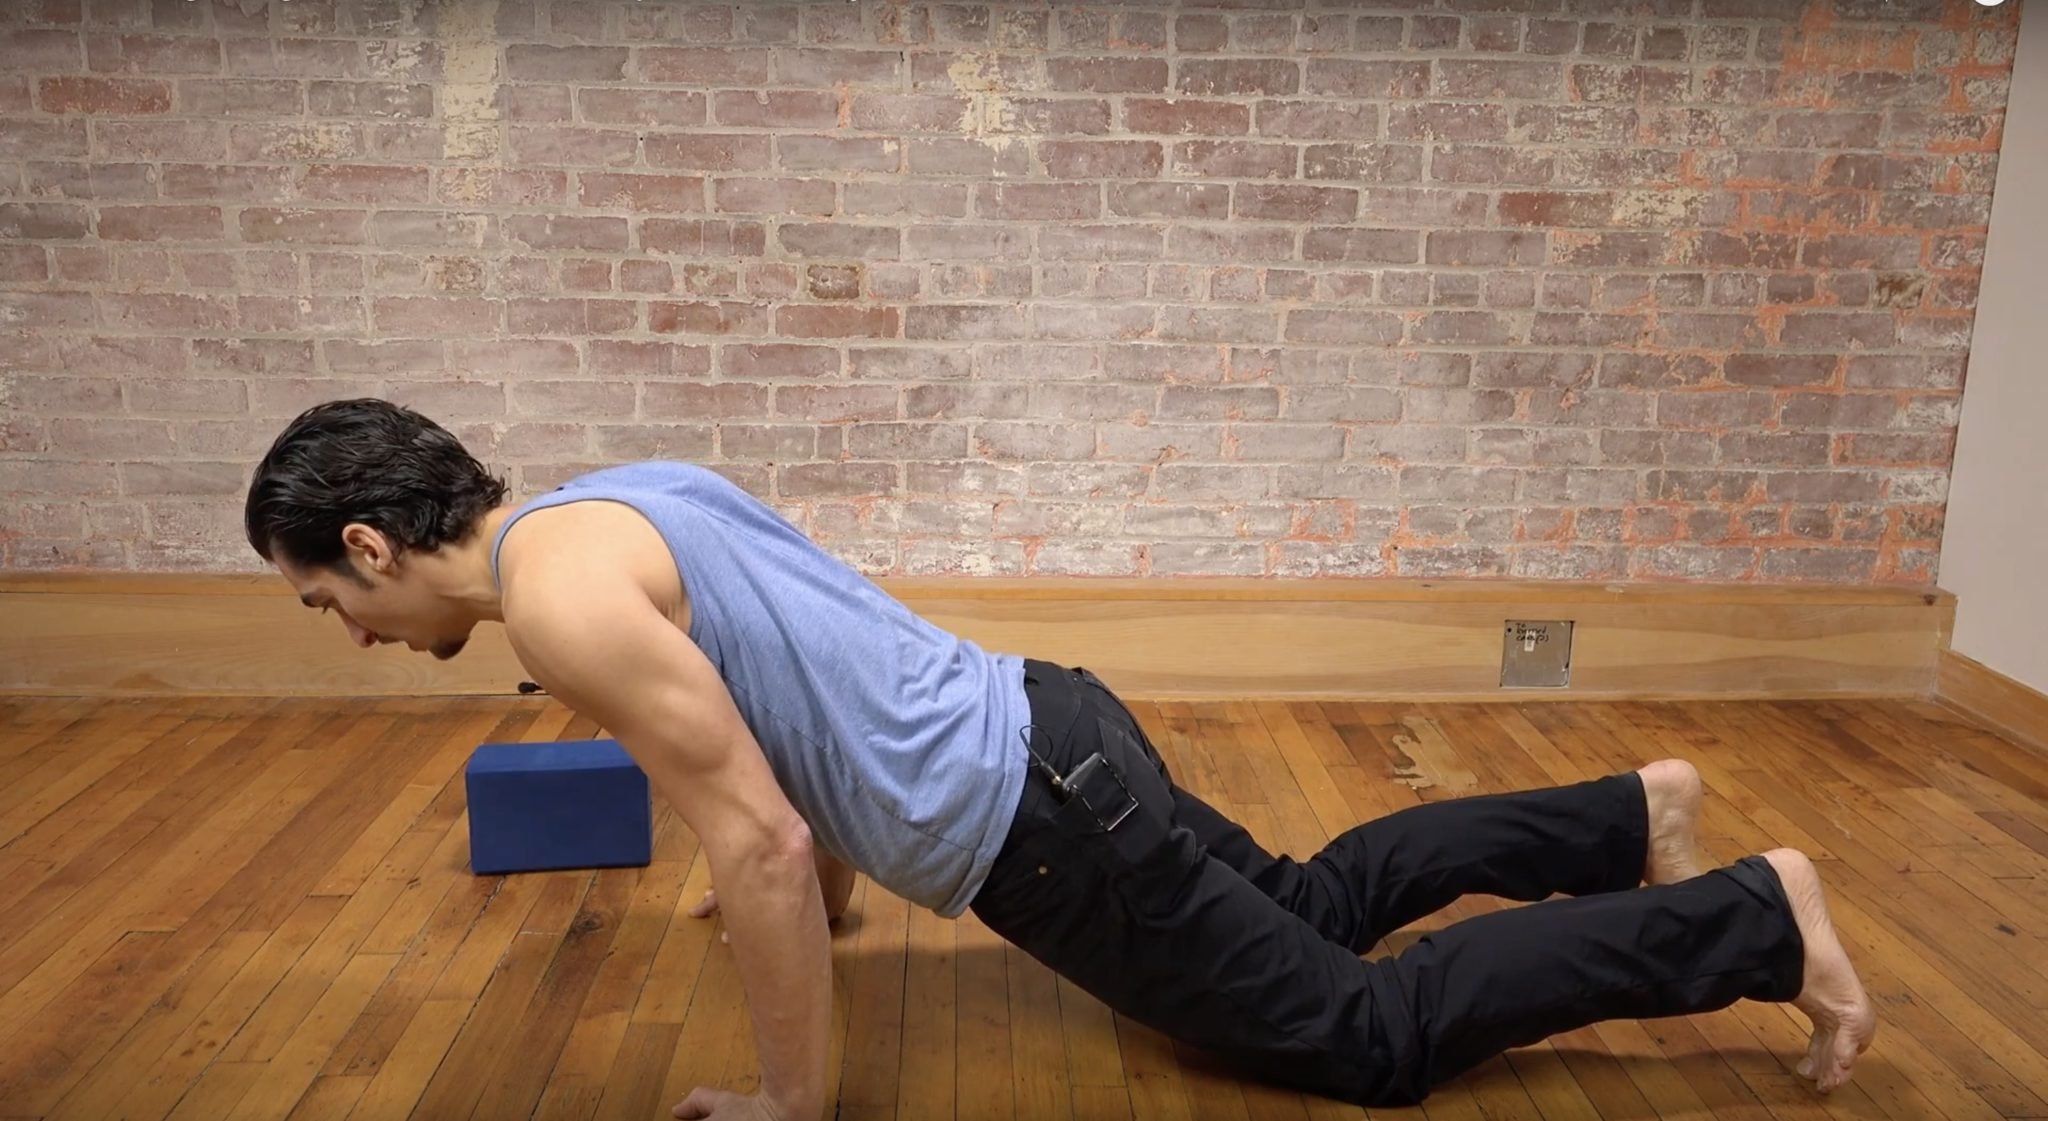
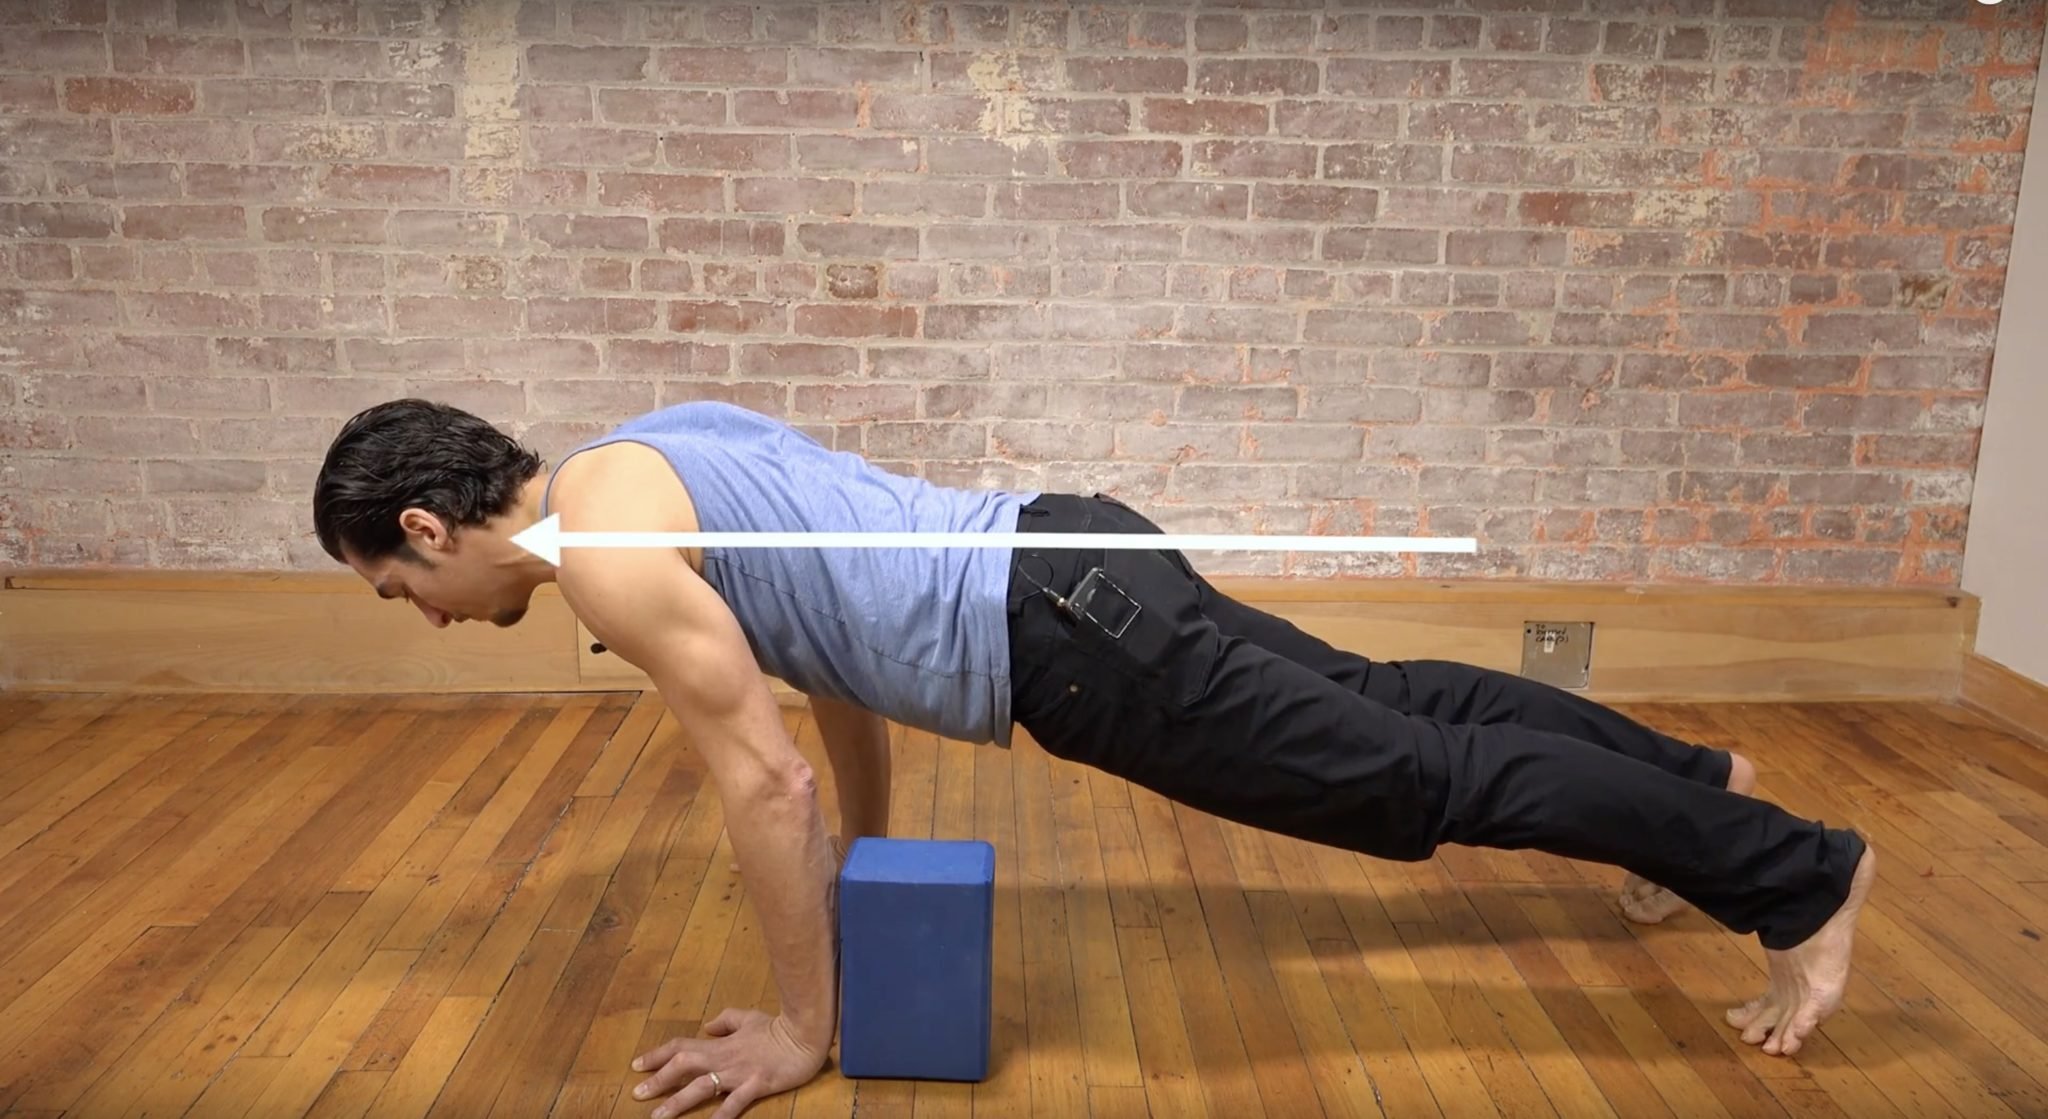
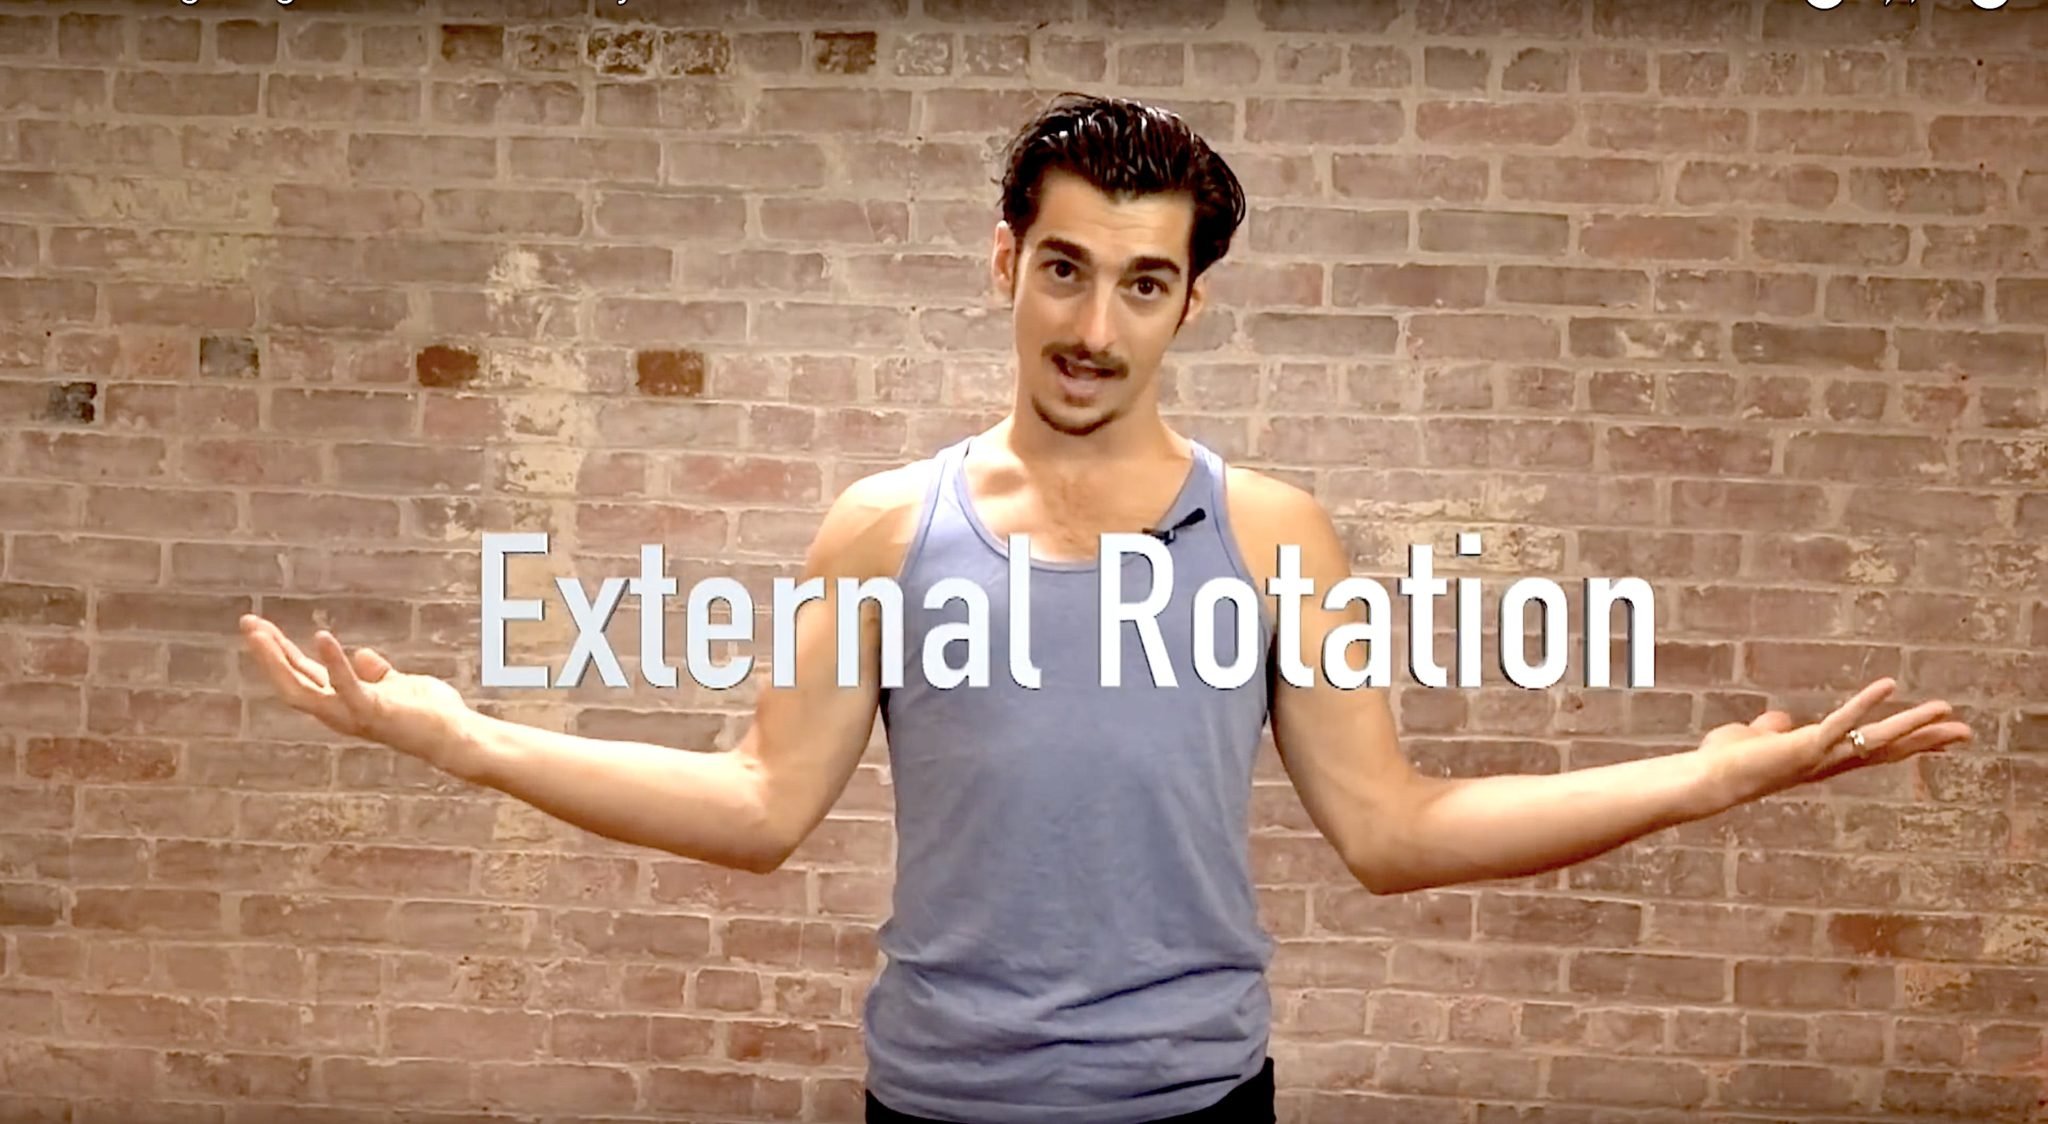
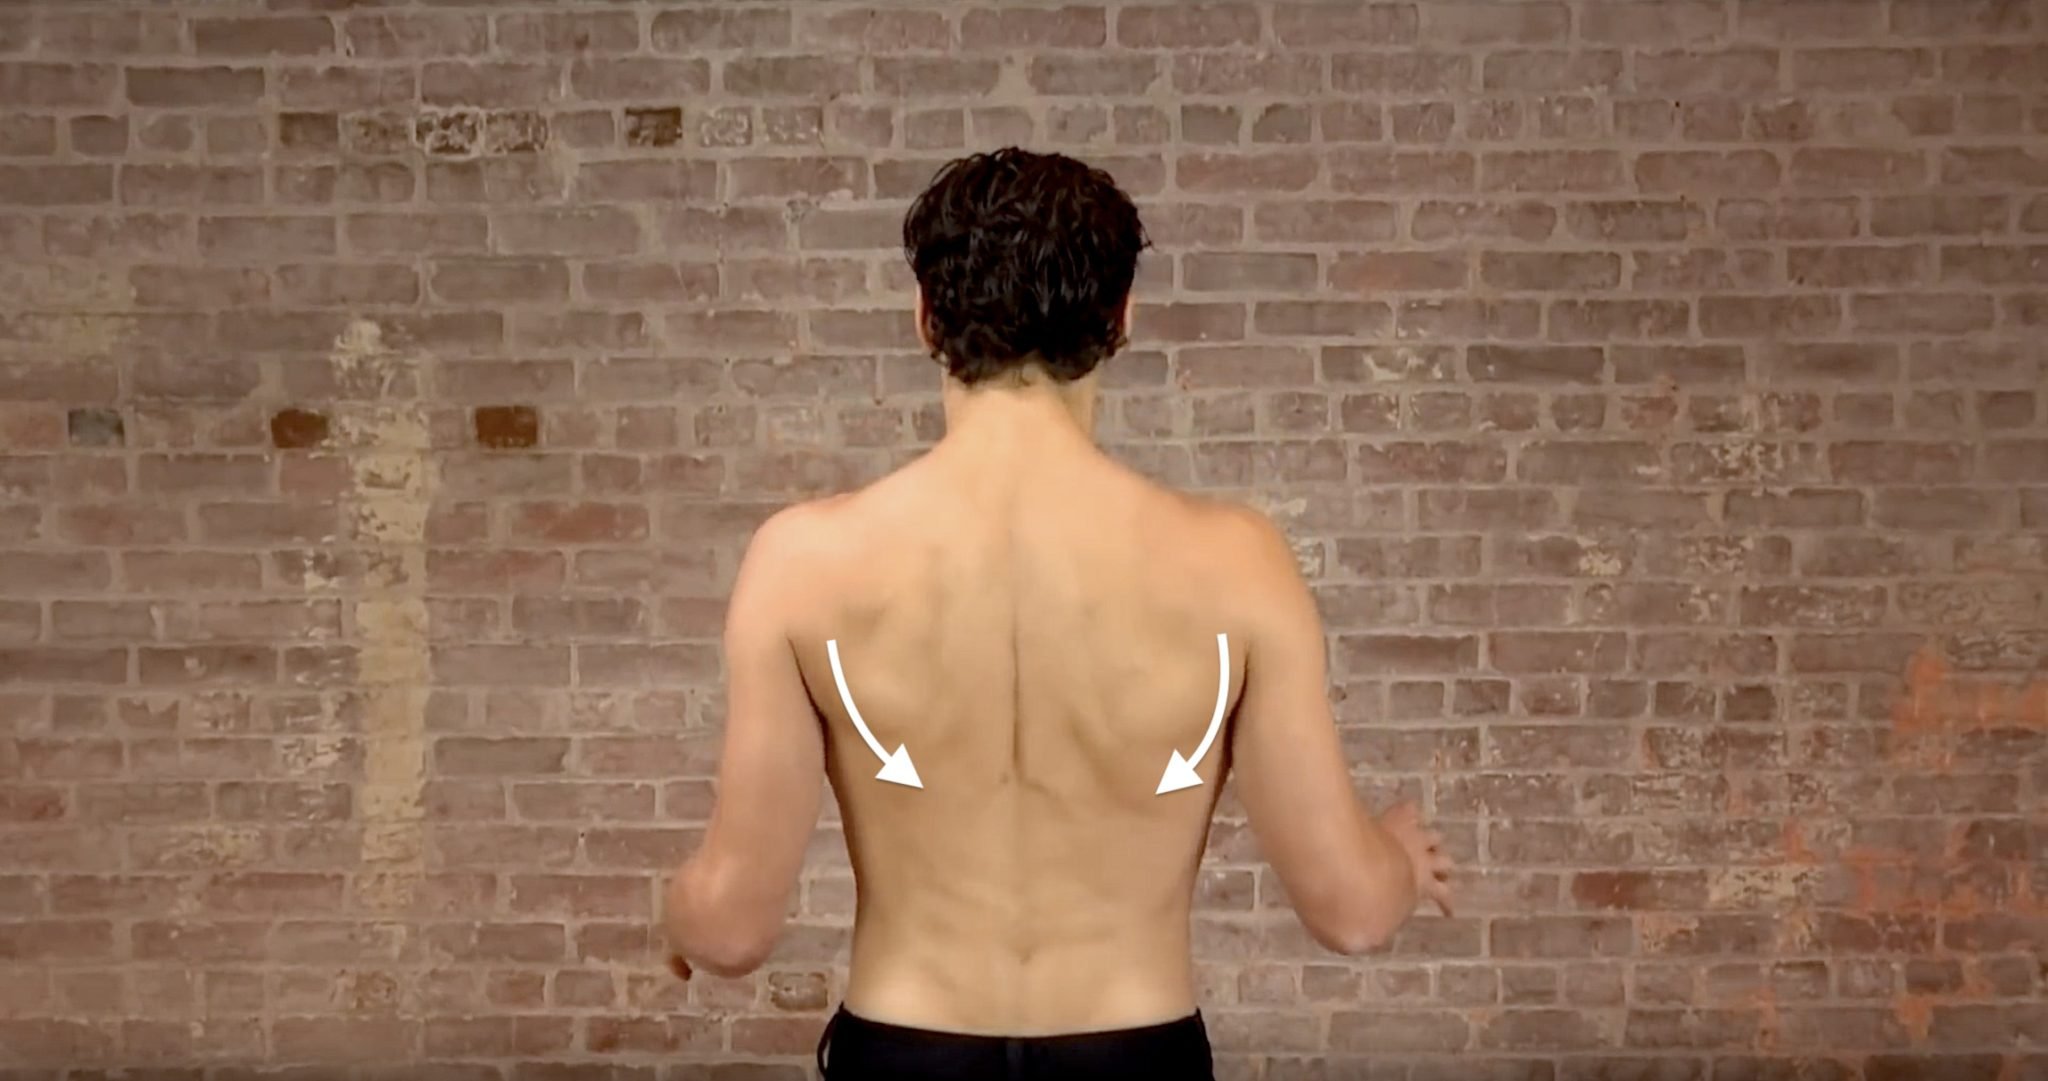
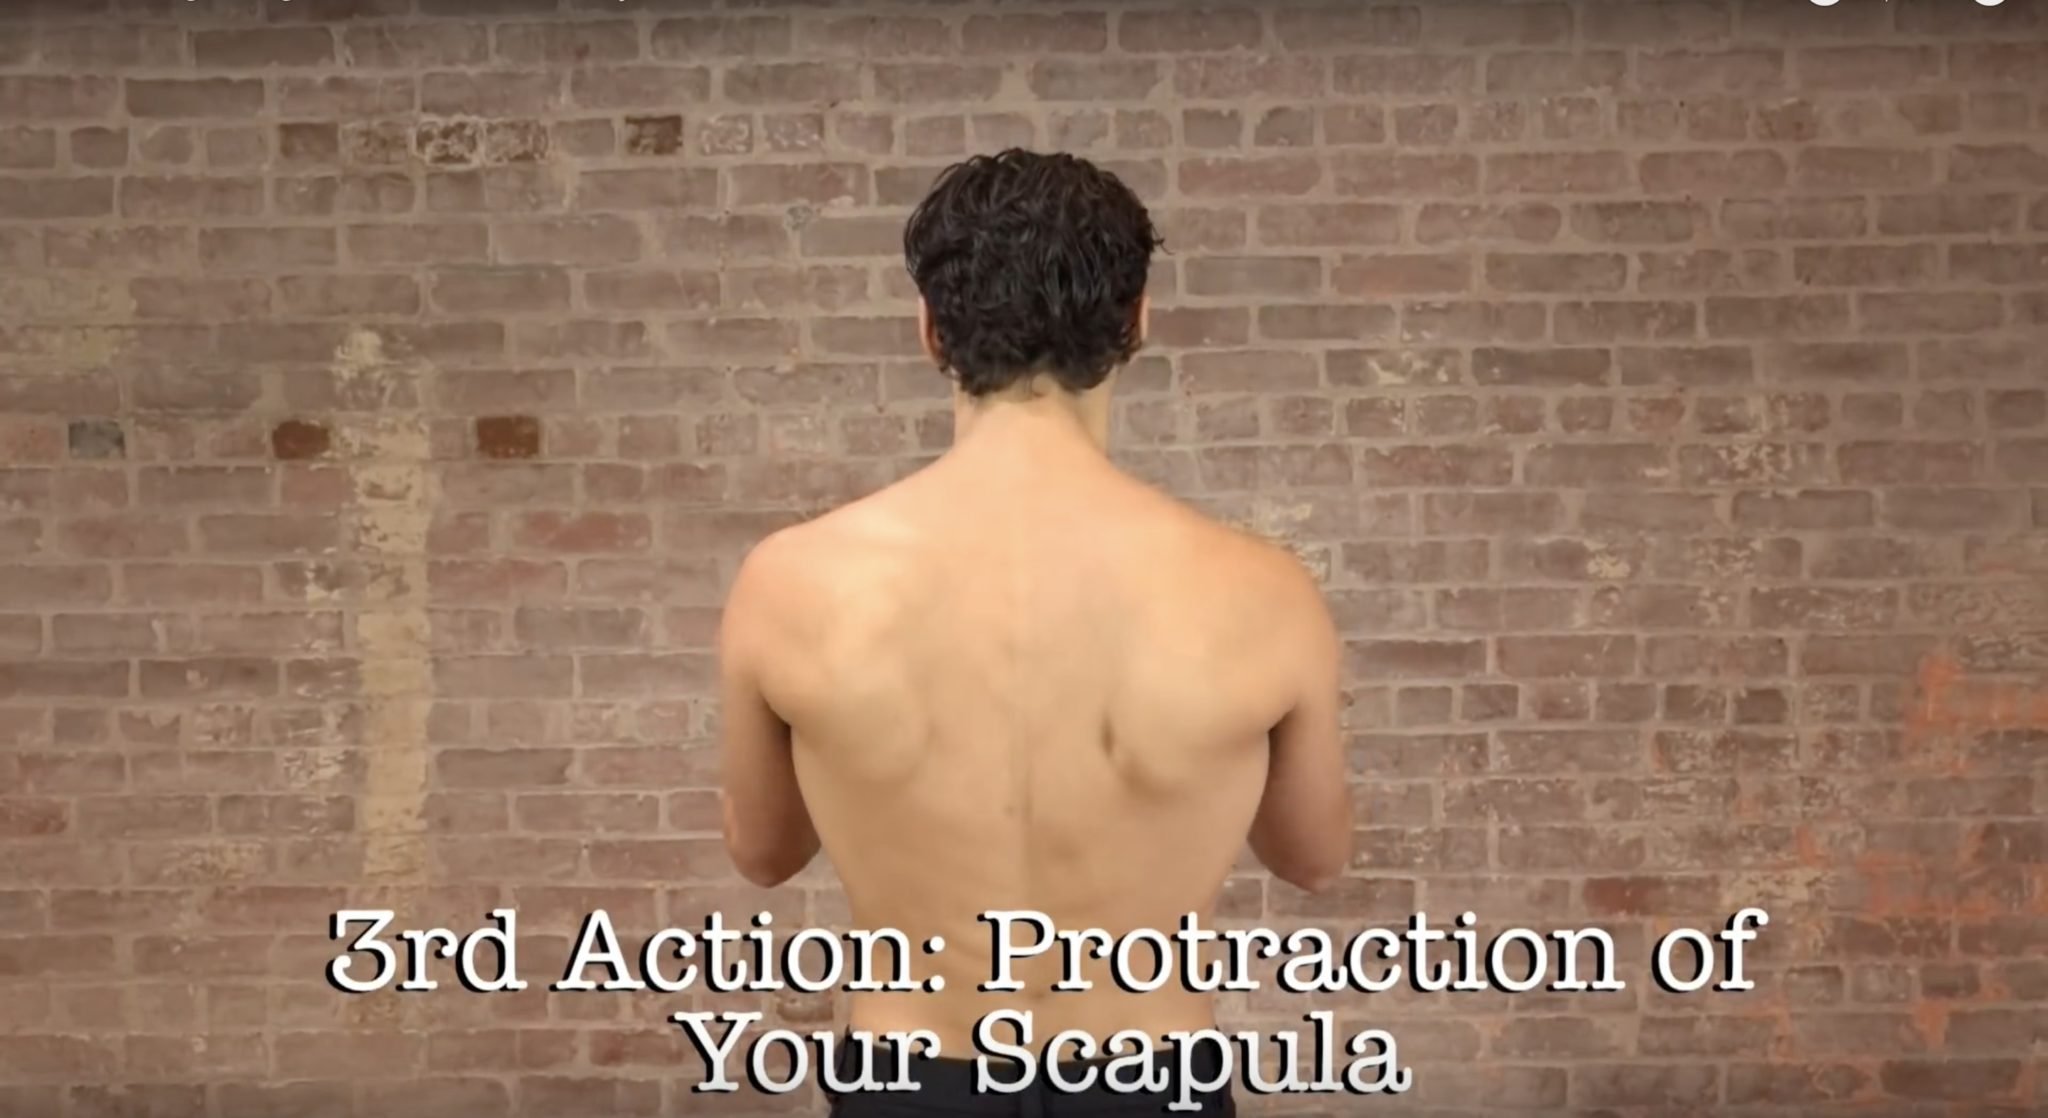
When it comes to the execution of Eka Pada Bakasana II, the push comes from the upper body, while the pull is in the lower body. There must be equal effort within these opposite actions. This can be interpreted as a “sattvic state in the body.” What I mean by opportunities is that when we feel something “off” in these actions, we must utilize our discernment. Maybe there is not enough pull/adduction of the legs and/or not enough rounding (protraction) of the upper back due to lack of push with the hands/upper body. Even neglecting the internal rotation of the extended leg can throw things off. This may lead to a loss of stability in the posture, taking us out of balance.
We can see more deeply how this is the practice; this is yoga. The process of harnessing the mind to focus and find balance and equanimity in Eka Pada Bakasana II (Half Crow/Half Titibhasana) is completely aligned with our process to move towards sattva in our emotional body. There can be moments of frustration, of uncertainty, but again, these are all beautiful messages for us to receive. They are exquisite opportunities for us to explore and experience without attachment.

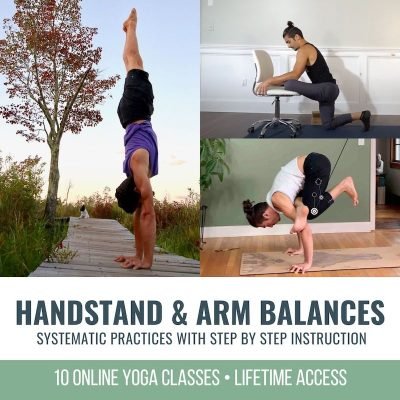
ANATOMY OF ARM BALANCES
MAY 2022 Immersion
- Anatomy of 12+ arm balances
- Foundational and advanced arm balance techniques
- Visualize your movements internally
- Improve balance and proprioception
- Sensation-based practices
- Learn empowering modifications
- Access appropriate variations for your level of practice
- Active, passive, and isomentric Stretching
- Improve wrist, core, and shoulder strength
- ALL LEVELS APPROPRIATE
$168.00
- Take the opportunity to dive deeper into these teachings and the potential of your physical body in Matt’s upcoming 200 & 300 Hr. Teacher Trainings.
- See you on the mat!
The 200 Hr. Teacher Training: Click Here to See the Next Start Date
The 300 Hr. Advanced Teacher Training: Click Here to See the Next Start Date
Article by Trish Curling
Video Extracted From: 300 Hr. Training
CHOOSE YOUR PATH
NEXT TRAINING BEGINS FEBRUARY 2024 ENROLLMENT NOW OPEN!
NEXT TRAINING BEGINS FEBRUARY 2024 ENROLLMENT NOW OPEN!
Continue Learning
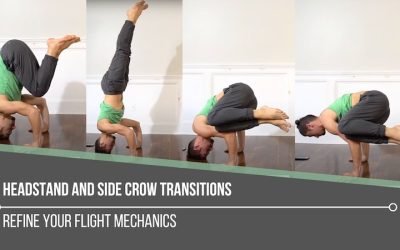
Headstand and Side Crow Transitions
read more
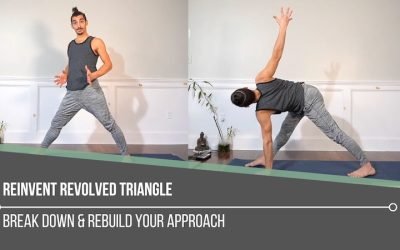
Reinvent Revolved Triangle
Reinvent Revolved TriangleTRIKONASANAREINVENT REVOLVED TRIANGLE “Now twist!” Sounds easy enough—until we realize the complexity hidden within the cue. Revolved Triangle is far more than just a twist. It’s a balance challenge, a hamstring and IT band stretch, a spinal...
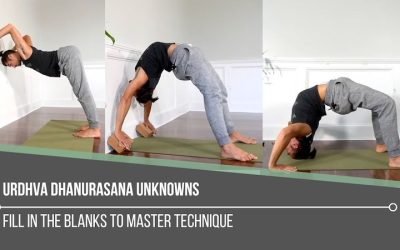
Urdhva Dhanurasana Unknowns
Urdhva Dhanurasana UnknownsALIGNMENTURDHVA DHANURASANA UNKNOWNS Let’s take a pause from what we think we know about Wheel Pose and consider the Urdhva Dhanurasana unknowns. Often, we hear the cue, “Just press up into Wheel,” and we do—without questioning the subtle...
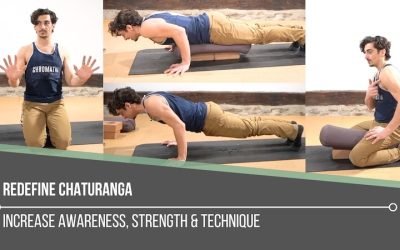
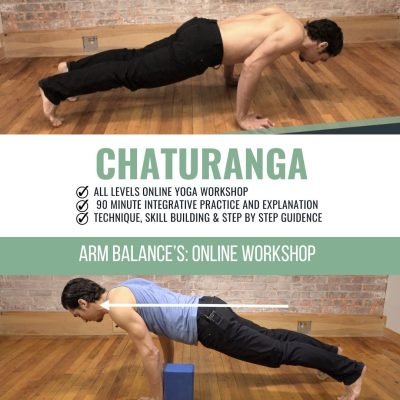
Redefine Chaturanga
Redefine ChaturangaALIGNMENTREDEFINE CHATURANGA To redefine Chaturanga, we first have to be willing to challenge what we think we already know. Many of us were taught a narrow-hand, elbows-tight variation of the pose—elbows hugging the ribs, hands close beneath the...
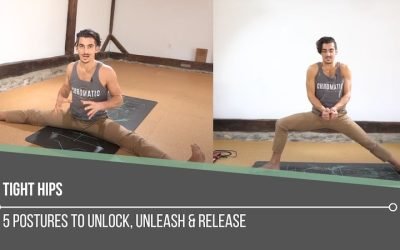
Tight Hips
Tight HipsHIP MOBILITYTIGHT HIPS When working to release tight hips, most people instinctively go straight for deep stretches. But one often overlooked area that holds a surprising amount of tension is the adductorS (the inner thigh muscles) that connect to the...
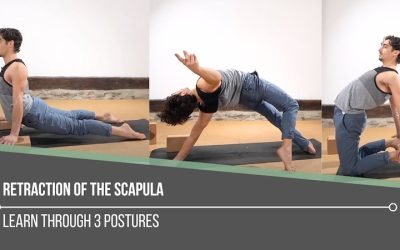
Retraction Of The Scapula
Retraction Of The ScapulaSHOULDER ACTIONSRETRACTION OF THE SCAPULA It may appear that scapular retraction holds less weight in finding deeper backbends, but this action can be quite significant in what we experience when it comes to strength, stability, and...
THE FREE TECHNIQUE PACK
When You Subscribe, You Will Get Instant Access to
- the Technique Pack: 15 yoga pose breakdowns
- exclusive online course discounts
- exclusive blogs and videos