Opening The Heart ChakrabackbendOPENING THE HEART CHAKRA Opening the heart chakra is not simply about reaching deeper into a backbend. Matt reminds us that this space is rooted in love, balance, and connection, both with ourselves and with others. It reflects how we...
full side plank and modifications
FULL SIDE PLANK WITH MODIFICATIONS
STEP-BY-STEP VASHISTHASANA BREAKDOWN
FULL SIDE PLANK
FULL SIDE PLANK AND MODIFICATIONS: VASHISTHASANA
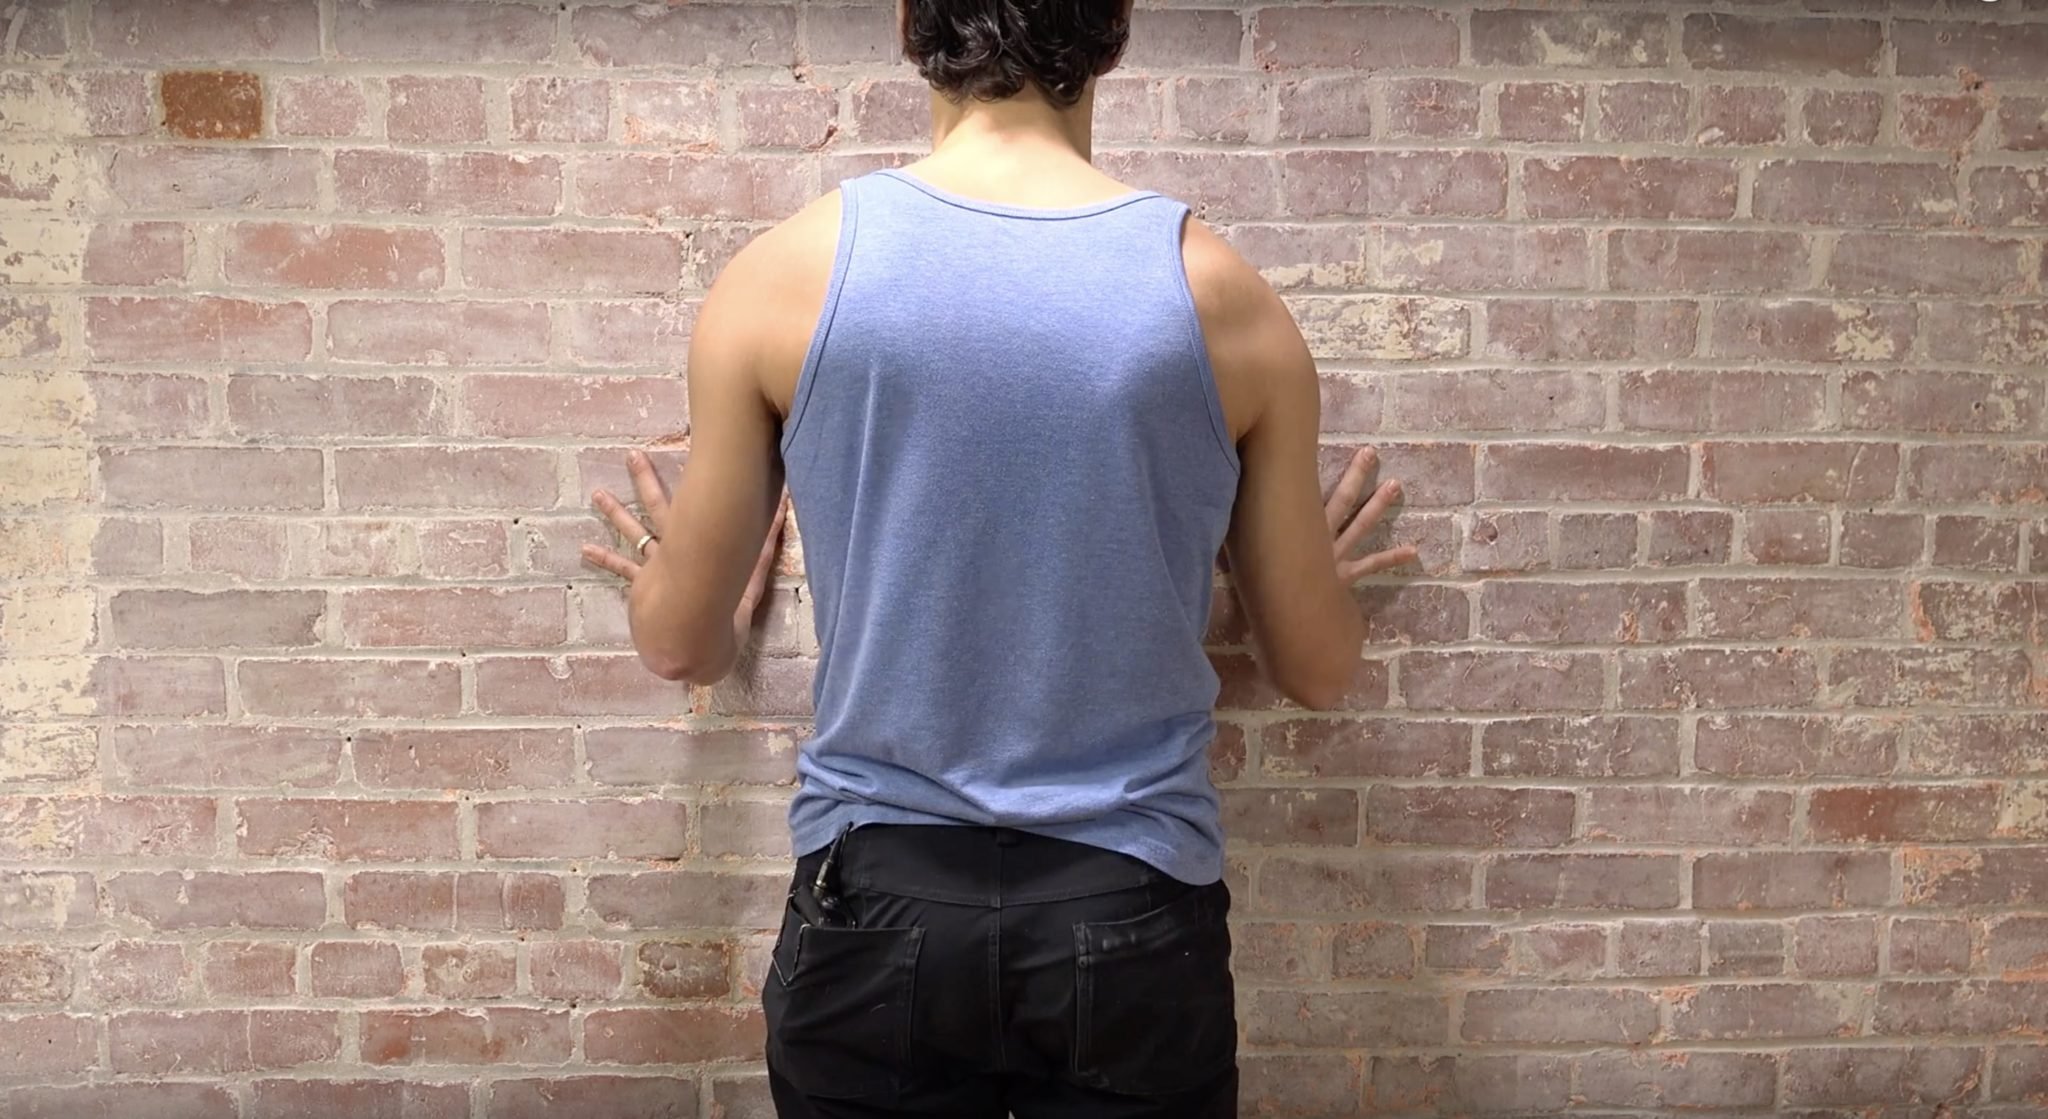
USING THE WALL AS A PROP
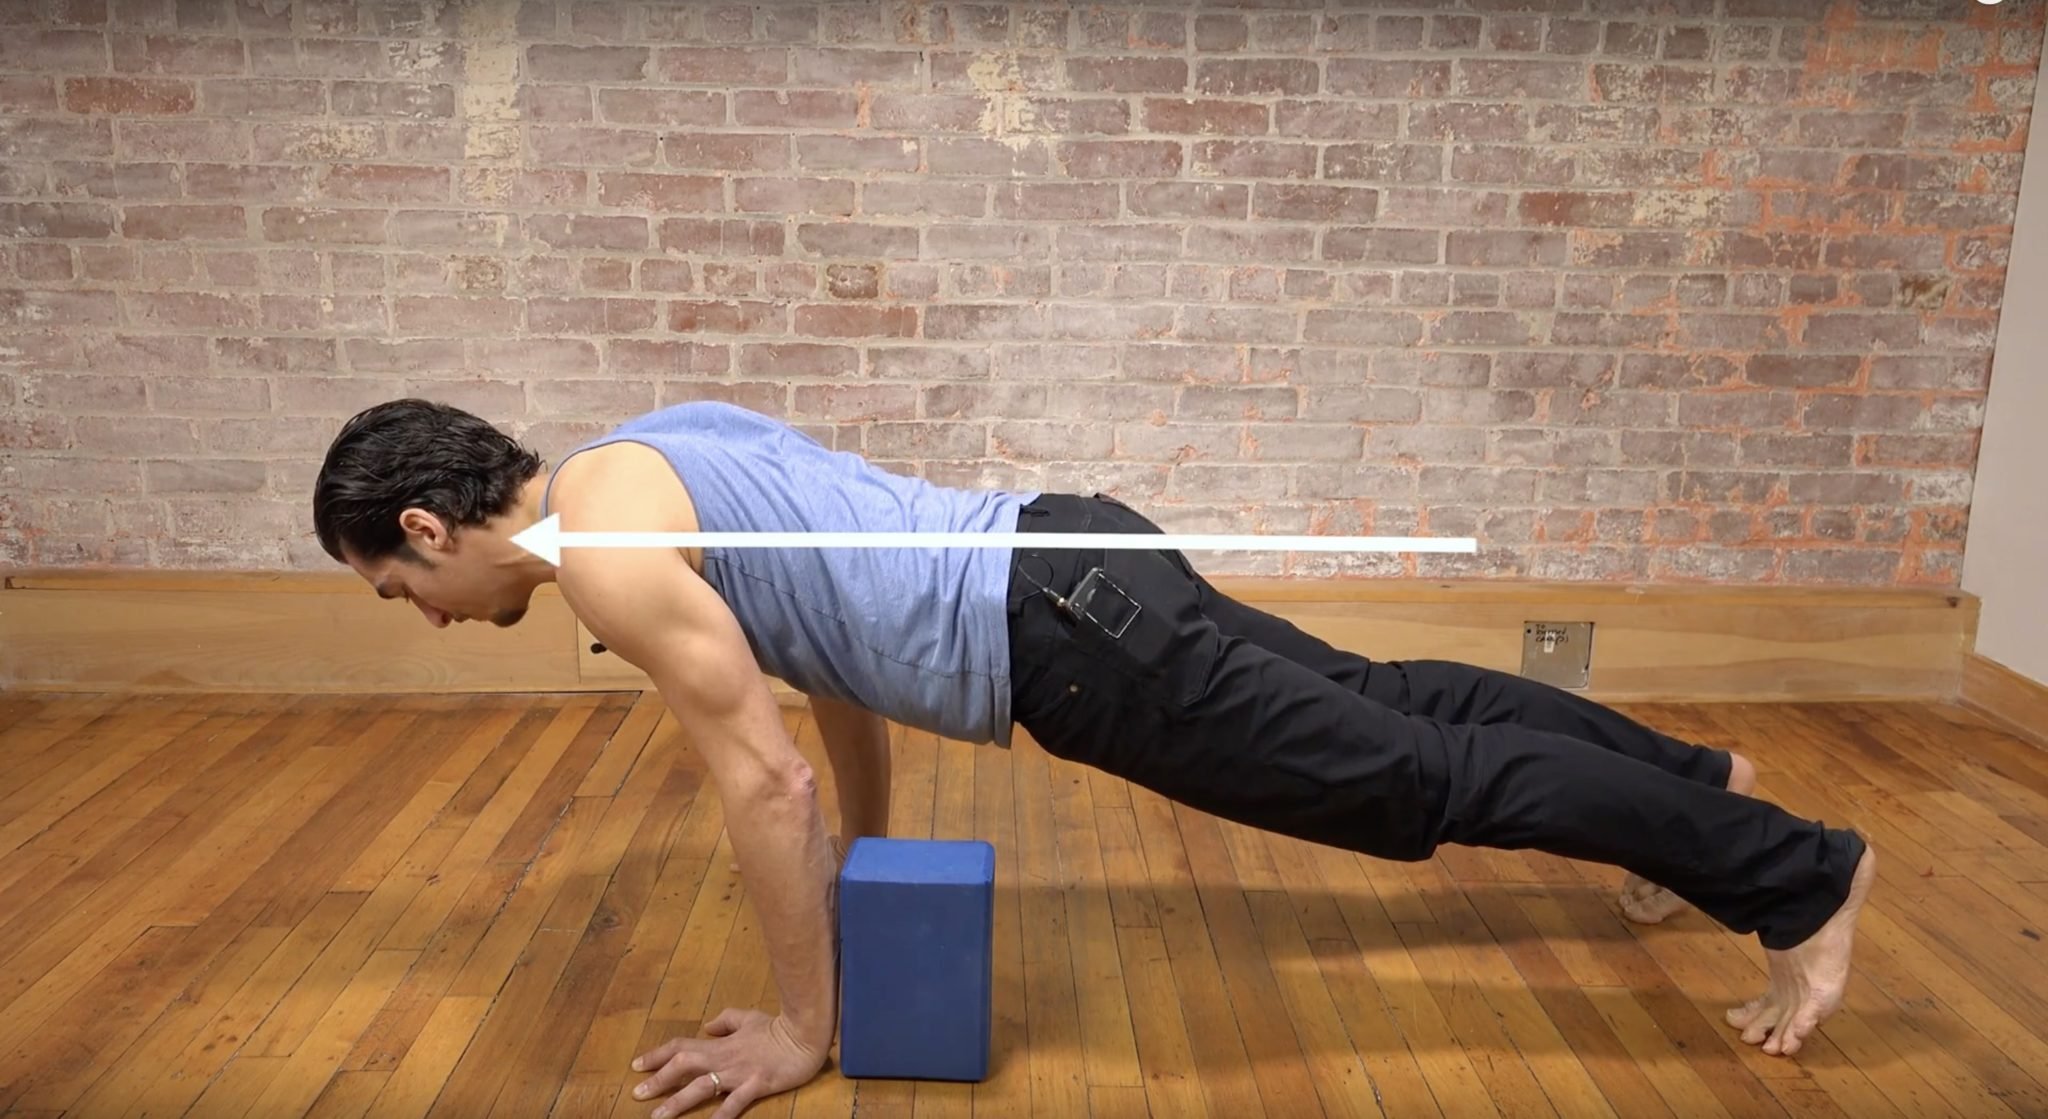
Full Side Plank (Vashisthasana) has many modification options and variations to help make it more accessible or more challenging. I love teaching this posture with a foot on the wall to increase stability and provide a frame of reference for shifting the weight out of the hand and into the foot.
Some people avoid props, thinking of them as a “crutch.” For sure, they can be used as a way to avoid challenges if that is your intention, but they can also be used to increase body awareness and help you develop technique. Props are neither good nor bad; it’s just a matter of how and why you are using them. Is it that you want to avoid challenge or that you want to face challenge intelligently and appropriately?
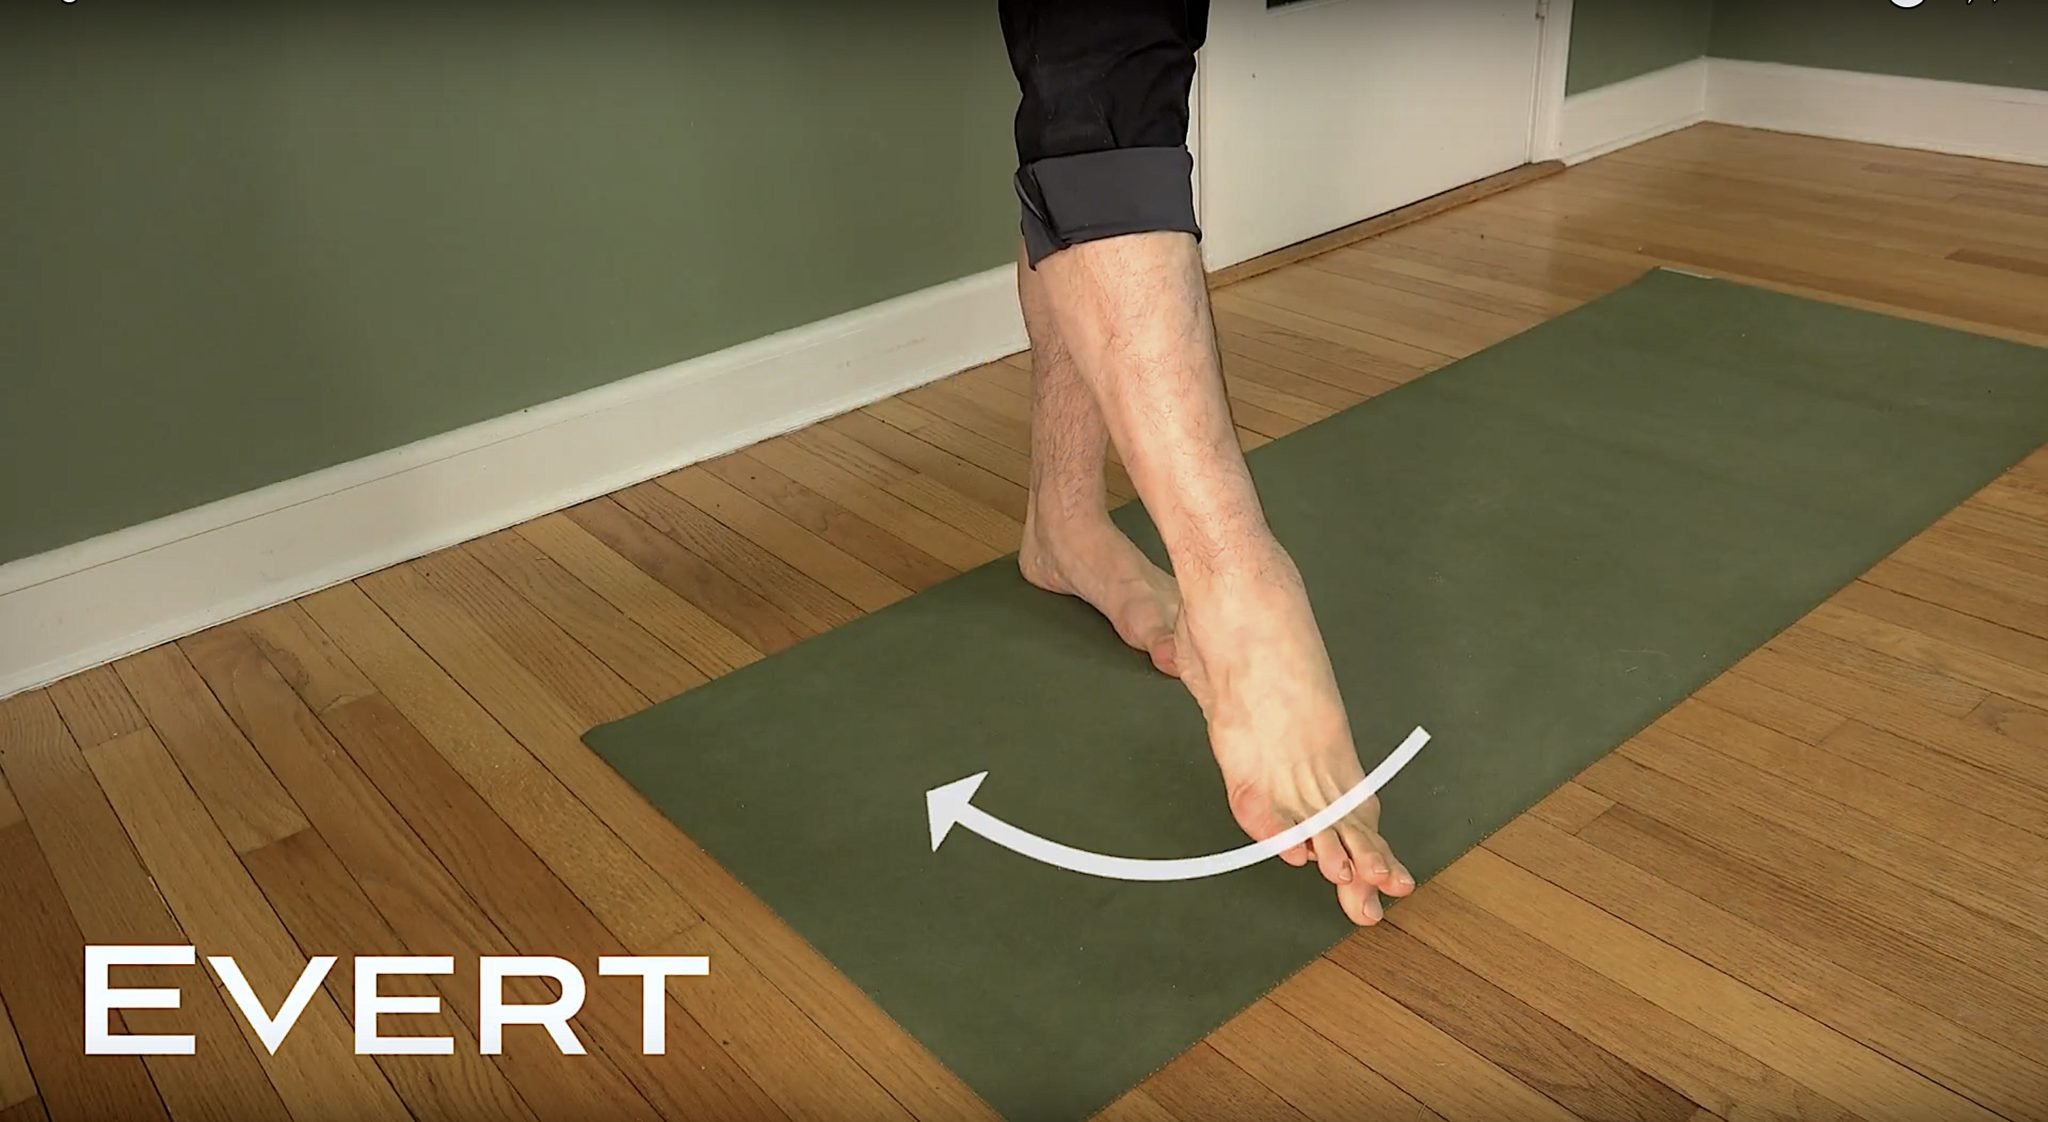
In the video tutorial below, I show how to modify side plank by placing your top foot on the wall. This reduces the required balance and will allow you to focus on the foundations of the posture, like the strength of your hand and wrist. Press your thumb and pinky fingers into the ground. Then focus on your bottom foot, pressing the instep of your foot into the wall. Eventually, you will be able to place the whole standing foot on the ground, which will give you strength and the power to lift the hips up. Lastly, keep your shoulder externally rotating, as indicated in the video.

VITALITY: RIGOR & RELEASE
Get back to feeling energized and alive — 12 all-levels vinyasa & meditation classes to increase your energy, focus, and mental clarity
- GET BACK TO FEELING ENERGIZED
- ALL-LEVELS VINYASA CLASSES
- HIPS, TWISTS, HEART, SHOULDERS, NECK, AND CORE
- GUIDED MEDITATIONS TO DE-STRESS, INCREASE FOCUS, AND GAIN MENTAL CLARITY
Full Side Plank & Modifications • Vashisthasana at the Wall
This Side Plank tutorial footage is taken from the July 2021 Immersion, titled BALANCE
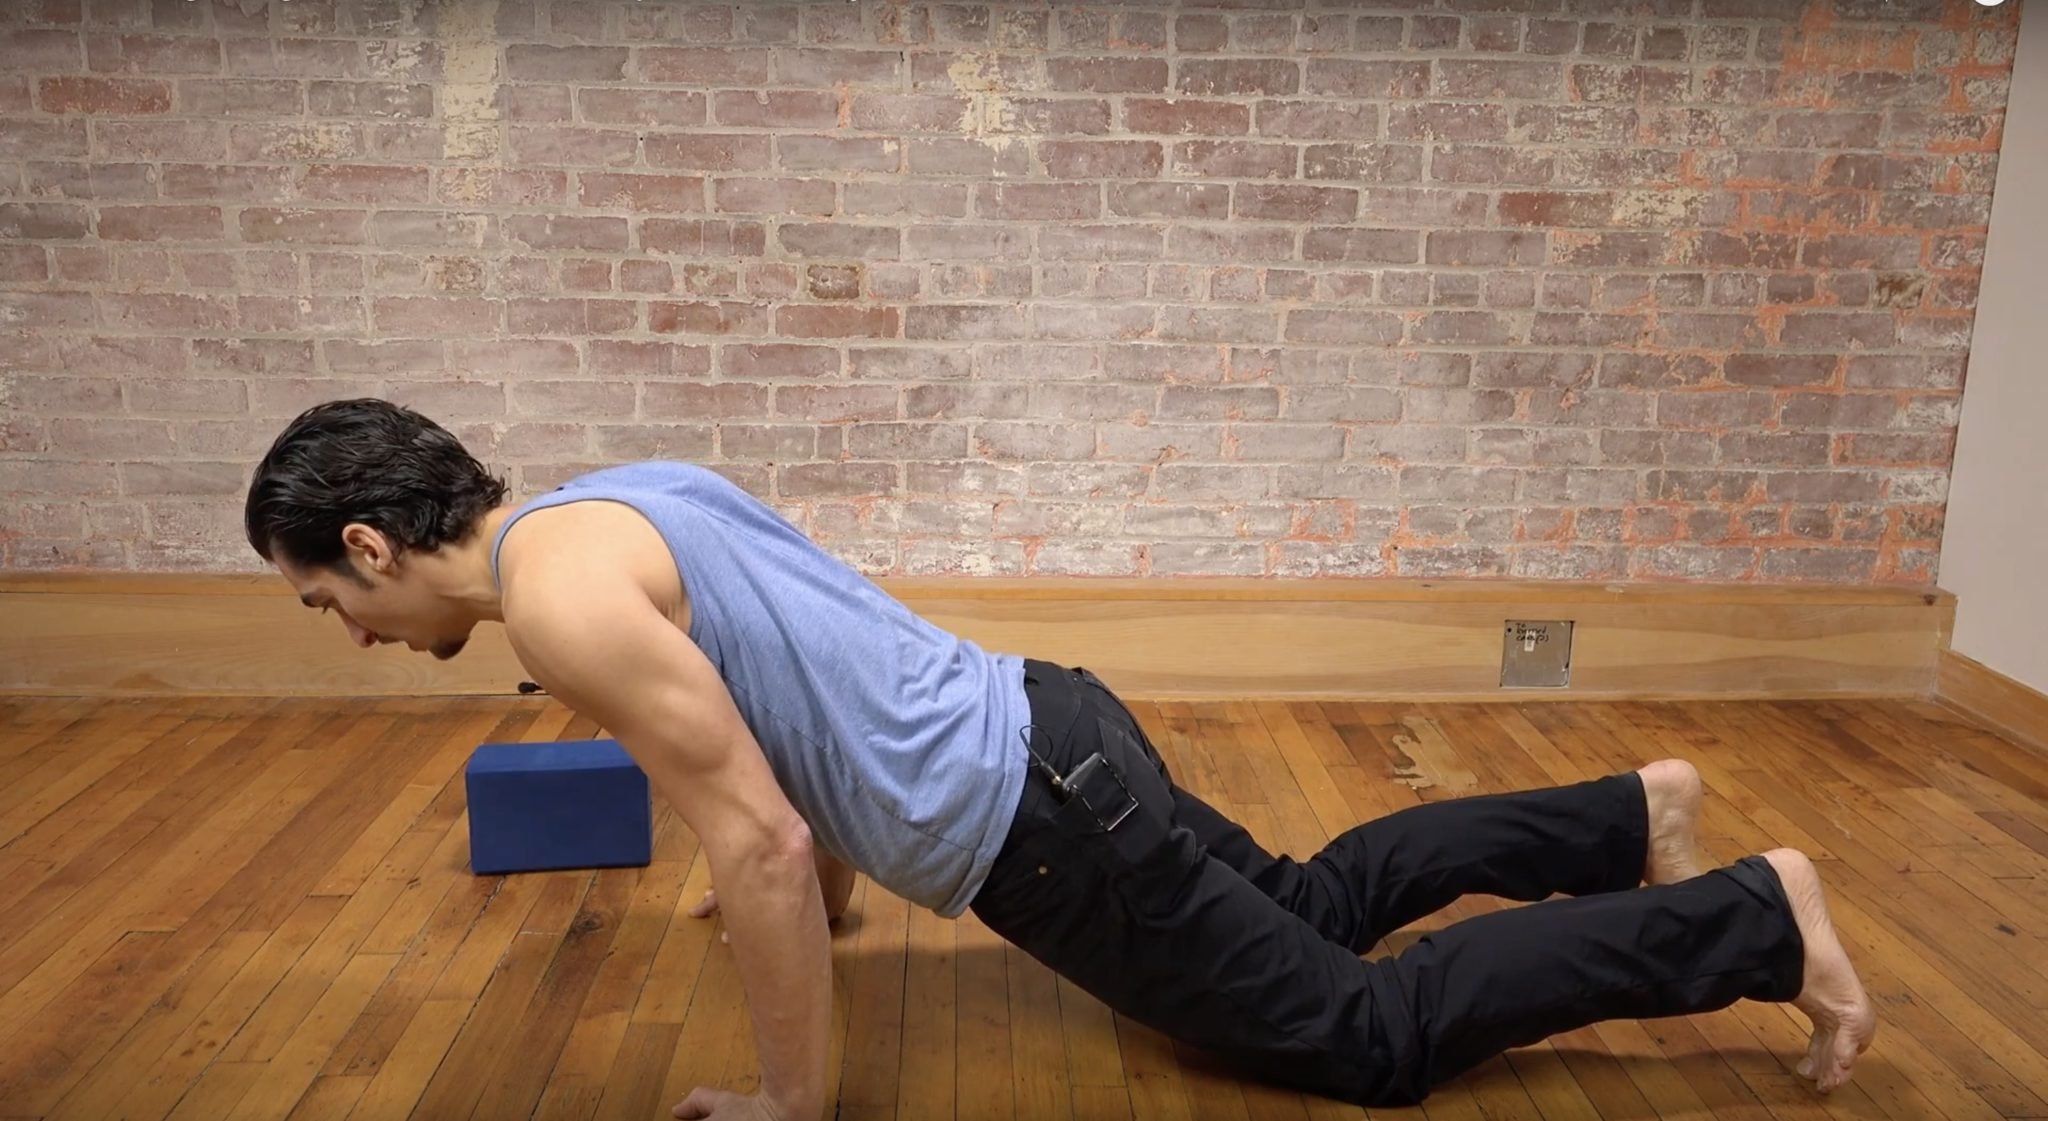
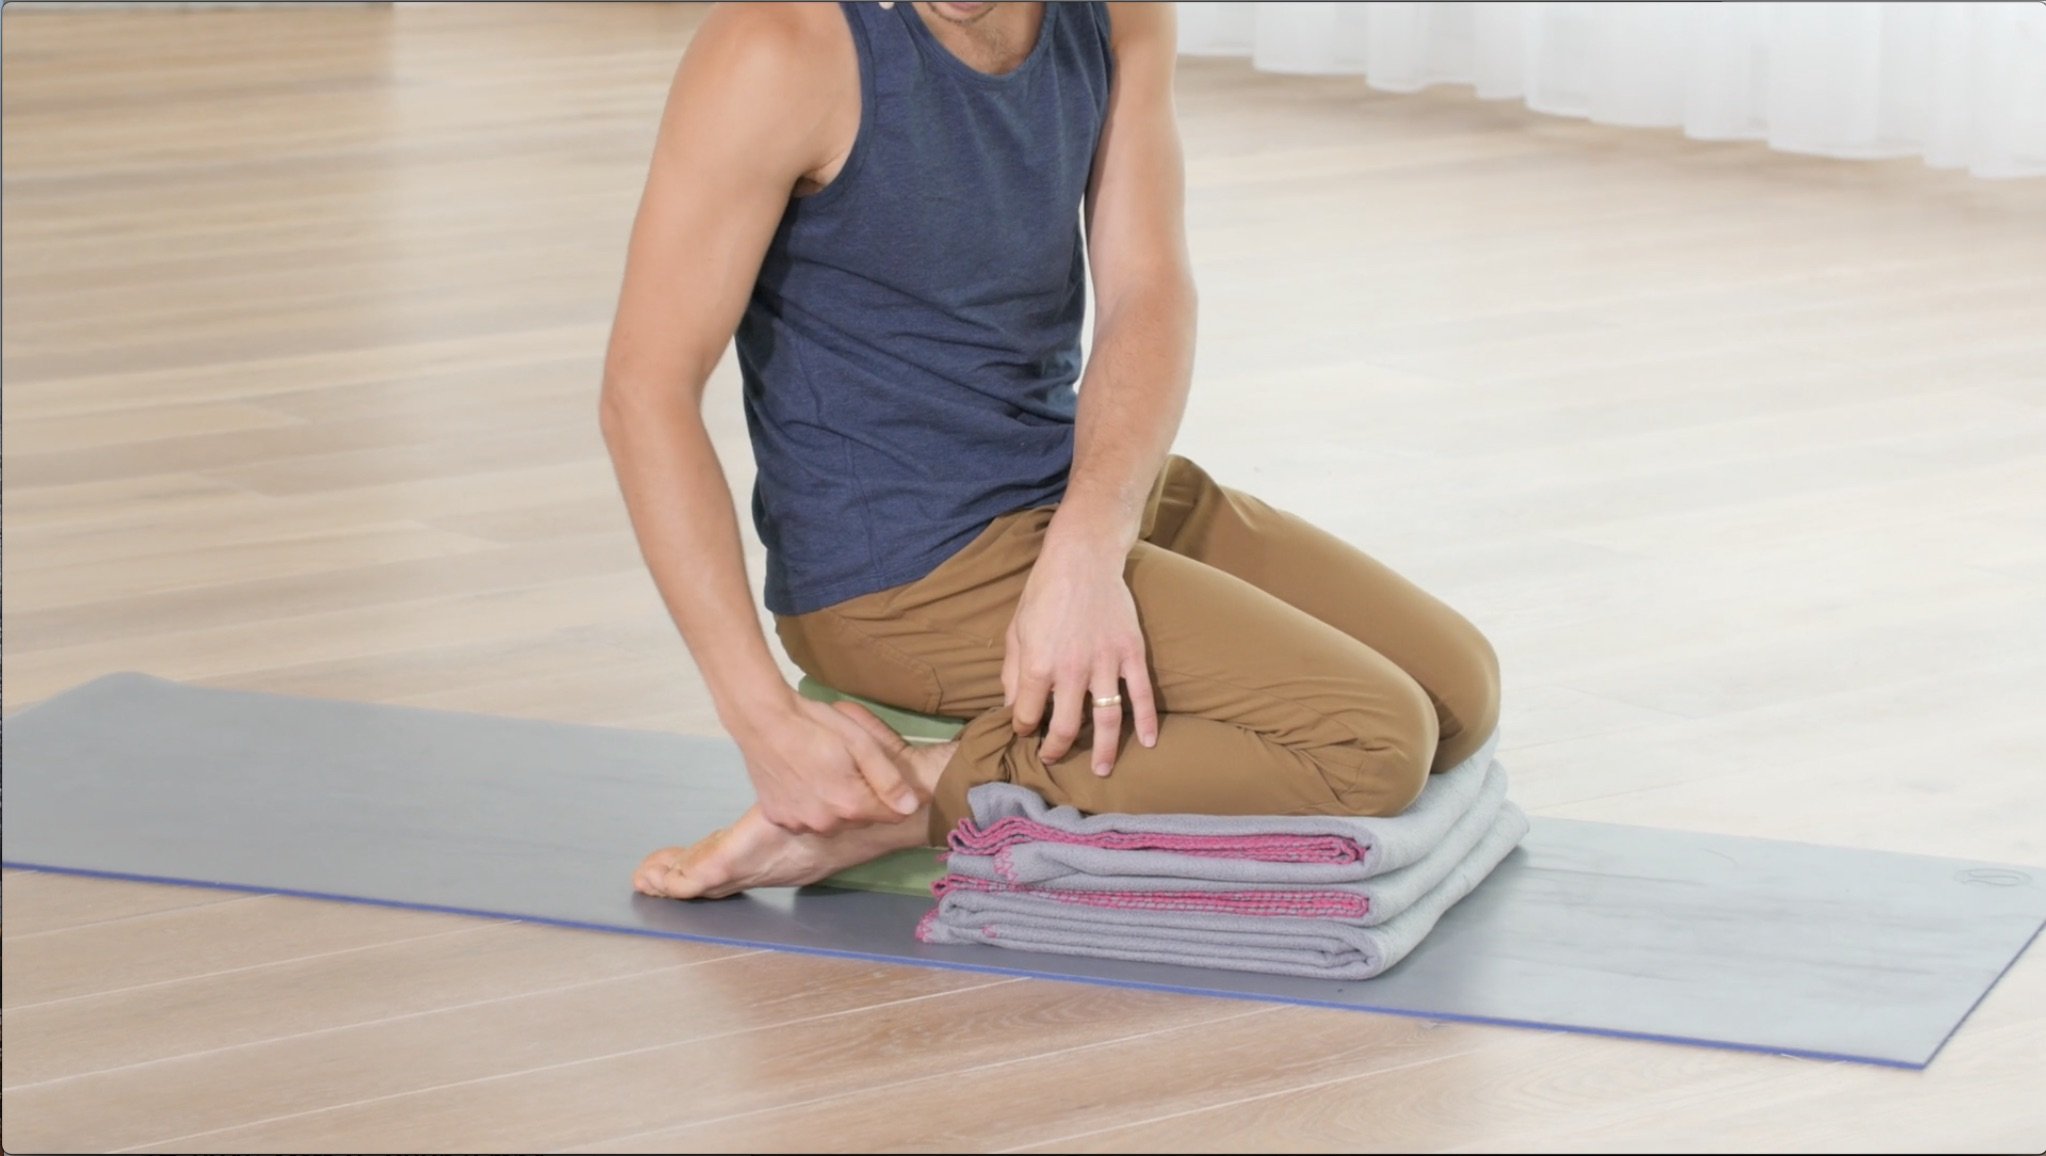
Full Side Plank Setup
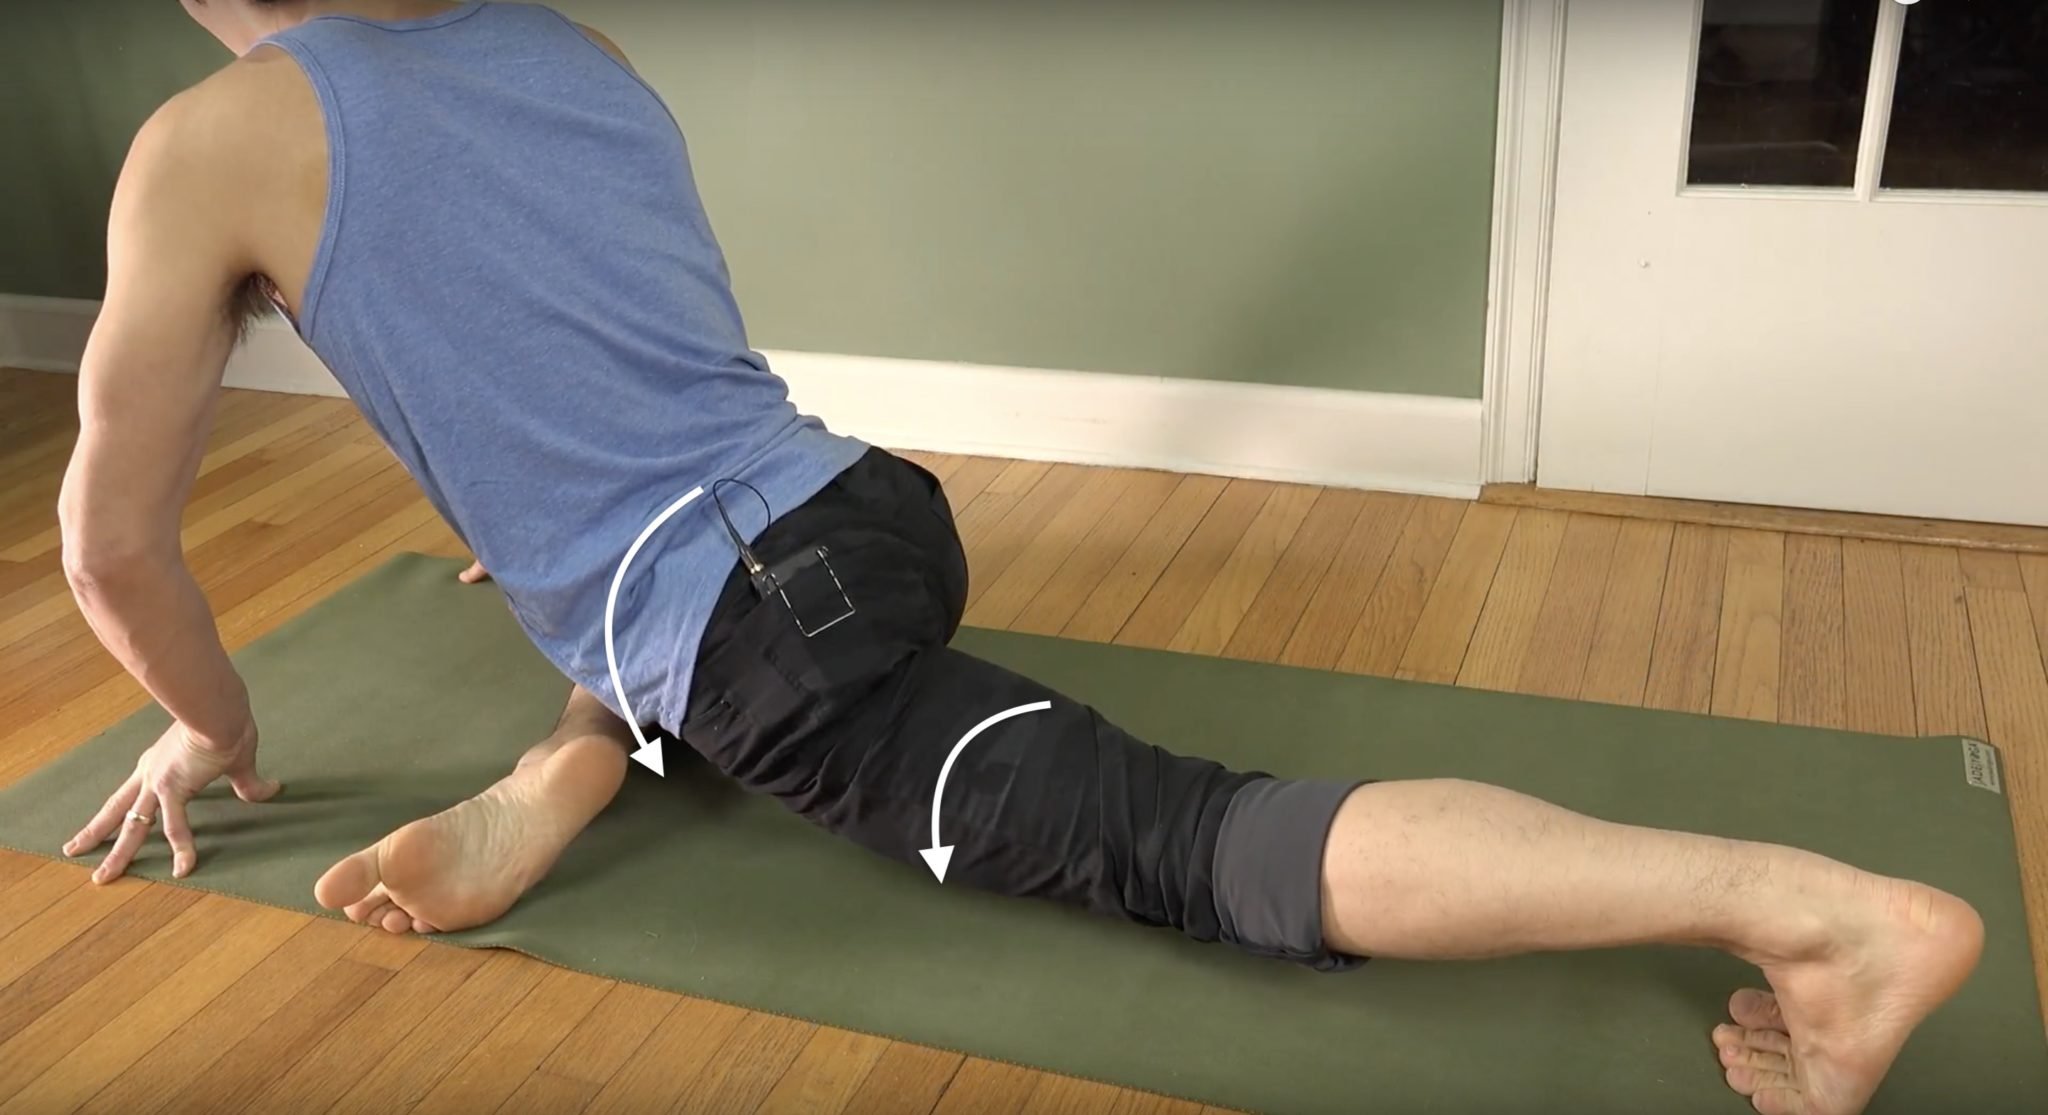
What I don’t discuss in this particular clip is how the setup of this posture is exactly like Wild Thing. This means your pelvis is more open toward the sky, while in standard Side Plank, your feet are stacked. The spine is in a backbend as well, unlike the standard variation, where the spine is neutral.
There are other alignments you could explore, but these will tend to give you the greatest access to the full Side Plank variation where you grab the top foot and extend the leg. If you want to practice the full class, be sure to check out Class #9 of the July 2021 Immersion, called Balance

300 HOUR ONLINE TEACHER TRAINING
GET 500 HOUR CERTIFIED AS A MASTER TEACHER
Master your skill set as a teacher through refined techniques, anatomy, biomechanics, sequencing, philosophy, meditation techniques, theming, yoga business, and much more!
- Get 500 hour certified
- Learn anatomy, biomechanics, asana techniques
- Expand your teaching skills
- Masterful sequencing and verbal delivery
- Learn meditation and breathwork techniques
- Transformative tools: theming, dharma talks, satsang
Three Full Side Plank Modifications and Variations
- Foot on the Wall: Once you rise up into Wild Thing, place the back foot on the wall and push your weight toward the wall, even if it means both knees are bent. This is not only okay but an indication that you are doing it properly.
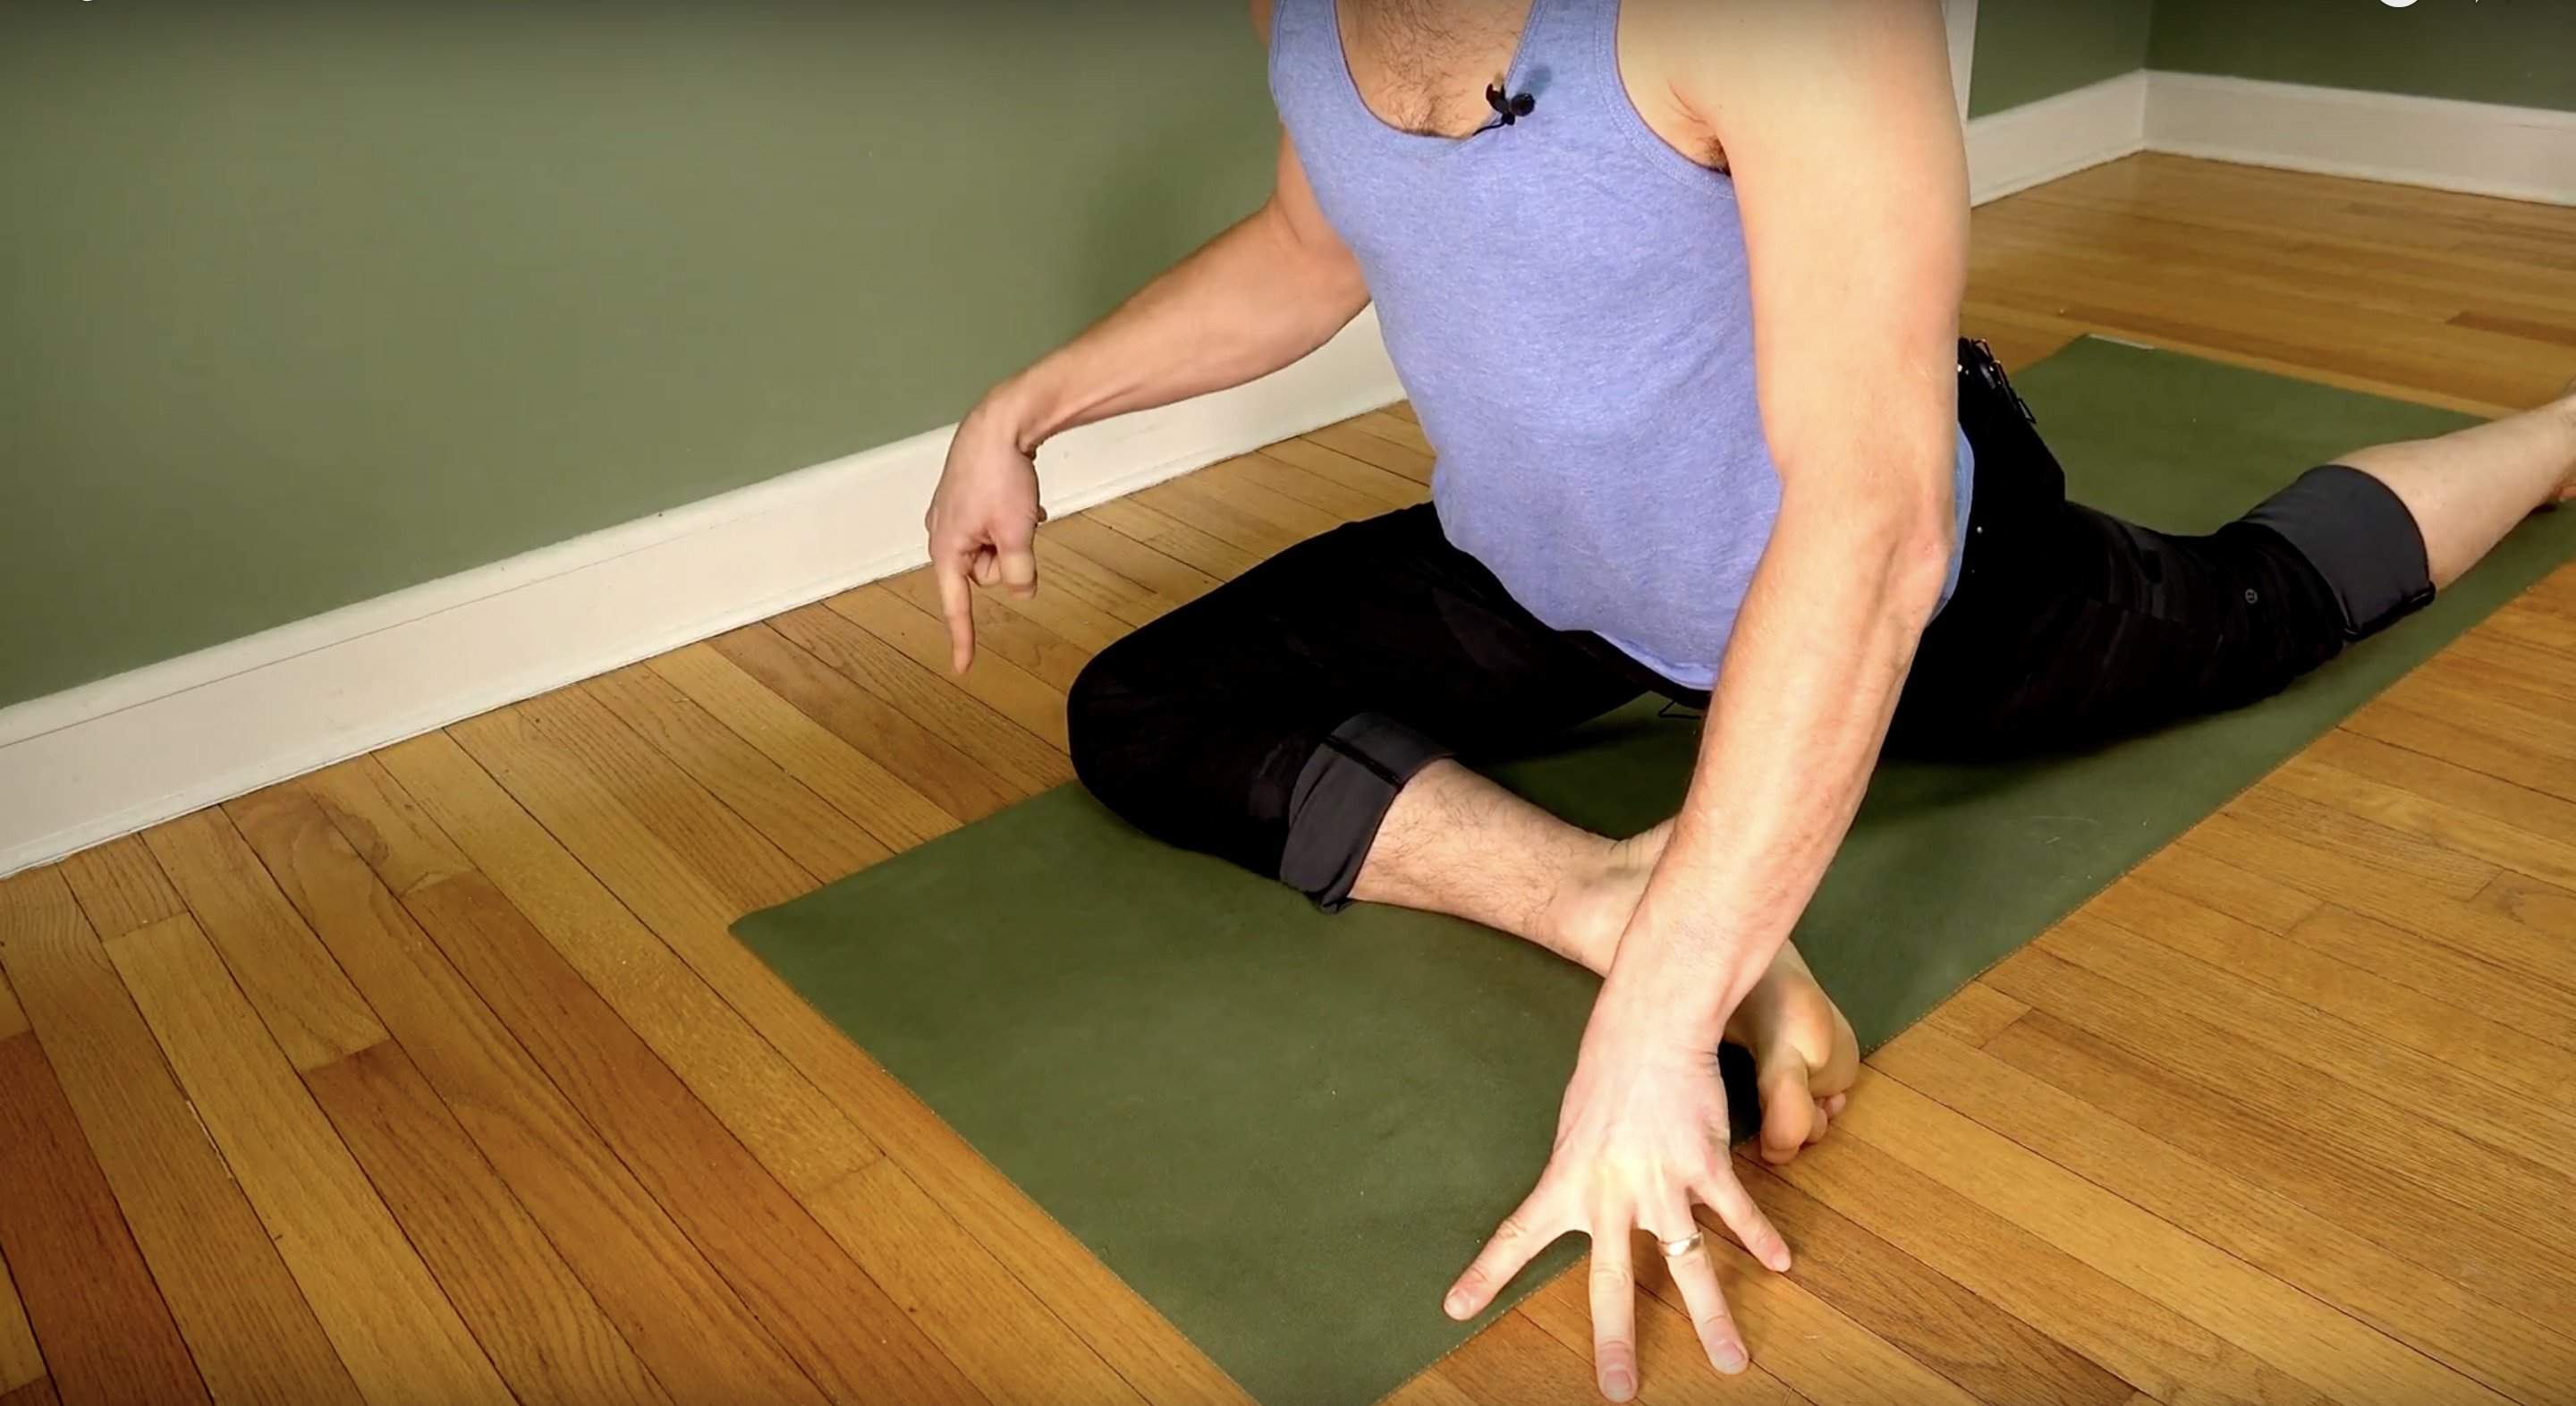
- Tree Pose: The next step is infinitely more challenging because it requires greater balance and flexibility. Take the foot off the wall, similar to Tree Pose but without placing the foot on your inner thigh (though that is also another variation). I suggest pushing your knee into your hand to get your hip flexors active. Hip flexor strength becomes key when you attempt to straighten the leg. Often the tension of the hamstrings is too much and people have to let go of the foot. If your hip flexors are strong and used to engaging in this position, then they can help out by keeping the top leg closer to your upper body, lessening the chances that you’ll have to let go of the foot when extending the leg up to the sky.
- Full Side Plank or “Extended Vashisthasana”: Pull your knee in as tight as possible in order to grab your foot. Either stay as a modification or begin to kick the foot to the sky, straightening the top leg. Pro tip: It’s helpful to keep the bottom, weight-bearing leg bent while extending the top leg upward.
VITALITY: RIGOR & RELEASE
Get back to feeling energized and alive with 12 all-levels vinyasa & meditation classes to increase your energy, focus, and mental clarity.
- GET BACK TO FEELING ENERGIZED
- ALL-LEVELS VINYASA CLASSES
- HIPS, TWISTS, HEART, SHOULDERS, NECK, AND CORE
- GUIDED MEDITATIONS TO DE-STRESS, INCREASE FOCUS, AND GAIN MENTAL CLARITY
Can’t Straighten Your Legs?
This is normal and really shouldn’t be your focus. This is an incredibly physically demanding posture that requires extreme flexibility. Even with slightly bent knees, the posture is still visually stunning and, I would argue, even more biomechanically sound because bent knees typically trigger more muscle engagement.
Edited by 300-hour Chromatic yoga teacher, Donna Morin.
TOP RELEVANT RECOMMENDATIONS
1. Balance Immersion: 12 Classes Focused on Balance (video above is taken from this immersion)
2. Arm Balance Immersion: 12 Classes – 12 Arm Balances
MORE WAYS TO DEVELOP YOUR PRACTICE

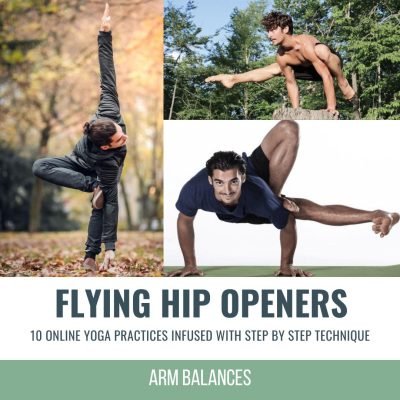
ARM BALANCES
Learn 12+ arm balances while expanding your knowledge of the body and increasing your body awareness. All classes are 75 minutes and ALL-levels appropriate
- Crow Pose, Side Crow, and variations
- Flying Pigeon, Koundinyasana 1 & 2
- Titibhasana, Bhujapidasana
- Handstand, Forearm Stand, and many more!
SALE PRICE: $198.00 $128.00
Continue Learning
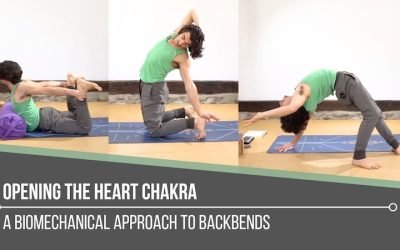
Opening The Heart Chakra
read more
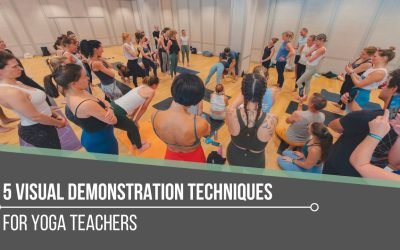
5 Visual Demonstration Techniques for Yoga Teachers
5 Visual Demonstration Techniques for Yoga TeachersYoga TeachersVisual Demonstration This is often confused with “teaching from the mat.” Teaching at the front of the room can be useful at the right time and place, but that is not what we are referring to here. In...
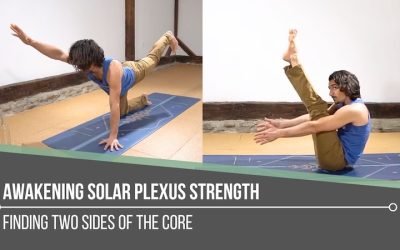
Awakening Solar Plexus Strength
Awakening Solar Plexus Strengththird chakraAWAKENING SOLAR PLEXUS STRENGTH Awakening solar plexus strength invites us into the centre of transformation. Matt reminds us that this third chakra, Manipura, is our fire, our willpower, and our ability to take action. It...
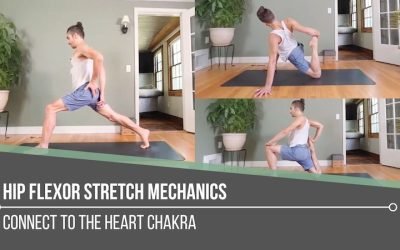
Hip Flexor Stretch Mechanics
Hip Flexor Stretch MechanicsALIGNMENTHIP FLEXOR STRETCH MECHANICS Hip flexor stretch mechanics begins with understanding that stability and length often come from opposing actions. In the first demonstration, Matt cues the back inner thigh to lift upward, which tips...
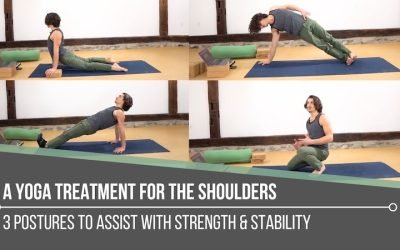
A Yoga Treatment For The Shoulders
A Yoga Treatment For The ShouldersSTABILITYA YOGA TREATMENT FOR THE SHOULDERS Shoulders tend to speak up when stability is missing. Matt reminds us that building strength isn’t about aesthetics, it’s about support, resilience, and keeping the body working as one...
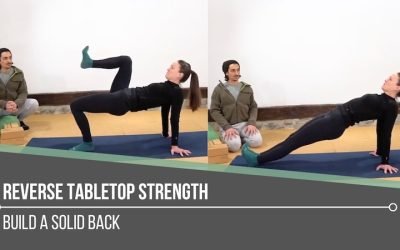
Reverse Tabletop Strength
Reverse Tabletop StrengthMECHANICSREVERSE TABLETOP STRENGTH “Solid” implies strength, yet in yoga, we can easily lose sight of how intentionally building the back body supports everything we do. Reverse Tabletop may look simple, but it asks a lot from the posterior...
THE FREE TECHNIQUE PACK
When You Subscribe, You Will Get Instant Access to
- the Technique Pack: 15 yoga pose breakdowns
- exclusive online course discounts
- exclusive blogs and videos

![yoga backbend techniques: 12 classes [backbend technique to relieve back pain "bowing the spine']](https://www.theyogimatt.com/wp-content/uploads/2021/10/Archna-Mohan-chromatic-5.jpg "Archna Mohan chromatic")