Hip Opening Without Knee Pain

Hip Opening Without Knee Pain

hip mobility

HIP OPENING WITHOUT KNEE PAIN

“Hip opening” in a yoga class just sounds glorious if we feel confined or constricted in this area of the body and our intention is to transform this experience. The term may not sound glorious, however, if we know that knee pain will accompany hip-opening yoga postures. In this scenario, it can be quite daunting to try to move across the spectrum from having tight to more open hips. On the other hand, if we’re hypermobile in this area, it may also feel a little nerve-wracking to delve into the action of hip opening. The good news, whether we are hypermobile, hypomobile, and/or dealing with knee pain in hip-opening postures, is that we can explore similar techniques when it comes to creating increased range of motion without knee pain.  

In today’s video, Matt provides us with a roadmap to mitigate knee pain in 6 essential hip-opening postures.

chromatic yoga 15 hour immersion

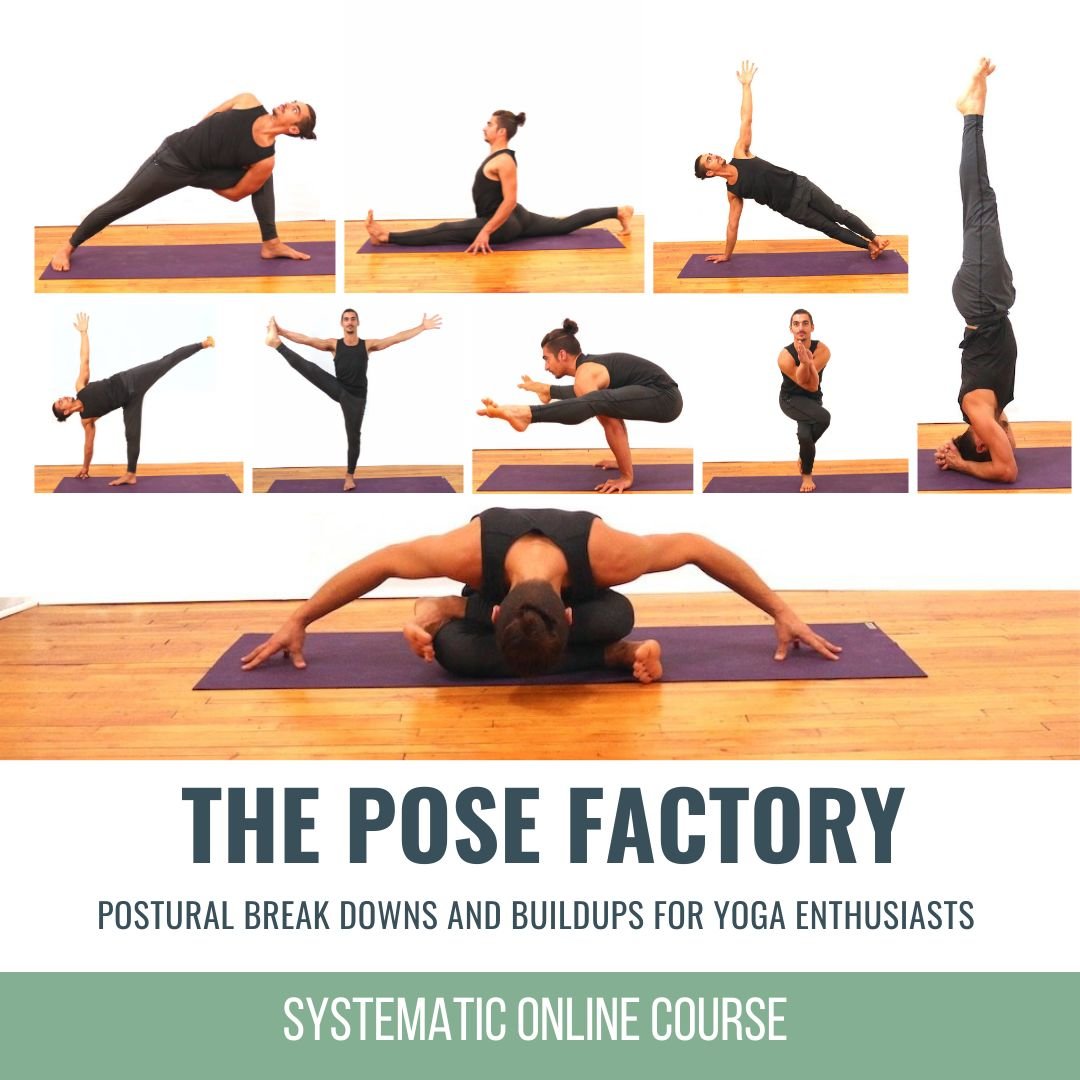
THE POSE FACTORY

WAITLIST NOW OPEN

  • Dogmatic alignment versus functional alignment
  • Learn popular postural pitfalls
  • Myths versus truth
  • Formulaic approach for comprehensive learning
  • Excellent guide for yoga enthusiasts
  • Must-have for yoga teachers
  • Joint-health awareness
  • Muscle integrity, range of motion
  • Props for accessibity
  • Alignment alterations in the case of injuries

THE IMPORTANCE OF EXTERNAL ROTATION

Nursing knee pain while engaging in our asana practice can be a point of frustration. We may associate it with fear of reinjury or with memories of “what we used to be able to do without pain.” This is why education and exploration are vital—they help reignite possibility. 

When learning about knee pain and its connection to hip-opening postures, we must further comprehend what’s involved with external rotation at the hip. When practicing with Matt and learning the Chromatic way, we quickly find out that such rotation involves much more than just rotating the upper thigh. There are detailed steps that promote both activation and stretch of the muscles that surround the hip, which helps us more safely engage with external rotation and ultimately assists in reducing knee pain. We can apply what we learn in the following postures.

WATCH THE VIDEO

HIP OPENING WITHOUT KNEE PAIN: 6 POSTURES FOR INCREASED RANGE OF MOTION

ACTIVATE WITH INTENTION

One of the best ways to prepare our bodies and increase both flexibility and mobility is to activate/strengthen our muscles. When we do this, we have better control to independently move our joints through a broader spectrum of range of motion. We benefit from having more confidence and power during physical activity. 

Warrior II variation

In the first posture (a variation of Warrior II), we’re strengthening the buttocks and outer hips. Here are some key steps:

  • Pull the feet towards one another
  • Tuck the tail under
  • Push down through the front heel
  • Rotate the toes and shin out slightly while pulling the outer front foot back—this will activate the biceps femoris (external rotator of the knee joint)

Dragonfly variation

This variation includes a specific technique and also targets the biceps femoris, which  closes the knee joint, helping reduce pain in hip-opening postures.

200 Hour Online Teacher Training Certification

200 HOUR ONLINE TEACHER TRAINING

GET CERTIFIED & DEEPEN YOUR YOGA PRACTICE

  • Deepen your yoga practice
  • Build confidence speaking in front of groups in person and online
  • Learn foundational class structures and templates
  • Learn techniques for a wide range of yoga postures
  • Get certified and highly qualified to teach yoga
  • Yoga Alliance Globally Recognized Certification Program

DRILL AND STRETCH

Pigeon Pose

Here, we explore a more passive stretch. The trick to getting a little deeper into the stretch (particularly into the piriformis muscle) is to twist and to push the hips back. If knee pain is still present, Matt demonstrates how to further externally rotate the thigh to take the pressure off.

Goddess Pose

This time, we learn a drill to incorporate into our practice.

Once again, pulling the feet towards one another will activate the outer hamstring muscles. Instead of remaining static, we pulse or move side to side in order to engage the muscles while we’re stretching. 

Skandasana

The target here is the adductor muscles, simply to experience the stretch. It’s not about how low we can take the posture. Keep in mind that by the time we reach this point in the practice, our muscles are already prepared for the stretch.

300 hour teacher training online

300 HOUR ONLINE TEACHER TRAINING

GET 500 HOUR CERTIFIED AS A MASTER TEACHER

Master your skill set as a teacher through refined techniques, anatomy, biomechanics, sequencing, philosophy, meditation techniques, theming, yoga business, and much more!

  • Get 500 hour certified
  • Learn anatomy, biomechanics, asana techniques
  • Expand your teaching skills
  • Masterful sequencing and verbal delivery
  • Learn meditation and breathwork techniques
  • Transformative tools: theming, dharma talks, satsang

THE ULTIMATE HIP OPENER

If we’re experiencing knee pain in hip-opening postures, Lotus Pose might be the farthest thing from our minds. Once we have incorporated the techniques into the postures discussed, the potential for this posture may become a reality. However, we still approach Lotus safely and in phases.

Preparation I

In a Baddha Konasana position, the cue Matt offers—pulling the knees back and out—is key to getting the proper placement of the foot in Lotus.

Preparation II

Executing these actions, we find out just how much they assist in providing us the ability to stack the feet or to access Half Lotus. The two actions result in the closing of the knee joint. If we are still experiencing knee pain in Half Lotus, turning the calf muscles can help release the strain.

Matt’s next online course, The Pose Factory, is full of these extra gems to help us to foster health in our muscles and support our ability to enjoy postures we may have had to put aside.

The 200 Hr. Teacher Training: Click Here to See the Next Start Date

The 300 Hr. Advanced Teacher Training: Click Here to See the Next Start Date

Article by Trish Curling

Video Extracted From: Hip Release Online Workshop

lotus pose online yoga classes

ONLINE ANATOMY COURSE

  • Accessible, exciting, and easy to learn
  • Anatomy and biomechanics for yoga
  • Appropriate for both teachers and students
  • Learn joint alignment vs pose alignment
  • Demystify yoga poses and transitions
  • Release aches and pains
  • Learn how to avoid common injuries
  • Caters to all levels with modifications and props
  • 20 hours Continued Education Credits with Yoga Alliance
  • 20 hours toward Chromatic Yoga Certification and 300 Hour
  • Lifetime access

Continue Learning

Achieve Flying Balance

Achieve Flying Balance

Achieve Flying BalanceArm BalanceACHIEVE FLYING BALANCE Achieving an arm balance is quite extraordinary when you consider all that’s involved. And when we refer to an arm balance as a “flying balance,” there is even more involved. The “flying” in Eka Pada...

read more
Virasana

Virasana

VirasanaHip ExtensionVIRASANA For some of us, postures like Virasana and Lotus can be uncomfortable or even painful for the knees, so we avoid them altogether. Depending on what we’re dealing with, this may be the best decision. If there is room for safe exploration,...

read more
Get Bendy

Get Bendy

Get BendySpinal MobilityGET BENDY In the yoga context, getting bendy can conjure up images of postures that may seem far-fetched or unattainable. What we should set our sights on instead is not an end result but rather all the things we learn while we're exploring...

read more
Wall Drills To Progress In Handstand

Wall Drills To Progress In Handstand

Wall Drills to Progress in HandstandAdho Mukha VrksasanaWALL DRILLS TO PROGRESS IN HANDSTAND Wall drills for Handstand are an excellent way to master the mechanics required to go upside down with confidence. Using the wall as a support to refine alignment, rather than...

read more
Mountain Pose Mechanics

Mountain Pose Mechanics

Mountain Pose MechanicstadasanaMOUNTAIN POSE MECHANICS How often do we go back to refine the “basics”?  Revisiting a posture like Mountain Pose (Tadasana) is like pruning a tree. We may have already developed a foundation, but it’s important to continue to clip away...

read more
Plough Pose vs. Shoulder Stand

Plough Pose vs. Shoulder Stand

Plough Pose vs. Shoulder StandhalasanaPLOUGH POSE VS. SHOULDER STAND After we have engaged in postures that strengthen the posterior chain, Plough and Shoulder Stand offer a good stretch for these areas of the body. Plough in particular provides a more extensive...

read more

THE FREE TECHNIQUE PACK

When You Subscribe, You Will Get Instant Access to

  • the Technique Pack: 15 yoga pose breakdowns
  • exclusive online course discounts
  • exclusive blogs and videos
  • This field is for validation purposes and should be left unchanged.

Strengthen Your Adductor Muscles

Strengthen Your Adductor Muscles

Incorporate These Drills Into Your Yoga Practice

activation

STRENGTHEN YOUR ADDUCTOR MUSCLES

The adductor muscles are commonly left as a lower priority when it comes to building strength in your yoga practice. It’s not that there aren’t opportunities, but more intention is required about when and how to incorporate the necessary actions that will actually strengthen this area of your body. The message from Matt is clear and simple: Engage your adductor muscles. You just have to do it! Taking action is the only way for transformation to occur.   Now, when it comes to when and how, Matt outlines in today’s video a number of different yoga postures and drills for you to include in your practice with specific techniques. It may take you out of your comfort zone, but that is exactly how you’ll develop. It’s these actions and drills that will open up your physical yoga practice to new postures, and your physical body to improved functionality.

12 Online Yoga classes to Learn Anatomy

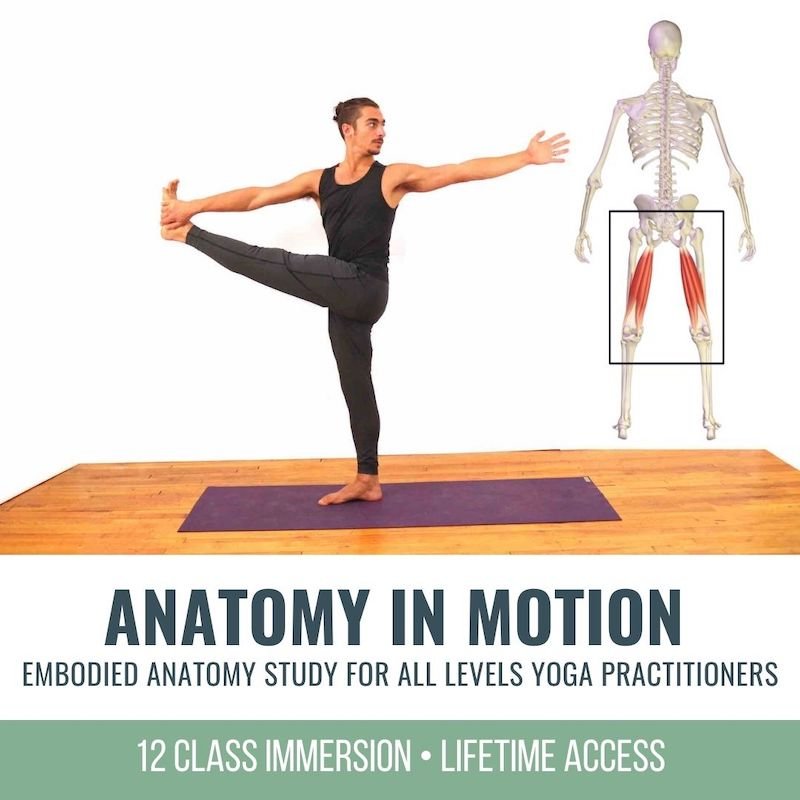
ANATOMY IN MOTION

APRIL 2022 Immersion

  • Embody anatomy
  • Learn key muscles, bones, and joints
  • Visualize your movements internally
  • Improve proprioception
  • Sensation-based practices
  • Unlock and strengthen major muscle groups
  • Active, passive, and isometric stretching
  • Improve mobility and stability
  • Get VERY geeky

$168.00


OVERSTRETCHING THE ADDUCTORS

In a yoga practice, the adductor muscles are often stretched without any engagement. I’m sure you can come up with a number of different postures where your adductors are in a lengthened position. Think of any wide-legged posture, such as Warrior II. How many times have you included this posture in your practice? 

The length and stretch sensation of the adductors can feel like the solution to tension or tightness in this area of your body. Releasing tension and increasing flexibility in your adductor muscles actually involves strengthening. This is why it’s imperative to be more calculated in your approach. Finding opportunities to strengthen your adductor muscles will promote their resilience and minimize the likelihood of them becoming overstretched, which can in turn cause injuries. Engaging them, however, can feel challenging, especially if you’re not used to inviting engagement into your practice.

WATCH THE VIDEO

STRENGTHEN YOUR ADDUCTOR MUSCLES: INCORPORATE THESE DRILLS INTO YOUR YOGA PRACTICE

REASONS WHY YOU MIGHT AVOID ACTIVATING THE ADDUCTORS

One of the first things Matt talks about in his 300 Hr. Teacher Training is the idea of resistance and how it will show up in certain areas of your life, especially with regard to creating transformation. You feel resistance when it comes to things you don’t particularly want to do, but this is also true even when it comes down to doing things you enjoy. You may love going to your mat to practice yoga, but incorporating intentional muscle activation to increase strength can be quite humbling and discouraging at times. If you want to strengthen your adductor muscles, or your whole body for that matter, Matt encourages you to lean into the resistance. It will reveal not only what’s taking place in your physical body but also more of what you need to know about yourself. This is the yoga practice. 

200 Hour Online Teacher Training Certification

200 HOUR ONLINE TEACHER TRAINING

GET CERTIFIED & DEEPEN YOUR YOGA PRACTICE

  • Deepen your yoga practice
  • Build confidence speaking in front of groups in person and online
  • Learn foundational class structures and templates
  • Learn techniques for a wide range of yoga postures
  • Get certified and highly qualified to teach yoga
  • Yoga Alliance Globally Recognized Certification Program

TRY THESE DRILLS

Goddess Pose is the first posture in today’s video. Here, you have to abduct your legs in order to access the strengthening technique. Your adductors are in a lengthened position and feet are turned out, which will help target the adductor magnus in particular. In order to strengthen your adductors, Matt utilizes a facilitated-stretch technique.  

The next drill requires props, a wall and either a yoga block or bosu ball. This time, you’re in more of a closed position, while pressing one leg into the block. It gets your hip flexors and pectineus active. The adductors of both legs are strengthening while performing different roles.

The final drills are really variations of one another, and WOW do they challenge you! In addition to what they demand of your adductors, they also require you to integrate more of your body weight with each progression.

300 hour teacher training online

300 HOUR ONLINE TEACHER TRAINING

GET 500 HOUR CERTIFIED AS A MASTER TEACHER

Master your skill set as a teacher through refined techniques, anatomy, biomechanics, sequencing, philosophy, meditation techniques, theming, yoga business, and much more!

  • Get 500 hour certified
  • Learn anatomy, biomechanics, asana techniques
  • Expand your teaching skills
  • Masterful sequencing and verbal delivery
  • Learn meditation and breathwork techniques
  • Transformative tools: theming, dharma talks, satsang

ON THE OTHER SIDE OF RESISTANCE

Transformation lives on the other side of resistance. Before this is experienced, however, it’s inevitable that you will encounter challenges. A yoga practice that calls upon you to engage your muscles is effortful and can feel quite discouraging. It can tire your body more easily and therefore entice you to incorporate these strengthening techniques a little less than what’s required for actual transformation. But what you’ll find on the other side of resistance is both an unfolding of increased possibilities in your physical practice and a deeper awareness of your own fortitude.

If you want to strengthen your adductors, you’ll have to take advantage of the opportunities within your yoga practice. You can see that there are many opportunities in what Matt offers in today’s video. Once you try out the drills Matt demonstrates, you’ll find doors opening in your practice that you may not have thought possible.

The 200 Hr. Teacher Training: Click Here to See the Next Start Date

The 300 Hr. Advanced Teacher Training: Click Here to See the Next Start Date

Article by Trish Curling

Video Extracted From: Anatomy in Motion

lotus pose online yoga classes

The Teachers' Toolkit

  • Advance your practice
  • Learn masterful teaching techniques
  • Acquire business-building skills
  • Attract the right students
  • Learn about social media, marketing, and business structure
  • Catapult your teaching and career

Continue Learning

Achieve Flying Balance

Achieve Flying Balance

Achieve Flying BalanceArm BalanceACHIEVE FLYING BALANCE Achieving an arm balance is quite extraordinary when you consider all that’s involved. And when we refer to an arm balance as a “flying balance,” there is even more involved. The “flying” in Eka Pada...

read more
Virasana

Virasana

VirasanaHip ExtensionVIRASANA For some of us, postures like Virasana and Lotus can be uncomfortable or even painful for the knees, so we avoid them altogether. Depending on what we’re dealing with, this may be the best decision. If there is room for safe exploration,...

read more
Get Bendy

Get Bendy

Get BendySpinal MobilityGET BENDY In the yoga context, getting bendy can conjure up images of postures that may seem far-fetched or unattainable. What we should set our sights on instead is not an end result but rather all the things we learn while we're exploring...

read more
Wall Drills To Progress In Handstand

Wall Drills To Progress In Handstand

Wall Drills to Progress in HandstandAdho Mukha VrksasanaWALL DRILLS TO PROGRESS IN HANDSTAND Wall drills for Handstand are an excellent way to master the mechanics required to go upside down with confidence. Using the wall as a support to refine alignment, rather than...

read more
Mountain Pose Mechanics

Mountain Pose Mechanics

Mountain Pose MechanicstadasanaMOUNTAIN POSE MECHANICS How often do we go back to refine the “basics”?  Revisiting a posture like Mountain Pose (Tadasana) is like pruning a tree. We may have already developed a foundation, but it’s important to continue to clip away...

read more
Plough Pose vs. Shoulder Stand

Plough Pose vs. Shoulder Stand

Plough Pose vs. Shoulder StandhalasanaPLOUGH POSE VS. SHOULDER STAND After we have engaged in postures that strengthen the posterior chain, Plough and Shoulder Stand offer a good stretch for these areas of the body. Plough in particular provides a more extensive...

read more

THE FREE TECHNIQUE PACK

When You Subscribe, You Will Get Instant Access to

  • the Technique Pack: 15 yoga pose breakdowns
  • exclusive online course discounts
  • exclusive blogs and videos
  • This field is for validation purposes and should be left unchanged.

Ashtavakrasana

Ashtavakrasana

3 Variations to Access This Arm Balance

eight angle pose

ASHTAVAKRASANA

There always seems to be a sense of mystery attached to Ashtavakrasana (8-Angle Pose). How is it possible to balance in what appears to be such a complicated position for the body? Comforting to know is that once you break everything down and place technique at the core of your focus, Ashtavakrasana becomes a lot less complex. Whatever variation you are attempting, technique will always be the key to unlocking access to this and any other arm balance. In intricate detail as always, Matt breaks down 3 variations in today’s video. Moreover, he offers the benefit of increasing your anatomical knowledge via the technique within this posture. If you are armed with both technique and anatomical knowledge, Ashtravakrasana loses its mystique and becomes an arm balance you can approach with clarity.

online classes for anatomy of arm balances

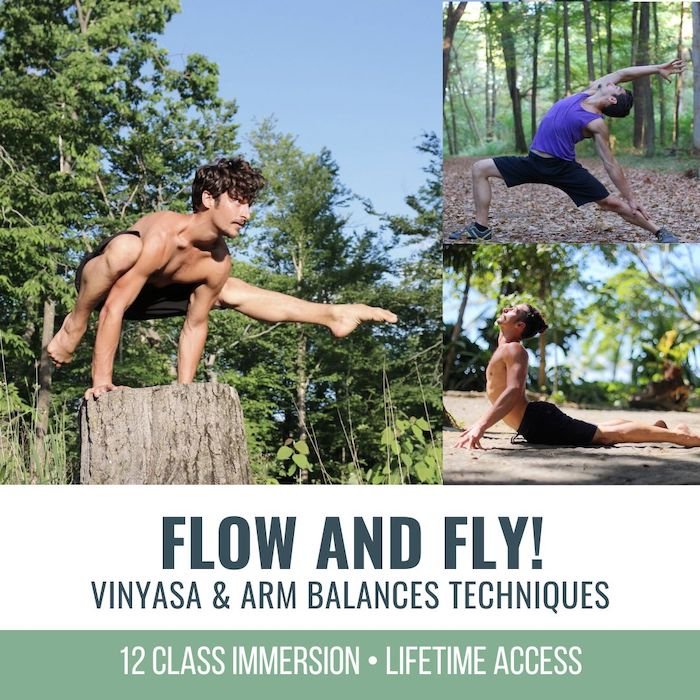
FLOW & FLY

MAY 2023 Immersion

  • 12 Vinyasa-style practices
  • Increase your cardiovascular activity
  • Foundational and advanced arm balance techniques
  • Improve balance and proprioception
  • Accessible modifications and sequences
  • Appropriate variations for your level of practice
  • Improve wrist, core, and shoulder strength
  • ALL LEVELS APPROPRIATE

$148.00

MORE INFORMATION

ANATOMY BREAKDOWN

In the full class, Matt explains that the adductor muscles (pectineus; gracilis; and the adductors brevis, longus, and magnus) are extremely helpful in assisting with taking flight in arm balance postures. This is particularly true for Ashtavakrasana when it comes to “clamping” the legs on the arm. The abductor muscles (gluteus maximus, medius, and minimus) are also part of the equation, and the internal rotators of the hip belong to the abductor group: The TFL muscle and the pectineus, along with the front fibers of the gluteus medius and minimus, work together to create internal rotation. Why is this important? Knowing the location of these muscles enhances your awareness and understanding of your own body. When activating these muscle groups to execute the posture, you will better decipher which areas require more strengthening for stability and balance in the posture.

WATCH THE VIDEO

ASHTAVAKRASANA: 3 VARIATONS TO ACCESS THIS ARM BALANCE

VARIATION 1

First, let’s have a look at the steps in variation 1 of Ashtavakrasana:

Step 1: From a seated position, bring one leg over your arm as much as possible.

Step 2: Cross the bottom foot over the top of the ankle of the first leg.

Step 3: Lean forward and pull your hips back to get you off of the ground.

Matt provides the option to stay here, but he also suggests layering on the action of internally rotating the top leg. In this case, the bottom leg stays on the ground instead of crossing at the ankle, while you lean way forward on wide hands and internally rotate the top leg. You can also add props. By sitting up on a bolster, for example, you can take balance out of the equation and home in on the sensation of the internal rotation of the top leg.

200 Hour Online Teacher Training Certification

200 HOUR ONLINE TEACHER TRAINING

GET CERTIFIED & DEEPEN YOUR YOGA PRACTICE

  • Deepen your yoga practice
  • Build confidence speaking in front of groups in person and online
  • Learn foundational class structures and templates
  • Learn techniques for a wide range of yoga postures
  • Get certified and highly qualified to teach yoga
  • Yoga Alliance Globally Recognized Certification Program

VARIATIONS 2 & 3

In the second and third variations, the importance of the internal rotation of the top leg is revealed. All of the steps from variation 1 are implemented, including the cross at the ankle, in variation 2. What you’ll see in the video is a clear distinction between what happens to the hips when the top leg is internally rotated versus when it is not. When you turn it in (internally rotate), the hips go up, as opposed to externally rotating the hip and the hips going down. Once the internal rotators are activated, you can’t help but tap into the activation of the adductor and abductor groups. Now, the third variation is really going to expose where strength needs to be improved. There is no crossing at the legs here; instead, you’re fastening your ankles side by side. As a result, your adductors are put to the test.

300 hour teacher training online

300 HOUR ONLINE TEACHER TRAINING

GET 500 HOUR CERTIFIED AS A MASTER TEACHER

Master your skill set as a teacher through refined techniques, anatomy, biomechanics, sequencing, philosophy, meditation techniques, theming, yoga business, and much more!

  • Get 500 hour certified
  • Learn anatomy, biomechanics, asana techniques
  • Expand your teaching skills
  • Masterful sequencing and verbal delivery
  • Learn meditation and breathwork techniques
  • Transformative tools: theming, dharma talks, satsang

ACHIEVE MORE THAN AN ARM BALANCE

Beyond the awareness of the physical aspect of Ashtavakrasana are mental focus and confidence. Arm balance postures can be scary. It’s smart to prepare both your body and the environment—strengthening through drills specific to the posture, putting blankets or pillows in place to soften any falls—but it’s also important to go for it, to take the plunge so to speak. In the end, you’ll be left with more confidence in both physicality and character, which transcends the yoga mat. This confidence dismantles the mystery of Ashtavakrasana, or any arm balance for that matter. Approaching your yoga practice in this way means that you develop the knowledge that technique and effort fuel ability.   

Matt’s next immersion, Flow & Fly, will guide you through playful yet intentional arm balance practices that will ultimately improve strength.

See you on the mat!

The 200 Hr. Teacher Training: Click Here to See the Next Start Date

The 300 Hr. Advanced Teacher Training: Click Here to See the Next Start Date

Article by Trish Curling

Video Extracted From: Anatomy of Arm Balances

Yoga for Core and Breathwork

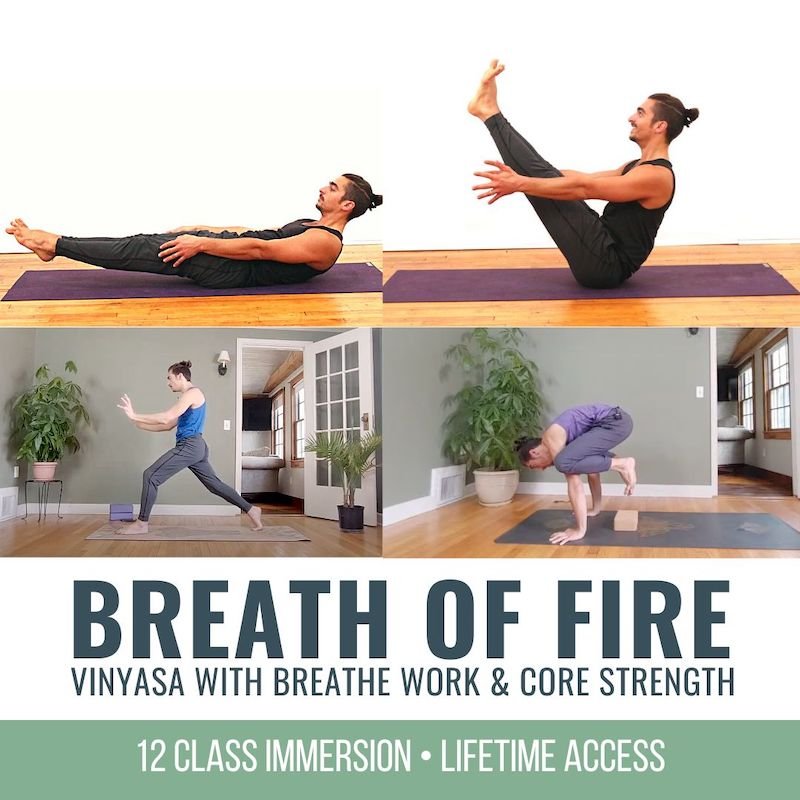
BREATH OF FIRE

  • Moderate Vinyasa-style classes
  • Core strengthening & integration
  • Master your breath with pranayama practices
  • Access your core in arm balances, heart openers, twists, forward folds, inversions, and more
  • Learn where and how to breathe in challenging postures
  • Each class will include one pranayama (breathwork practice) and several core strengtheners
  • Access your core muscles: deep, superficial, anterior, posterior, and lateral 
  • 12 Classes: All levels appropriate
  • Lifetime unlimited access to all
  • Attend the livestream OR practice the replays any time that’s convenient for you

$148.00

Continue Learning

Achieve Flying Balance

Achieve Flying Balance

Achieve Flying BalanceArm BalanceACHIEVE FLYING BALANCE Achieving an arm balance is quite extraordinary when you consider all that’s involved. And when we refer to an arm balance as a “flying balance,” there is even more involved. The “flying” in Eka Pada...

read more
Virasana

Virasana

VirasanaHip ExtensionVIRASANA For some of us, postures like Virasana and Lotus can be uncomfortable or even painful for the knees, so we avoid them altogether. Depending on what we’re dealing with, this may be the best decision. If there is room for safe exploration,...

read more
Get Bendy

Get Bendy

Get BendySpinal MobilityGET BENDY In the yoga context, getting bendy can conjure up images of postures that may seem far-fetched or unattainable. What we should set our sights on instead is not an end result but rather all the things we learn while we're exploring...

read more
Wall Drills To Progress In Handstand

Wall Drills To Progress In Handstand

Wall Drills to Progress in HandstandAdho Mukha VrksasanaWALL DRILLS TO PROGRESS IN HANDSTAND Wall drills for Handstand are an excellent way to master the mechanics required to go upside down with confidence. Using the wall as a support to refine alignment, rather than...

read more
Mountain Pose Mechanics

Mountain Pose Mechanics

Mountain Pose MechanicstadasanaMOUNTAIN POSE MECHANICS How often do we go back to refine the “basics”?  Revisiting a posture like Mountain Pose (Tadasana) is like pruning a tree. We may have already developed a foundation, but it’s important to continue to clip away...

read more
Plough Pose vs. Shoulder Stand

Plough Pose vs. Shoulder Stand

Plough Pose vs. Shoulder StandhalasanaPLOUGH POSE VS. SHOULDER STAND After we have engaged in postures that strengthen the posterior chain, Plough and Shoulder Stand offer a good stretch for these areas of the body. Plough in particular provides a more extensive...

read more

THE FREE TECHNIQUE PACK

When You Subscribe, You Will Get Instant Access to

  • the Technique Pack: 15 yoga pose breakdowns
  • exclusive online course discounts
  • exclusive blogs and videos
  • This field is for validation purposes and should be left unchanged.

Eka Pada Koundinyasana 2

Eka Pada Koundinyasana 2

Five Drills for Greater Access

flying splits

EKA PADA KOUNDINYASANA 2: STRENGTH AND POISE

The elegant long lines of a posture like Eka Pada Koundinyasana 2 require a great deal of strength and preparation. The pose also requires both ease and poise. Strength is required for more than holding the posture; it also contributes to the element of ease. There’s no doubt that this arm balance is a challenging one. If you believe that confidence is essential for a posture like this one, then you’re right! What’s appealing about working towards a posture like Eka Pada Koundinyasana 2 is that you develop confidence through the preparation. How do you prepare? In today’s video, Matt demonstrates 5 drills that will help you develop the strength and poise that is expressed in the pose.  

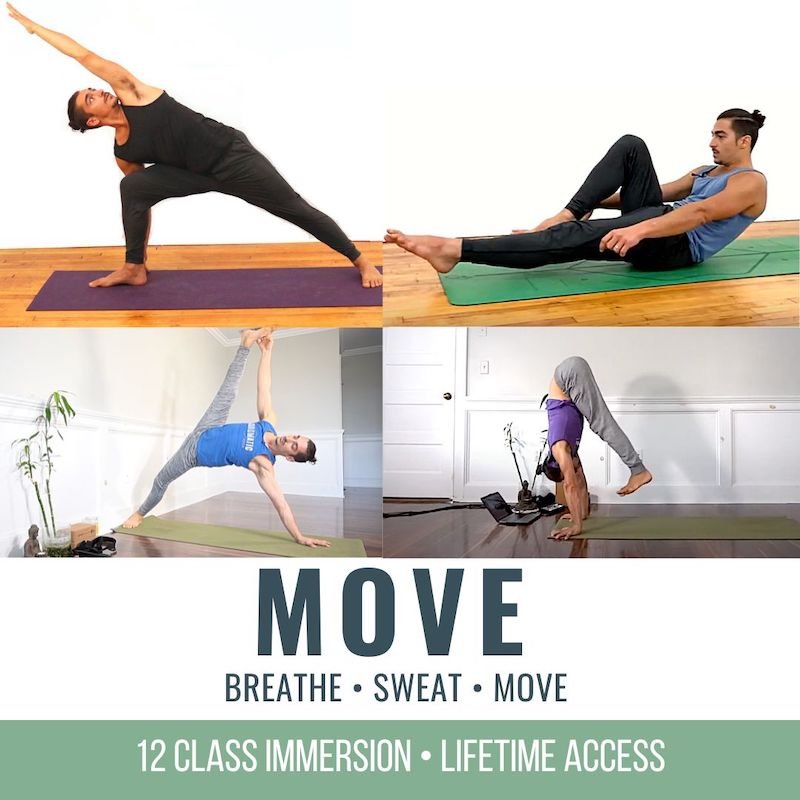
MOVE

  • Access your movement potential
  • Sweat and raise your heart rate
  • Master your breath/movement coordination
  • Increase mobility at all major joints
  • Learn to gracefully transition between postures
  • Improve your flexibility
  • Strengthen your hips, back, shoulders, and core
  • Improve your balance
  • Each class will raise your heart rate, bring you to a sweat, and return you back to a relaxed state of mind and body
  • 12 Classes: All levels appropriate
  • Lifetime unlimited access to all
  • Attend the livestream OR practice the replays any time that's convenient for you

$168.00

GROUNDWORK WITH YOGA BLOCKS

Breaking up the actions between the upper and lower body can really help to refine the execution of Eka Pada Koundinyasana 2. In the first drill, Matt demonstrates an option with yoga blocks set up underneath your chest to relieve some of the effort in your arms. Doing this helps you focus on the techniques utilized in the hips and legs, which create the height and length required for balancing the posture.  

You’ll see that the first drill sets the foundation for all of the drills in the video. 

Here are the core steps in Drill #1:

(left leg forward)

  1. With hands wide and slightly behind either side of the blocks, place your left leg onto your upper left arm
  2. Lean forward and place your chest on a block or blocks (depending on the height required for your body)
  3. Create an anterior tilt of your pelvis while internally rotating the upper thigh of your left leg
  4. Take the option to straighten the front leg—your back knee may stay on the mat 

In the 2nd drill, you are repeating the same actions as above; however, you are adding on by straightening the back leg. Matt demonstrates this with socks on, making it easier to practice by gliding your back foot on the floor rather than on a yoga mat. This is the first step in creating those elegant lines.

WATCH THE VIDEO

EKA PADA KOUNDINYASANA 2: FIVE DRILLS FOR GREATER ACCESS

STATIC ENTRY WITHOUT YOGA BLOCKS

Drill #3 invites you to attempt entry into Eka Pada Koundinyasana 2 from a static position, without the use blocks. Matt reminds you that entering the posture from a static position is muscularly demanding and that without the help of the blocks, it’s vital to create more stability in your upper body. If you’ve practiced with Matt before, then you know that one of the essential elements of an arm balance is to grip the ground with your fingers. As you grip the ground in Eka Pada Koundinyasana 2, it’s imperative that you lean forward to offset the weight in your lower body. While executing the actions of the hips (anterior tilt of the pelvis and internal rotation of the upper thigh bone), another action will help to solidify the pose: squeezing your thigh into your arm. This will strengthen the adductors and create maximum stability. From there, you can start to lengthen the legs out in opposite directions.  

Practicing this posture in socks and on a hardwood floor can be extremely helpful in emphasizing a more graceful extension and easier access. Matt also offers the option of bending the knee of the back leg in order to gain a little more height before you straighten the leg out.

200 Hour Online Teacher Training Certification

200 HOUR ONLINE TEACHER TRAINING

GET CERTIFIED & DEEPEN YOUR YOGA PRACTICE

  • Deepen your yoga practice
  • Build confidence speaking in front of groups in person and online
  • Learn foundational class structures and templates
  • Learn techniques for a wide range of yoga postures
  • Get certified and highly qualified to teach yoga
  • Yoga Alliance Globally Recognized Certification Program

STATIC ENTRY WITH YOGA BLOCKS

In this variation of Drill #3, the blocks support the back leg. The core actions remain the same, and you’ll see in the video that Matt stacks 2 yoga blocks on top of each other. Once you have both sent your weight forward into your hands and lengthened your front leg, you can take a deep bend of your back leg (while your back knee is resting on the blocks). You can experiment with either keeping the knee down or furthering the play with balance and lifting your back knee up away from the blocks.

300 hour teacher training online

300 HOUR ONLINE TEACHER TRAINING

GET 500 HOUR CERTIFIED AS A MASTER TEACHER

Master your skill set as a teacher through refined techniques, anatomy, biomechanics, sequencing, philosophy, meditation techniques, theming, yoga business, and much more!

  • Get 500 hour certified
  • Learn anatomy, biomechanics, asana techniques
  • Expand your teaching skills
  • Masterful sequencing and verbal delivery
  • Learn meditation and breathwork techniques
  • Transformative tools: theming, dharma talks, satsang

ENTRY WITH MOMENTUM

In Drill #4, you’ll explore coming into Eka Pada Koundinyasana 2 with momentum. This allows you to practice a more dynamic way of entering the posture, which requires a great deal of coordination. Matt explains that less effort is required of the muscular system, but you’ll notice that you’ll require a slight pull back to keep yourself from falling. This means that the gripping of the fingers into the ground will also be key in maintaining balance.   

Here are the core steps for entry with momentum:

(left side)

  1. Begin in a short Downward-Facing Dog
  2. Lift your left leg up
  3. In one continuous motion, follow the steps to place your left leg on your left arm while creating the actions in your pelvis, upper thigh, and adductors

Drill #5 reintroduces the yoga blocks to get you started at a higher height. Matt places 2 blocks, stacked one on top of the other, underneath the foot of the leg that will extend behind you. This creates a “shelf” to help you gather greater height and momentum for the movement of your front leg. A tip is to place the blocks more directly behind the leg that will eventually come forward. You’ll see in the video how this really informs your ability to shift your weight more forward. 

ONCE YOU KNOW, YOU CAN FLOW

Matt advises you to practice these drills and variations repeatedly. As you experiment with them, you’ll build strength and confidence in the posture itself, and you’ll also build confidence in how you move your body as a whole. Repeating these drills creates an imprint in your body and puts your body “in the know,” or creates muscle memory. Once your body knows, you can release a little bit of focus as regards technique and allow yourself to flow and move between postures with more grace and ease. It’s not that you leave technique behind, but you develop a trust in your body’s ability to move with a sense of assuredness. You’ll access Eka Pada Koundinyasana 2 with more strength and poise, and you’ll reveal a seamlessness in your practice that helps you find your flow.

You’ll want to sign up for Matt’s Move Immersion to dive deeper into your movement potential.

See you on the mat!

The 200 Hr. Teacher Training: Click Here to See the Next Start Date

The 300 Hr. Advanced Teacher Training: Click Here to See the Next Start Date

Article by Trish Curling

Video Extracted From: Vinyasa Immersion

MOVE

  • Access your movement potential
  • Sweat and raise your heart rate
  • Master your breath/movement coordination
  • Increase mobility at all major joints
  • Learn to gracefully transition between postures
  • Improve your flexibility
  • Strengthen your hips, back, shoulders, and core
  • Improve your balance
  • Each class will raise your heart rate, bring you to a sweat, and return you back to a relaxed state of mind and body
  • 12 Classes: All levels appropriate
  • Lifetime unlimited access to all
  • Attend the livestream OR practice the replays any time that's convenient for you

$168.00

Continue Learning

Achieve Flying Balance

Achieve Flying Balance

Achieve Flying BalanceArm BalanceACHIEVE FLYING BALANCE Achieving an arm balance is quite extraordinary when you consider all that’s involved. And when we refer to an arm balance as a “flying balance,” there is even more involved. The “flying” in Eka Pada...

read more
Virasana

Virasana

VirasanaHip ExtensionVIRASANA For some of us, postures like Virasana and Lotus can be uncomfortable or even painful for the knees, so we avoid them altogether. Depending on what we’re dealing with, this may be the best decision. If there is room for safe exploration,...

read more
Get Bendy

Get Bendy

Get BendySpinal MobilityGET BENDY In the yoga context, getting bendy can conjure up images of postures that may seem far-fetched or unattainable. What we should set our sights on instead is not an end result but rather all the things we learn while we're exploring...

read more
Wall Drills To Progress In Handstand

Wall Drills To Progress In Handstand

Wall Drills to Progress in HandstandAdho Mukha VrksasanaWALL DRILLS TO PROGRESS IN HANDSTAND Wall drills for Handstand are an excellent way to master the mechanics required to go upside down with confidence. Using the wall as a support to refine alignment, rather than...

read more
Mountain Pose Mechanics

Mountain Pose Mechanics

Mountain Pose MechanicstadasanaMOUNTAIN POSE MECHANICS How often do we go back to refine the “basics”?  Revisiting a posture like Mountain Pose (Tadasana) is like pruning a tree. We may have already developed a foundation, but it’s important to continue to clip away...

read more
Plough Pose vs. Shoulder Stand

Plough Pose vs. Shoulder Stand

Plough Pose vs. Shoulder StandhalasanaPLOUGH POSE VS. SHOULDER STAND After we have engaged in postures that strengthen the posterior chain, Plough and Shoulder Stand offer a good stretch for these areas of the body. Plough in particular provides a more extensive...

read more

THE FREE TECHNIQUE PACK

When You Subscribe, You Will Get Instant Access to

  • the Technique Pack: 15 yoga pose breakdowns
  • exclusive online course discounts
  • exclusive blogs and videos
  • This field is for validation purposes and should be left unchanged.

Pin It on Pinterest