Opening The Heart ChakrabackbendOPENING THE HEART CHAKRA Opening the heart chakra is not simply about reaching deeper into a backbend. Matt reminds us that this space is rooted in love, balance, and connection, both with ourselves and with others. It reflects how we...
Help For Hamstrings
Help For Hamstrings
FLEXIBILITY
HELP FOR HAMSTRINGS
“Yoga butt” or high hamstring tendonitis can be a literal pain where the sit bones meet the hamstrings and glutes. This area is prone to overuse injuries, especially when repetitive forward folds overstretch rather than strengthen. Matt highlights that help for hamstrings begins with awareness: bending the knees in a forward fold may feel relieving, but it also removes tension from the hamstrings, letting the pelvis tip too far forward. The fix isn’t avoiding movement, it’s about creating balance. By reintroducing tension through active hamstring and glute engagement, we regain muscle integrity and stability. Whether you’re hypermobile or tight, the key is to move with intelligence and adaptability, applying the right tools for our bodies at each moment.

DEEP RELEASE
UNWIND NAGGING ACHES & PAINS
- 10 Chromatic Yoga practices with founder Matt Giordano
- Deep Unwinding of Unwanted Physical Patterns
- Release Most Common Aches and Pains
- Meticulously Crafted Experiences to Enhance Your Postural Practice
- All Levels Appropriate Full length 75 minute Classes
- Non-dogmatic, Anatomy informed Alignment
- The Perfect Blend of Knowledge and Practice
- A Heavy Emphasis on Technique for the Poses Everyone Expects You to Know but Non One Teaches
- 12 Continuing Education hours with Yoga Alliance and American Yoga Council
- 12 Accredited Practice Hours with the Chromatic School of Yoga
- Step-by-Step instruction for increased accessibility
- Sweat, Breath, Strengthen, Stretch and Feel Amazing!
FORWARD FOLD ARTICULATIONS
In this exploration, Matt redefines the forward fold as an opportunity to train rather than simply stretch. He suggests placing the hands farther forward to reduce direct pressure on the sit bones, allowing the spine to lengthen freely. From here, we move between anterior and posterior tilt, activating the hamstrings and glutes while maintaining awareness of alignment. Help for hamstrings here means learning to contract the same muscles that resist over-tilting, creating stability even in deep stretches. The beauty of this approach lies in isometric control: we can activate the muscles of posterior tilt without having to actually move into it. This delicate balance between strength and mobility becomes the foundation for sustainable hamstring health.
WATCH THE VIDEO
HELP FOR HAMSTRINGS: DRILLS TO MITIGATE INJURY
BRIDGE LIFT PROGRESSIONS
Matt’s bridge progressions build strength precisely where hamstring injuries tend to occur. With the feet slightly away from the hips, we press down through the heels and drag them toward the shoulders, awakening the high hamstrings and low glutes. The challenge increases when alternating heel presses, maintaining level hips while each leg lifts. The focus is always on muscular activation rather than height or range. Help for hamstrings is about quality of contraction, not quantity of movement. By strengthening the posterior chain in a controlled bridge, we retrain the body to rely on the right muscles for stability. These drills not only restore power to weakened hamstrings but also reinforce the kind of coordination that prevents reinjury.

200 HOUR ONLINE TEACHER TRAINING
GET CERTIFIED & DEEPEN YOUR YOGA PRACTICE
- Deepen your yoga practice
- Build confidence speaking in front of groups in person and online
- Learn foundational class structures and templates
- Learn techniques for a wide range of yoga postures
- Get certified and highly qualified to teach yoga
- Yoga Alliance Globally Recognized Certification Program
UTTITHA HASTA PADANGUSTHASANA A
In this standing variation, Matt merges balance with resistance work. As one leg lifts, the hands pull up while the leg presses down, creating a two-way engagement that fires the high hamstring. The pelvis stays subtly back to maintain structural integrity rather than sway forward. It’s a refined conversation between effort and control. Through these seemingly small activations, help for hamstrings transforms from a recovery plan into a mindful practice. The integration of strength and flexibility teaches the body to move from stability first with each posture becoming an exercise in functional awareness rather than just form.

300 HOUR ONLINE TEACHER TRAINING
GET 500 HOUR CERTIFIED AS A MASTER TEACHER
Master your skill set as a teacher through refined techniques, anatomy, biomechanics, sequencing, philosophy, meditation techniques, theming, yoga business, and much more!
- Get 500 hour certified
- Learn anatomy, biomechanics, asana techniques
- Expand your teaching skills
- Masterful sequencing and verbal delivery
- Learn meditation and breathwork techniques
- Transformative tools: theming, dharma talks, satsang
RESILIENT STRENGTH FOR THE LONG RUN
The essence of help for hamstrings lies in developing a relationship between awareness, strength, and longevity. Matt’s drills don’t just target the pain point; they retrain the body’s neuromuscular intelligence to prevent it. Through consistent activation of the hamstrings, glutes, and supporting stabilizers, we rebuild a stronger foundation for every movement on and off the mat. The path forward isn’t about avoidance or rest alone, but about smart re-education of the muscles that protect the pelvis and spine. With steady, intentional practice, strength and mobility can coexist, keeping your hamstrings resilient for years to come.
Dive deeper into what’s possible in Matt’s current 10 class online immersion Deep Release .
The 200 Hr. Teacher Training: Click Here to See the Next Start Date
The 300 Hr. Advanced Teacher Training: Click Here to See the Next Start Date
Article by Trish Curling
Video Extracted From: Deep Release Immersion

ONLINE ANATOMY COURSE
- Accessible, exciting, and easy to learn
- Anatomy and biomechanics for yoga
- Appropriate for both teachers and students
- Learn joint alignment vs pose alignment
- Demystify yoga poses and transitions
- Release aches and pains
- Learn how to avoid common injuries
- Caters to all levels with modifications and props
- 20 hours Continued Education Credits with Yoga Alliance
- 20 hours toward Chromatic Yoga Certification and 300 Hour
- Lifetime access
Continue Learning
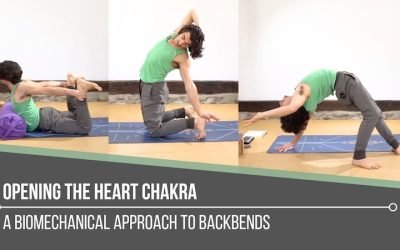
Opening The Heart Chakra
read more
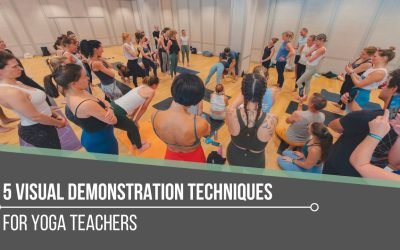
5 Visual Demonstration Techniques for Yoga Teachers
5 Visual Demonstration Techniques for Yoga TeachersYoga TeachersVisual Demonstration This is often confused with “teaching from the mat.” Teaching at the front of the room can be useful at the right time and place, but that is not what we are referring to here. In...
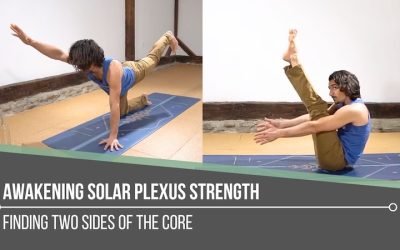
Awakening Solar Plexus Strength
Awakening Solar Plexus Strengththird chakraAWAKENING SOLAR PLEXUS STRENGTH Awakening solar plexus strength invites us into the centre of transformation. Matt reminds us that this third chakra, Manipura, is our fire, our willpower, and our ability to take action. It...
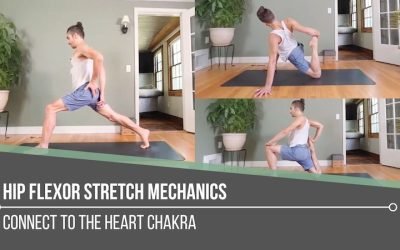
Hip Flexor Stretch Mechanics
Hip Flexor Stretch MechanicsALIGNMENTHIP FLEXOR STRETCH MECHANICS Hip flexor stretch mechanics begins with understanding that stability and length often come from opposing actions. In the first demonstration, Matt cues the back inner thigh to lift upward, which tips...
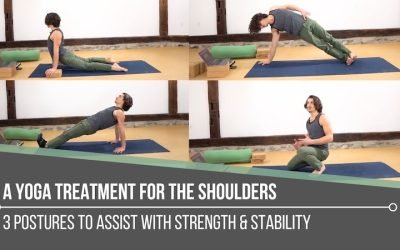
A Yoga Treatment For The Shoulders
A Yoga Treatment For The ShouldersSTABILITYA YOGA TREATMENT FOR THE SHOULDERS Shoulders tend to speak up when stability is missing. Matt reminds us that building strength isn’t about aesthetics, it’s about support, resilience, and keeping the body working as one...
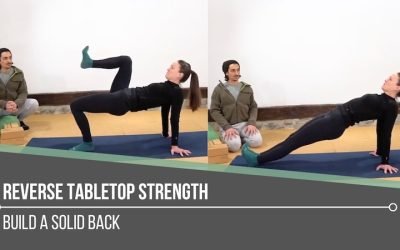
Reverse Tabletop Strength
Reverse Tabletop StrengthMECHANICSREVERSE TABLETOP STRENGTH “Solid” implies strength, yet in yoga, we can easily lose sight of how intentionally building the back body supports everything we do. Reverse Tabletop may look simple, but it asks a lot from the posterior...
THE FREE TECHNIQUE PACK
When You Subscribe, You Will Get Instant Access to
- the Technique Pack: 15 yoga pose breakdowns
- exclusive online course discounts
- exclusive blogs and videos


