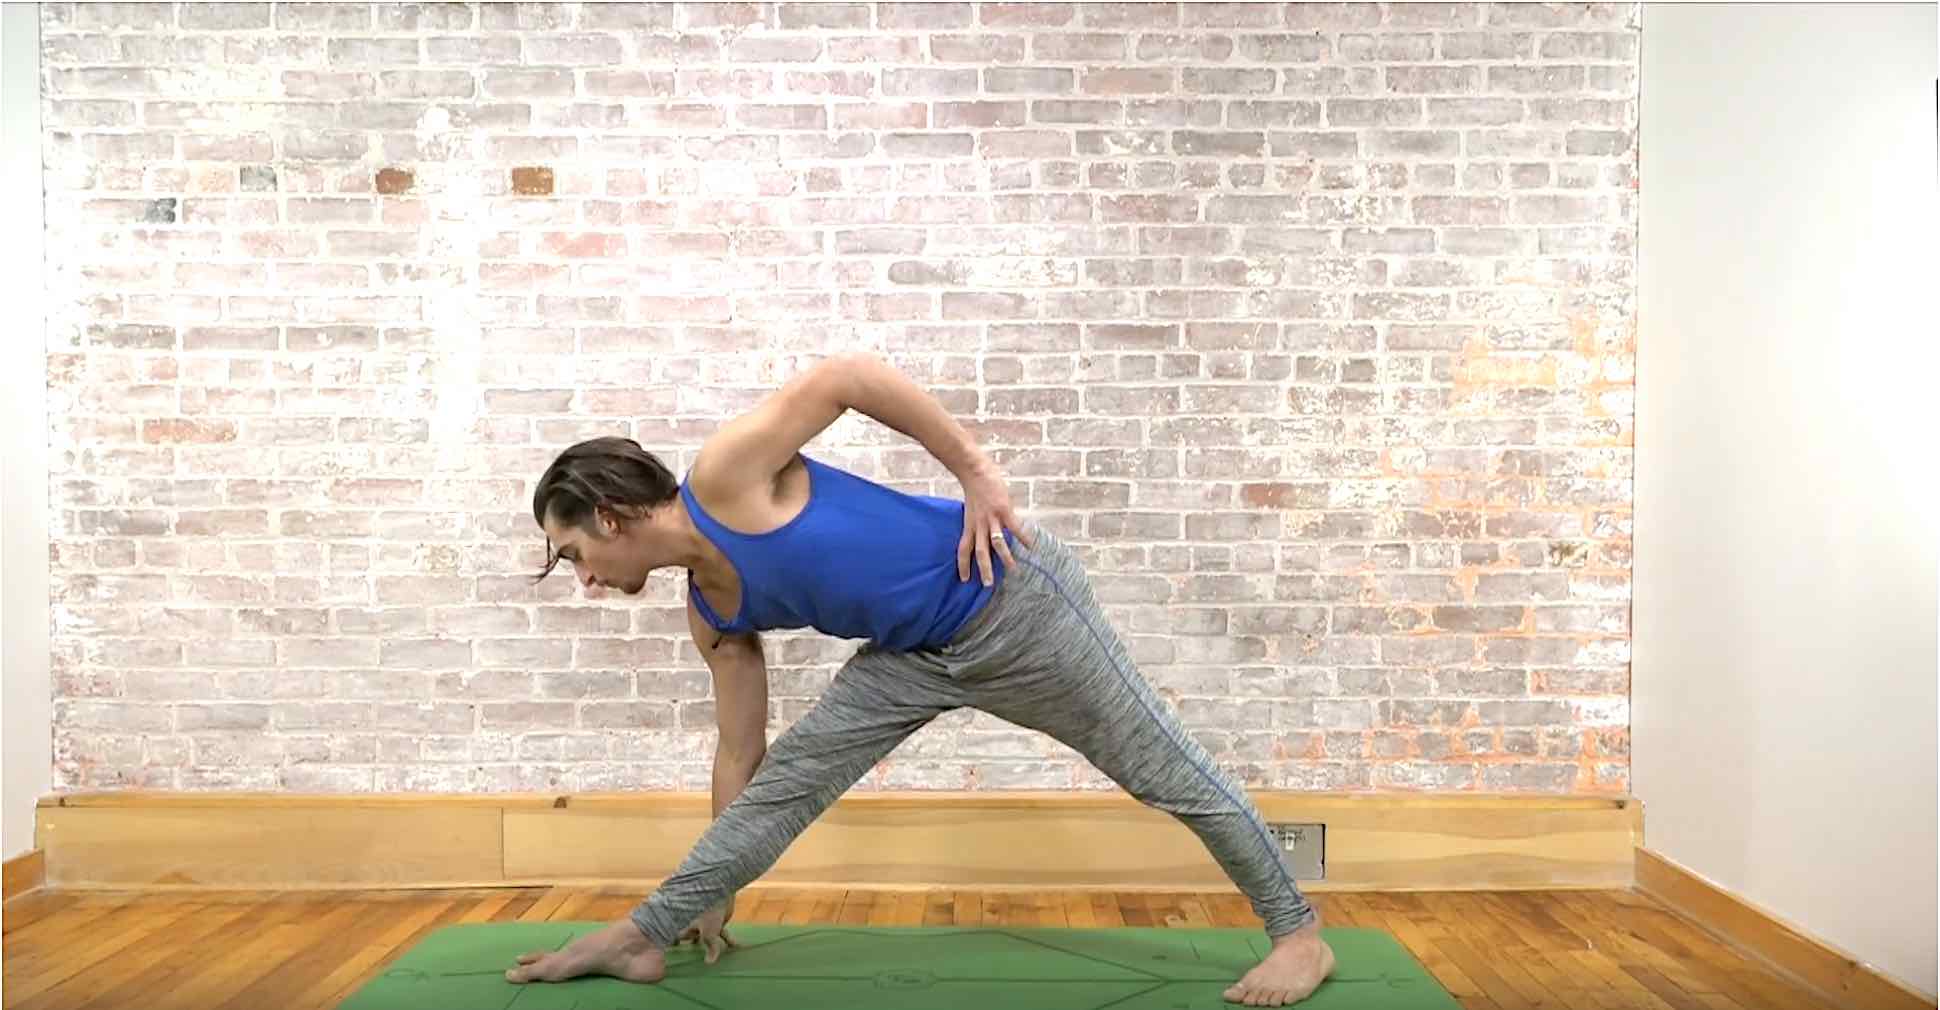
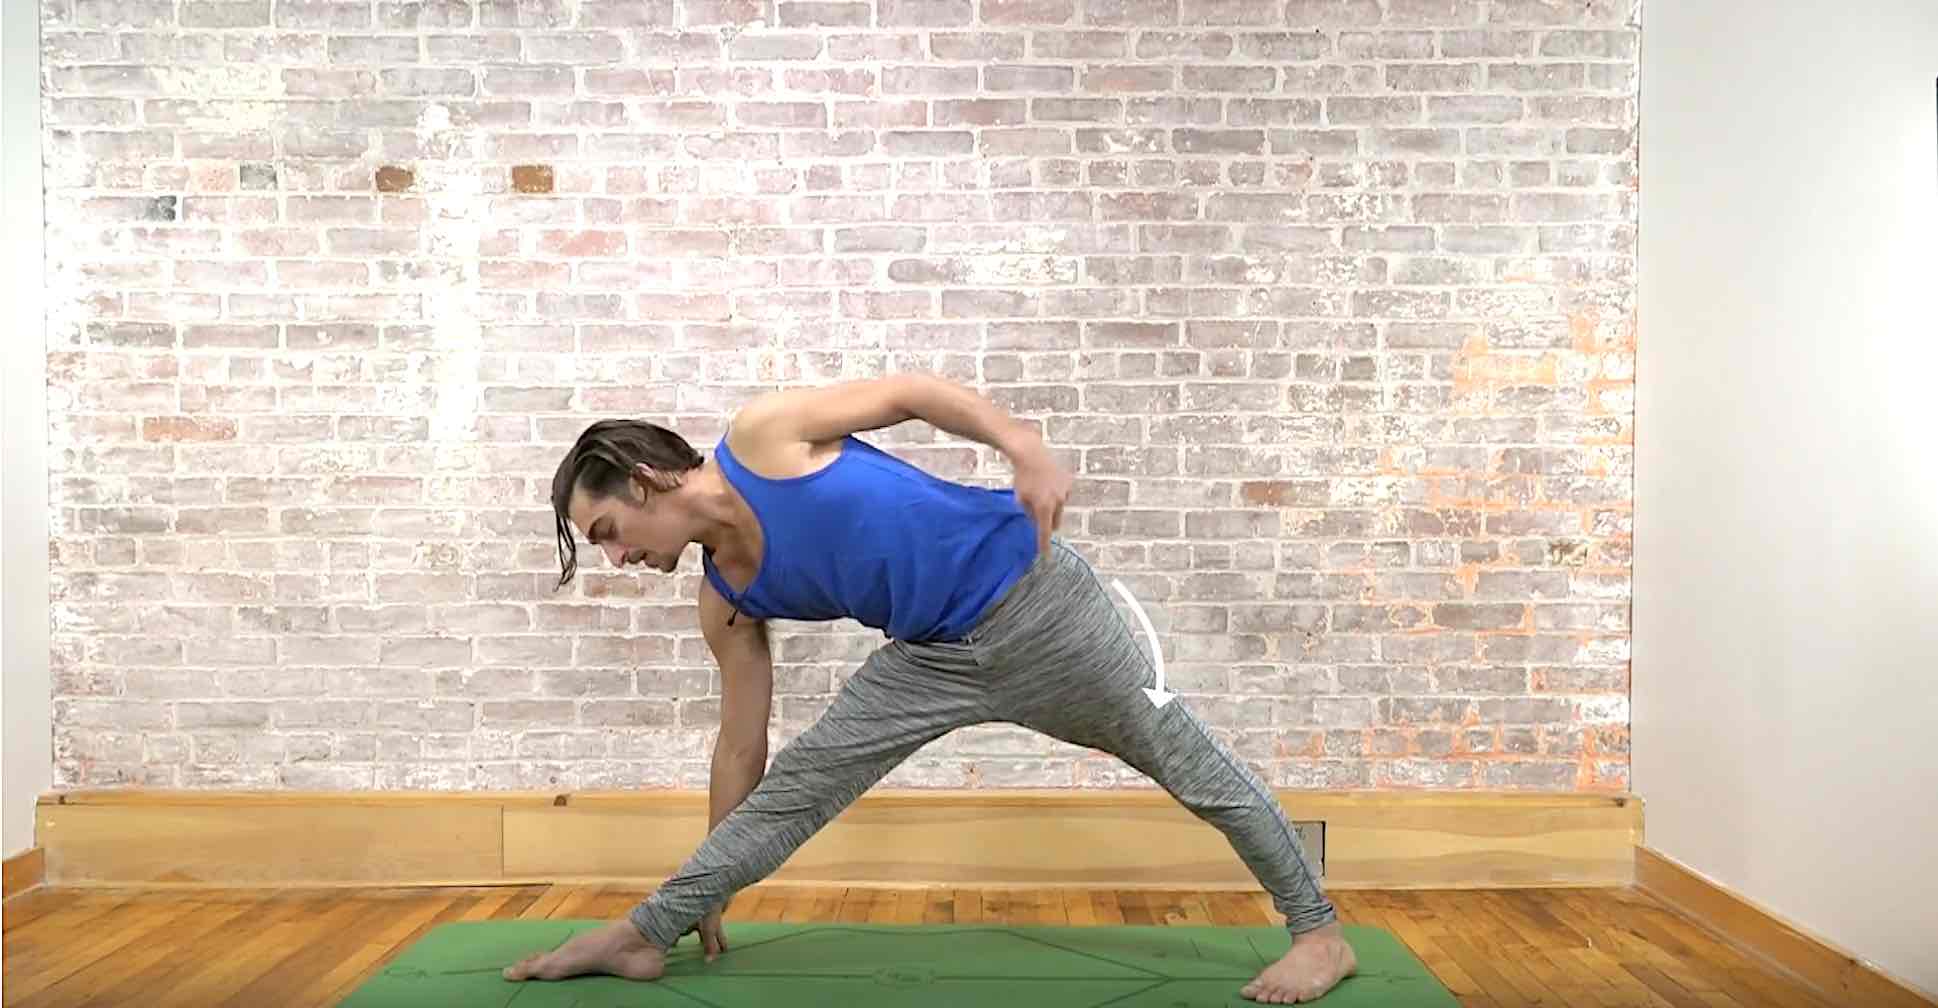
Reinvent Revolved TriangleTRIKONASANAREINVENT REVOLVED TRIANGLE “Now twist!” Sounds easy enough—until we realize the complexity hidden within the cue. Revolved Triangle is far more than just a twist. It’s a balance challenge, a hamstring and IT band stretch, a spinal...
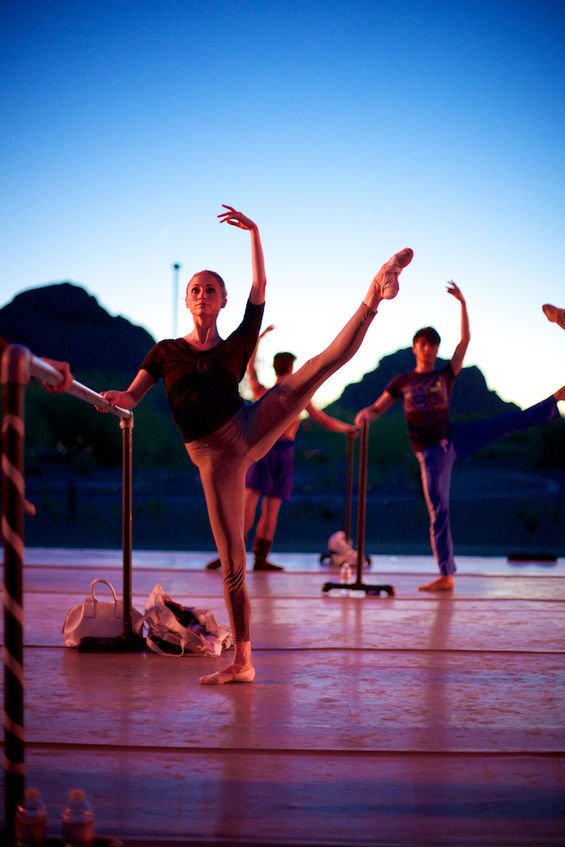
HEALTHY HAMSTRINGS
HEALTHY HAMSTRINGS
FACILITATED STRETCH TECHNIQUE
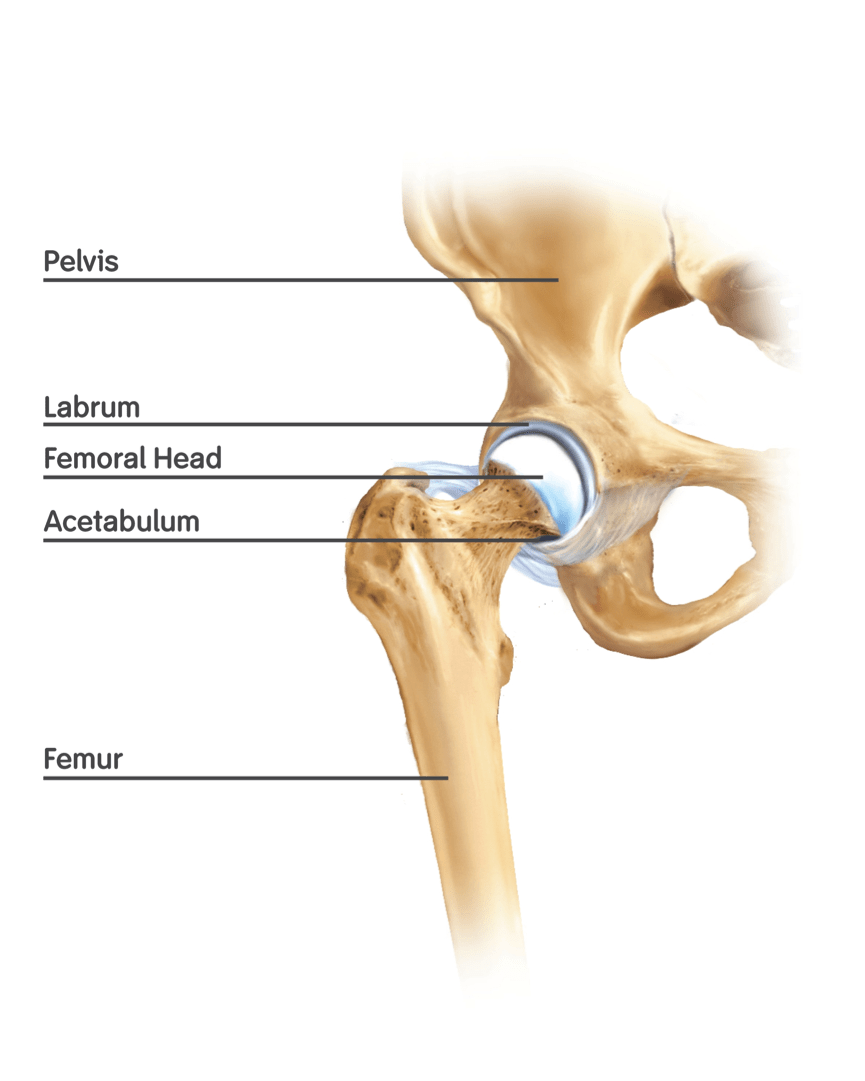
Hamstrings
Hip And Hamstring Flexibility
Why Is Hip Mobility Important?
Tight hamstrings are a common complaint. This may be because it’s one of the most noticeable things to show up in our yoga practice and in our daily lives. How many times have you heard someone say, “I can’t even touch my toes anymore!” Or maybe you have said this yourself. Now, touching our toes does not define our worth; the awareness of this limitation and tension in this area of the body simply provides opportunities for us to investigate. Too often, this investigation leads to repeatedly stretching the area in order to lengthen and hopefully release the tightness. However, continuously stretching hamstrings will not likely provide us with the flexibility we desire and may actually cause further tension, pain, or injury to hamstrings and other areas in our bodies. In order to increase flexibility while maintaining the health of the muscles, we must incorporate a technique called facilitated stretching.
![yoga backbend techniques: 12 classes [backbend technique to relieve back pain "bowing the spine']](https://www.theyogimatt.com/wp-content/uploads/2021/10/Archna-Mohan-chromatic-5.jpg "Archna Mohan chromatic")
HIPS & HAMSTRINGS
ONLINE YOGA IMMERSION
- 12 classes to increase flexibility of the hips and hamstrings
- Maximize your strength through range of motion
- Access your pose potential
- Release tension of hips and back
- Sensation-based practices
- Unlock and strengthen major muscle groups
- Active, passive, and isometric stretching
- Improve mobility and stability
- So much more!
$148.00 $128.00
WHAT EXACTLY IS MUSCLE TIGHTNESS?
First, let’s discuss why muscles become tight. Muscle tightness results from an increase in tension through active or passive mechanisms. Passively, muscles can become shortened through postural adaptation — think sitting, or walking in high heels all day — or through injury and scarring. Actively, muscles can become shorter due to spasm or contraction. Regardless of the cause, tightness limits range of motion and may create a muscle imbalance.
Page, Phil. “Current concepts in muscle stretching for exercise and rehabilitation.” International journal of sports physical therapy vol. 7,1 (2012)
What is facilitated stretching, and how can we utilize it to increase flexibility in our hamstrings?
What Is a Facilitated Stretch?
This occurs when we activate, or contract, the same muscle(s) we are stretching. There are two types of muscle contractions — isotonic and isometric: “An isotonic contraction is a voluntary muscle contraction that causes movement … An isometric contraction is a voluntary contraction in which no movement occurs.”
Charland, Jeff & McAtee, Robert E., Facilitated Stretching Fourth Edition, 2014
The latter is the action we adopt in a facilitated stretch. Knowing this is important because it is how we maintain the health and integrity of the muscle. If we don’t engage our muscles, eventually they might lose their ability to contract. Losing this ability can lead to imbalances in our bodies; when these imbalances are significant, we can experience a decrease in range of motion. This decrease can lead to injury or chronic pain.

ONLINE TEACHER TRAININGS
GET CERTIFIED AT THE 200 OR 500 HOUR LEVELS
- 200 Hour Training: Get certified to teach yoga
- 300 Hour Training: Take your certification to the 500 hour level
- Recognized globally by Yoga Alliance
- Take your practice to the next level
- All levels, ages, and experience welcomed
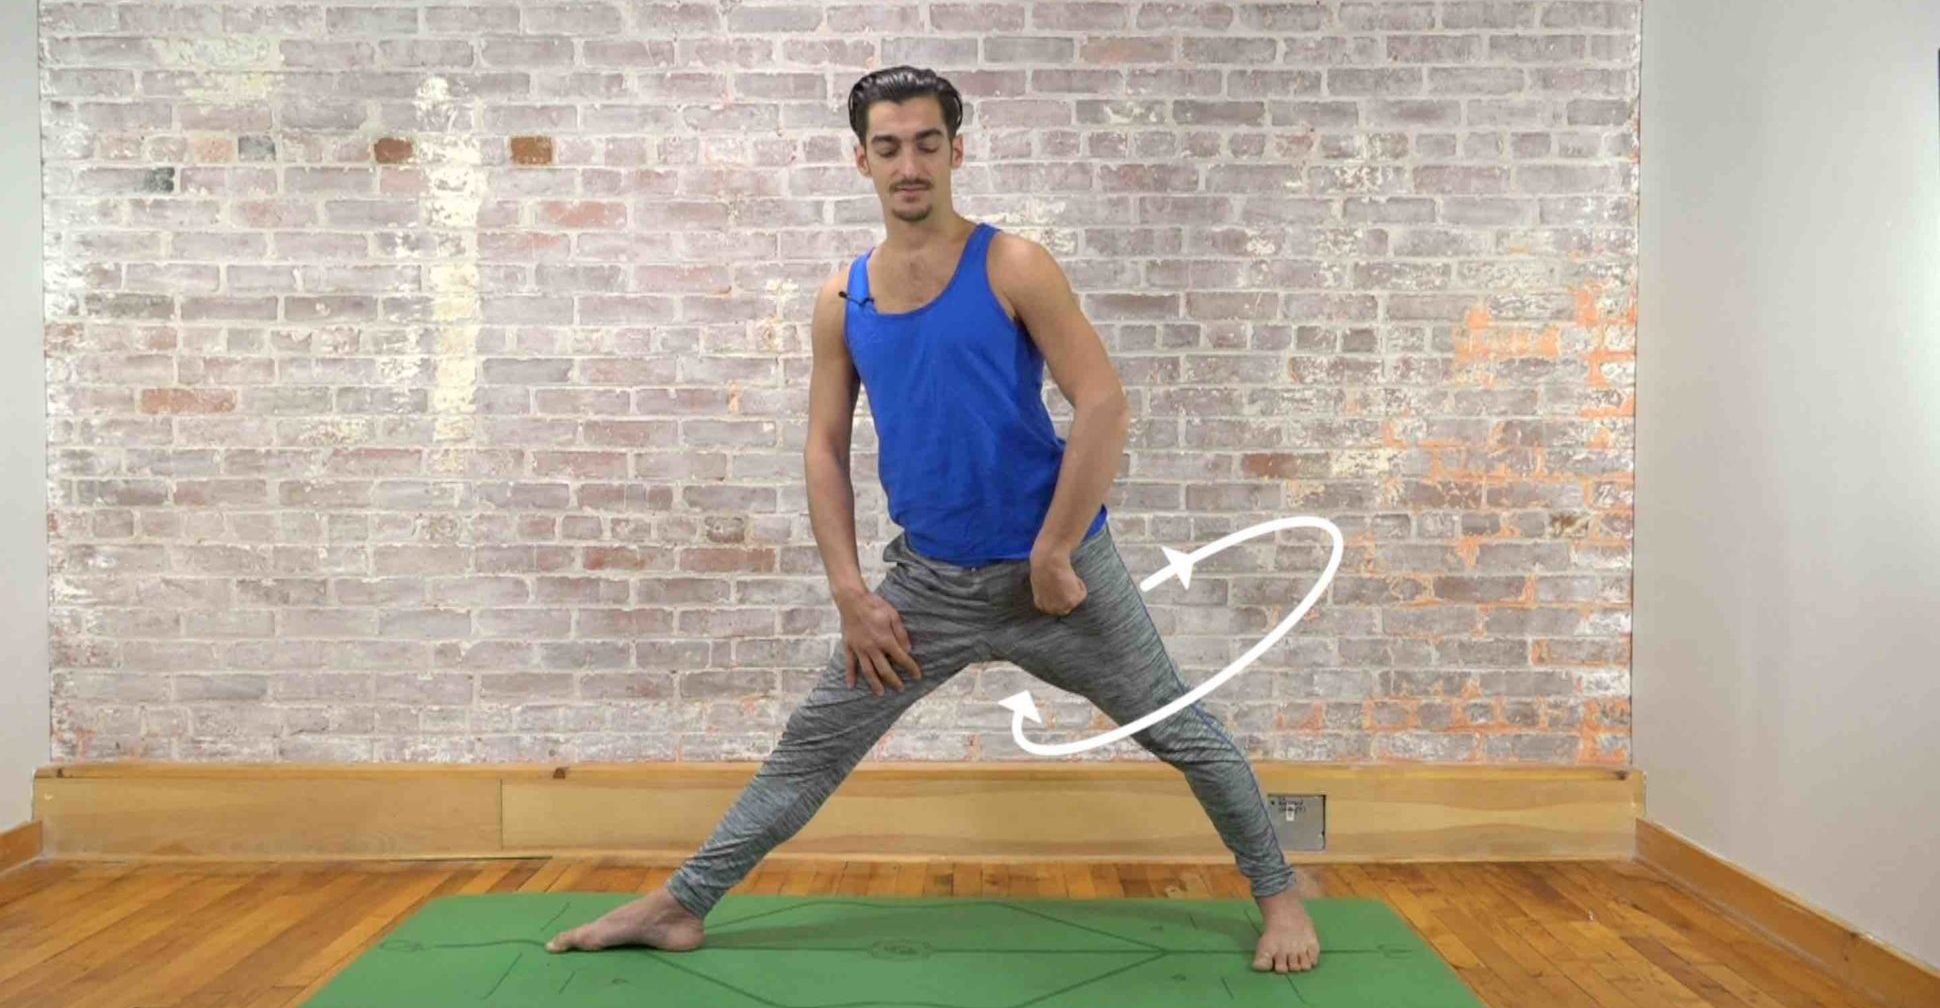
IMPLEMENT FACILITATED STRETCHING
How can we cultivate this in our practice?
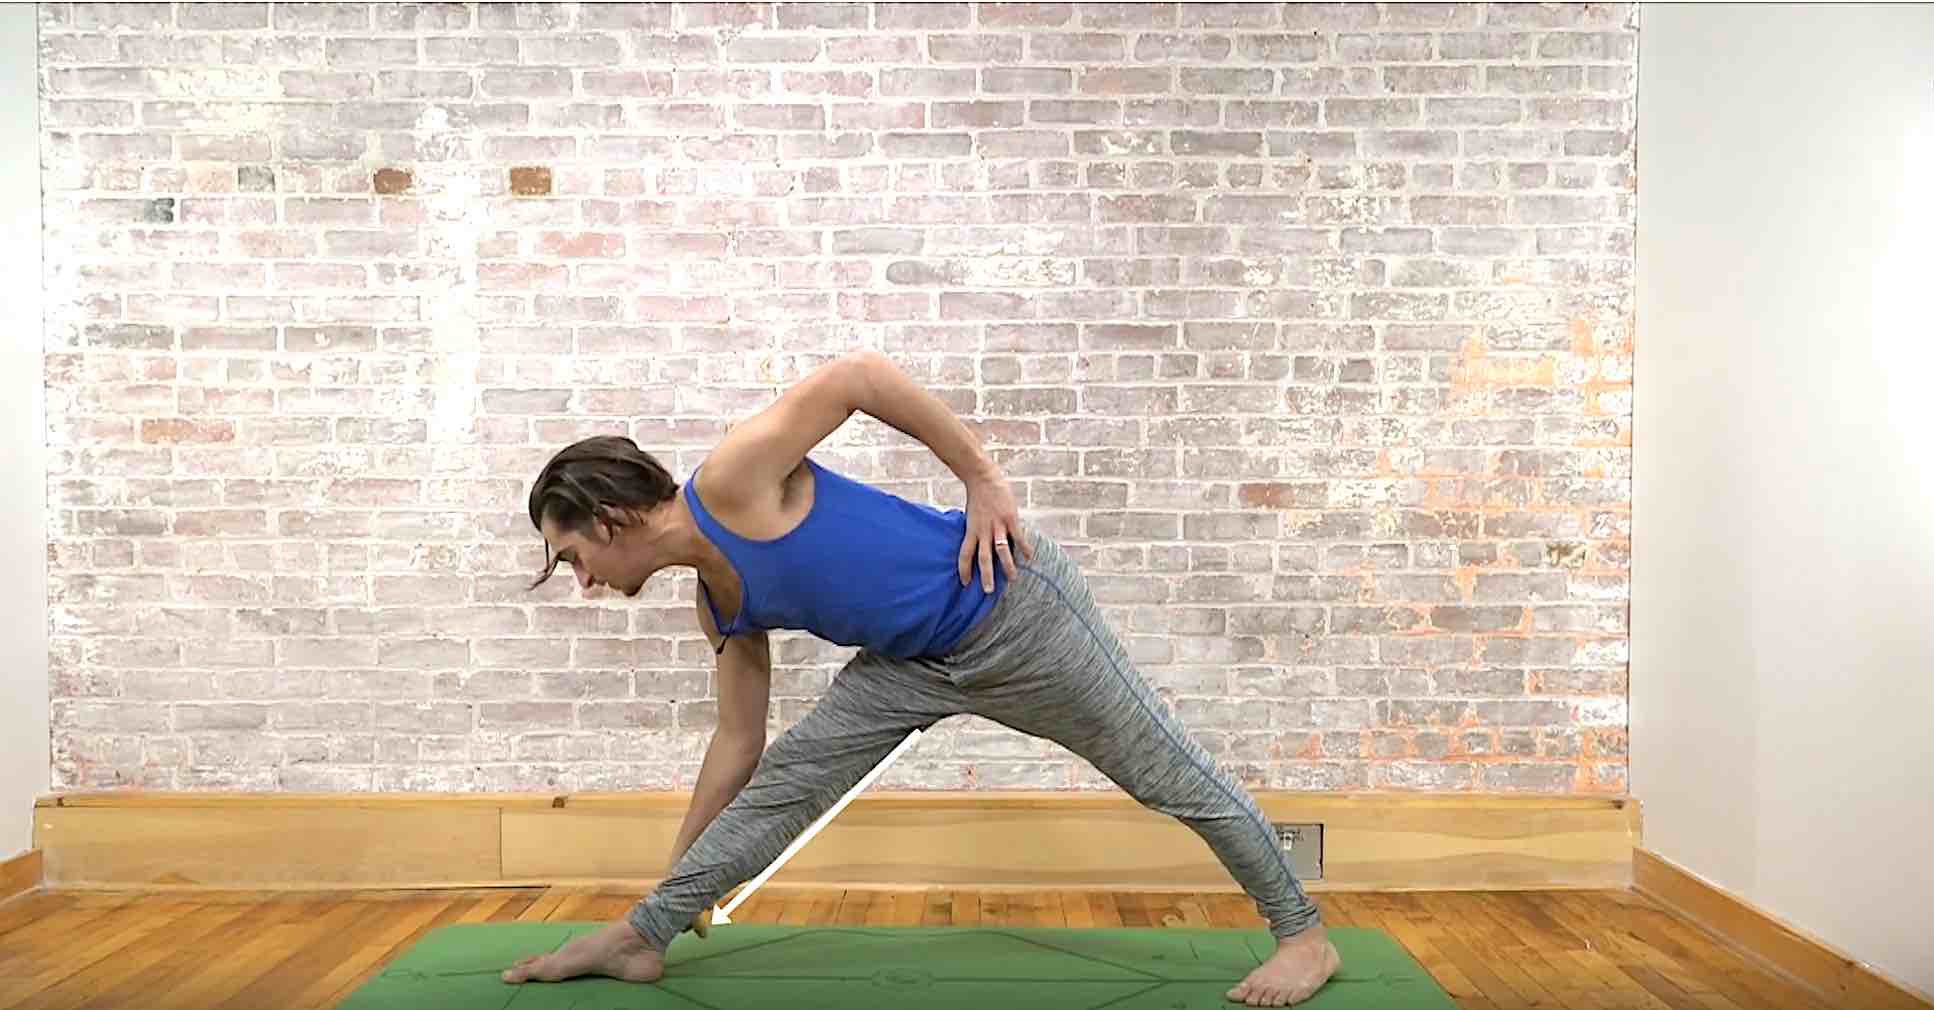
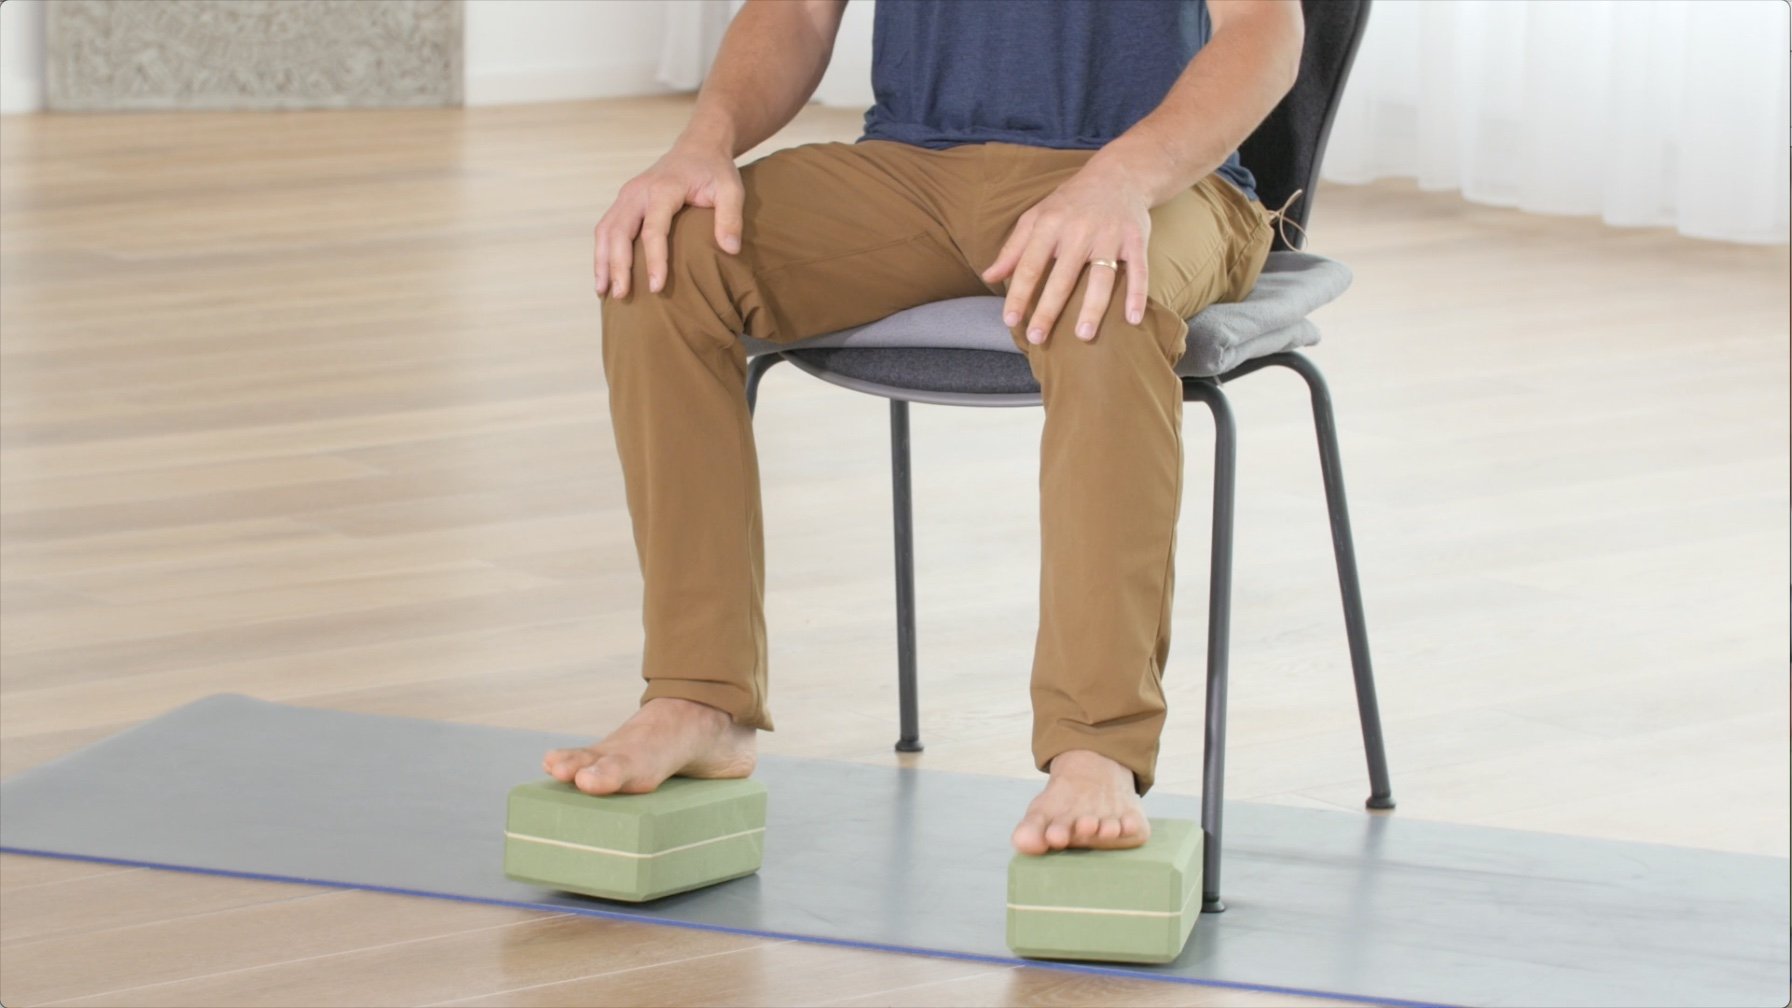
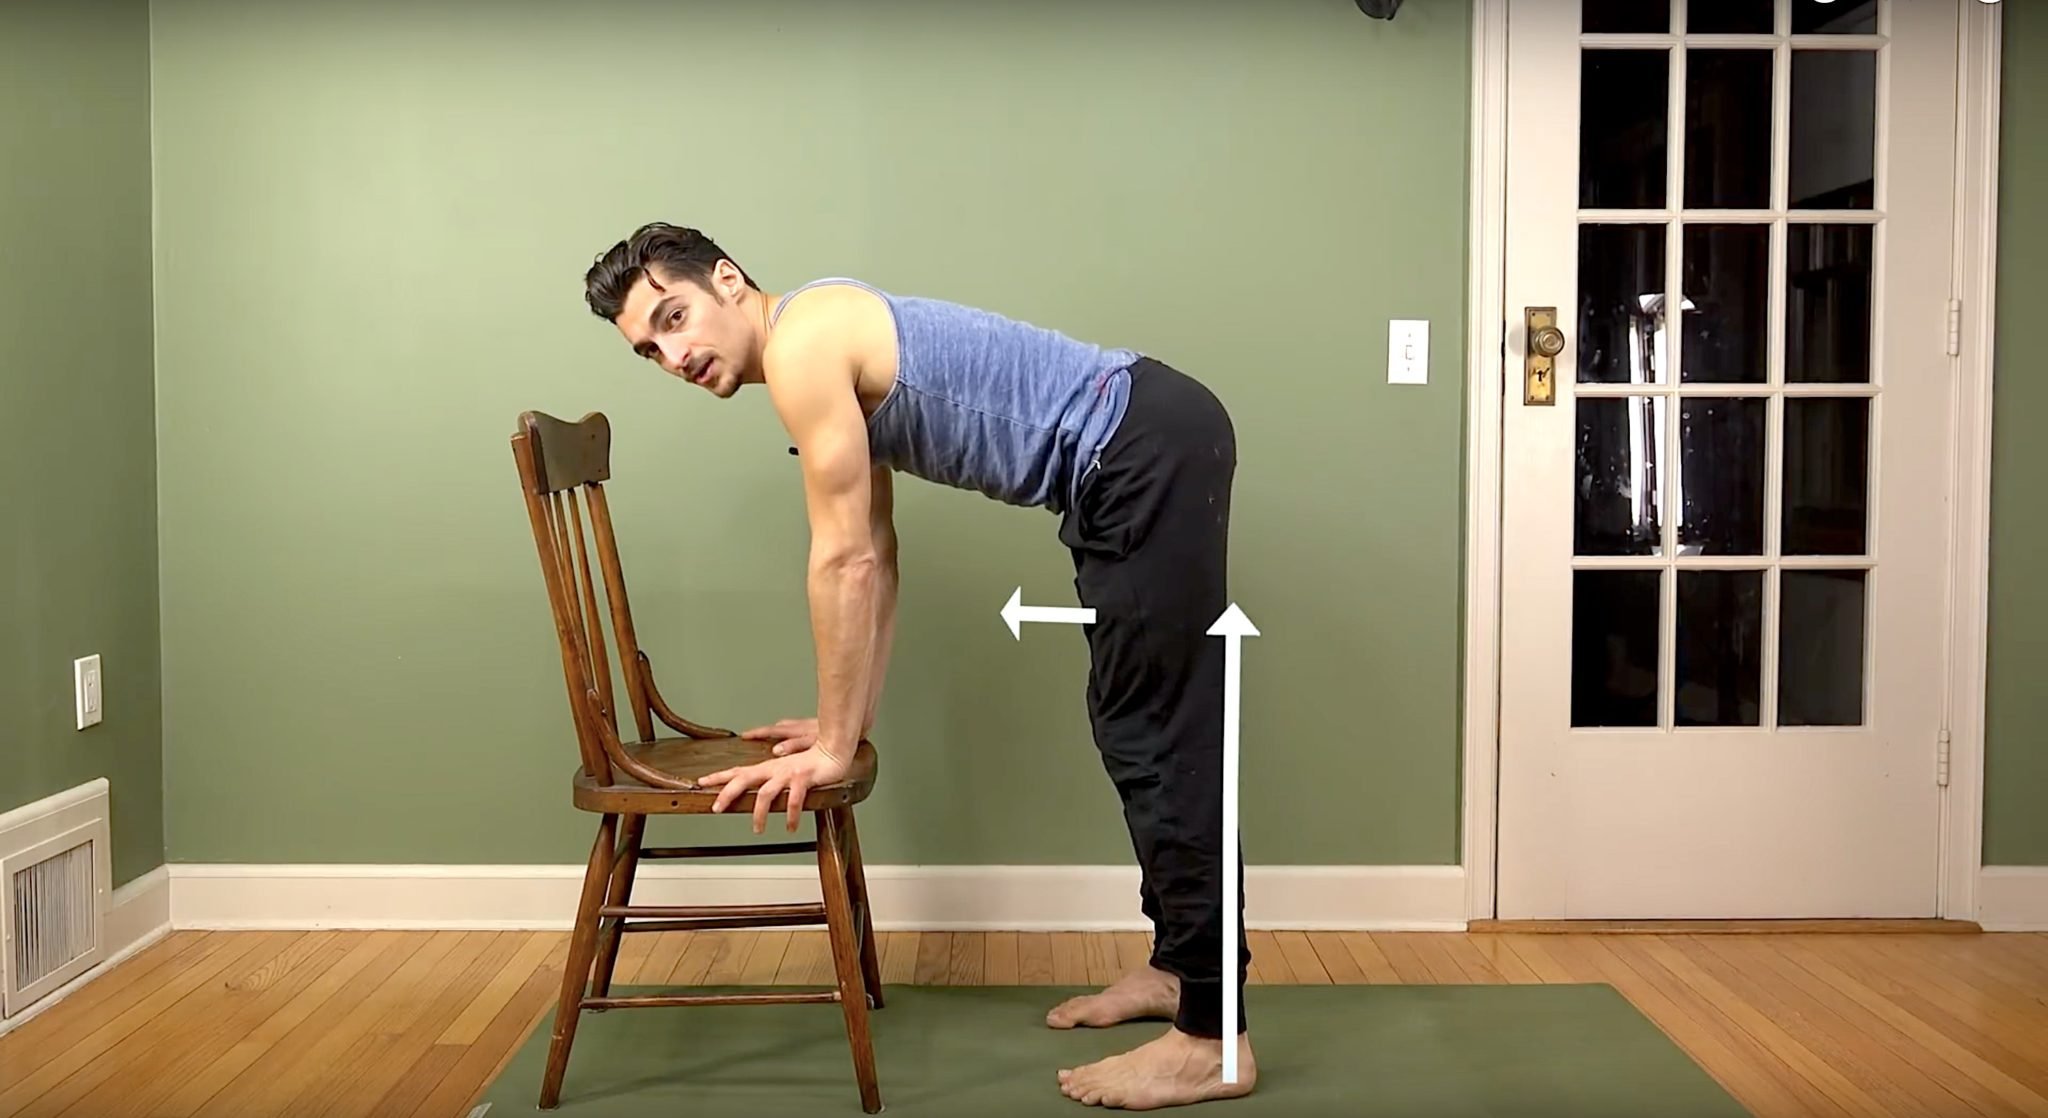
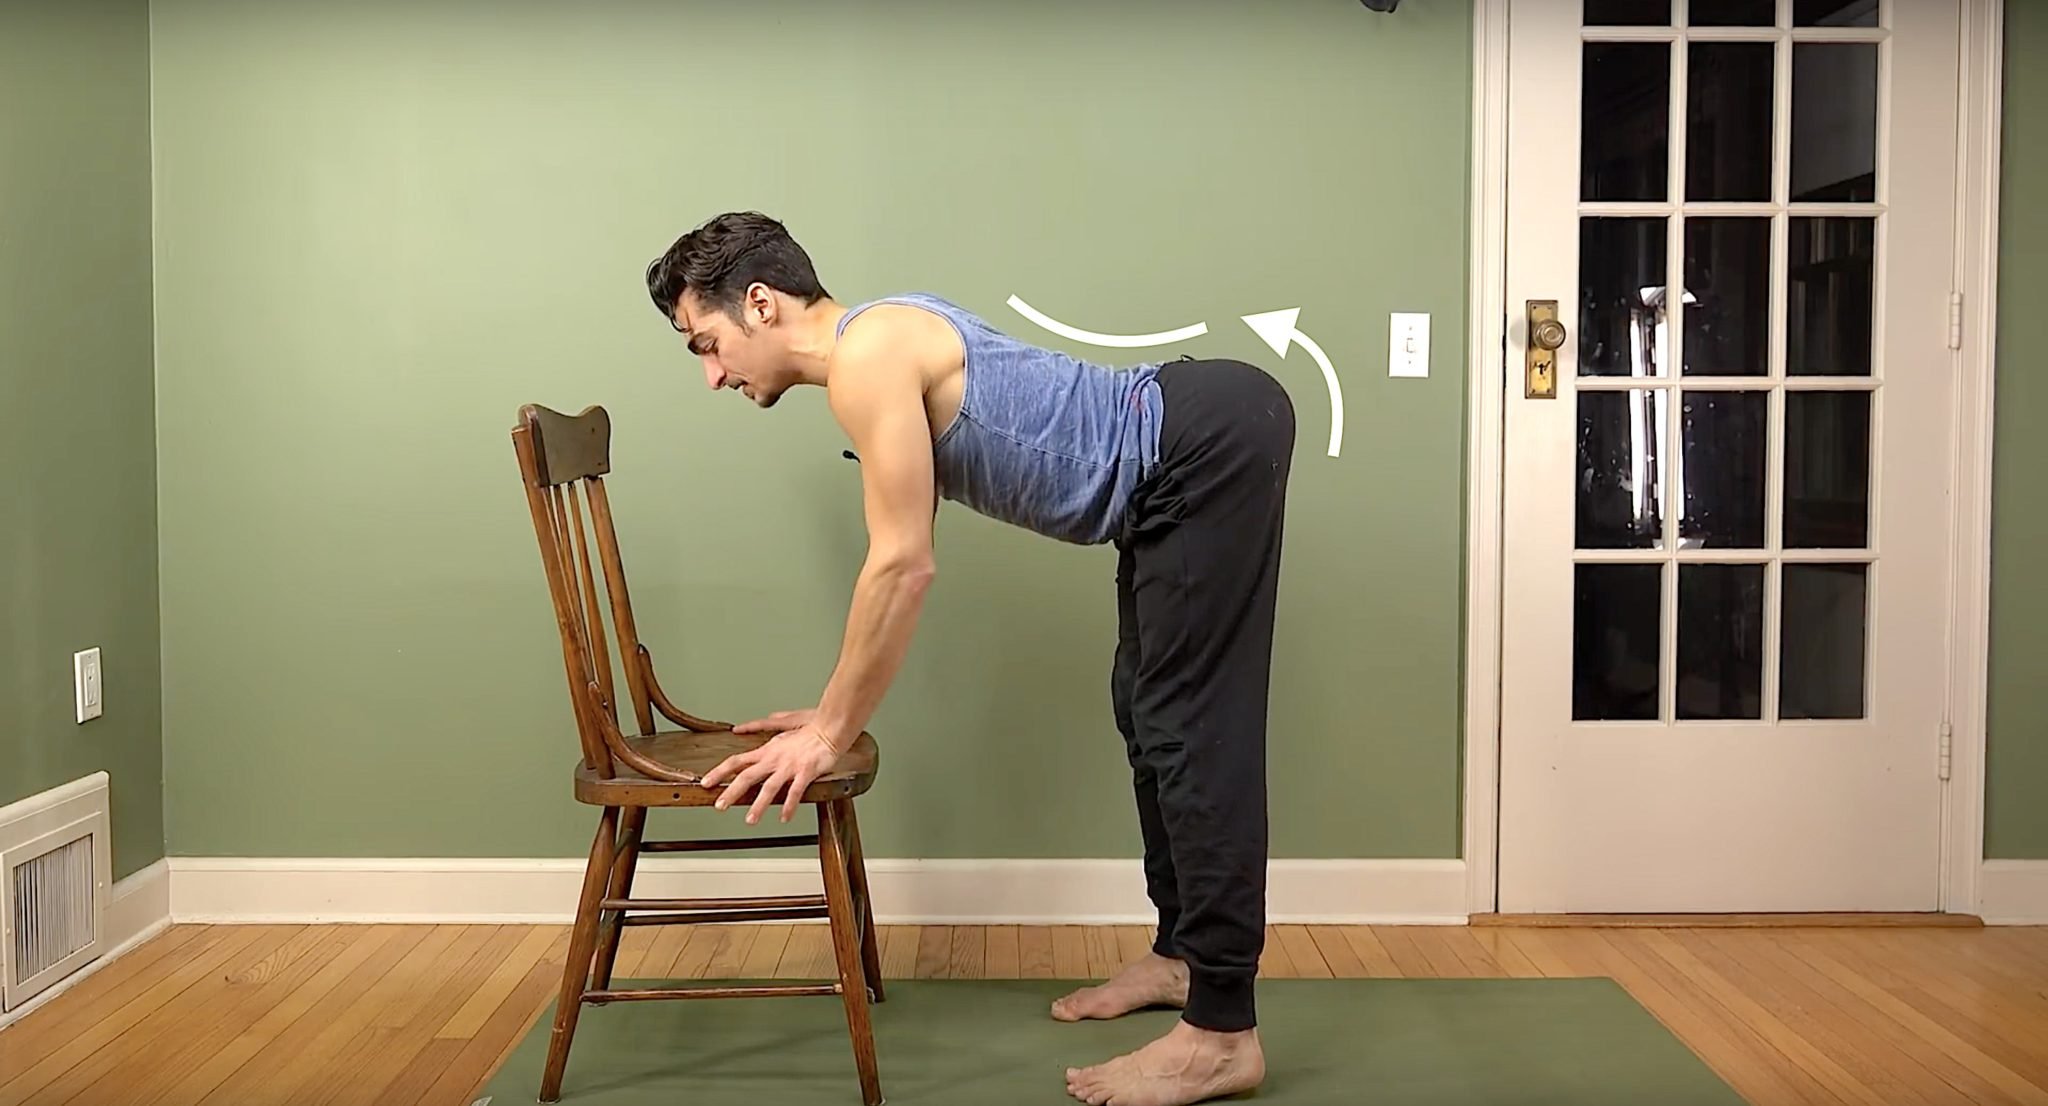
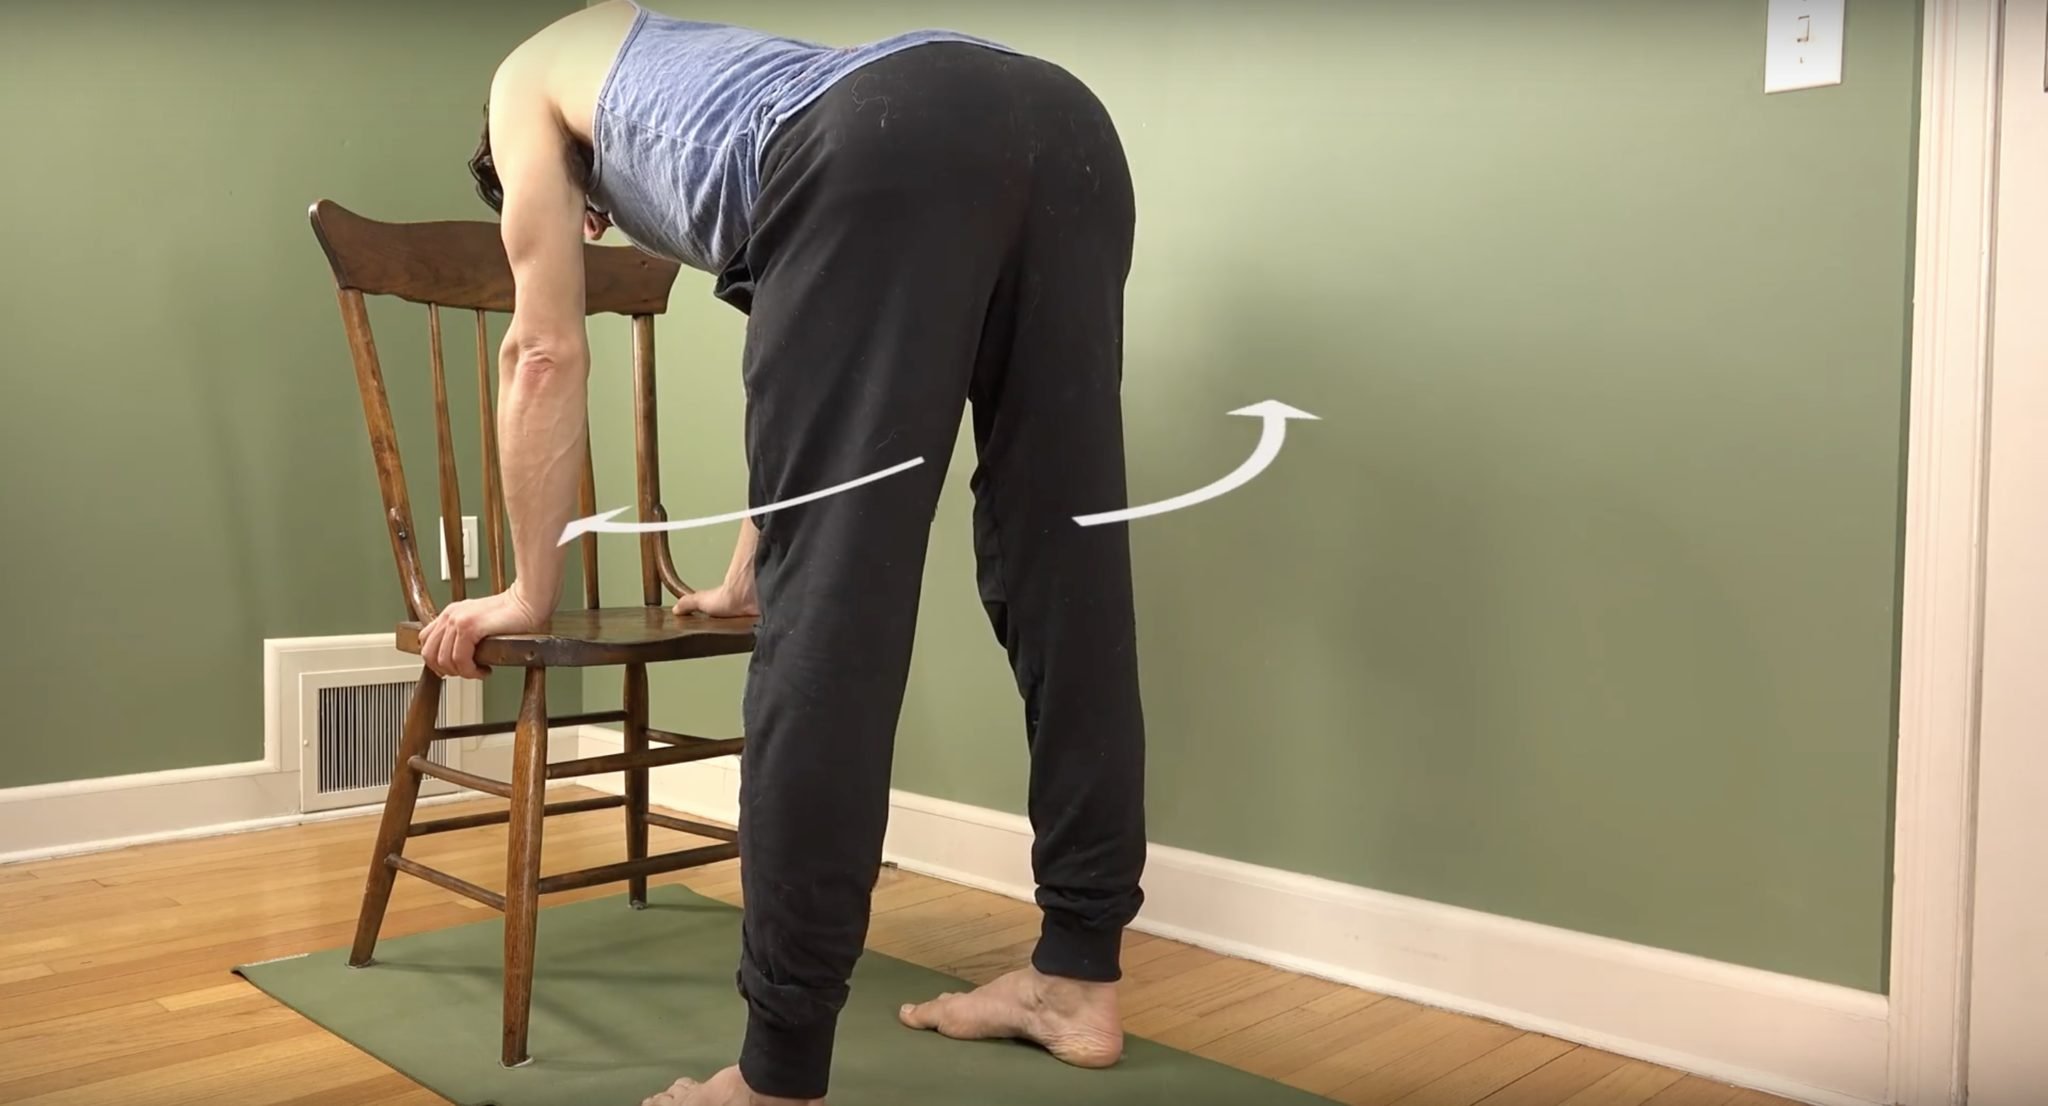
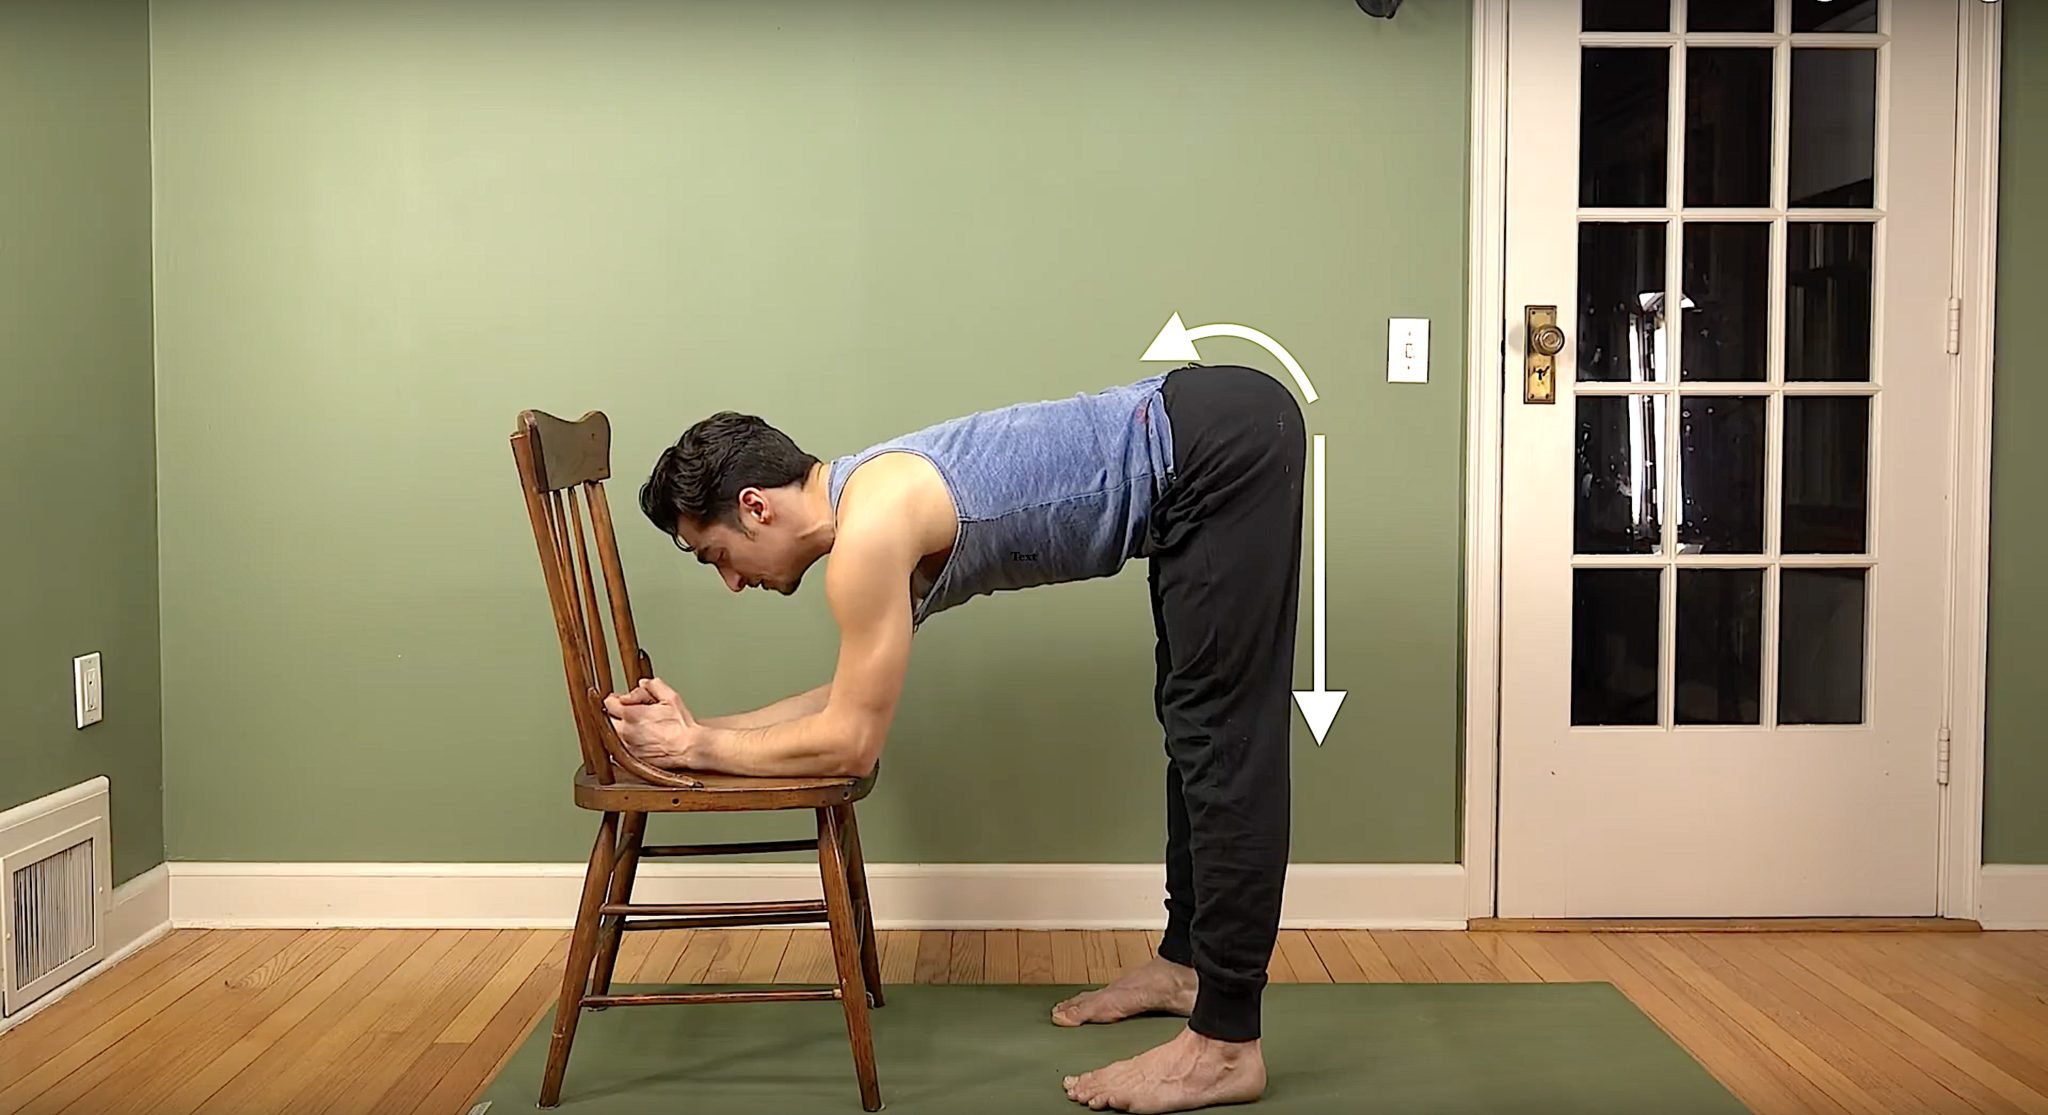
One of the best ways to incorporate facilitated stretching into our practice is to go slowly and to utilize props that will support the process. In the video below, Matt demonstrates the use of a facilitated stretch in forward fold, using a chair. He breaks it down into 4 digestible actions.
Four Actions to Utilize Facilitated Stretch in Forward Fold
- Lean forward into the big toes.
- Press the back of the hamstrings apart.
- Move the sit bones up to the sky (will pull up on the hamstring and start to straighten the knees).
- Move the sit bones down toward the heels, but don’t move your pelvis.
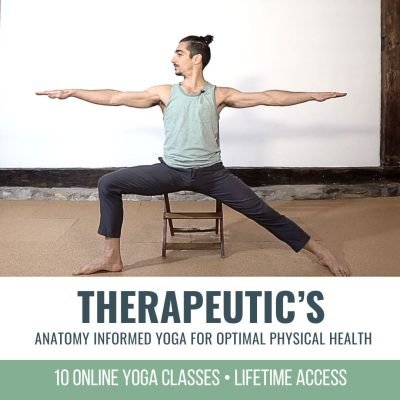
STRATEGY FOR HEALTHY HAMSTRING FLEXIBILITY
You may also enjoy the original blog paired with this video, “Avoid the Yoga Butt”
Suggested Immersion: Hips and Hamstrings: 12-Class Immersion
WHAT IS PNF?
Facilitating these actions may also be referred to as proprioceptive neuromuscular facilitation (PNF).
“Multiple studies have shown that PNF stretching is superior to traditional static stretching in terms of improving active and passive range of motion. It can be used to supplement daily, static stretching and has been shown to help athletes improve performance and make speedy gains in range of motion. Not only does it increase flexibility, but it can also improve muscular strength. What’s more, PNF stretching is believed to repair the microscopic damage that typically follows a high-intensity workout.”
Wicke J, Gainey K, and Figueroa M. A comparison of self-administered proprioceptive neuromuscular facilitation to static stretching on range of motion and flexibility. Journal of Strength and Conditioning Research. 2014; 28(1): 168–172.
Sharman MJ, Cresswell AG, Riek S. Proprioceptive neuromuscular facilitation stretching: Mechanisms and clinical implications. Sports Medicine. 2006; 36(11): 929-39.
All that being said, it’s important to also consider the amount of activation we utilize. It’s recommended that we only engage roughly between 15% – 20%. We want to stay on the side of a more conservative amount of force so as not to channel too much force to the joints, thus minimizing injury.
To more fully understand this, click here for Matt’s 12-class immersion
Hips & Hamstrings, which took place in June 2021. To help you explore and uncover the strength in your own body, Matt’s new 12-class immersion, Strength, starts in October. Sign up today for lifetime access.
Written by Trish Curling
HIPS & HAMSTRINGS
ONLINE YOGA IMMERSION
- 12 classes to increase flexibility of the hips and hamstrings
- Maximize your strength through range of motion
- Access your pose potential
- Release tension of hips and back
- Sensation-based practices
- Unlock and strengthen major muscle groups
- Active, passive, and isometric stretching
- Improve mobility and stability
- So much more!
$148.00 $128.00
Continue Learning
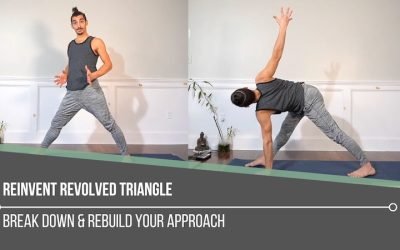
Reinvent Revolved Triangle
read more
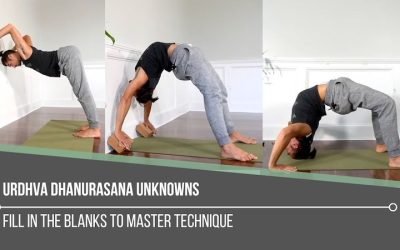
Urdhva Dhanurasana Unknowns
Urdhva Dhanurasana UnknownsALIGNMENTURDHVA DHANURASANA UNKNOWNS Let’s take a pause from what we think we know about Wheel Pose and consider the Urdhva Dhanurasana unknowns. Often, we hear the cue, “Just press up into Wheel,” and we do—without questioning the subtle...
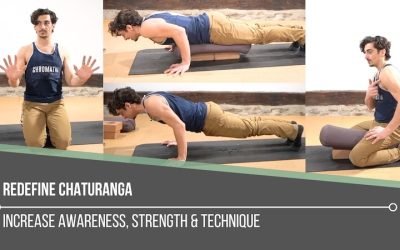
Redefine Chaturanga
Redefine ChaturangaALIGNMENTREDEFINE CHATURANGA To redefine Chaturanga, we first have to be willing to challenge what we think we already know. Many of us were taught a narrow-hand, elbows-tight variation of the pose—elbows hugging the ribs, hands close beneath the...
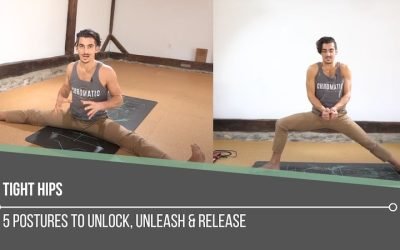
Tight Hips
Tight HipsHIP MOBILITYTIGHT HIPS When working to release tight hips, most people instinctively go straight for deep stretches. But one often overlooked area that holds a surprising amount of tension is the adductorS (the inner thigh muscles) that connect to the...
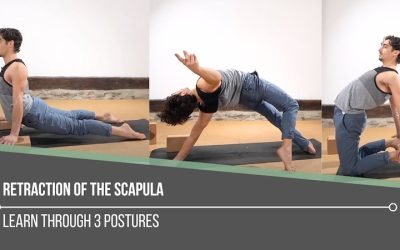
Retraction Of The Scapula
Retraction Of The ScapulaSHOULDER ACTIONSRETRACTION OF THE SCAPULA It may appear that scapular retraction holds less weight in finding deeper backbends, but this action can be quite significant in what we experience when it comes to strength, stability, and...
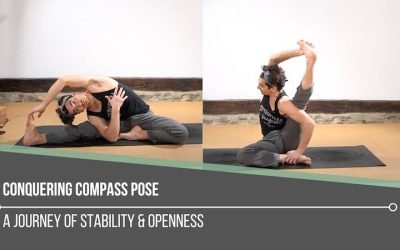
Conquering Compass Pose
Conquering Compass PoseSURYA YANTRASANACONQUERING COMPASS POSE Conquering Compass Pose isn’t about forcing your leg behind your shoulder—it’s about understanding and participating in the muscular coordination that makes the posture possible. The real power comes from...
TOP RECOMMENDATIONS

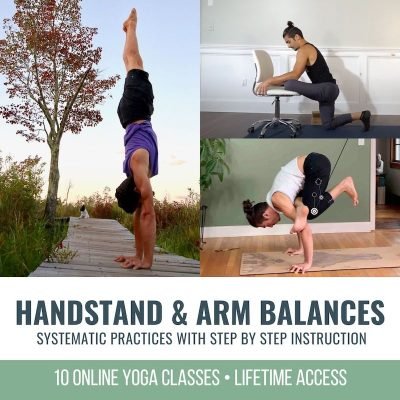
Handstand Training
Learn the techniques that make Handstand fun, easy and accessible! This 2 part course consists of the top most effective exercises will increase your strength and technique so you can easefully balance a handstand.

SHOULDER REVELATION
In this 12 class immersion you will practice specific techniques to strengthen and unlock your shoulders. Each class focuses on a specific joint articulation and muscle group so you gain mastery in the shoulders.

HEART OPENERS
Finally, a 12 class immersion designed specifically to help you discover the freedom of heart openers. Learn how to avoid uncomfortable compression, and awaken your true range of motion in a step by step manner.
THE FREE TECHNIQUE PACK
When You Subscribe, You Will Get Instant Access to
- the Technique Pack: 15 yoga pose breakdowns
- exclusive online course discounts
- exclusive blogs and videos


![yoga backbend techniques: 12 classes [backbend technique to relieve back pain "bowing the spine']](https://www.theyogimatt.com/wp-content/uploads/2021/10/Archna-Mohan-chromatic-6.jpg "Archna Mohan chromatic")