Handstand ActionsLEAN, GRIP, PUSHHANDSTAND ACTIONS Handstand isn’t something we conquer in a single class, it’s a layered process that demands repetition and refinement. There are certain key handstand actions that are non-negotiable: lifting the shoulders up to the...
Fire Hydrant Pose: Hip Technique
Fire Hydrant Pose: Hip Technique
Stability & Mobility Unleashed
hip mobility
FIRE HYDRANT POSE: HIP TECHNIQUE
Part of the equation for improved function and mobility of the hips is building and creating strength, but first you have to understand how to actually do so. It’s not just about knowing which postures to include in your physical yoga practice; it’s really about the execution. Understanding how to implement specific anatomical techniques will help you go beyond what you may believe your body is capable of. This Fire Hydrant Pose hip technique is the perfect example of how to more fully understand your body and know exactly how to unleash stability and mobility in your hips.

HIP MOBILITY
October 2022 Immersion
- Strengthen and lengthen your hips
- Increase active and passive range of motion
- Learn anatomical techniques to improve functionality
- Access a wider range of seated postures and hip openers
- 12 Classes: All levels appropriate
- Lifetime unlimited access to all
- Attend the livestream OR practice the replays any time that’s convenient for you
$148.00
HIP ABDUCTION
There are 4 main muscles that work together to create hip abduction, which is what creates the shape of Fire Hydrant Pose. These muscles are the tensor fasciae latae (TFL) and the gluteus maximus, medius, and minimus. It’s not as simple as just lifting your leg away from your midline. Lateral rotation of the hip also plays a significant role in unlocking the strength that creates increased stability and mobility in the hips. In order to more deeply grasp this, we must understand a few things.
In the posture itself, we maximize its benefits by executing specific articulations. Knowing the anatomy is extremely helpful because you get a better mental picture of what is happening as you are engaging in these movements/articulations. This strengthens the neuromuscular connection.
WATCH THE VIDEO: FIRE HYDRANT POSE: HIP TECHNIQUE
CONCENTRIC VS. ISOMETRIC CONTRACTION
The action of lifting one leg out to the side (abduction) in Fire Hydrant Pose creates a concentric contraction in the glute muscles. A concentric contraction causes muscles to shorten through movement. In a different way, this is also happening in the standing leg: In this case, it’s the lateral tilt of the pelvis. Although the standing leg is fixed, in order to get a greater range of motion in the lifted leg, the “hugging in” of the hip of the standing leg also creates a shortening of the glute muscles. Once you are fixed in your variation of the posture, maintaining the contractions/activations without movement is what creates an isometric contraction. This sets the foundation for stability, but how can you take it to the next level?

NEXT TRAINING BEGINS FEBRUARY 2024 ENROLLMENT NOW OPEN!

NEXT TRAINING BEGINS FEBRUARY 2024 ENROLLMENT NOW OPEN!
HIP STABILITY
The gluteus maximus and TFL attach to the iliotibial band, and when they co-activate, they help to abduct the hip joint. This doesn’t discount the other muscles that contribute here; glute medius and minimus also play a major role. These muscles are known as the abductor group, but they also stabilize the pelvis. For stability to occur, there must be an equal or balanced amount of co-activation from the muscles that surround the hip.
You’ll see in today’s video the specific anatomical techniques and articulations that Matt takes you through so as to take this experience to the next level.
FIRE HYDRANT POSE PREPARATION
Here are the steps:
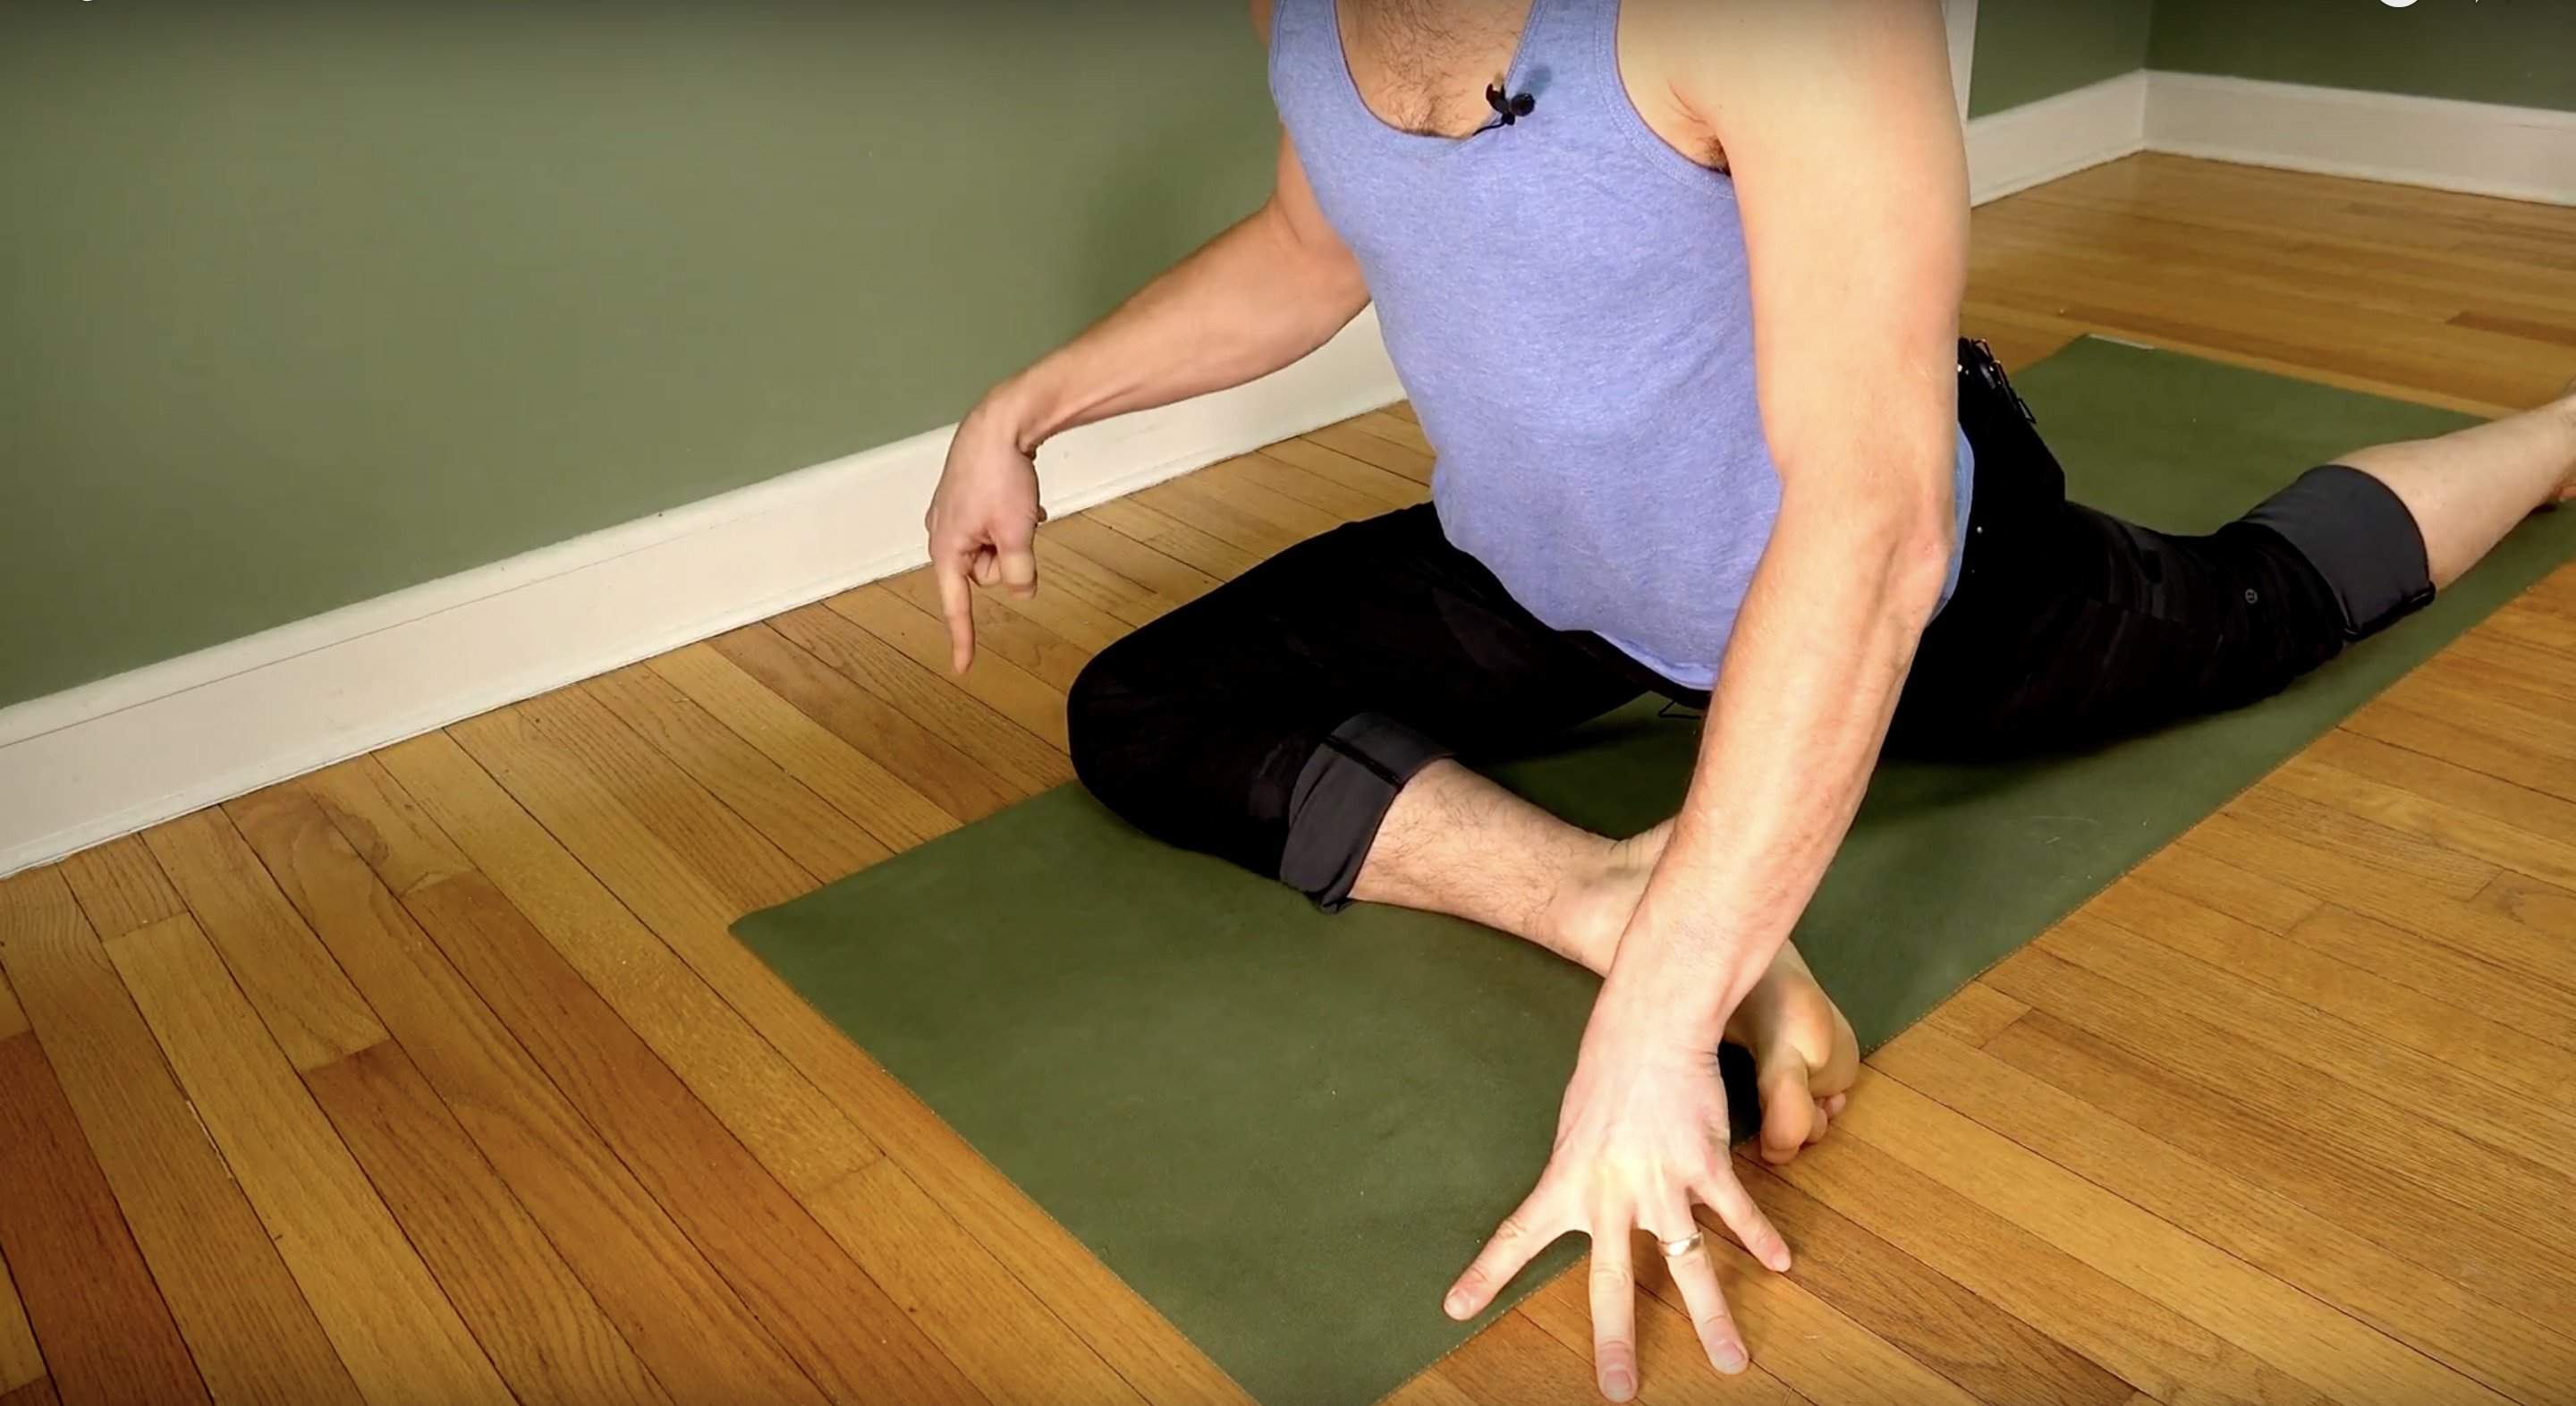
- Bend your knees like in Chair Pose and place your hands on your right knee
- Hips go back, and bum tilts up
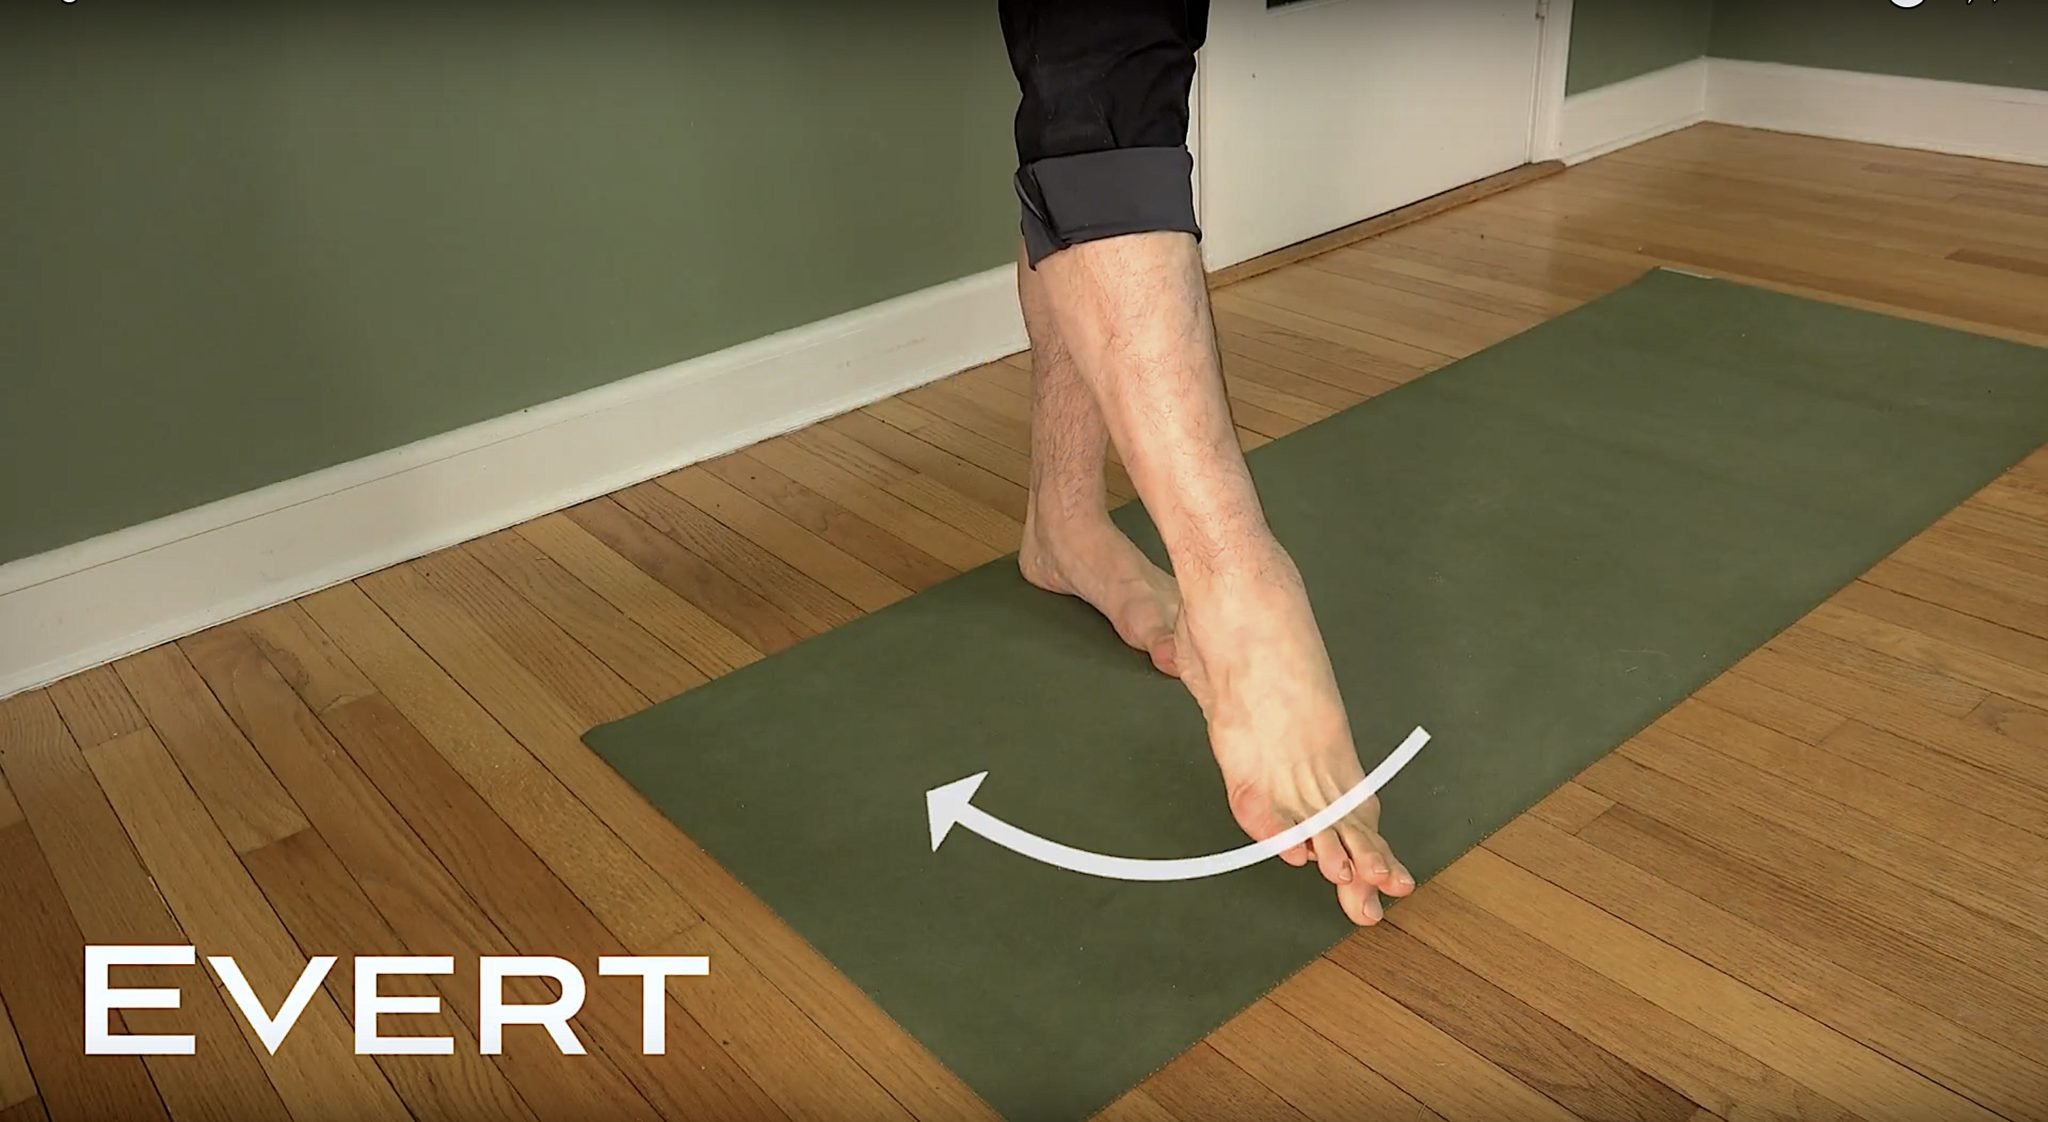
- Left foot out to the side, turning thigh bone in (internal rotation)
- Keep internal rotation and lift up through the heel (more concentric contraction is occurring to lift the left leg; once static, you are in isometric contraction)
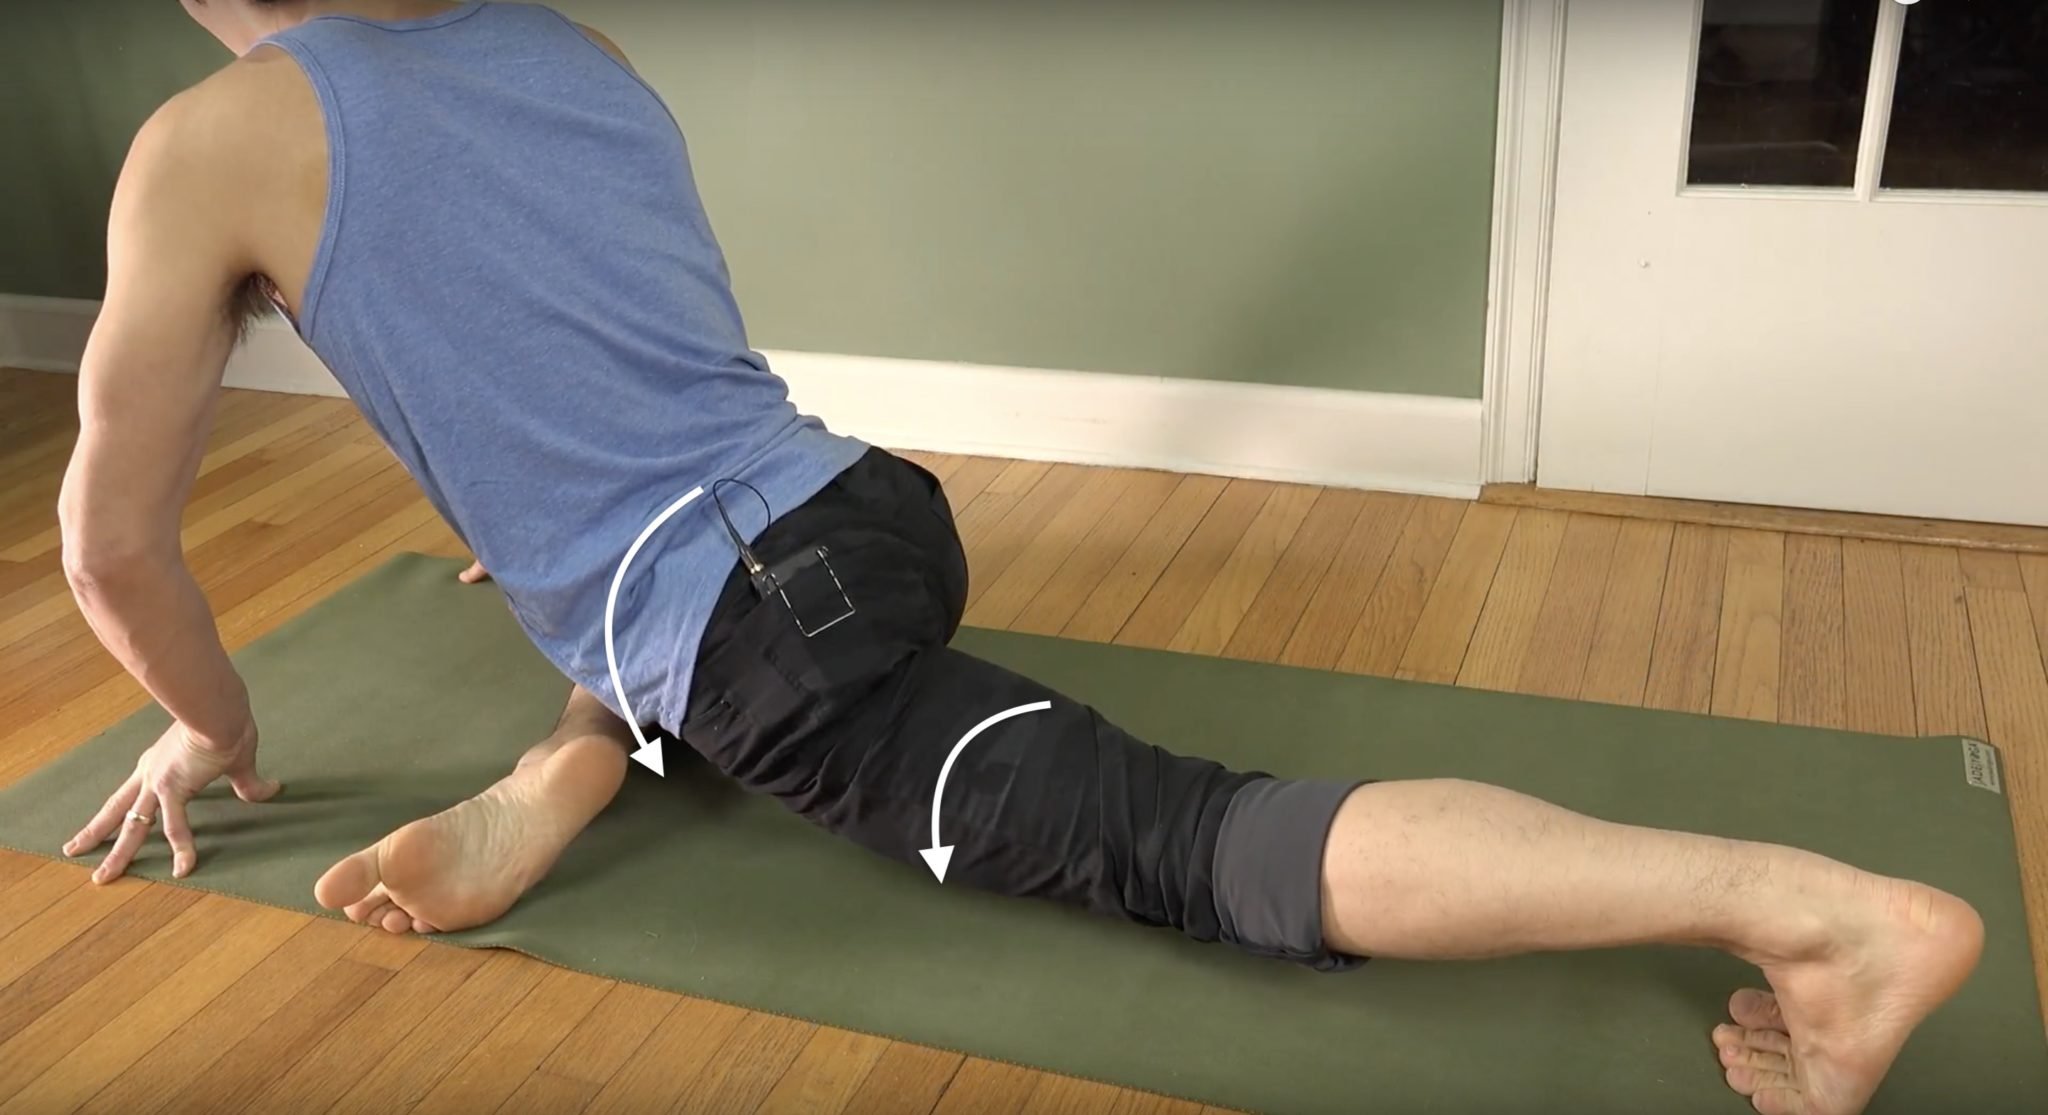
- Meanwhile, squeeze right hip in (the abductors of the right hip are activating to allow the pelvis to open up)
It’s the internal rotation that helps to activate the TFL. When your upper thigh bone is internally rotated, you can more easily lift through your heels. This is how to execute the co-activation that’s so important in creating more integrity and health in your hip joint. You’re now recruiting more muscle groups that surround the hip in order to create more stability. Increased hip stability (along with flexibility) establishes increased hip mobility.

ANATOMY IN MOTION
APRIL 2022 Immersion
- Embody anatomy
- Learn key muscles, bones, and joints
- Visualize your movements internally
- Improve proprioception
- Sensation-based practices
- Unlock and strengthen major muscle groups
- Active, passive, and isometric stretching
- Improve mobility and stability
- Get VERY geeky
$168.00
HIP MOBILITY
This Fire Hydrant Pose hip technique gives you an opportunity to flex your “hip mobility muscles.” Mobility is the ability to find better range in the joint with more control and strength, and these techniques provide just that. Better hip mobility means better function in your everyday life. In the context of your yoga practice, this means greater confidence on your mat during transitions and the execution of specific postures.
In Matt’s Hip Mobility immersion, you’ll come away with a better understanding of your hips and of what you need to focus on specifically in your yoga practice to take you to new heights.
See you on the mat!
The 200 Hr. Teacher Training: Click Here to See the Next Start Date
The 300 Hr. Advanced Teacher Training: Click Here to See the Next Start Date
Article by Trish Curling
Video Extracted From: Anatomy In Motion Immersion
CHOOSE YOUR PATH
NEXT TRAINING BEGINS FEBRUARY 2024 ENROLLMENT NOW OPEN!
NEXT TRAINING BEGINS FEBRUARY 2024 ENROLLMENT NOW OPEN!
Continue Learning
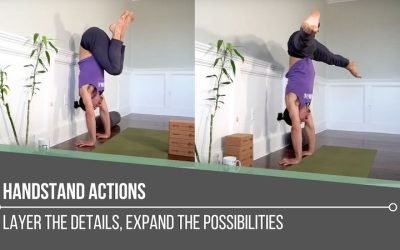
Handstand Actions
read more
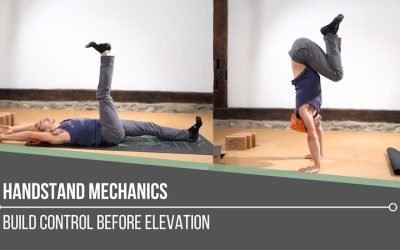
Handstand Mechanics
Handstand MechanicsINVERSIONHANDSTAND MECHANICS Stability, strength, and coordination come together in the pursuit of mastering handstand mechanics. One of the most critical foundations is internal rotation at the hip joints, which can aid with certain entries and...
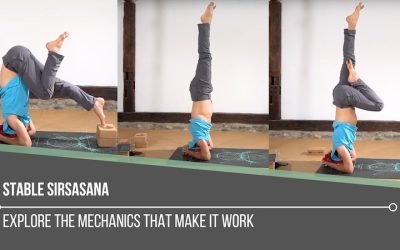
Stable Sirsasana
Stable SirsasanaHEADSTANDSTABLE SIRSASANA Creating a stable Sirsasana is less about the final pose and more about the mechanics that lead us there. From weight transfer and spinal alignment to hamstring flexibility and shoulder engagement, each layer matters. Unlike...
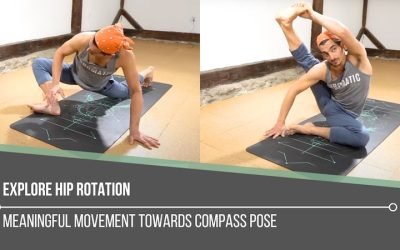
Explore Hip Rotation
Explore Hip RotationSURYA YANTRASANAEXPLORE HIP ROTATION Hip rotation isn’t just an anatomical concept—it’s an open invitation to become more intimate with our body’s story. In yoga, we often live in lateral (external) rotation, especially in hip-opening postures....
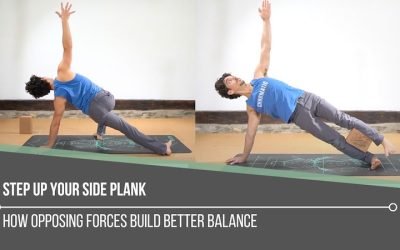
Step Up Your Side Plank
Step Up Your Side PlankVASISTHASANASTEP UP YOUR SIDE PLANK Side Plank might look simple, but true proficiency starts in the details. One of the keys to refining the posture is learning how opposing muscle groups create an isometric contraction—a subtle engagement that...
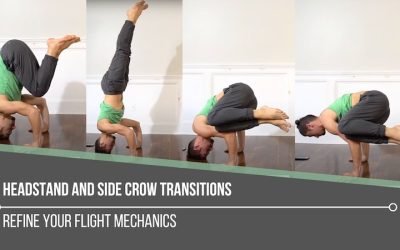
Headstand and Side Crow Transitions
Headstand and Side Crow TransitionsPARSVA BAKASANAHEADSTAND AND SIDE CROW TRANSITIONS Mastery begins with mechanics, especially when it comes to headstand and side crow transitions. Each posture on its own demands control, coordination, and a deep understanding of...
THE FREE TECHNIQUE PACK
When You Subscribe, You Will Get Instant Access to
- the Technique Pack: 15 yoga pose breakdowns
- exclusive online course discounts
- exclusive blogs and videos


![yoga backbend techniques: 12 classes [backbend technique to relieve back pain "bowing the spine']](https://www.theyogimatt.com/wp-content/uploads/2021/05/JULY-IMMERSION-14.jpg "JULY IMMERSION")

![yoga backbend techniques: 12 classes [backbend technique to relieve back pain "bowing the spine']](https://www.theyogimatt.com/wp-content/uploads/2020/09/200-hour-horizontal.jpg "200 hour horizontal")

![yoga backbend techniques: 12 classes [backbend technique to relieve back pain "bowing the spine']](https://www.theyogimatt.com/wp-content/uploads/2021/10/Archna-Mohan-chromatic-5.jpg "Archna Mohan chromatic")