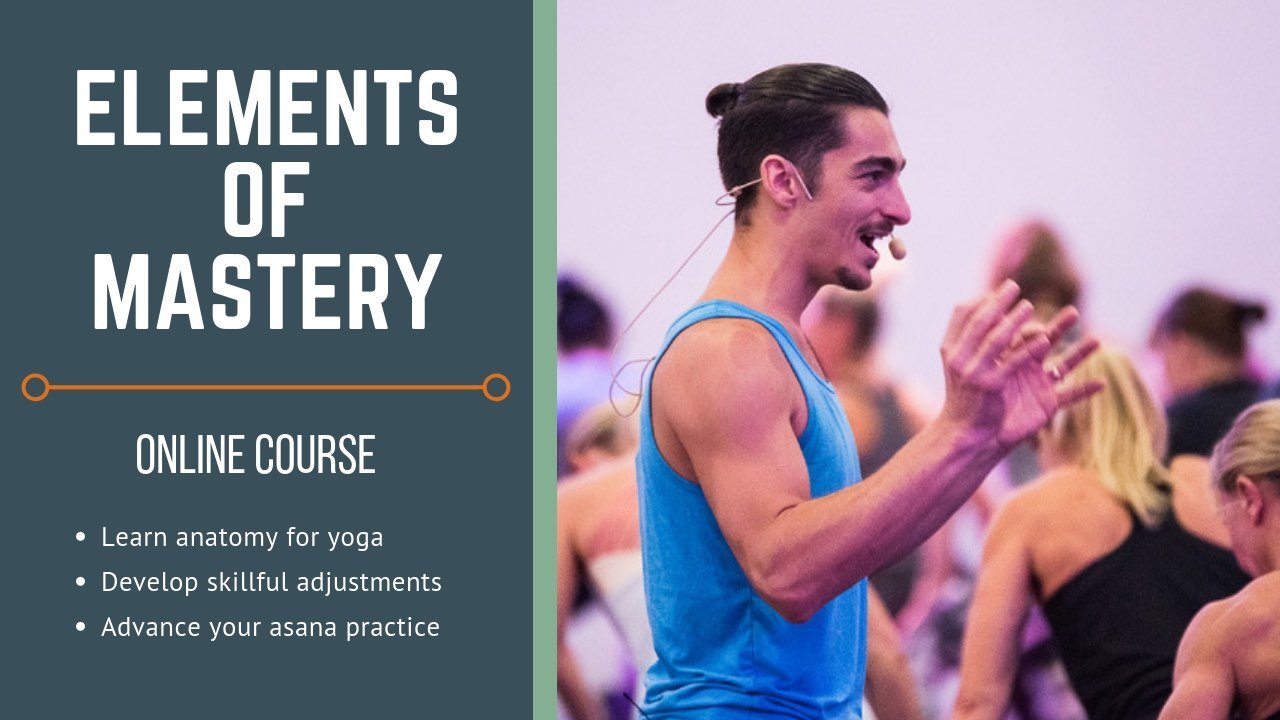
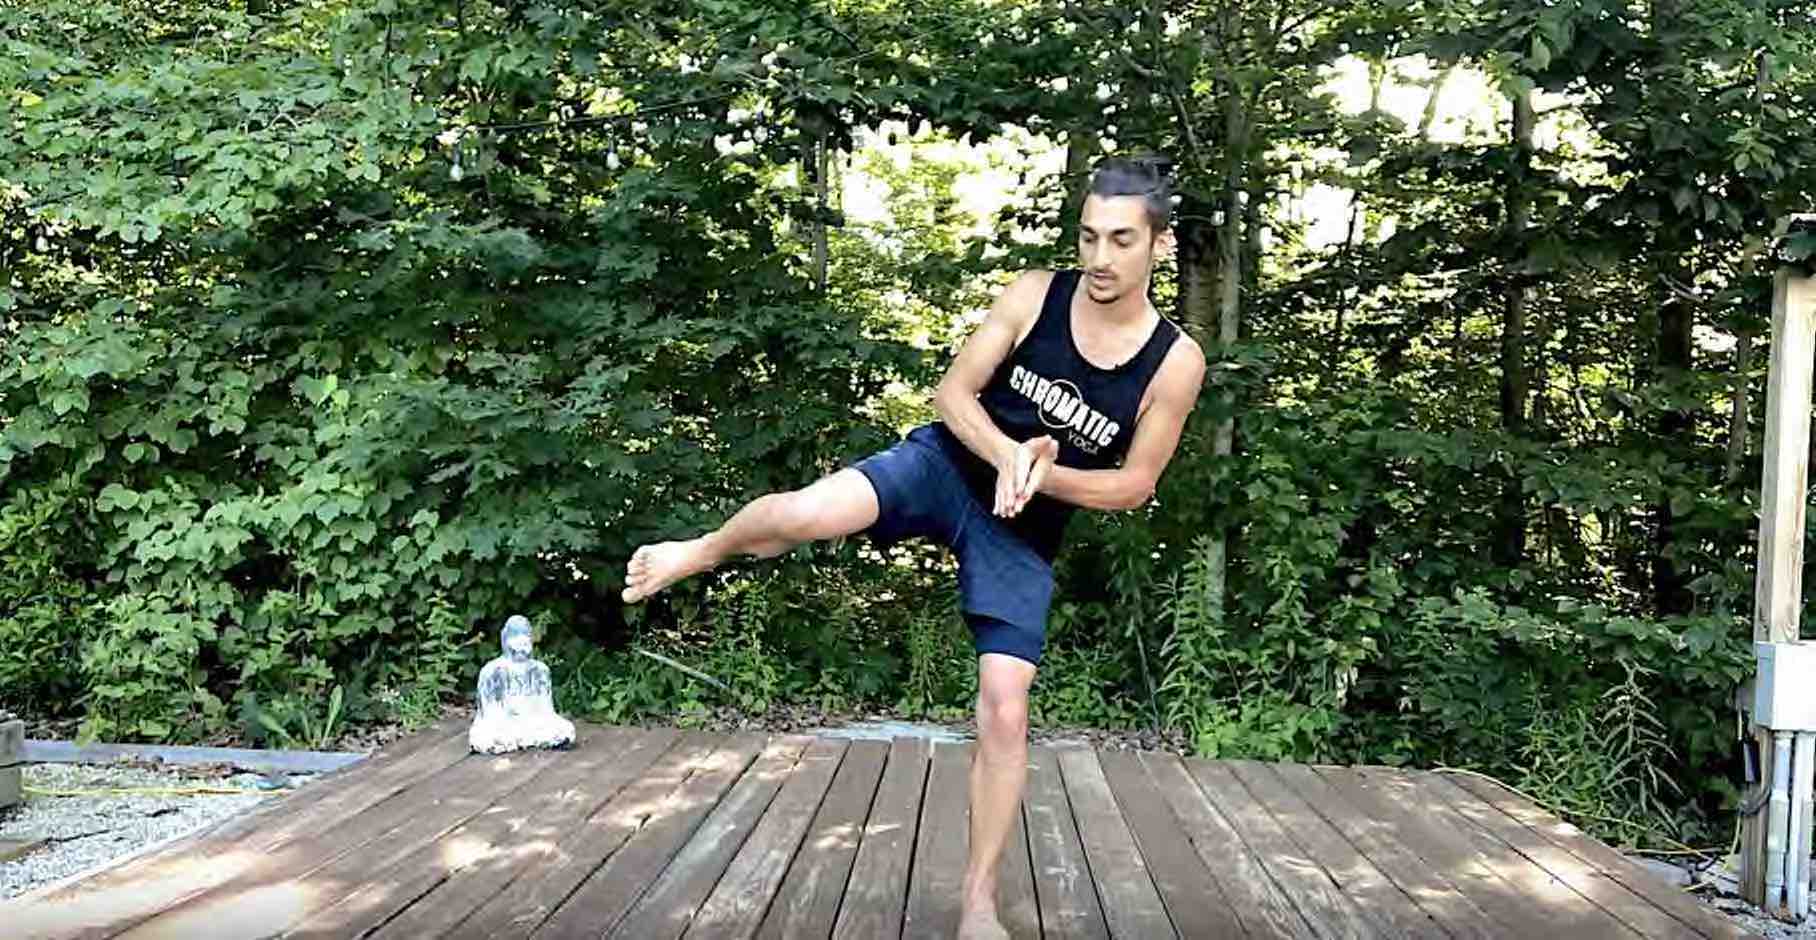
Yoga Teacher Training More Than You Bargained For200 & 300 Hr. DECIDING ON THE BEST YOGA TEACHER TRAINING Deciding to invest in a yoga teacher training feels like a no-brainer for some; for others, it may be a more challenging decision for a variety of different...
Samadhi
SAMADHI
Dissolving into the state of oneness.
Samadhi
Samadhi
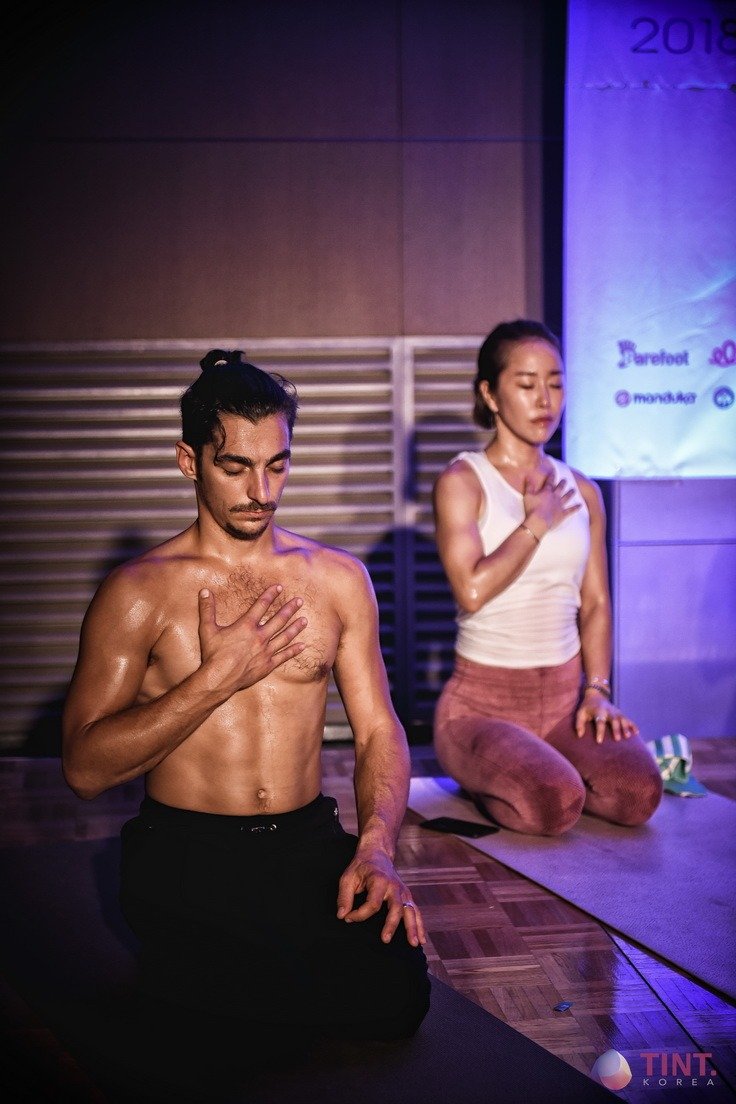
Samadhi is the experience we have when the mind realizes the totality of itself – that it is one part of an infinitely grander whole. Using an analogy from one of my teachers, Alan Finger – Consiousness is like the ocean. When the ocean swells and crashes upon the shore, drops of water fly up in the air. These drops are still the ocean separated by time and space. We are those drops in relationship to the bigger more expansive ocean of consciousness. For brief moments in time, we arise and take shape in the form of this body, collecting unique experiences in our mind and forming beliefs and identities. In meditation, the mind has the opportunity to realize this and come back to the awareness of all that is. In those moments when the mind returns to the understanding that it is simply a drop that is a part of the ocean, there is a feeling of indescribable goodness that overwhelms our being. Yogis call this Samadhi.
How Do We Reach Samadhi?
Samadhi is the result of your Sadhana (yogic practices). For the past month, I have been offering you teachings out of the yoga sutras, weaving them through the live classes, and sharing them here on this blog. We’ve discussed “Abhyasa and Vairagya” and “Burning Samskara” amongst many others. Why are these practices necessary to experiencing Samadhi? Samadhi is the state of being when the intellect or budhi lets go of duality and releases into the realization that it is one with all things. The intellect is incredible it allows us to understand life on the physical plane, dividing, defining, and systematically looking for like and unlike in everything. The Intellect’s ability to separate is incredible. We have spent our entire lives training the intellect and therefore have become really good at separation. Unity or Oneness requires that the intellect surrenders to the reality that it is one of many tools. This requires that our identity or ego surrenders to the fullness of reality that we are unique individuals, part of the magnificent power of nature, not separate, but a thread woven into the fabric of something much grander. The Ego gets scared of the idea that it is not most important, so you have to remind it that this means it is not less than, it is actually far more than it thinks, it is a manifestation of the vast ocean of Awareness.
Maybe you want to experience the state of oneness with the universe and are ready to jump in but where to start? The Yoga Sutras are a guide map to this, but if you are going to practice one thing only, it should be Self Reflection, Swadyaya. You can practice Self Reflection in your asana (physical practice) by observing the sensations of your body before, during, and after each posture. You can do this through Pranayama, observation of the vital energy that pulses through your system. There are endless practices of Self Awareness. Start with the live classes from the Month of March and join me for the asana and meditation practices throughout the month of April. I am committed to sharing dharma talks to inspire self-awareness in order to support the dissolution of the intellect and merging into the state of oneness. We will be doing this together with the support of the global community to give us power and strength.
OneNess
In a time when everyone is feeling separateness, moving inward to the state of oneness is more important than ever. Underneath the layers of intellect and ego that disconnects us from the whole exists One undivided consciousness that permeates all things. It is always there, omnipresent, and it pervades all aspects of our being. The only thing standing in our way of experiencing it is the need to hold up the illusion that we have created of truth – the need to know in order to feel safe. Instead find comfort in the unknown, vast potential that is at the core of your being. Thanks for tapping in with me. Enjoy your practice!
Recommended For You

boundless freedom
- 12 YOGA CLASSES
- SHOULDER BIOMECHANICS
- TANTRIK YOGA TEACHINGS
- 4 POST CLASS MEDITATIONS
- 12 PEAK POSTURES
- SALE Price:$98

BIRDS OF PARADISE
- 12 YOGA CLASSES
- 4 GUIDED MEDITATIONS
- LIVETIME ACCCESS TO ALL
- 12 PEAK POSTURES
- 12 YOGA SUTRA THEMES
- SALE Price:$98

BEST STARTER PACKAGE
- 6 YOGA CLASSES
- 2 GUIDED MEDITATIONS
- LIVETIME ACCCESS TO ALL
- 6 PEAK POSTURES
- 6 YOGA SUTRA THEMES
- SALE Price:$78

JOURNEY TO BLISS
- 12 YOGA CLASSES
- 4 GUIDED MEDITATIONS
- LIVETIME ACCCESS TO ALL
- 12 PEAK POSTURES
- 12 YOGA SUTRA THEMES
- SALE Price:$98

KING PIGEON & HANUMAN
- 12 YOGA CLASSES
- 4 GUIDED MEDITATIONS
- LIVETIME ACCCESS TO ALL
- 12 PEAK POSTURES
- 12 YOGA SUTRA THEMES
- SALE Price:$98

JOURNEY TO THE HEART
- 12 YOGA CLASSES
- 4 GUIDED MEDITATIONS
- LIVETIME ACCCESS TO ALL
- 12 PEAK POSTURES
- 12 YOGA SUTRA THEMES
- SALE Price:$128

BACK, NECK & SHOULDERS
- 12 YOGA CLASSES
- 4 GUIDED MEDITATIONS
- LIVETIME ACCCESS TO ALL
- 12 PEAK POSTURES
- 12 YOGA SUTRA THEMES
- SALE Price:$128
LIVESTREAM PACKAGES
March Class Pass
Live + Lifetime Access
$78
- Lifetime Unlimited - All Access Pass
- 8 Live Streams: 6 Yoga Classes, 2 Meditations
- 14+ Hours of Yoga
- 1 easy location for All Classes
- Save $50 when you buy now!
April Class Pass
Live + Lifetime Access
$98/1 time payment
- 12 All Levels Live Asana Classes
- 4 Live Guided Meditations
- Lifetime Unlimited Access to All
- 1 Time Payment of $98 ($6 Per Class!)
- 1 Exclusive Page for Live and Archived Classes
- Calendar of ALL Live Classes for the month.
- Save $42 Now!
Continue Learning
Yoga Teacher Training
read more
Compass Pose
Compass Pose Variations to Challenge Balance and Flexibilitybalance & flexibilityCOMPASS POSE VARIATIONS Compass Pose, especially the variations Matt offers today, will challenge you, and not necessarily in the ways you might think. Most obviously, it will...
Supine Standing Splits
Supine Standing Splits Boost Your Hamstring Flexibilitystrength & flexibilitySUPINE STANDING SPLITS Tight hamstrings are a common complaint, right? They may be showing up by way of limitations in various yoga postures and/or in restrictions in the way you move in...
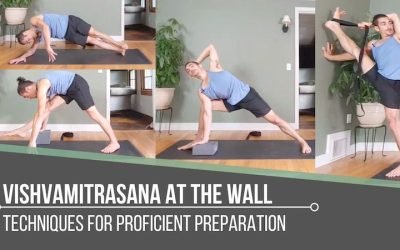
Vishvamitrasana At The Wall
Vishvamitrasana at the Wall Techniques for Proficient Preparationsage visvamitraVISHVAMITRASANA AT THE WALL There are many stops along the way to a peak posture, but without being empowered by effective steps and techniques to implement, you are left with untapped...
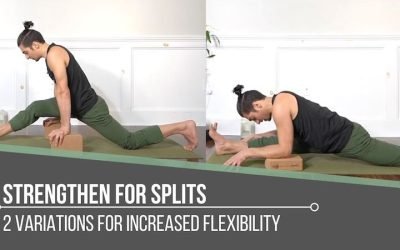
Strengthen For Splits
Strengthen for Splits Variations for Increased FlexiblityhanumanasanaSTRENGTHEN FOR SPLITS If the Splits (Hanumanasana) had a personality, it might be one of the most vocal in the room. Aesthetically, it’s quite bold. The shape of the posture makes it evident that it...
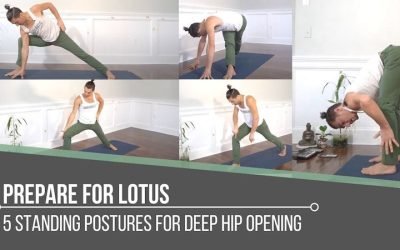
Prepare For Lotus
Prepare for Lotus Standing Postures for Deep Hip OpeningflexibilityPREPARE FOR LOTUS There are multiple ways to prepare for Lotus Pose. The 5 standing postures and the techniques that are highlighted today are from a portion of a sequence Matt shares in the first...
THE FREE TECHNIQUE PACK
When You Subscribe, You Will Get Instant Access to
- the Technique Pack: 15 yoga pose breakdowns
- exclusive online course discounts
- exclusive blogs and videos