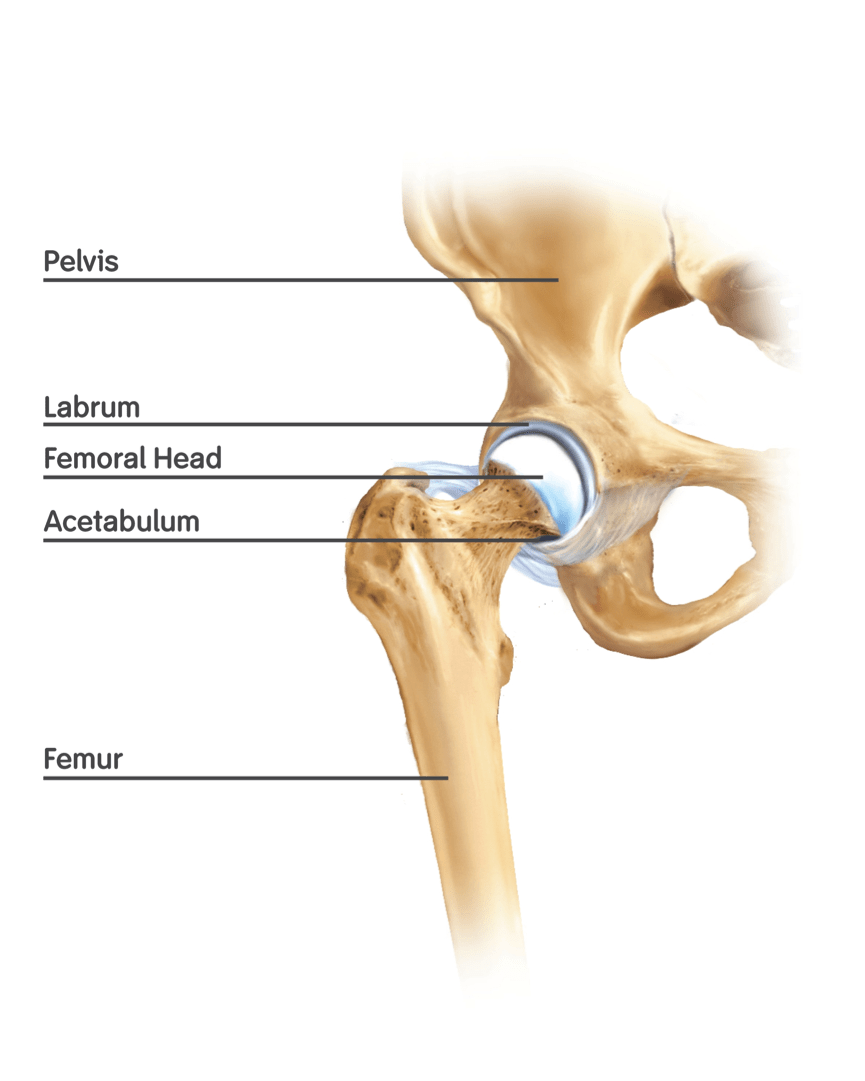
The SI JointalignmentTHE SI JOINT What is the SI Joint? To understand what it is, we must discuss all that surrounds it. First, the Sacrum is a triangular-like shaped bone that sits between the two sides of the pelvis (the left Ilium and right Ilium). Now each Ilium...
release low back pain in backbends
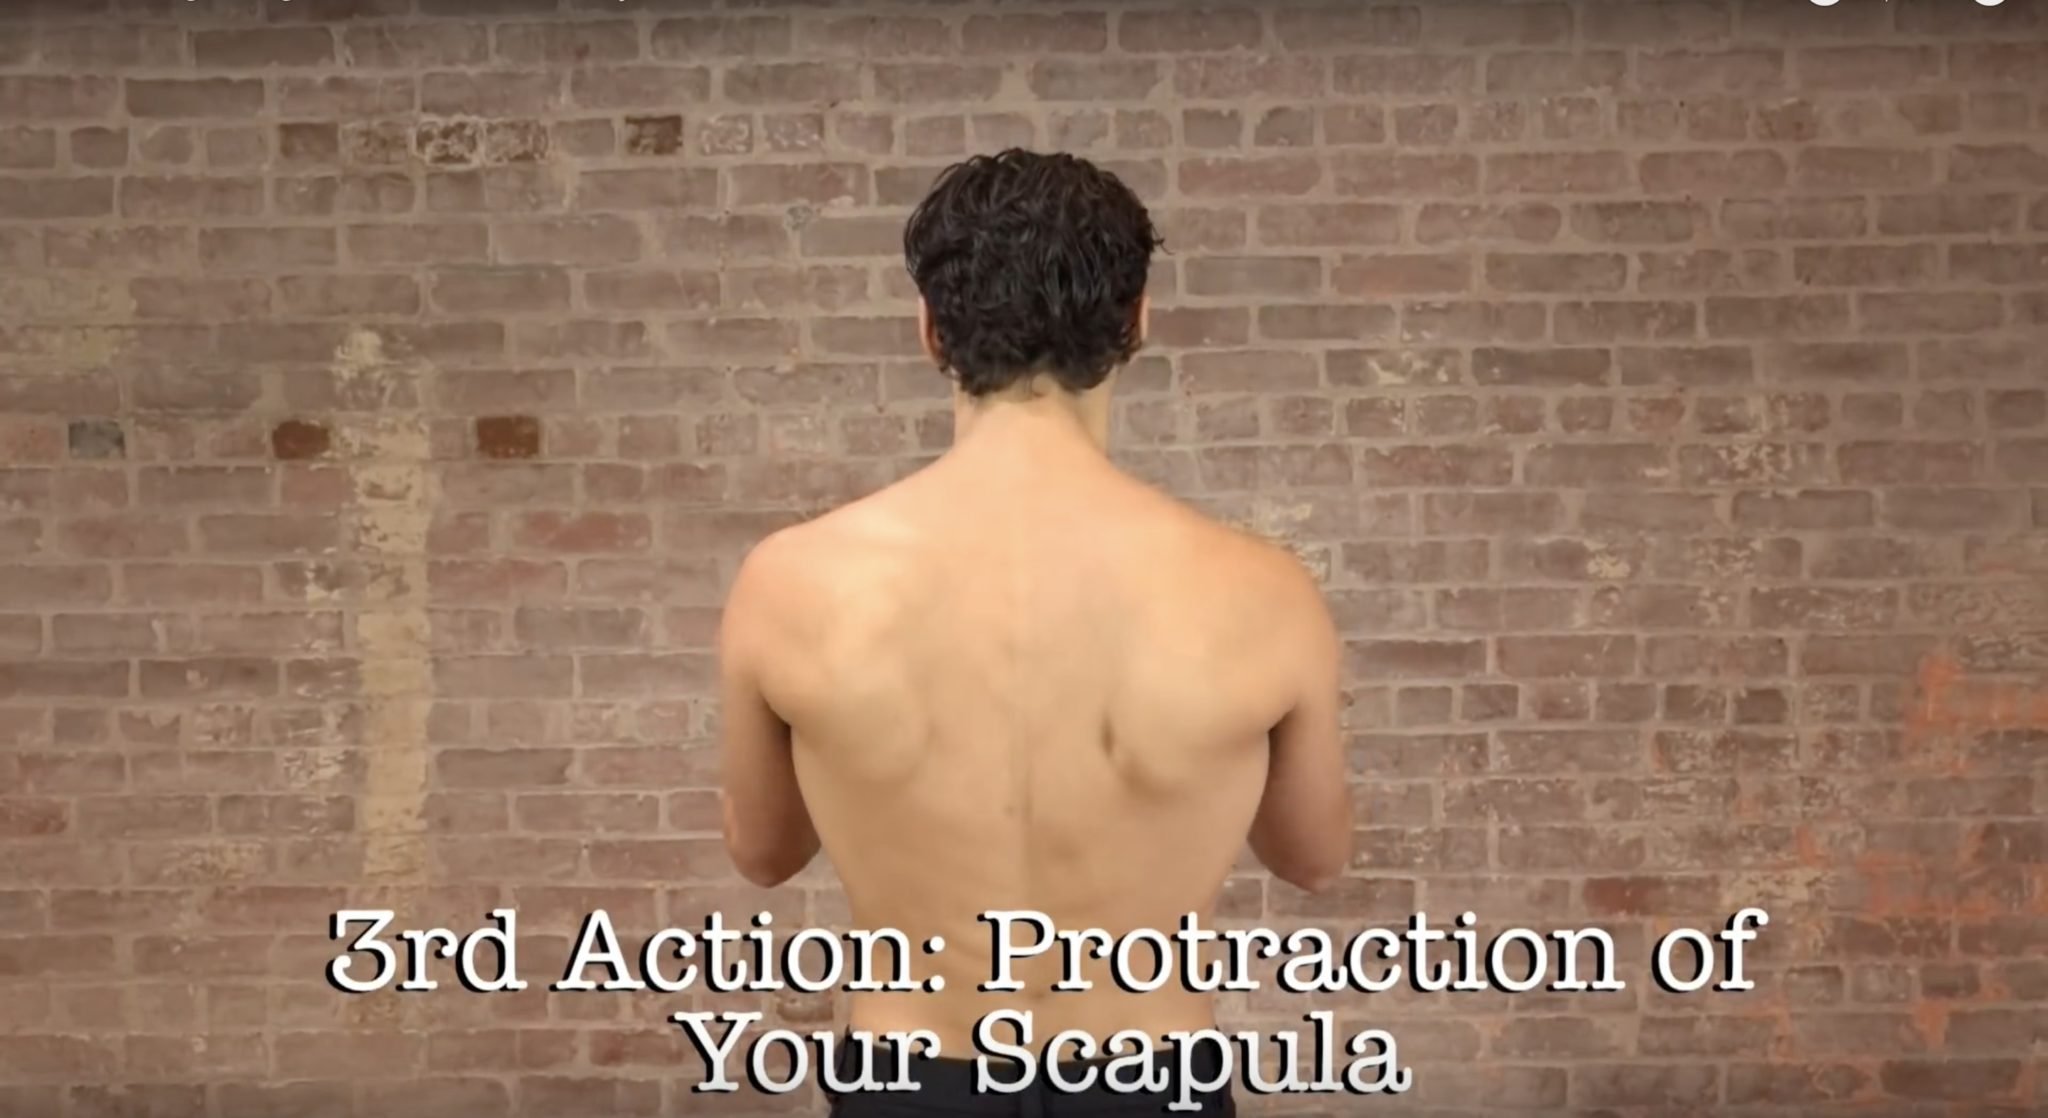
YOGA ALIGNMENT: COBRA POSE
RELEASE LOW BACK PAIN IN BACKBENDS
COBRA POSE
YOGA ALIGNMENT: COBRA POSE
HOW TO RELEASE LOW BACK PAIN IN BACKBENDS
If you feel back pain in backbends, you are not alone.
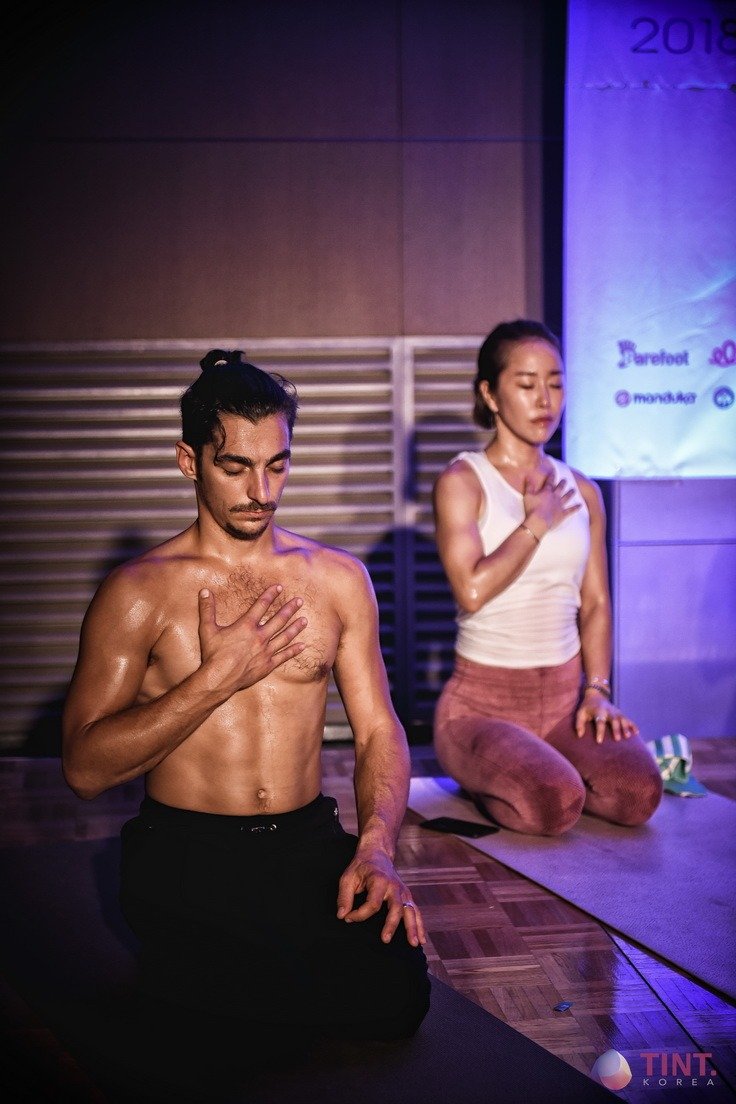
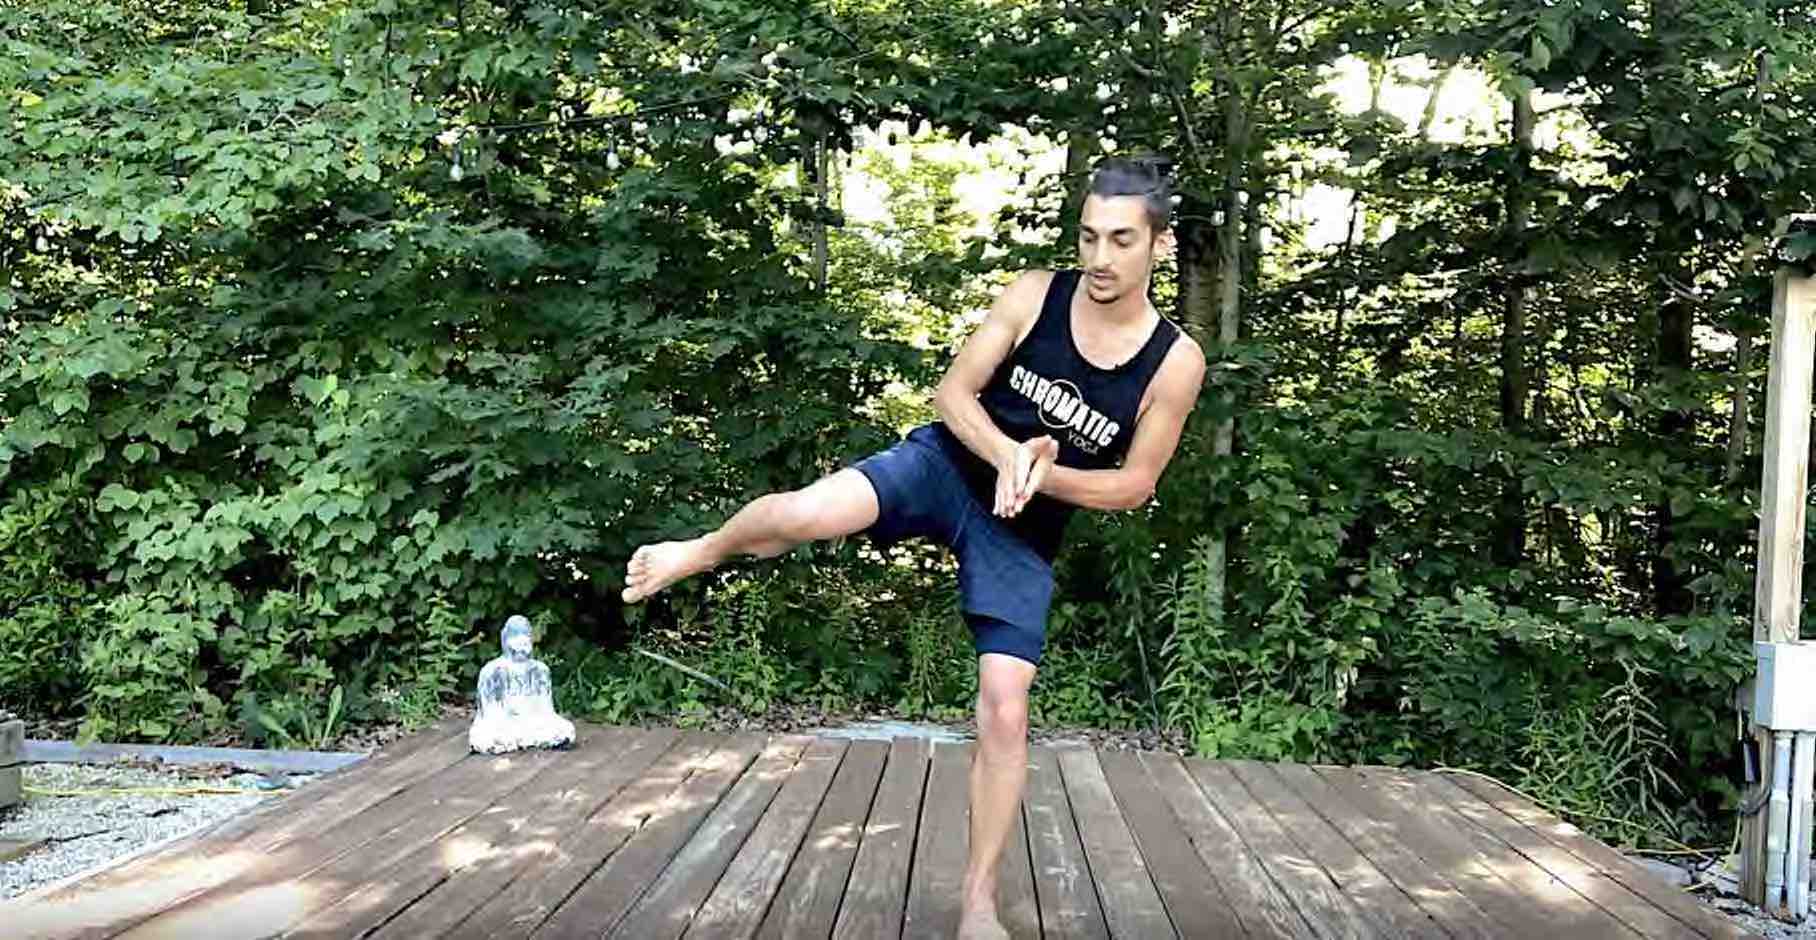
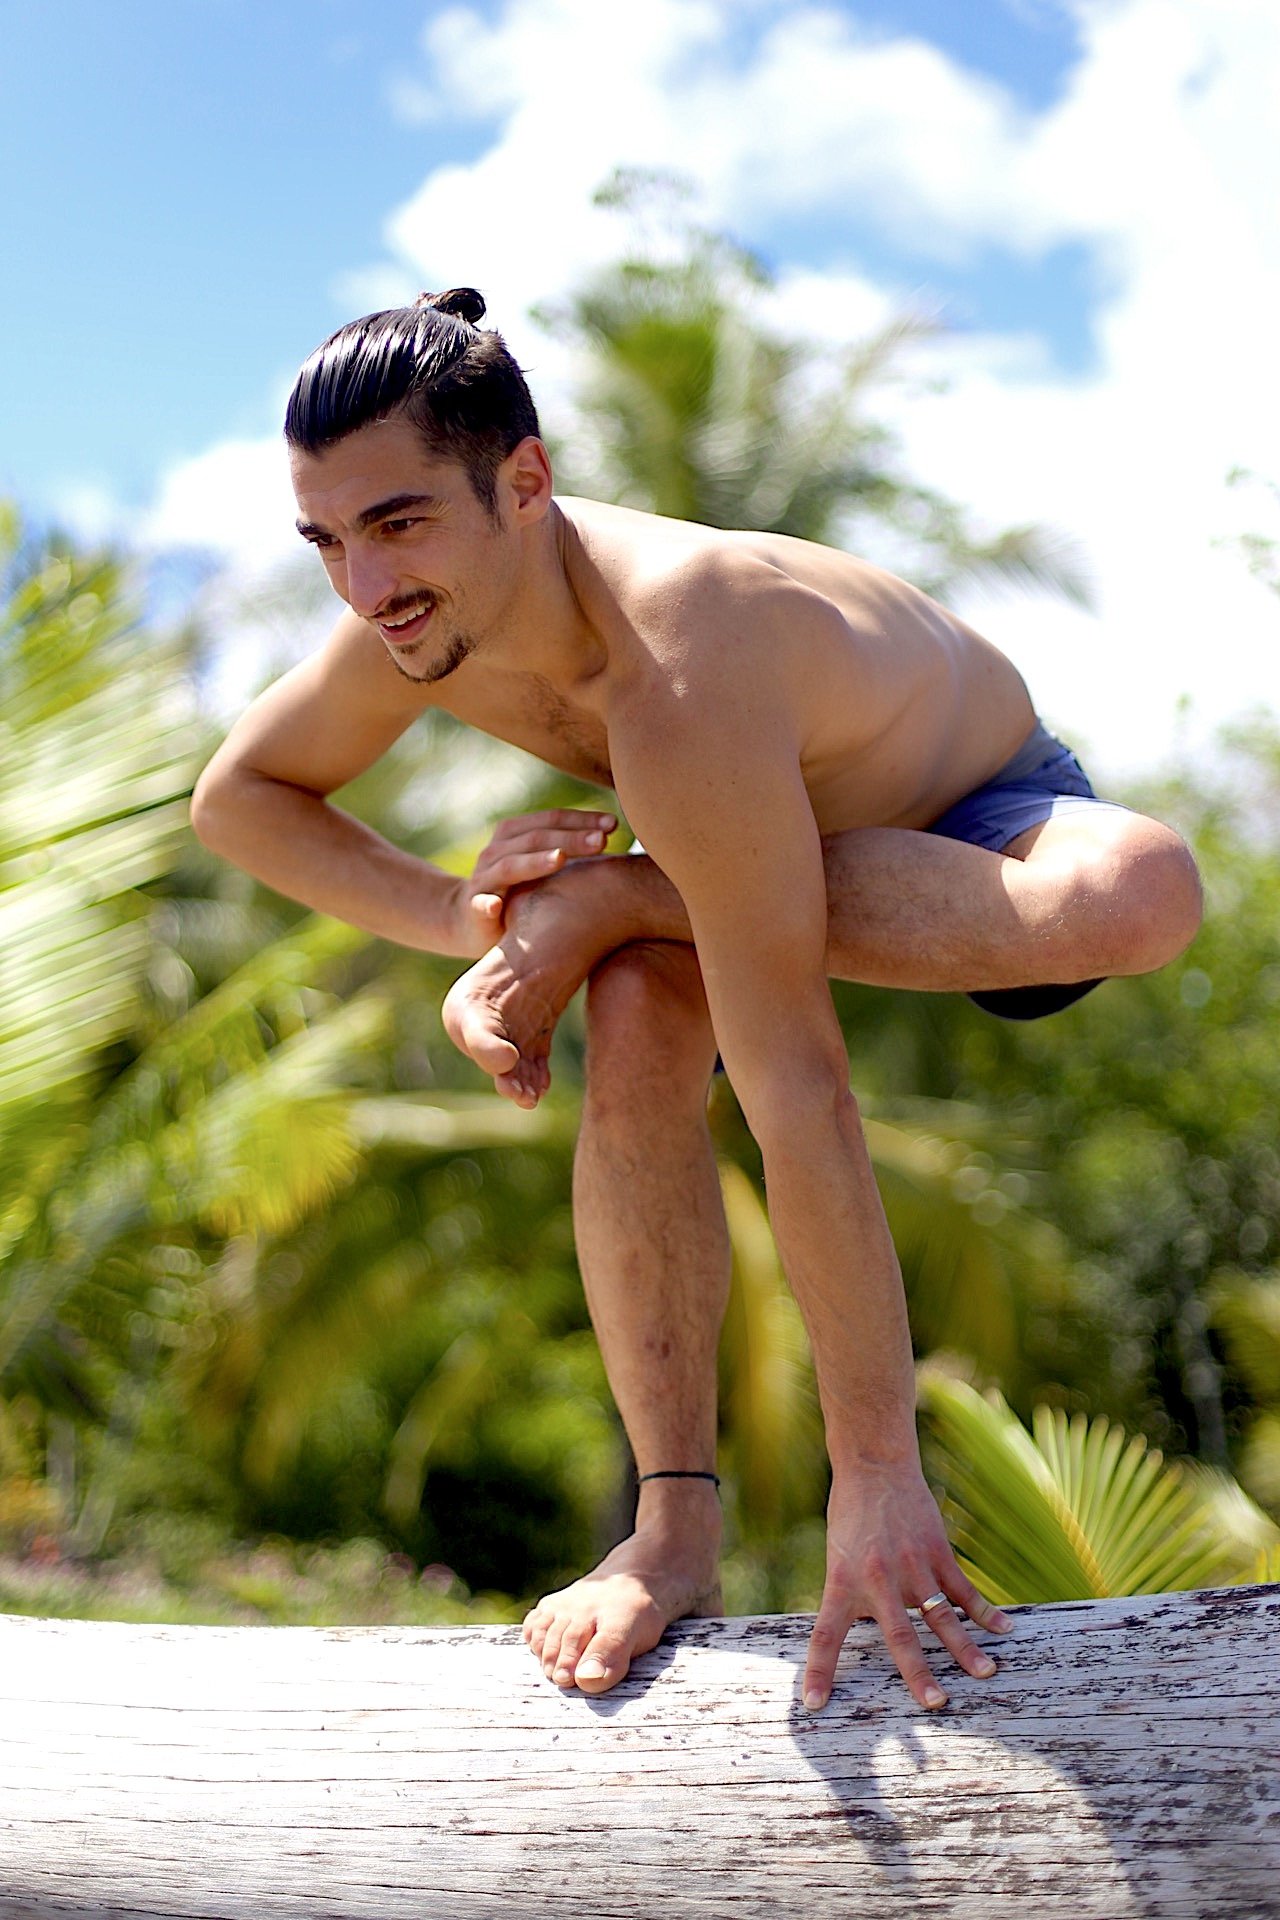
Many people experience low back pain in backbends. If you’re experiencing this or just feeling stuck in your yoga poses (or you’re a yoga teacher), then you have come to the right place. When done properly, backbends feel like a lengthening of the spine rather than stiff and compressive. With the right actions, backbends also strengthen each segment of the back, which weakens after hours of sitting — something most of us do each day.
Cobra (Bhujangasana) is one of the most overlooked backbend poses because it’s not as sexy or challenging as other backbends, but it shouldn’t be. For most people, it’s one of the most effective and accessible postures to increase spinal mobility. While most teachers focus on Upward-Facing Dog, I practice and teach Cobra because it’s hands-down the best prep for backbends.
BENEFITS OF COBRA POSE
Cobra Pose is my top suggested pose to release low back pain in backbends.
Here’s why I think we should give this pose its due props. First, Cobra is done from the mat, so it’s more stable and doesn’t require balance. Why is that important? When balance is involved, the midsection will unconsciously hold tension, much of which happens in the abdominals. So? Too much abdominal engagement decreases spinal extension (backbending), likely causing compression instead of an expansion.
When the body is stable, it relaxes, and this is one of the keys to backbends. You cannot approach a backbend from a place of fear, aggression, frustration, motivation, or any emotional state associated with an overly active sympathetic nervous system (fight or flight). In other words, when it comes to these postures, force does not work the way it would when approaching something like an arm balance or heavy weight-lifting.
I’m not preaching that there is no effort in Cobra, but rather that backbends require softness, surrender, and extremely accurate and well-placed effort. This is best learned in a stable environment, and Cobra Pose is where I suggest you train.
Second, students can take the pose to the level that is right for their bodies, and with consistent practice, progress becomes apparent fairly quickly. With the alignment I share in Cobra Pose, your elbows are bent, and rather than pushing your way into a backbend, you pull yourself up. This makes it harder to mistakenly compress the spine as in a posture like Upward Dog.
Today I want to share with you exactly how to release low back pain in backbends, through what I call the “3-part Cobra.” This approach to Cobra can truly help both teachers and students access a more complete range of motion while building strength, length, and flexibility through the core region of their bodies. Let’s go over this 3-part Cobra that I teach in all of my online immersions and online teacher trainings

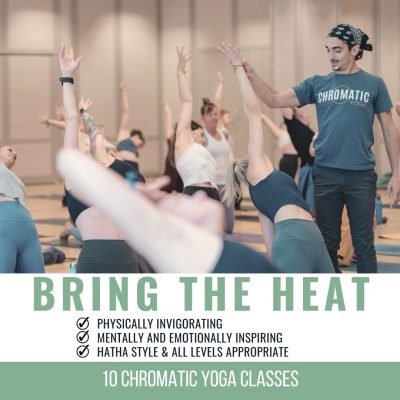
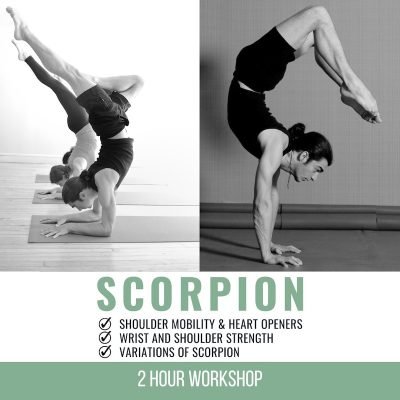
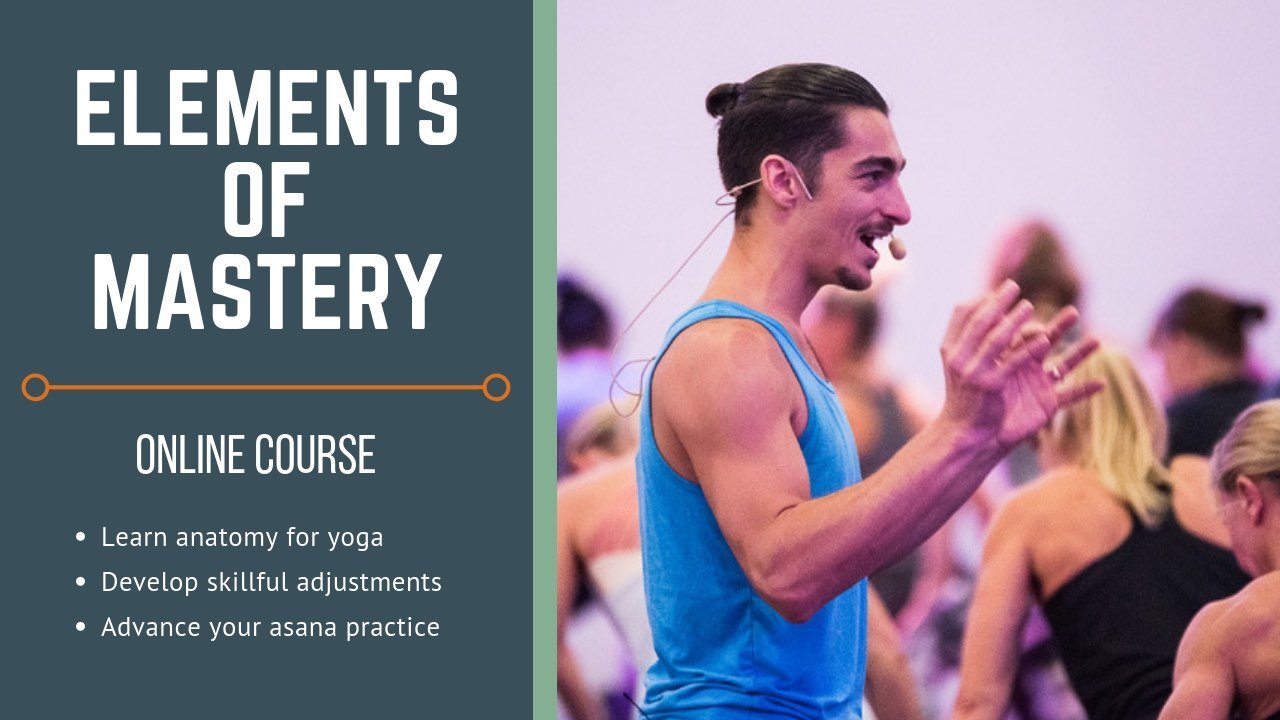
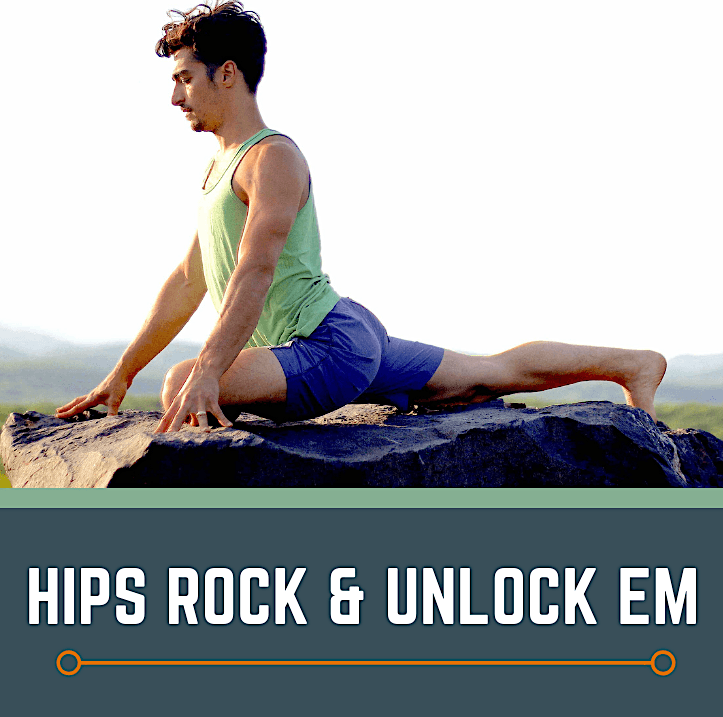
HEART OPENERS
The Heart Openers Immersion provides you with the necessary techniques to develop your body awareness for pain-free yoga backbends. Learn techniques to decompress the spine like "bowing the spine". Learn the anatomy of each posture while you practice. Some of the postures you will develop are
- Cobra Pose, Bow Pose, Camel Pose
- Wild Thing, Dancer Pose, Chapasana
- Full Wheel and its variations
- King Cobra, King Pigeon, King Dancer
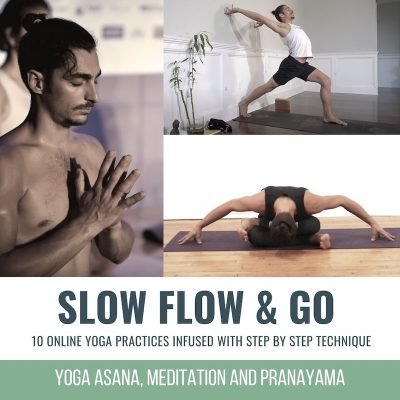
ALL Levels Appropriate, Lifetime Access to All Classes, Unlimited Views
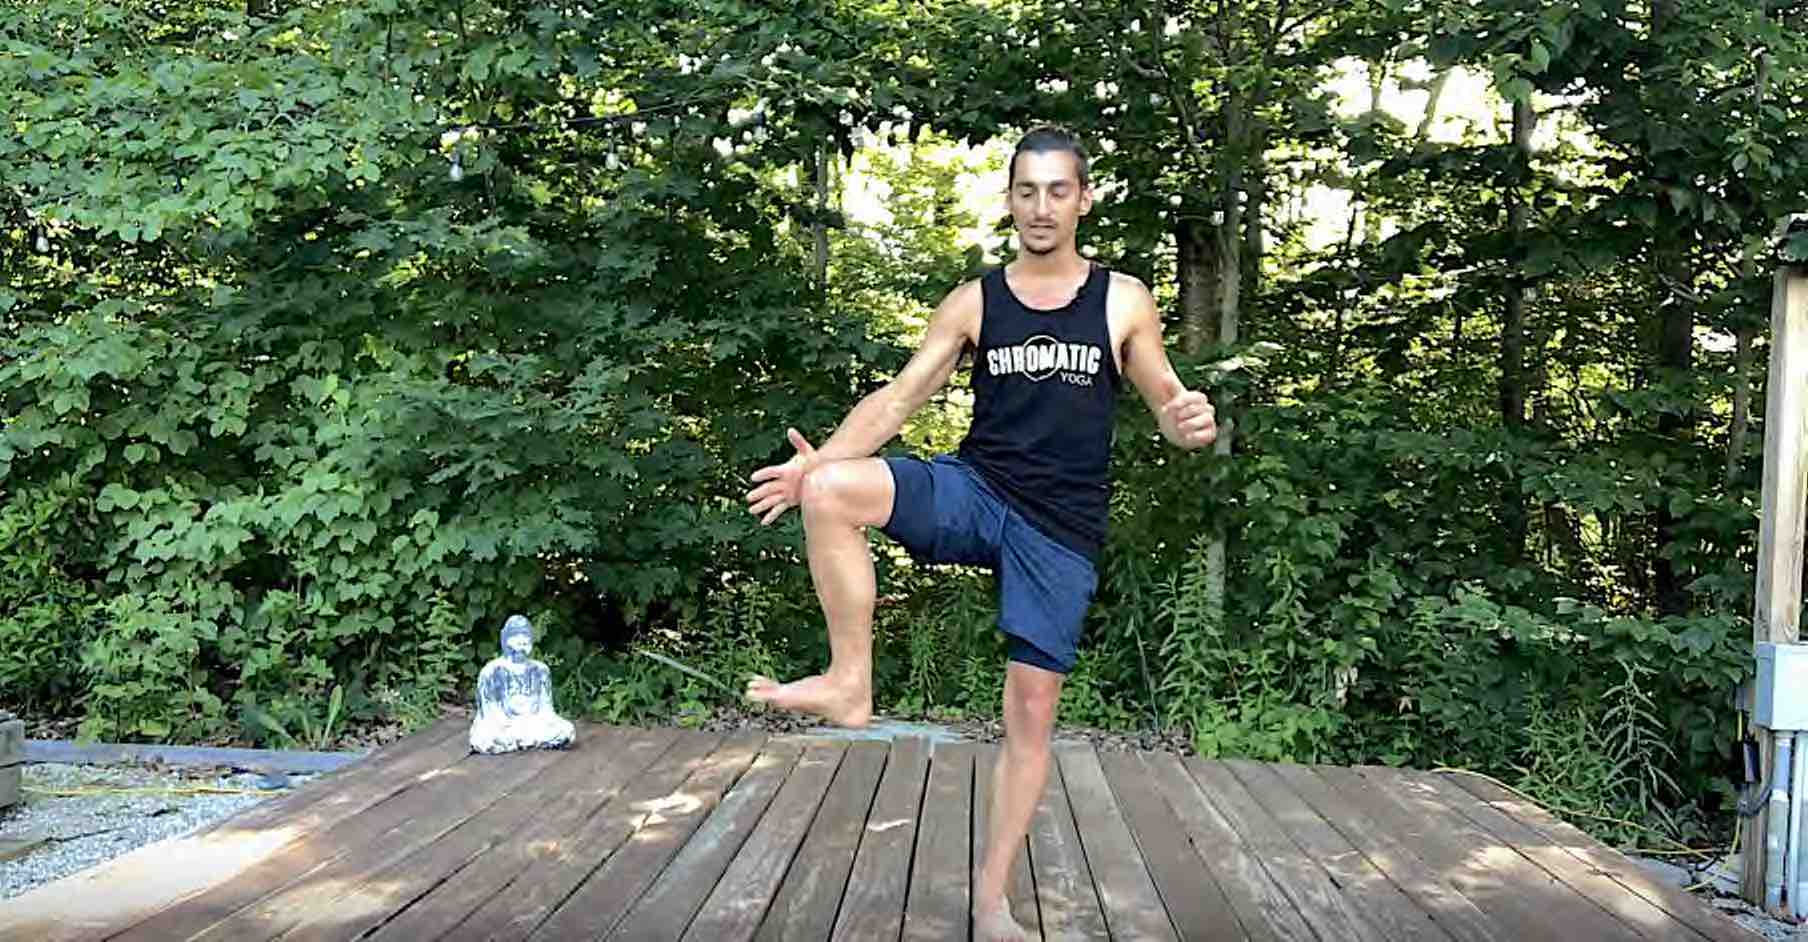
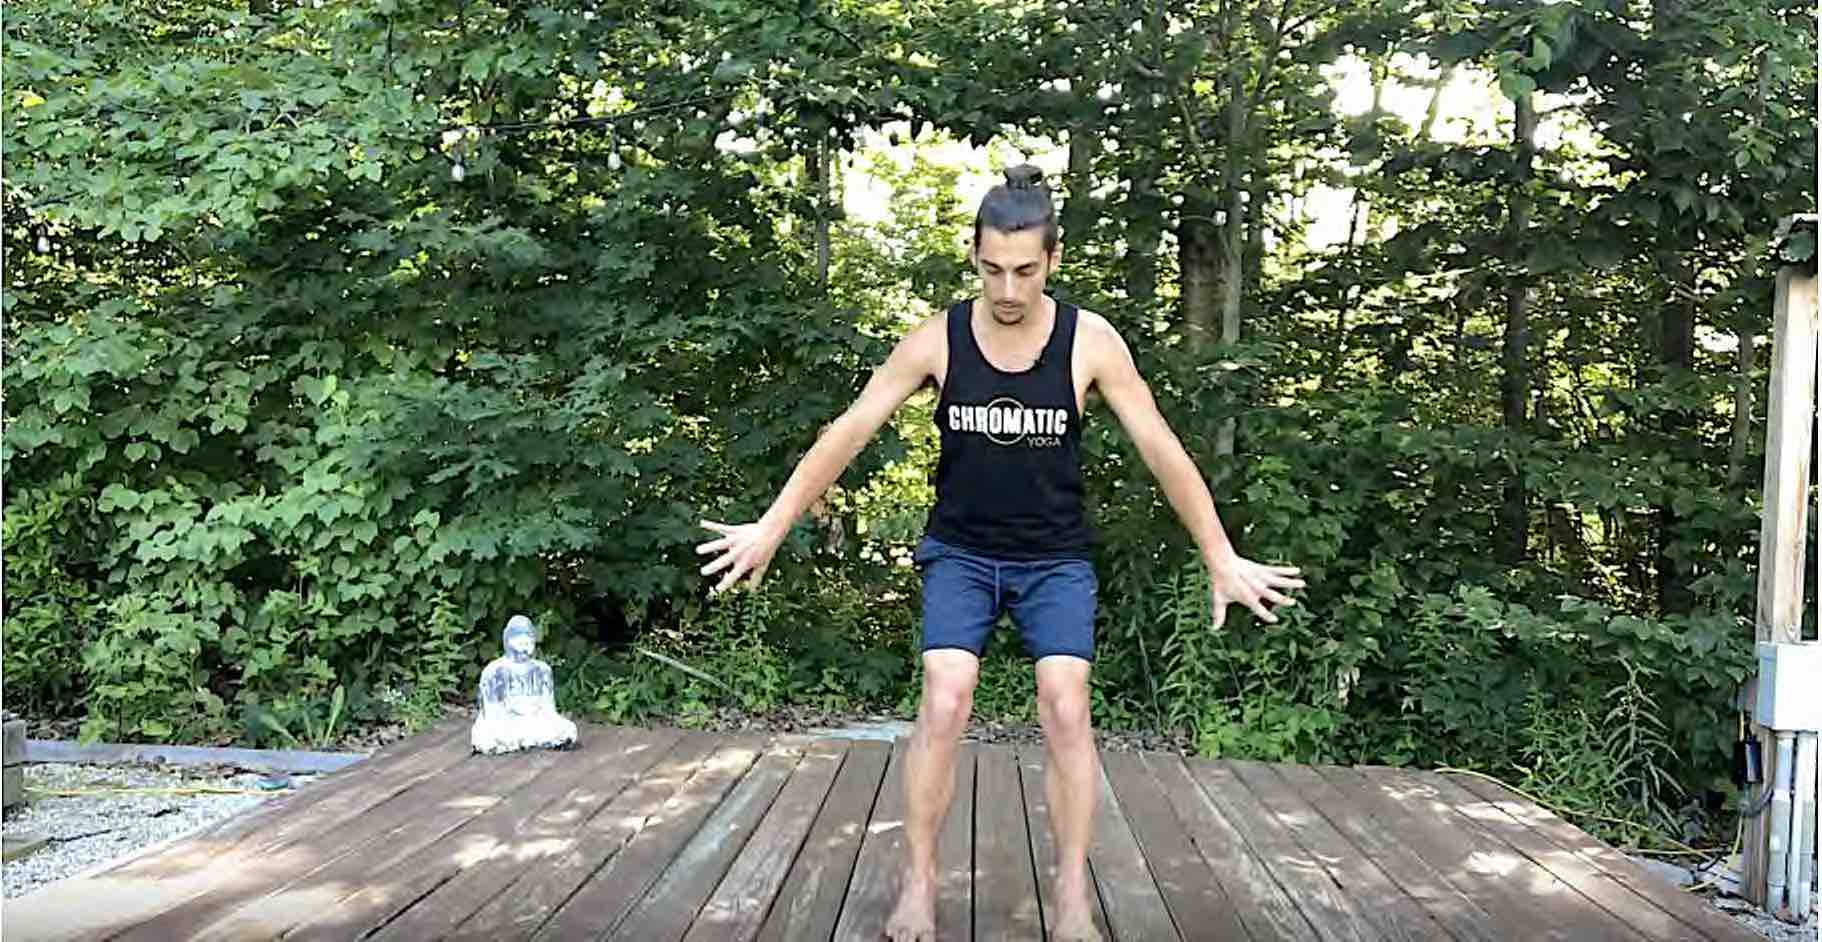
Release Low Back Pain in Backbends with The 3-Part Cobra
The footage in this video snippet is taken from the March 2021 Immersion titled MOVE•BREATHE•RELEASE
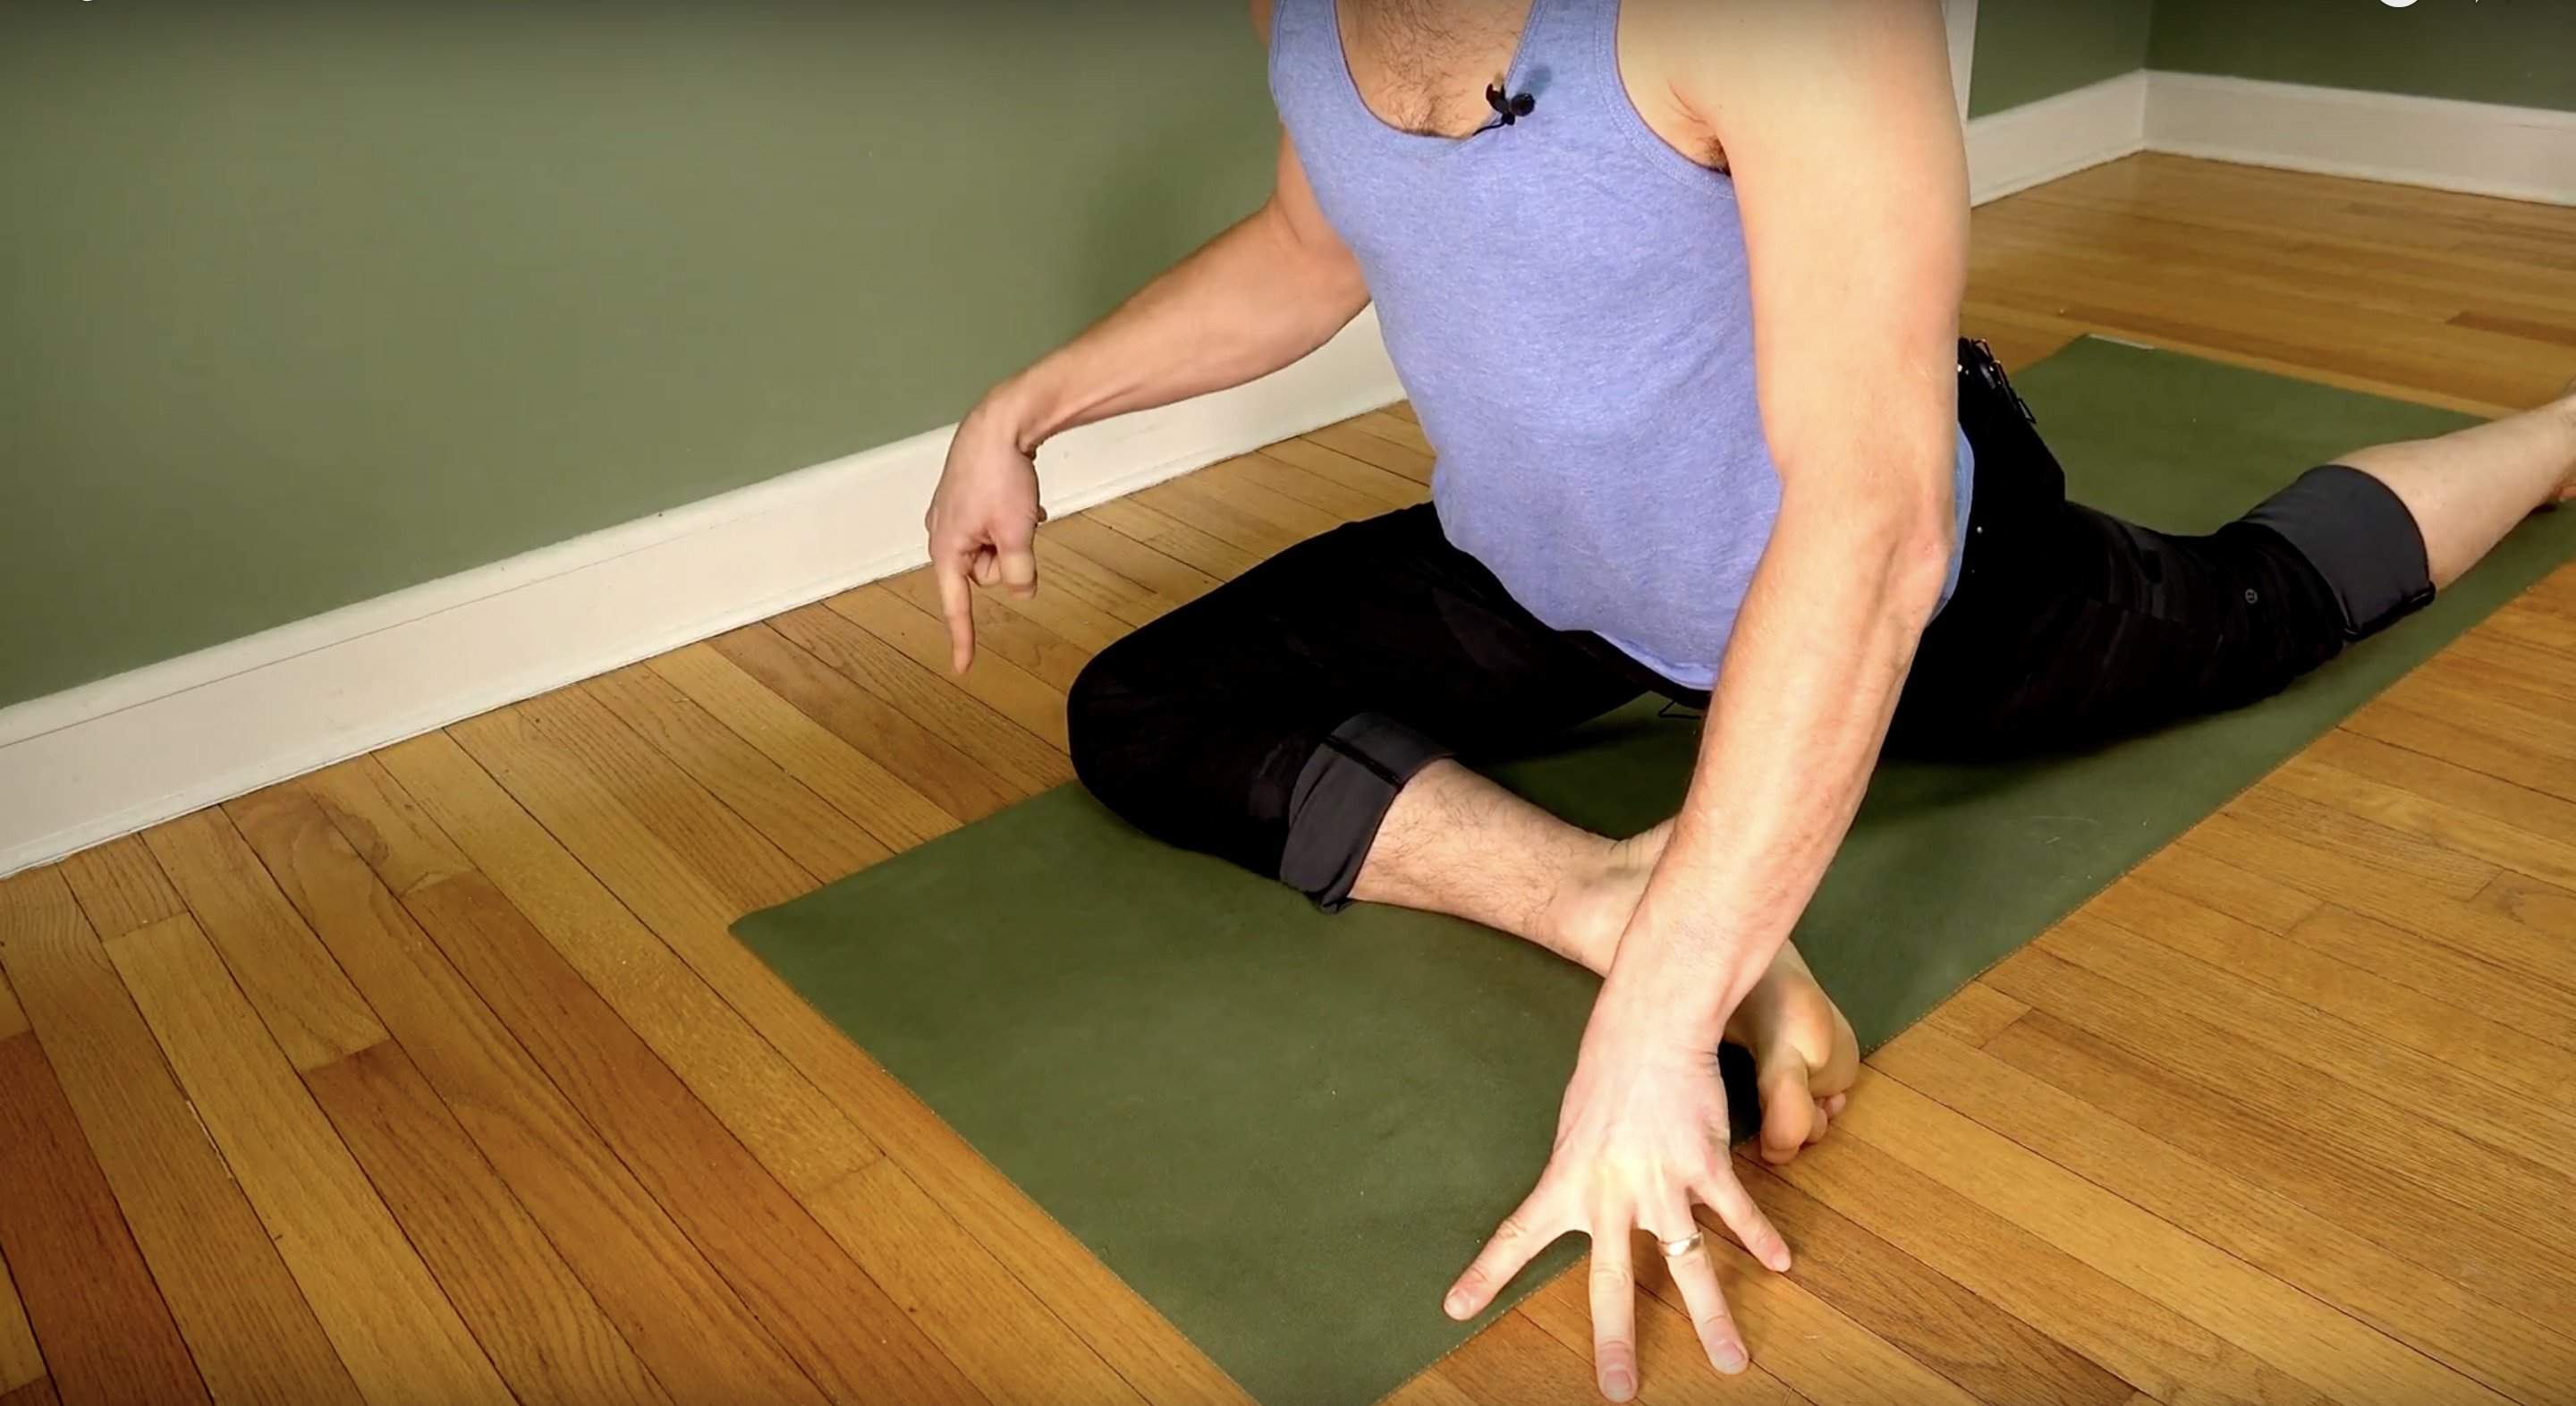
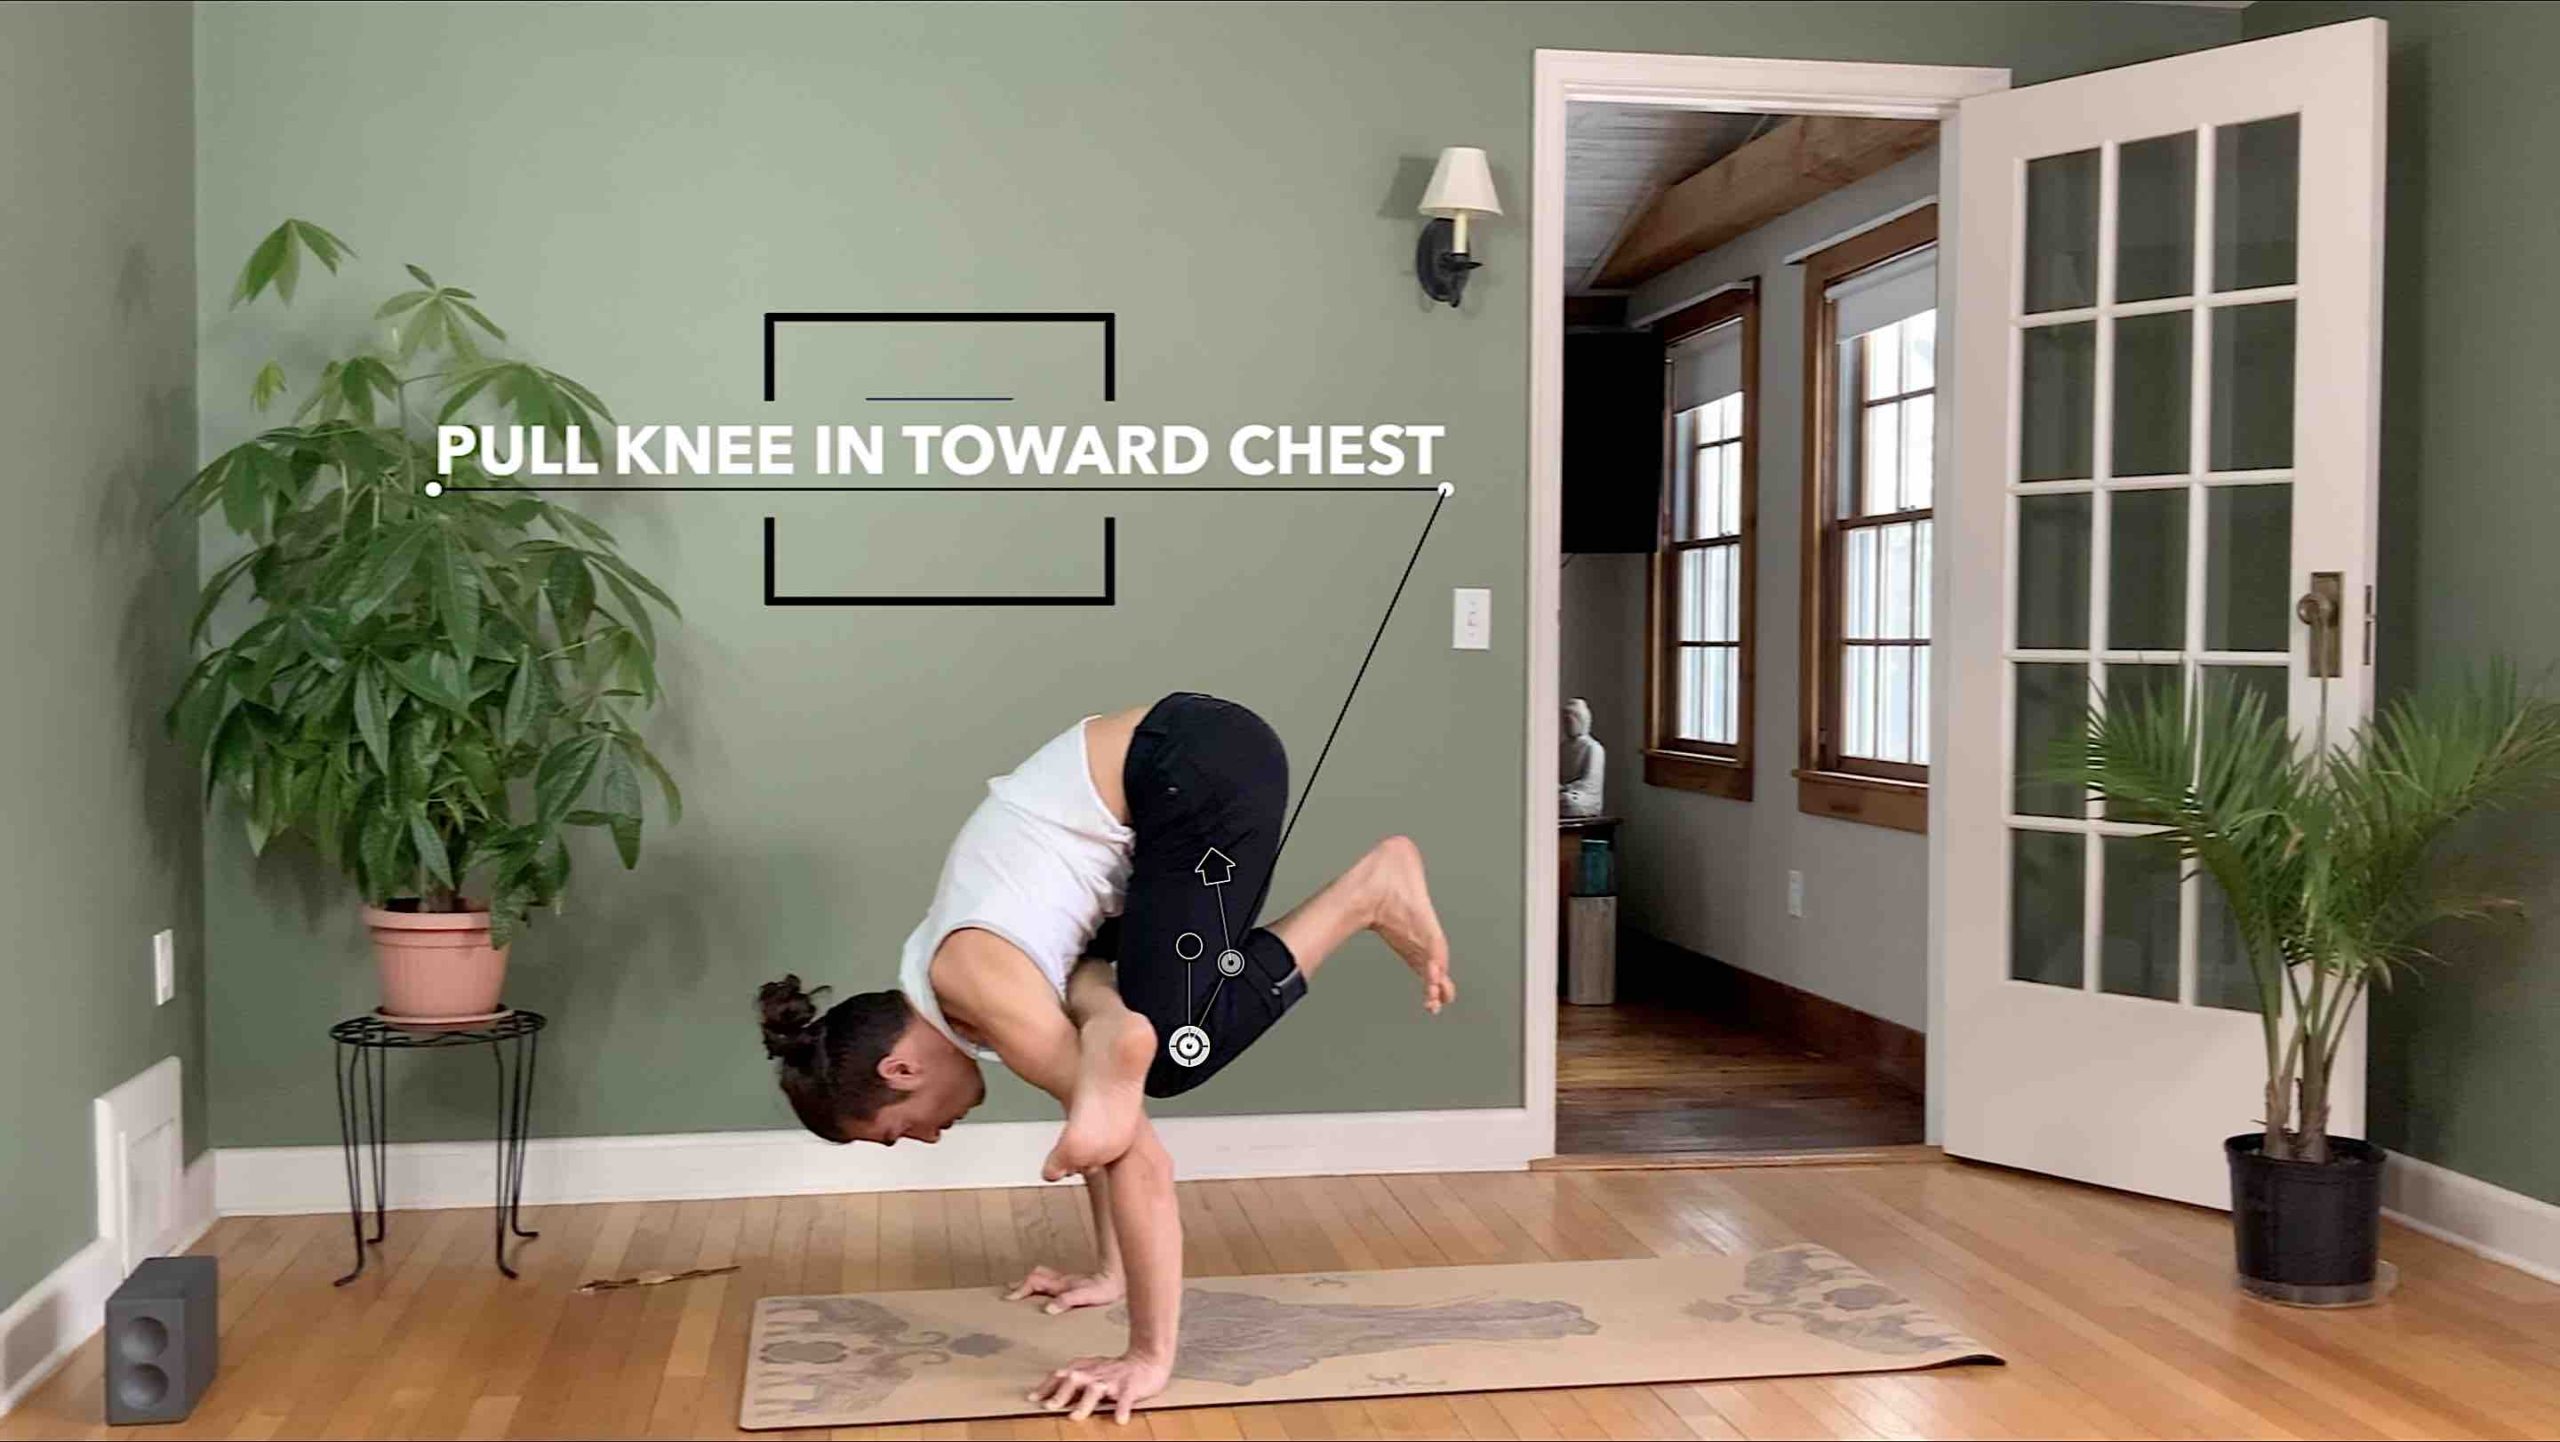
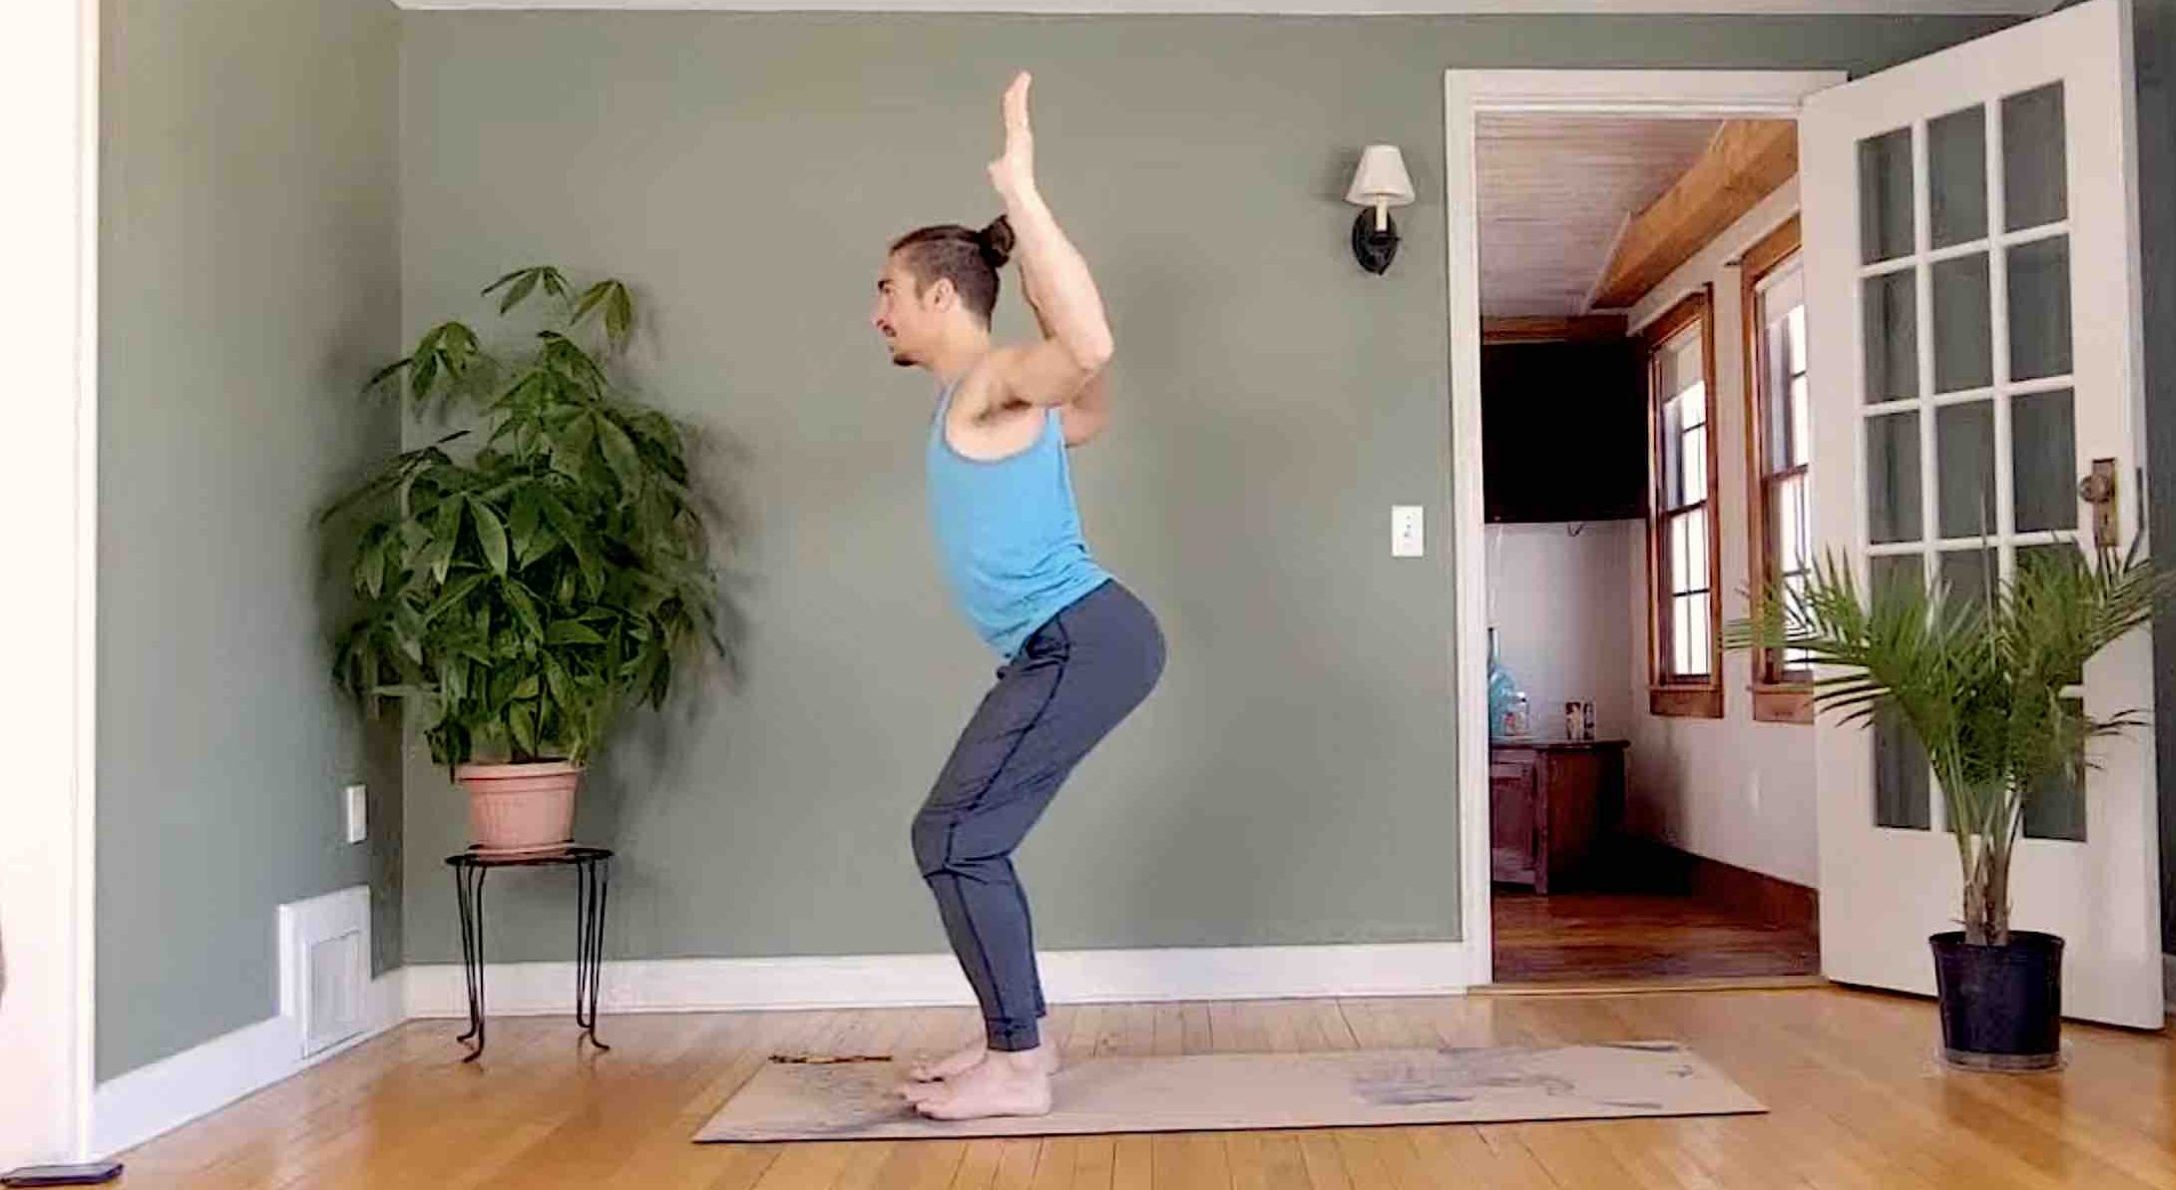
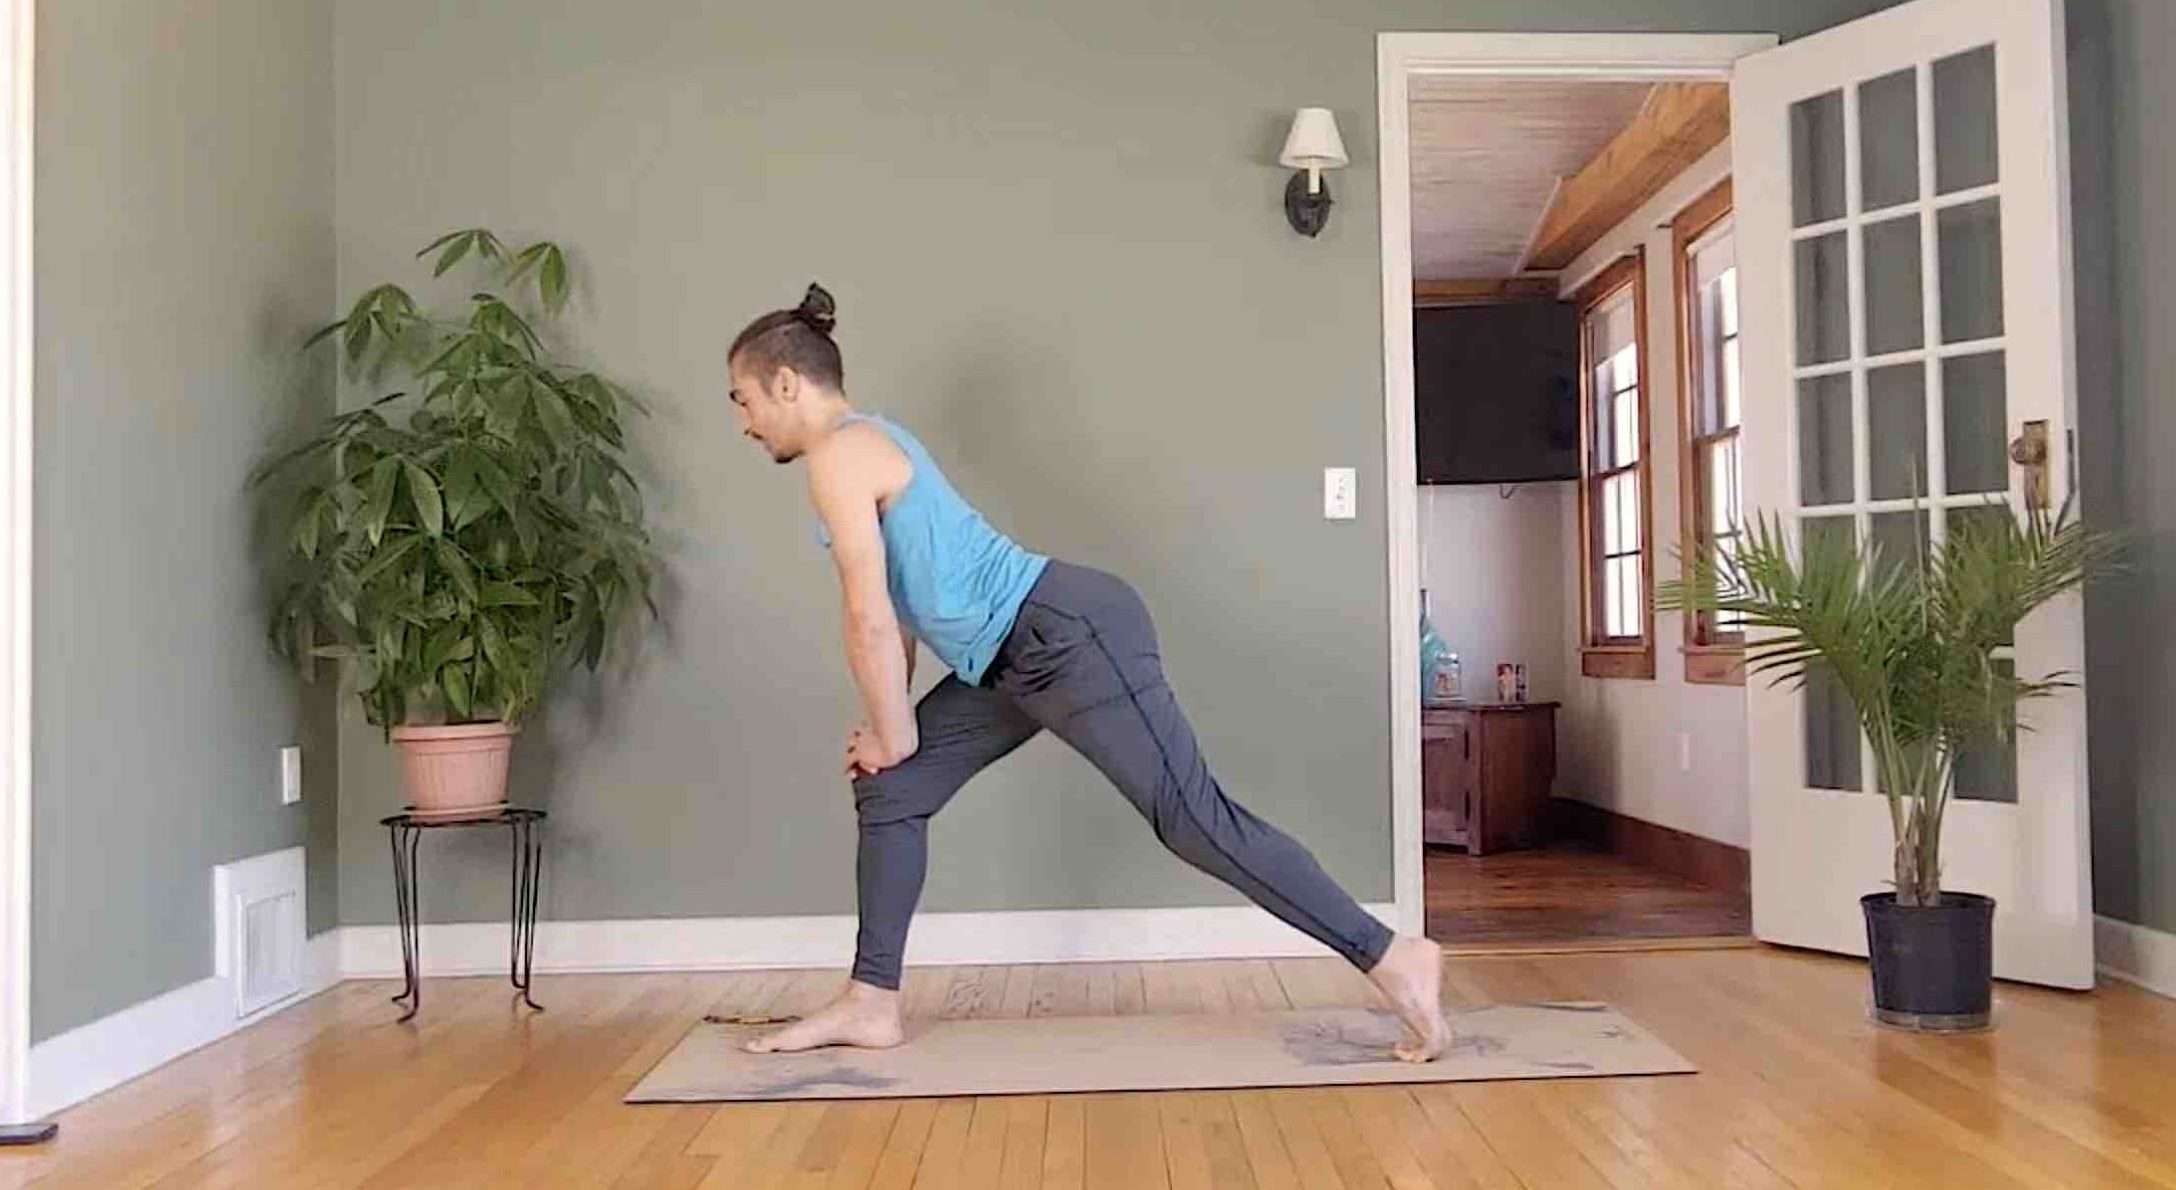
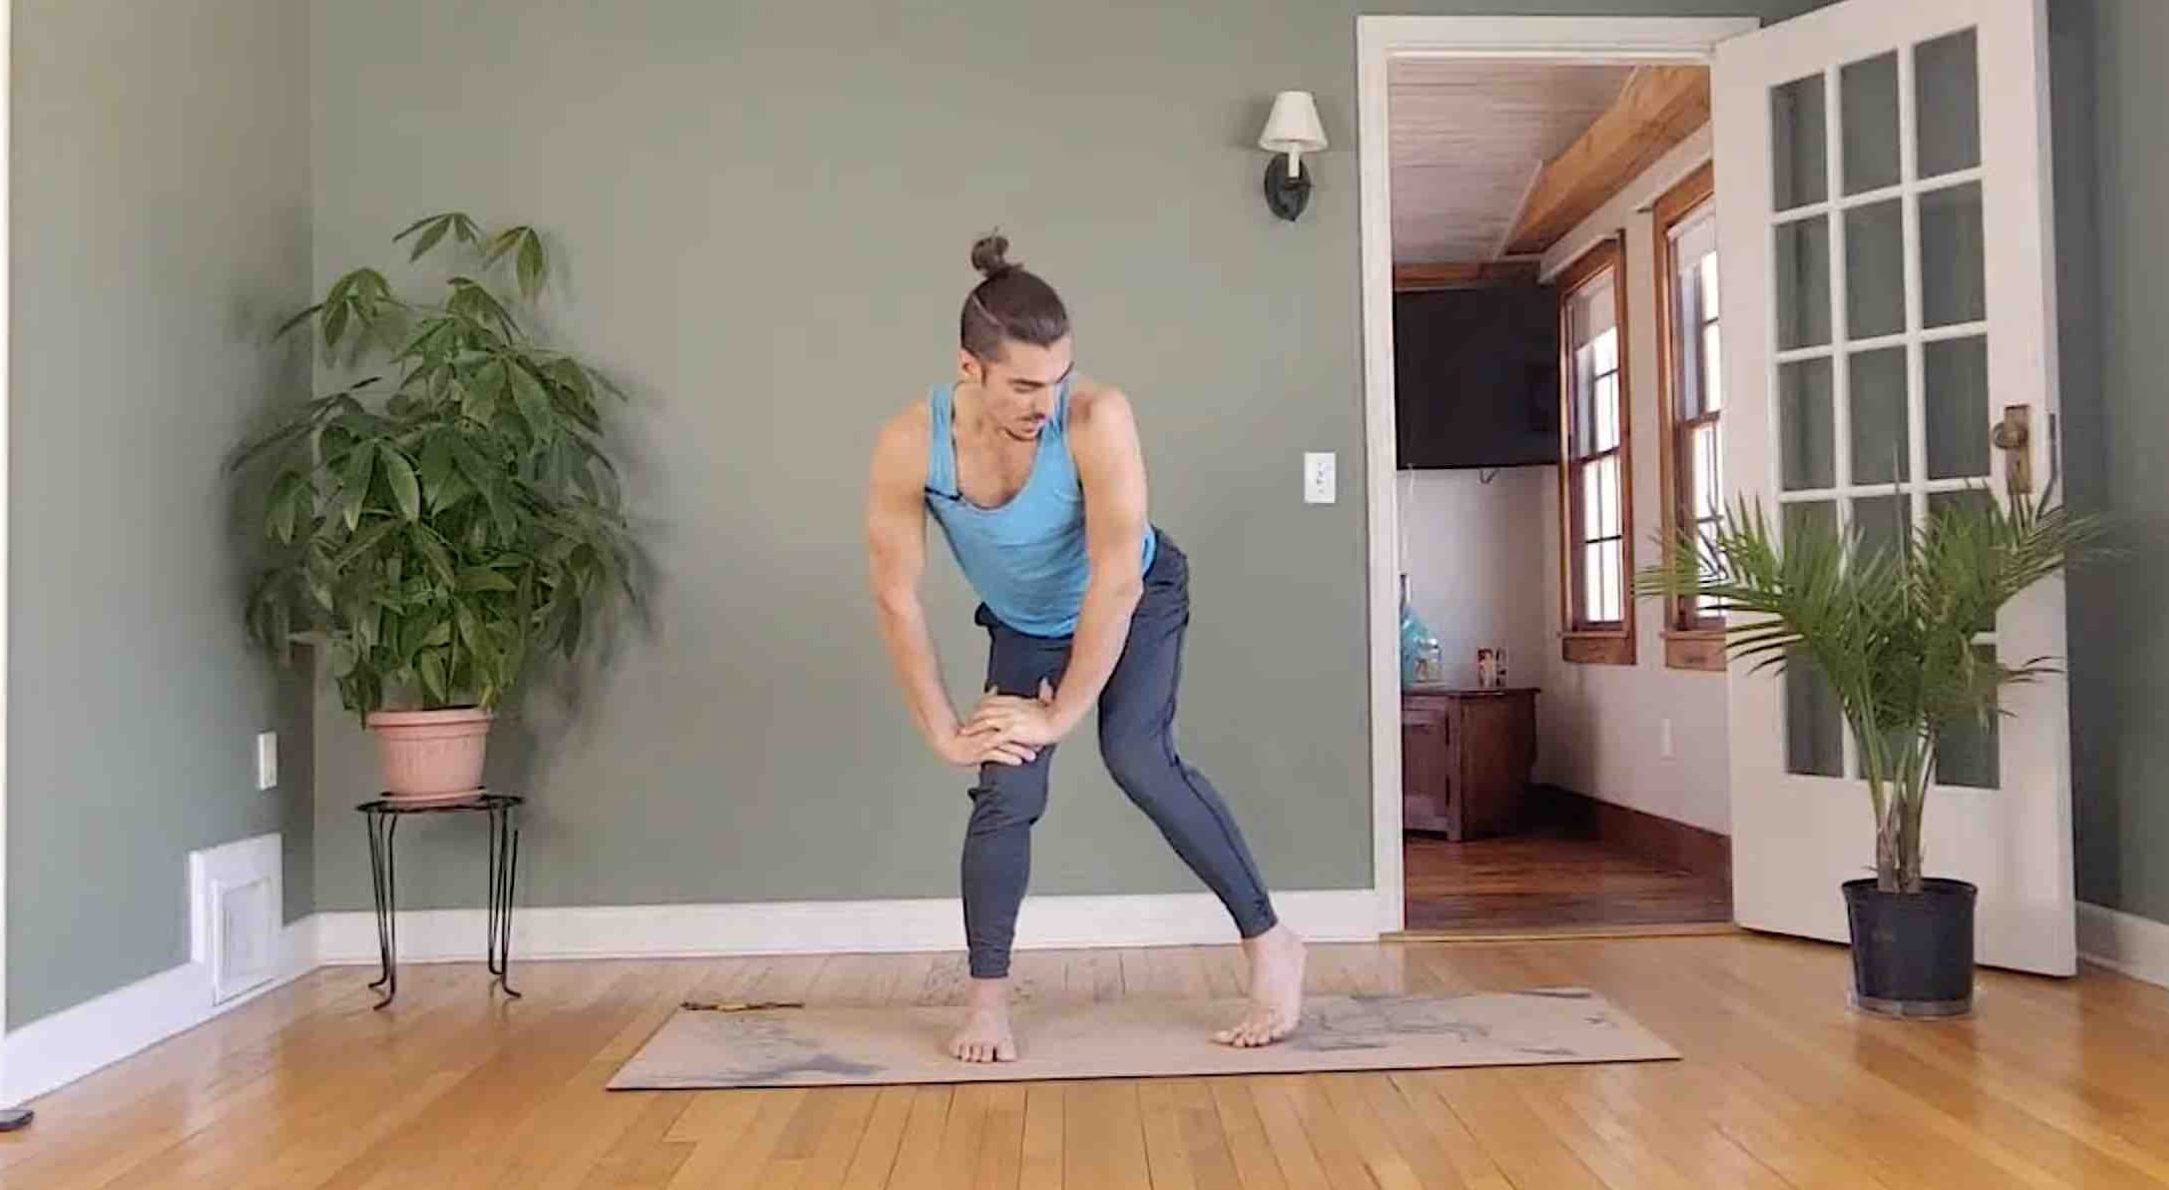
3-PART COBRA STEPS
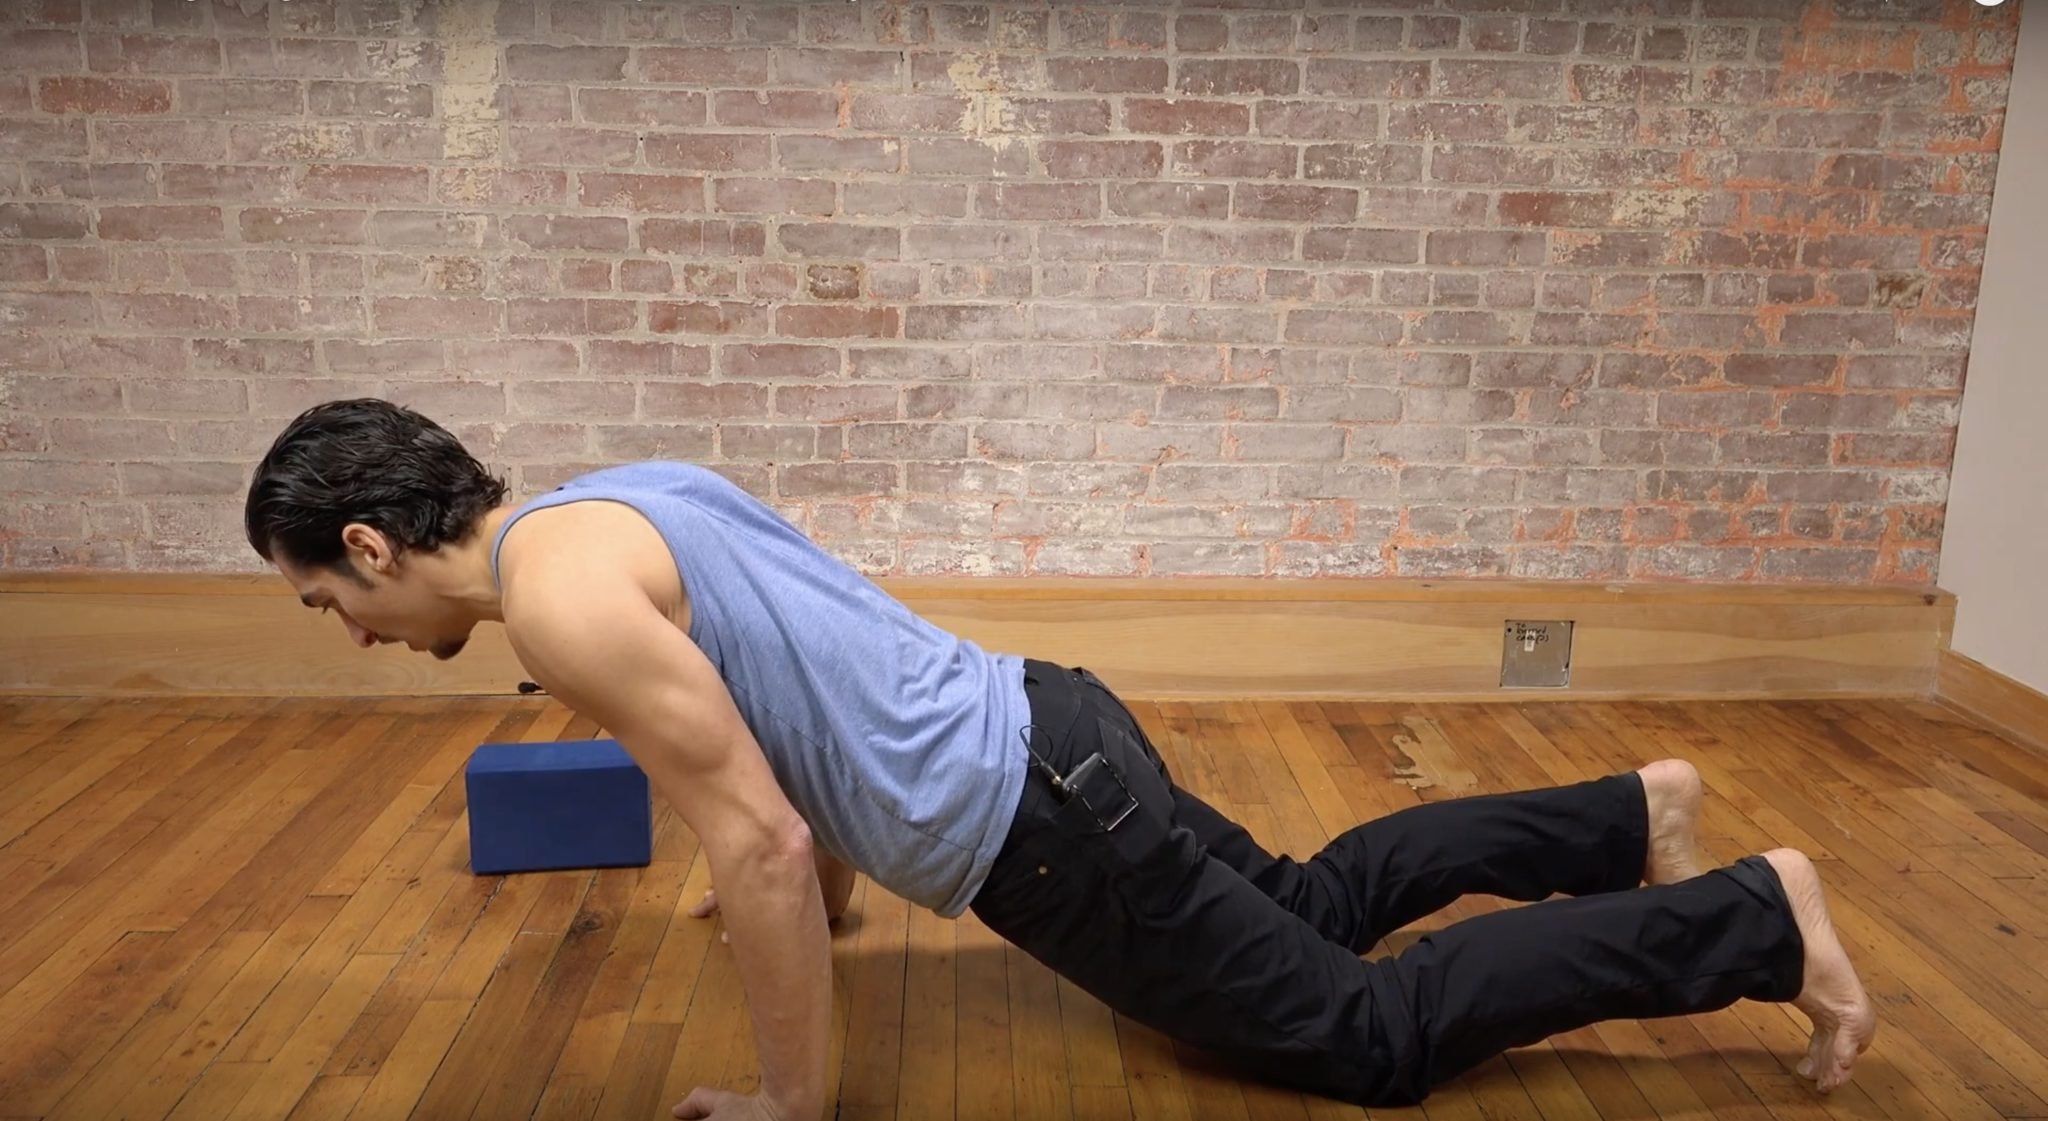
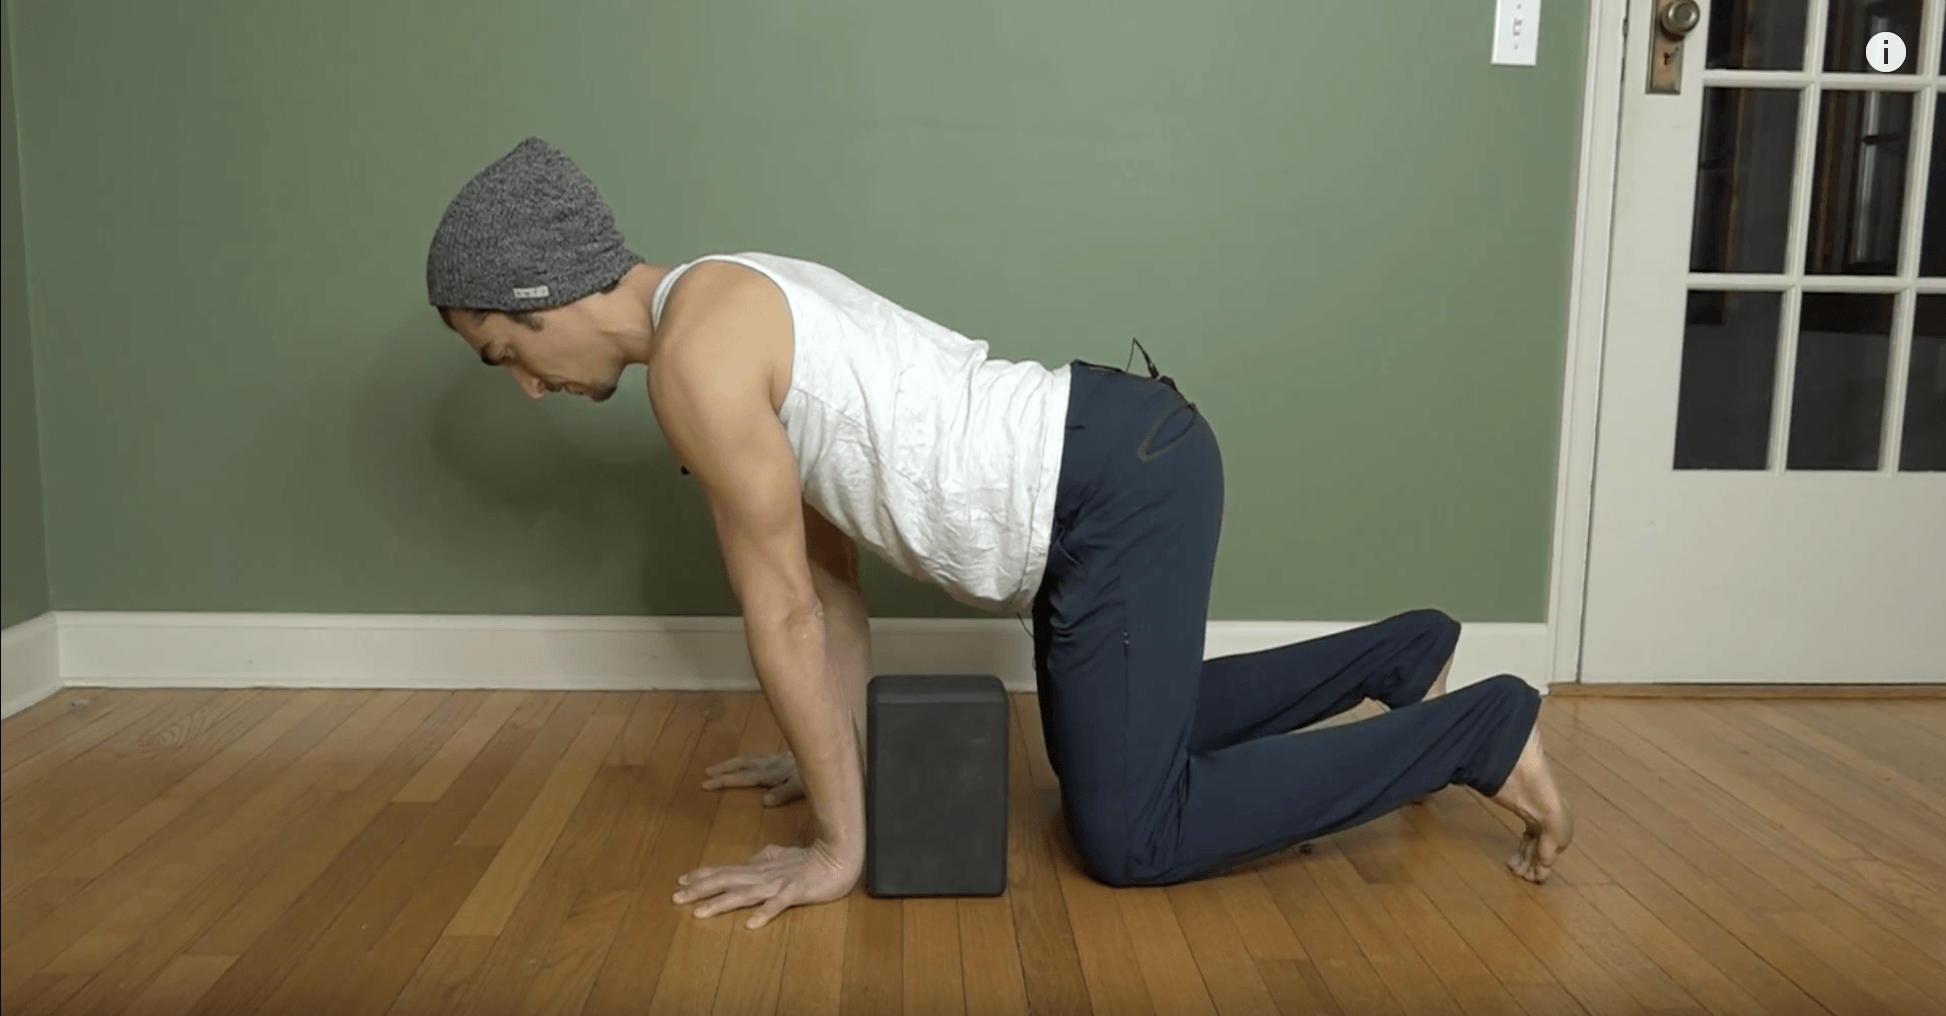
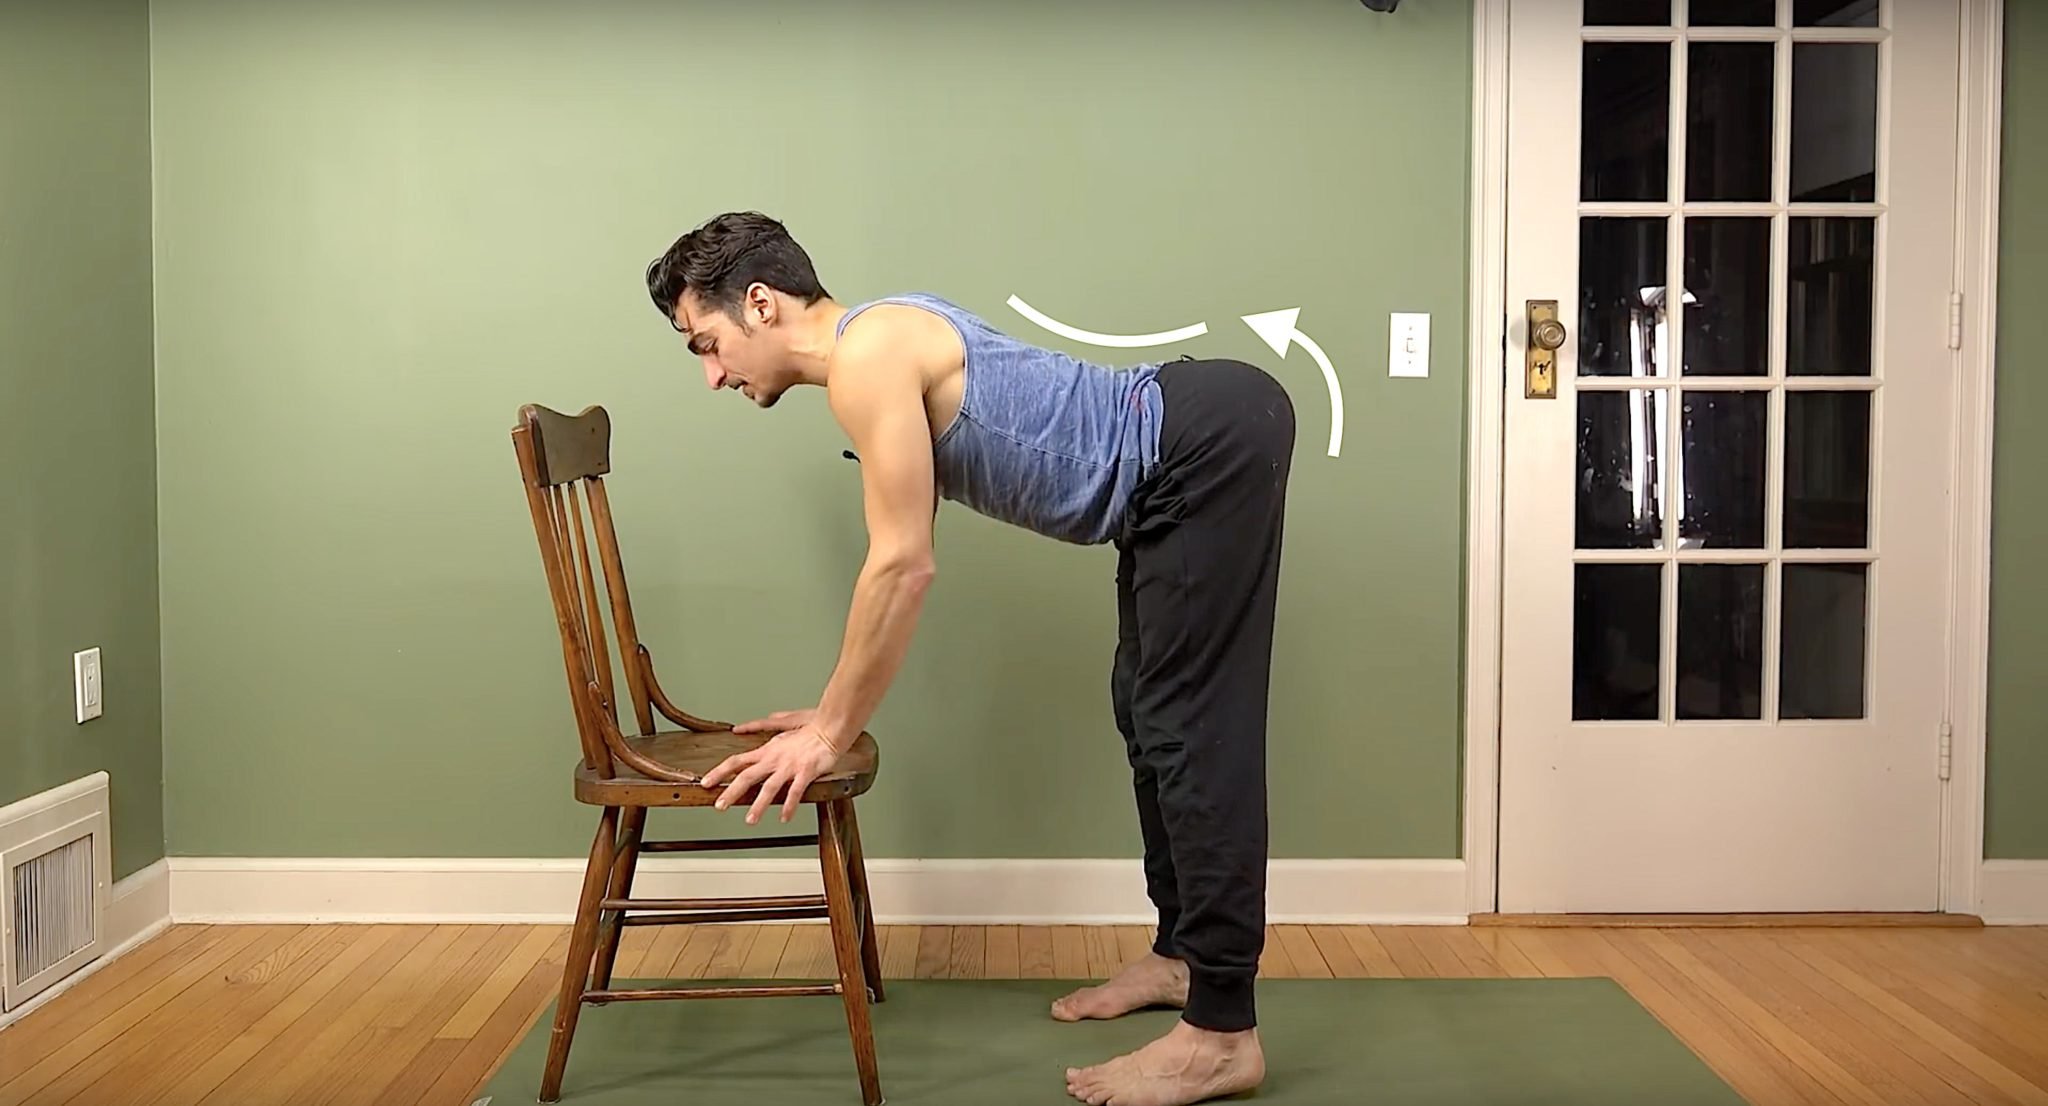
THE SETUP
From prone position (on your belly), bring your hands wide, bend into your elbows and come onto your fingertips.
THE STEPS
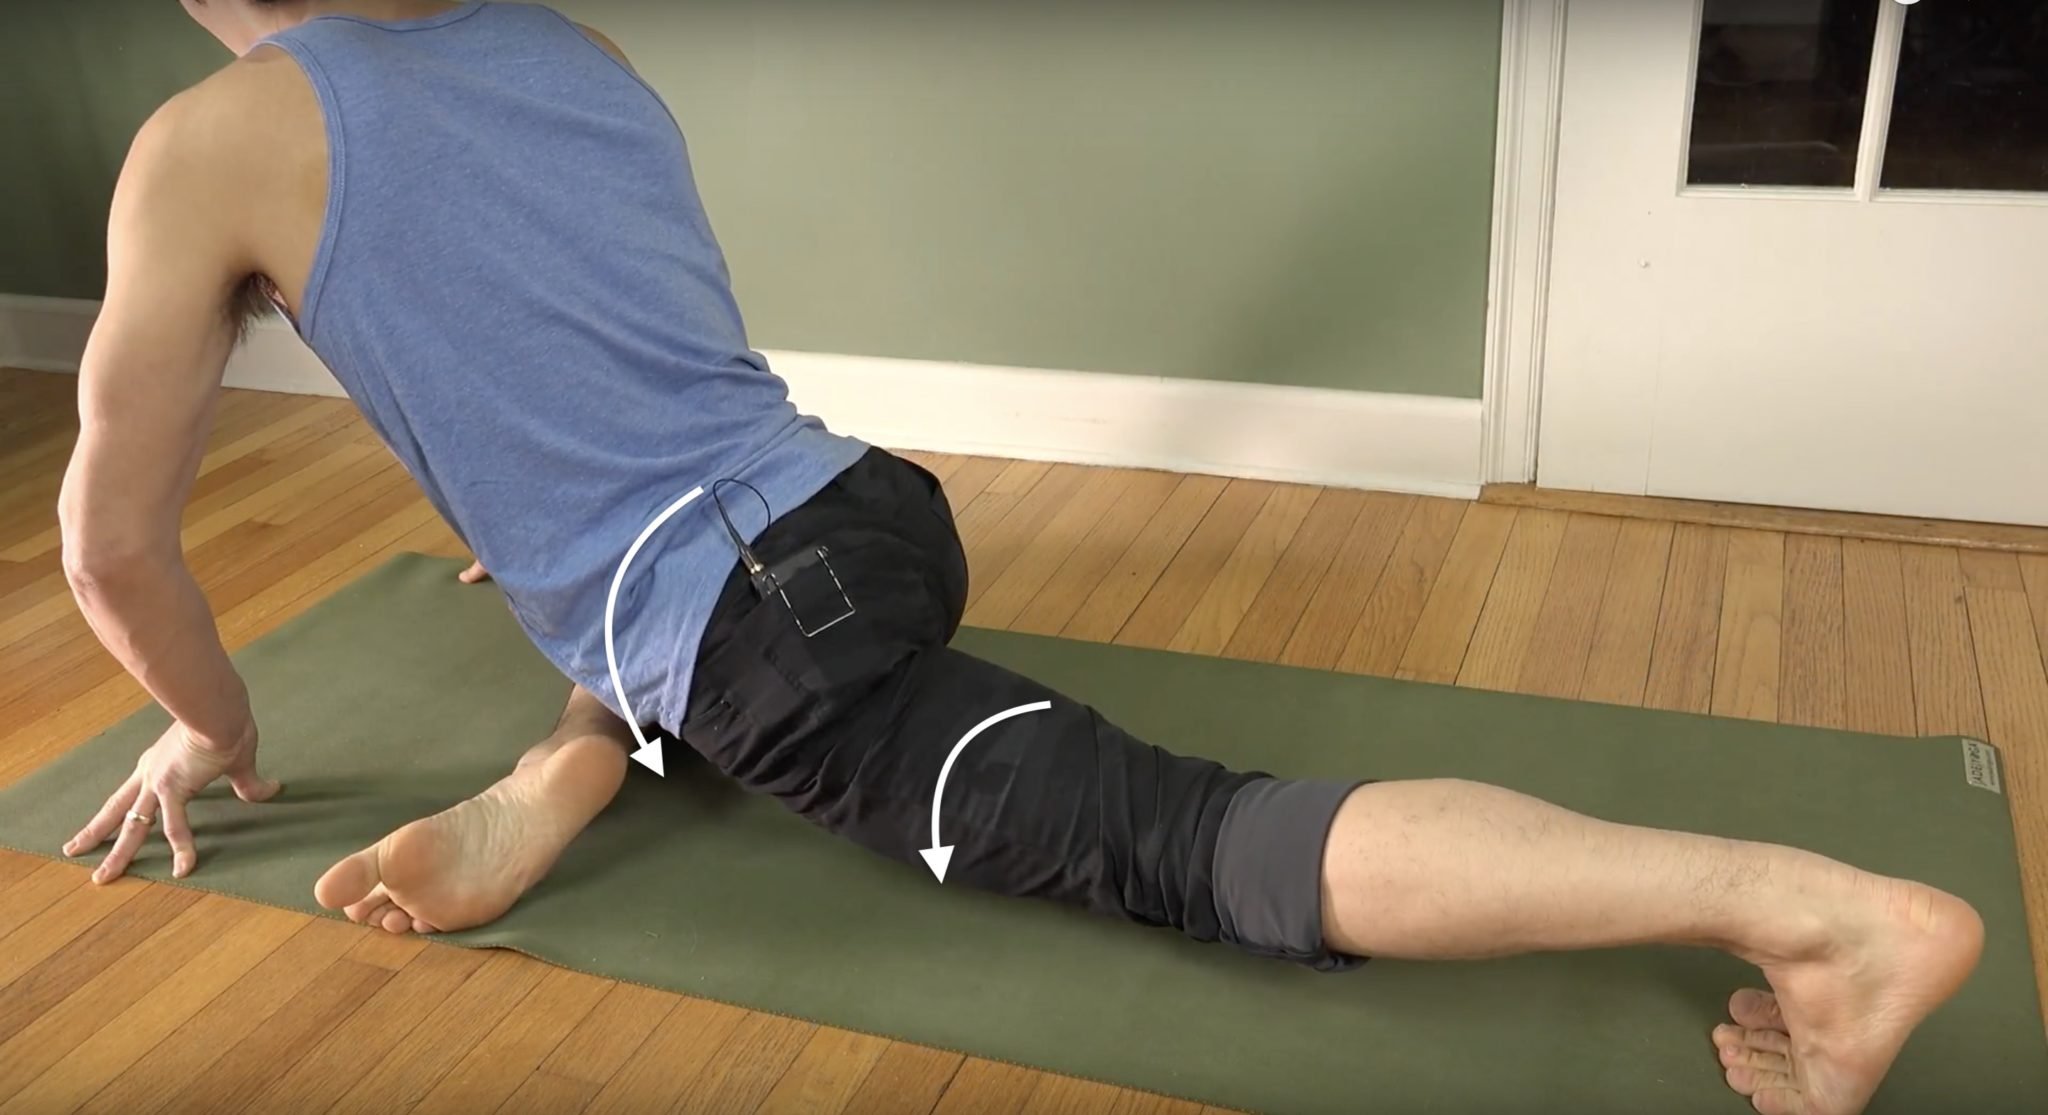
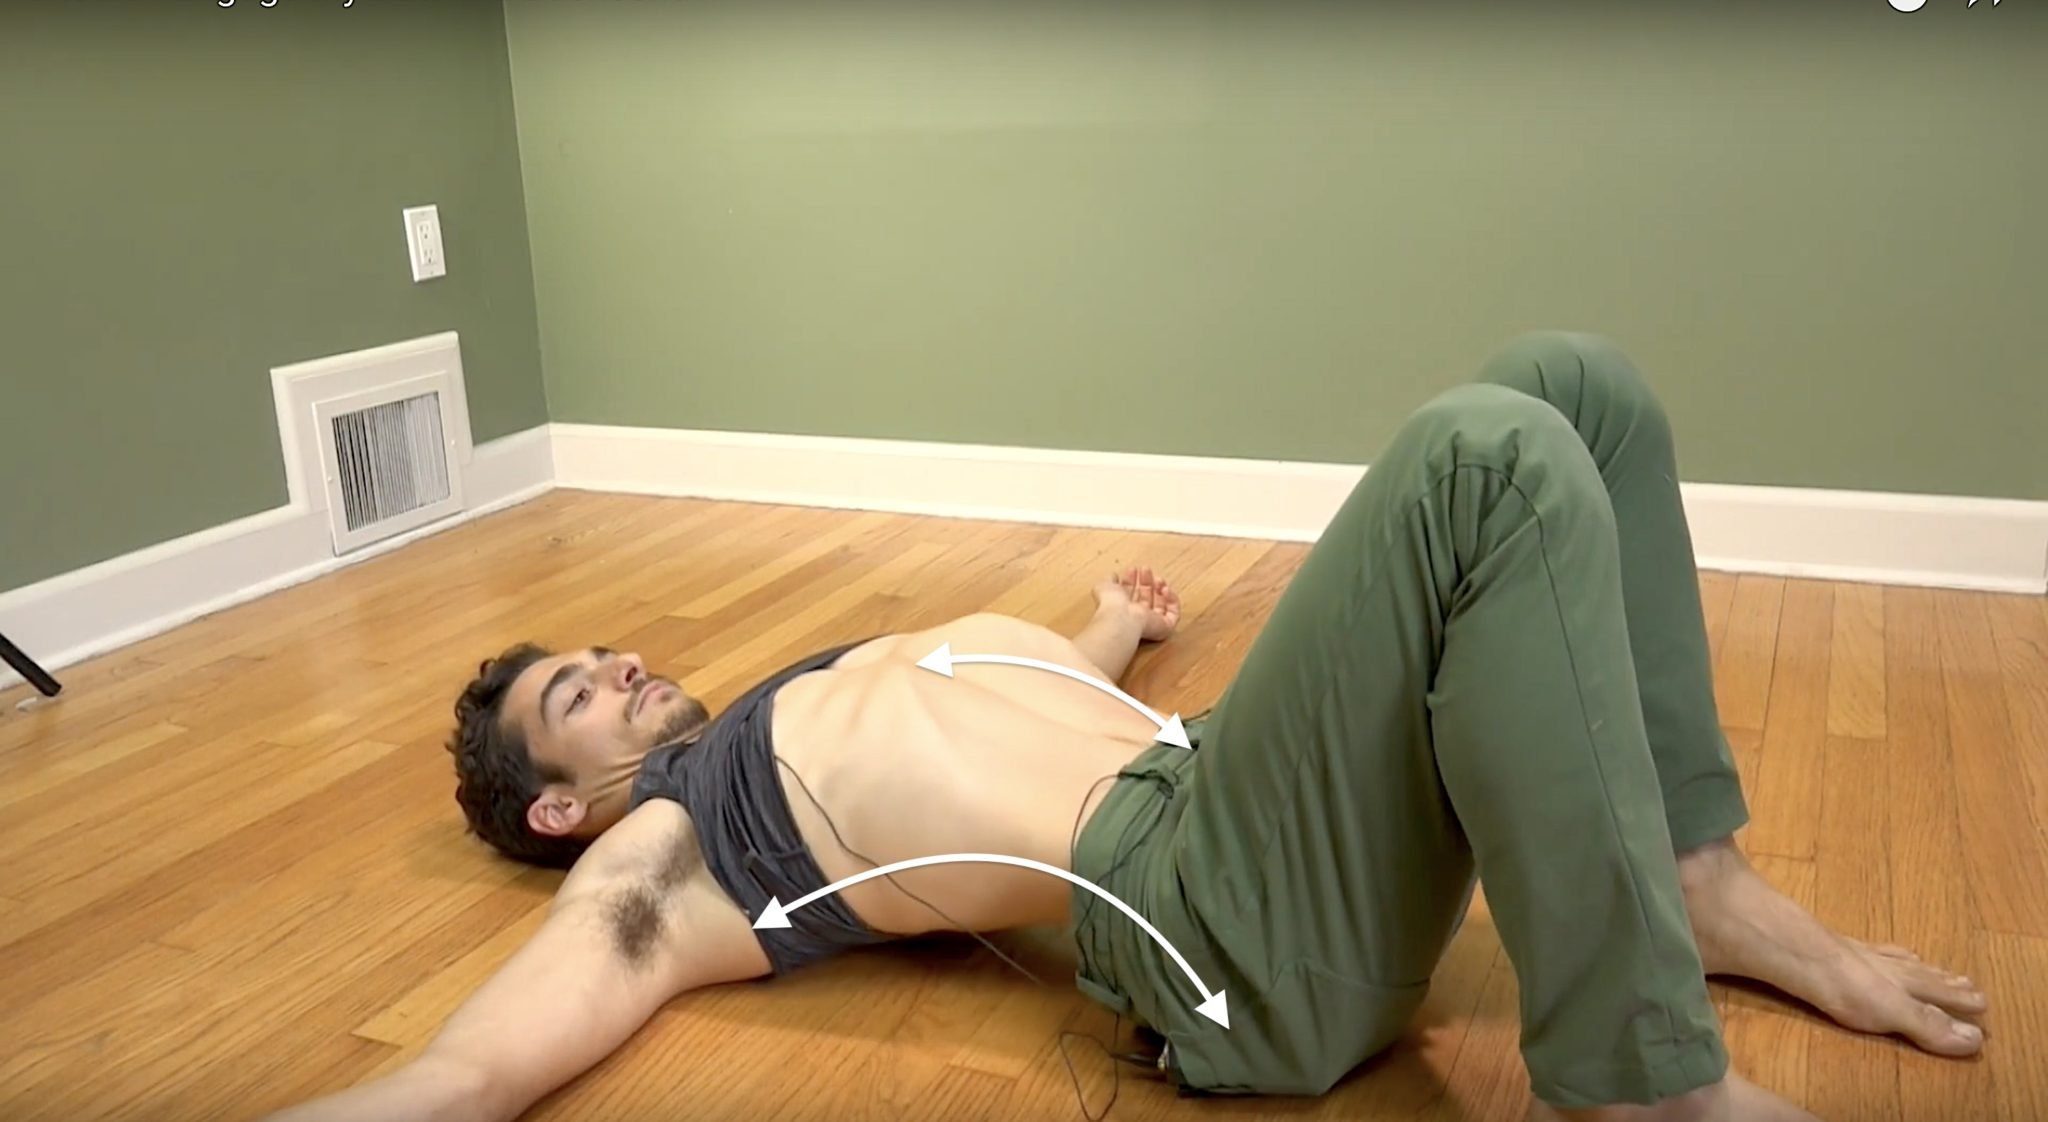
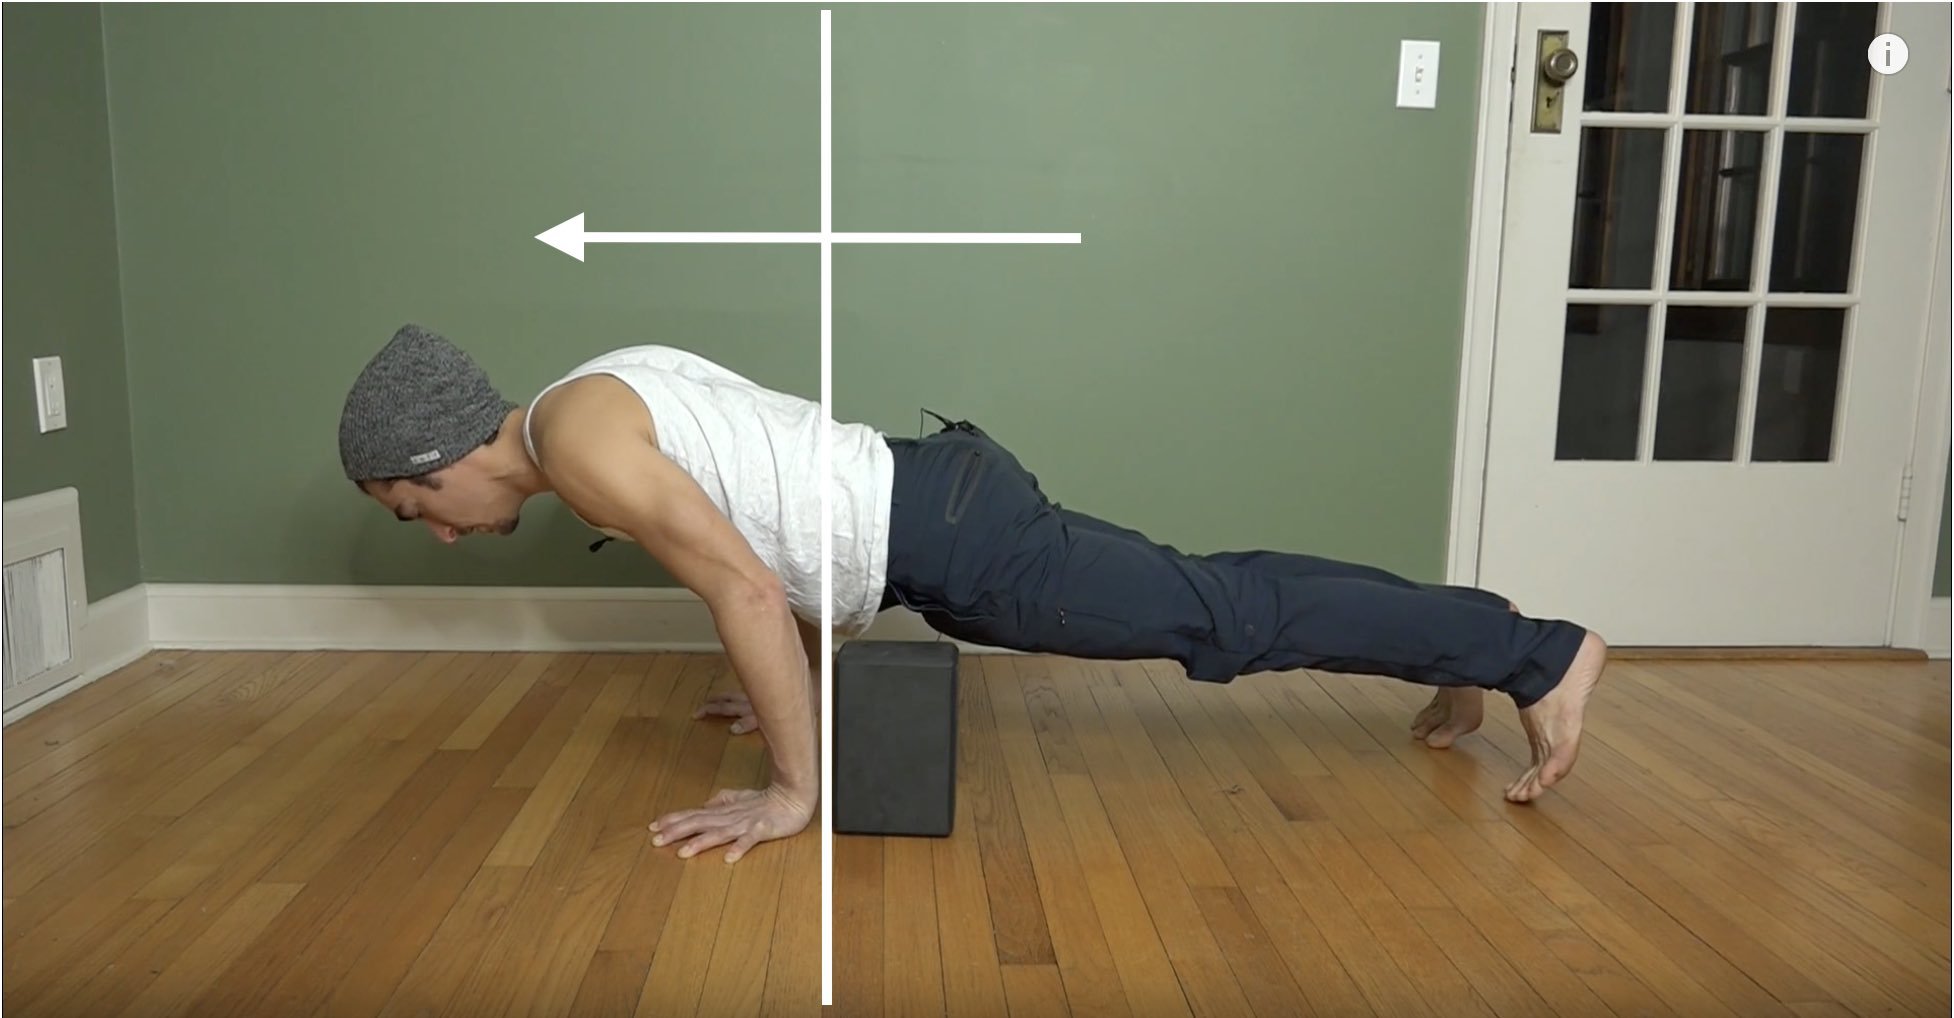
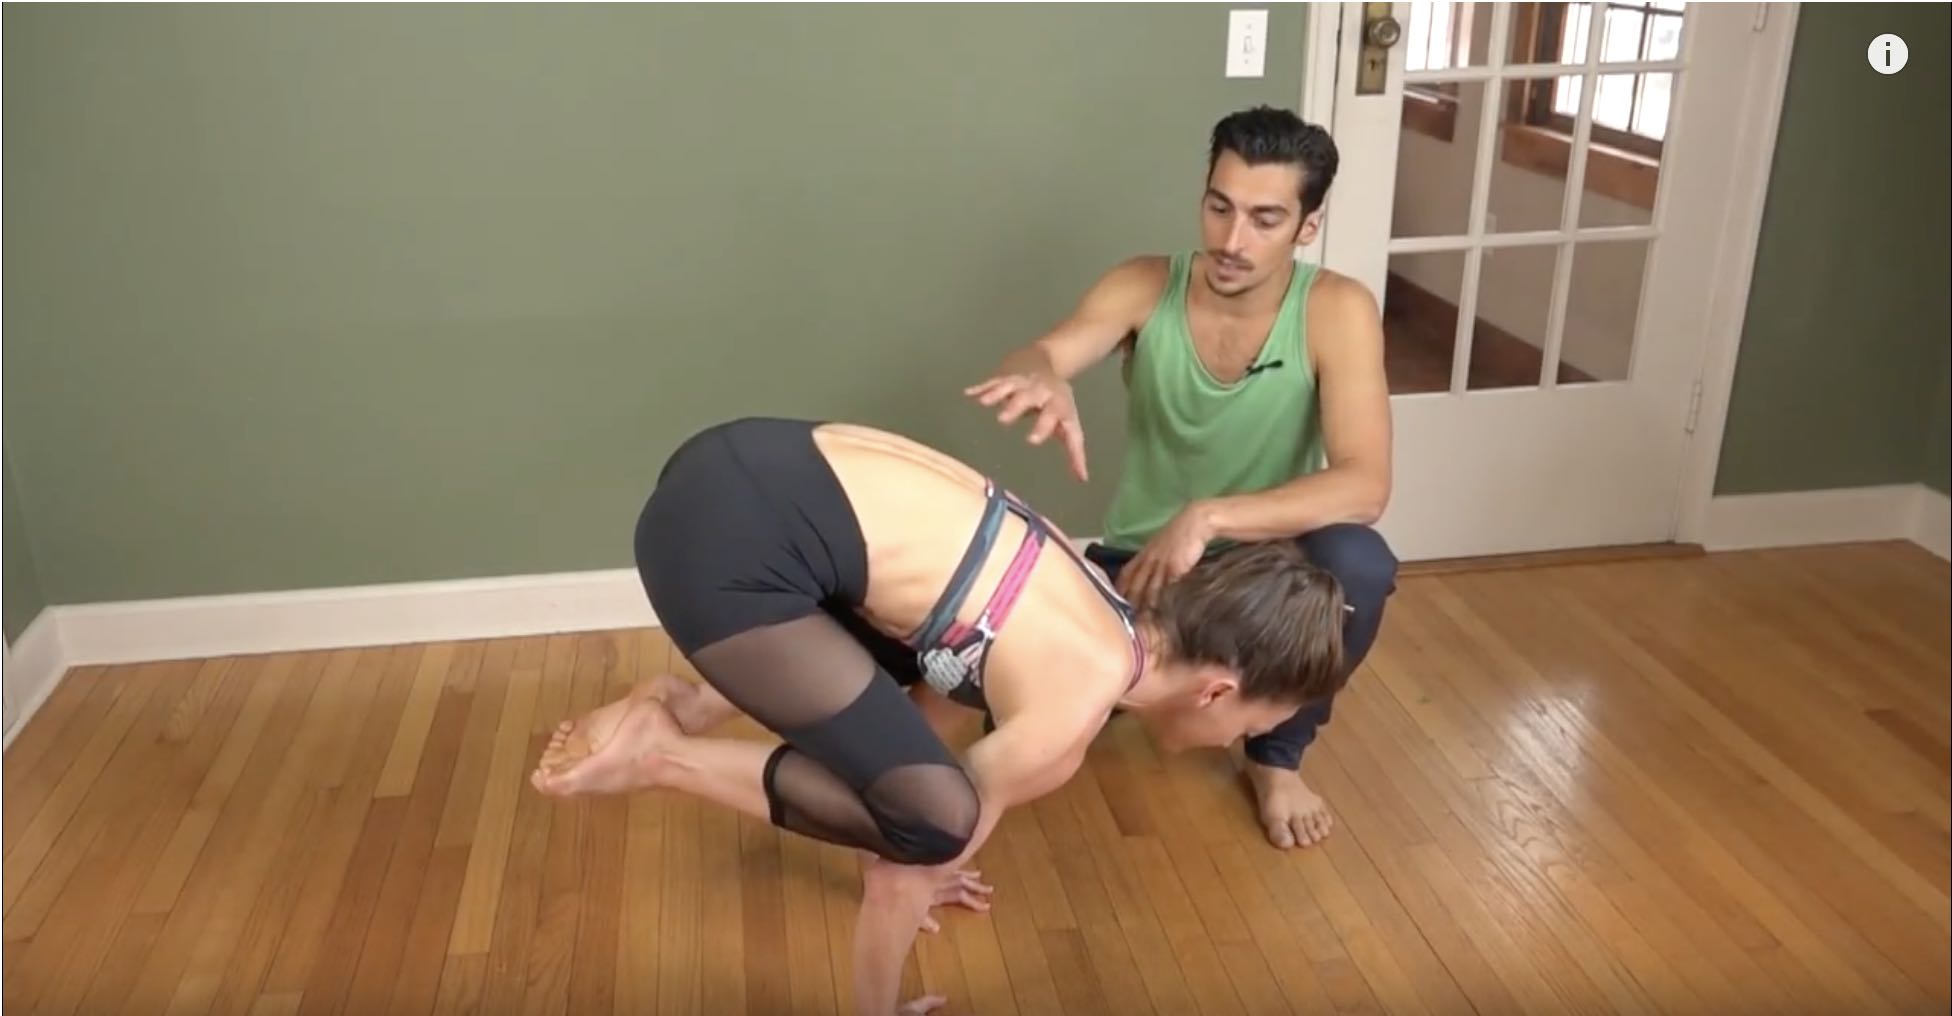
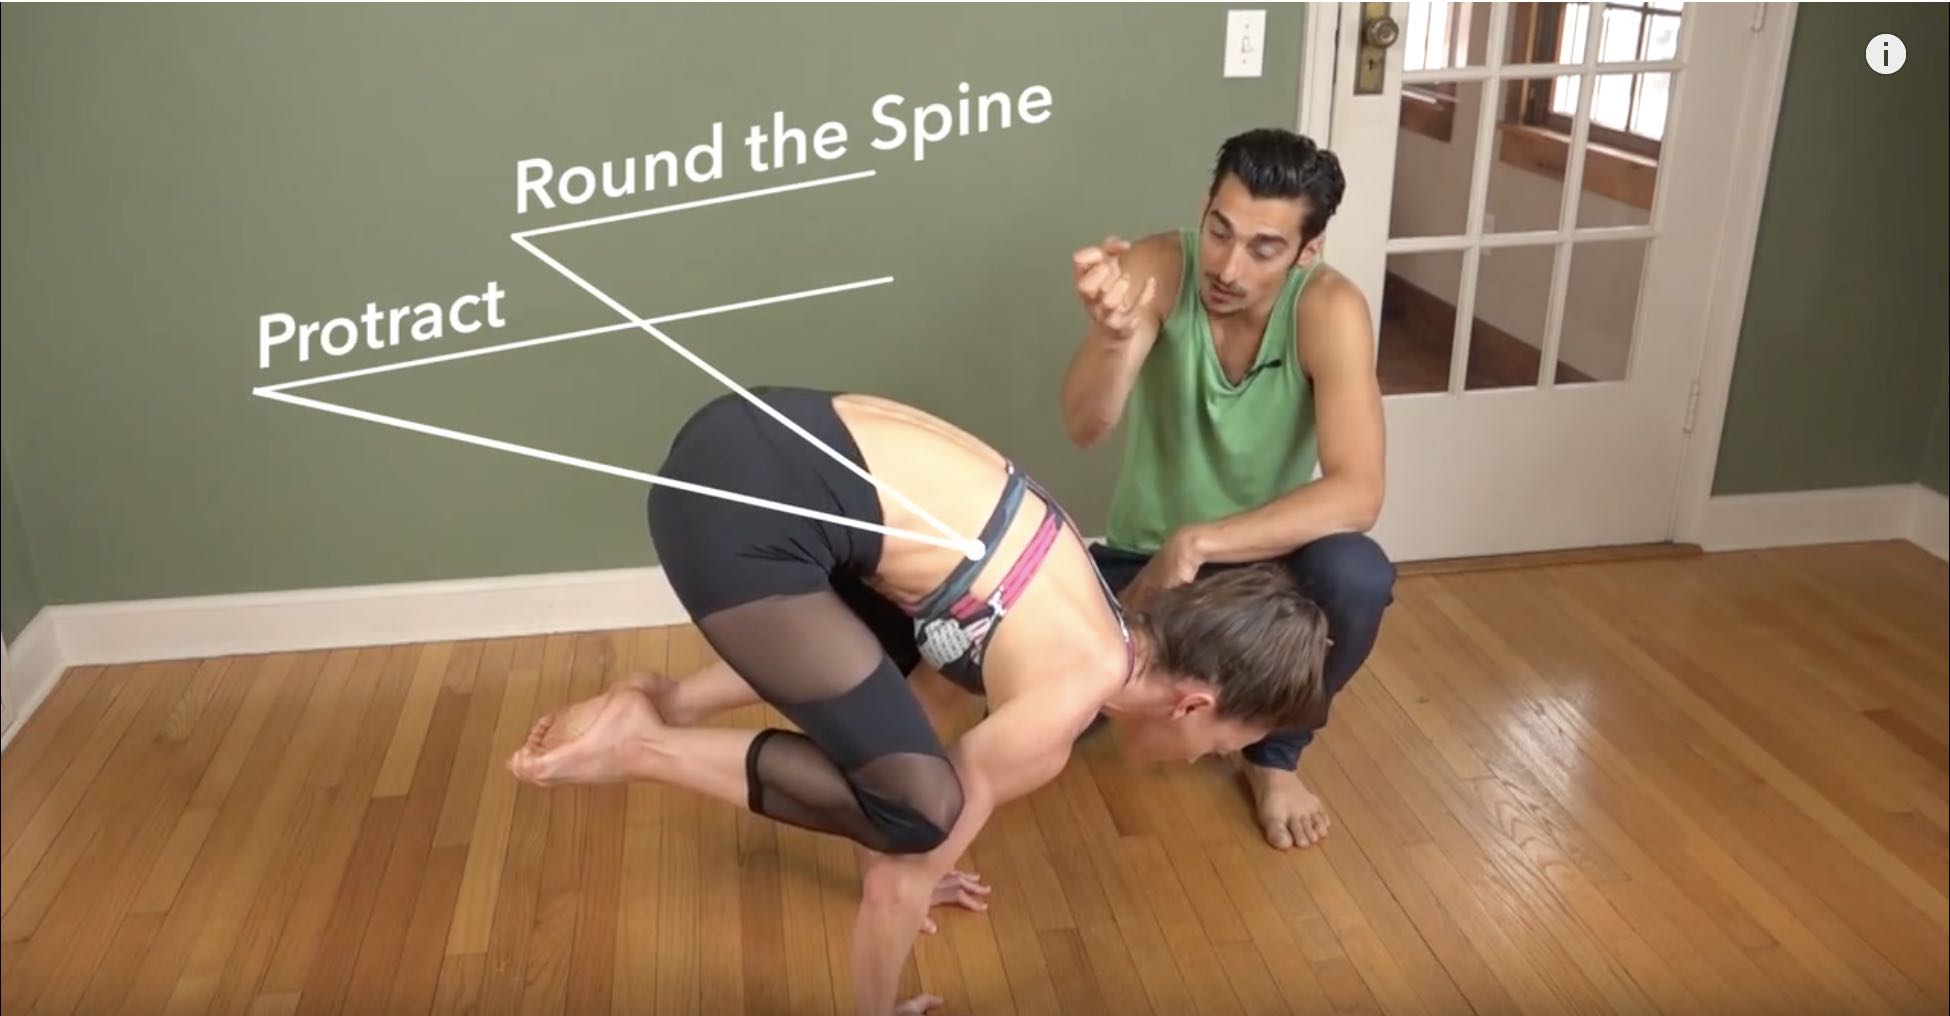
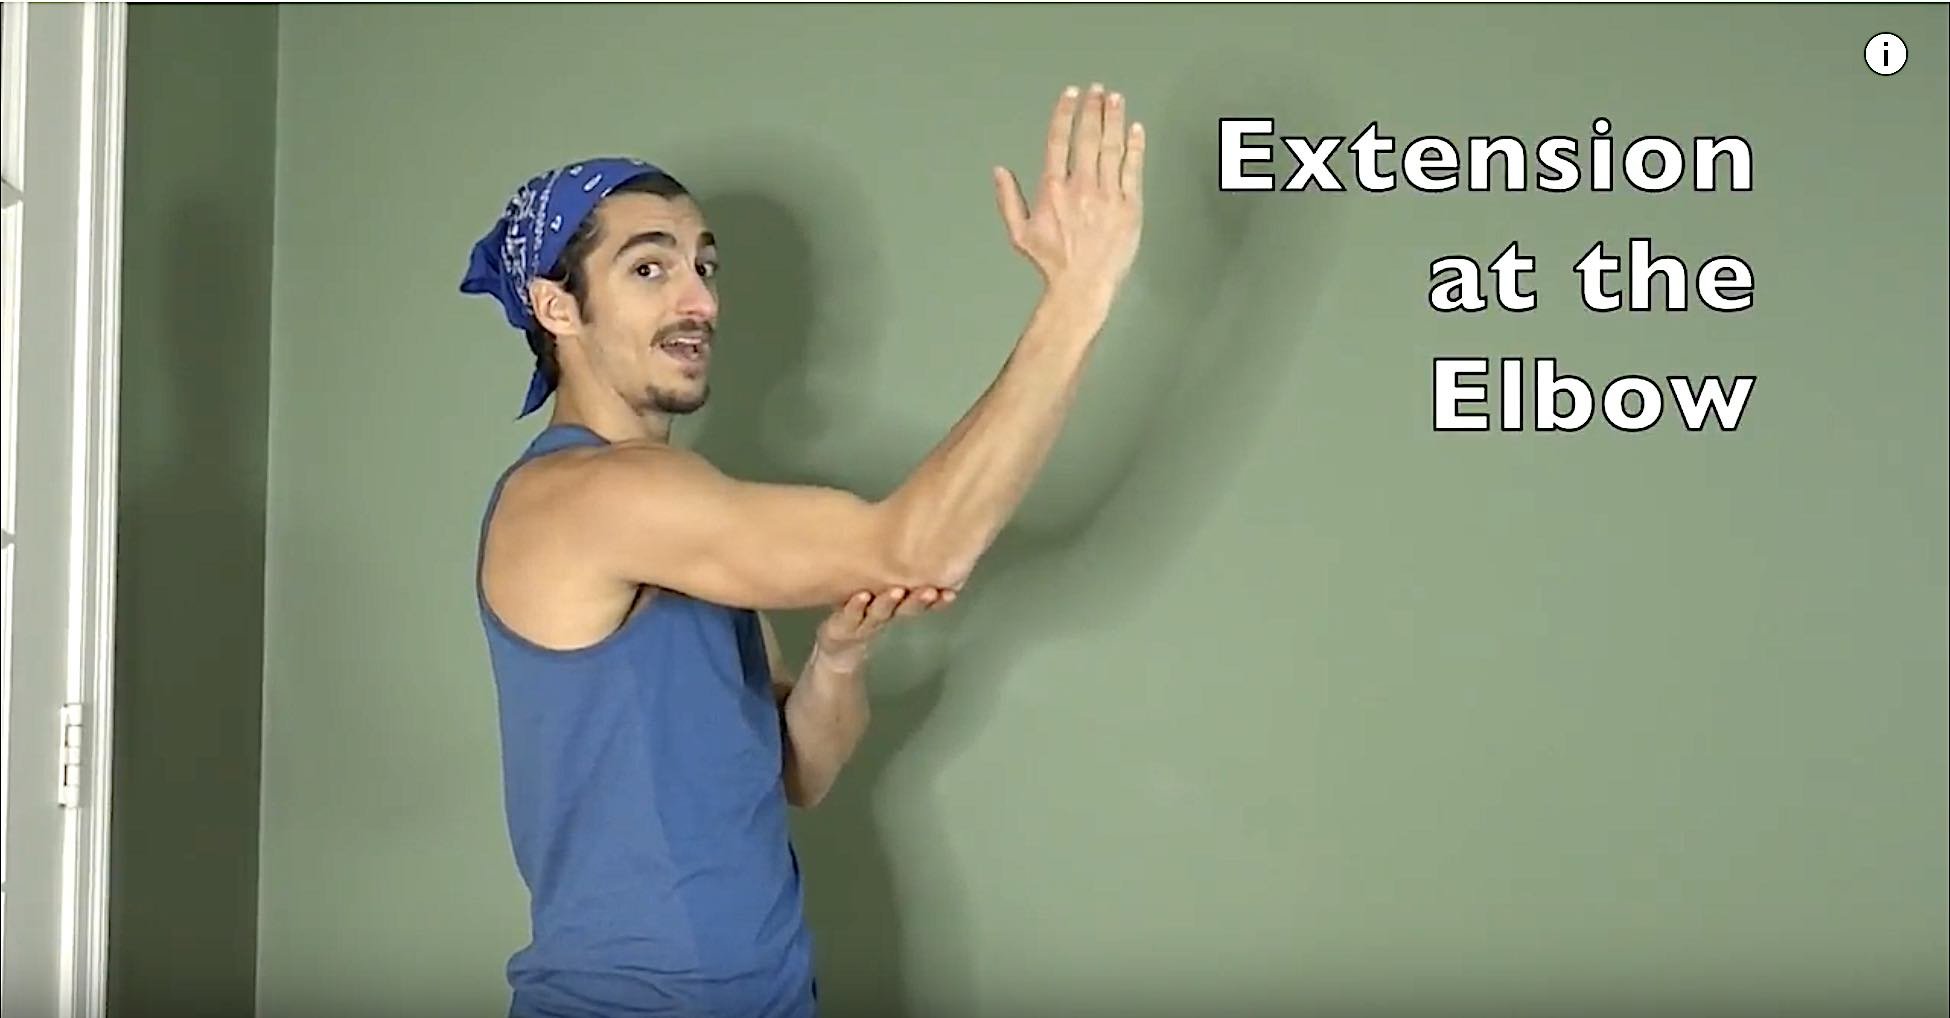
Part 1: Inhale to raise your chest, shoulders, and upper ribs off the mat, gently rounding through your upper back.
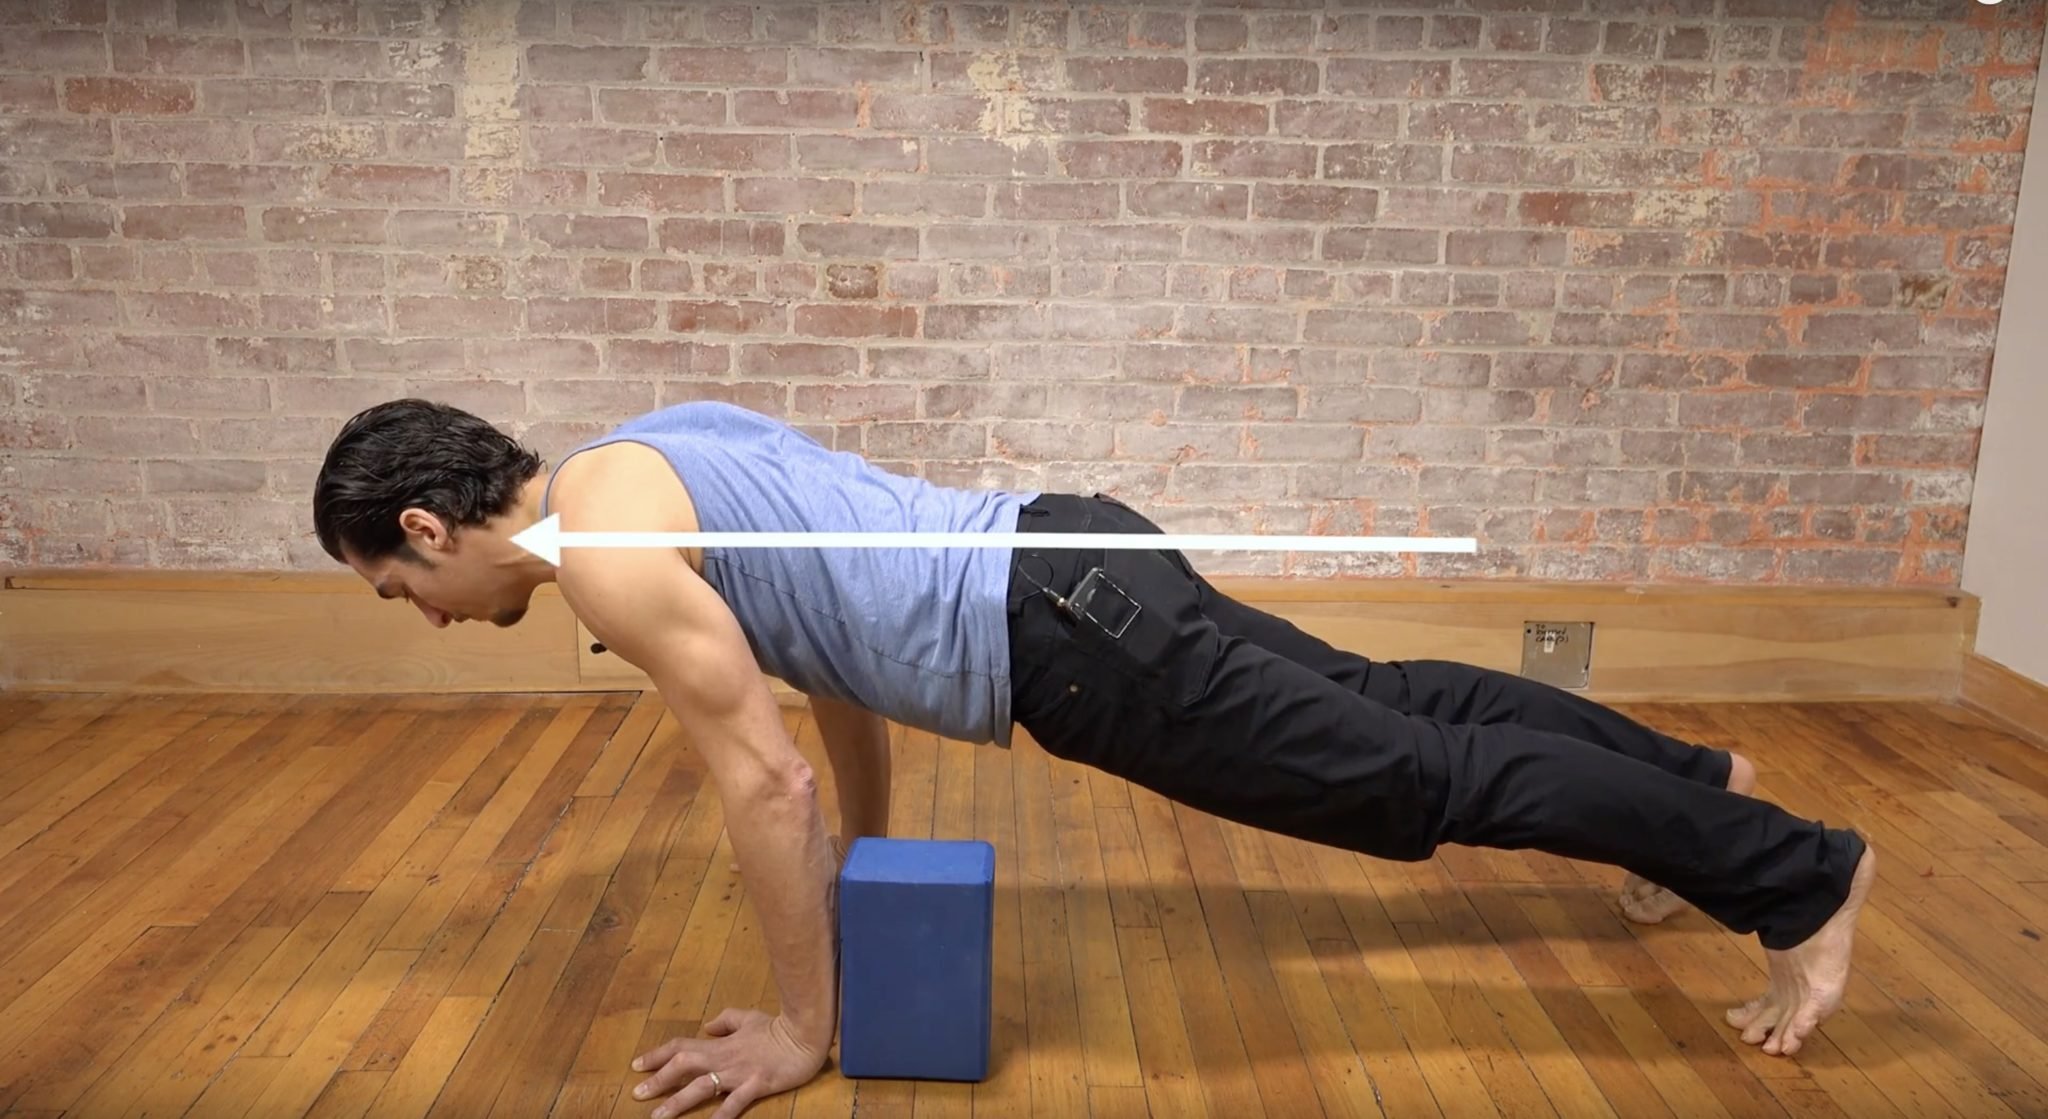
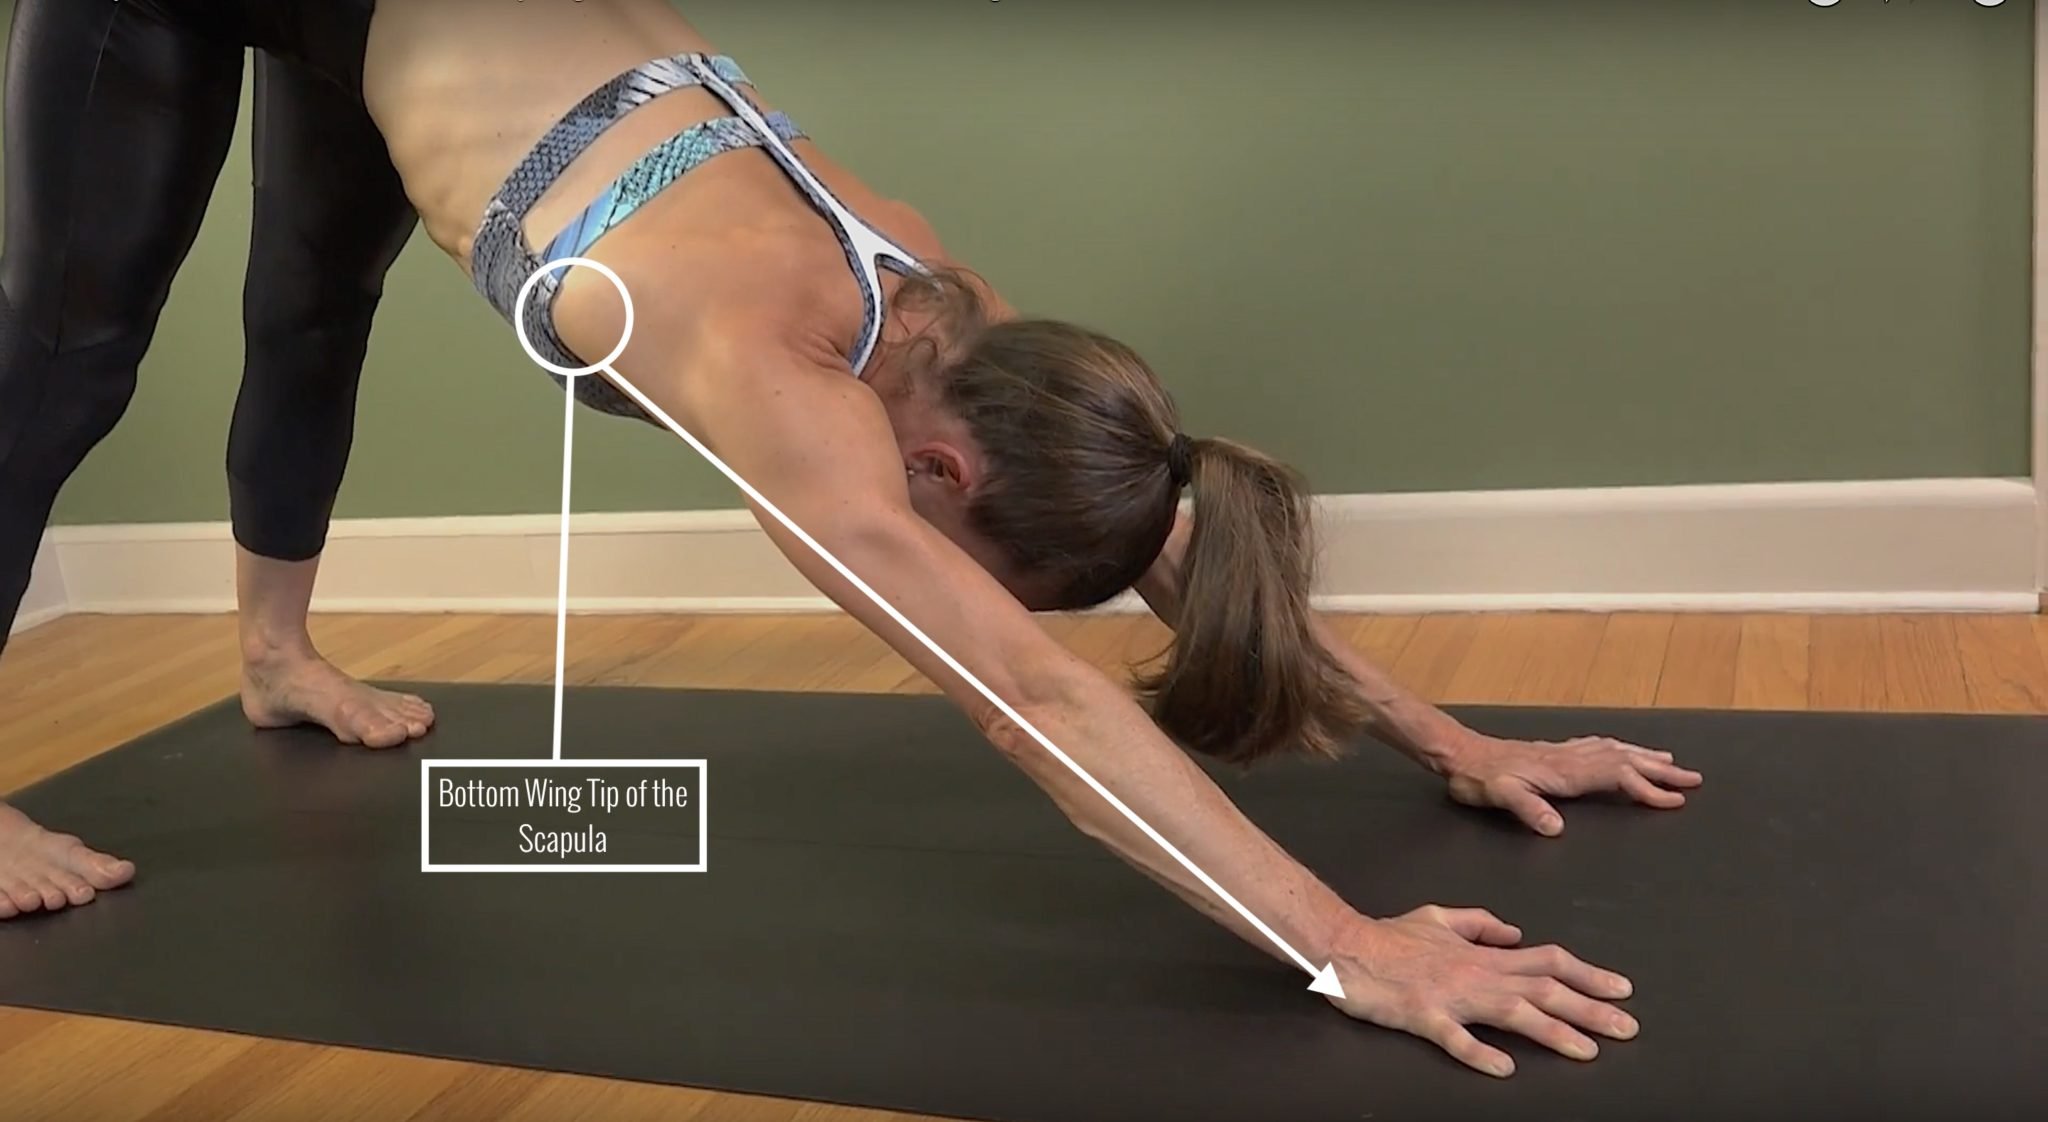
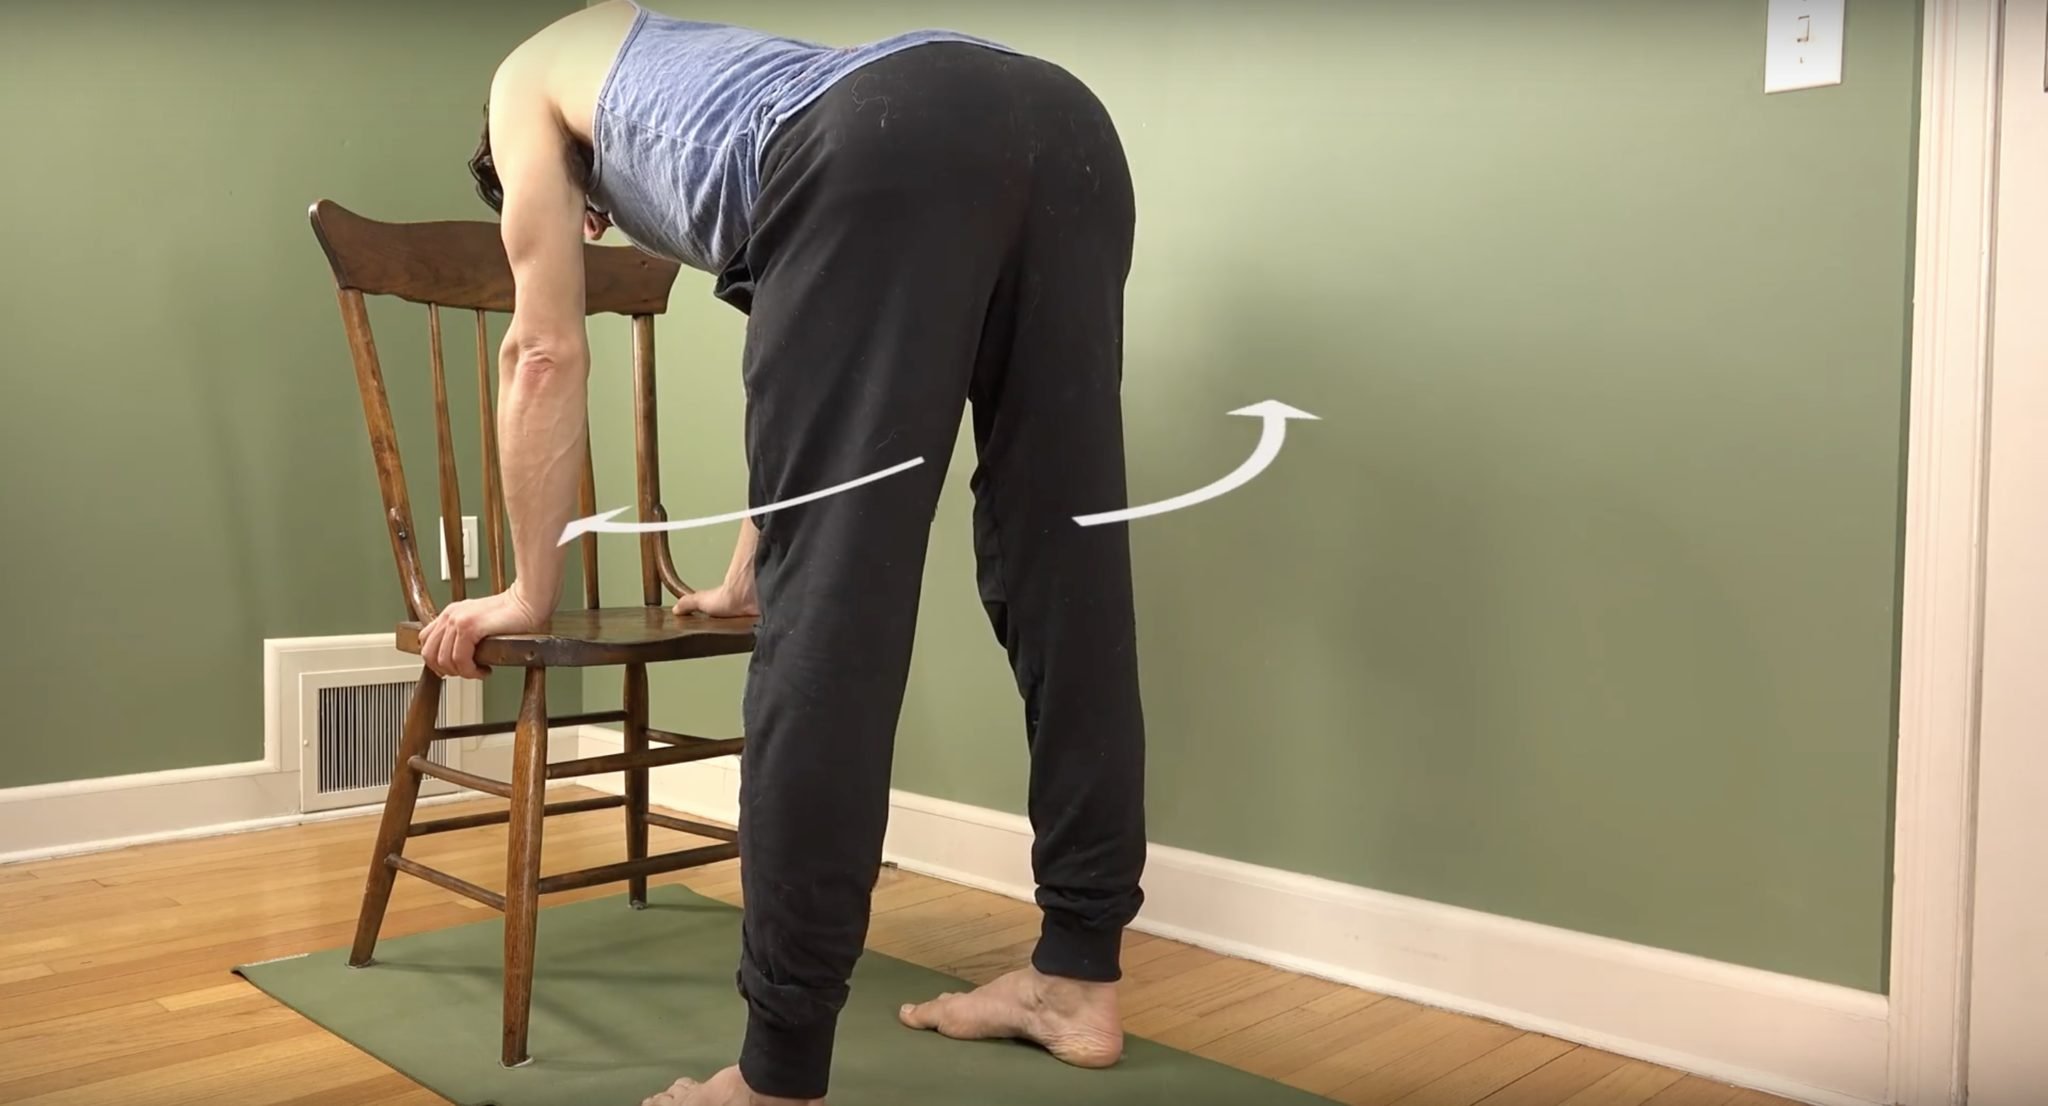
Part 2: Soften your ribcage forward, letting your shoulder blades come toward each other. This will initiate the bowing effect by relaxing the abdominals. In this step, you have the ability to control the placement of the backbend. Moving pressure out of the low back by stretching low ribs forward is relieving for most people. If you want to release low back pain in backbends, focus your attention and practice primarily on this step!
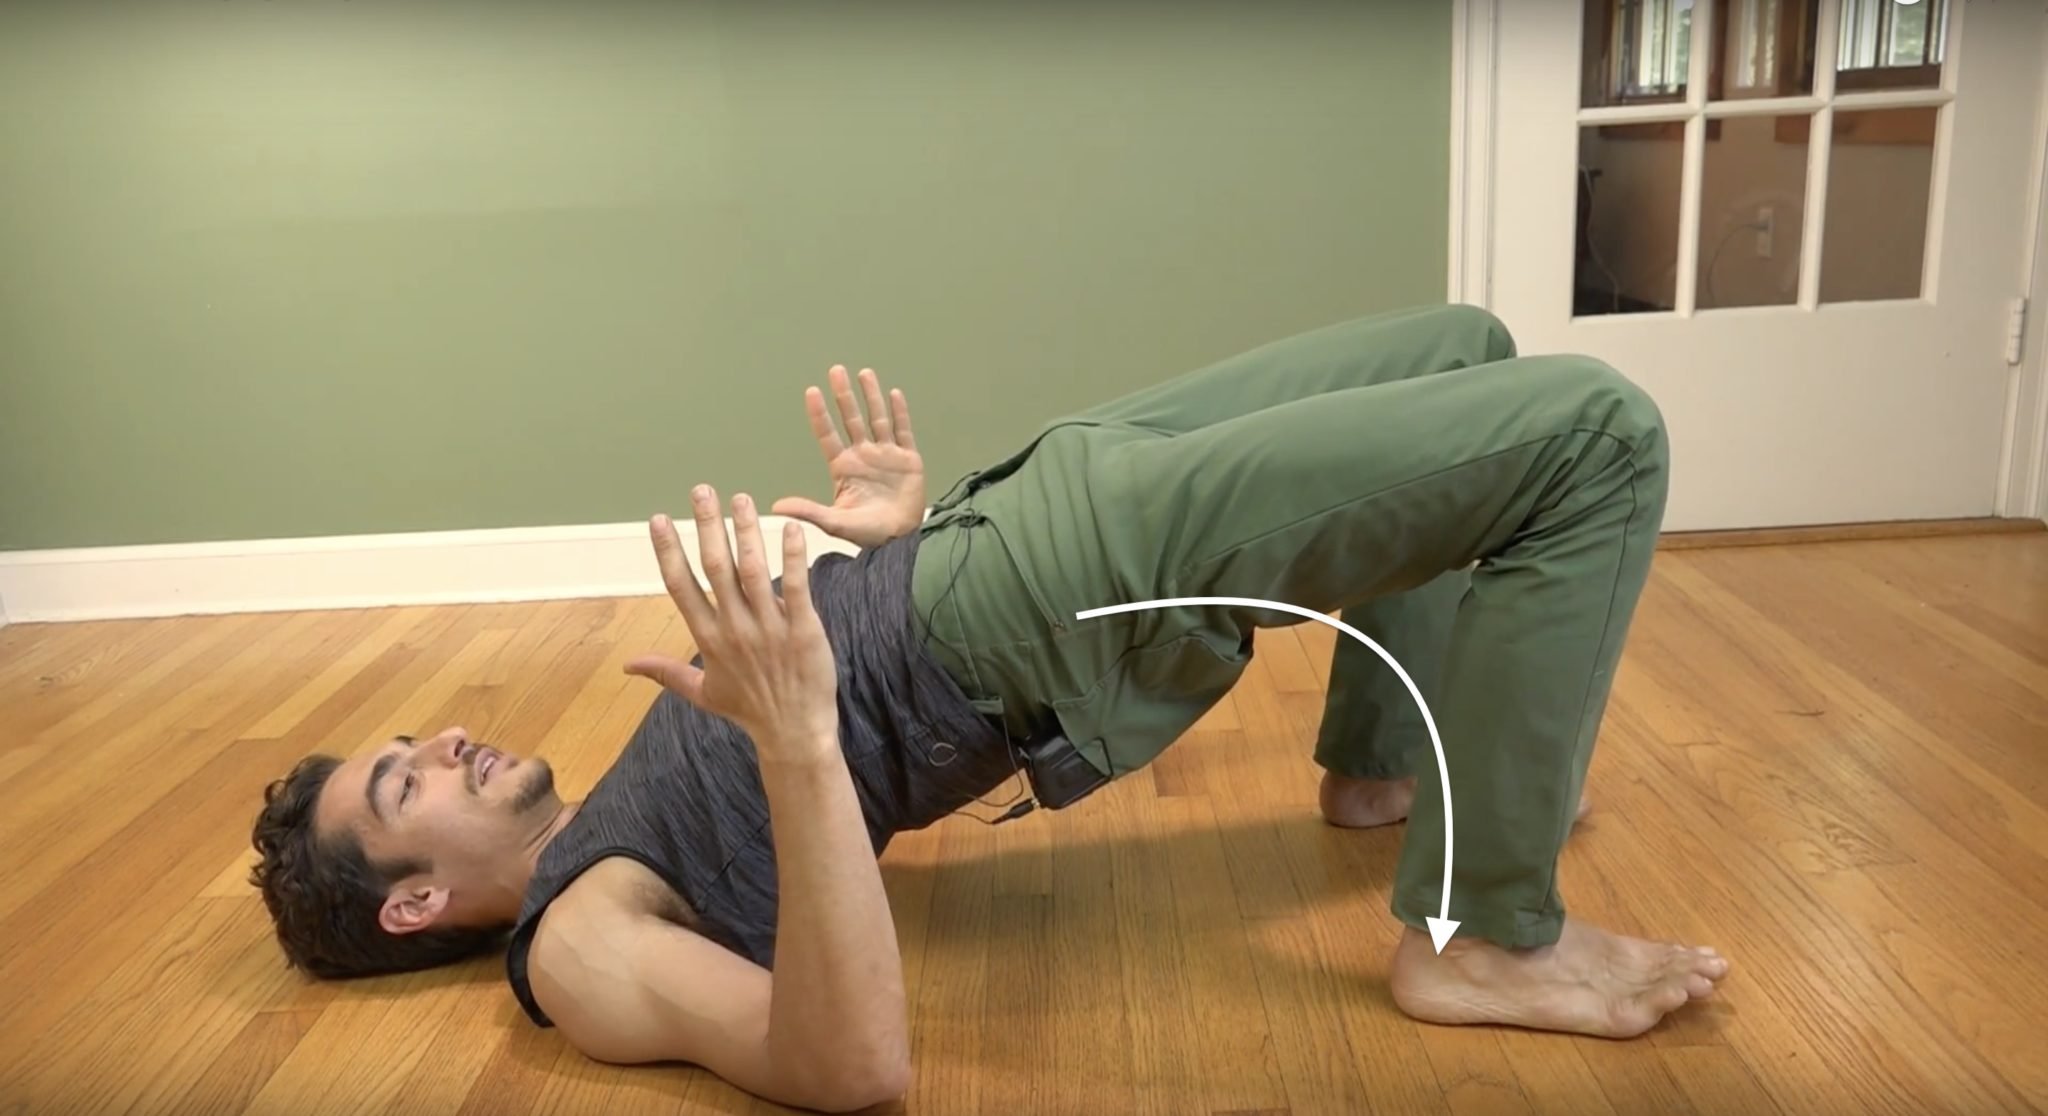
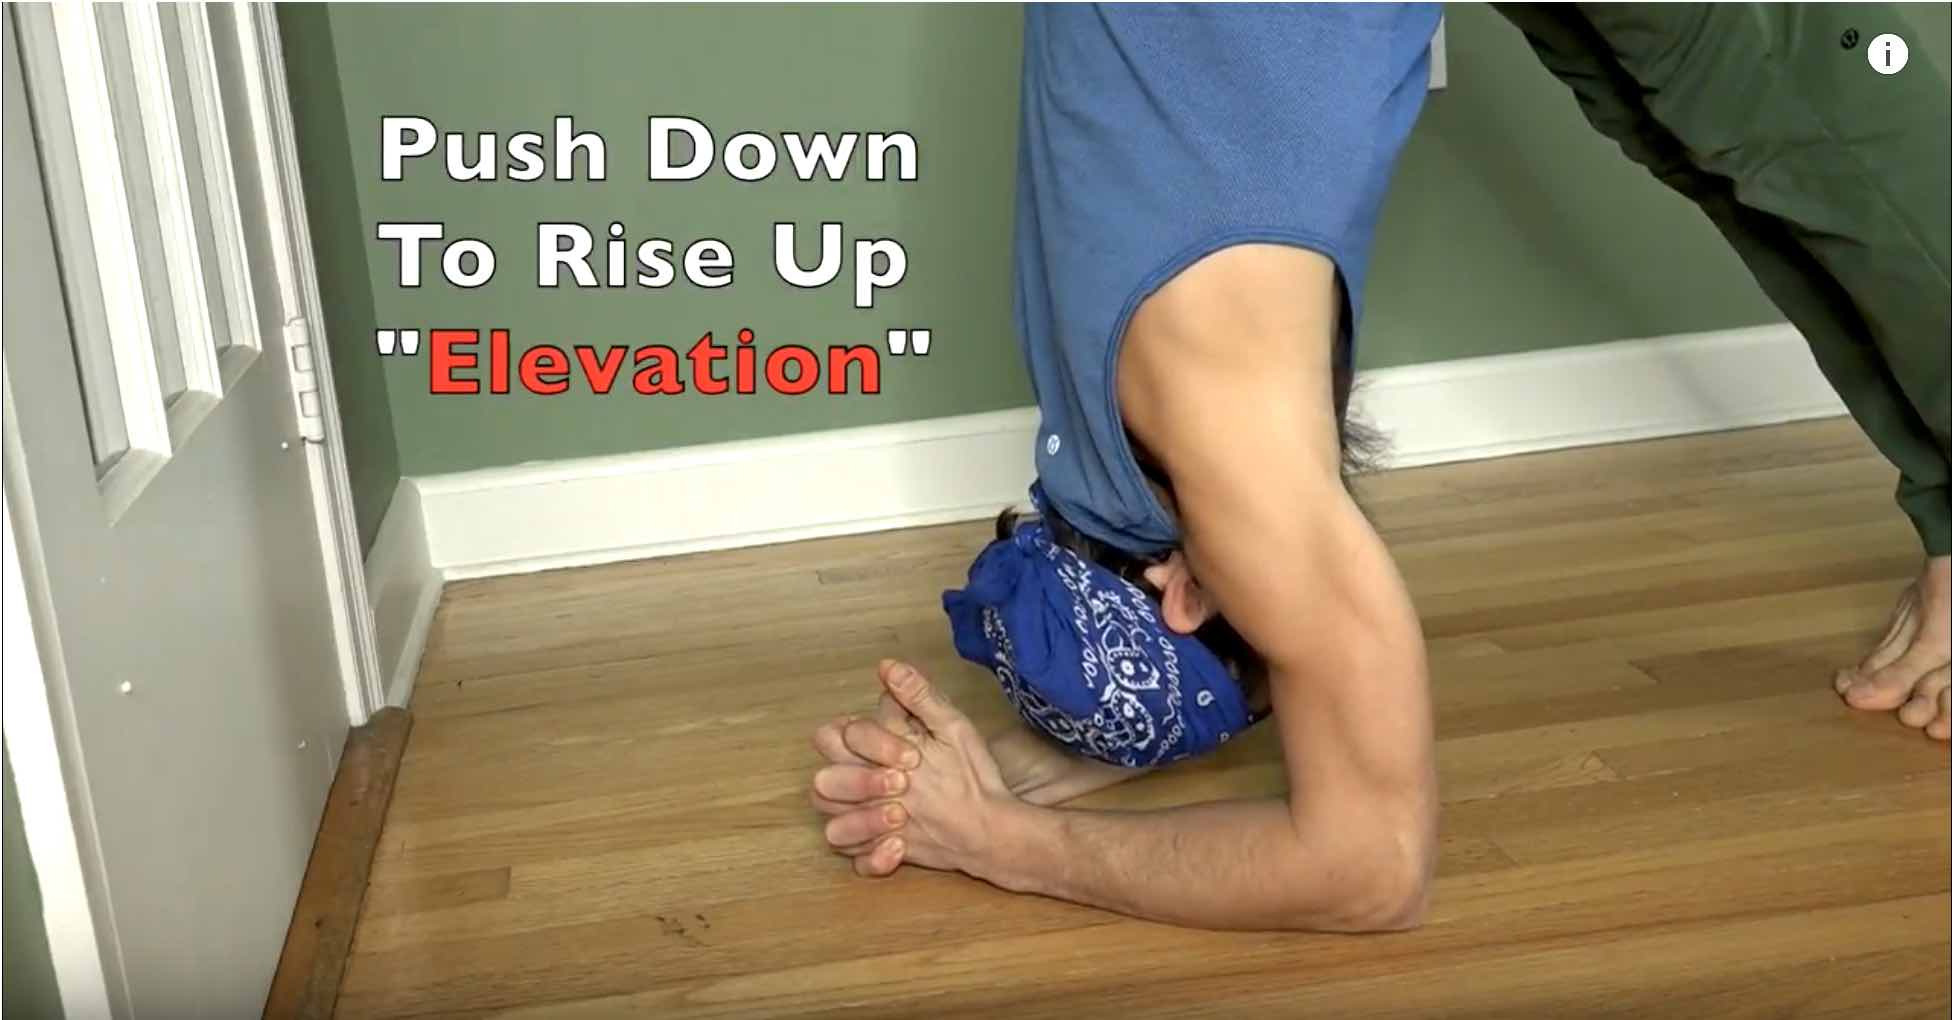
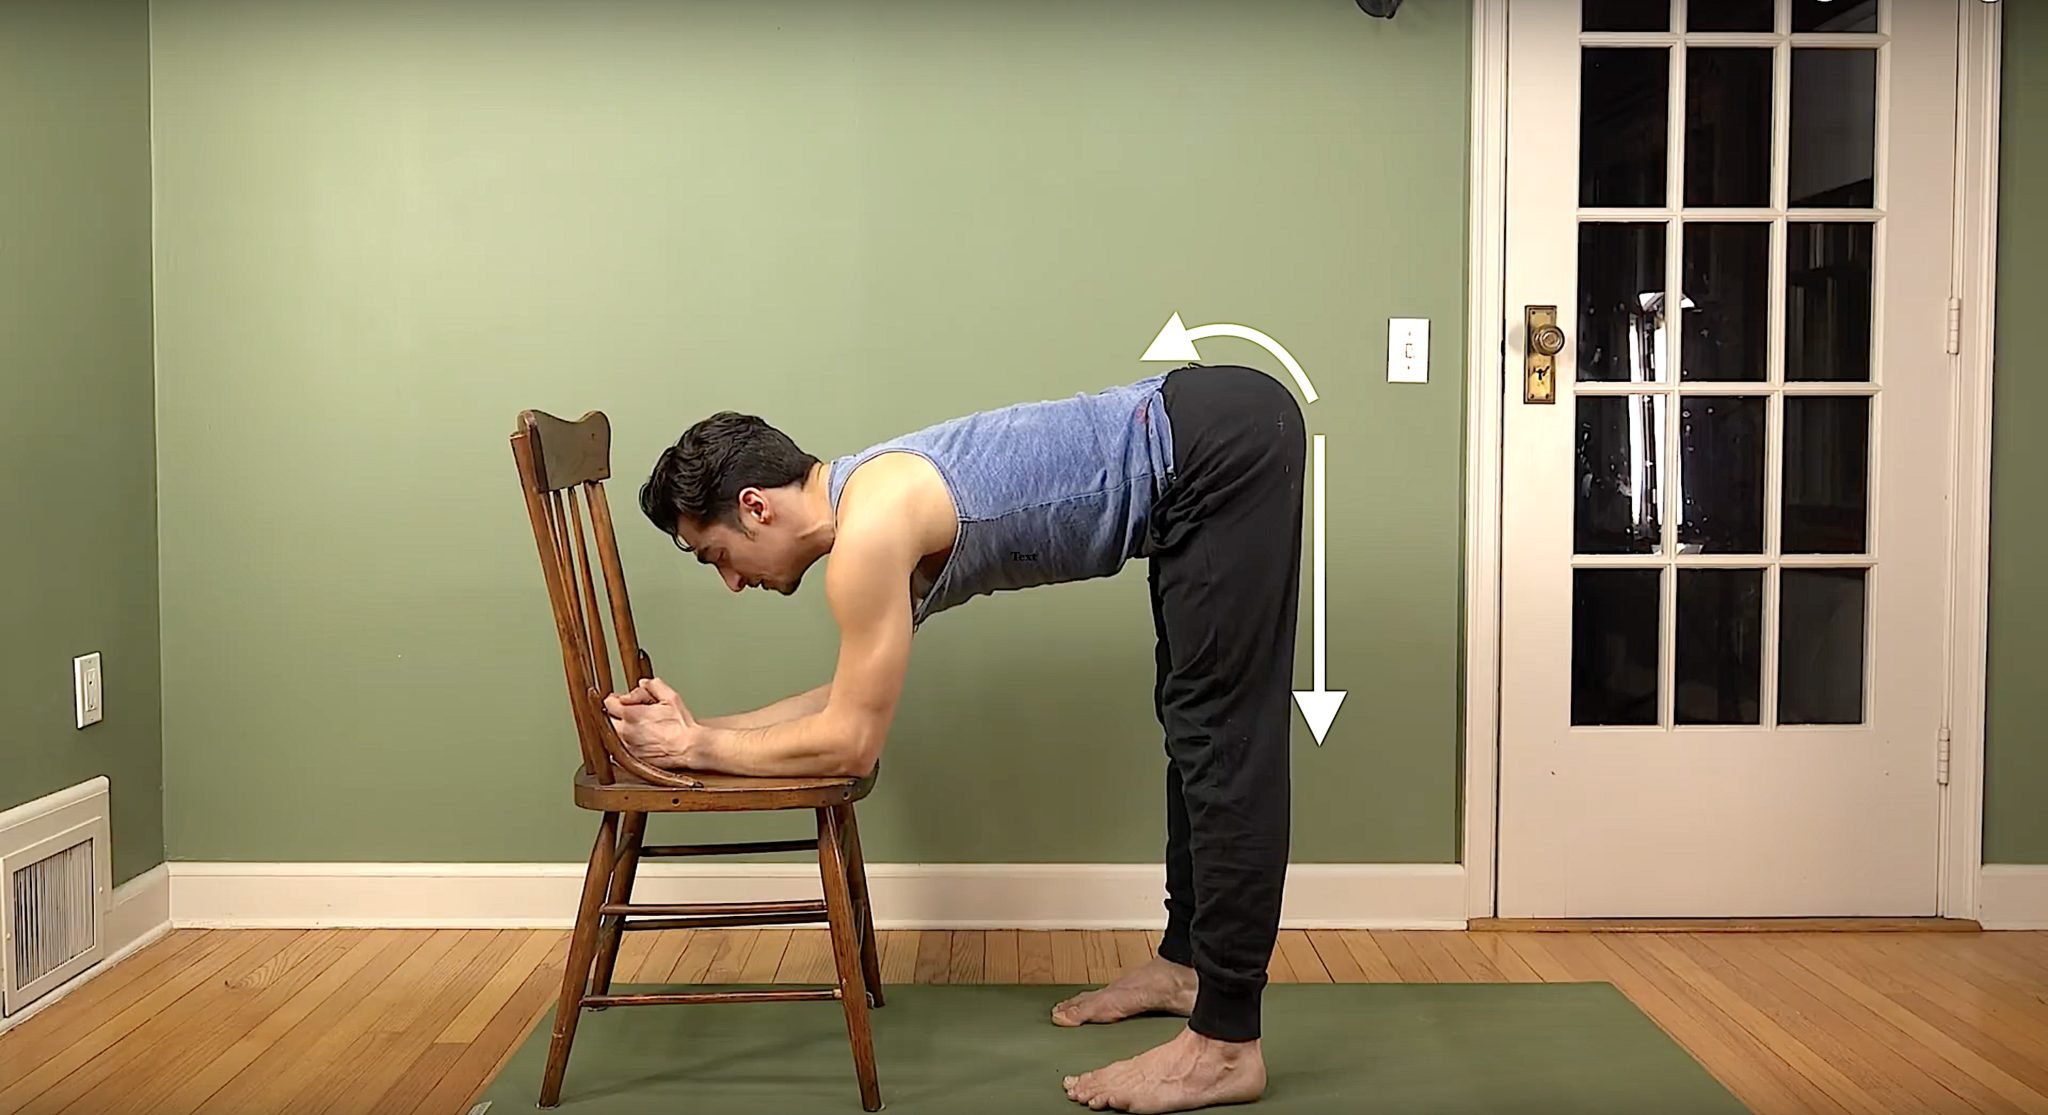
Part 3: If and only if your back feels great in Part 2, then you are ready to move to the next step. Here you re-engage your abdominals BUT NOT the outer abdominals. You’re not trying for a six-pack here. Instead, try drawing your abdomen UPWARD while pressing your low ribs forward. If you feel compression in your low back as a result, this means you pushed with your arms instead of pulling your belly up. Think of the image of a bow that I showed at the beginning of the above video. You have to press the center of a bow forward. Instead of pushing, PULL your low rib cage toward the front of the mat.

300 HOUR ONLINE TEACHER TRAINING
GET 500 HOUR CERTIFIED AS A MASTER TEACHER
Master your skill set as a teacher through refined techniques, anatomy, biomechanics, sequencing, philosophy, meditation techniques, theming, yoga business, and much more!
- Get 500 hour certified
- Learn anatomy, biomechanics, asana techniques
- Expand your teaching skills
- Masterful sequencing and verbal delivery
- Learn meditation and breathwork techniques
- Transformative tools: theming, dharma talks, satsang
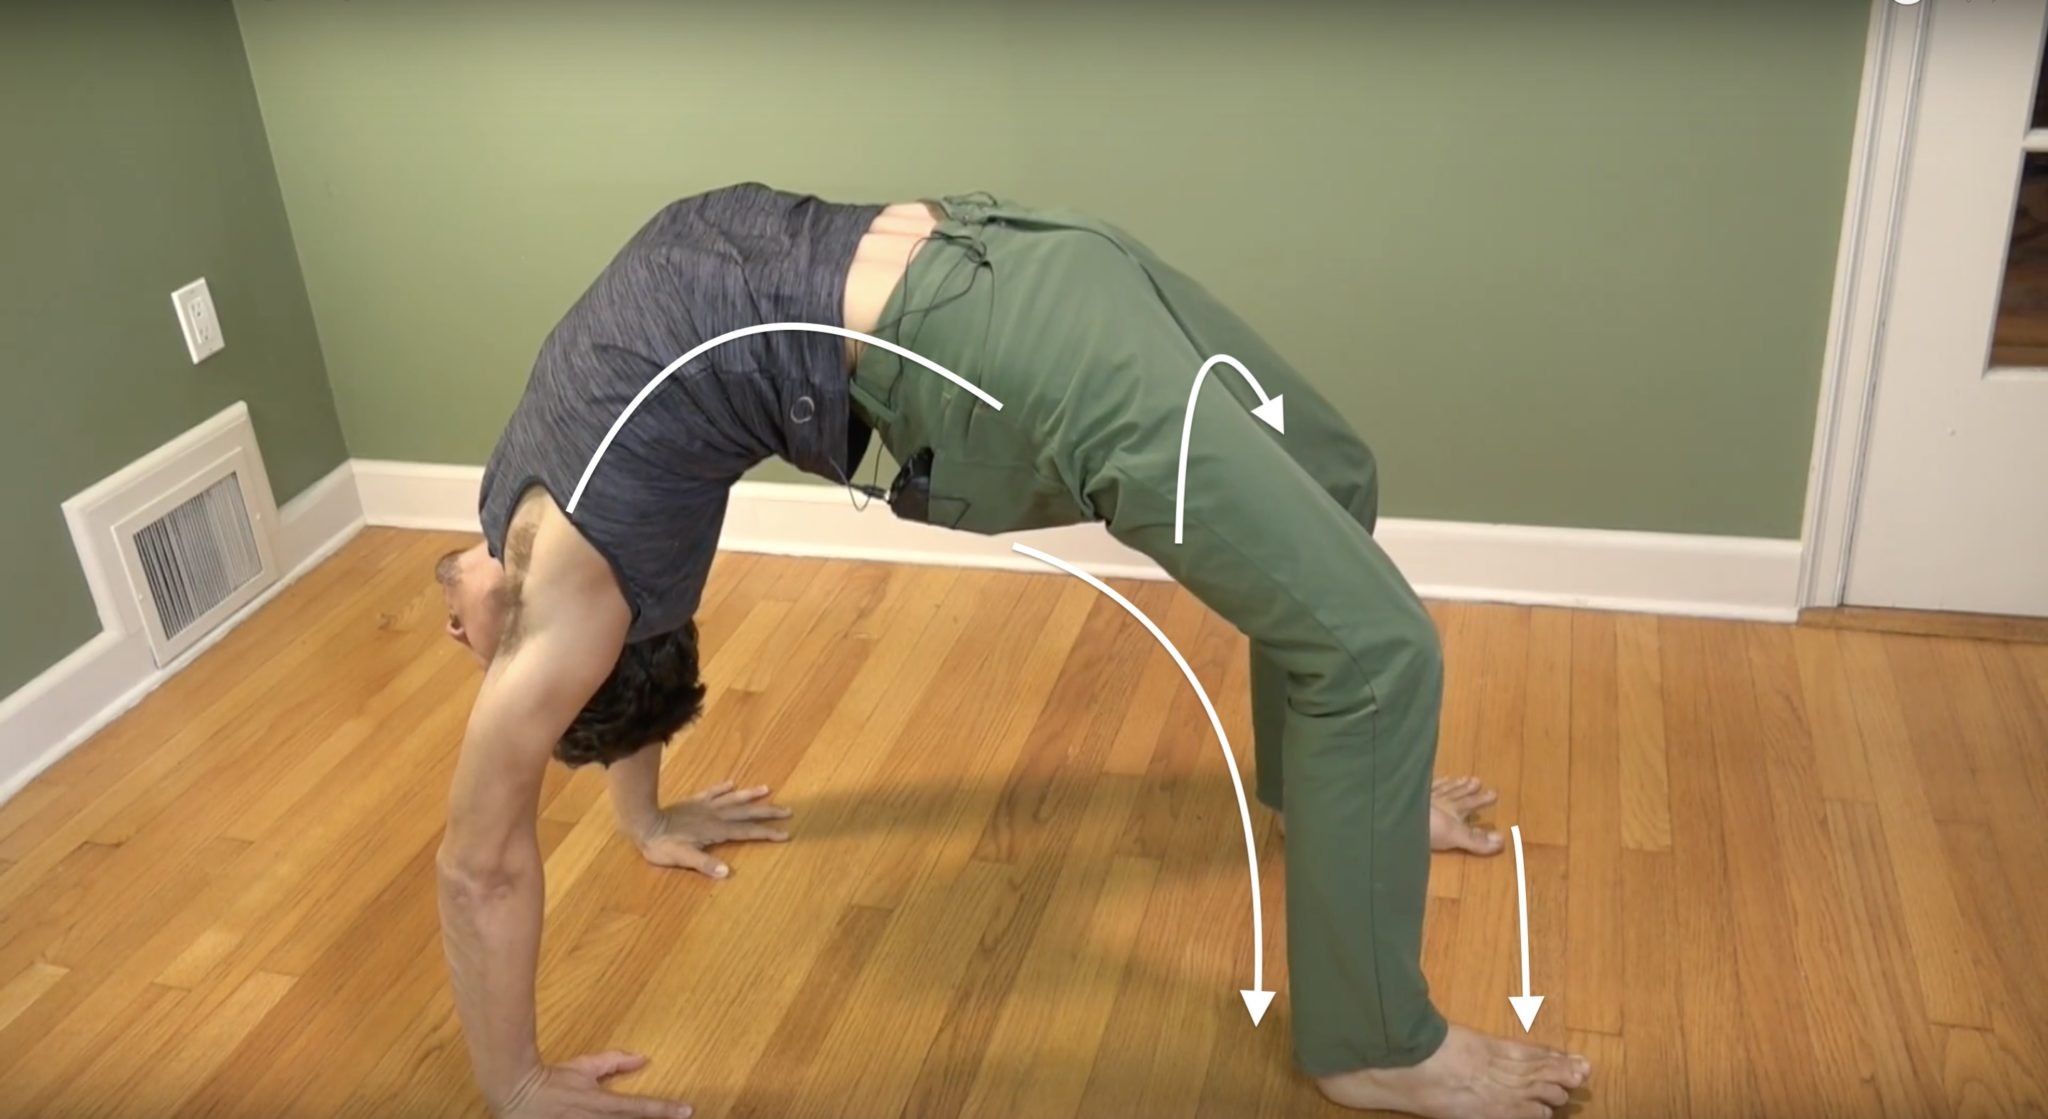
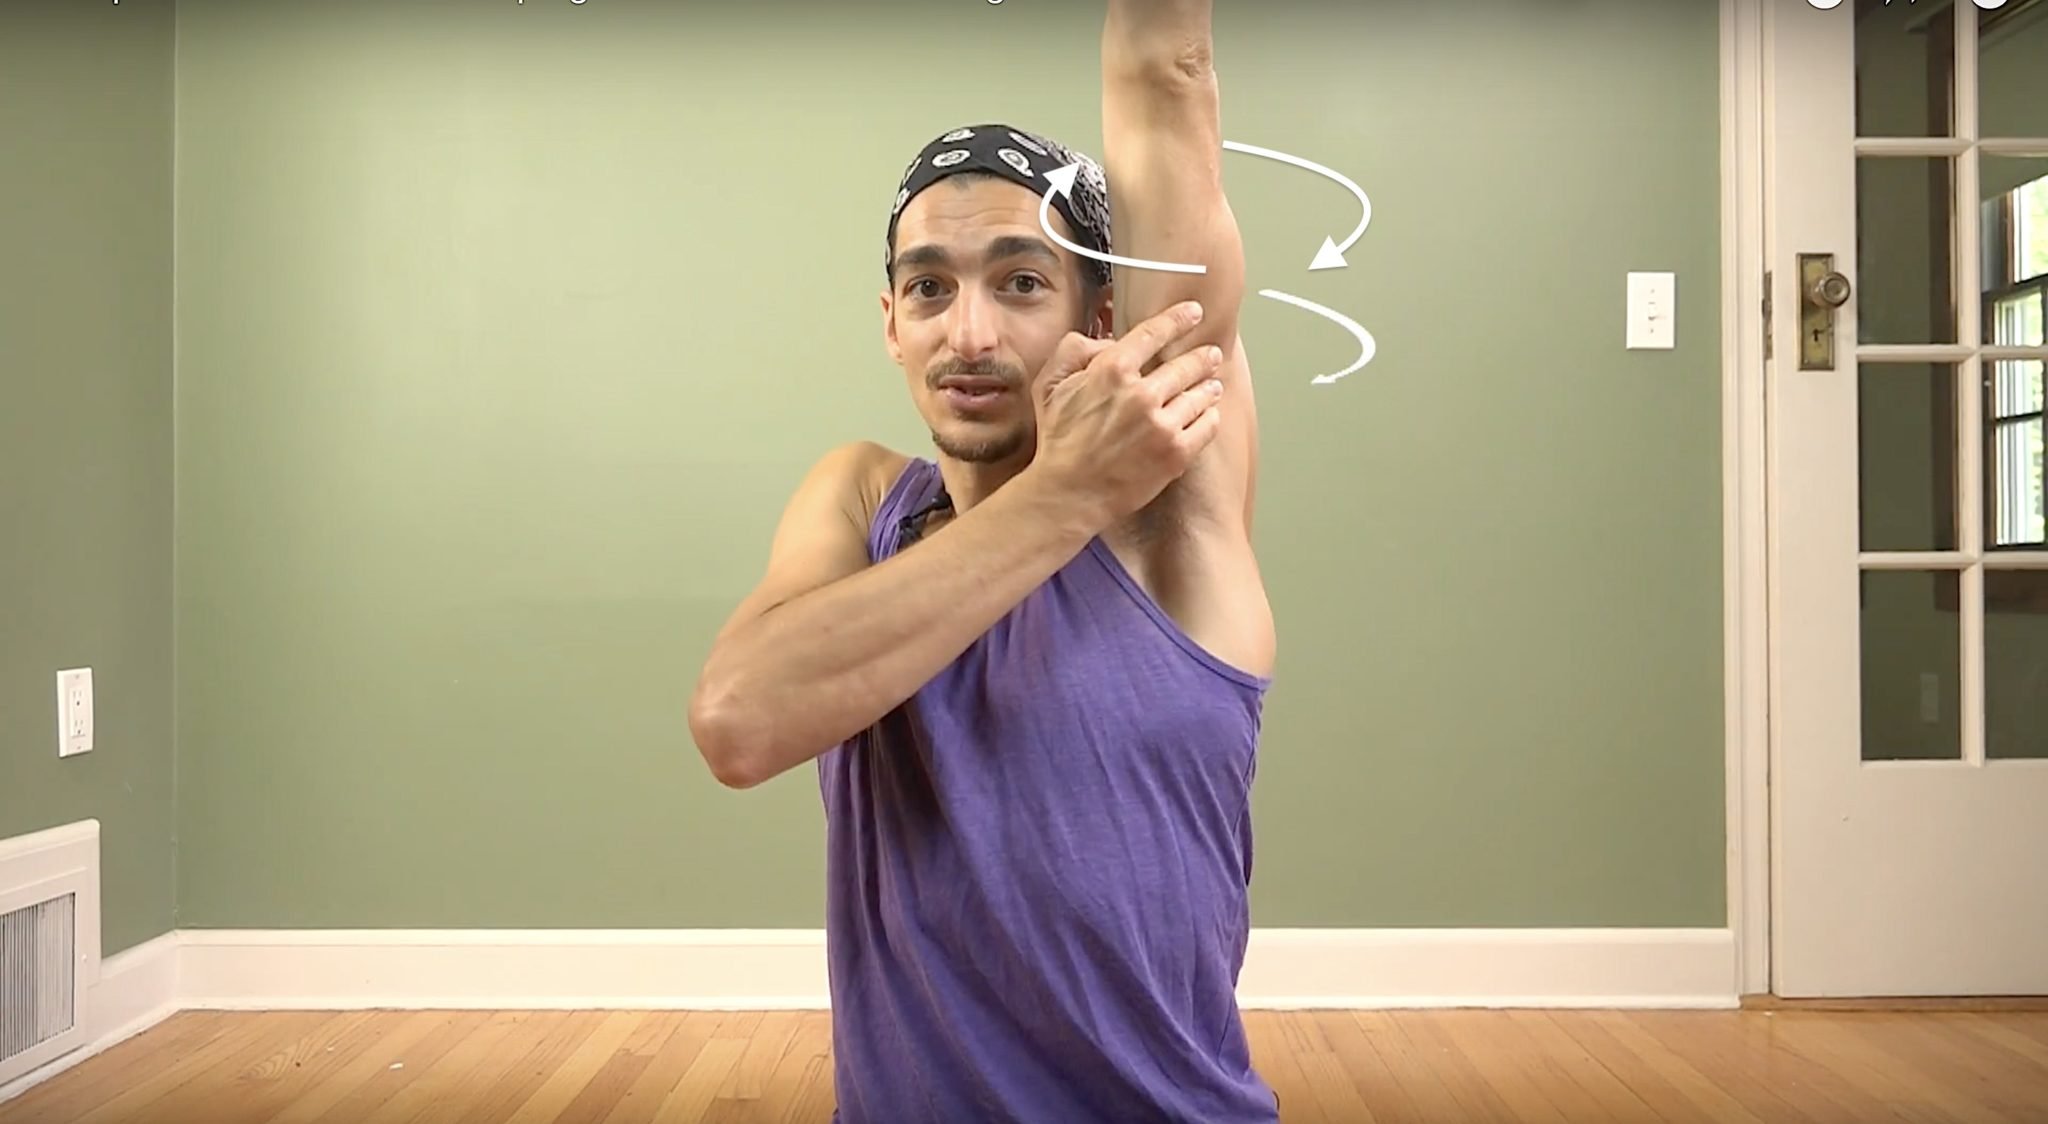
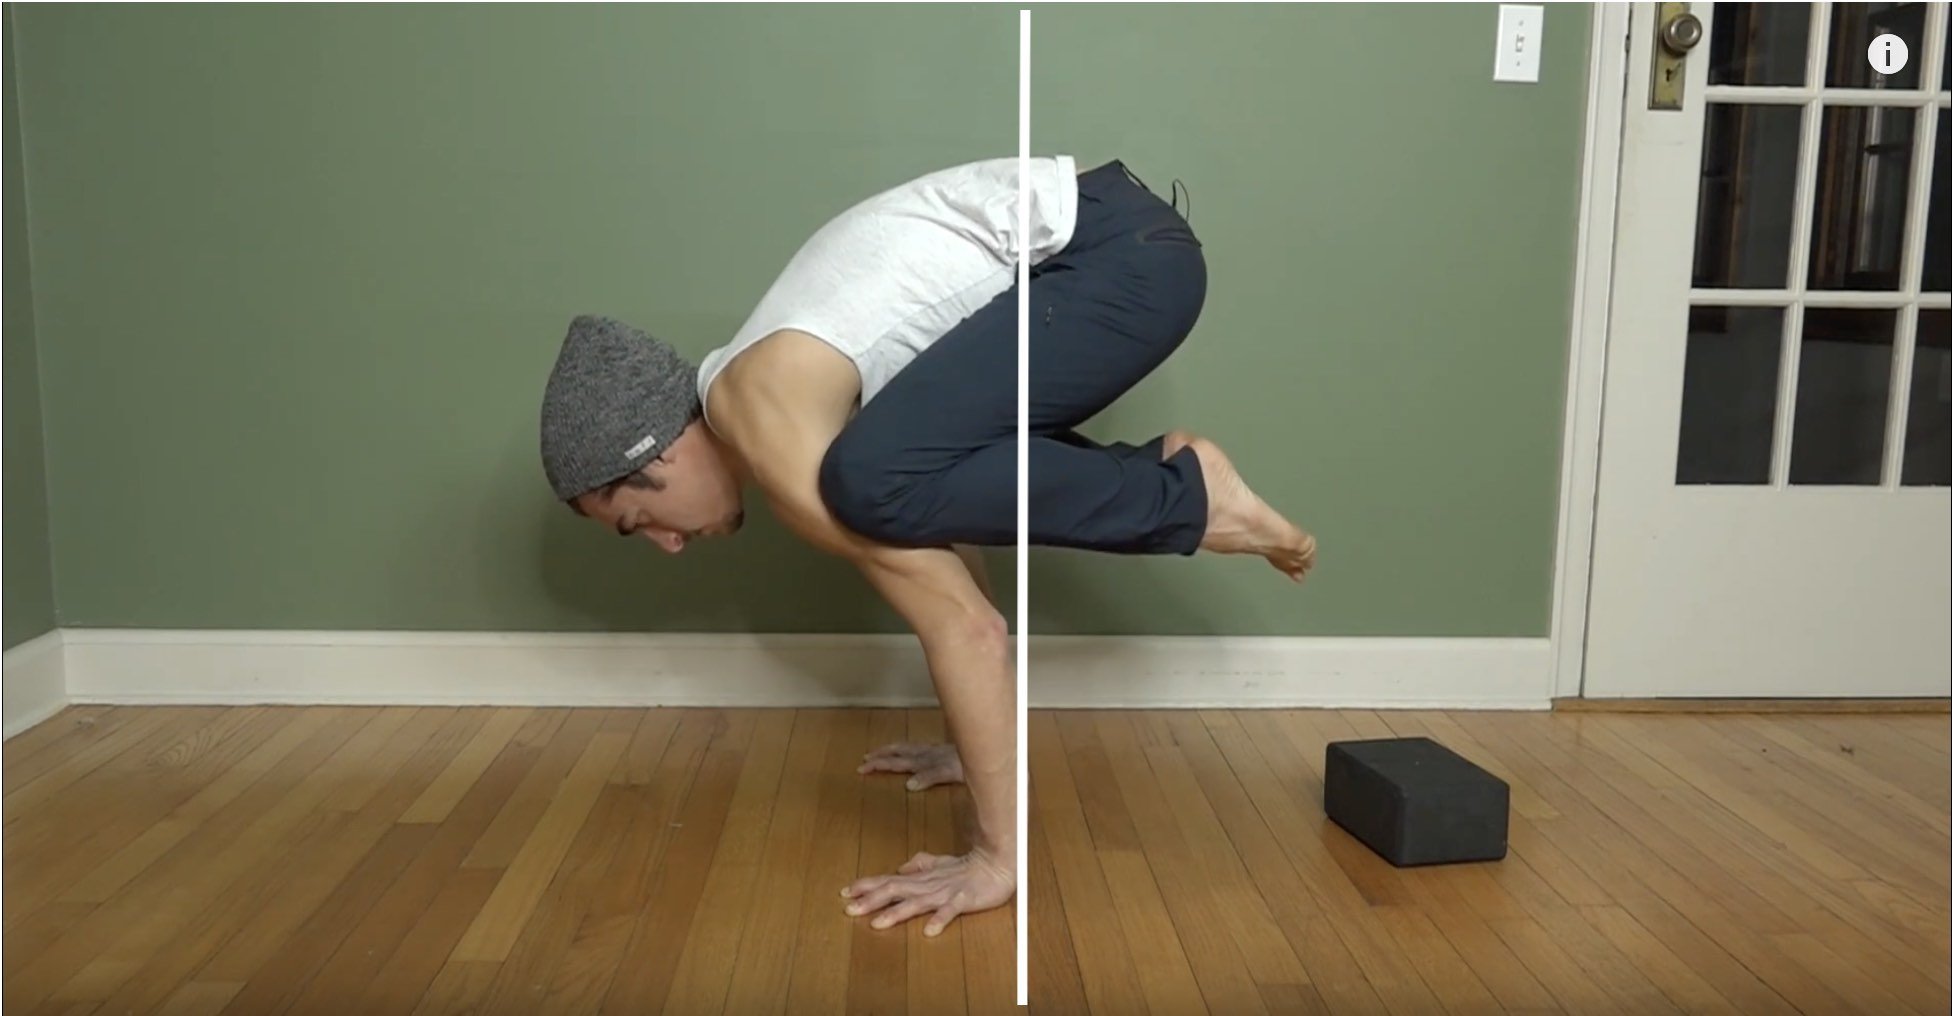
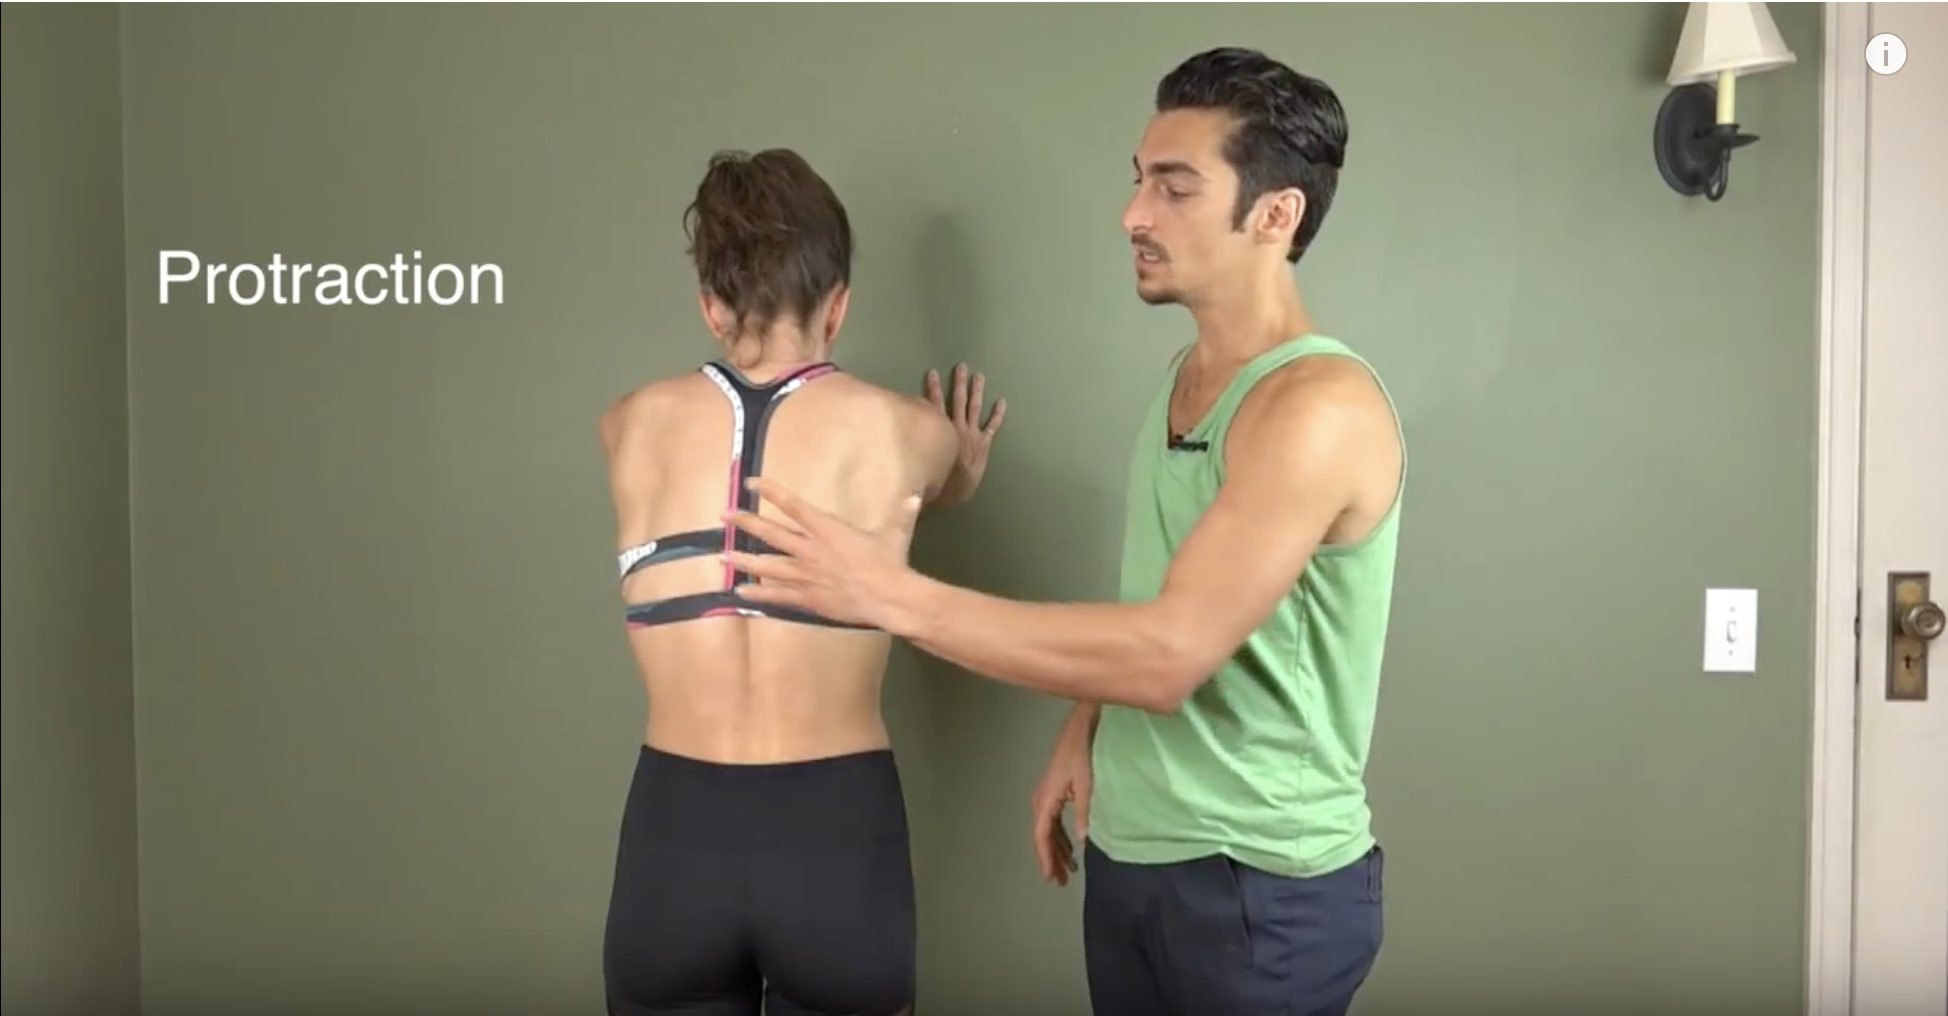
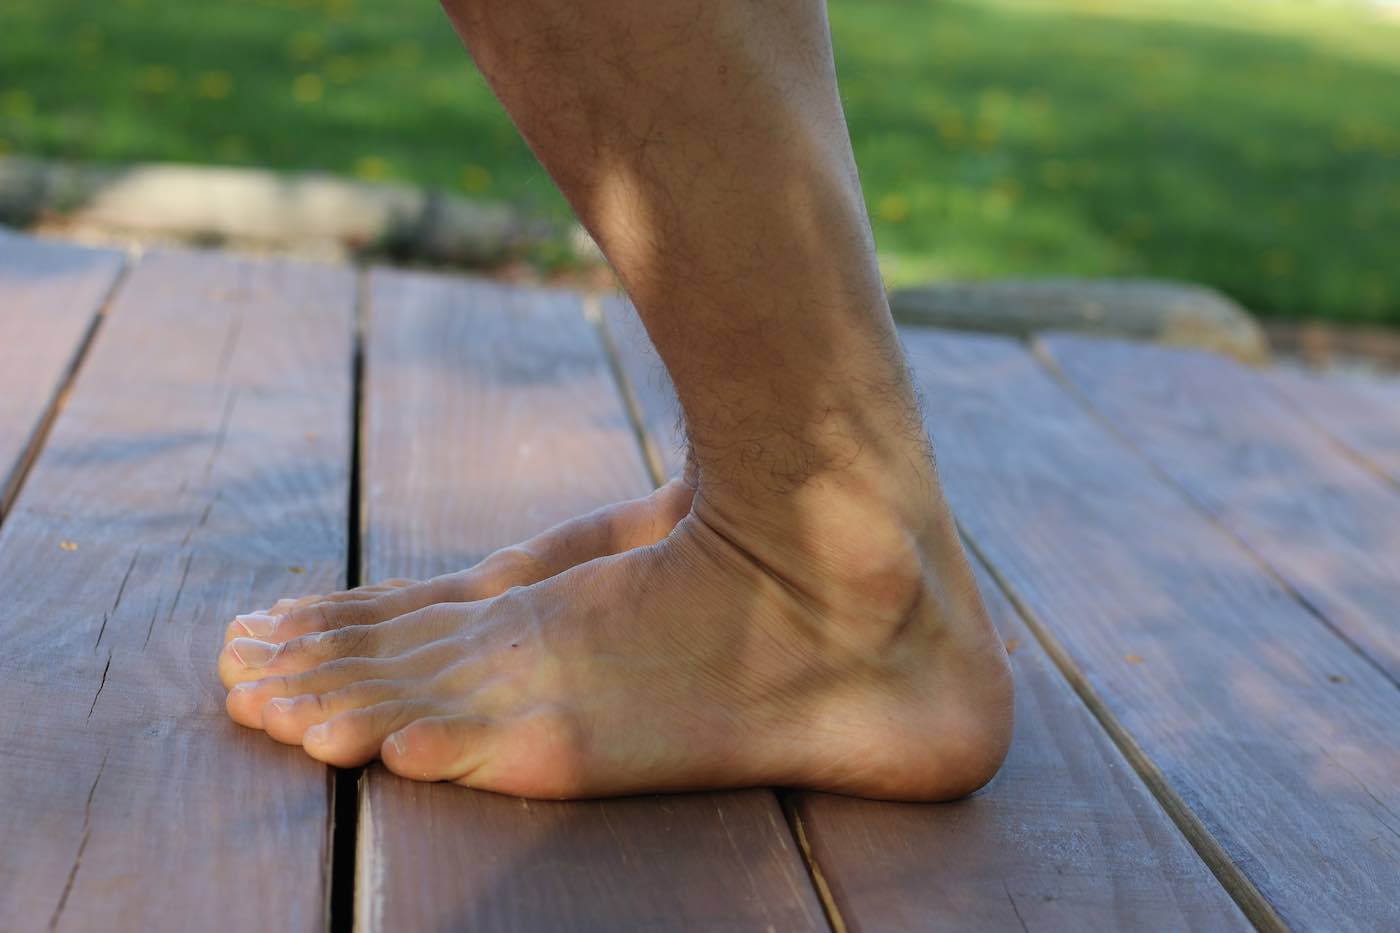
WHY IS THE ALIGNMENT OF COBRA POSE ON FINGER TIPS?
Someone asked me why I don’t suggest doing this pose with the palms of my hands planted on the floor. She said doing it this way gave her a much greater range of motion, pushing her torso higher up.
She is 100% right, and I told her THAT’S exactly why I use my fingertips.
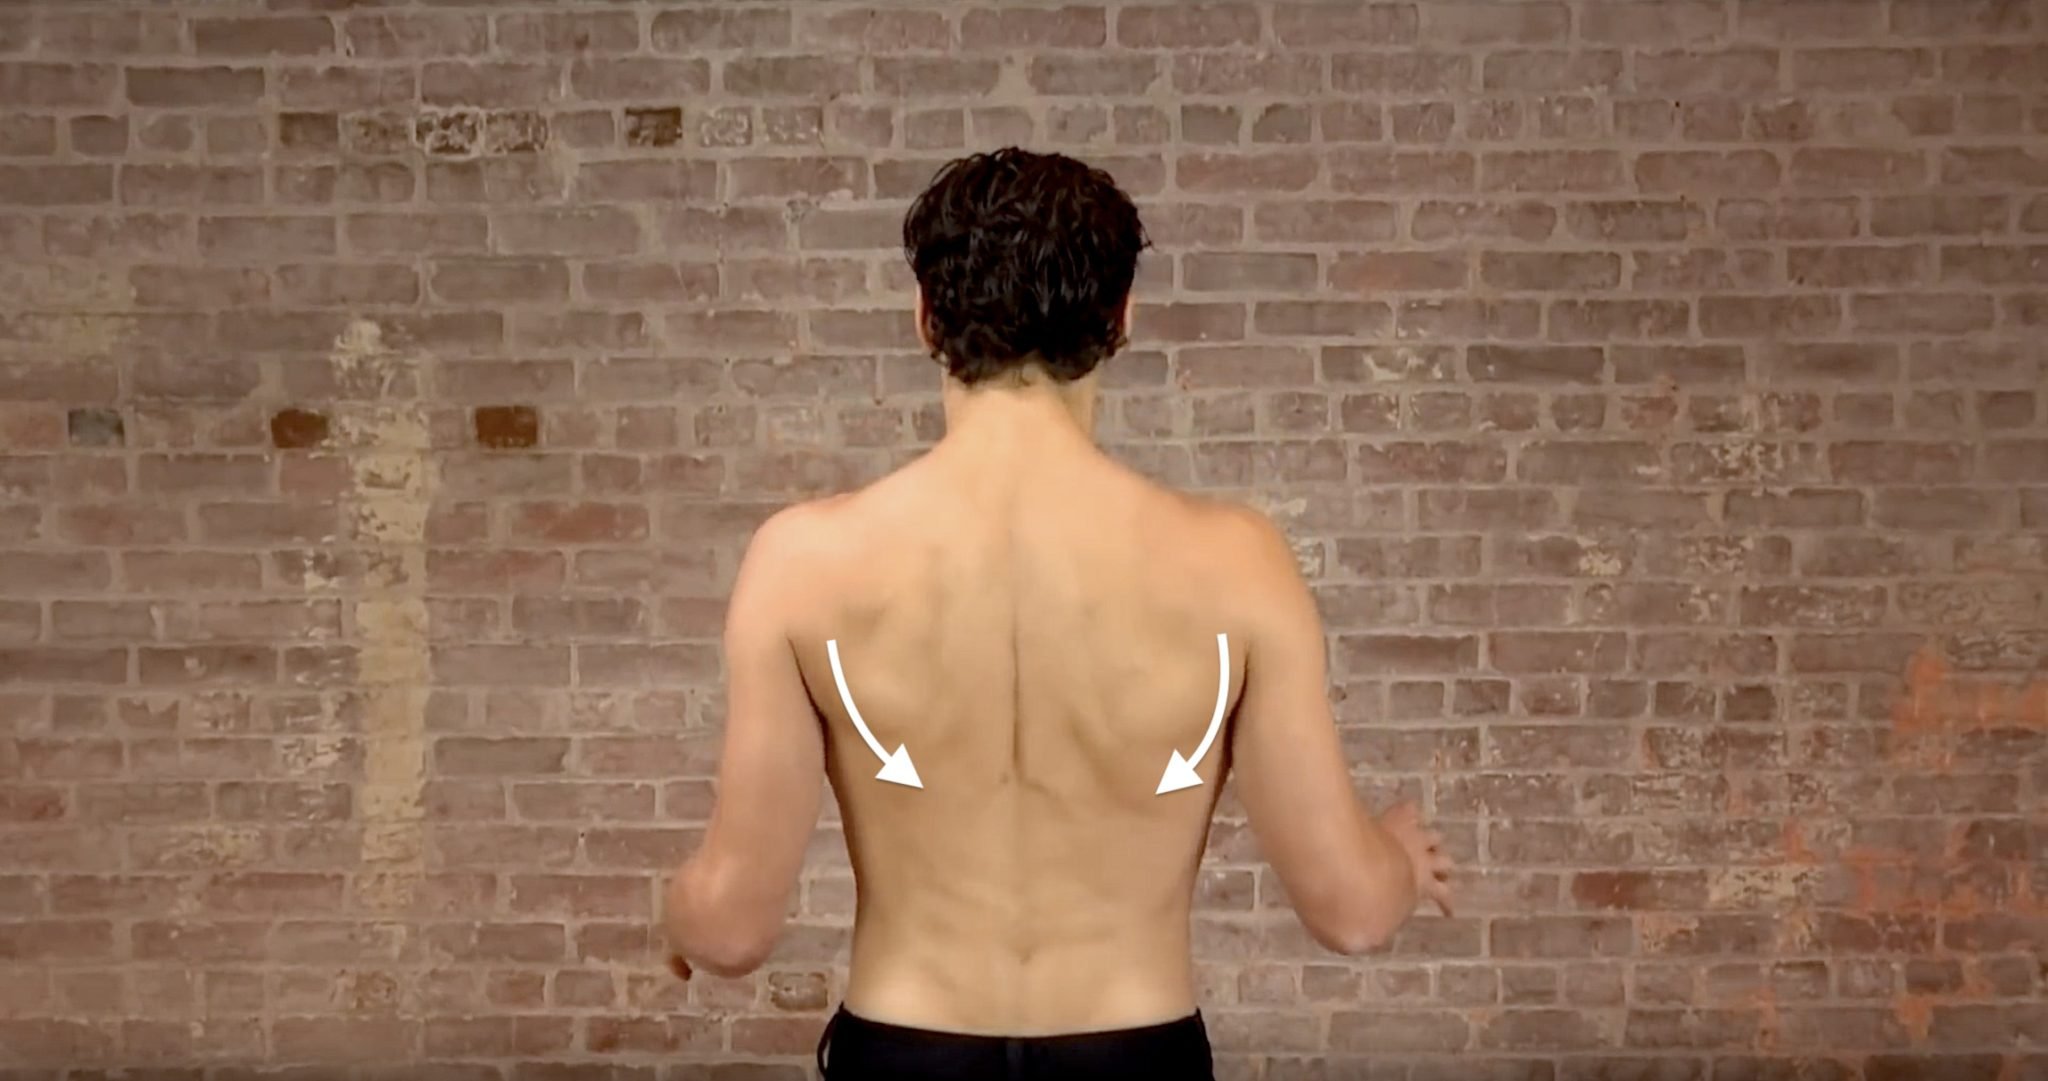
When we have palms on the ground, we have a tendency to push. We put less weight on fingertips, which forces us to use our back muscles (pull muscles). Instead of pushing the upper body into the lower body, causing an L-shape that compresses the lower spine, we will have an easier time pulling the rib cage away from the pelvis, decompressing the spine.
Of course, if you cannot do Cobra on your fingertips because it is causing you pain in your joints, then do not force it, but do your best NOT to push.

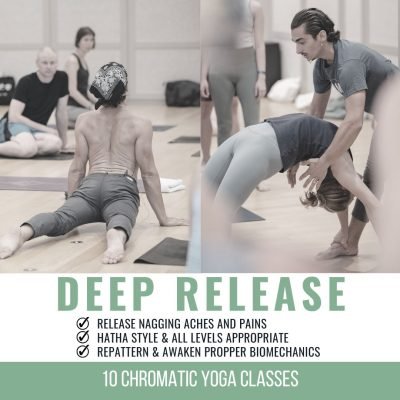
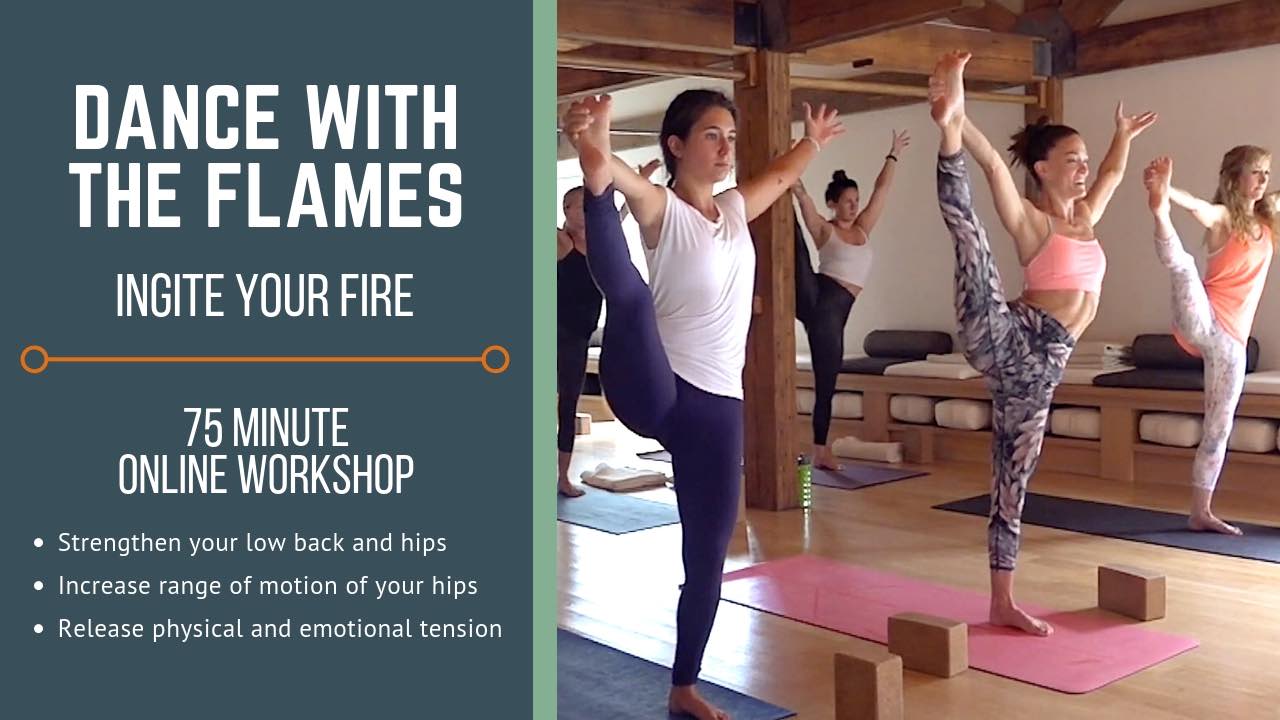
SPINAL AWAKENING
November 2021 Immersion
- Twists • side bends • forward folds • heart openers
- Learn techniques to strengthen and mobilize your spine
- Release back tension and discomfort
- Twelve 75-minute classes, all levels appropriate
- Advance your postural practice
- Lifetime unlimited access to all
$148.00 $118.00
PRO TIP:
Instead of measuring how deep your backbend is externally, feel it from the inside. When you push yourself up, it will certainly look like a deeper backbend, but you are only deepening 1 or 2 joints, and that is the problem. It’s better to appear like you aren’t going deep, instead feeling the depth within. This requires letting go of instant gratification and embracing true transformation, which always looks slow on the outside until one day, you are placing your feet on your head in a backbend.
Let’s review that one more time…
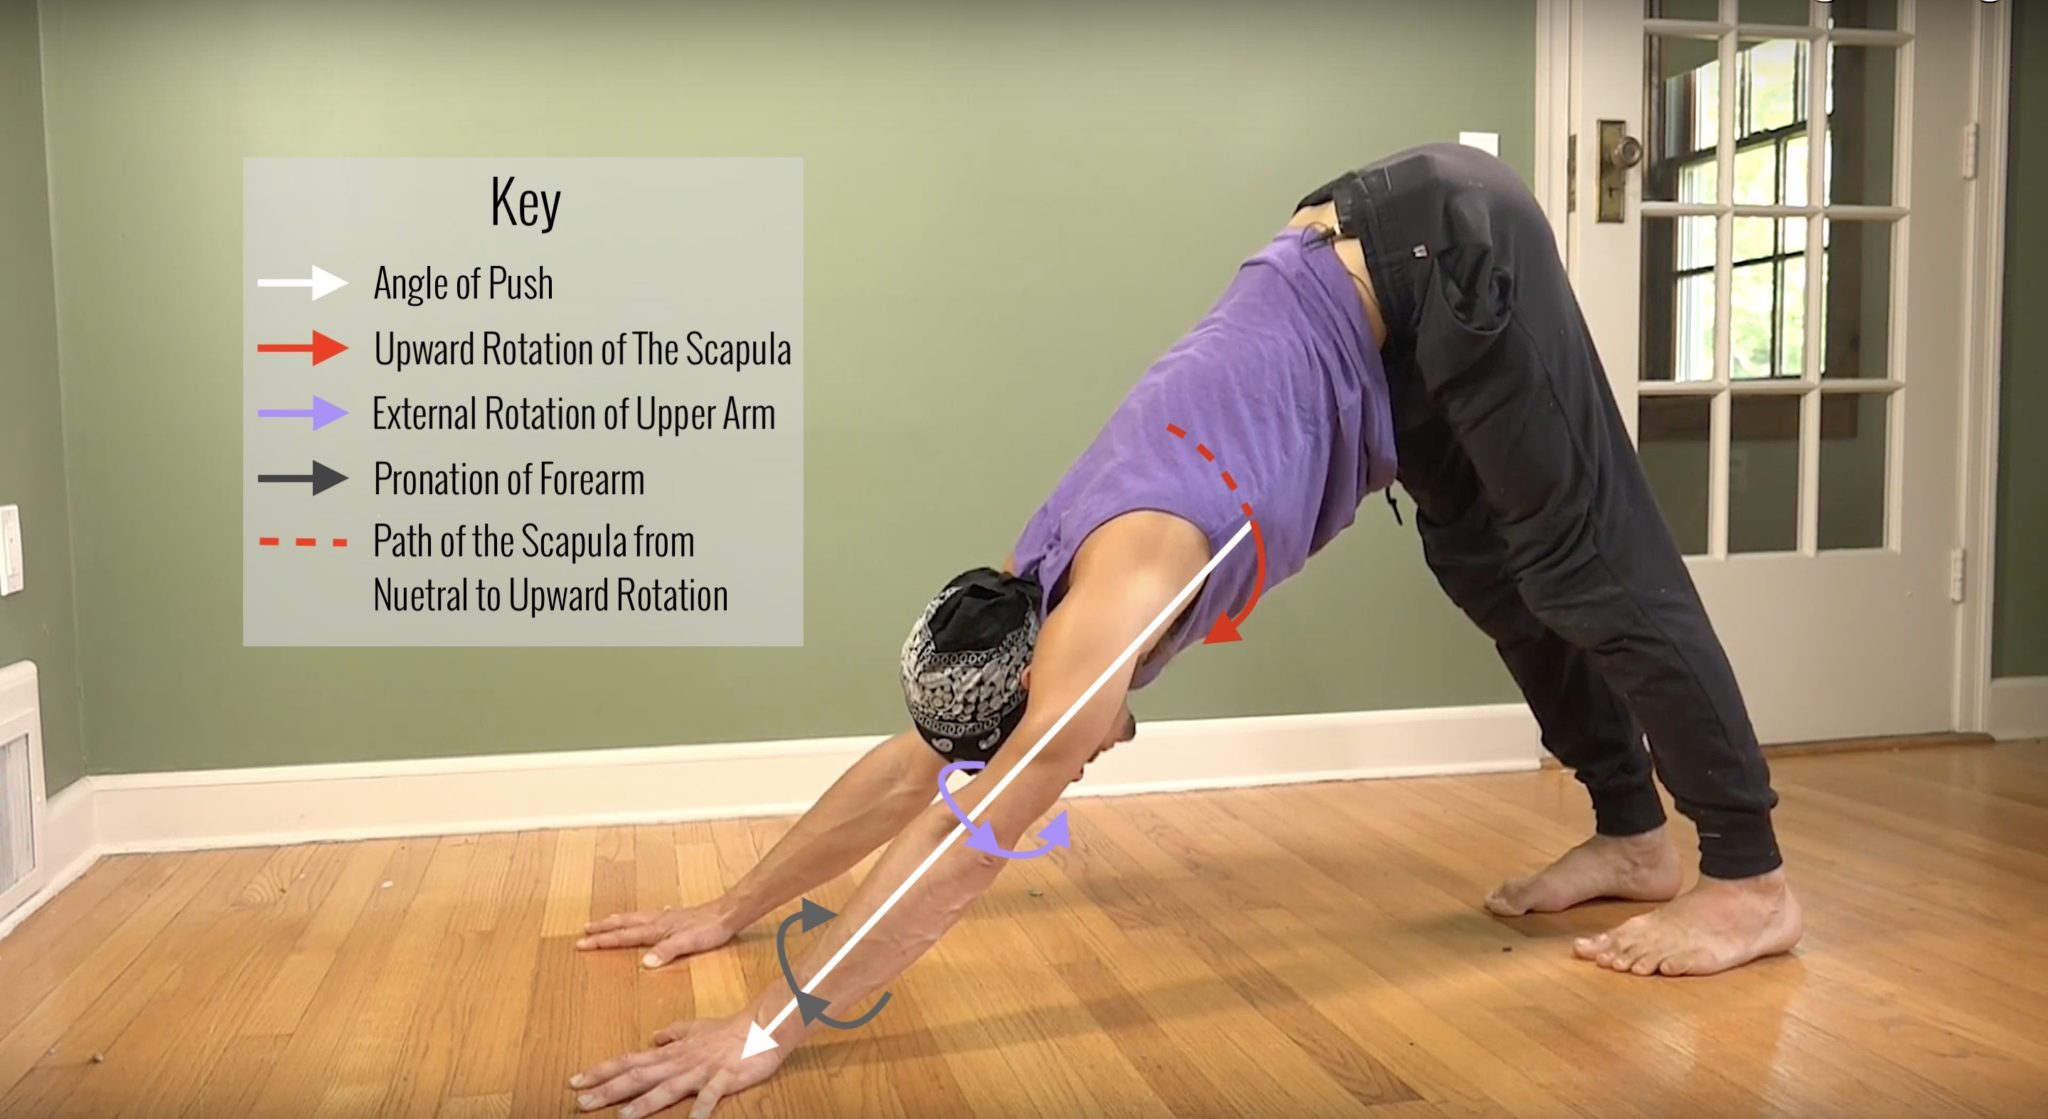
In a supportive backbend, it’s the center of the body — the ribcage — that bows forward in order to lengthen the spine. So it’s not a push of the hands that moves the body up and back; rather, it’s an engagement of the upper back muscles that pulls the chest forward and through the arms.
If you are ready to apply 3-part Cobra to release low back pain in backbends, then I highly recommend Journey to Bliss and Spinal Reset. Both of these immersions will share with you these steps and many more toward the goal of increasing spinal mobility and decreasing discomfort.
To learn more about the proper setup for Wheel Pose, check out Backbends and The Glutes with a short follow-along video.
TOP RELEVANT RECOMMENDATIONS:
1. MOVE•BREATHE•RELEASE (footage in above video)
2. HEART OPENERS 12-Class Immersion. Learn Techniques and Biomechanics for Backbends
3. THE SPINAL AWAKENING: 12-Class Immersion
MORE WAYS TO DEVELOP YOUR PRACTICE
- Live Immersions: 3 Classes Per Week
- 200 hour training: Get Certified
- 300 Hour Online Training: Get 500hr Certified
Edited by 300-hour Chromatic Yoga Teacher, Donna Morin
Continue Learning

The SI Joint
read more
Target The Hip Joint
Target The Hip JointalignmentTARGET THE HIP JOINT Unlike the hip joint, the movement available at the knee is primarily meant for flexion and extension. When we engage in hip opening postures in our yoga practice, there can be a great impact on both the hip and the...
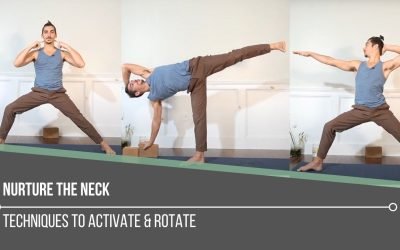
Nurture The Neck
Nurture The NeckalignmentNURTURE THE NECK The neck is not often the shining star of our yoga practice, yet it is an integral part. Too often, we may only offer more attention if we’re feeling pain in a particular posture. It’s important however, for us to be...
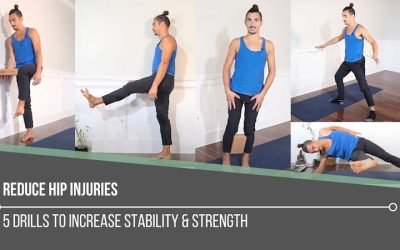
Reduce Hip Injuries
Reduce Hip InjuriesmobilityREDUCE HIP INJURIES The hip joint carries a great deal of responsibility. It supports many of our key movements in our daily lives. With all of its responsibility and involvement with how we move, it can act as a protector, while still...
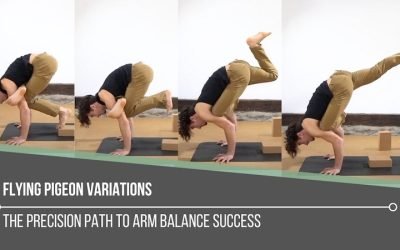
Flying Pigeon Variations
Flying Pigeon Variationseka pada galavasanaFLYING PIGEON VARIATIONS When we think of different variations of postures, it’s easy to think that we should practice either “this on, or that one”. What we may not entertain is the magnitude of focus we must place on the...
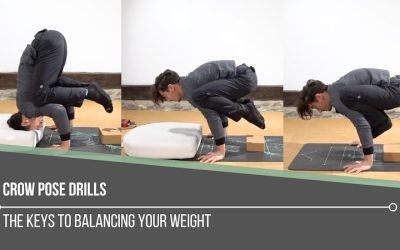
Crow Pose Drills
Crow Pose DrillsbakasanaCROW POSE DRILLS If we’re attempting to balance in a posture like Crow pose, then the understanding of the way in which we balance our weight is crucial. When we achieve this, not only will we find more confidence and comfort in executing the...
THE FREE TECHNIQUE PACK
When You Subscribe, You Will Get Instant Access to
- the Technique Pack: 15 yoga pose breakdowns
- exclusive online course discounts
- exclusive blogs and videos


![yoga backbend techniques: 12 classes [backbend technique to relieve back pain "bowing the spine']](https://www.theyogimatt.com/wp-content/uploads/2021/10/Archna-Mohan-chromatic-5.jpg "Archna Mohan chromatic")


![yoga backbend techniques: 12 classes [backbend technique to relieve back pain "bowing the spine']](https://www.theyogimatt.com/wp-content/uploads/2021/10/Archna-Mohan-chromatic-6.jpg "Archna Mohan chromatic")