Pelvic Floor & Groin SupportCOREPELVIC FLOOR AND GROIN SUPPORT Pelvic floor instability can quietly influence how we move and how safe we feel in our practice. Weakness or imbalance here may lead to groin strains, hip discomfort, or even low-back issues....
Arm Balance Transitions
Arm Balance Transitions
kakasana
ARM BALANCE TRANSITIONS
Arm balance postures can be challenging enough without attempting to layer on a smooth transition in and out of them. However, fluid transitions are a natural progression in our yoga practice; they also provide another way to challenge our potential and our body control between postures. In particular, the road to executing a transition in and out of Crow Pose may at first appear daunting, but when armed with the right tools, techniques, and beliefs, we quickly learn to appreciate the process itself. The education we receive from today’s video helps us incrementally break down the steps of each transition in and out of Crow Pose. This aids not only our individual practice but also in how we might guide our students if we are yoga teachers.

THE POSE FACTORY
WAITLIST NOW OPEN
- Dogmatic alignment versus functional alignment
- Learn popular postural pitfalls
- Myths versus truth
- Formulaic approach for comprehensive learning
- Excellent guide for yoga enthusiasts
- Must-have for yoga teachers
- Joint-health awareness
- Muscle integrity, range of motion
- Props for accessibity
- Alignment alterations in the case of injuries
SLIDE INTO CROW
When sliding from Plank to Crow (the first transition), we start on all fours. First, we protract the shoulder blades and round the spine. Once this is set up, we alternate by pulling each knee towards the outside of the triceps. These actions provide a good reading of the hip flexors in order to see if we have enough range of motion. If this is limited, more strength is required.
After range of motion is established, we can explore further. An example would be to maintain a lift of the knees off of the ground during the drill, eventually moving the legs back further into a Plank position and finally balancing Crow.
It’s the finer details, however, that make a large impact. Leaning forward as the legs go back and forth is imperative. In addition, activating the adductors by hugging the knees into the triceps will make Crow more accessible.
WATCH THE VIDEO
ARM BALANCE TRANSITIONS : CULTIVATE PROFICIENCY IN CROW POSE SLIDES
CROW TO CHATURANGA
Even though the transition from Crow to Chaturanga is a “jump back,” Matt teaches us to still treat it like a slide. He demonstrates how this will encourage more control and ease. He also mentions that this transition may even be easier than the more common transition from Uttanasana to Chaturanga. This may be because the feet are already elevated (if we’re balancing Crow), so we simply straighten the legs and slide back. It makes sense then that even if we are not elevating the feet, but our bodies are in the shape of Crow with the toes pointed, we can still slide back, making the “jump back” more graceful and refined. Beyond sliding back, it is essential to keep the weight in the hands and allow the chest to go forward as the feet are gliding back.

200 HOUR ONLINE TEACHER TRAINING
GET CERTIFIED & DEEPEN YOUR YOGA PRACTICE
- Deepen your yoga practice
- Build confidence speaking in front of groups in person and online
- Learn foundational class structures and templates
- Learn techniques for a wide range of yoga postures
- Get certified and highly qualified to teach yoga
- Yoga Alliance Globally Recognized Certification Program
DOWNWARD DOG, PLANK, CROW, CHATURANGA
As it is the Chromatic way to break things down into a digestible, step-by-step approach, Matt dials back the “jump forward” transition into Crow. In this dissection, we go from Downward Dog to Plank to Crow, and then floating back to Chaturanga. One of the most important things about the Chromatic approach is our attention to the process. Exploring in this way helps us learn more about our bodies and guide our next steps. If we adopt an attitude of playfulness, we’re more inclined to stay present and release the pressure of a results-oriented attitude. To be clear, this doesn’t mean that we don’t see results; it’s just that the results may not be what we expect. For example, if we don’t balance in Crow after the transition, we are still strengthening the physical body and training the nervous system, which cultivates an imprint for transformation.

300 HOUR ONLINE TEACHER TRAINING
GET 500 HOUR CERTIFIED AS A MASTER TEACHER
Master your skill set as a teacher through refined techniques, anatomy, biomechanics, sequencing, philosophy, meditation techniques, theming, yoga business, and much more!
- Get 500 hour certified
- Learn anatomy, biomechanics, asana techniques
- Expand your teaching skills
- Masterful sequencing and verbal delivery
- Learn meditation and breathwork techniques
- Transformative tools: theming, dharma talks, satsang
JUMP IN
Armed with more playfulness, we offer ourselves the permission to jump into further action. We will only take this next step of exploring this transition if we already have the ability to confidently balance in Crow.
In this final transition, we are literally jumping into Crow straight from Downward Dog. We see in the video that we are still encouraged to take a “step back” in preparation. Matt demonstrates that this is done by shortening the distance between the feet and hands in Downward Dog and then proceeding to jump forward. Maintaining the mechanics of keeping the feet low while maintaining a “sliding” energy during the transition will help us refine our skills.
Click here to be added to the waiting list for Matt’s next online course, The Pose Factory, if you’re interested in further refining your foundational skills.
The 200 Hr. Teacher Training: Click Here to See the Next Start Date
The 300 Hr. Advanced Teacher Training: Click Here to See the Next Start Date
Article by Trish Curling
Video Extracted From: MOVE Immersion

ONLINE ANATOMY COURSE
- Accessible, exciting, and easy to learn
- Anatomy and biomechanics for yoga
- Appropriate for both teachers and students
- Learn joint alignment vs pose alignment
- Demystify yoga poses and transitions
- Release aches and pains
- Learn how to avoid common injuries
- Caters to all levels with modifications and props
- 20 hours Continued Education Credits with Yoga Alliance
- 20 hours toward Chromatic Yoga Certification and 300 Hour
- Lifetime access
Continue Learning
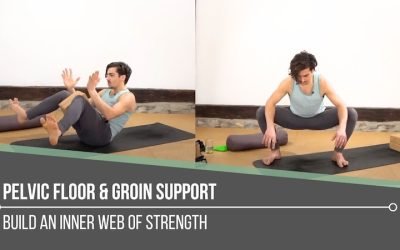
Pelvic Floor and Groin Support
read more
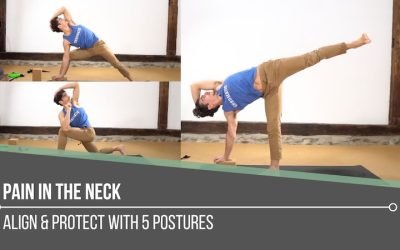
Pain In The Neck
Pain In The NeckSTABILITYPAIN IN THE NECK A pain in the neck can be more than just an annoyance. It can ripple into the shoulders, spine, and even the jaw, creating discomfort that affects the whole body. Often, this pain stems from subtle misalignments: a chin that...

King Pigeon Preparation
King Pigeon PreparationHIP OPENINGKING PIGEON PREPARATION King Pigeon demands more than flexibility; it asks us to build carefully and deliberately. Progress comes not from leaping into the deepest version of the posture, but from cultivating strength, control, and...
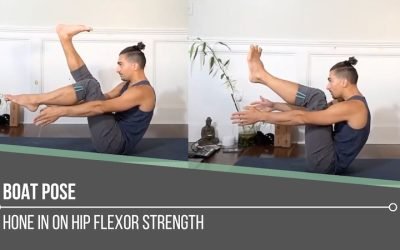
Boat Pose
Boat PoseNAVASANABOAT POSE Our bodies are intelligent and adaptive, often finding ways to compensate when certain muscles are underused. Over time, these patterns can create imbalances, leaving some muscles overdeveloped and others neglected. In yoga, one area often...
Scorpion Pose Evolution
Scorpion Pose EvolutionVRISCHIKASANASCORPION POSE EVOLUTION Scorpion Pose, whether practiced in Pincha Mayurasana or in a handstand, blends a backbend with inversion control. It calls for deep opening through the front body, from rib cage to hip flexors and...

Side Crow Strategy
Side Crow StrategyPARSVA BAKASANASIDE CROW STRATEGY When we step onto the yoga mat with a strategy, we open ourselves up to a practice that’s both intelligent and transformational. Side Crow is one of those postures that calls for a clear plan, one that breaks down...
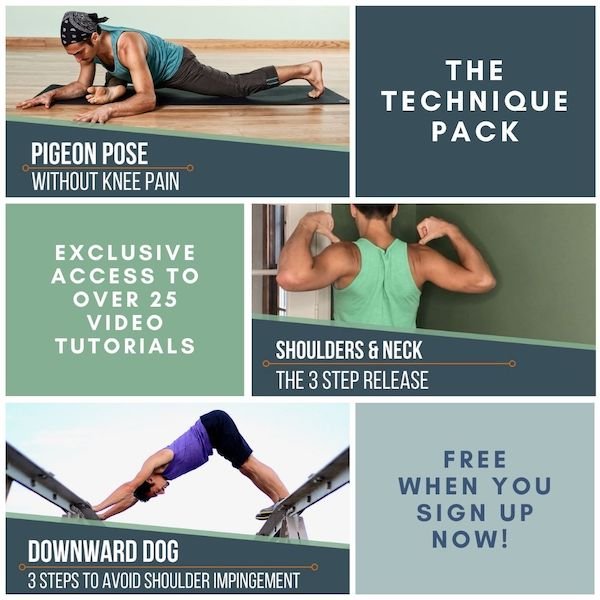
THE FREE TECHNIQUE PACK
When You Subscribe, You Will Get Instant Access to
- the Technique Pack: 15 yoga pose breakdowns
- exclusive online course discounts
- exclusive blogs and videos