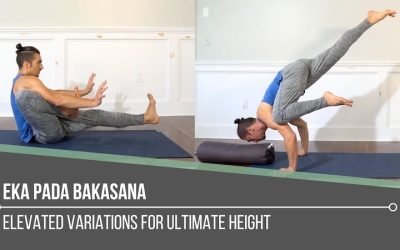
Eka Pada BakasanaSINGLE LEG CROWEKA PADA BAKASANA Eka Pada Bakasana asks us to balance curiosity with patience. This one-legged crow variation isn’t just about lifting a leg, it’s about organizing pressure, timing, and trust in unfamiliar territory. The posture...
Virasana
Virasana
Hip Extension
VIRASANA
For some of us, postures like Virasana and Lotus can be uncomfortable or even painful for the knees, so we avoid them altogether. Depending on what we’re dealing with, this may be the best decision. If there is room for safe exploration, however, Matt provides intentional education on how to reduce pain in the knee joints and how to strengthen the surrounding tissues. Developing the ability to close the angle of the knee joint can be helpful in this endeavour.
Matt shows us a couple of ways to approach this:
1. Get stronger hamstrings to close the knee joint more tightly
(puts the least amount of strain on the knees in Lotus)
2. Stretch the quadriceps
(strengthen first to warm them up and then stretch to create increased range of motion)
In today’s video, Matt demonstrates via Virasana variations how these actions can be implemented to move towards Lotus.

CHROMATIC GLOBAL TRAINING
REGISTRATION NOW OPEN
- Solve the "Yoga Teacher's Daily Grind"
- Become the BEST teacher you can be
- Get personalized feedback and support
- Learn anatomical sequencing and verbal cues
- Clear and impactful visual demonstration
- Strategic workshop design and sell out your events
- Become a Certified Chromatic Teacher
- Room for future growth: lead Chromatic Yoga Immersions and Trainings
ACTIVATE YOUR QUADRICEPS
It’s not uncommon to have a love-hate relationship with lunges, and this drill can be added to the list. There’s no denying that they get the job done when it comes to quadricep activation in preparation for Virasana and Lotus. As we’ve learned from practicing with Matt, it’s “strength before stretch,” and in the video, we see the strength portion.
We start off in a low-lunge position with the top of the back foot pressing into the floor. As we press up into the lunge, we can negotiate the amount of load we want to place on the quadriceps.
If we need less weight on the back leg, we can lean our weight into our hands, which are resting on the front thigh for added support. If we want to load the quads, then keeping the weight more toward the middle of the posture will provide more intensity for the quadriceps.
WATCH THE VIDEO
VIRASANA: PREPARATION THAT LEADS TO LOTUS
SUPPORTED VIRASANA
Finding ways to support the execution of Virasana is imperative when we have concerns about injury or discomfort, particularly in the knees. When exploration is possible, Matt provides options for us to worry less about the knees.
Placing blocks underneath the buttocks in Virasana can be a supportive option, but we can go further. Matt shows us an opportunity to be a more active participant in transforming our experience.
He demonstrates sitting up on blocks in a forward position while actively lifting one heel up towards the buttocks. This movement will activate the hamstrings on that side. Next, we can remove a block and check in with the sensations in the knee joints by gently pulling each knee slightly upward. There may be a shift in sensation—hopefully the reduction of any pulling on the patella tendon.

200 HOUR ONLINE TEACHER TRAINING
GET CERTIFIED & DEEPEN YOUR YOGA PRACTICE
- Deepen your yoga practice
- Build confidence speaking in front of groups in person and online
- Learn foundational class structures and templates
- Learn techniques for a wide range of yoga postures
- Get certified and highly qualified to teach yoga
- Yoga Alliance Globally Recognized Certification Program
EXPLORE THESE VARIATIONS
Ardha Virasana
This may be considered a more accessible option; however, Matt warns that when we bow forward, this is where we might experience more pressure in the knees. Again, applying actions to generate strength can decrease pain. Part of the action described in the video is to press the knee down on the “Virasana side” of the pose, or lifting the heel towards the buttocks as we learned in the “supported Virasana” variation.
Half Virasana / Half Siddhasana
Here is where we move more toward what may become Lotus Pose.
One of the key actions is to pull the knee out wide on the “Siddhasana side” of the posture. Of course, blocks can continue to support, along with the strengthening actions Matt offers in the video to cultivate integrity around the knee joint.

300 HOUR ONLINE TEACHER TRAINING
GET 500 HOUR CERTIFIED AS A MASTER TEACHER
Master your skill set as a teacher through refined techniques, anatomy, biomechanics, sequencing, philosophy, meditation techniques, theming, yoga business, and much more!
- Get 500 hour certified
- Learn anatomy, biomechanics, asana techniques
- Expand your teaching skills
- Masterful sequencing and verbal delivery
- Learn meditation and breathwork techniques
- Transformative tools: theming, dharma talks, satsang
SAFE ROUTE TO LOTUS
Working on the shapes we create in Virasana and Lotus are valuable, but we find the richness in the cumulative actions we take to strengthen all areas of the hips in order to eventually stretch more fully into these poses. This means that executing variations like Half Lotus / Half Virasana and finding the articulations within them will ultimately support our ability to find our fullest potential.
One of the articulations that is highlighted in the video is the dorsiflexion of the ankle on the “Lotus” side of the posture. This creates a lock and and more evenly distributes the energy from the knee toward the ankle.
The variations we explore in Virasana are both a roadmap toward postures like Lotus and an investigation of our body’s current and potential capabilities.
Matt’s upcoming Chromatic Global Training will support your continued studies of safe explorations in your yoga practice.
The 200 Hr. Teacher Training: Click Here to See the Next Start Date
The 300 Hr. Advanced Teacher Training: Click Here to See the Next Start Date
Article by Trish Curling
Video Extracted From: Breath of Fire Immersion

ONLINE ANATOMY COURSE
- Accessible, exciting, and easy to learn
- Anatomy and biomechanics for yoga
- Appropriate for both teachers and students
- Learn joint alignment vs pose alignment
- Demystify yoga poses and transitions
- Release aches and pains
- Learn how to avoid common injuries
- Caters to all levels with modifications and props
- 20 hours Continued Education Credits with Yoga Alliance
- 20 hours toward Chromatic Yoga Certification and 300 Hour
- Lifetime access
Continue Learning
Eka Pada Bakasana
read more
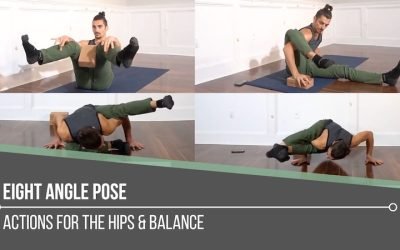
Eight Angle Pose
Eight Angle PoseASTAVAKRASANAEIGHT ANGLE POSE Sometimes we think arm balances are about getting higher, but Matt reframes Eight Angle pose as a mechanics workshop. This posture thrives when we test rotation, pelvic placement, and upper-body stability as interconnected...
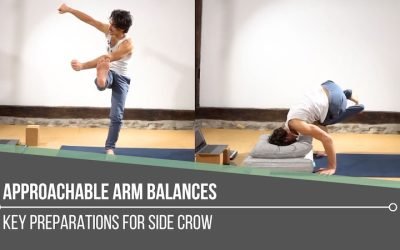
Approachable Arm Balances
Approachable Arm BalancesPARSVA BAKASANAAPPROACHABLE ARM BALANCES Approachable arm balances aren’t about fearlessness; they’re about informed action. When we understand the mechanics behind the posture, we gain the power to shape our own outcomes. Rather than jumping...
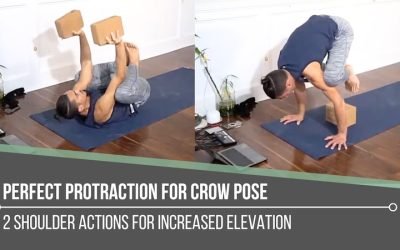
Perfect Protraction For Crow Pose
Perfect Protraction For Crow PoseBAKASANAPERFECT PROTRACTION FOR CROW POSE When working toward perfect protraction for Crow Pose, it’s essential to understand the role of the serratus anterior, the “fingertip” muscles that wrap around the rib cage and attach to the...
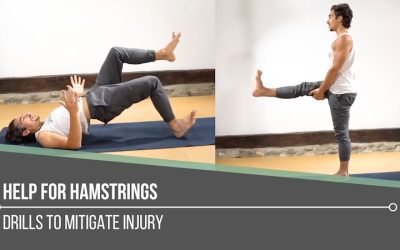
Help For Hamstrings
Help For HamstringsFLEXIBILITYHELP FOR HAMSTRINGS “Yoga butt” or high hamstring tendonitis can be a literal pain where the sit bones meet the hamstrings and glutes. This area is prone to overuse injuries, especially when repetitive forward folds overstretch rather...
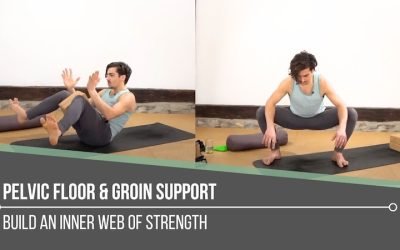
Pelvic Floor and Groin Support
Pelvic Floor & Groin SupportCOREPELVIC FLOOR AND GROIN SUPPORT Pelvic floor instability can quietly influence how we move and how safe we feel in our practice. Weakness or imbalance here may lead to groin strains, hip discomfort, or even low-back issues....
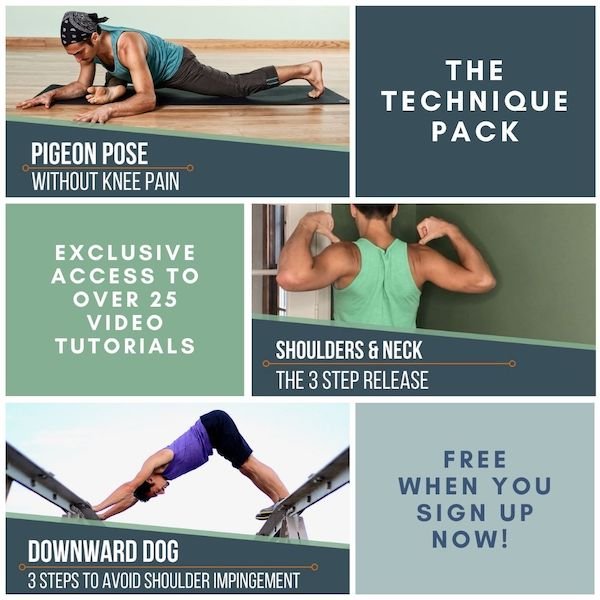
THE FREE TECHNIQUE PACK
When You Subscribe, You Will Get Instant Access to
- the Technique Pack: 15 yoga pose breakdowns
- exclusive online course discounts
- exclusive blogs and videos